Applying a patch on the vCenter Server is an article that explains how to update the vCenter Server. The are some ways to do it. In this article, we will show how to perform it using CLI (Command Line Interface) with the patch .iso file.
The VMware Article 2143838 shows the build numbers and versions of the VMware vCenter Server. It’s highly recommended to check this link before performing patching:
https://kb.vmware.com/s/article/2143838
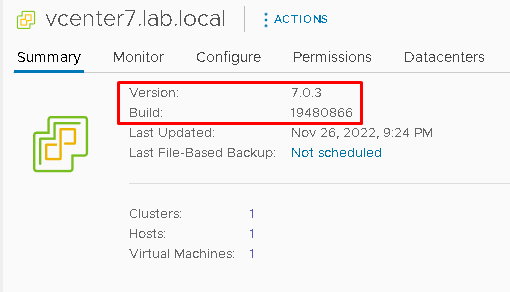
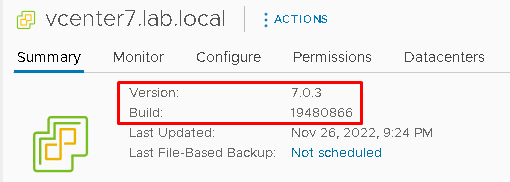
In our lab environment, the current vCenter Server is:
Note: During the patching, all vCenter Server services will stop and it’s necessary to reboot the vCenter Server to complete the process. So, it is recommended to create a schedule to apply the patch (Create an internal Change Request or something like that).
Download the Patch File
Firstly, we need to download the file that will use to patch the vCenter Server.
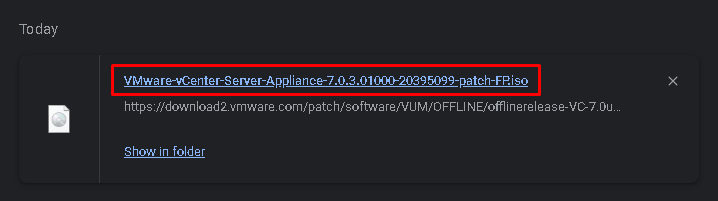
Access the VMware Customer Connect site, perform the login on this site and get the iso patch file:
https://customerconnect.vmware.com/patch
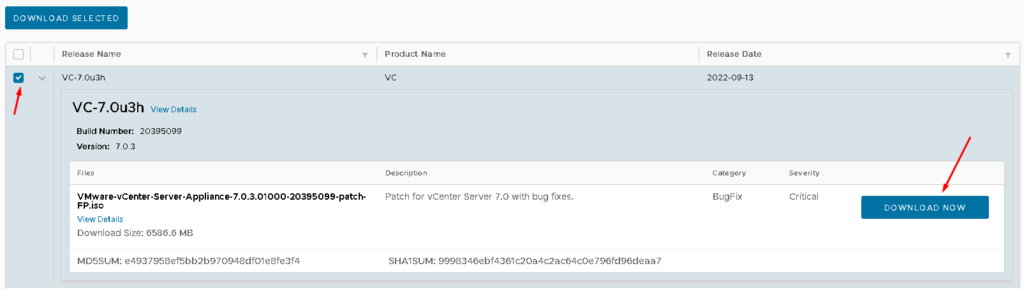
Select “VC” and “7.0.3” and then, click on “SEARCH”:

So, a list of all patch versions available is showing. Select the latest version and then click on “DOWNLOAD NOW”. In this case, the latest version of vCenter Server Patch is “VC-7.0u3h”:
Upload the Patch File to the ESXi Datastore
In our lab environment, we are using one ESXi host to host the vCenter Server Virtual Machine. So, in this example, it’s necessary to upload the patch iso file inside this local datastore.
This step is necessary because we will attach the iso file to the vCenter Server VM.
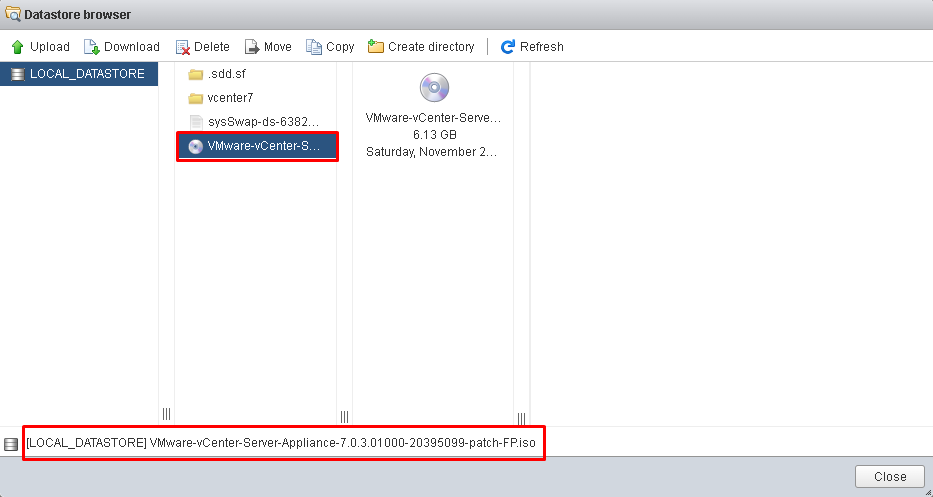
Login on the ESXi host management interface and then, select the local datastore, browse datastore and upload the vCenter Server patch iso file:
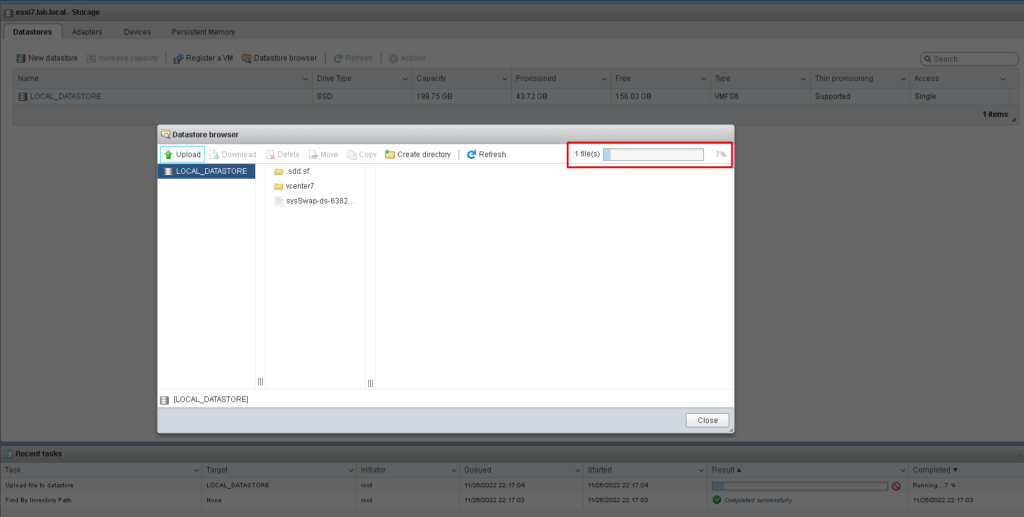
After some minutes, the vCenter Server patch file will be in the host’s local datastore:
Attach the Patch File to the vCenter Server VM
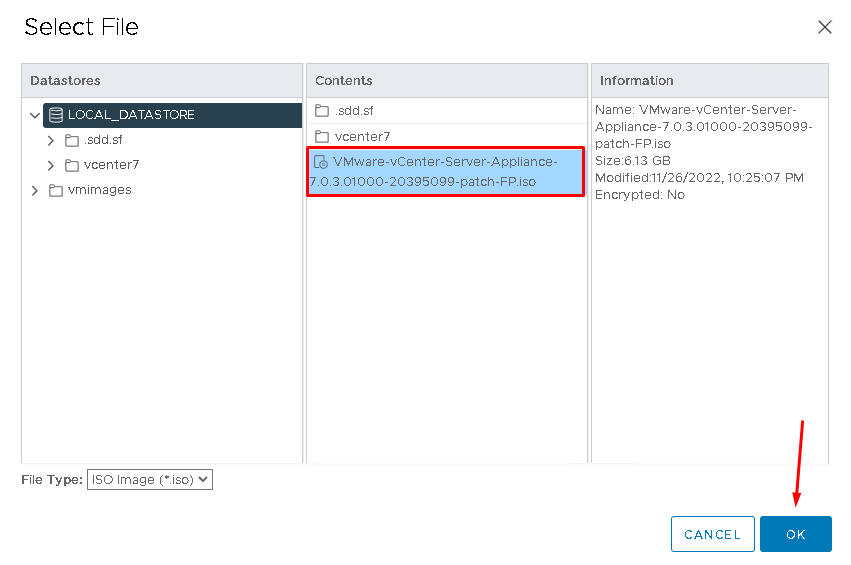
Select the vCenter Server VM –> Edit Setting –> on CD/DVD drive 1, select the “Datastore ISO File” and click on “BROWSE” to search and select the patch file:
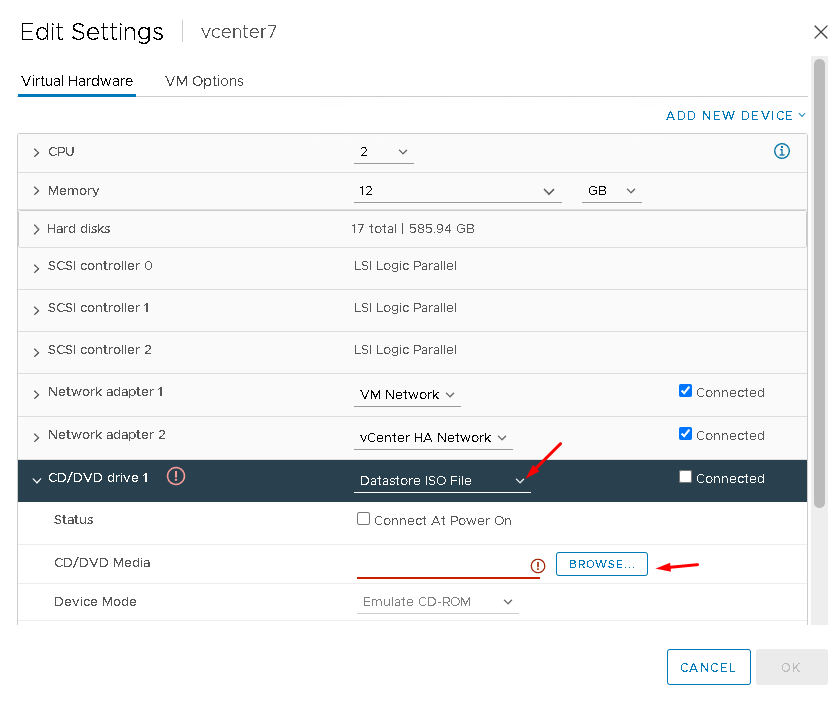
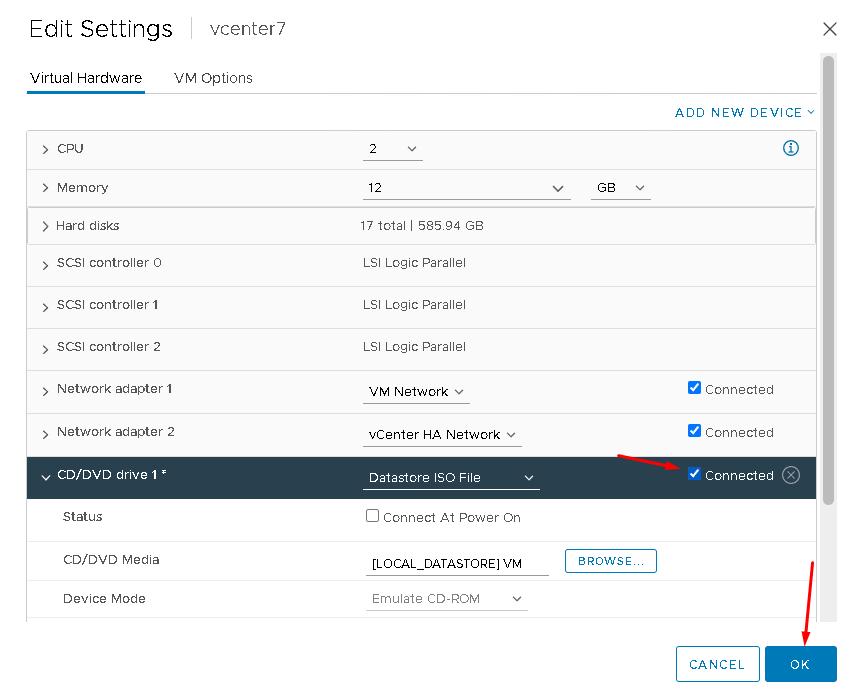
Do not forget to click on “Connected” on CD/DVD drive 1. It is necessary to connect the patch file to the vCenter Server OS level:
Apply the Patch on the vCenter Server by CLI
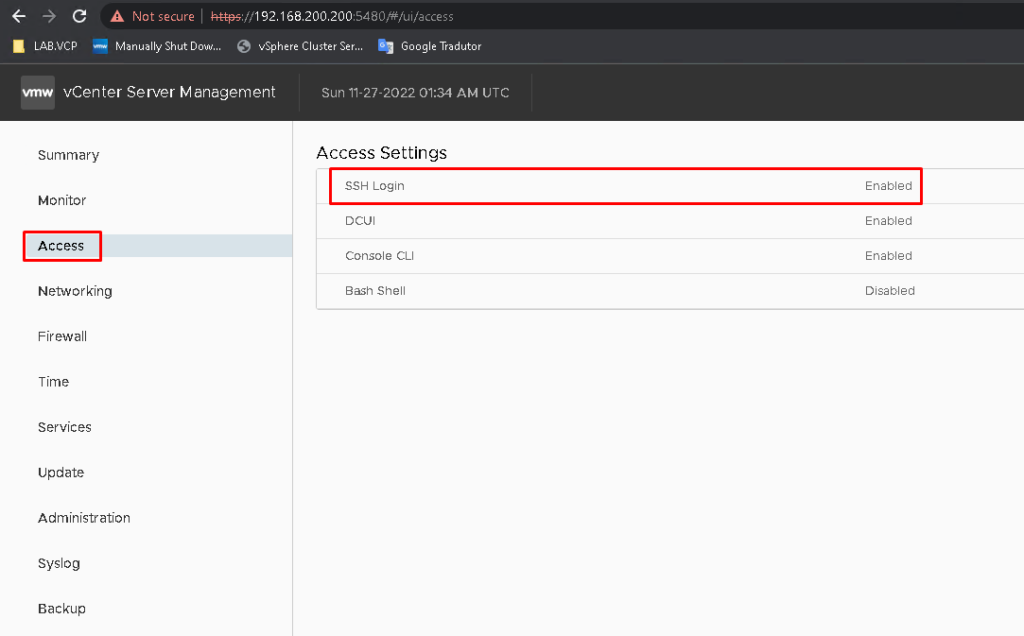
Firstly, access the VAMI interface and enable the SSH login:
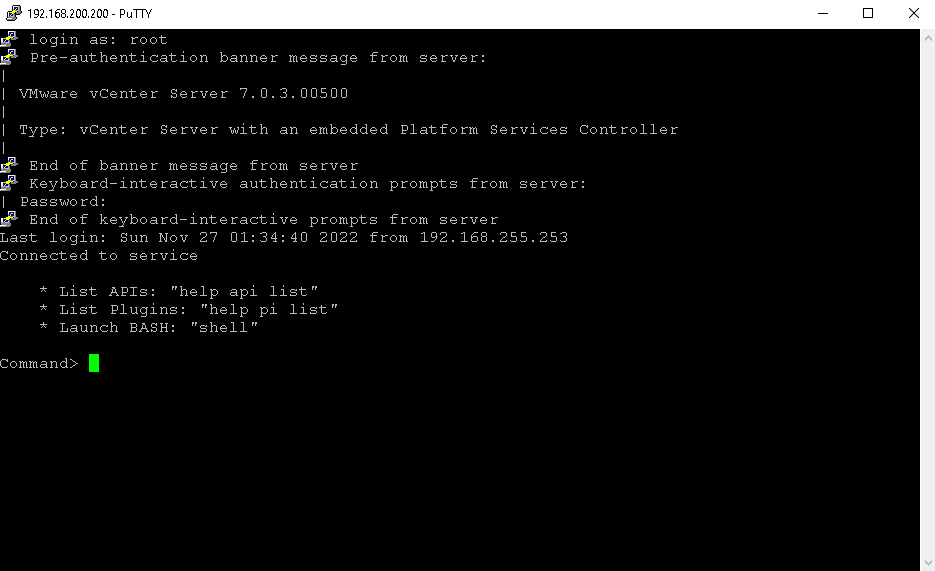
With your SSH client, connect to the vCenter Server. In this case, we are using the Putty software:
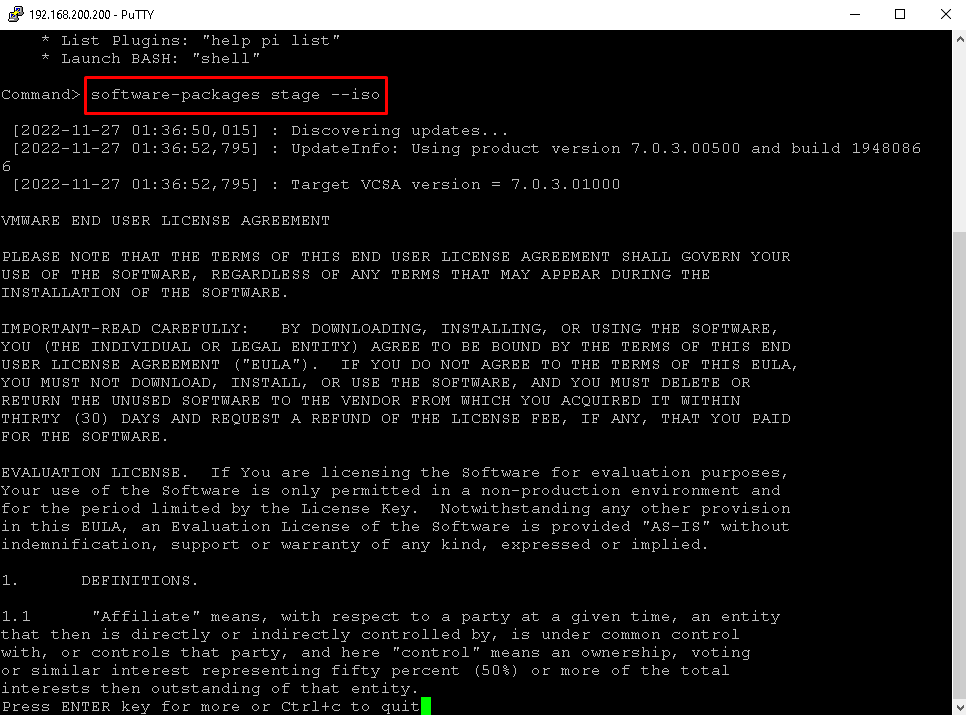
The first step is to stage the contents present on the vCenter Server Patch to the local vCenter Server. Type the command:
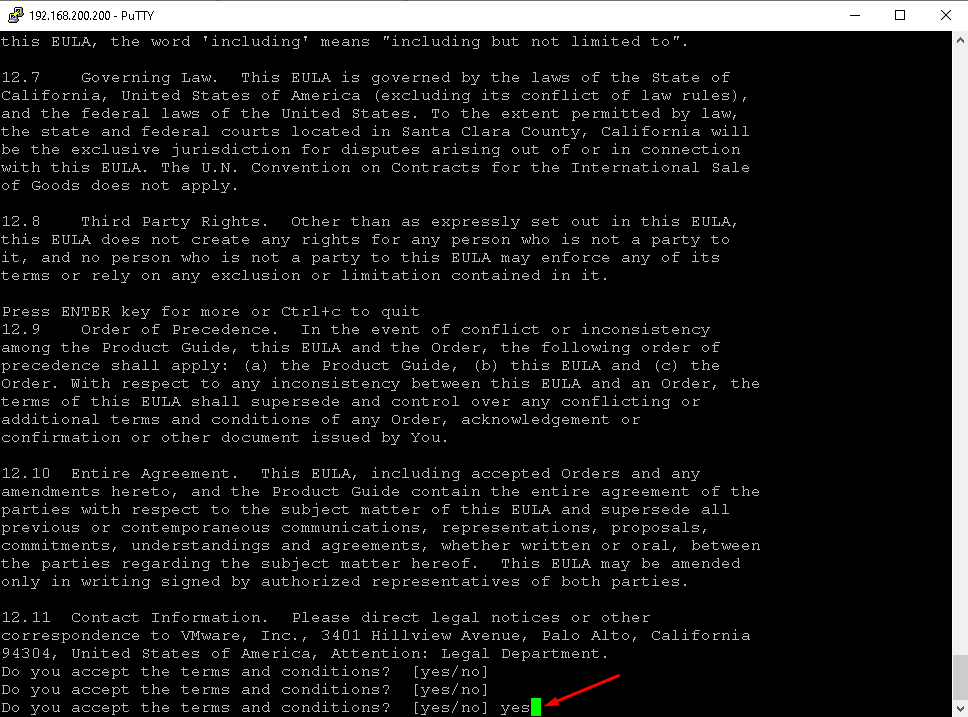
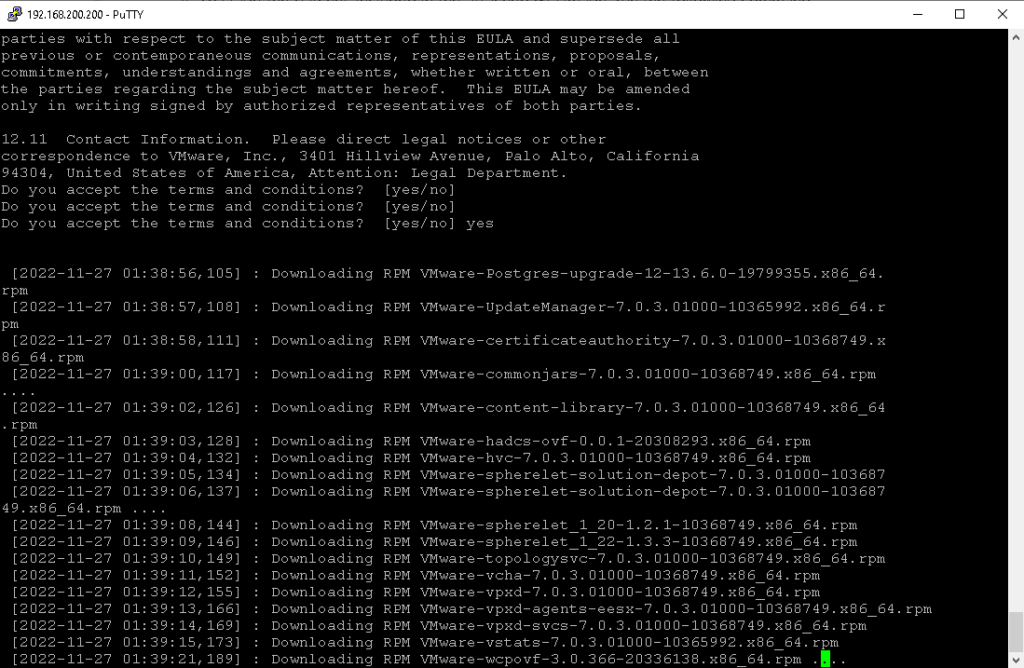
software-packages stage --isoContinue to press ENTER to read the VMware End User License Agreement:
At the final of the License Agreement, type “yes” and press ENTER to continue:
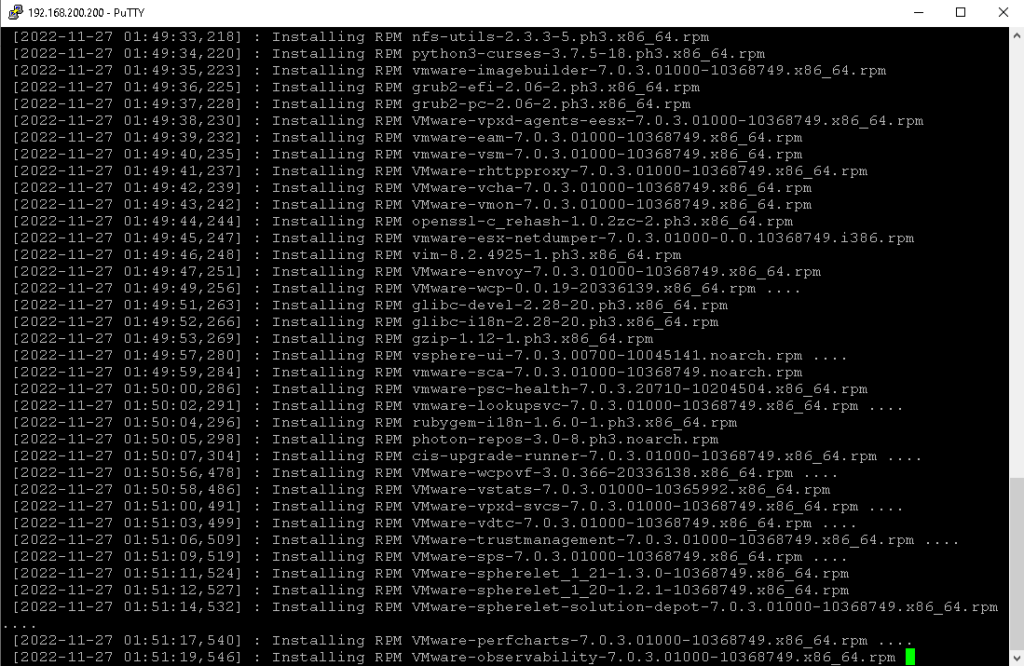
All rpm files will be staged from the Patch iso file to the local system:
At the end of this process, the message “Staging process completed successfully” indicates that this process finished:

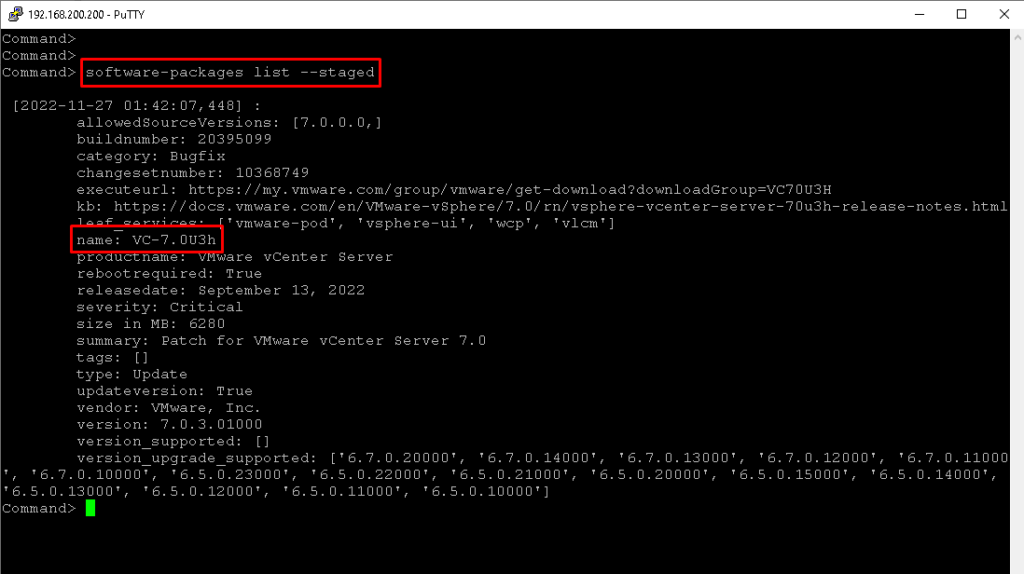
To see the package list that is staged, type the command below:
software-packages list --stagedNote: There are a lot of interesting details inside the patch, such as name, size, version, and version upgrade supported, for example:
To apply the patch, type the command below:
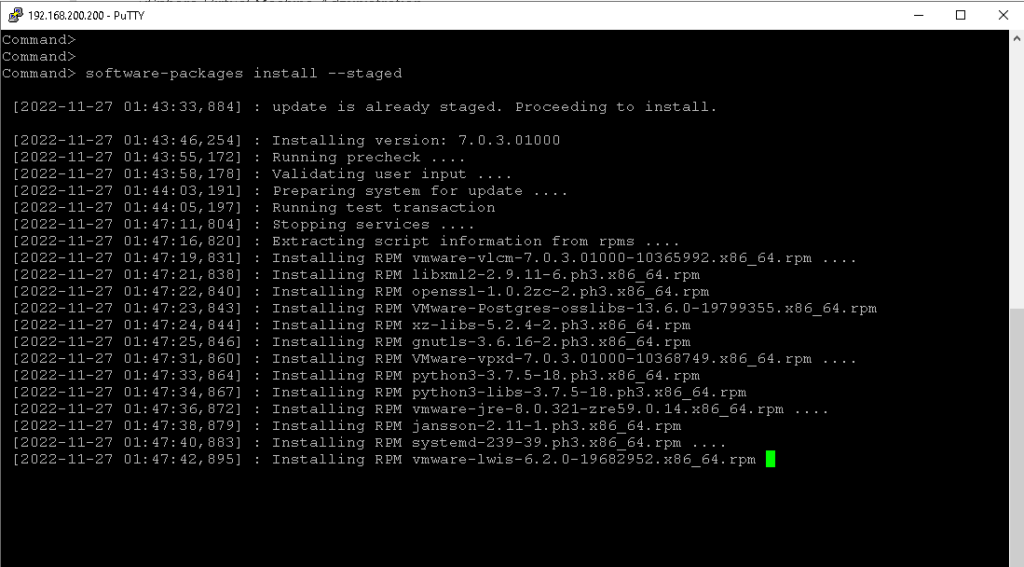
software-packages install --staged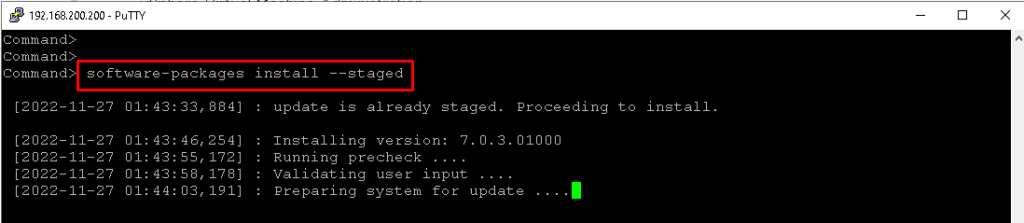
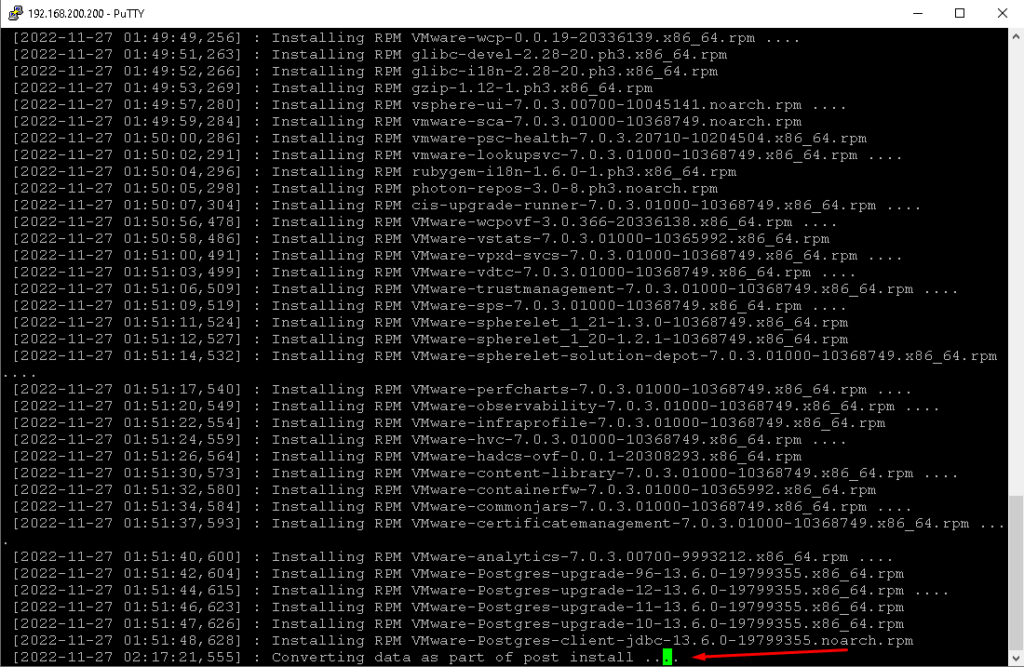
To complete this step, a lot of minutes are necessary. So, don’t close the SSH session and wait:
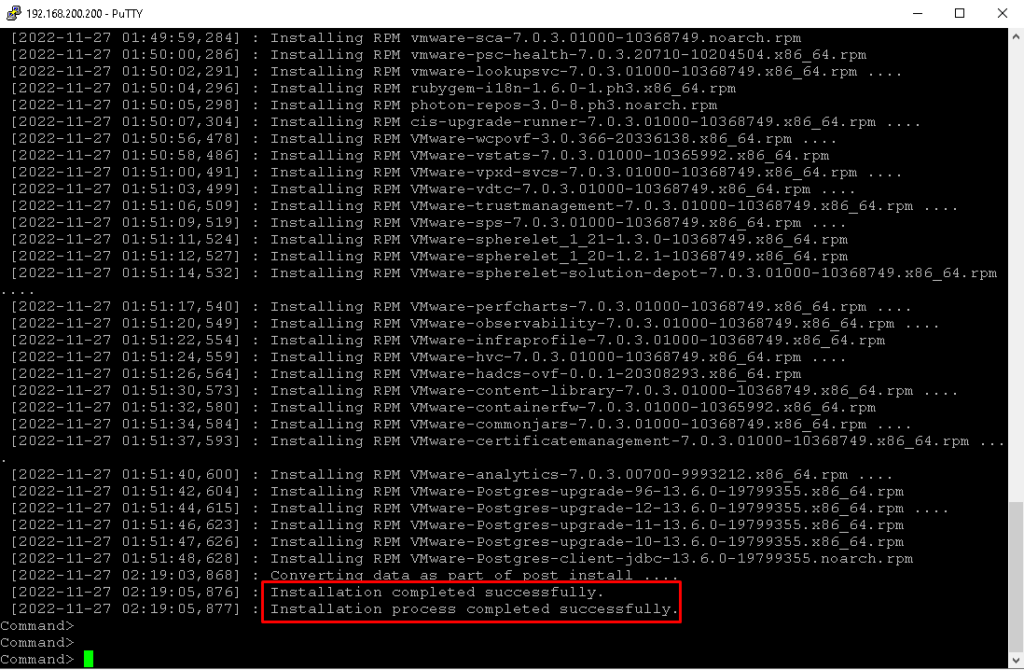
The messages “Installation completed successfully” and “Installation process completed successfully” indicate that the installation process finished:
Reboot the vCenter Server to complete the process. Type the command below to reboot:
shutdown now -r "patch reboot"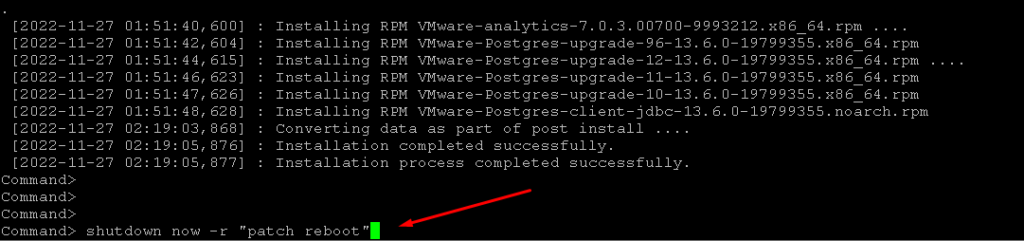
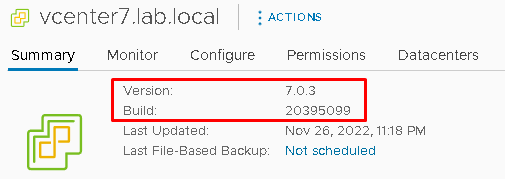
Now, the vCenter Server has been updated successfully 🙂
BEFORE:
AFTER:
External Links as Reference: