Installing KVM on Ubuntu 22.02 is an article that explains how to install and configure KVM. Also, we will show how to create and run a VM inside the KVM. So, we’re installing the KVM on Linux Ubuntu 22.02 Desktop Edition. But, it is possible to install KVM on other Operating Systems (you need to check if these Operating Systems can support the KVM).
Our Ubuntu Desktop is a nested virtual machine inside VMware Fusion (like “VMware Workstation”- in this case, VMware Fusion is a hypervisor type-2 for MAC OS Systems):

To enable the nested virtualization for a virtual machine, it’s necessary to enable the extensions in your virtualization manager (hypervisor) for it. In our case, the option is “Enable hypervisor applications in this virtual machine”. This is a processor advanced options inside the virtual machine settings:
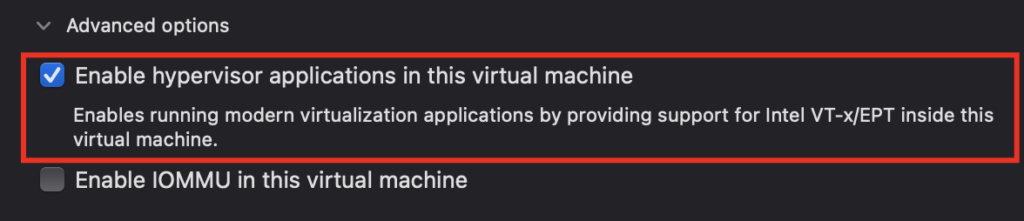
Note: If you are using a different hypervisor, check if an option like this exists.
What is KVM?
Kernel-Based Virtual Machine (KVM) is an open-source virtualization technology built into Linux. Specifically, KVM lets you turn Linux into a hypervisor that allows a host machine to run multiple, isolated virtual environments called guests (Guest OS) or virtual machines (VMs).
How does KVM work?
KVM converts Linux into a type-1 (bare-metal) hypervisor. All hypervisors need some operating system-level components—such as a memory manager, process scheduler, input/output (I/O) stack, device drivers, security manager, a network stack, and more—to run VMs.
KVM has all these components because it’s part of the Linux kernel. Every VM is implemented as a regular Linux process, scheduled by the standard Linux scheduler, with dedicated virtual hardware like a network card, graphics adapter, CPU(s), memory, and disks.
Installing KVM packages
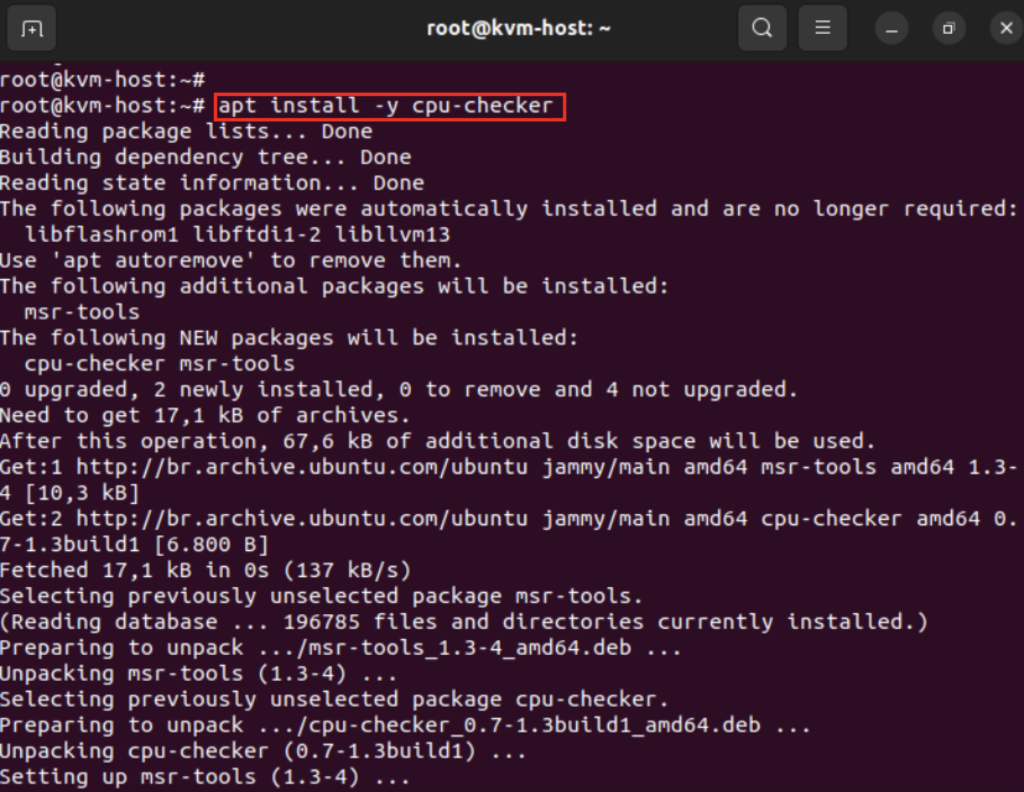
First, we need to confirm if the host’s CPU has support to run KVM. Install the package “cpu-checker”:
apt install -y cpu-checker
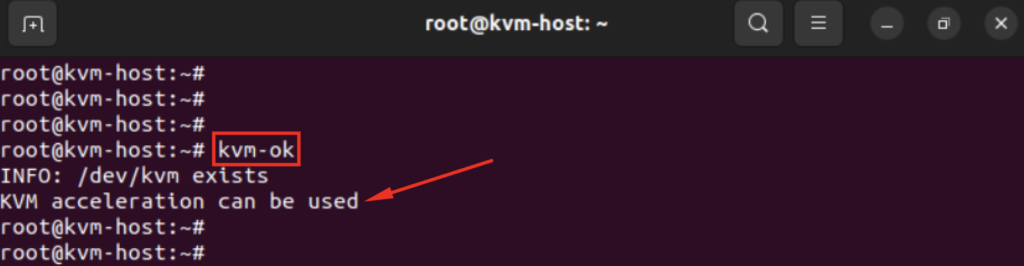
Execute the command “kvm-ok”. If the CPU can be executed KVM, the message like “KVM acceleration can be used” will be shown:
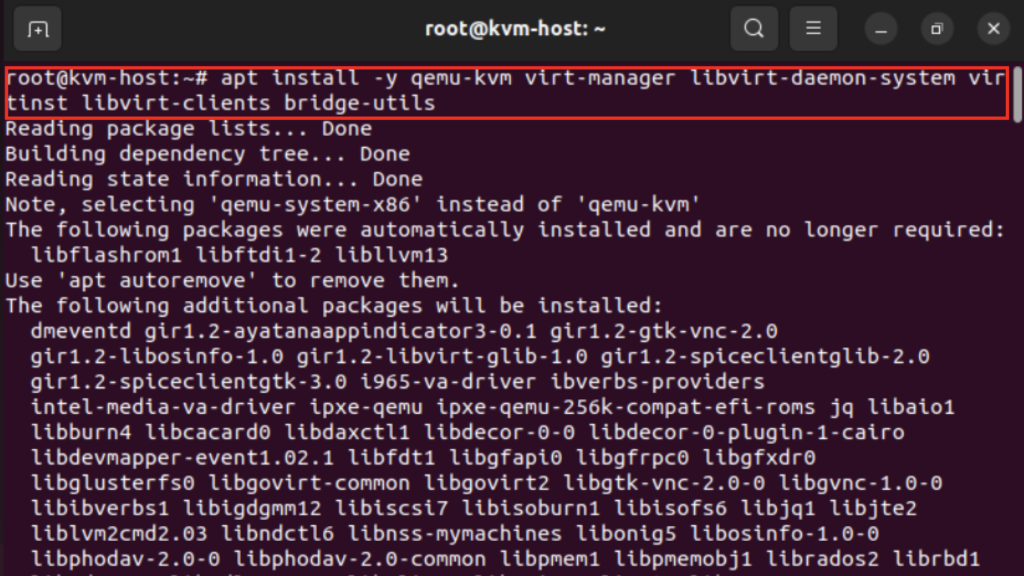
Install KVM packages:
apt install -y qemu-kvm virt-manager libvirt-daemon-system virtinst libvirt-clients bridge-utils
Break down about the packages that we are installing:
- qemu-kvm = An opensource emulator and virtualization package that provides hardware emulation;
- virt-manager = A Qt-based graphical interface for managing virtual machines via the libvirt daemon;
- libvirt-daemon-system = A package that provides configuration files required to run the libvirt daemon;
- virtinst = A set of command-line utilities for provisioning and modifying virtual machines;
- libvirt-clients = A set of client-side libraries and APIs for managing and controlling virtual machines & hypervisors from the command line;
- bridge-utils = A set of tools for creating and managing bridge devices.
After that, enable and start the Libvirt daemon:
systemctl enable –now libvirtd
systemctl start libvirtd

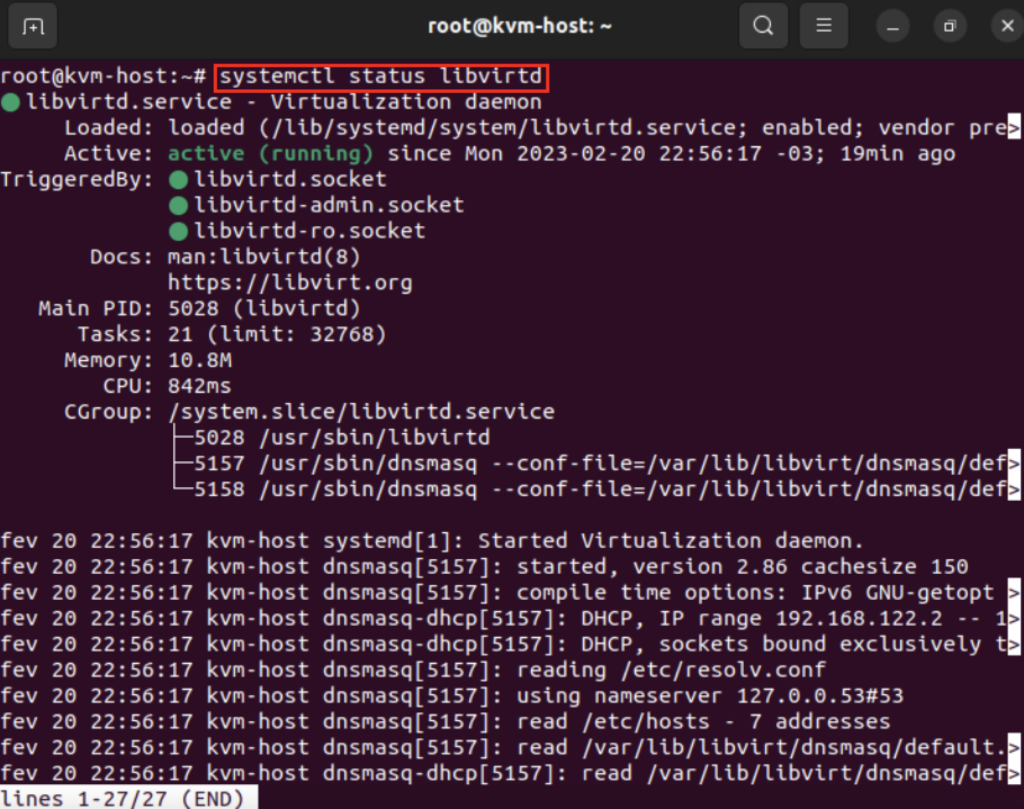
Confirm that the virtualization daemon is running:
systemctl status libvirtd
Creating Network Bridge (br0)
If you are planning to access KVM virtual machines outside from your Ubuntu, then you must map VM’s interface to a network bridge interface (br0).
Note: Though a virtual bridge named virbr0, created automatically when KVM is installed but it is used for testing purposes.
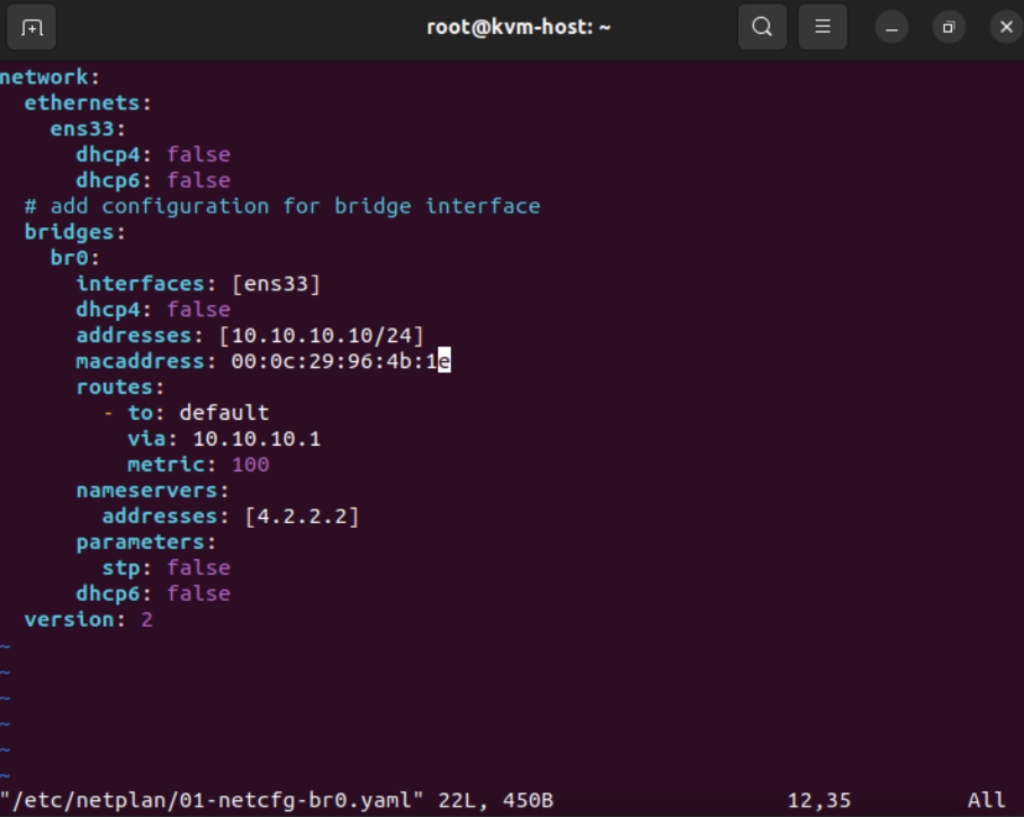
To create a network bridge, create the file “01-netcfg-br0.yam”’ with following content under the folder /etc/netplan:
| # vi /etc/netplan/01-netcfg-br0.yaml network: ethernets: ens33: dhcp4: false dhcp6: false # add configuration for bridge interface bridges: br0: interfaces: [ens33] dhcp4: false addresses: [10.10.10.134/24] macaddress: 00:0c:29:96:4b:1e routes: – to: default via: 10.10.10.1 metric: 100 nameservers: addresses: [4.2.2.2] parameters: stp: false dhcp6: false version: 2 |
Notes:
— In our case, the Ubuntu’s ethernet device name is “ens33”
— The ip address for the bridge interface is 10.10.10.134/24
— The mac address of the ethernet device “ens33” is 00:0b:29:96:4b:1e
— The default gateway for the bridge interface is 10.10.10.1
You should replace theses details based on your environment!
To apply the bridge interface configurations:
netplan apply

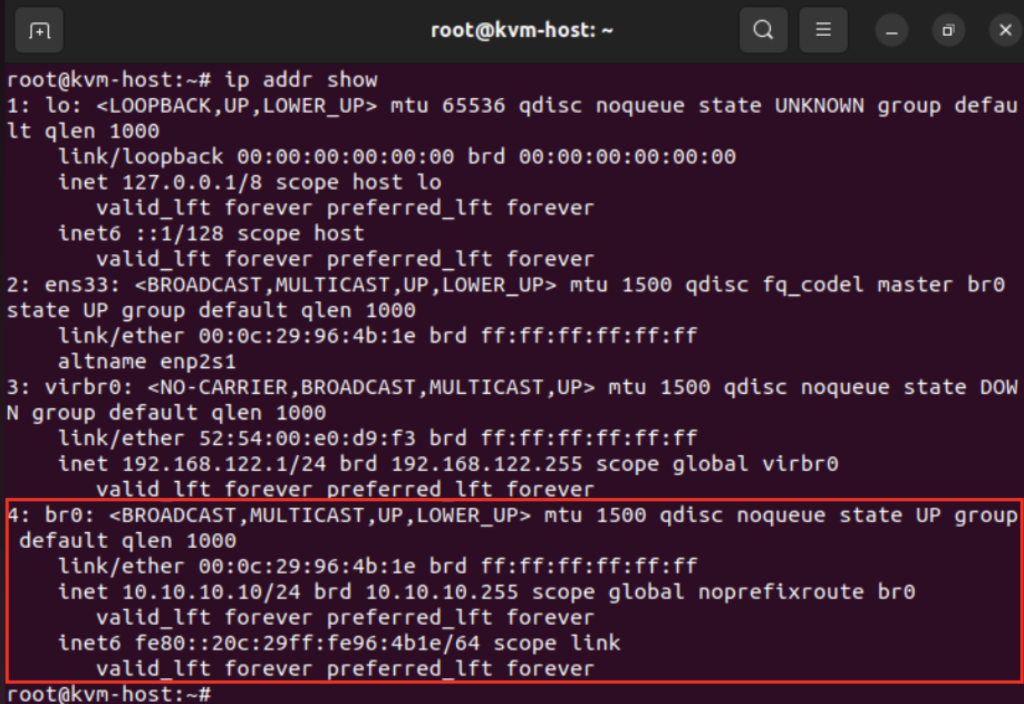
After that, execute the command “ip addr show” to show the interface details:
ip addr show
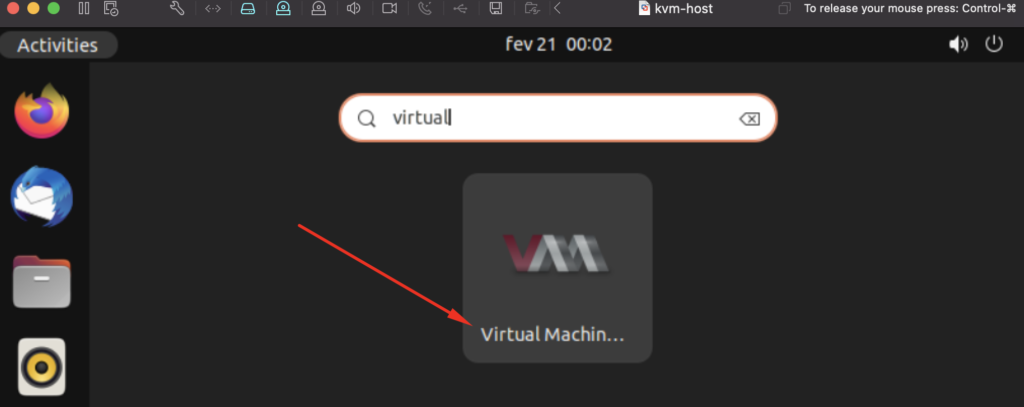
So, we can run the Virtual Machine Manager. With this utilitary, we can create and configure virtual machines:
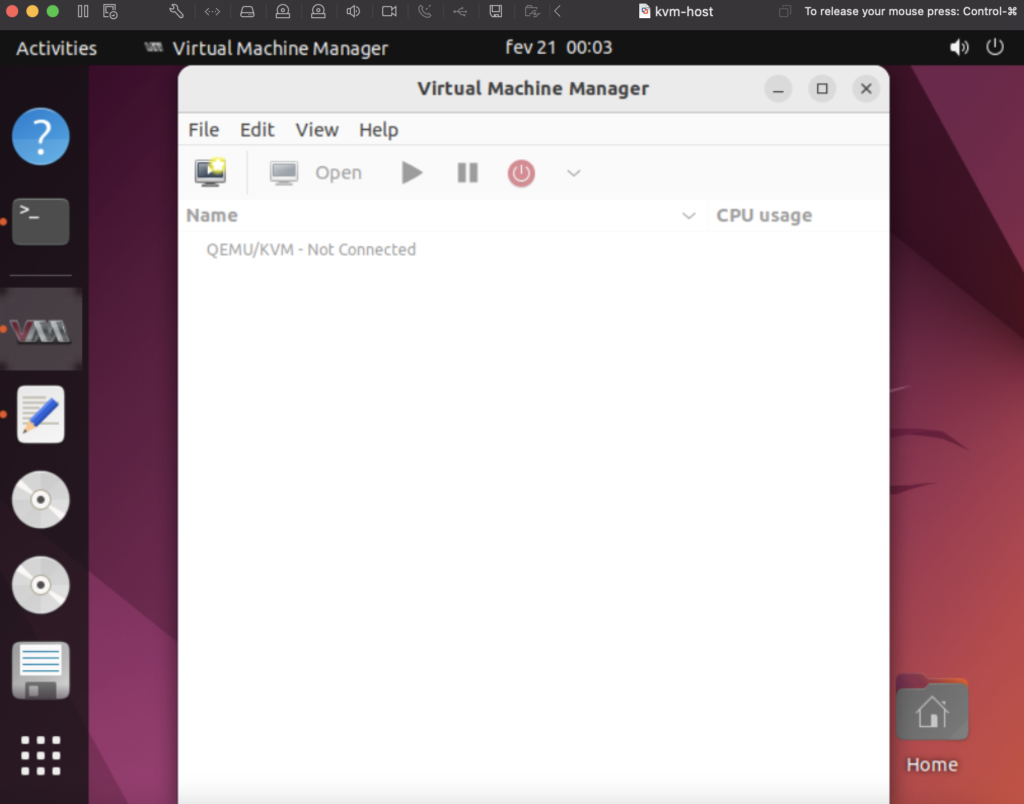
Creating a Virtual Machine on KVM
We will install the Debian Netinst on KVM. Firstly, we need to create the Virtual Machine. Click on Computer icon to start the Virtual Machine creation wizard.
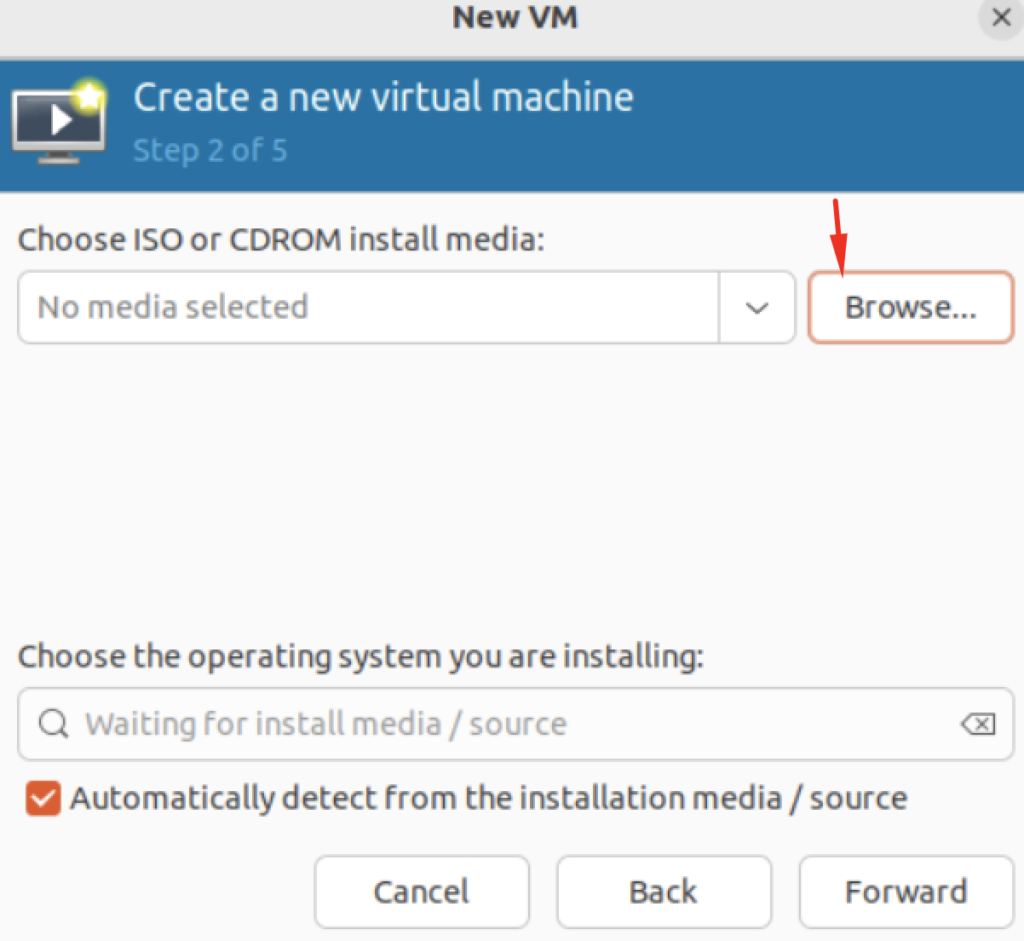
Select “Local install media (ISO image or CDROM)” and click on FOWARD to continue:

Click on BROWSE to select the Debian Netinst .iso file:
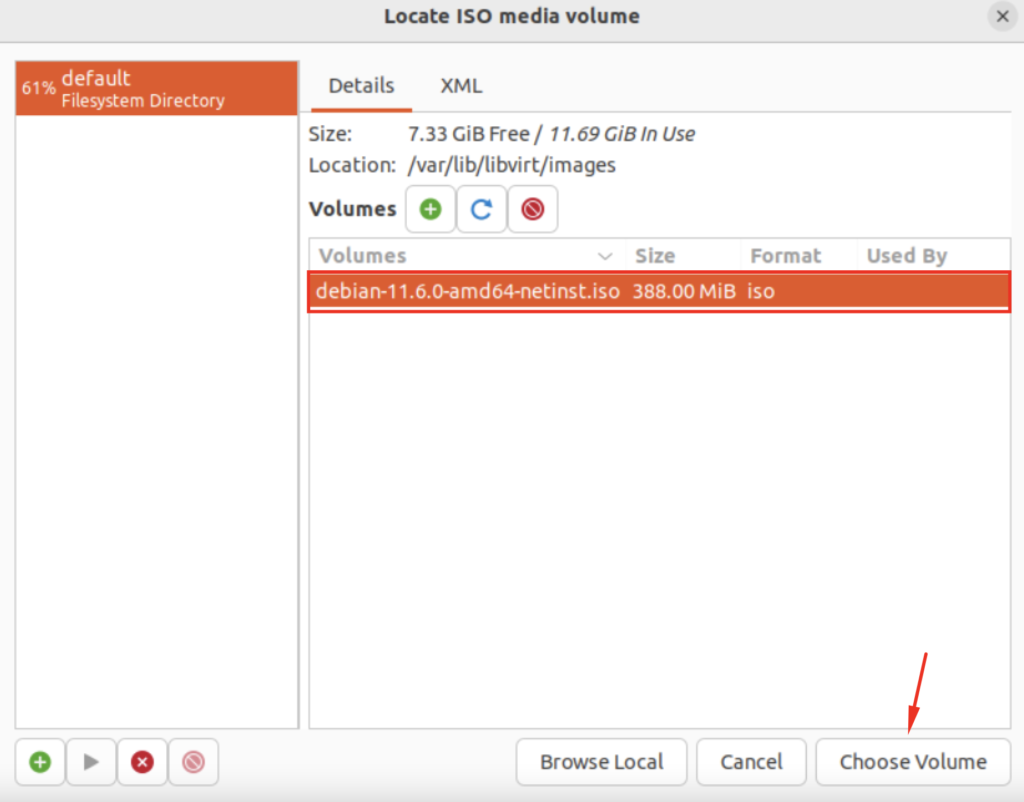
The Debian Netinst .iso file needs to be in the /var/lib/libvirt/images directory. So, move or copy this file into this directory before following the procedure.
Select the .iso file and click on Choose Volume:
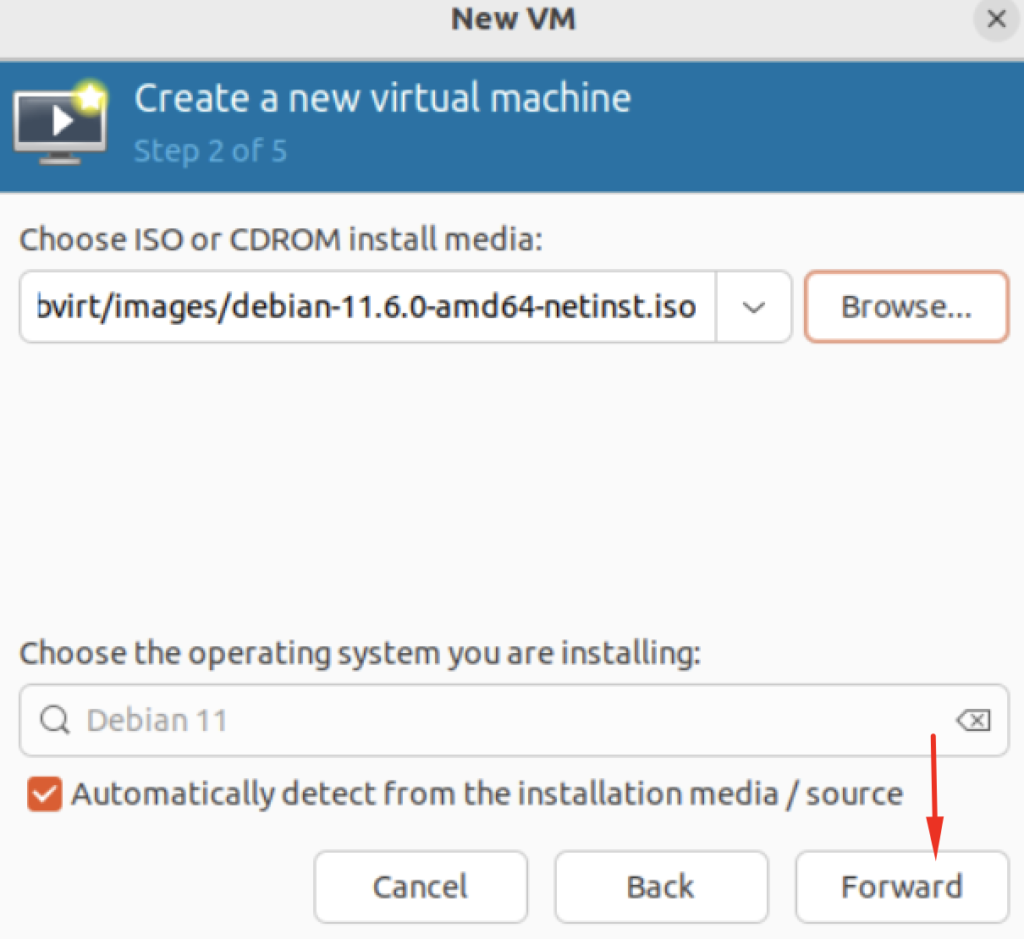
After that, click on FOWARD to continue:
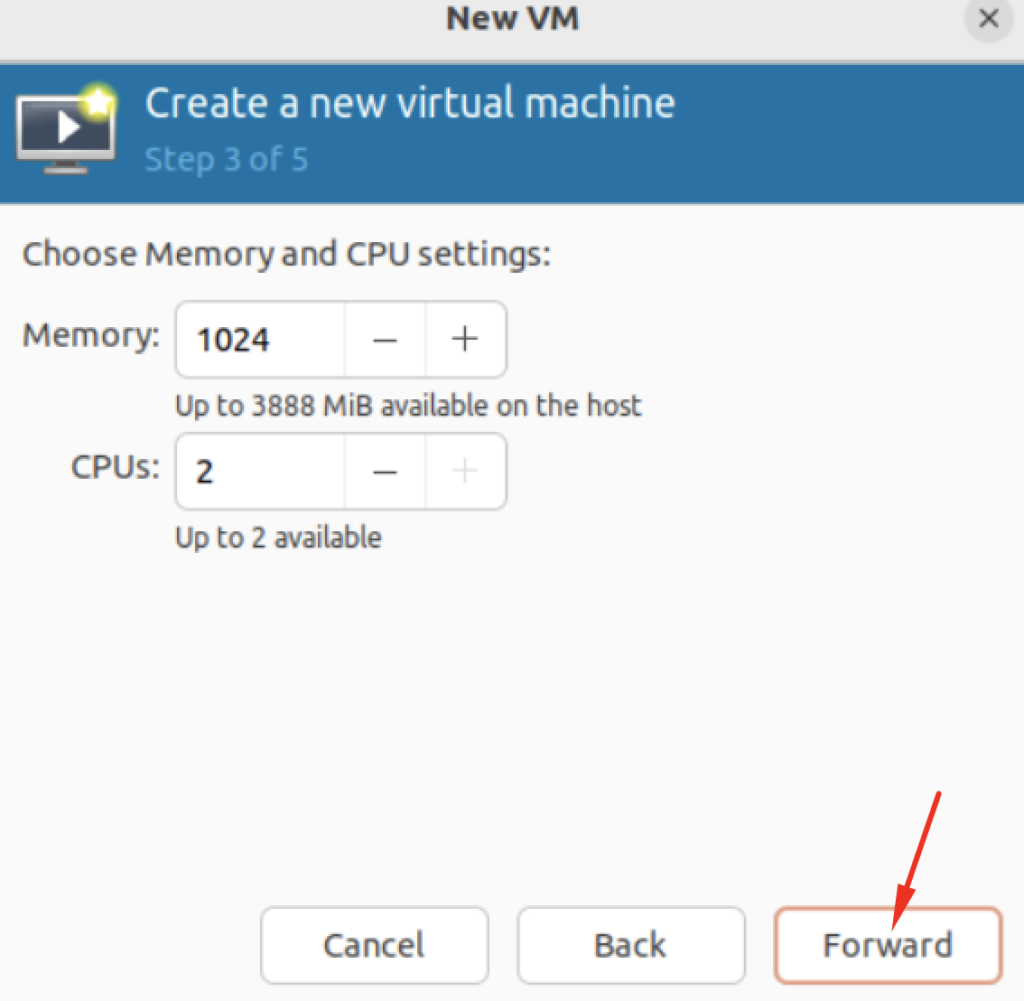
On Memory and CPU settings, maintain these values with defaults values, and then click on FORWARD:
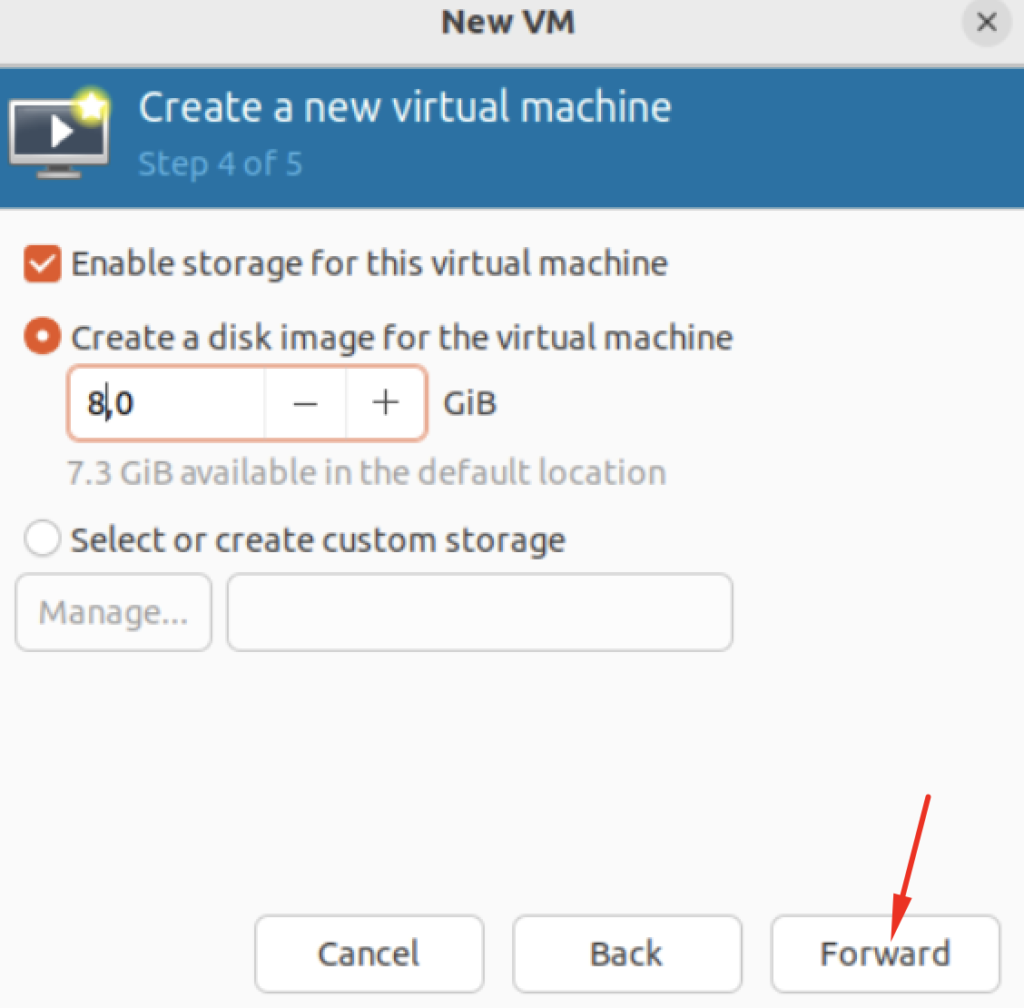
In this case, the virtual disk size is 20 GB. Due our lab has limited disk space, I set the virtual disk with 8 GB. Click on FORWARD to continue:
The virtual machine name is “debian11” and mark the option “Customize configuration before install”. After that, click on Finish:
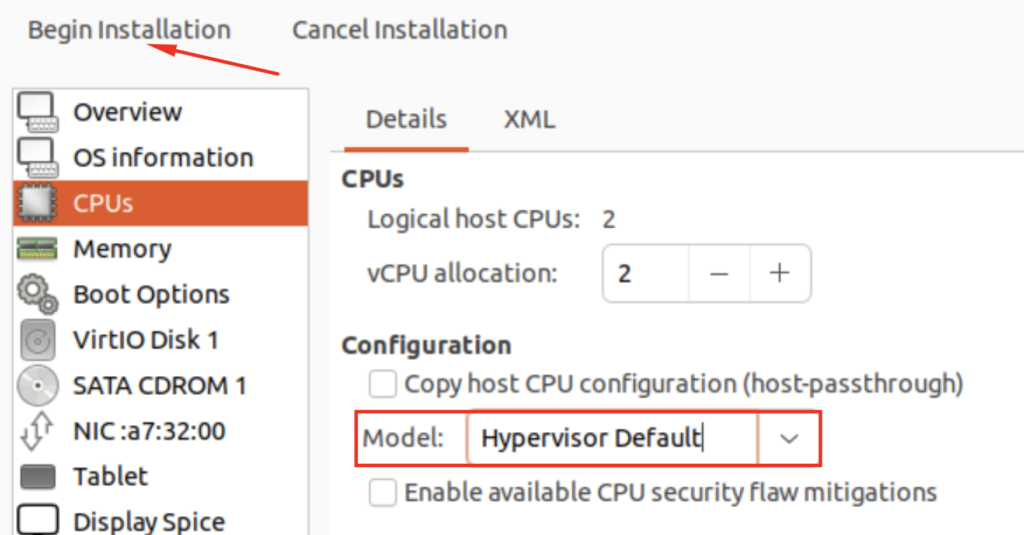
Click on CPUs –> Configuration –> unmark the option “Copy host CPU configuration (host-passthrough)”, and then, select the “Hypervisor Default”under Model:
Click on YES to save these configurations:

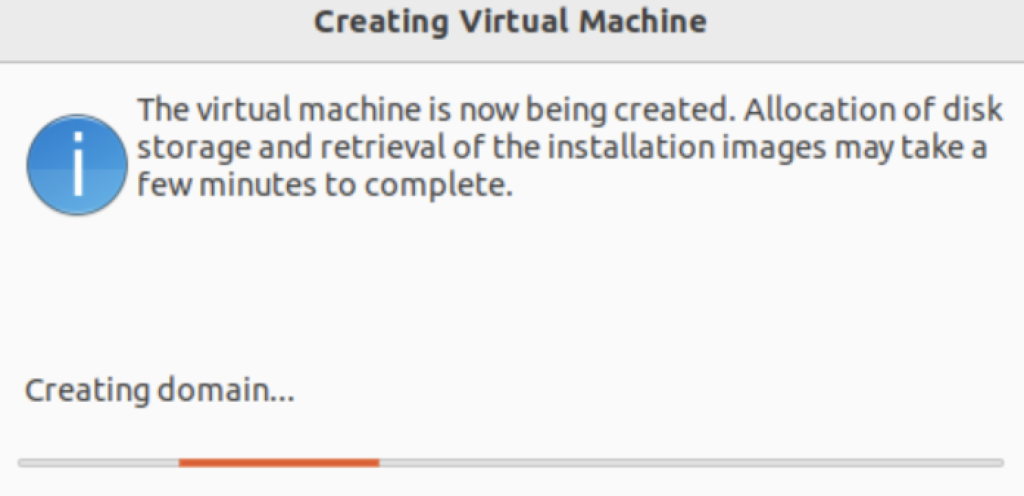
Wait a few seconds while the virtual machine is being created:
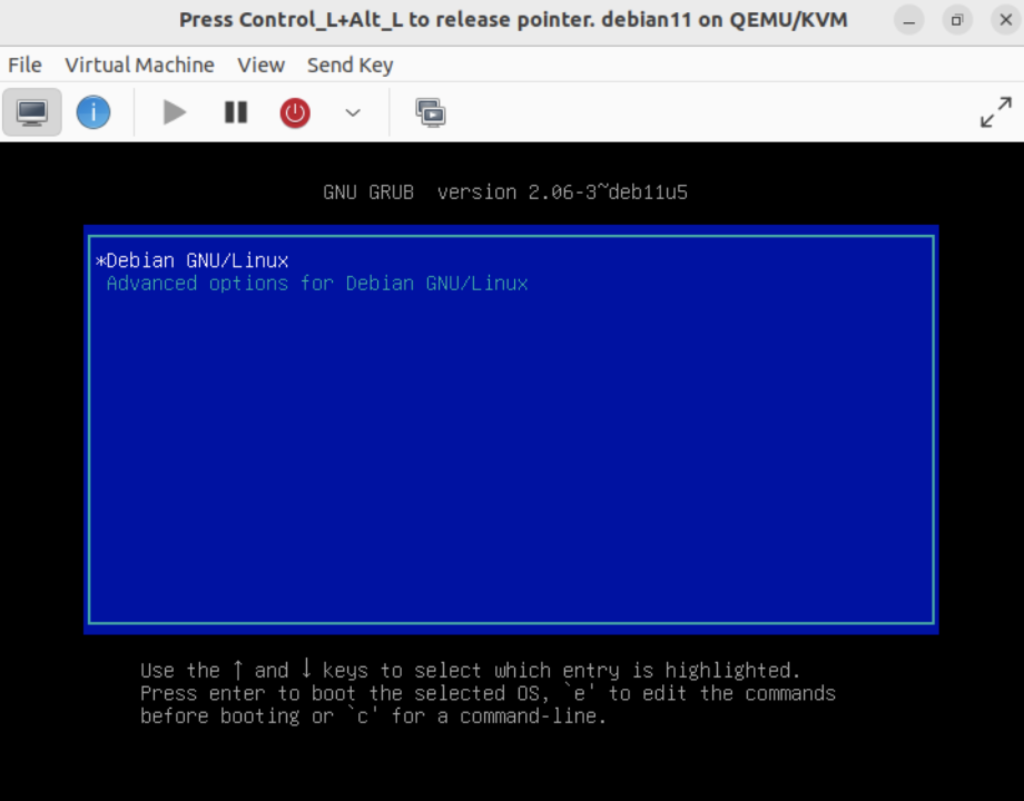
After that, it is possible to install the virtual machine:
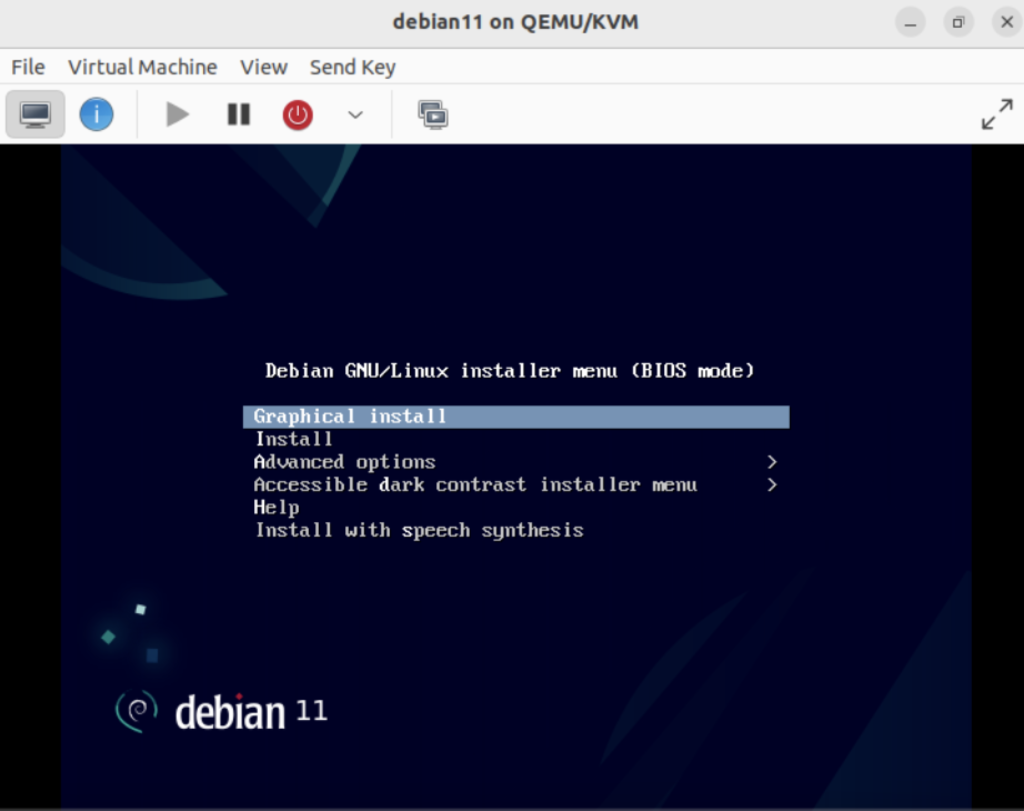
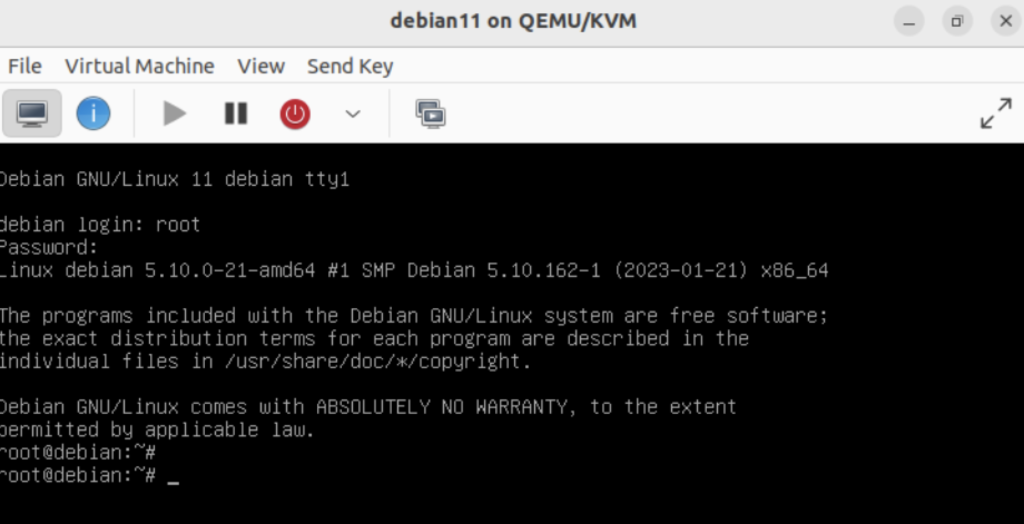
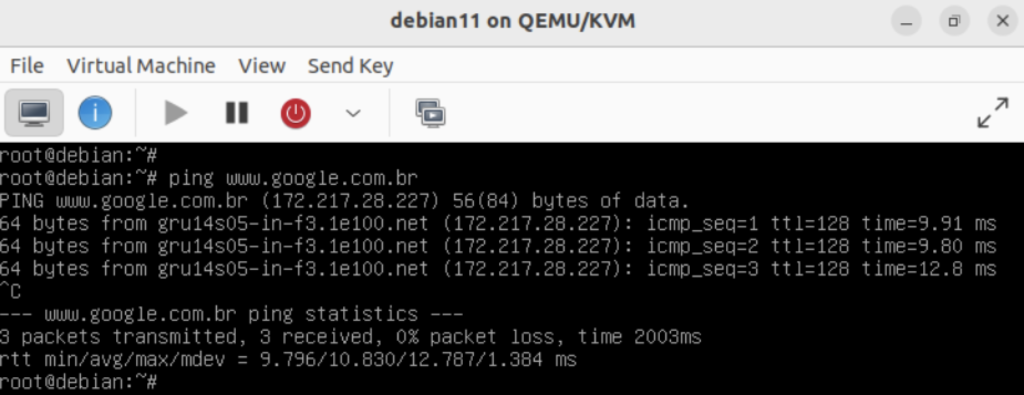
Here, our Guest OS has been installed successfull by the KVM installation process and we can use normally this Operating System:
Sources:
https://www.redhat.com/en/topics/virtualization/what-is-KVM
https://www.linuxtechi.com/how-to-install-kvm-on-ubuntu-22-04/