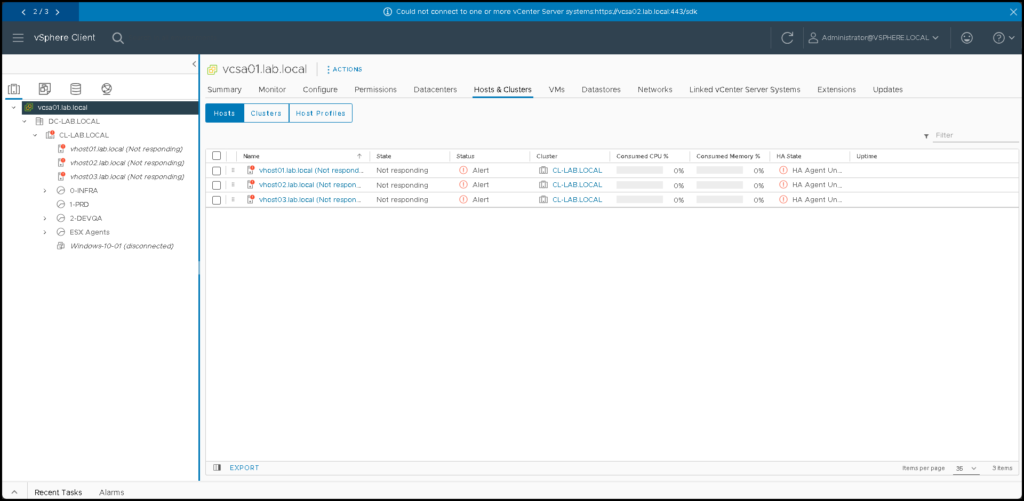
Restoring a vCenter Server through Backup is an article that shows how to restore a vCenter Server Appliance using a valid backup.
Firstly, to have the possibility to restore the vCenter Server using a backup, you need to have configured the backup schedule on your vCenter Server. Without it, you cannot perform this type of recovery. This backup is called “File-Based Backup” and it is a good idea to configure it in your vCenter Server.
We have written an article that explains a little about it:
https://dpcvirtualtips.com/creating-a-backup-of-vcenter-data/
What situations will I need to recover my vCenter Server from backup?
Honestly, this is a hard question and I believe there is not a best answer for that. But, of course, if you are facing a situation when your vCenter Server has crashed and does not work or something like that, having a valid backup can be your unique method to recover and go online your vCenter Server again.
Restoring the vCenter through Backup: Step by Step
Stage 01 – Deploy vCenter Server
The first step here is to deploy the vCenter Server. To do that, it is important to use the same version and build during the vCenter Server deployment.
In this example, we are mounting the vCenter Server iso file on our Windows Desktop and running the “installer.exe”. This installer will guide us to deploy and restore the backup:

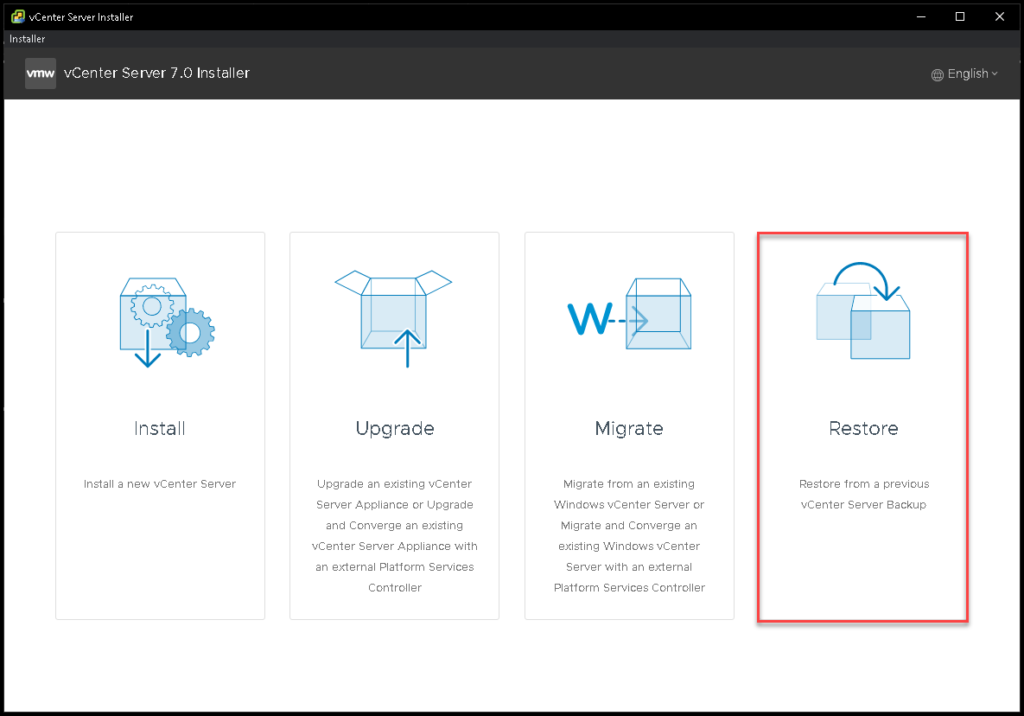
We have some options such as Install, Upgrade, Migrate, and Resore.
Our aim here is to Restore, so, select the option “Restore”:
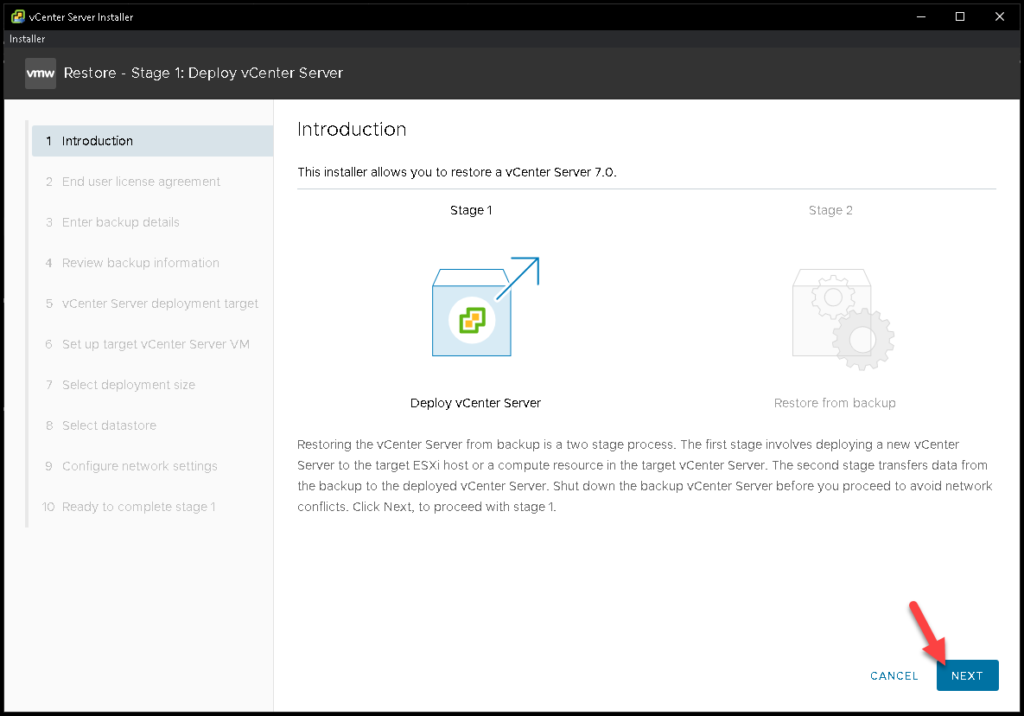
Here we have an explanation about how will work this process. As we can see, this process has two stages.
The first stage involves deploying a new vCenter Server to the target ESXi server. The second stage transfers the data from the backup to this new vCenter Server. Click on NEXT to continue:
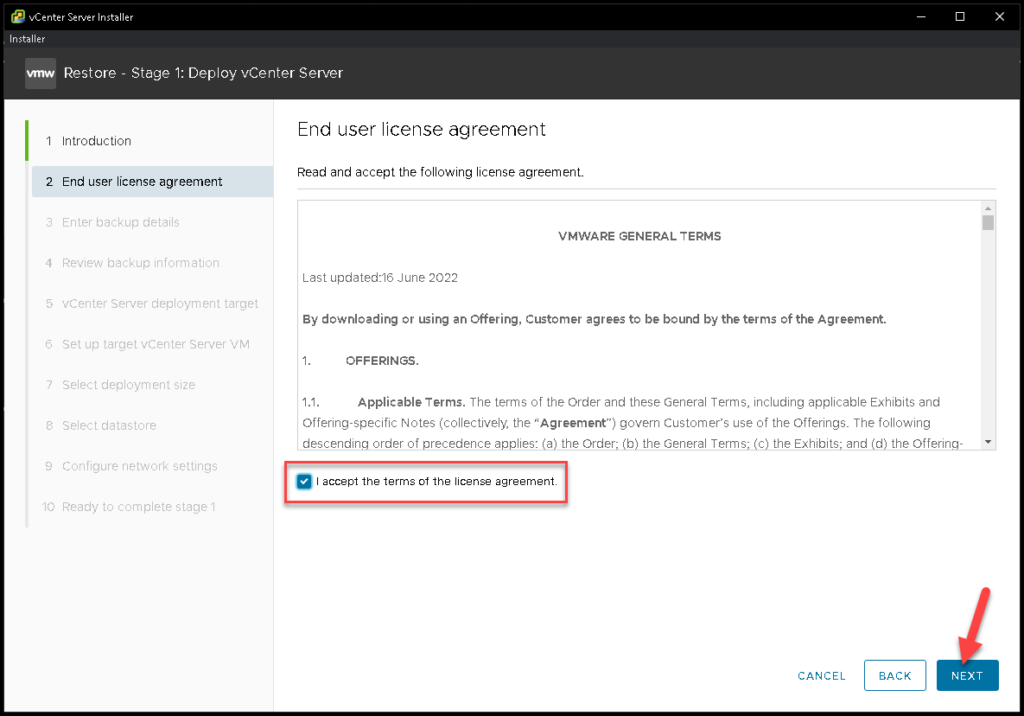
Select the option “I accept the terms of the license agreement” and click on NEXT to continue:
Now we need to wait a few seconds while the installation process is running:
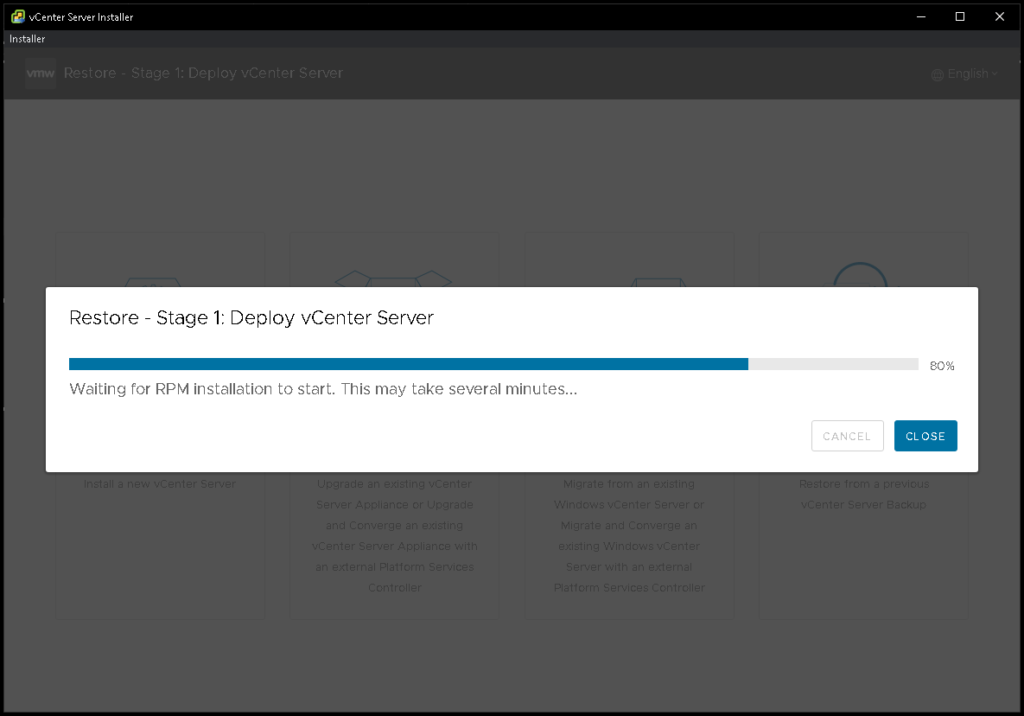
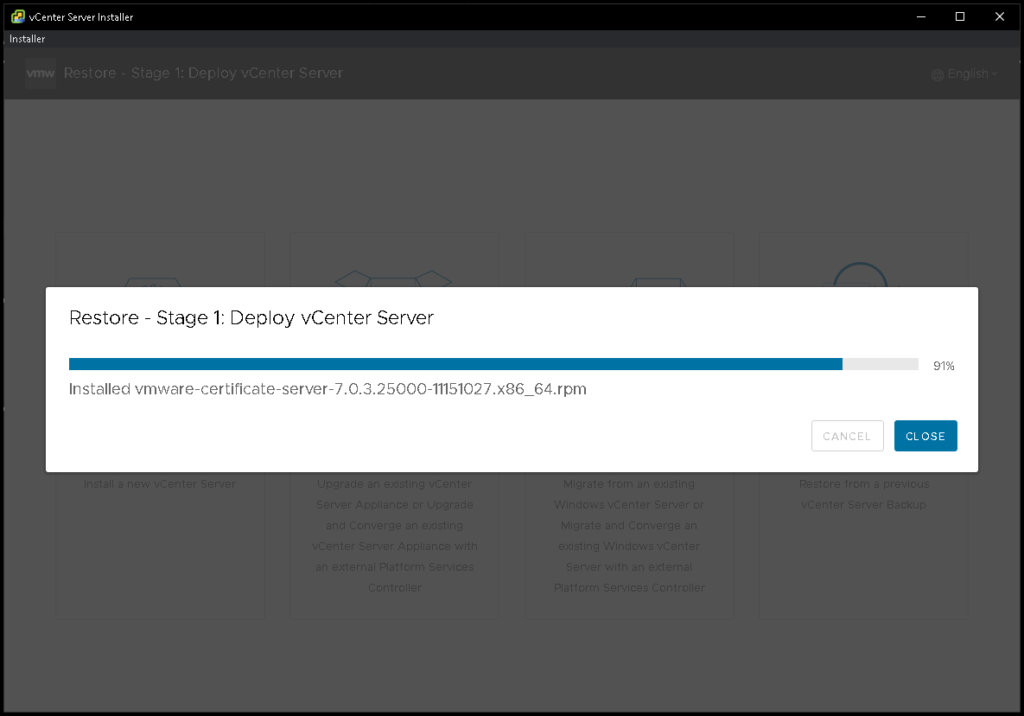
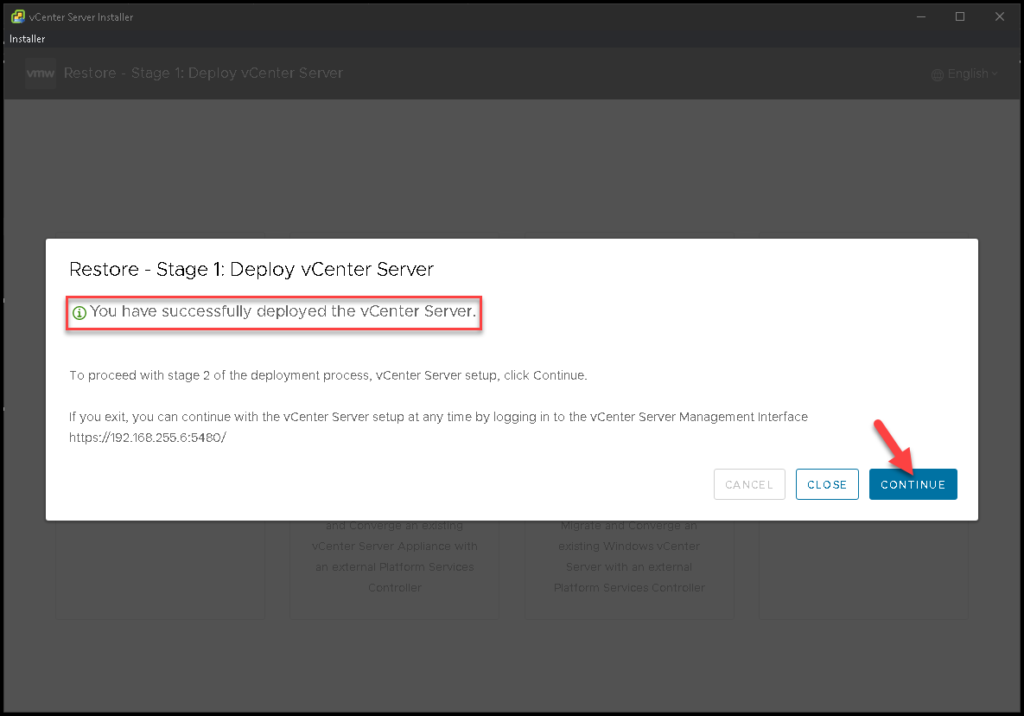
Here we have the confirmation that stage 01 (Deploy vCenter Server) has finished.
Click on CONTINUE:
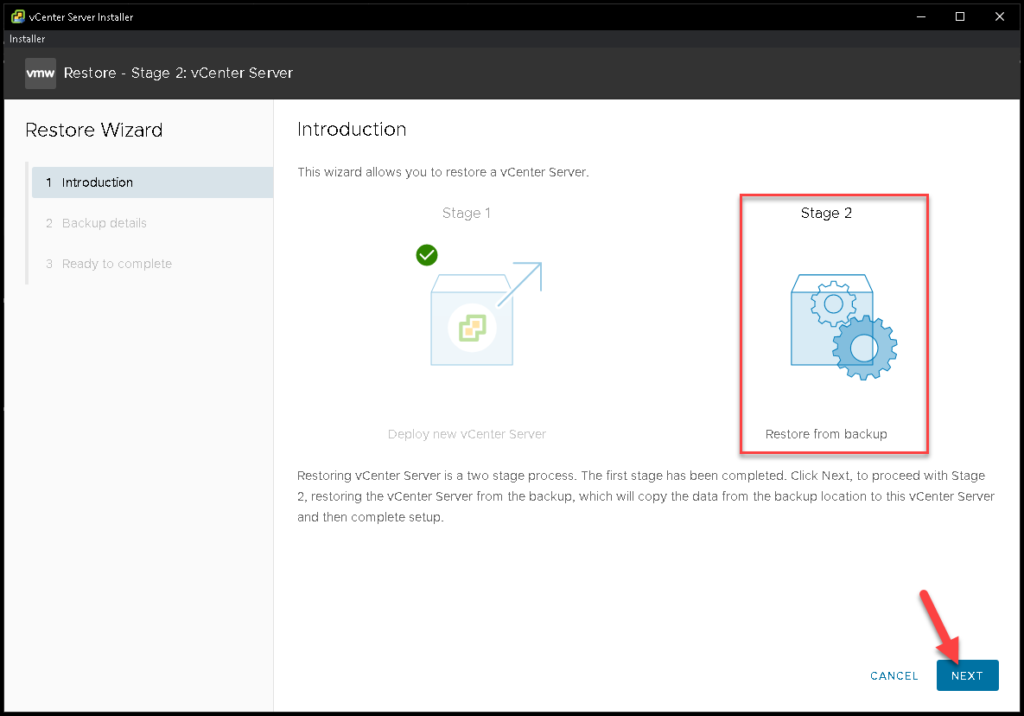
Stage 02 – Restore from Backup
Stage 02 is the step in which the backup will be restored. Click on NEXT to continue:
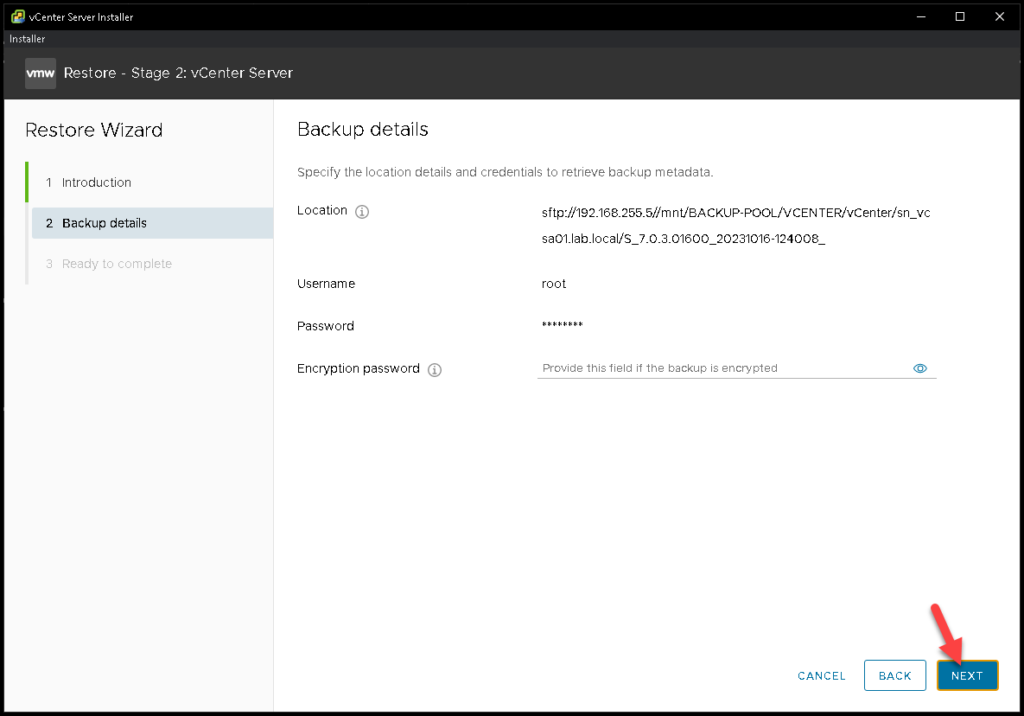
Here we need to type the backup location. Our backup is on the STFP server. The full path to our backup file is:
sftp://192.168.255.5/mnt/BACKUP-POOL/VCENTER/vCenter/sn_vcsa01.lab.local/S_7.0.3.01600_20231016-124008_Type the username and password to retrieve the backup details. Click on NEXT to continue:
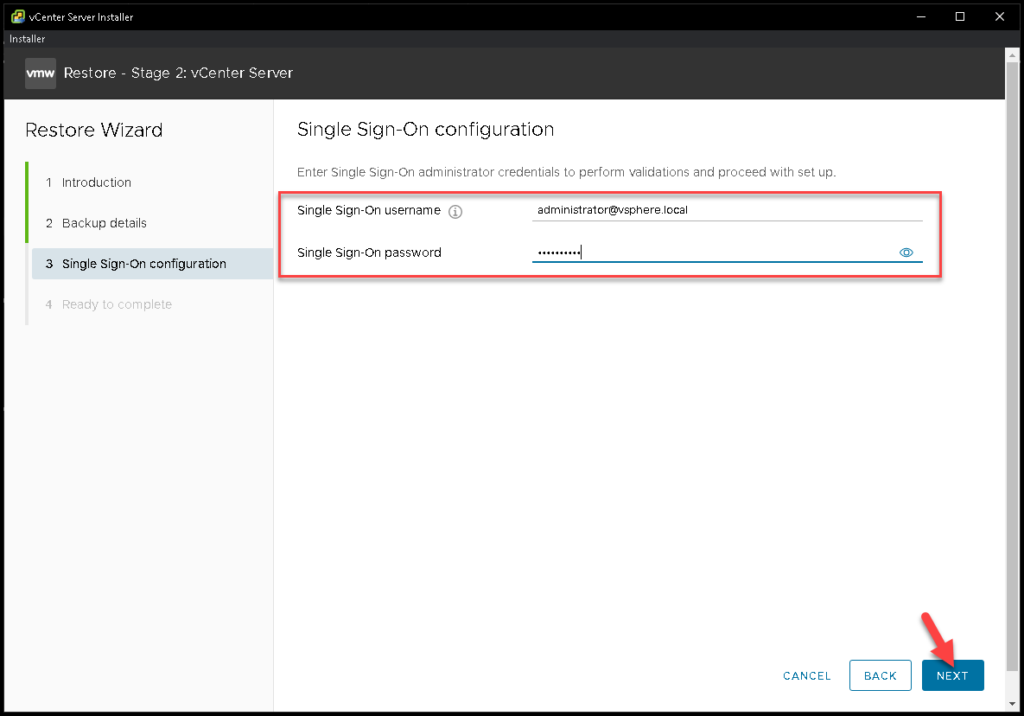
On this page, we need to type the Single Sign-On configuration. Basically, type the username and password of your Single Sign-On domain. Click on NEXT to continue:
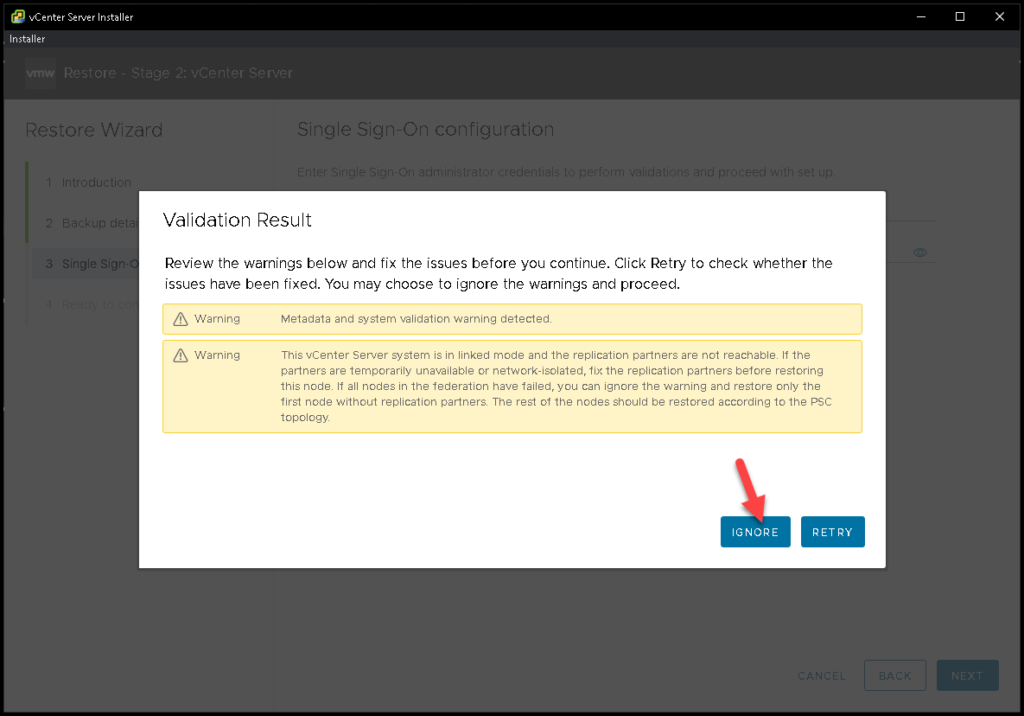
In our example, we received a warning message showing that our vCenter Server is in linked mode configuration. In our case, is safe to click on “IGNORE” to ignore the message and continue the process.
Note: If you receive some messages at this point, please, check each message before continuing:
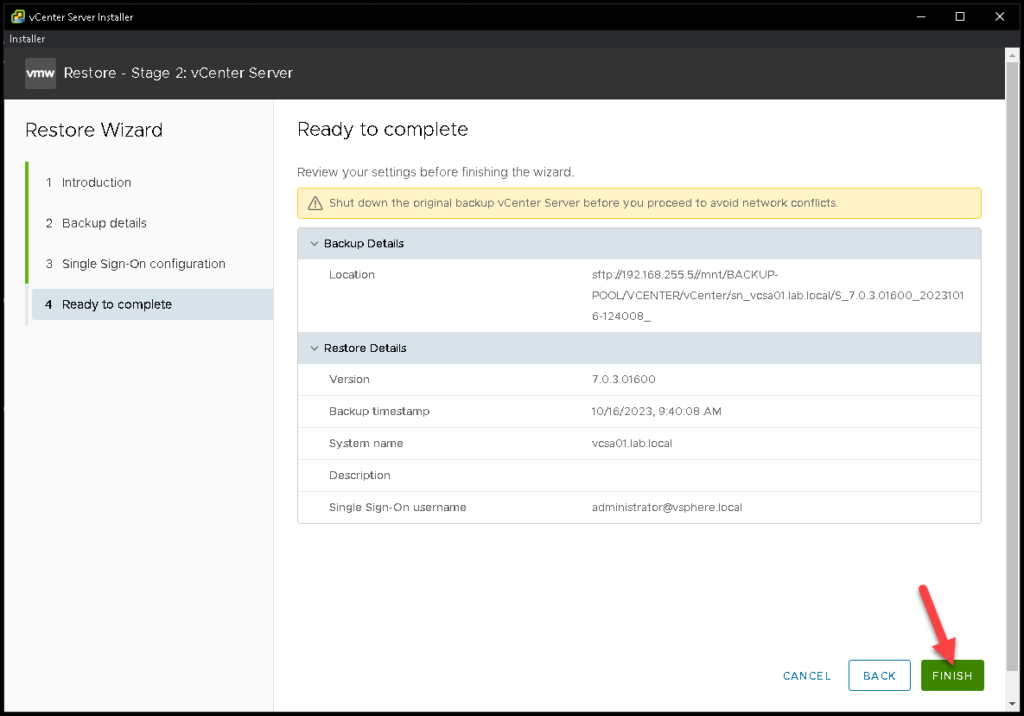
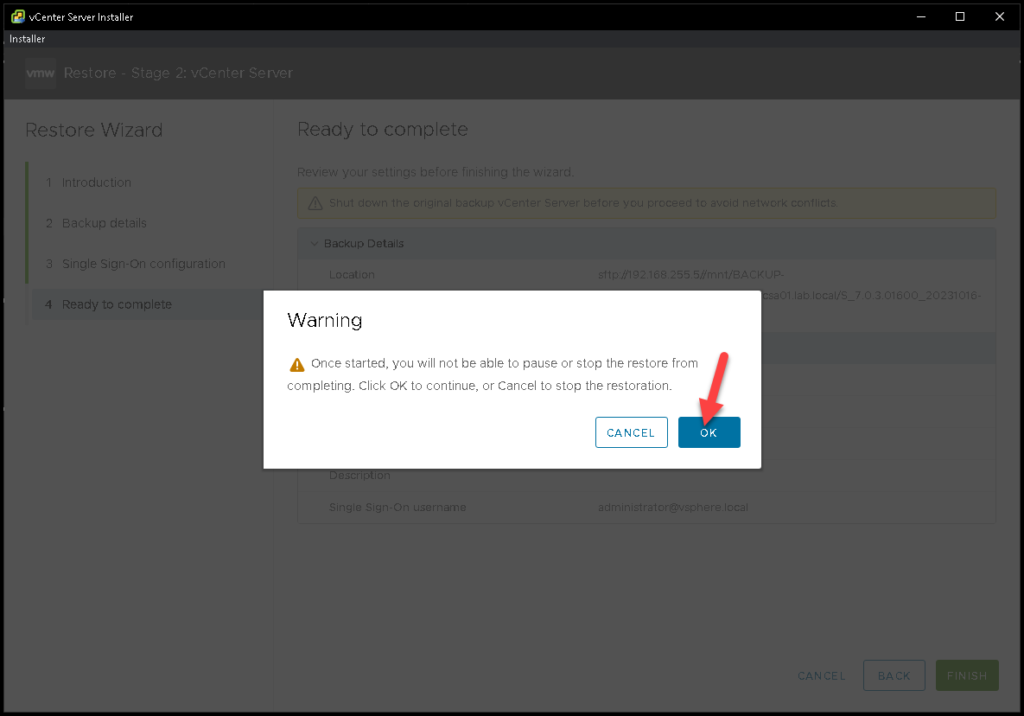
Click on FINISH to start the restore process:
Click on OK and wait some minutes while the restore process is running:
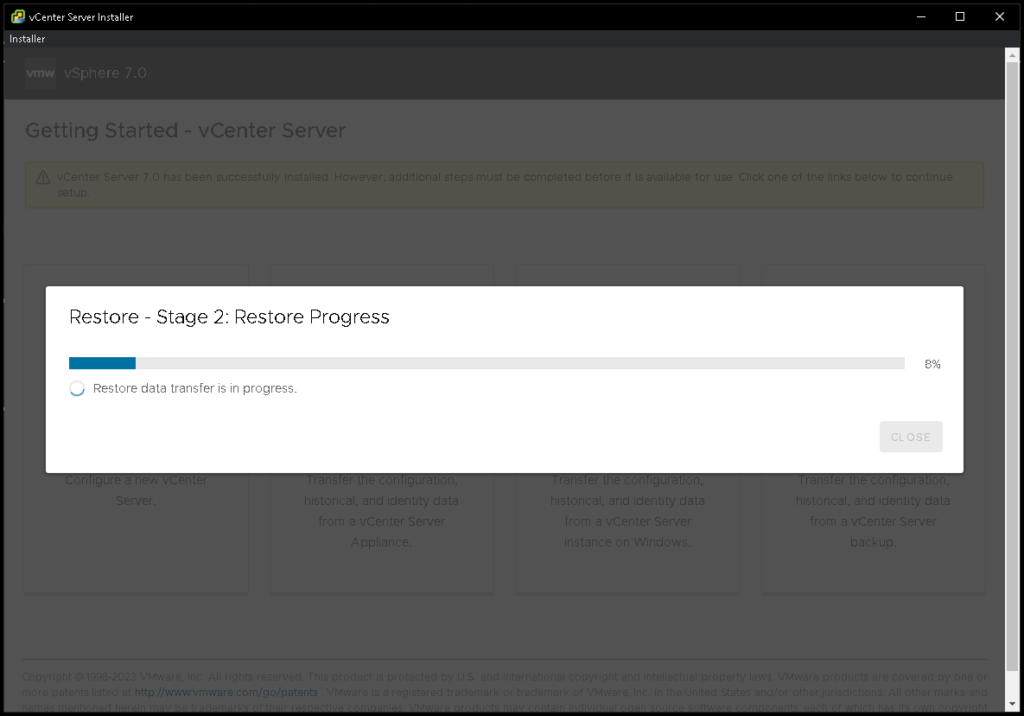
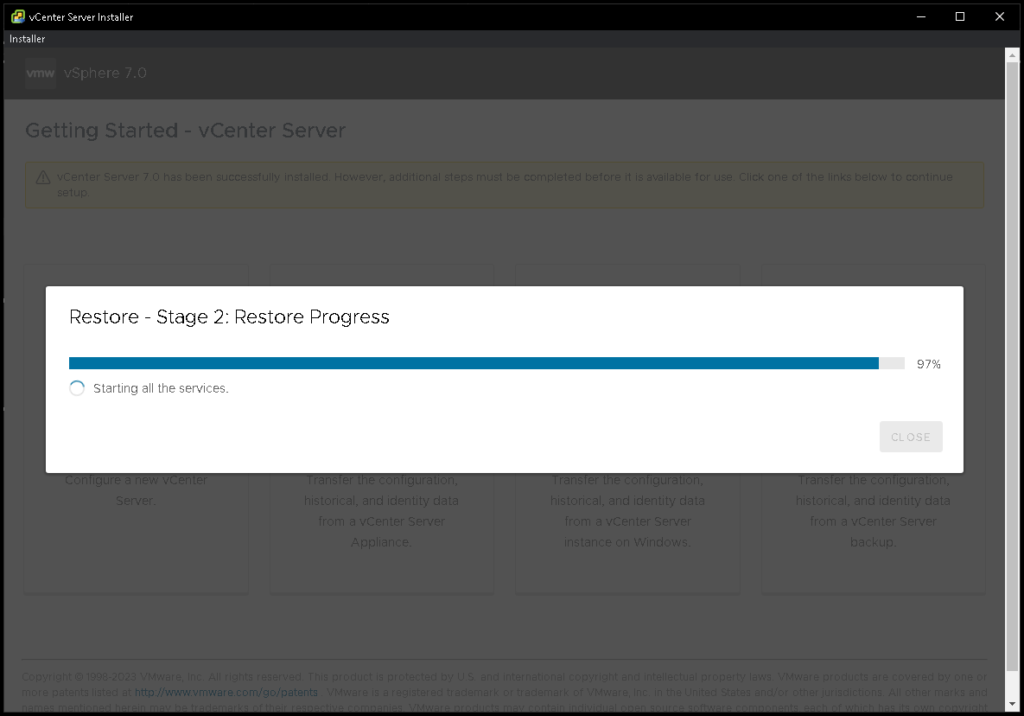
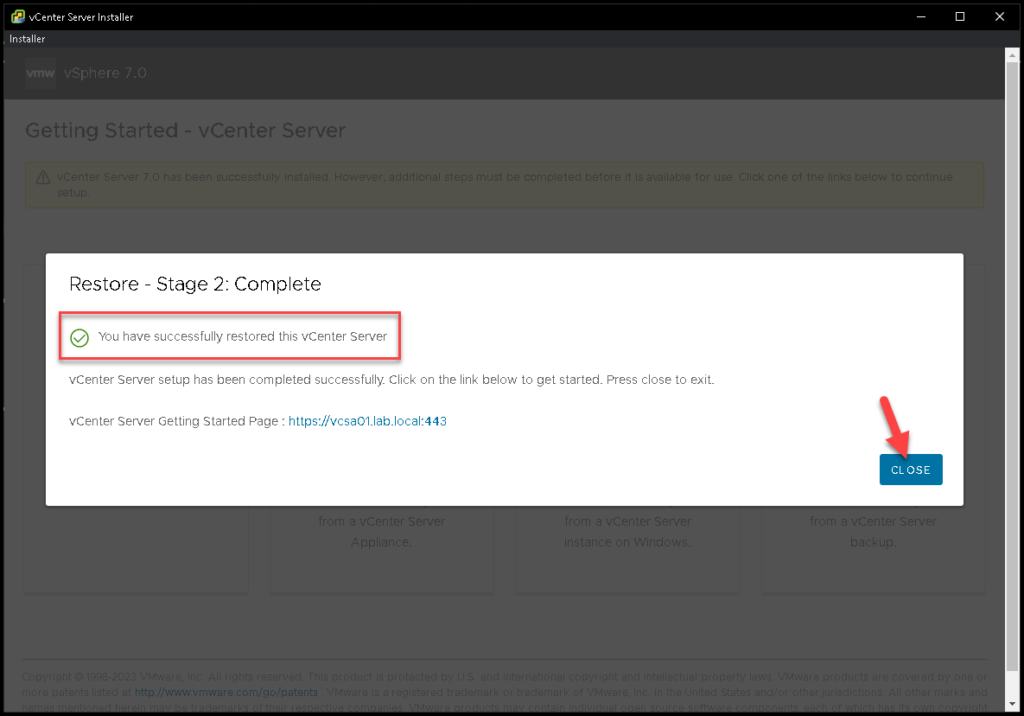
So, here we have the confirmation that the stage 02 has completed successfully 🙂
Accessing the vCenter Server
Now, we can access the vSphere Client normally:
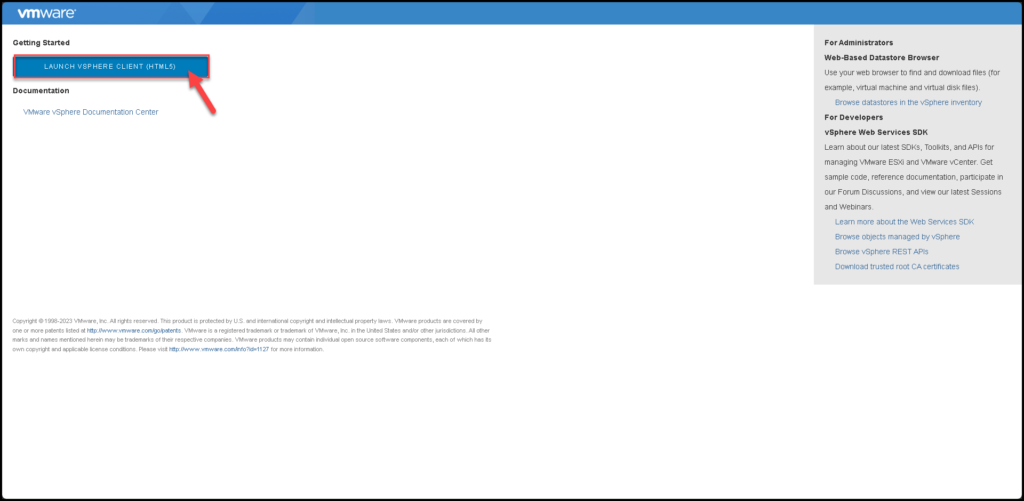

And here we have our vCenter Server accessible again 😉
