Installing MySQL DB on Debian 11 is an article that shows how to install the DB MySQL on Linux Debian 11 step-by-step.
First and foremost, we have written an article explaining how to install the Debian 11 in a lab environment. If you want to check it, please visit the below link:
https://dpcvirtualtips.com/installing-linux-debian-11/
Downloading and Installing the MySQL Debian Repository
First, we must download the MySQL repository file and install it on our Debian 11 OS:
apt update
apt install wget -y
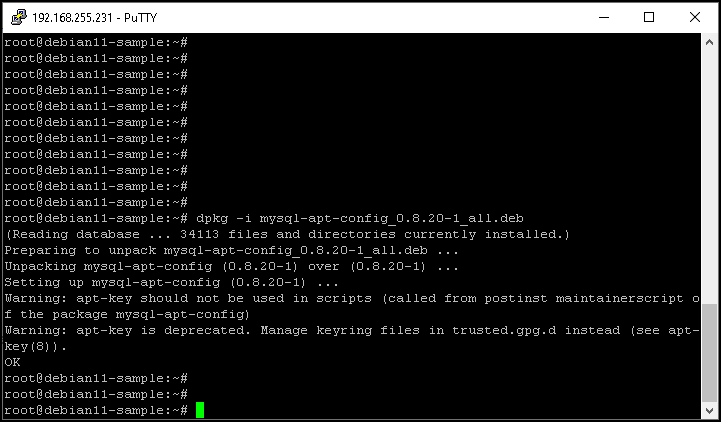
wget https://dev.mysql.com/get/mysql-apt-config_0.8.20-1_all.debAfter downloading the file “mysql-apt-config_0.8.20-1_all.deb”, we need to install it:
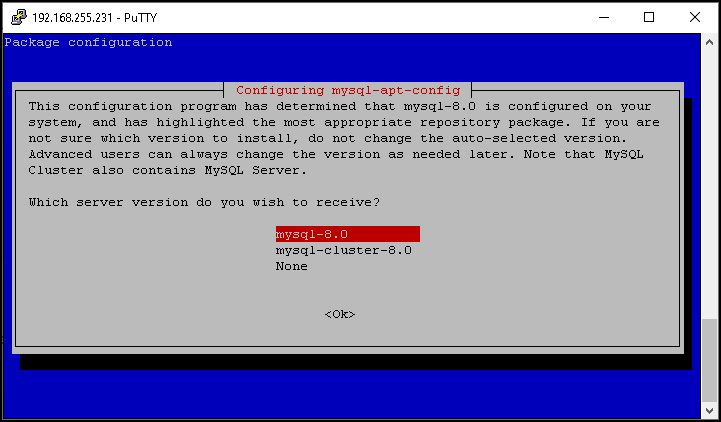
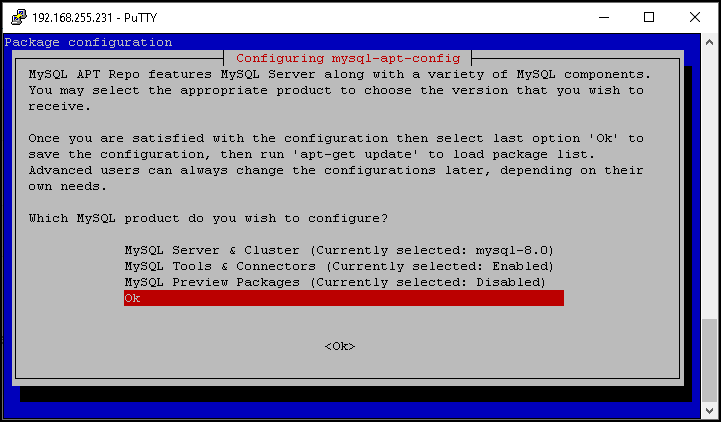
dpkg -i mysql-apt-config_*_all.deb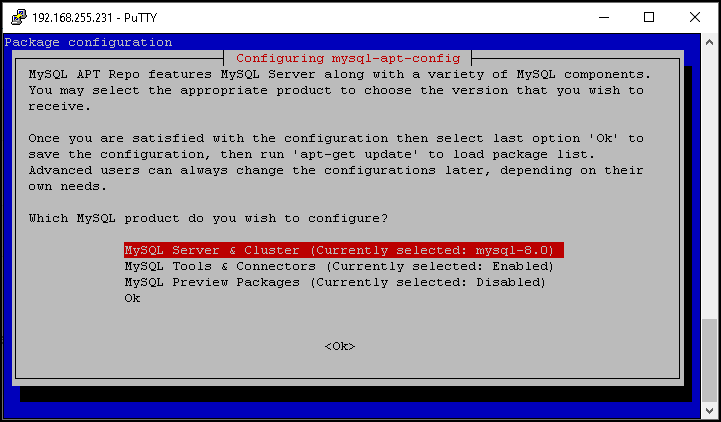
Installing the MySQL Server on Debian 11
We will install the MySQL Server package on our Debian 11 system. Run the command to update the packages:
apt updateIn this case, we received an error related to the MySQL repo:
E: The repository 'http://repo.mysql.com/apt/debian bullseye InRelease' is not signed.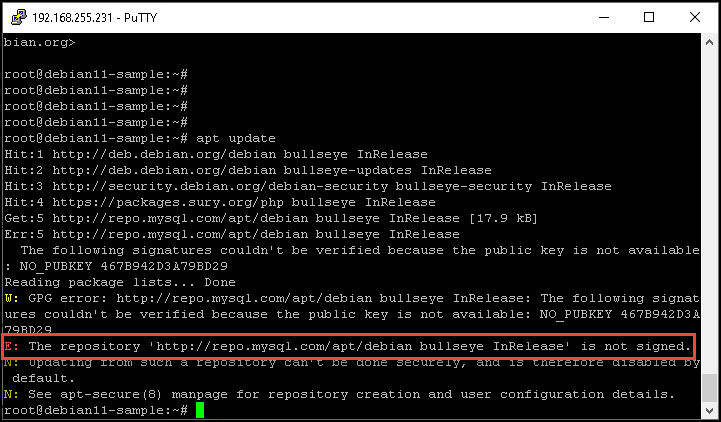
Checking the apt keys, we can see that this repo key is expired:
apt-key list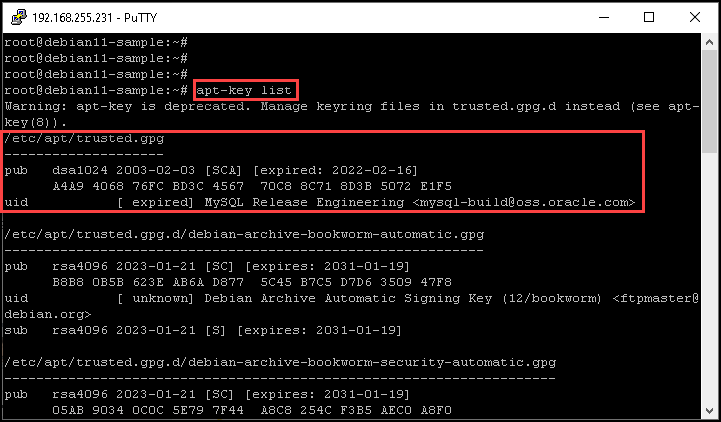
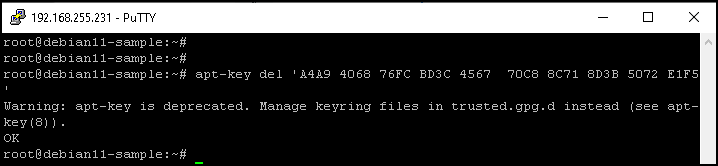
We need to delete this key. We can do that with the below command:
apt-key del 'A4A9 4068 76FC BD3C 4567 70C8 8C71 8D3B 5072 E1F5'
I tried to follow up on the steps provided in the below link to fix this issue, but I did not have success:
https://dev.mysql.com/doc/mysql-apt-repo-quick-guide/en/
So, I will update the local repository using a commando to bypass the repository validation – It is not recommended, but in this case, it was the only way that I found to follow up on this procedure:
apt update --allow-insecure-repositories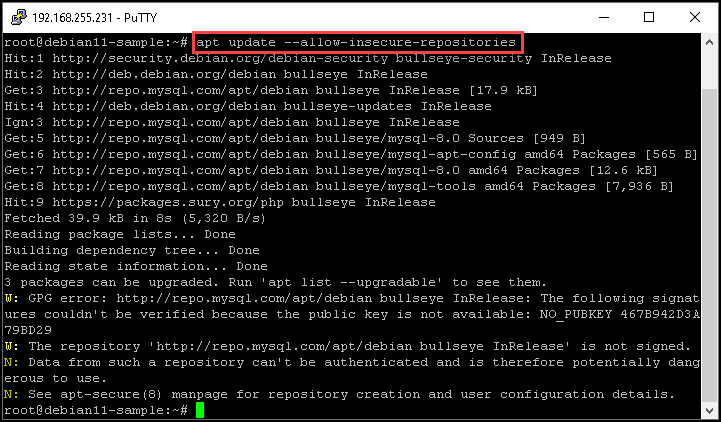
After that, install the MySQL server:
apt install mysql-server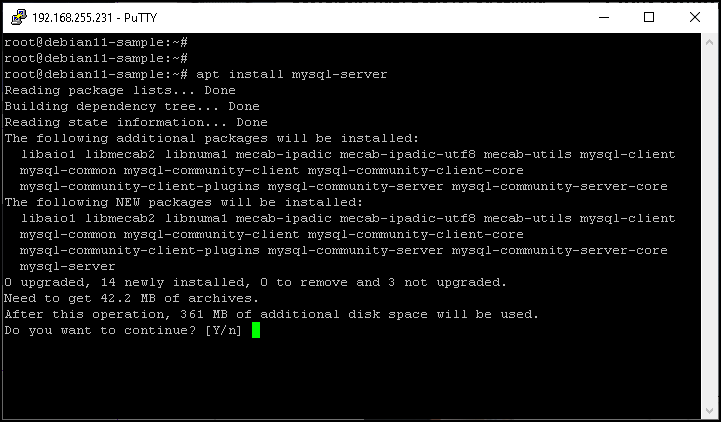
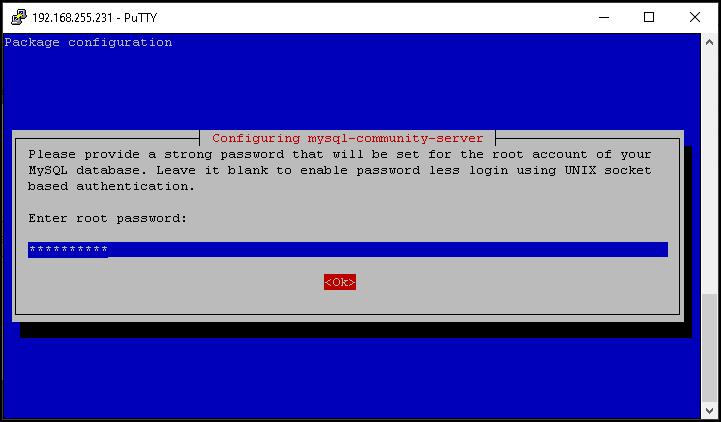
Type the root password for the MySQL server:
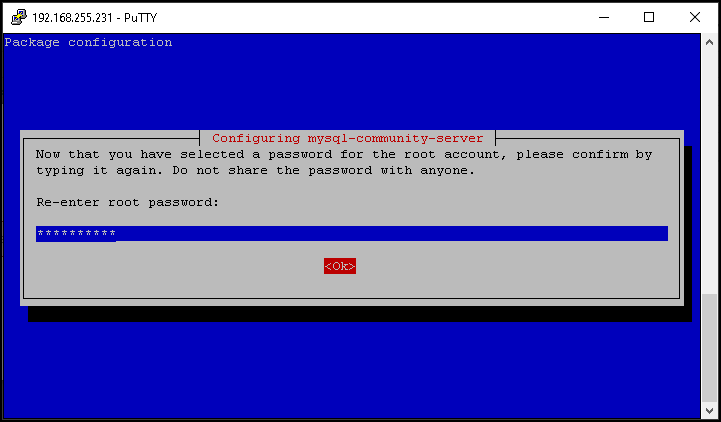
Re-enter the root password:
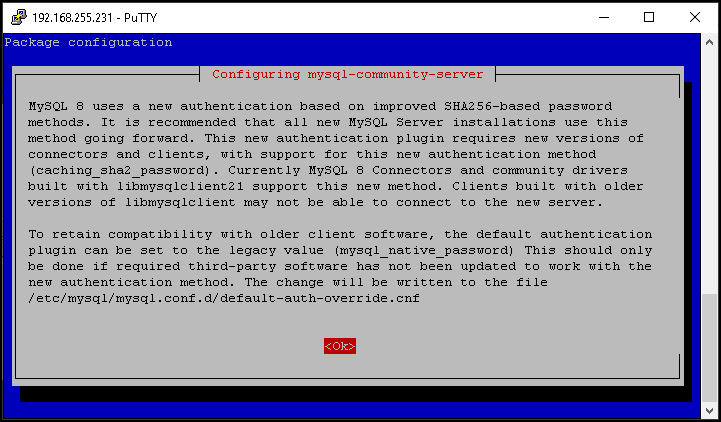
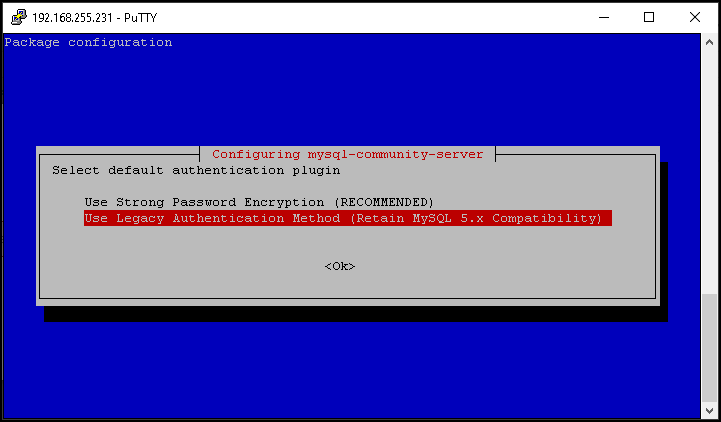
MySQL 8 uses a new authentication based on improved SHA256-based password methods. You can use or not this new authentication method. In our case, for instance, we will not use this method:
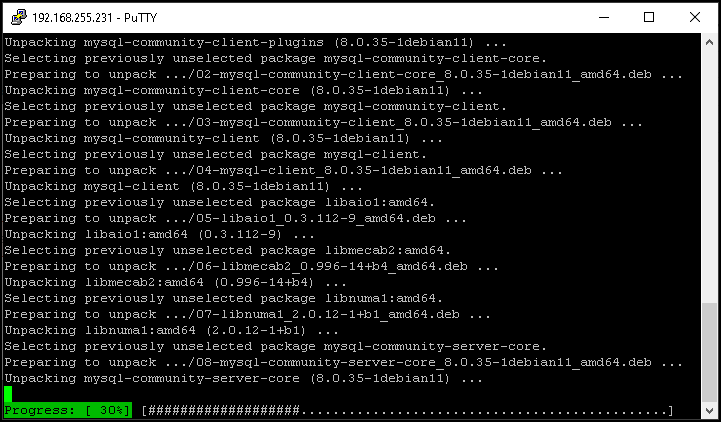
Wait a few seconds while the installation is running:
Here, we can check the MySQL service status:
systemctl status mysql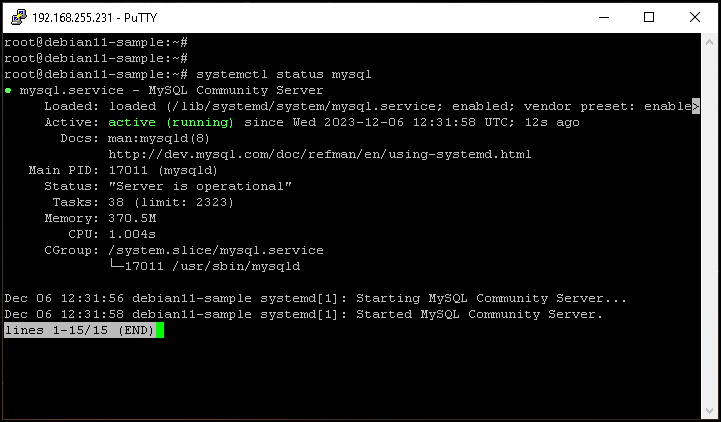
Here, we can check if the MySQL server is configured to automatically starts on the system’s boot:

Improving the MySQL Server Secure
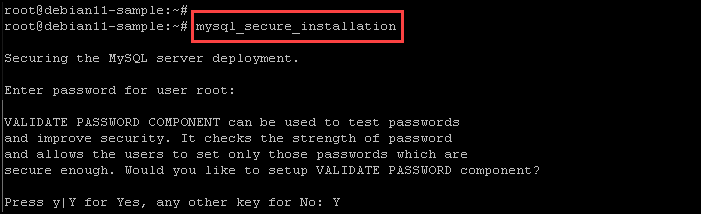
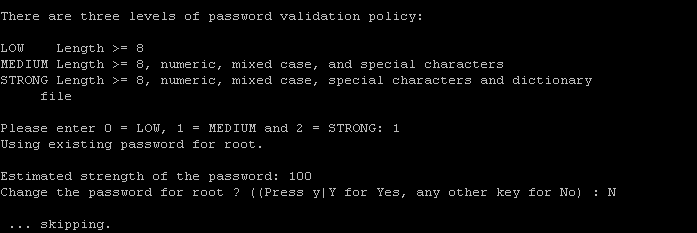
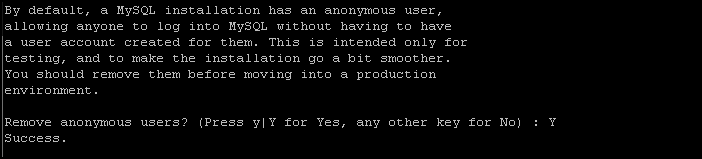
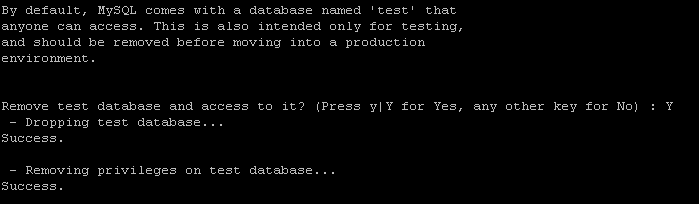
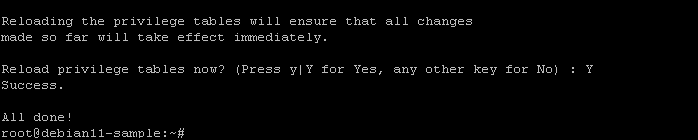
The MySQL server installations come with a script called “mysql_secure_installation”. This script allows you to improve the MySQL server security:
mysql_secure_installationAs we can see in the below pictures, we have a lot of configurations to tune and improve the MySQL server security. You can choose each option to fit your needs:

Accessing the MySQL Server from the Command Line
We can interact locally with the MySQL server, accessing it using the following command:
mysql -u root -p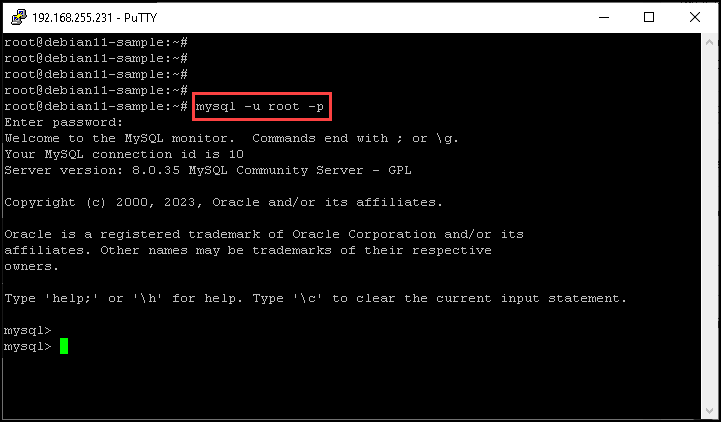
Wrapping This Up
If you can access your MySQL server as we can show in the above picture, your installation is fine and now you can create your databases, tables, and so on 🙂