Checking Thick-Provisioned Disks with PowerCLI in a vSAN Cluster aims to show thick-provisioned disks using the PowerCLI.
First and Foremost, What are Thin-Provisioned and Thick-Provisioned Disks?
A thin-provisioned disk is a virtual disk that allocates storage space as needed. Initially, it appears as if the full disk size is available, but it only uses physical storage when data is written to it. This helps in optimizing storage utilization by saving space until it’s required.
On the other hand, a thick-provisioned disk allocates the full amount of storage space at the time of disk creation, regardless of how much data is written to it. There are two types of thick-provisioned disks:
- Lazy Zeroed: where blocks are allocated but not zeroed out until they are used;
- Eager Zeroed: where all blocks are pre-zeroed during its creation.
Thick provisioning ensures that the disk has the full storage space available immediately, which can benefit performance but might lead to inefficient storage use if used with no criteria.
Do you mean PowerCLI, right? How can I install PowerCLI?
Yes, I mean PowerCLI 🙂
We have written both articles explaining how to install and perform a basic usage of the PowerCLI.
Check the following links to get more details:
— Introduction to the PowerCLI:
https://dpcvirtualtips.com/introduction-to-the-vmware-powercli/
— Install VMware PowerCLI Offline:
https://dpcvirtualtips.com/install-vmware-powercli-offline/
Creating a VM Storage Policy and configuring it to use Thick-Provisioned
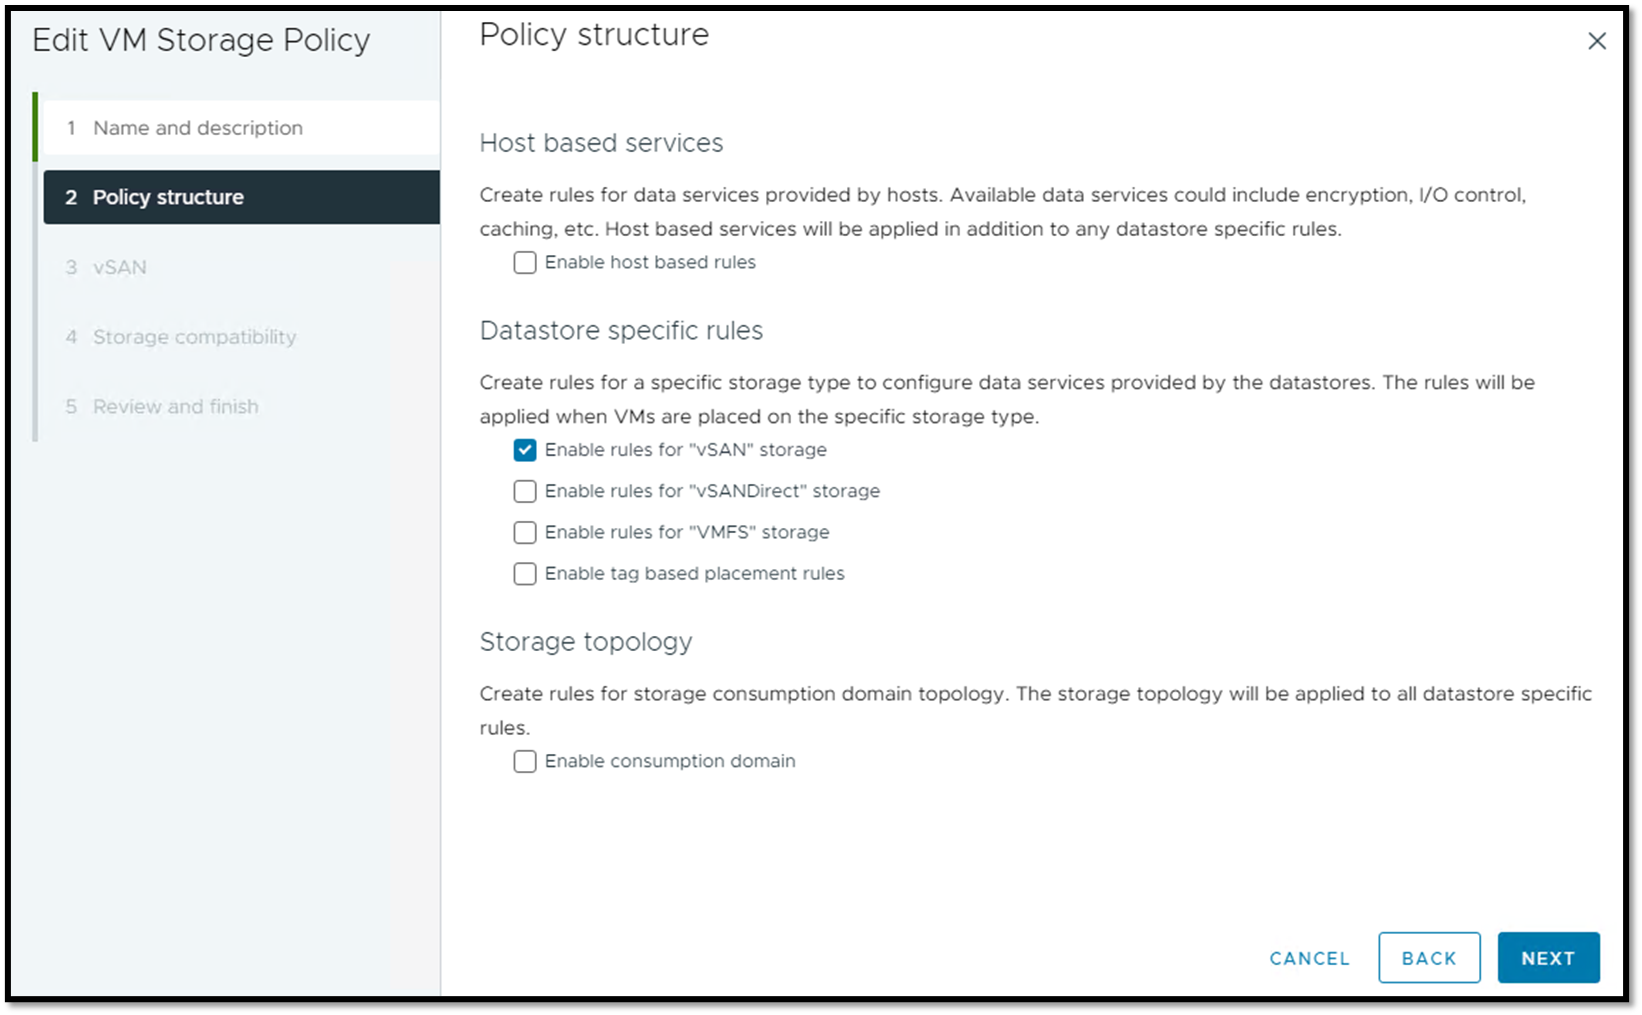
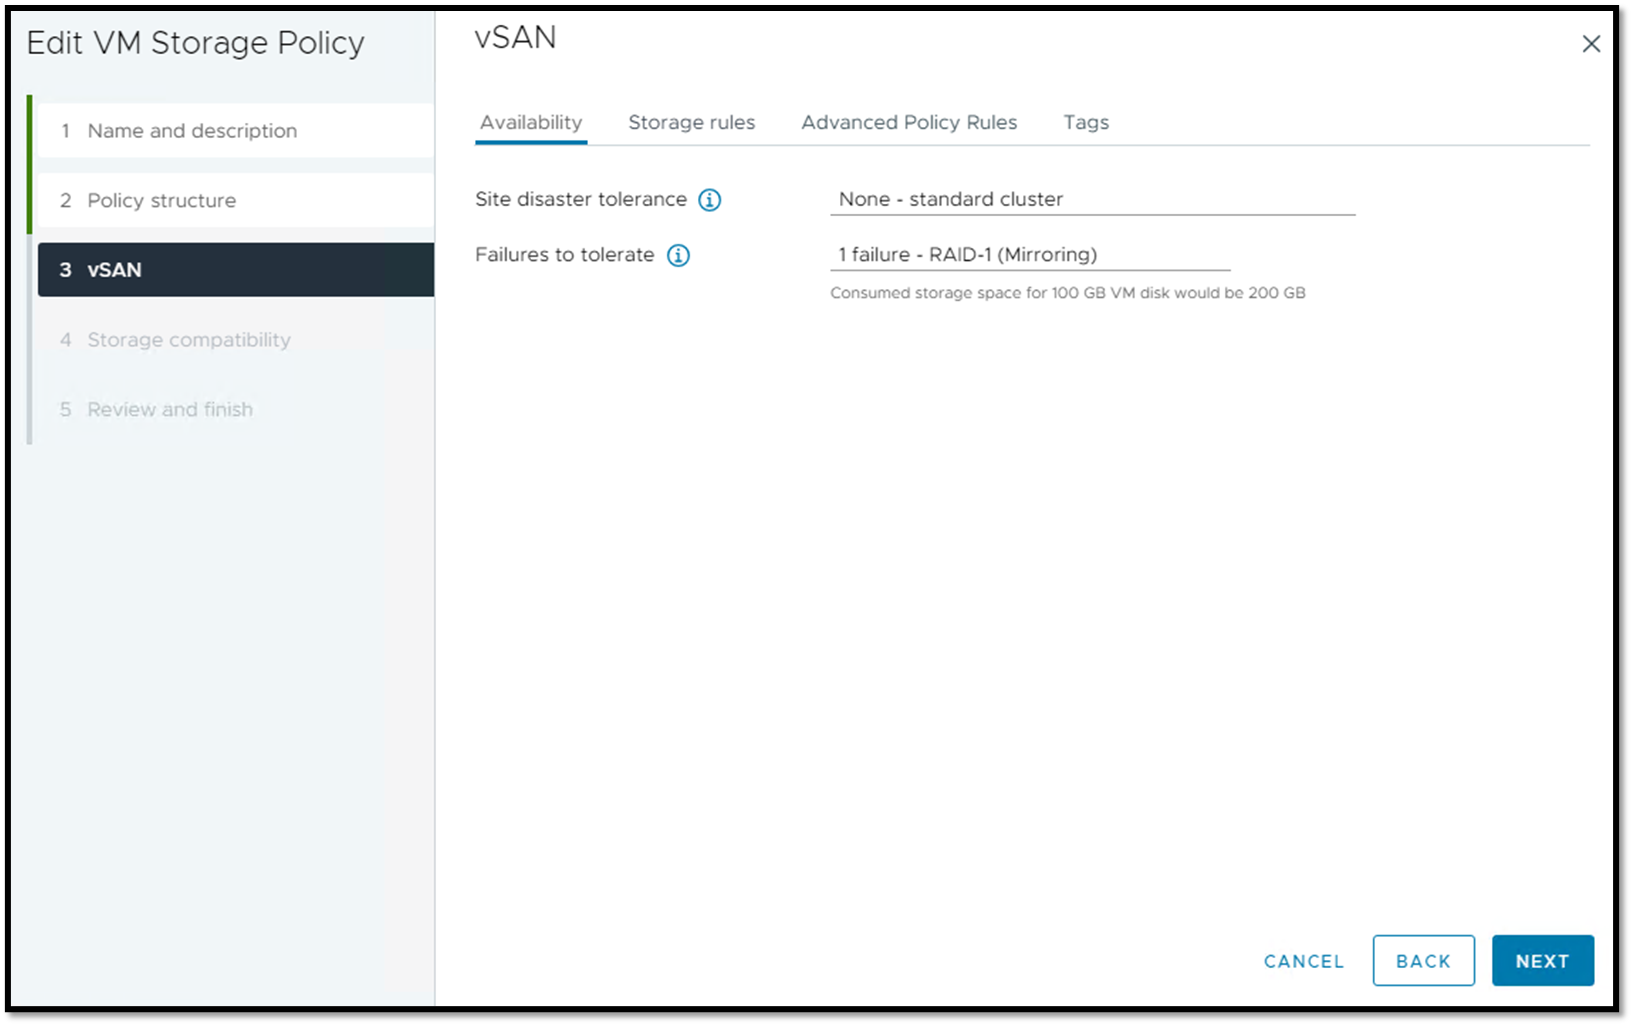
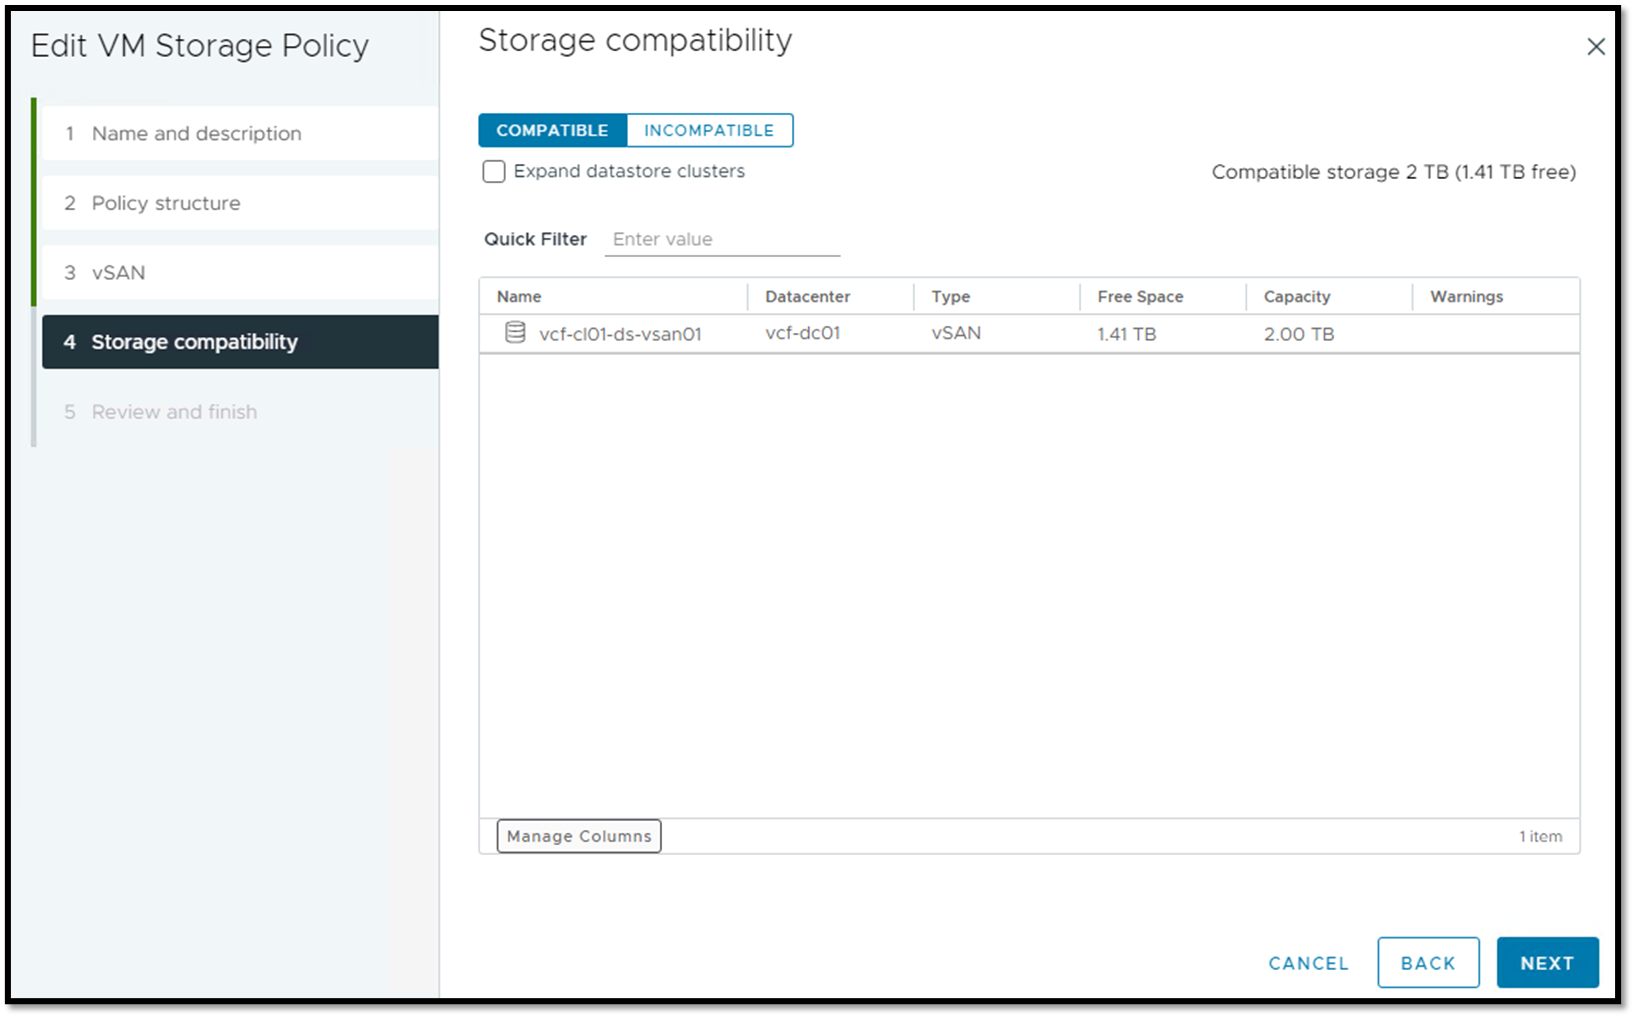
Since we use a vSAN cluster, all Virtual Machines (VMs) have an applied vSAN Storage Policy. The vSAN Storage Policy tells the VM how their objects will be placed into the vSAN datastore.
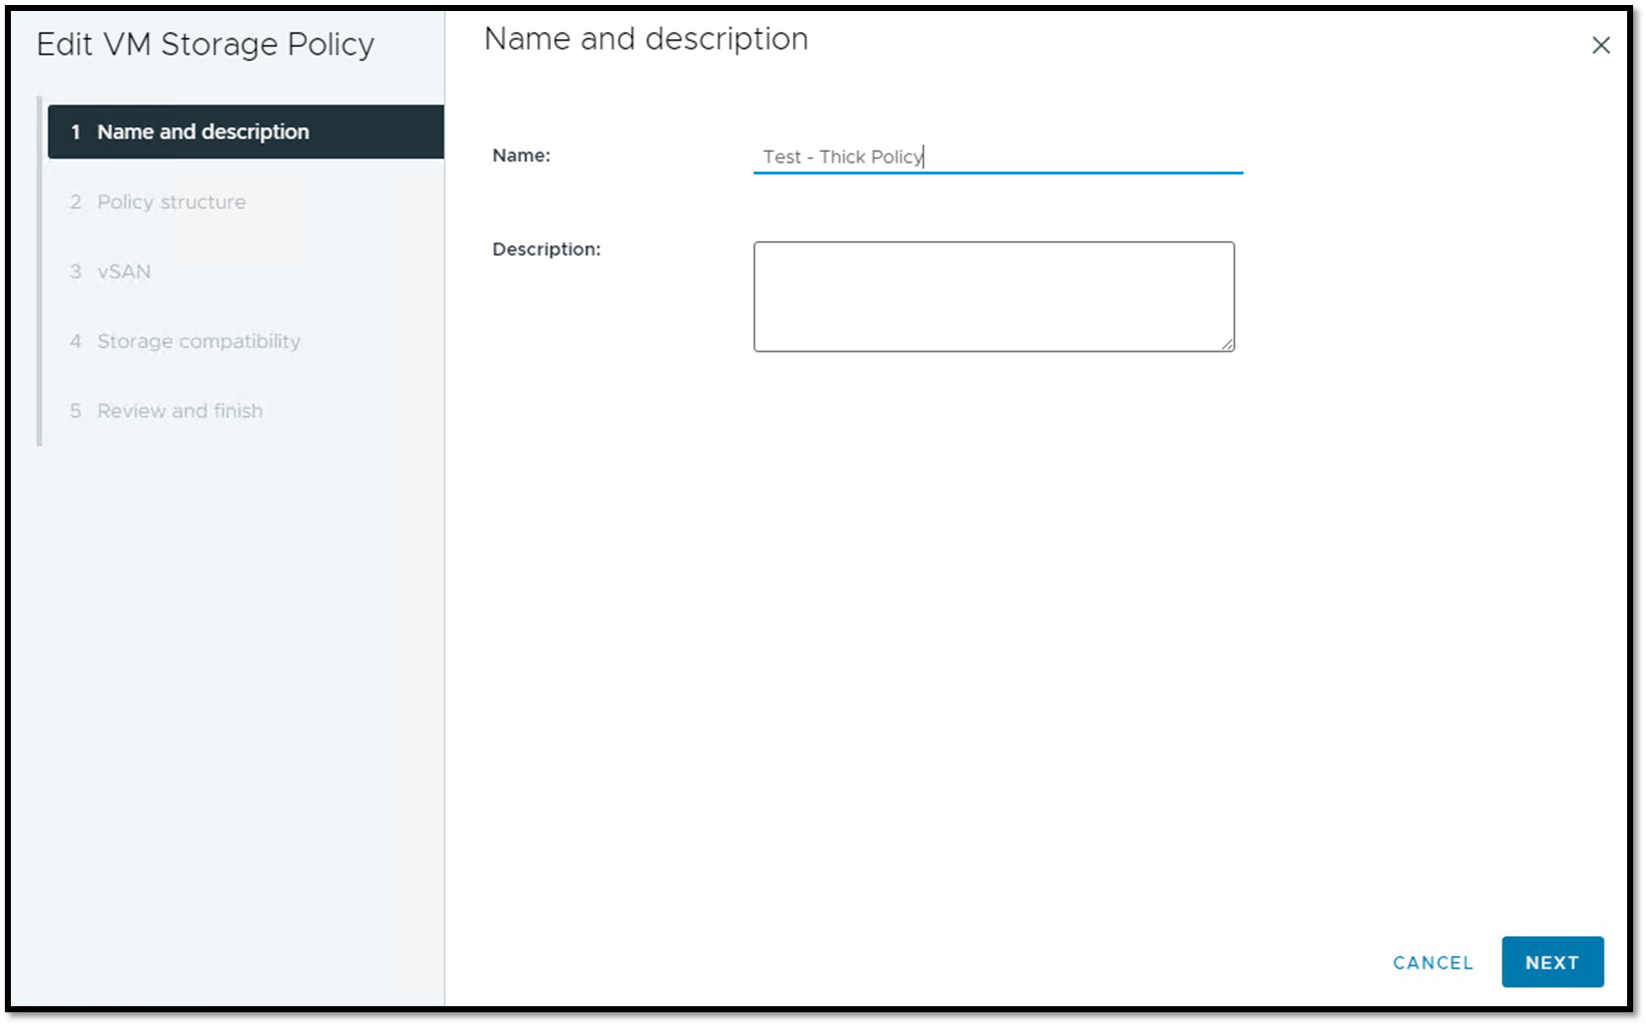
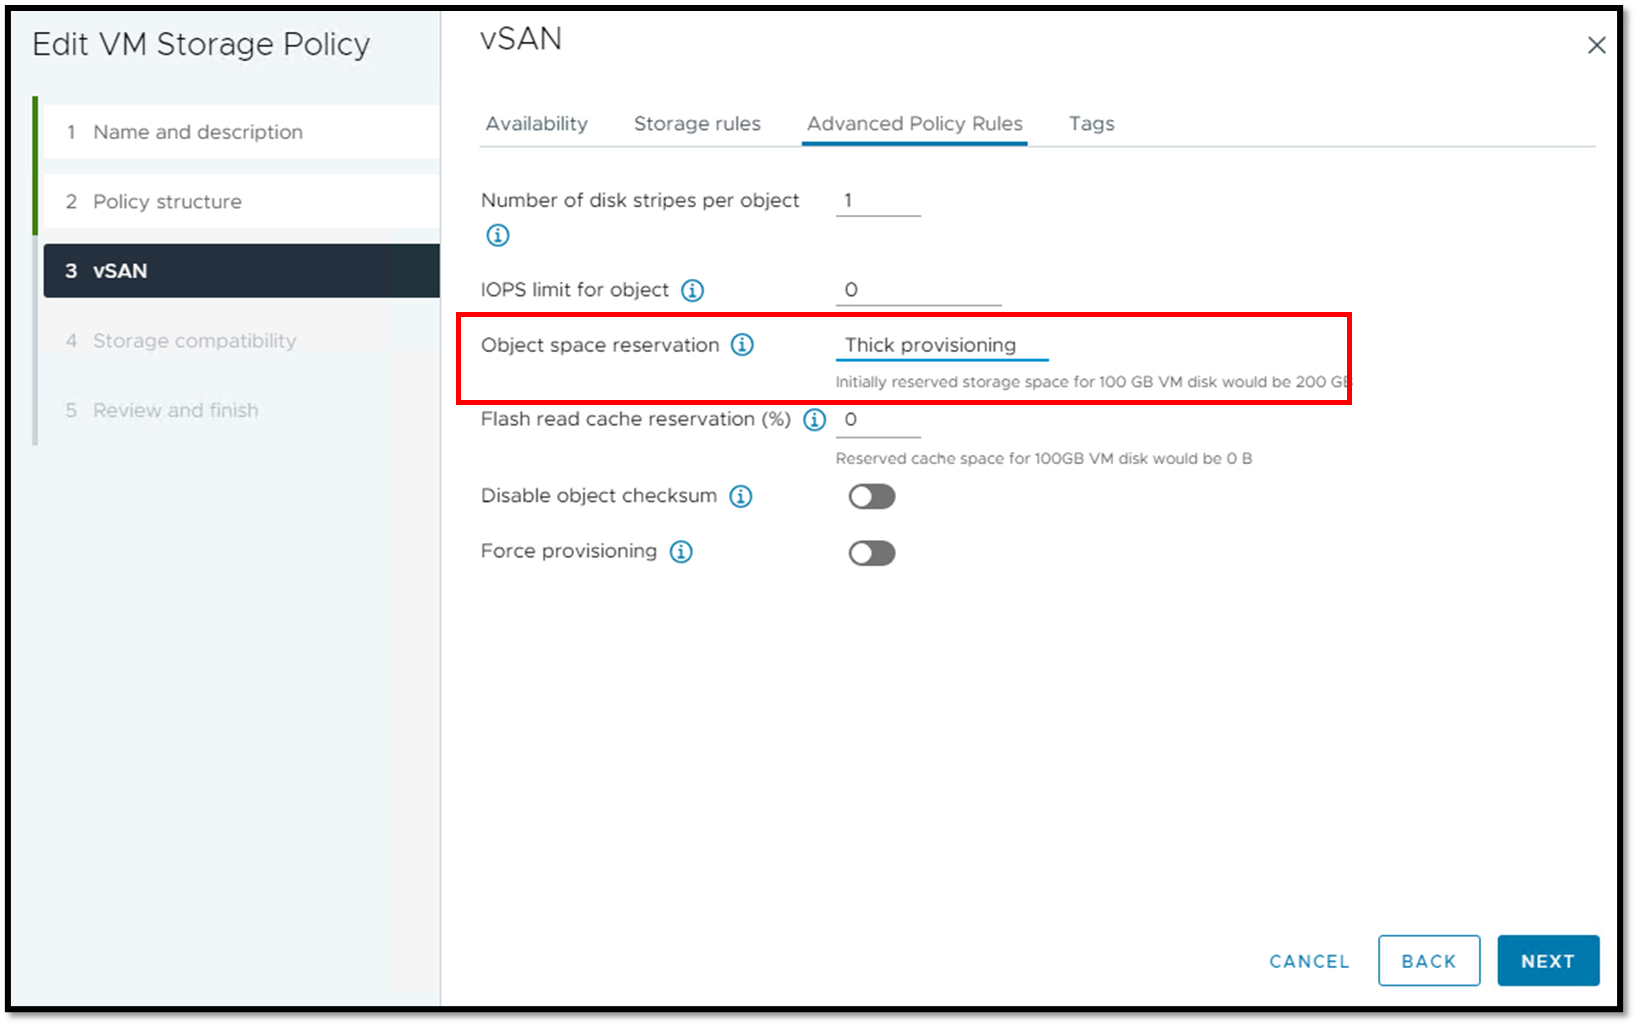
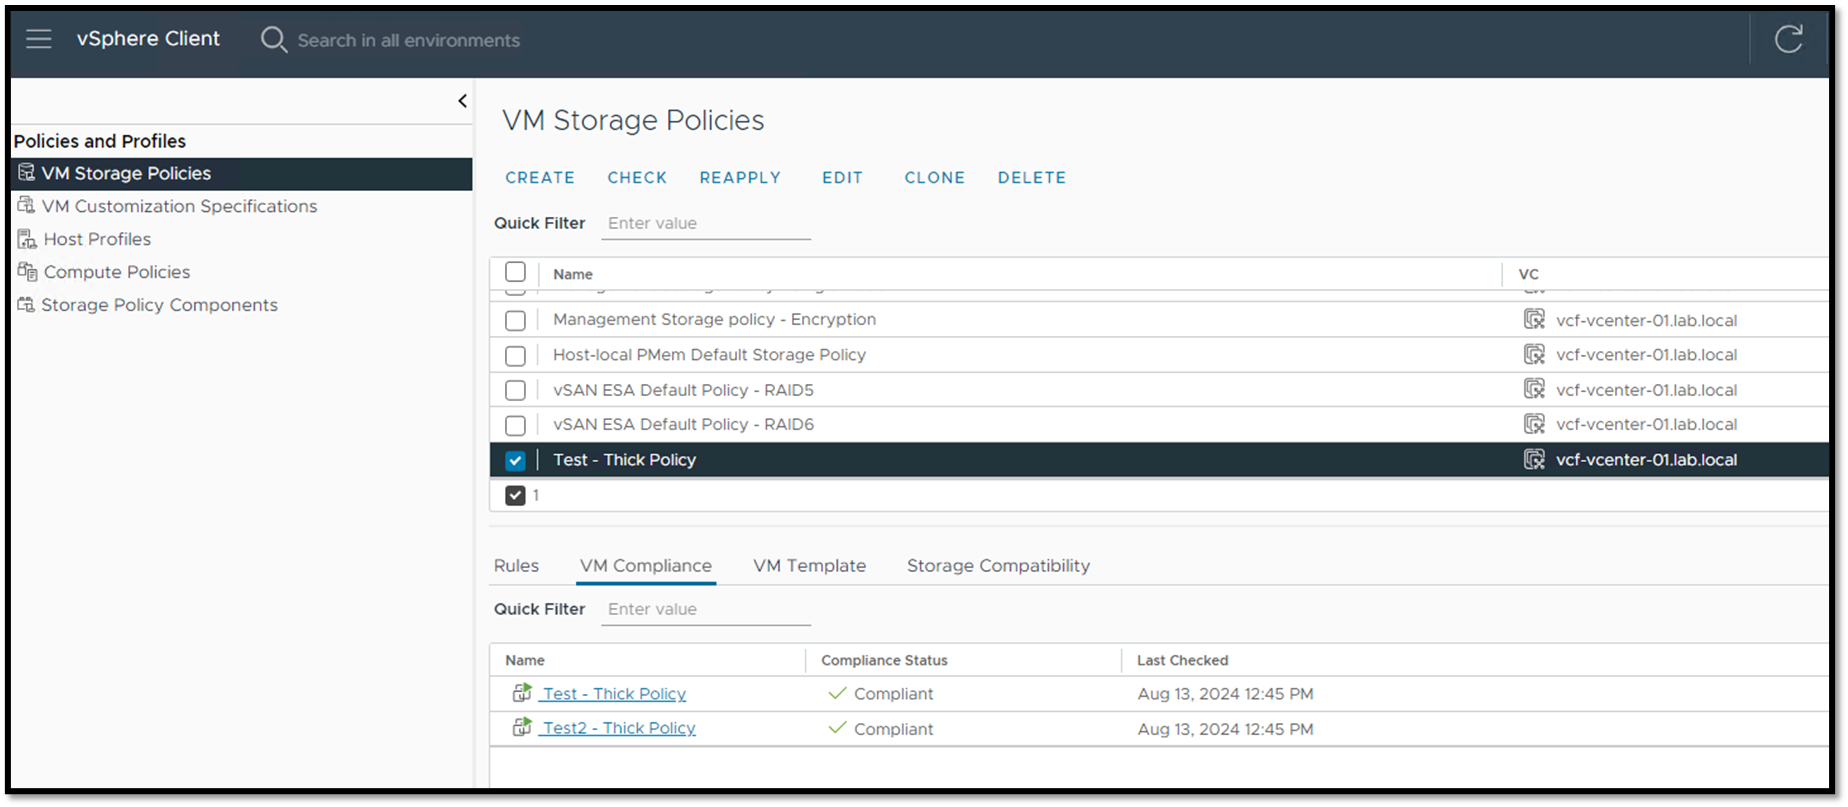
In this case, for instance, we have created a VM Policy named “Test – Thick Policy”:
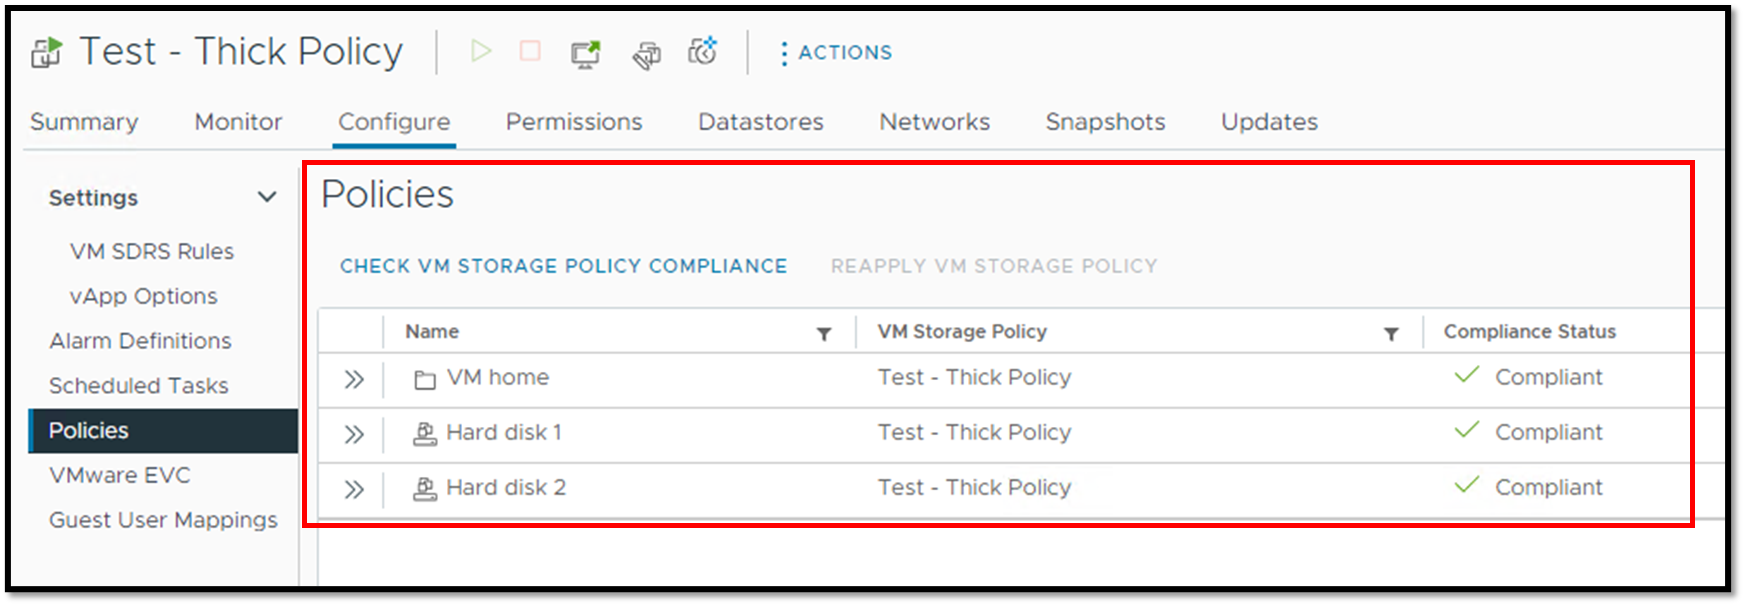
Note: After creating the VM Storage Policy, we have applied it to VMs:
Connecting to the vCenter Server using the PowerCLI
First, we need to connect to the vCenter Server:
Connect-VIServer -Server vcf-vcenter-01.lab.local

#replace the vcf-vcenter-01.lab.local to your vCenter Server FQDN
We can see an example in the following image. We are using the Windows Powershell ISE:
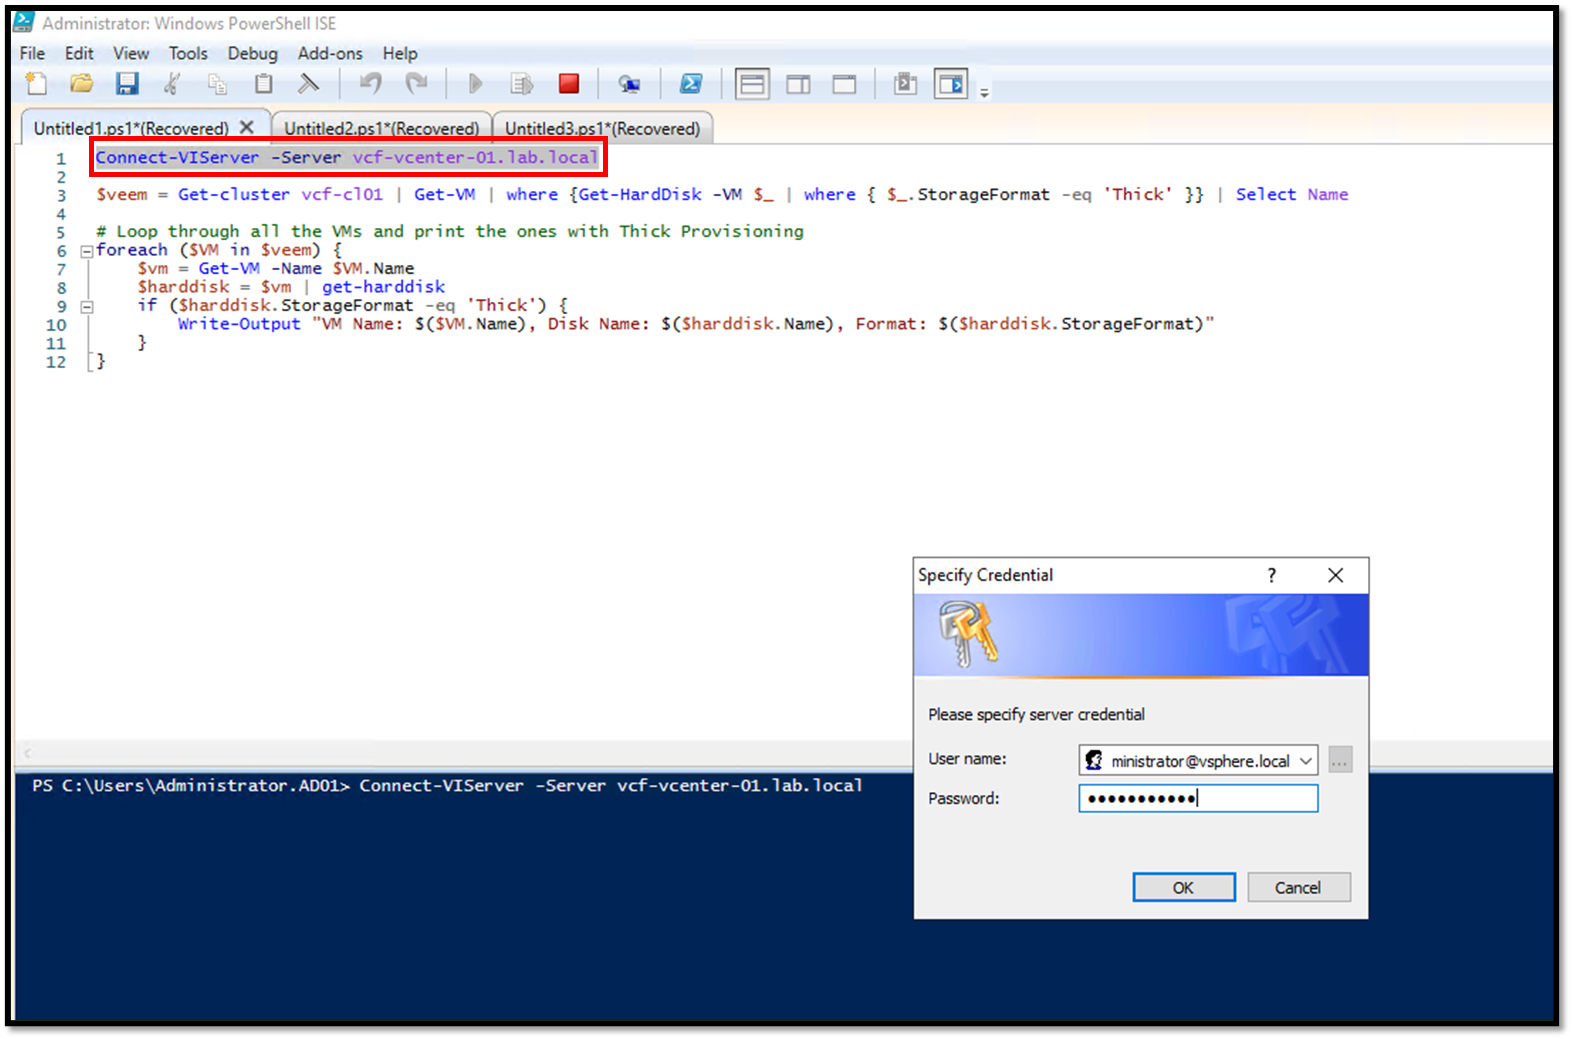
After typing the vCenter Server credentials, a successful connection appears like the following image – if you receive something different to it, check your vCenter Server access, credentials, DNS resolution, etc:

To confirm if the vCenter connection is OK, list all powered-on virtual machines:
Get-VM | Where-Object {$_.PowerState -eq "PoweredOn"}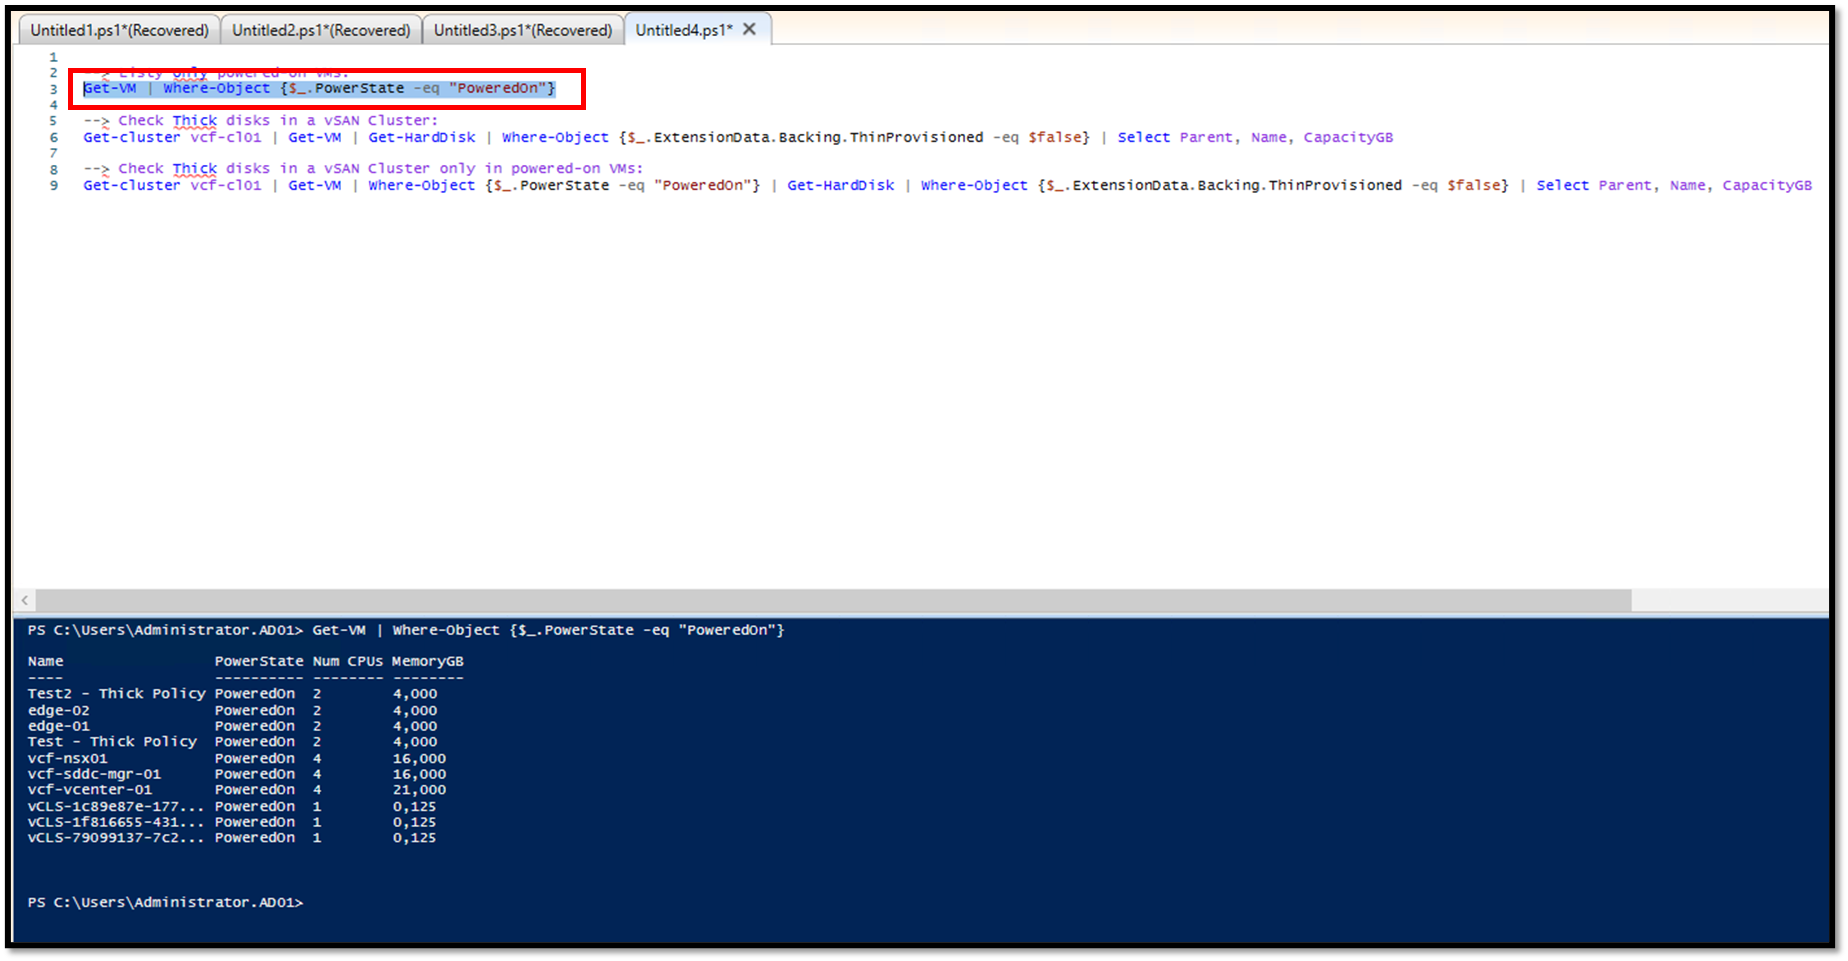
Checking all Thick-Provisioned Disks on all Powered-On VMs
To get all thick-provisioned disks, apply the following PowerCLI command:
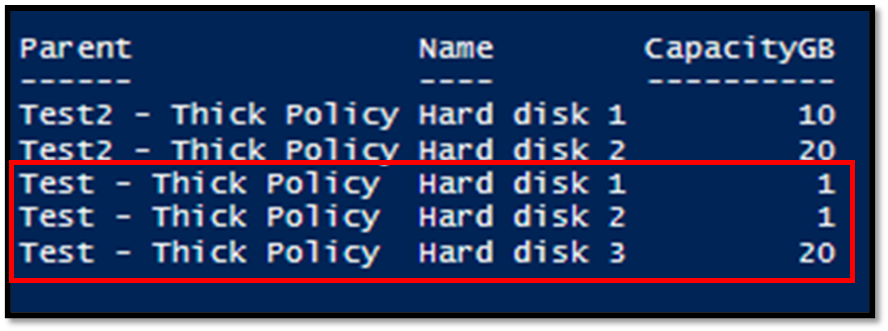
Get-cluster vcf-cl01 | Get-VM | Where-Object {$_.PowerState -eq "PoweredOn"} | Get-HardDisk | Where-Object {$_.ExtensionData.Backing.ThinProvisioned -eq $false} | Select Parent, Name, CapacityGB

#change "vcf-cl01" for your cluster name
As we can see in the above image, the virtual machine “Test – Thick Policy” has three hard disks, and all are using a vSAN Storage Policy set up with a thick provision method:
Note: If you need to check it on all VMs (powered-off and powered-on VMs):
Get-cluster vcf-cl01 | Get-VM | Get-HardDisk | Where-Object {$_.ExtensionData.Backing.ThinProvisioned -eq $false} | Select Parent, Name, CapacityGBTo Wrapping This Up
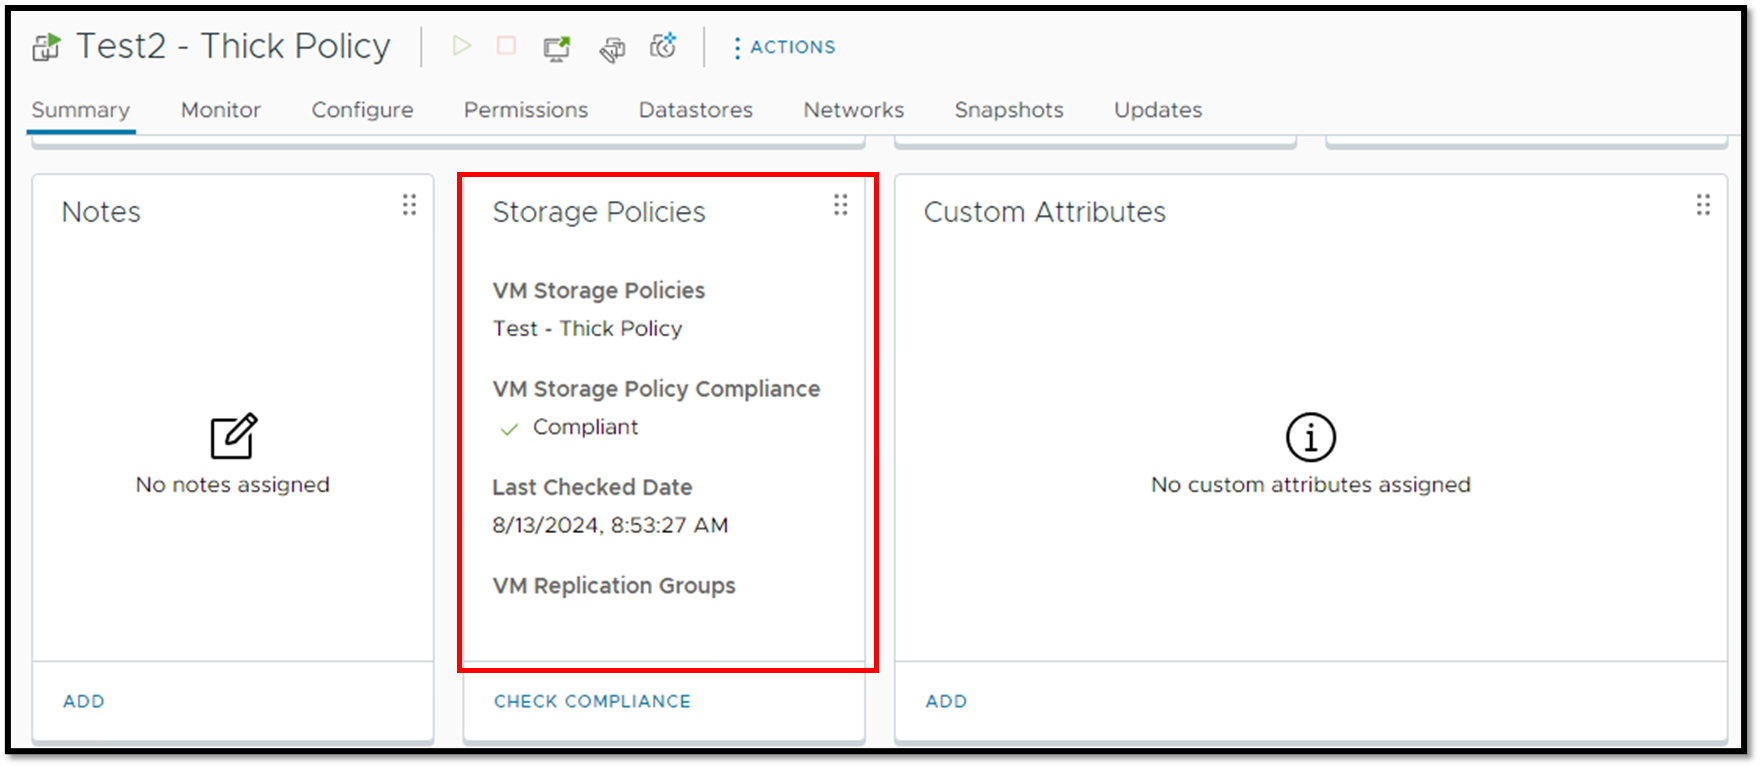
There is a way to see all Compliance VMs with a specific VM Storage Policy. Go to the “Policies and Profiles” menu –> VM Storage Policies –> Select the desired VM Storage Policy –> Click on the “VM Compliance” tab. This tab will show all compliance VMs:
In some situations, PowerCLI can help generate reports in large environments or generate outputs that make taking notes easier. PowerCLI is a tool that every vSphere administrator must be familiar with!