Getting the Nutanix CE shows all the necessary steps to get the Nutanix Community Edition (CE) installation ISO file.
The Nutanix Community Edition (CE) is an exciting way to get hands-on experience with the Nutanix Cloud Platform on your hardware at no cost.
If you are like me and love testing everything in a lab environment, you certainly will like that 🙂
Create Your Account at Nutanix
The first step is to create an account at Nutanix. You can do that by accessing the following link:
https://www.nutanix.com/products/community-edition/register
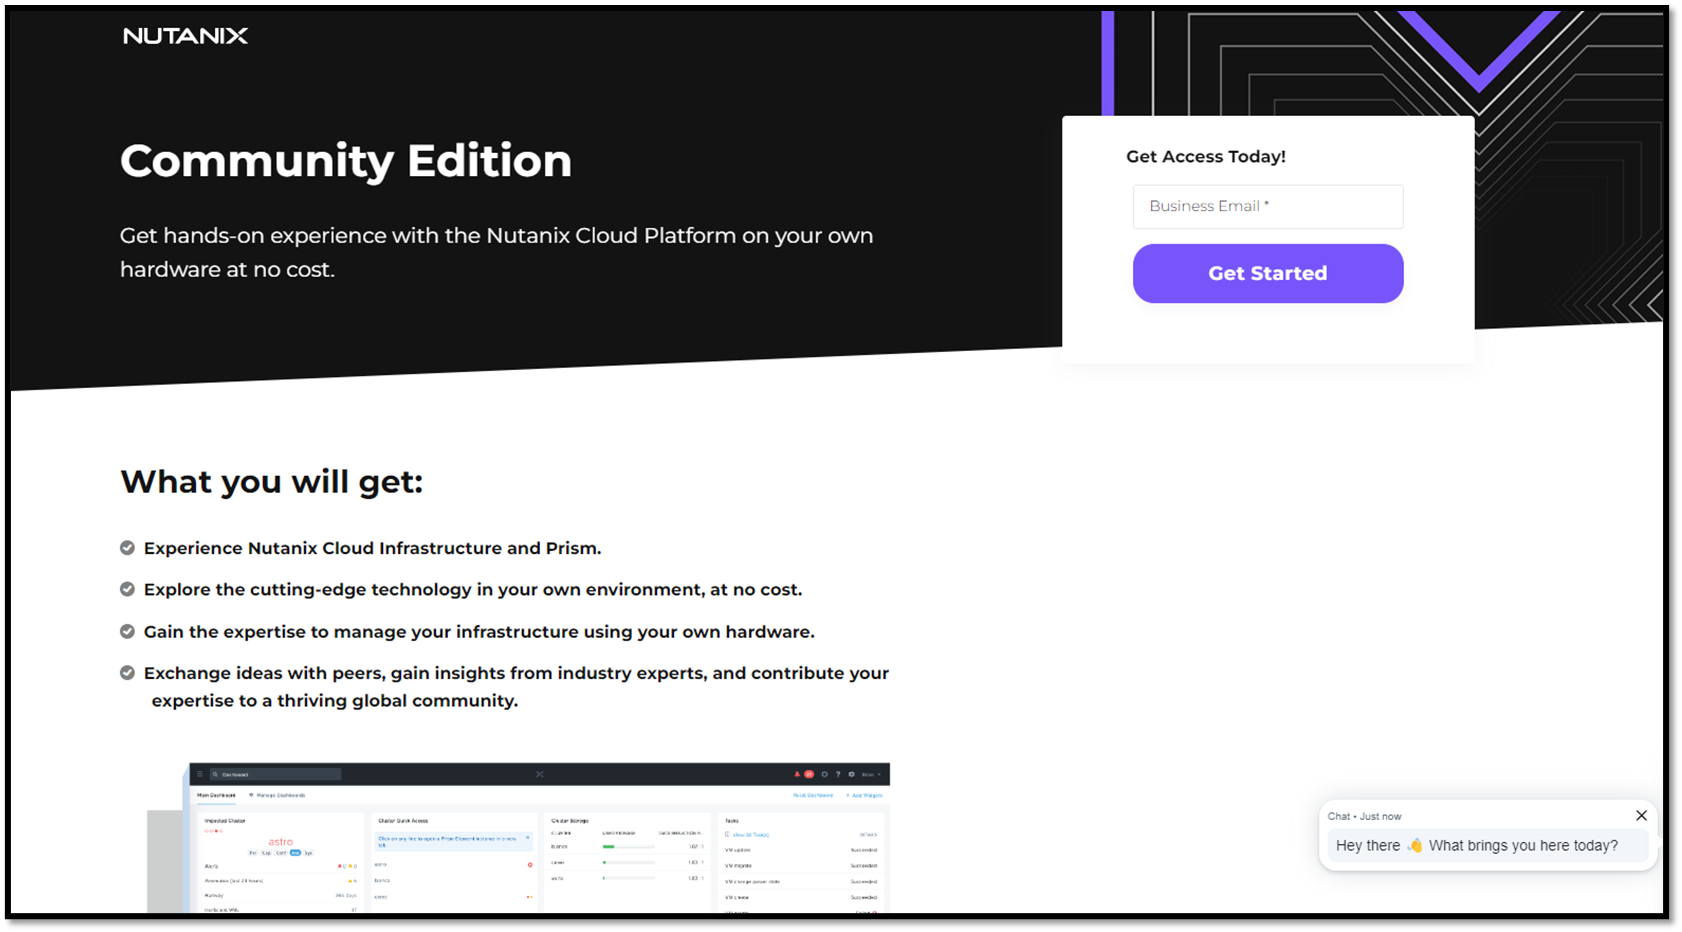
Under the frame “Get Access Today,” type your email address and click “Get Started”:

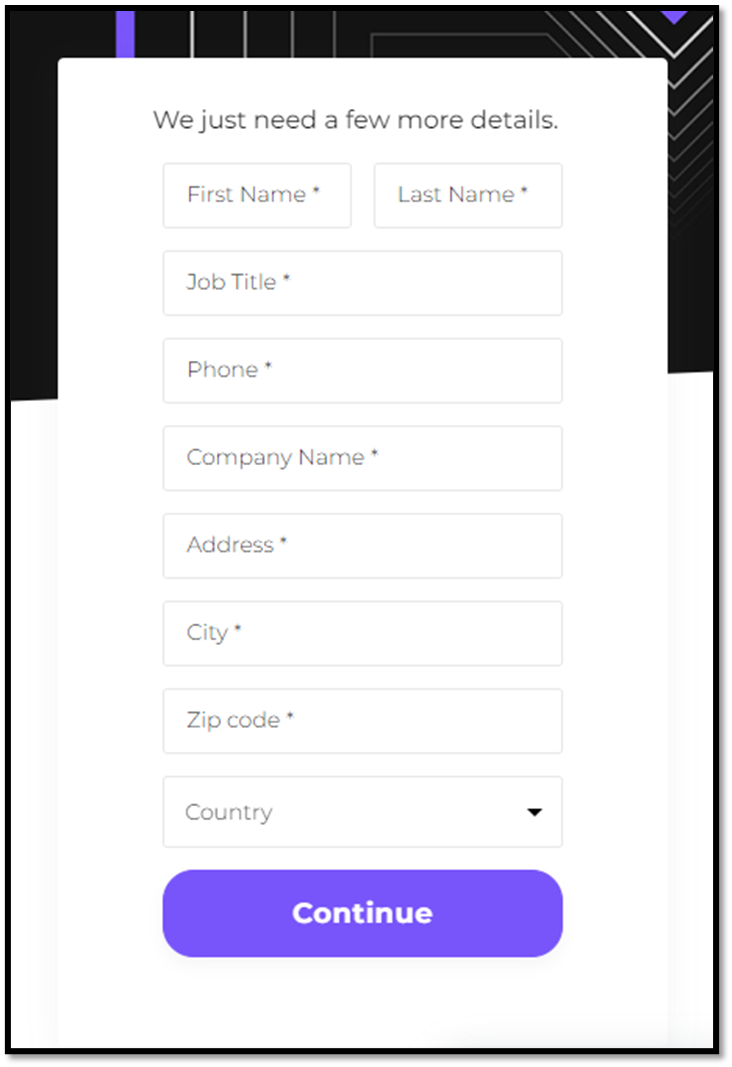
Type all details and click “Continue”. You should receive details by email with instructions to activate your account:
Accessing “My Nutanix” Portal
Afterward, to access the “My Nutanix” portal, you can use the following link:
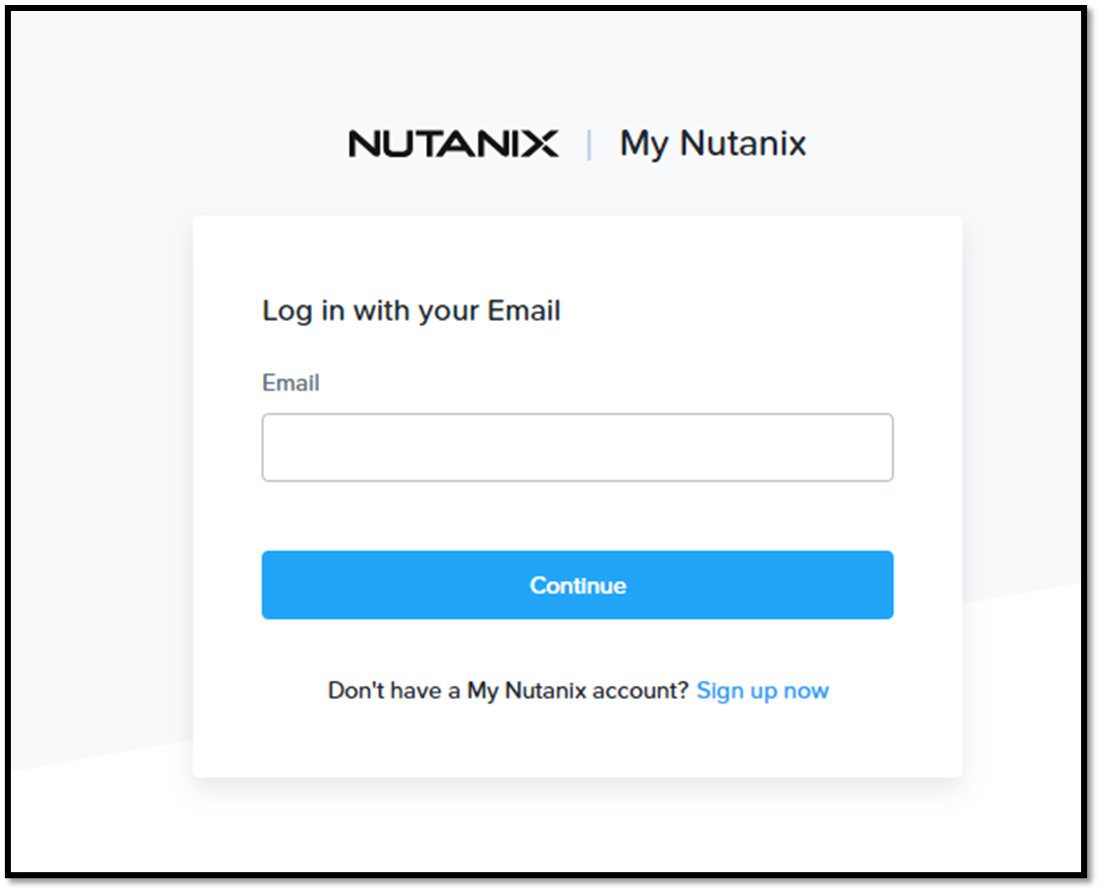
After typing your credentials (email and password previously created), under “Community Edition” click “Launch”:
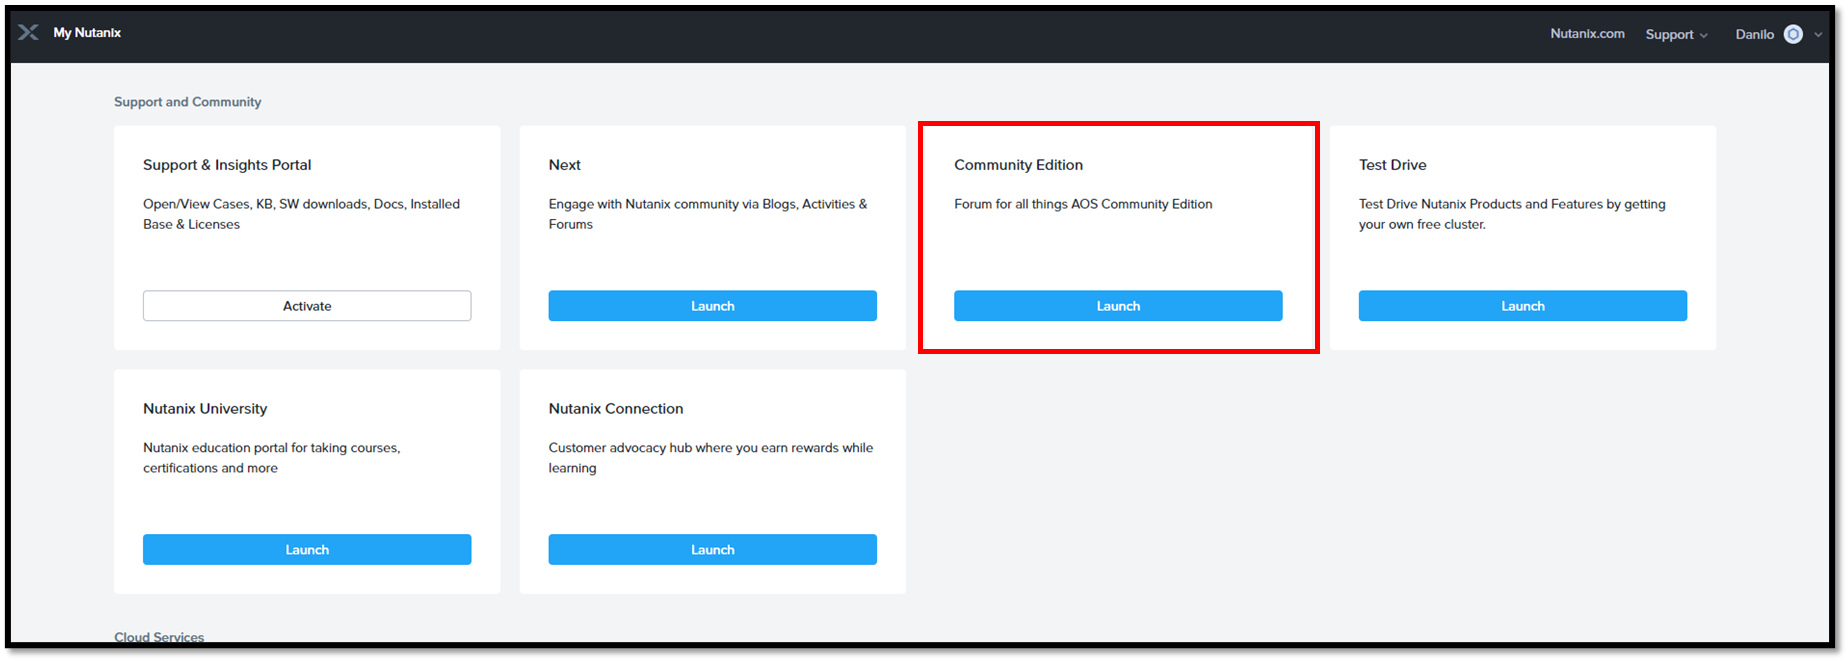
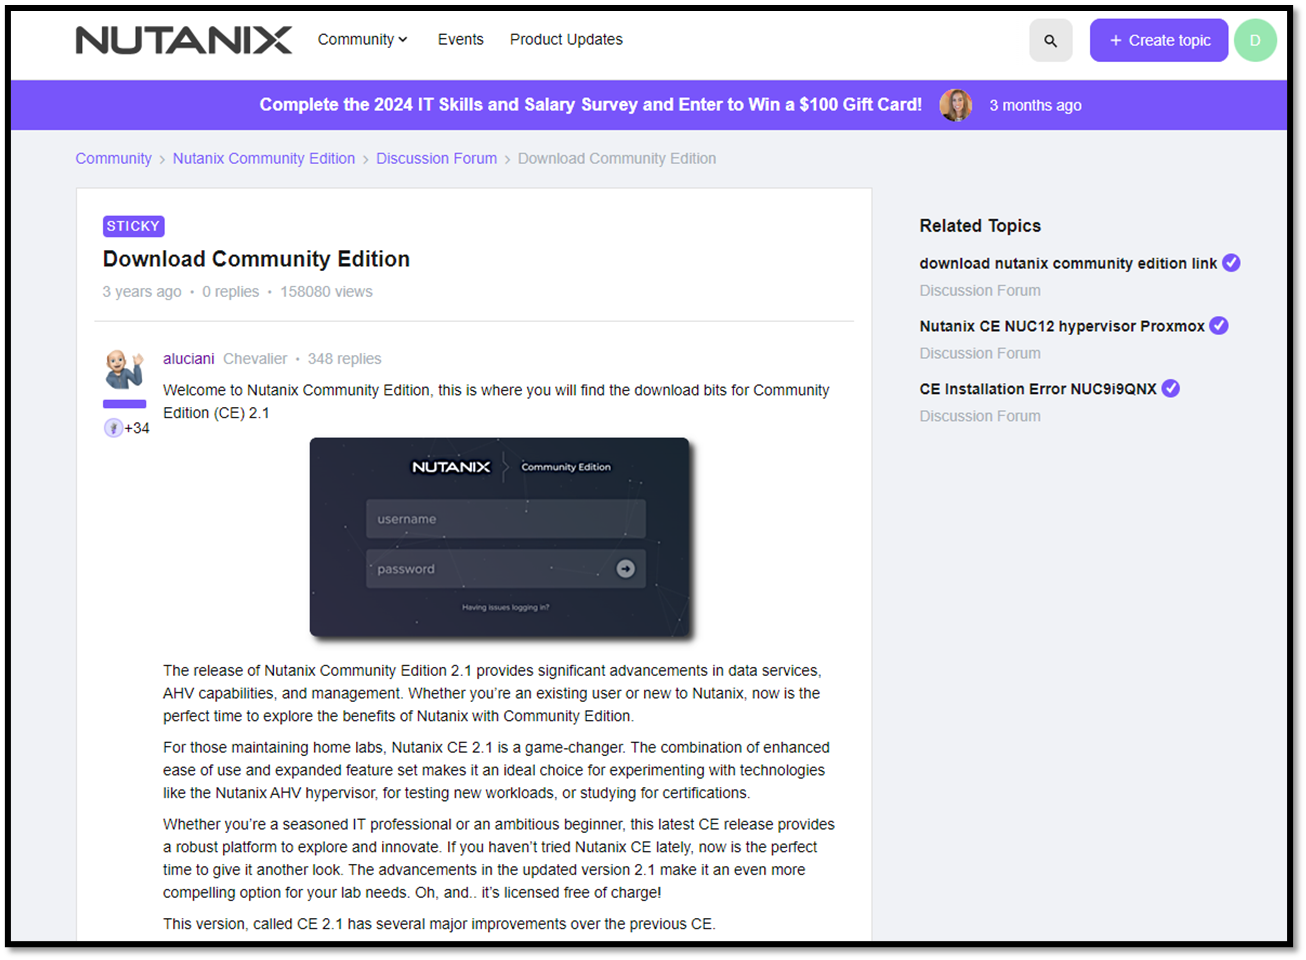
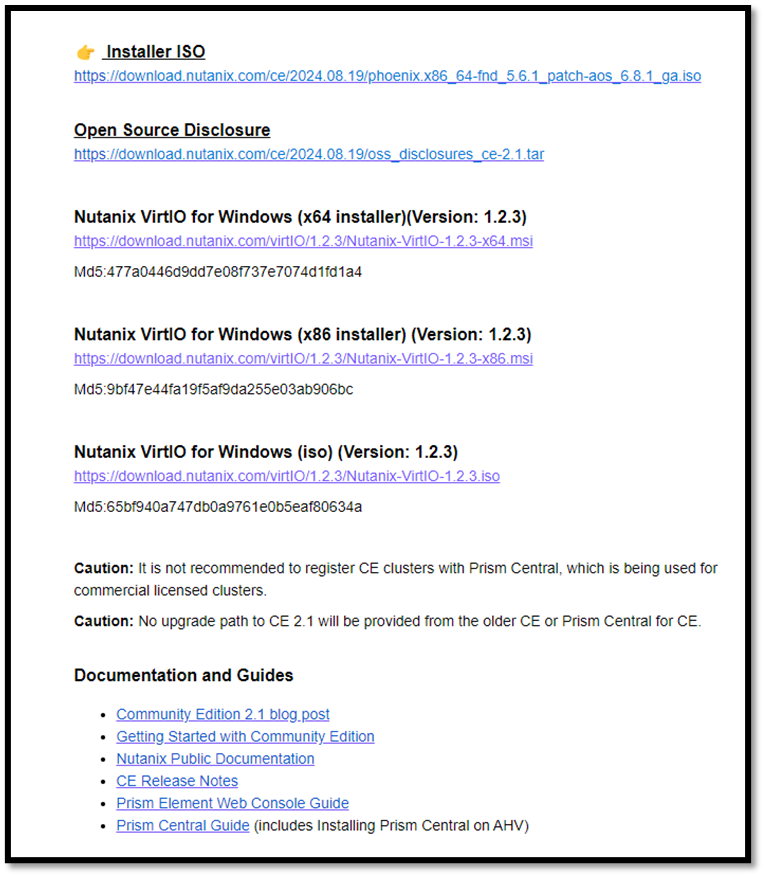
Roll down the page, and you will be able to download the Nutanix CE iso file and other files, as we can see in the following figure:
To Wrapping This Up
If you want to learn more about Nutanix, I highly recommend the “Getting Started with Community Edition” link, accessible by the following link:
https://portal.nutanix.com/page/documents/details?targetId=Nutanix-Community-Edition-Getting-Started
The “Getting Started with Community Edition” is an excellent starting point for learning about Nutanix, the recommended hardware, licensing details, and other vital details for building your own Nutanix cluster!