PowerFlex Manager LDAP Integration shows how to integrate the PowerFlex Manager with LDAP for authentication purposes.
Our lab environment has a PowerFlex Manager 4.5.2 and an Active Directory on a Windows Server 2022.
The default username to access the PowerFlex Manager UI is “admin.” It is a local username, and its password is created during the deployment. We can create additional local usernames and associate a role for each (SuperUser, SuperAdmin, Monitor, etc). A role is a set of permissions in the system.
In addition to local users, we can access the PowerFlex Manager UI using remote users, such as LDAP/Active Directory users. This is the focus of this article!
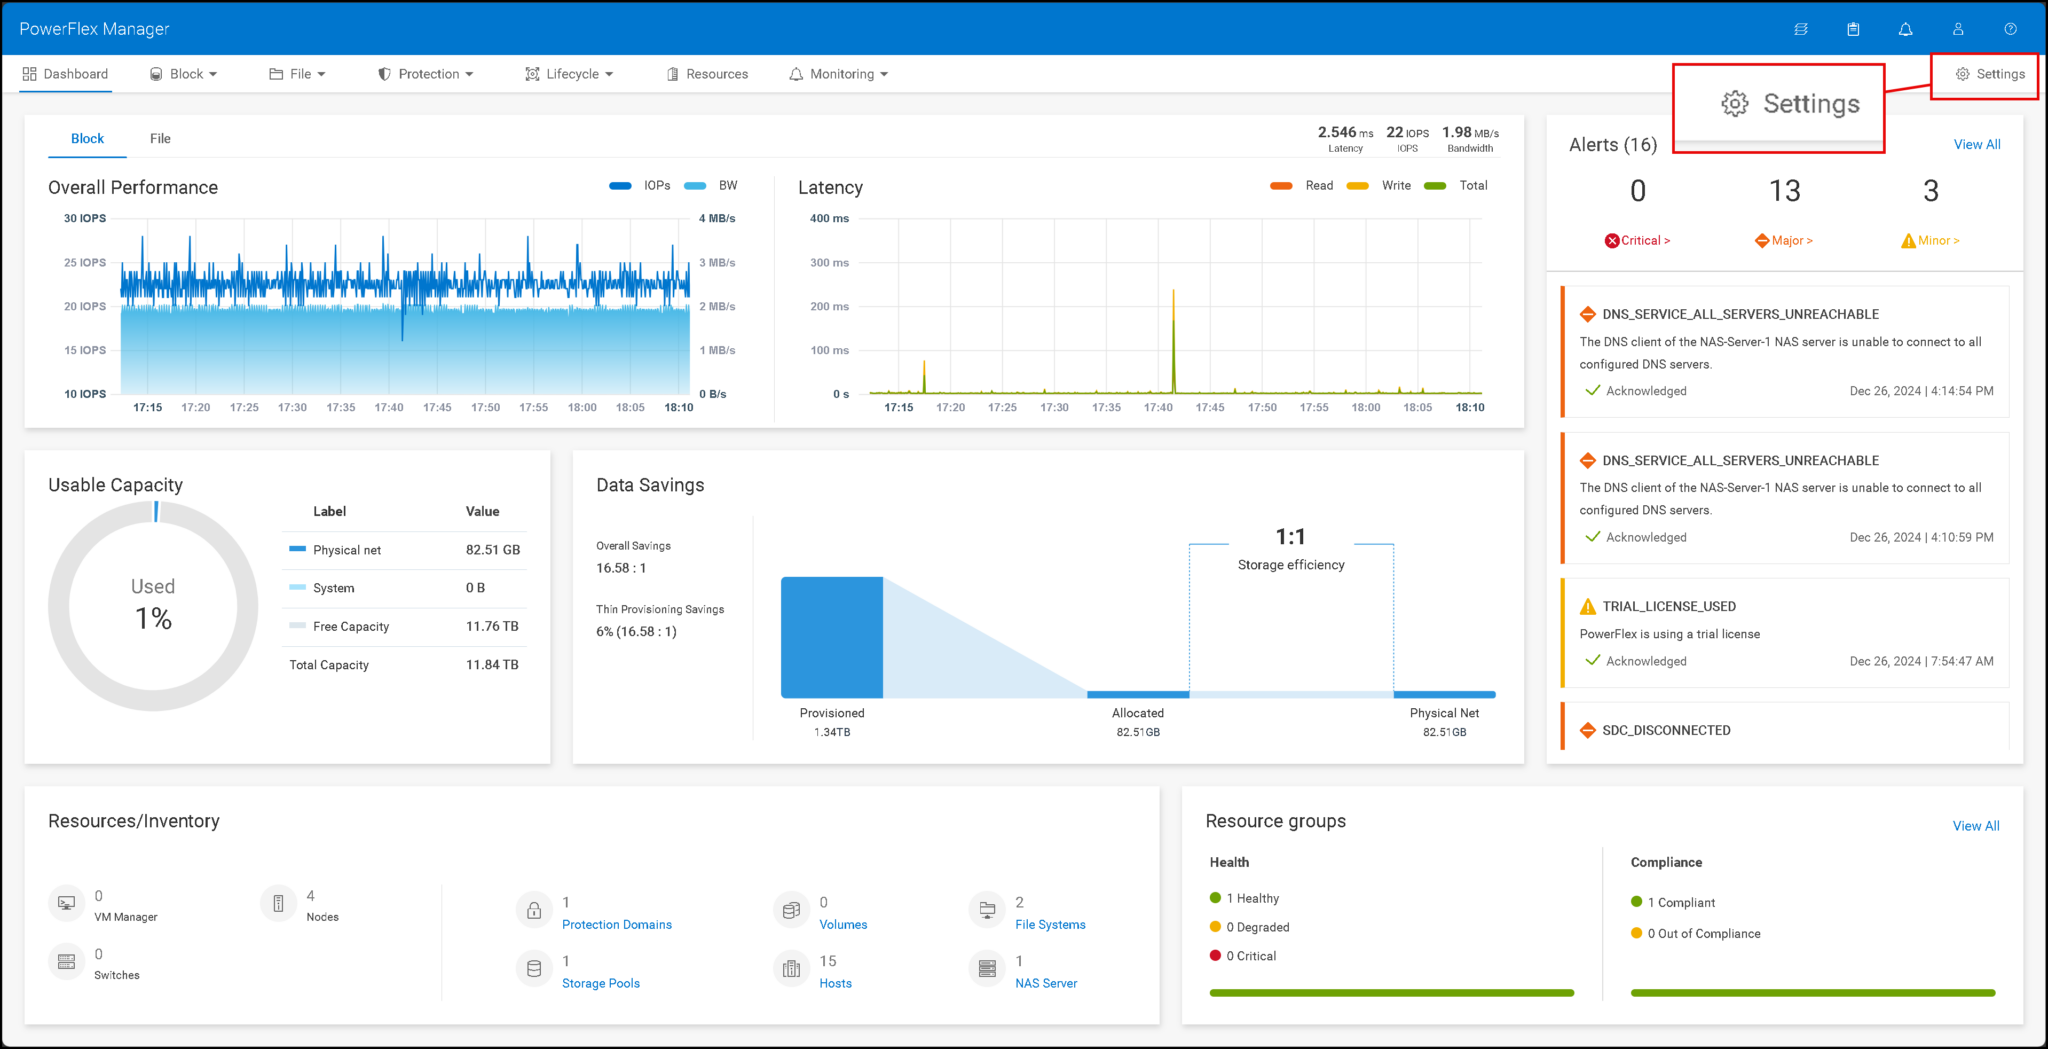
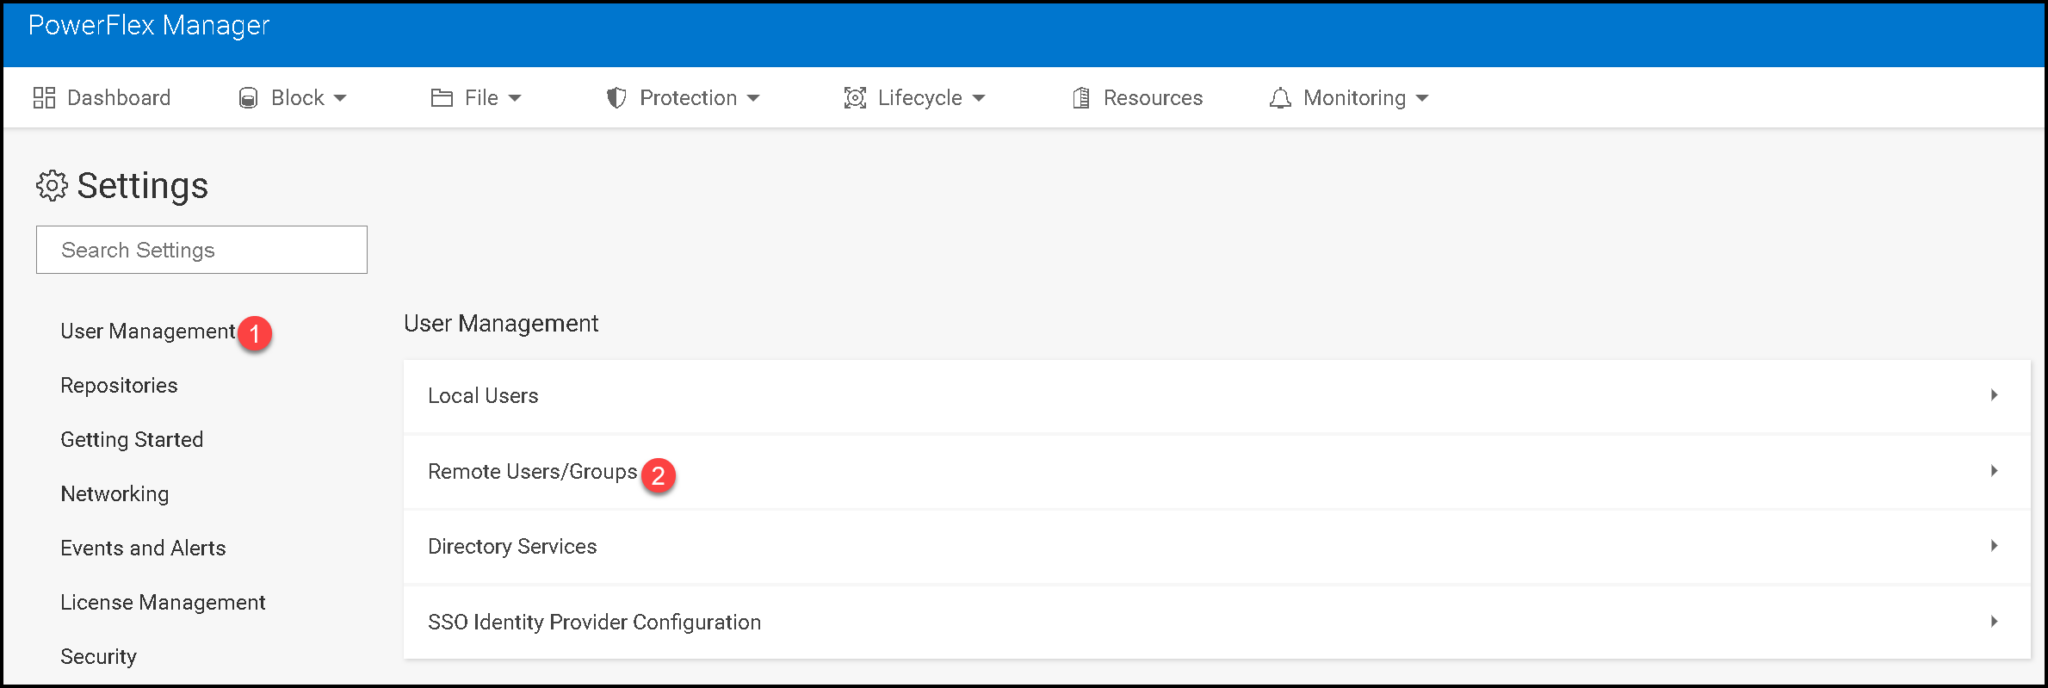
1- Access the PowerFlex Manager UI and click on “Settings”:
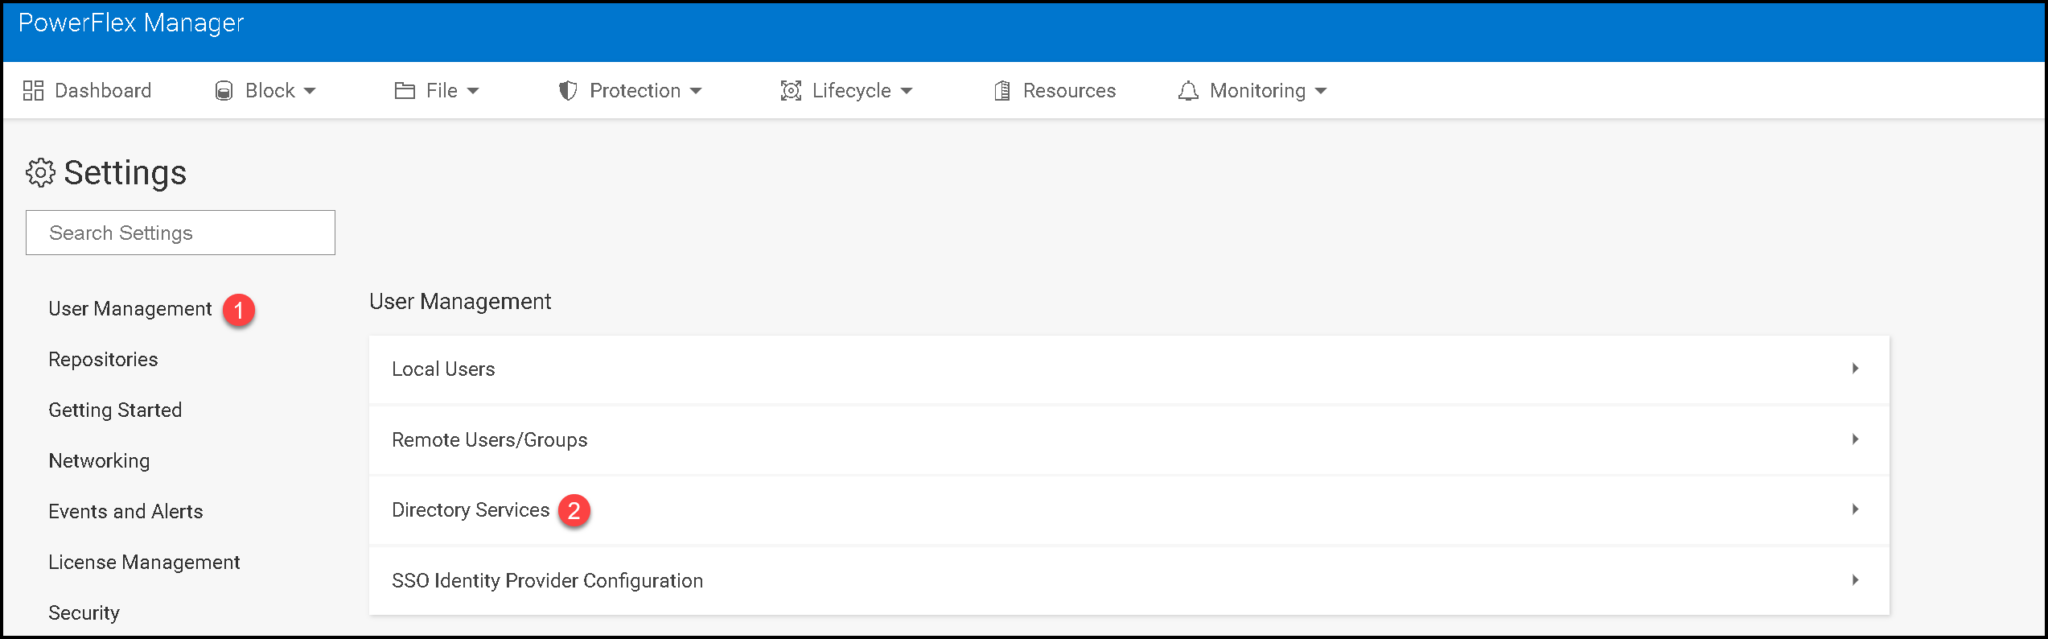
2- Click on “Directory Services” under the “User Management”:
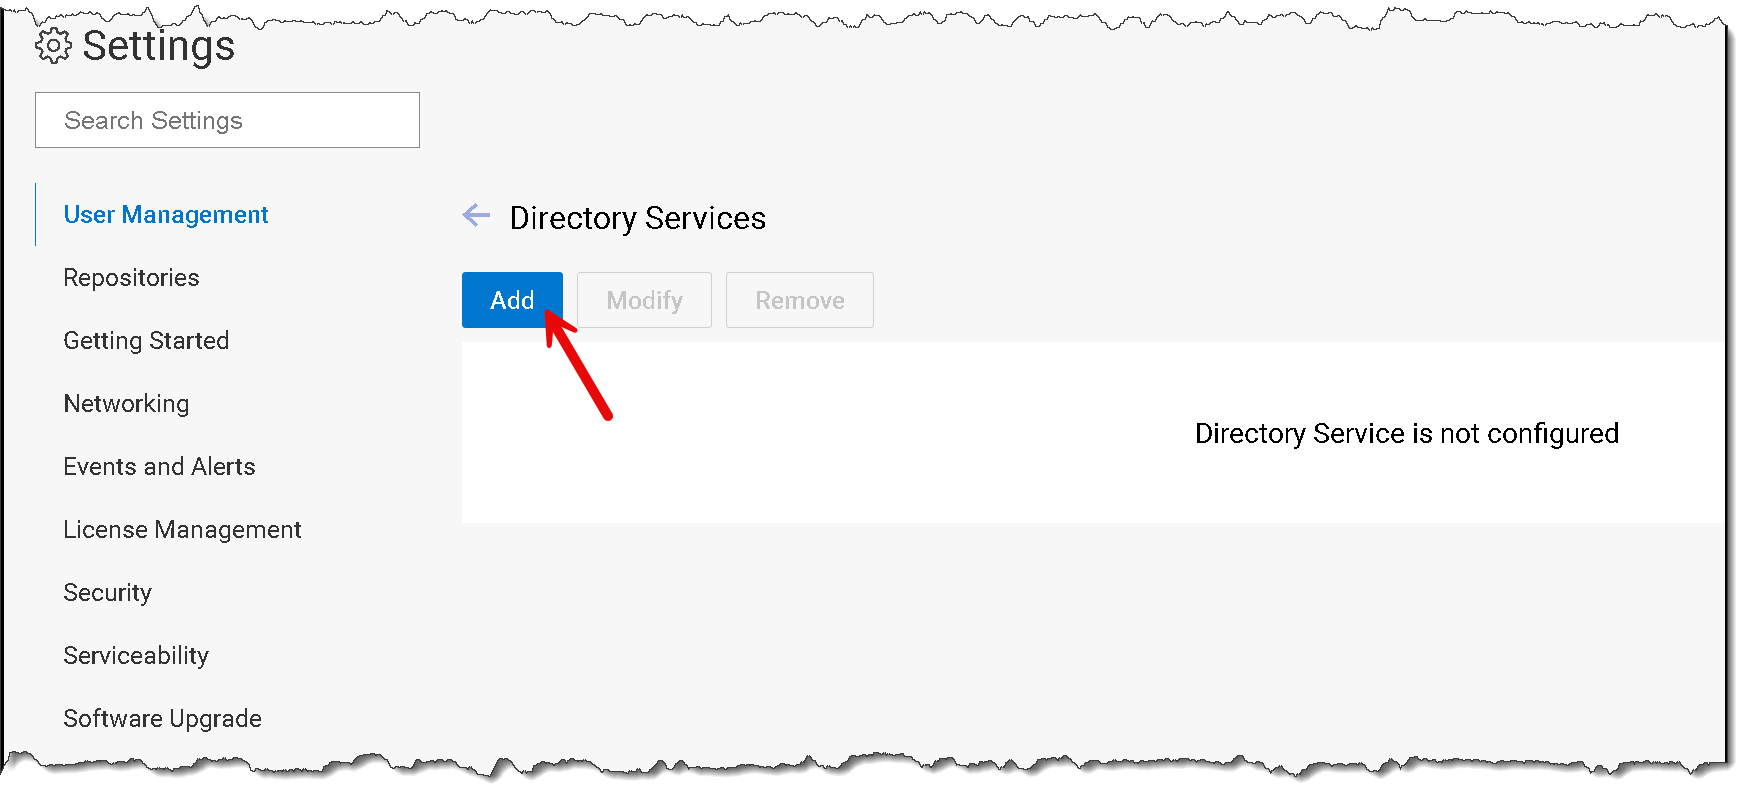
Click “Add”:
On this page, we need to provide all the necessary details about the LDAP server (in this case, for instance, our LDAP server is the Active Directory server):
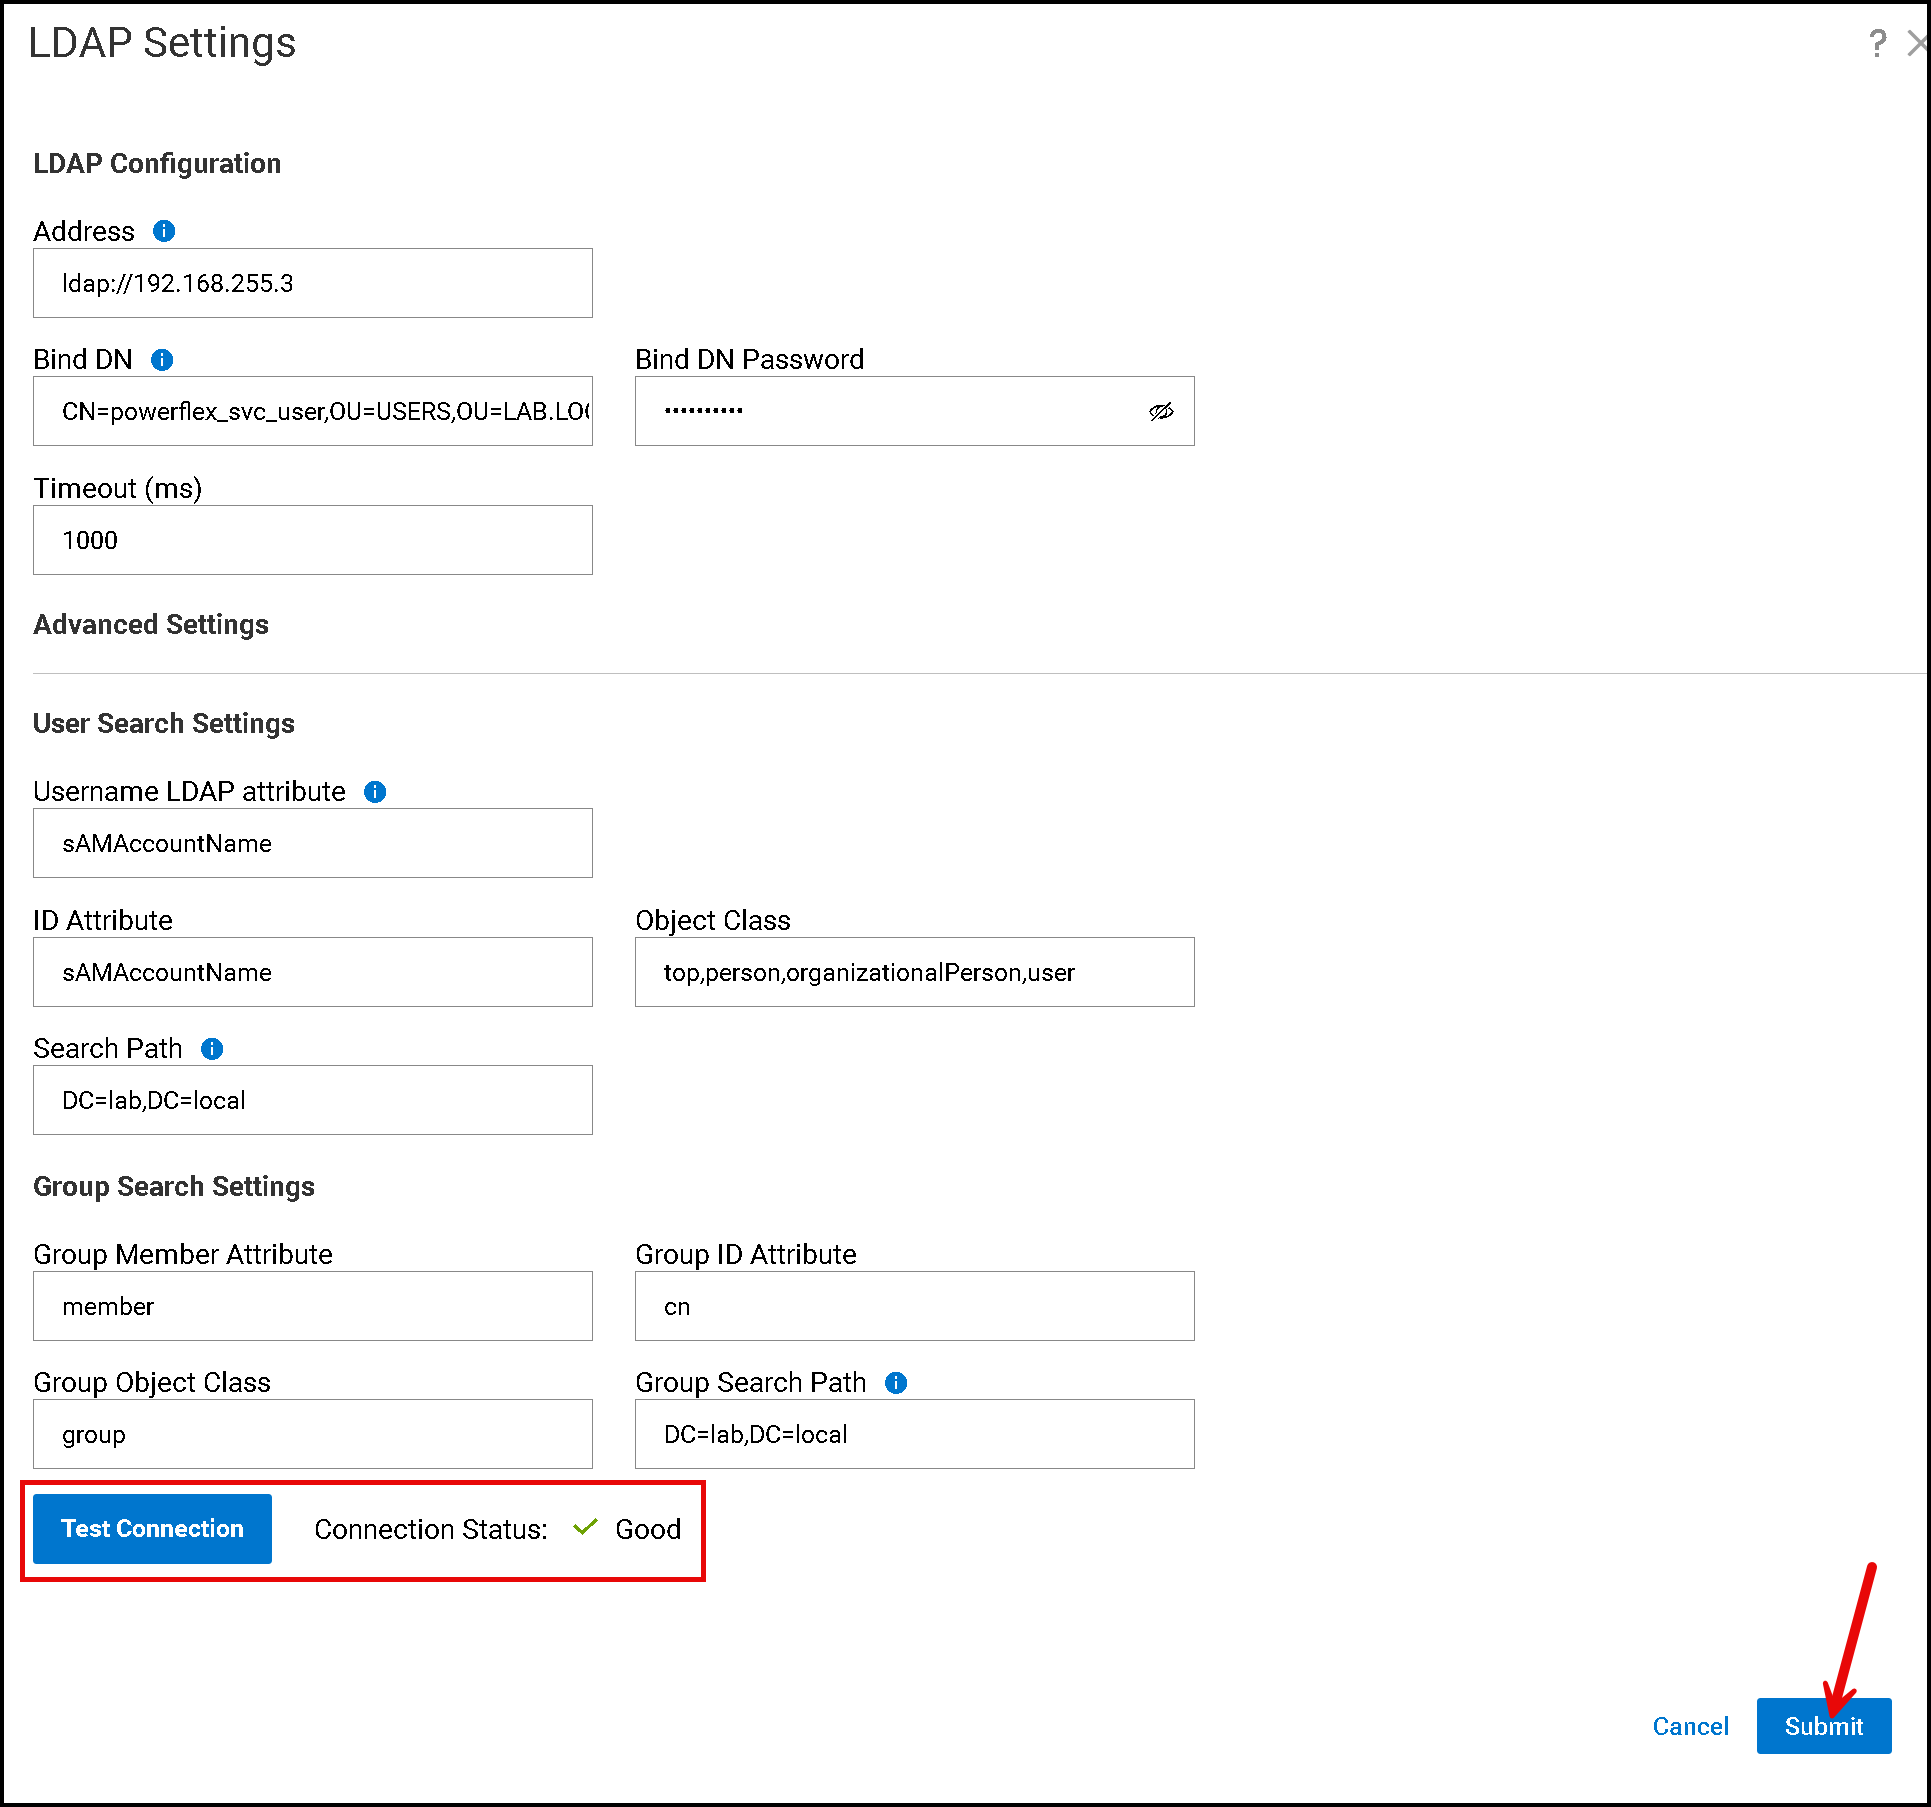
After clicking “Test Connection,” receiving a “Good” message is desirable. This means that the PowerFlex Manager could connect to the LDAP server.
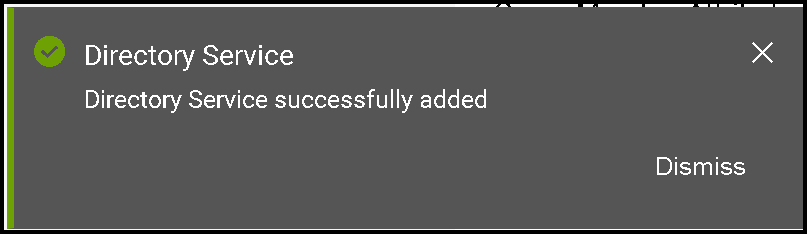
After that, click on “Submit”:
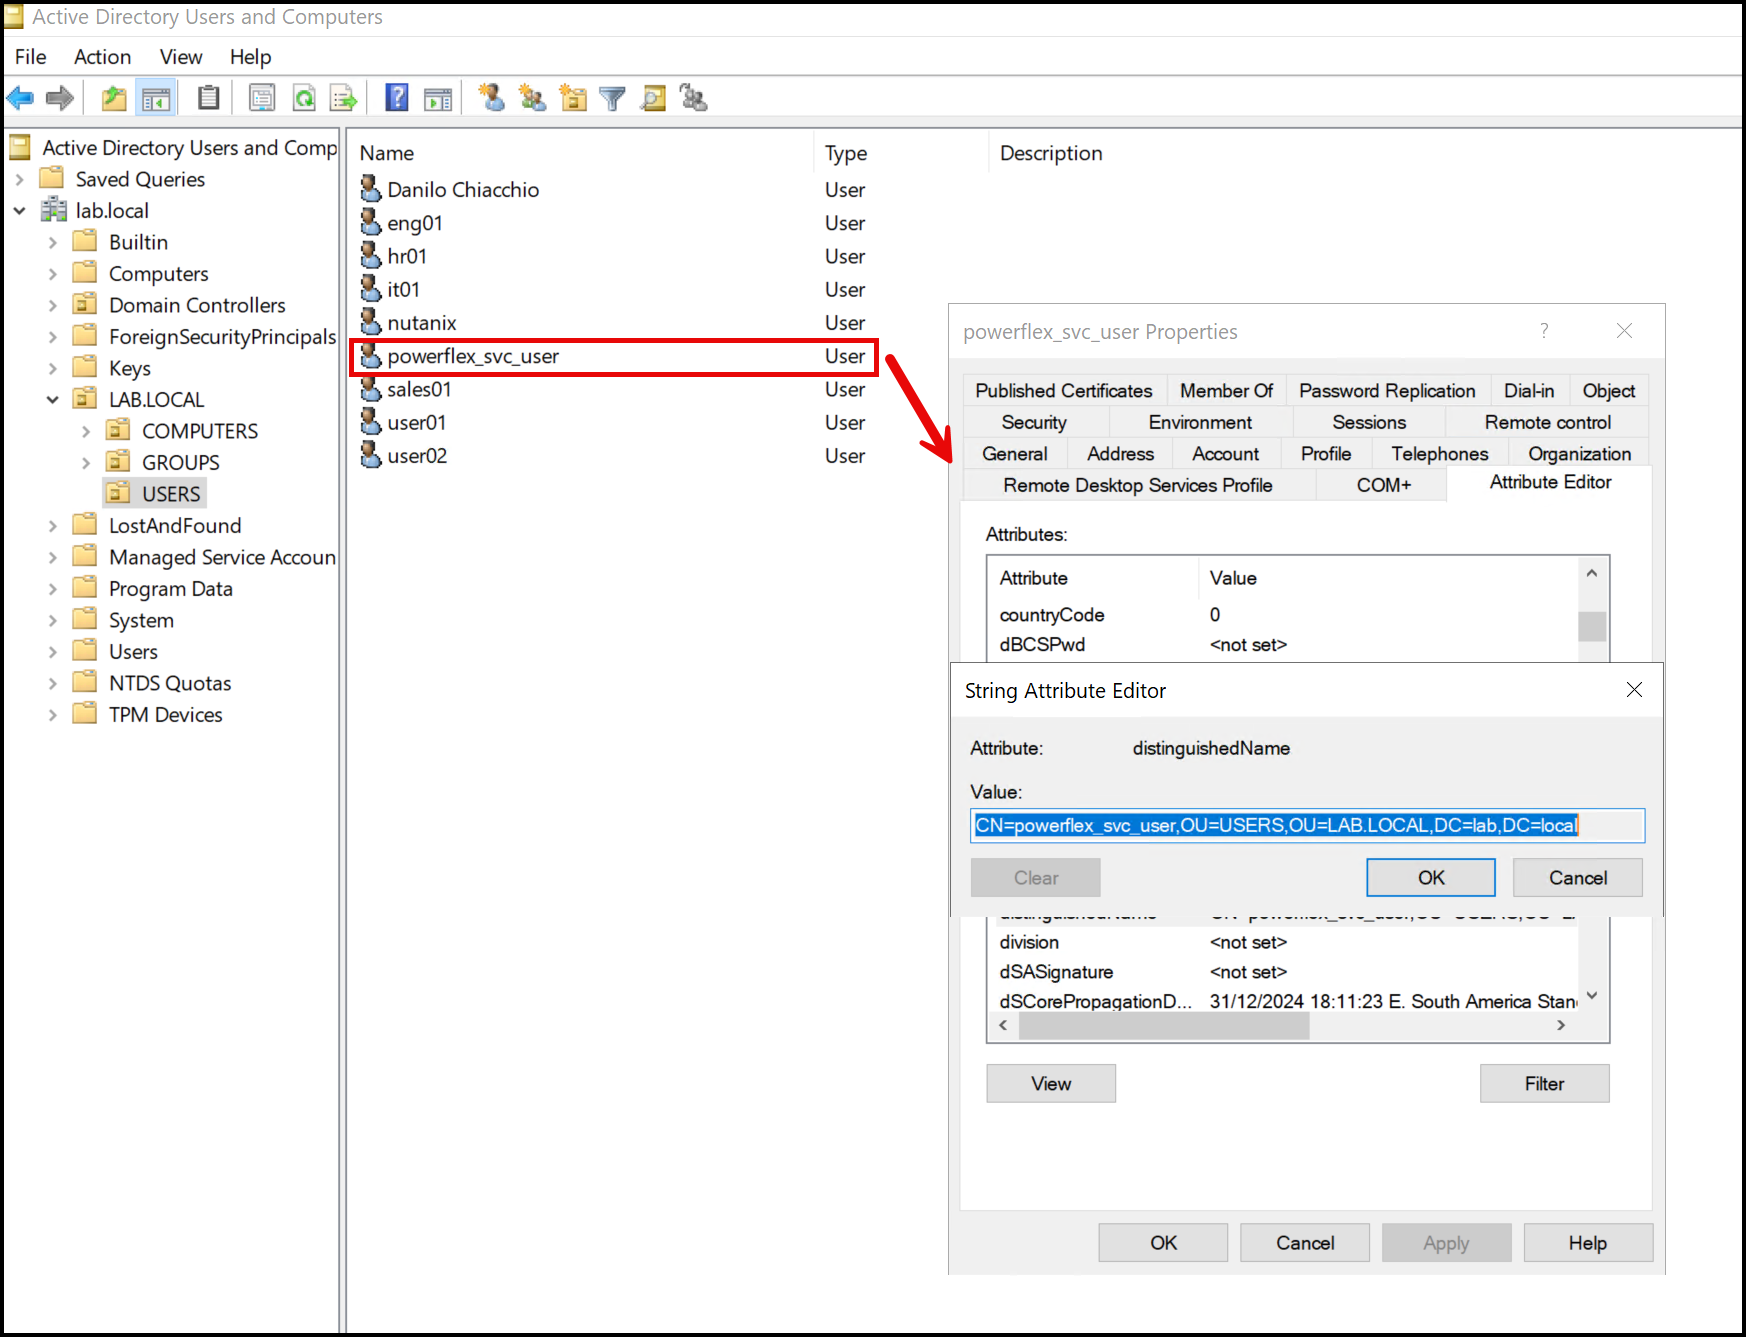
Note: Under the “Bind DN,” we need a specific Active Directory username with minimal permission to reach the Active Directory users and groups. The PowerFlex Manager uses this account to talk with the Active Directory servers:
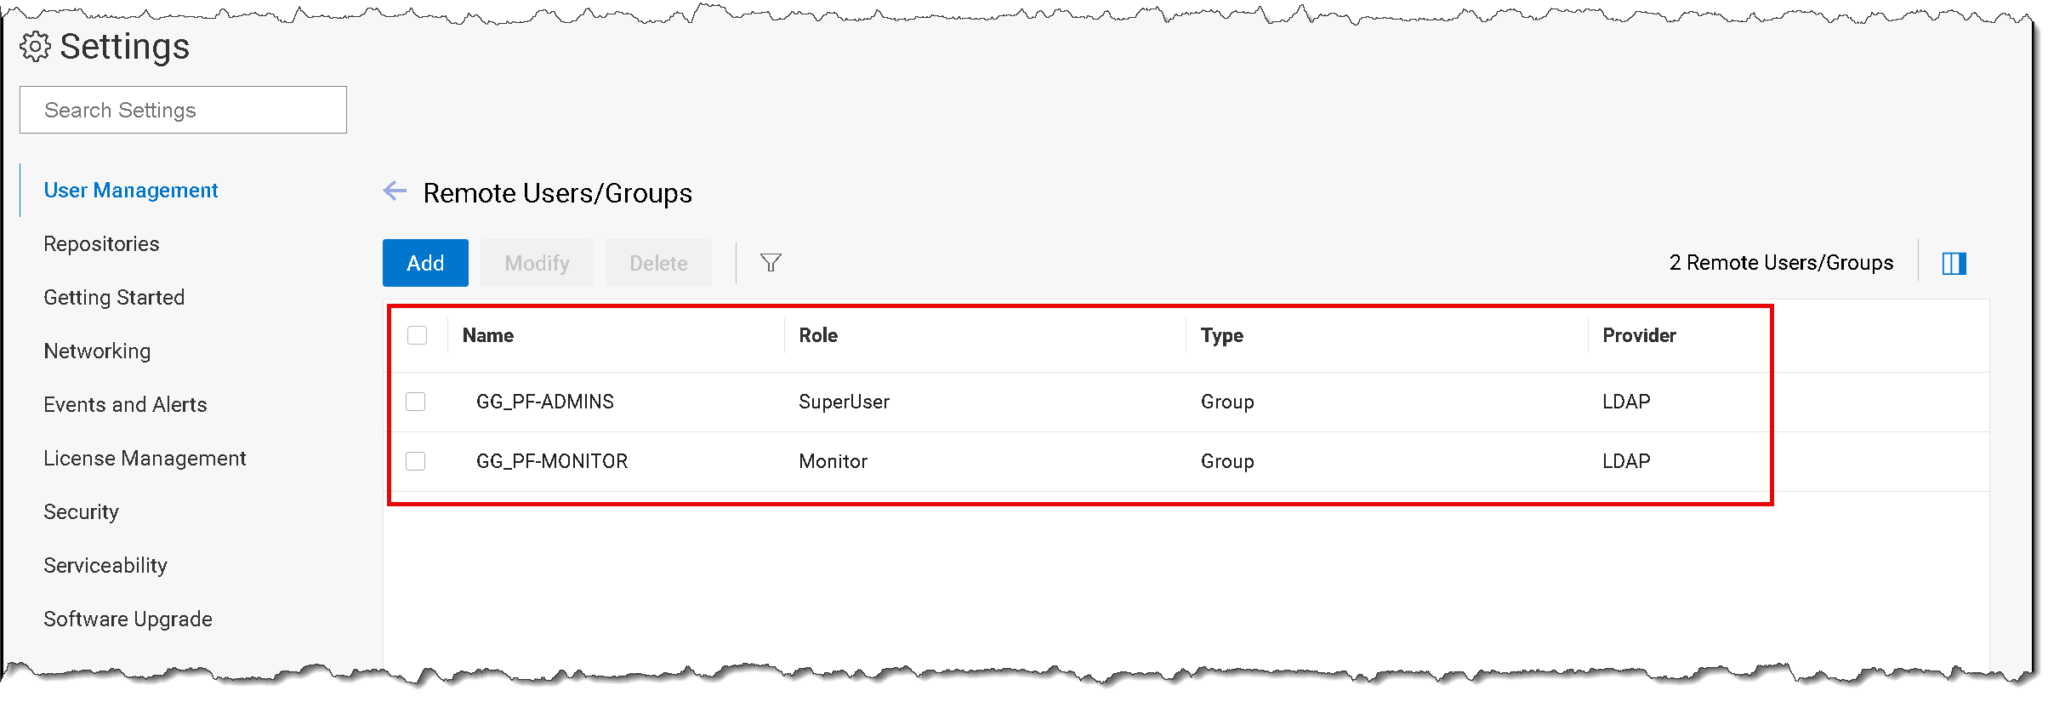
3- Afterward, click on “Remote Users/Groups” under the “User Management”:
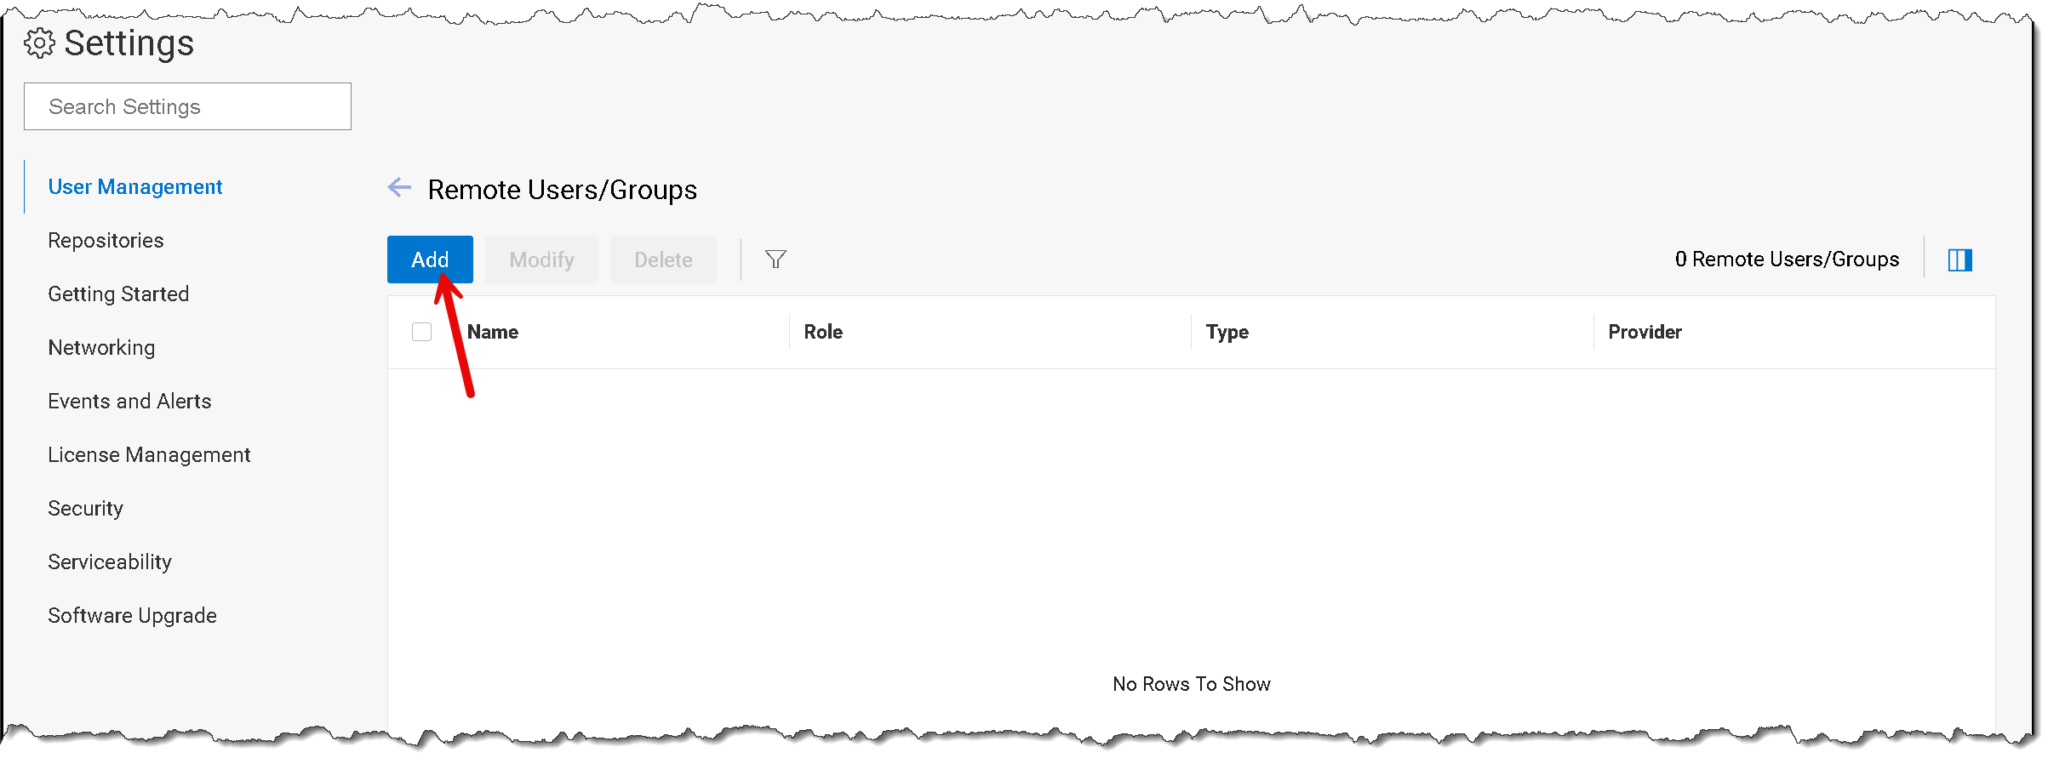
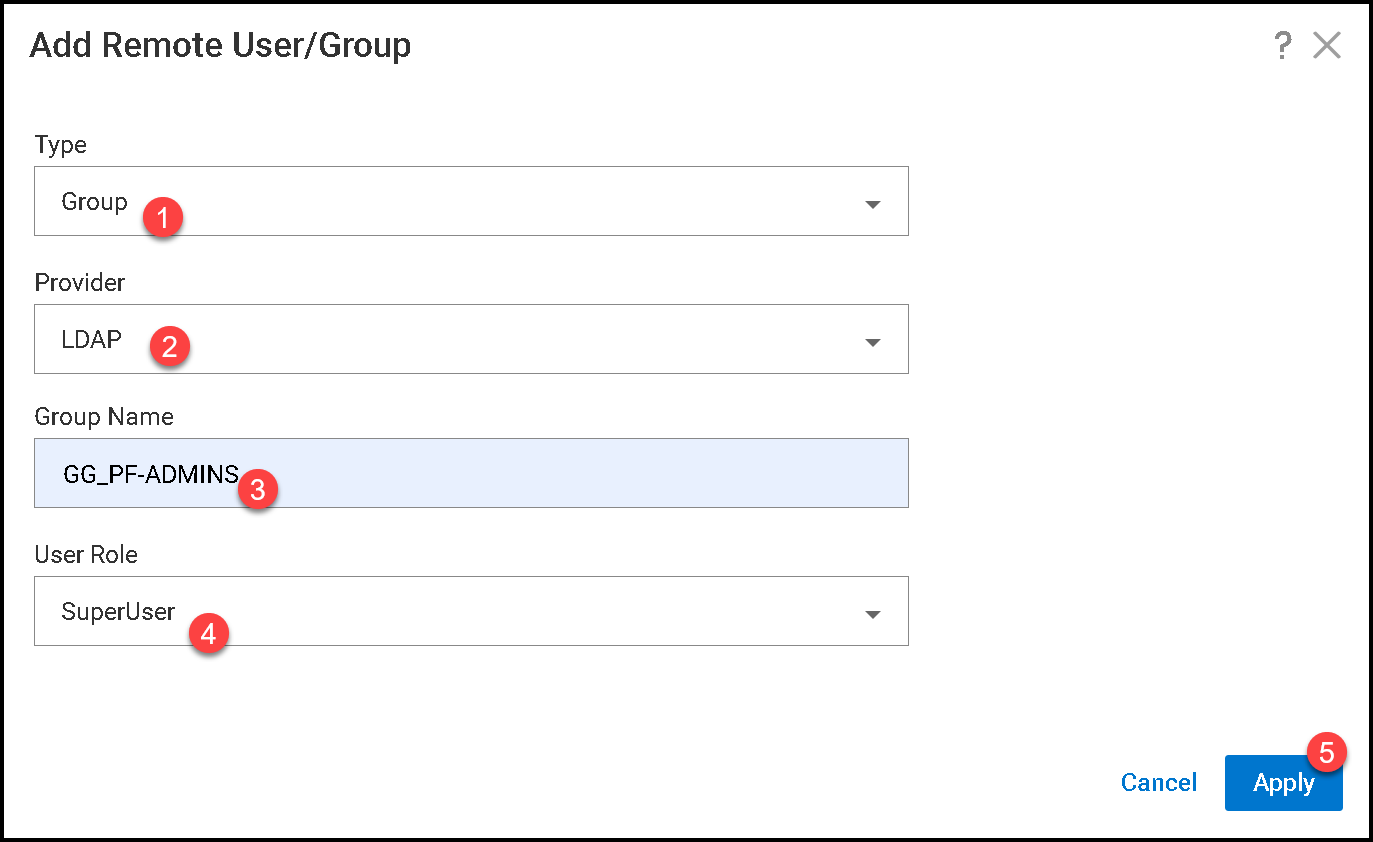
Click “Add”:
On this page, we will add two AD groups:
- GG_PF-ADMINS: AD users with a “SystemAdmin” role in the PowerFlex Manager;
- GG_PF-MONITOR: AD users with a “Monitor” role in the PowerFlex Manager.
4- Test!
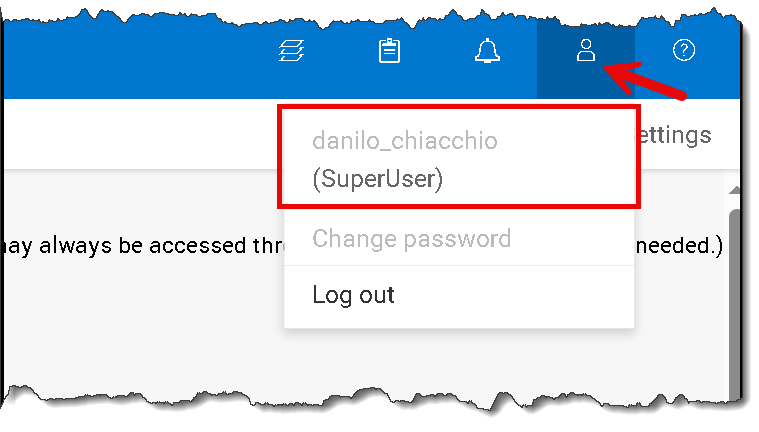
Accessing the PowerFlex Manager UI with an AD user in the group “GG_PF-ADMINS”:
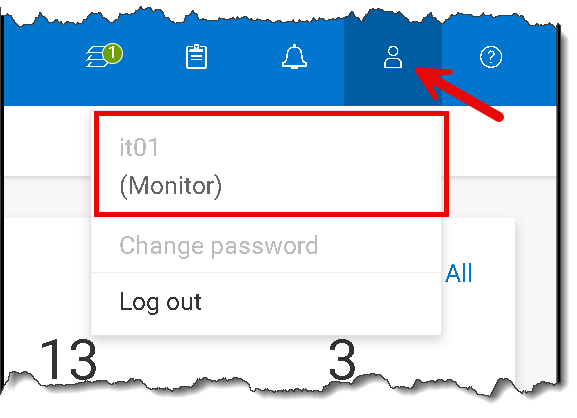
Accessing the PowerFlex Manager UI with an AD user in the group “GG_PF-MONITOR”:
That’s it 🙂