Deploying the VMware Aria Operations for Networks is an article that shows all the necessary steps to deploy this powerful tool to maintain and monitor your network environment.
About VMware Aria Operations for Networks
VMware Aria Operations for Networks provides a converged operations plane between virtual and physical networks.
You discover, optimize, and troubleshoot applications from the data center to the cloud to the branch.
We can integrate a log of devices with this powerful tool, such as VMware SD-WAN solution, Physical Routers and Switches, Firewalls, Load Balancers, the NSX virtual infrastructure, Containers, and Public Clouds.
In simple words, this tool can help us in the “day-2” troubleshooting, providing in a single panel a lot of ways to identify any issue related to the network.
We can describe some benefits:
- Troubleshooting network and security throughout the virtual and physical infrastructure.
- Manage and scale NSX with a best practice checklist.
- Secure your network with micro-segmentation recommendations, compliance, and auditing.
- Plan, secure and migrate applications.
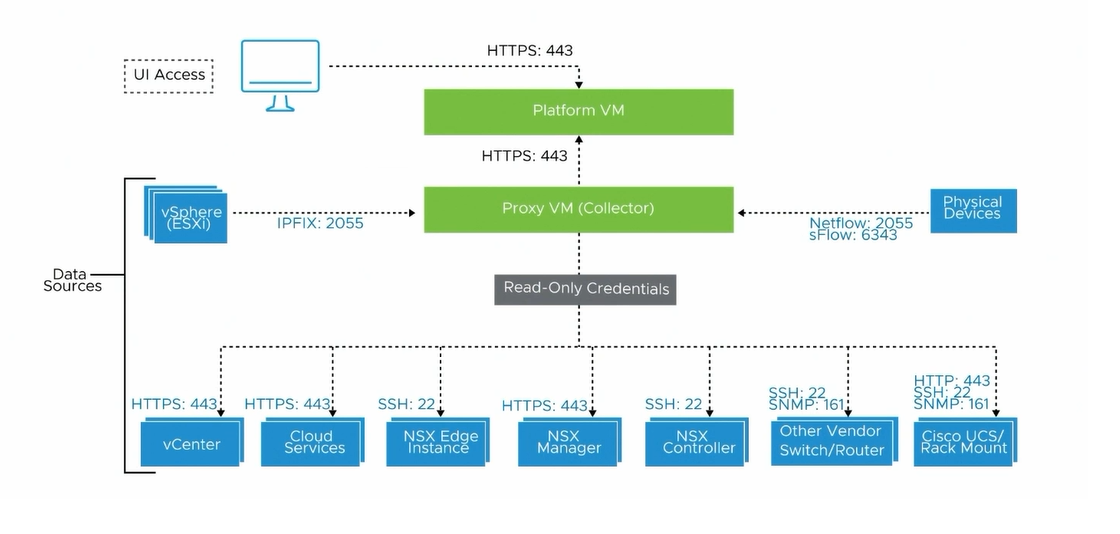
Architecture and Components
VMware Aria Operations for Networks includes two distinct appliances:
- The Platform VM: It is responsible for processing the present network data.
- The Proxy (Collector) VM: It is responsible for collecting the data and sends to the Platform VM.
Deploying the Platform Component from OVA
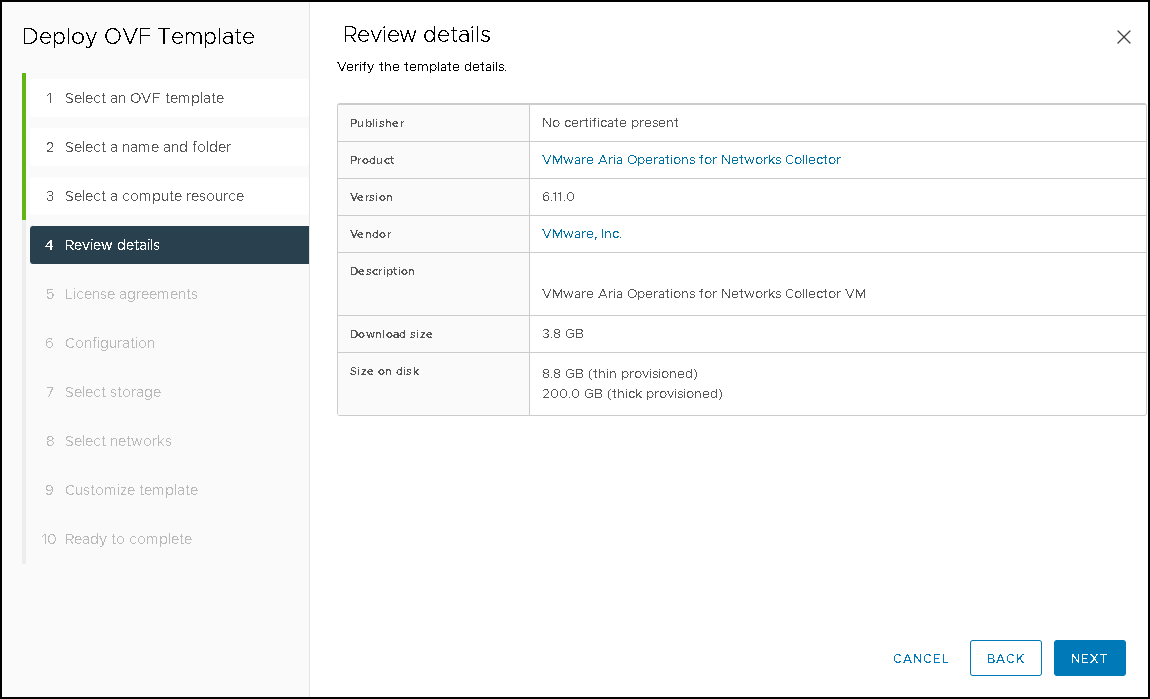
Firstly, we need to deploy the Platform VM from the OVA file.
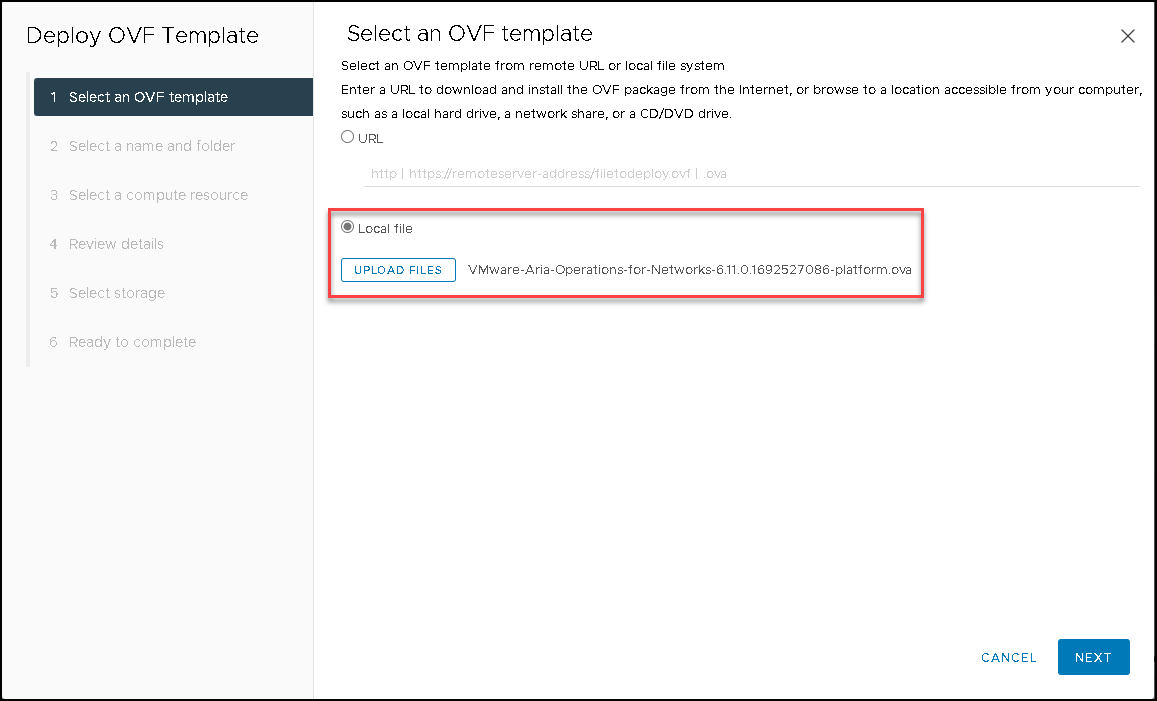
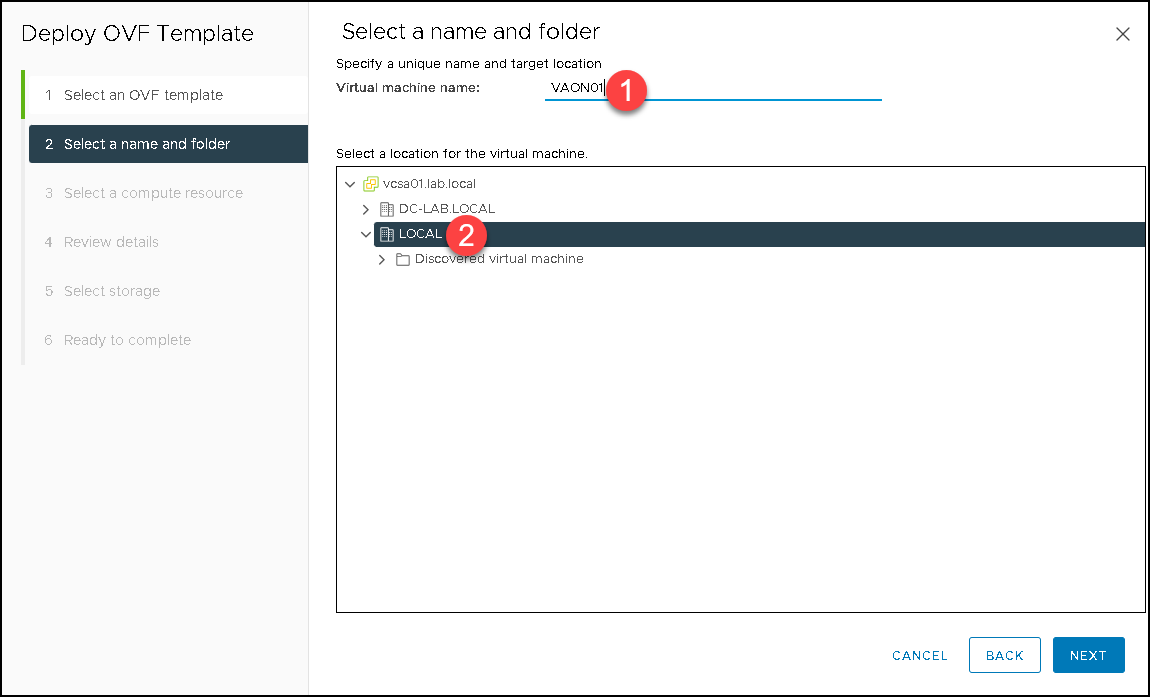
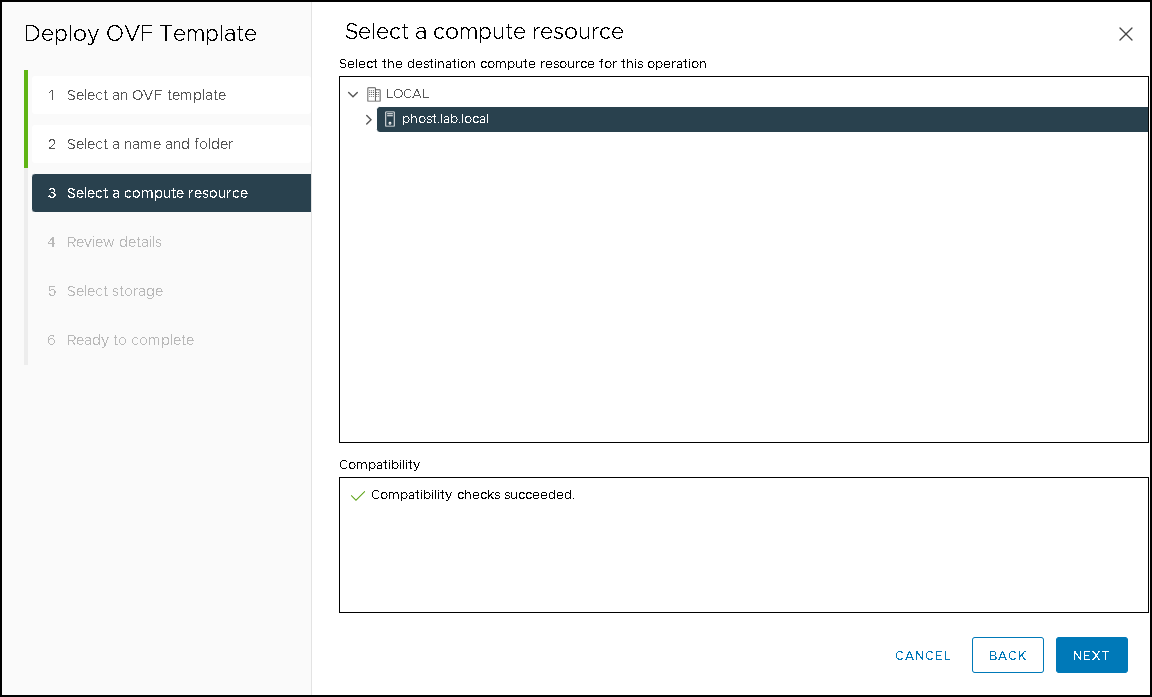
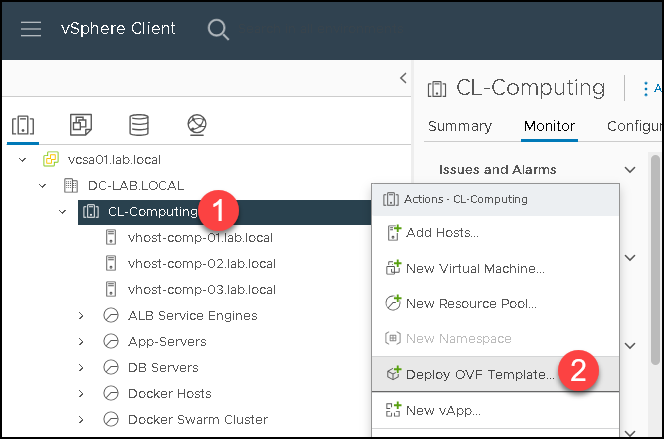
In our lab environment, we are using the vSphere Client. The process is very straightforward, and you can follow it in the pictures below:
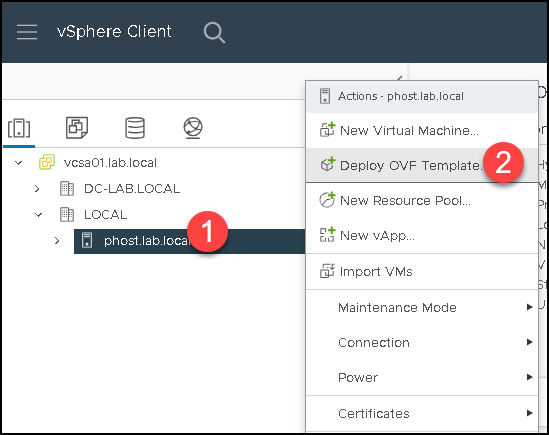
Select the OVA file and click on NEXT:
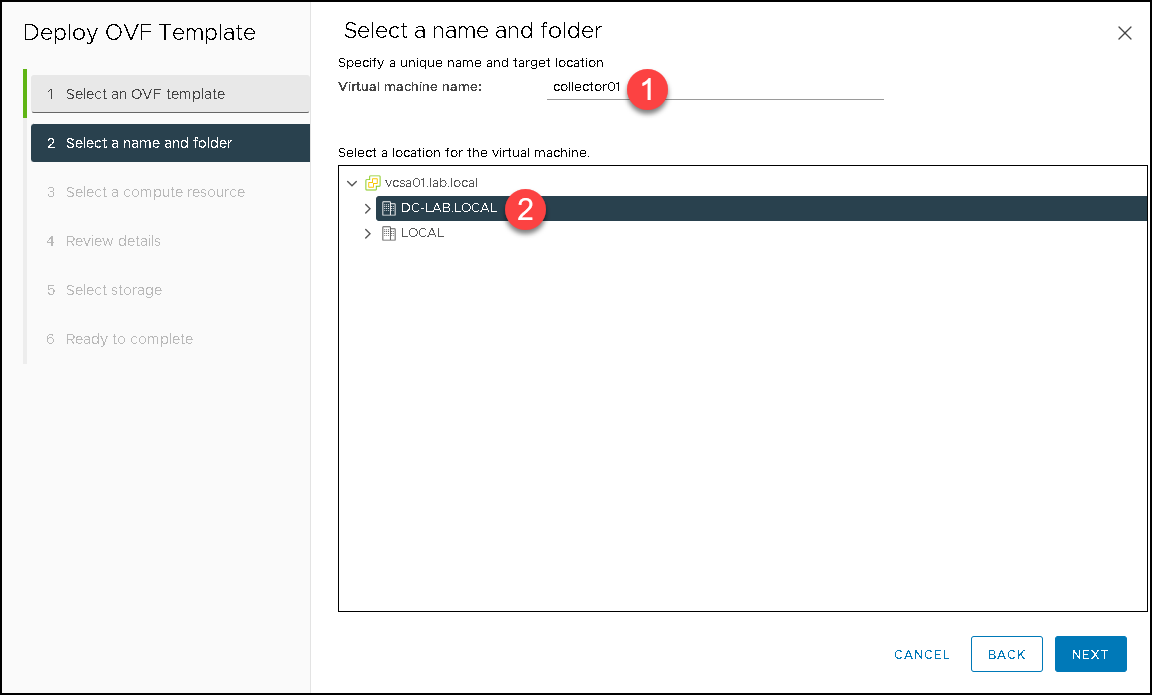
In this case, for instance, the VM name is “VAON01”:

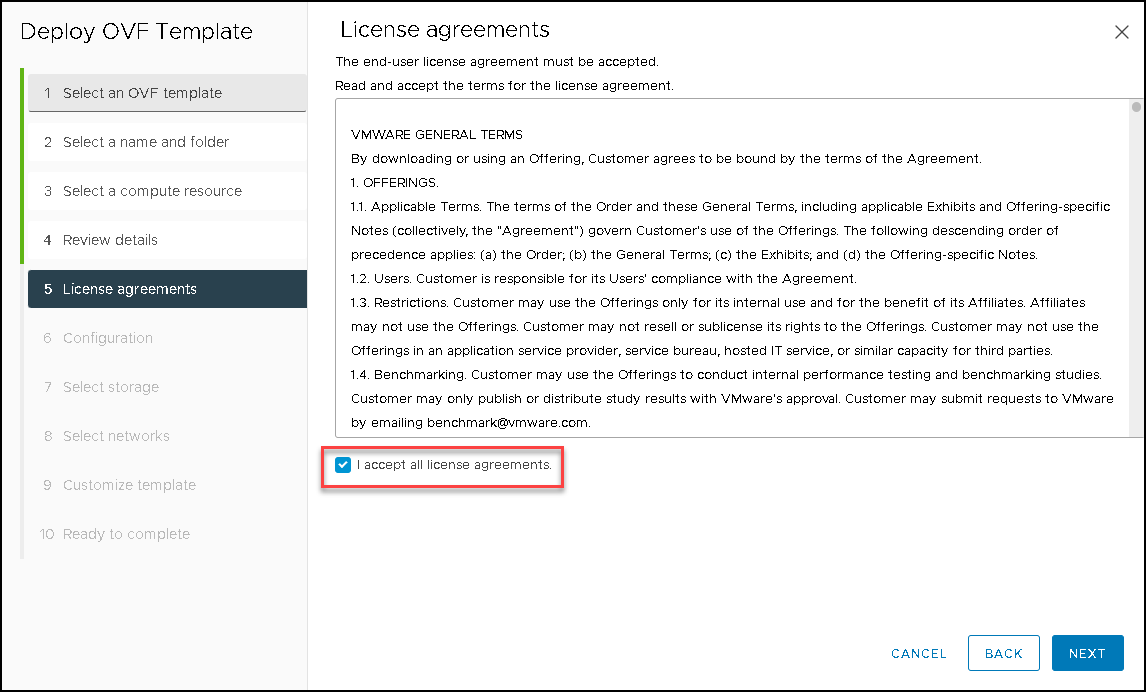
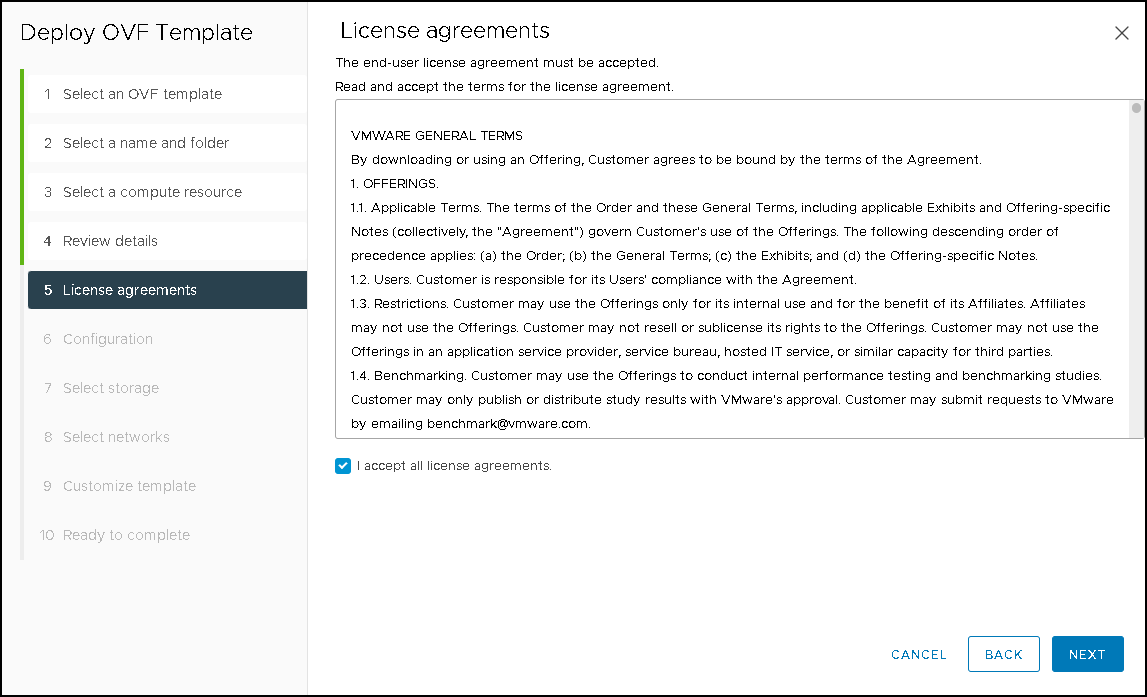
Accept all license agreements and click on NEXT:
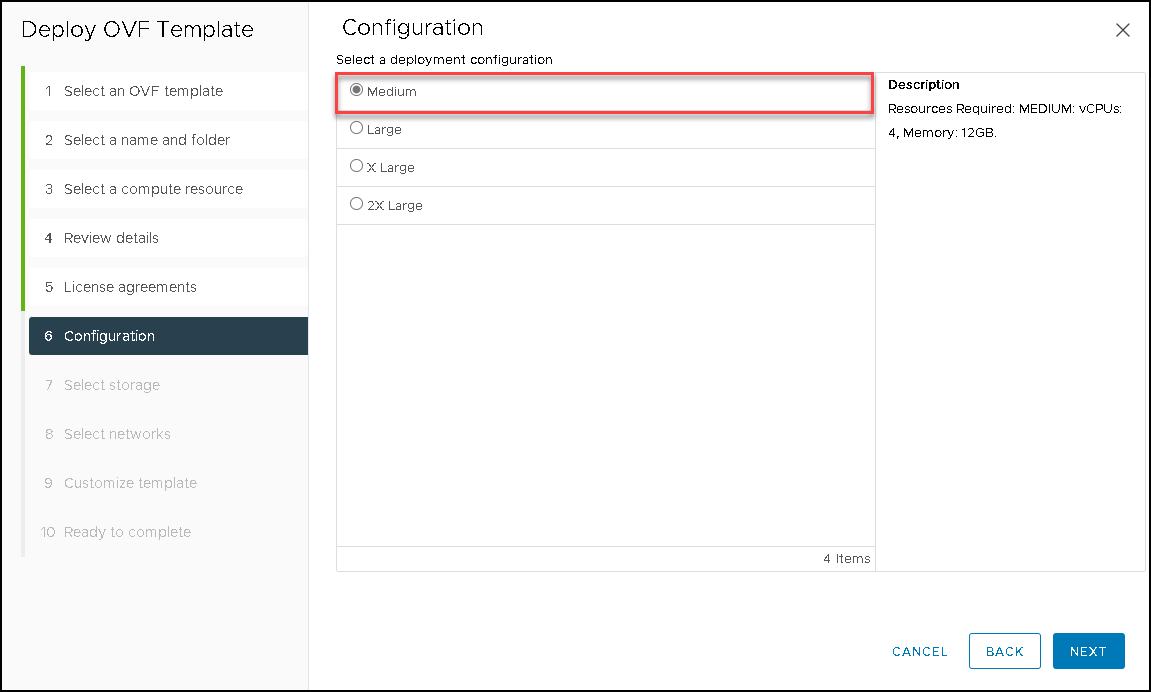
Under configuration, we can choose the deployment size. Each size uses a different combination of CPU and memory. Due to this being a lab, we are using the Medium size. Click on NEXT to continue:

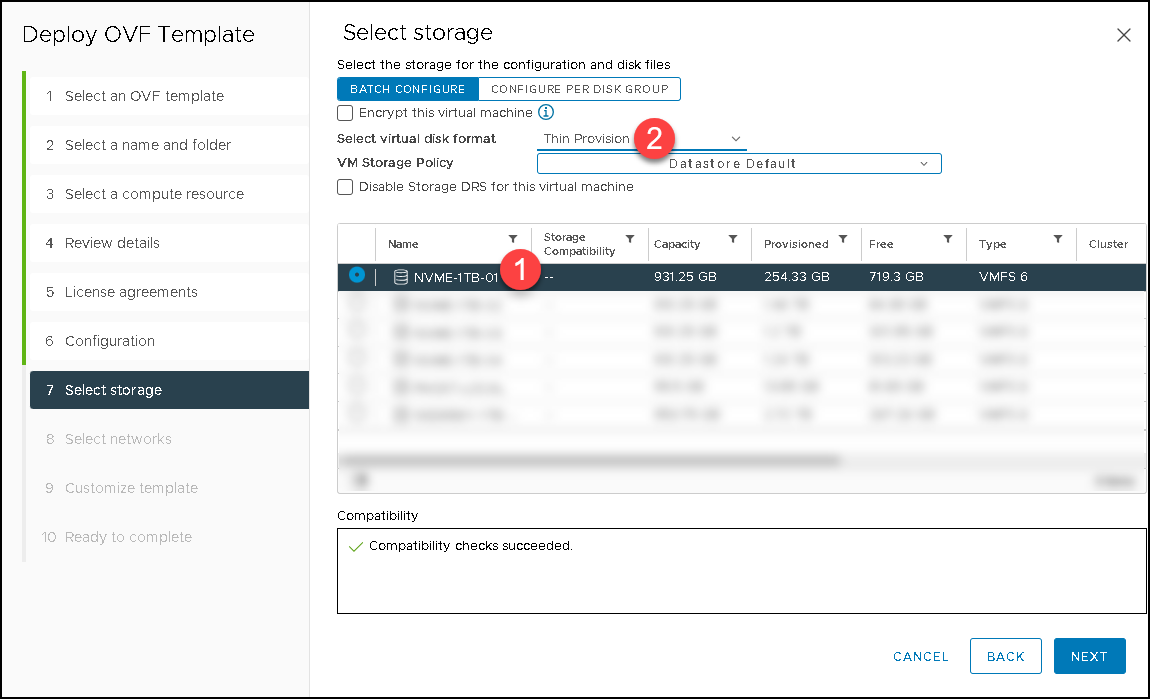
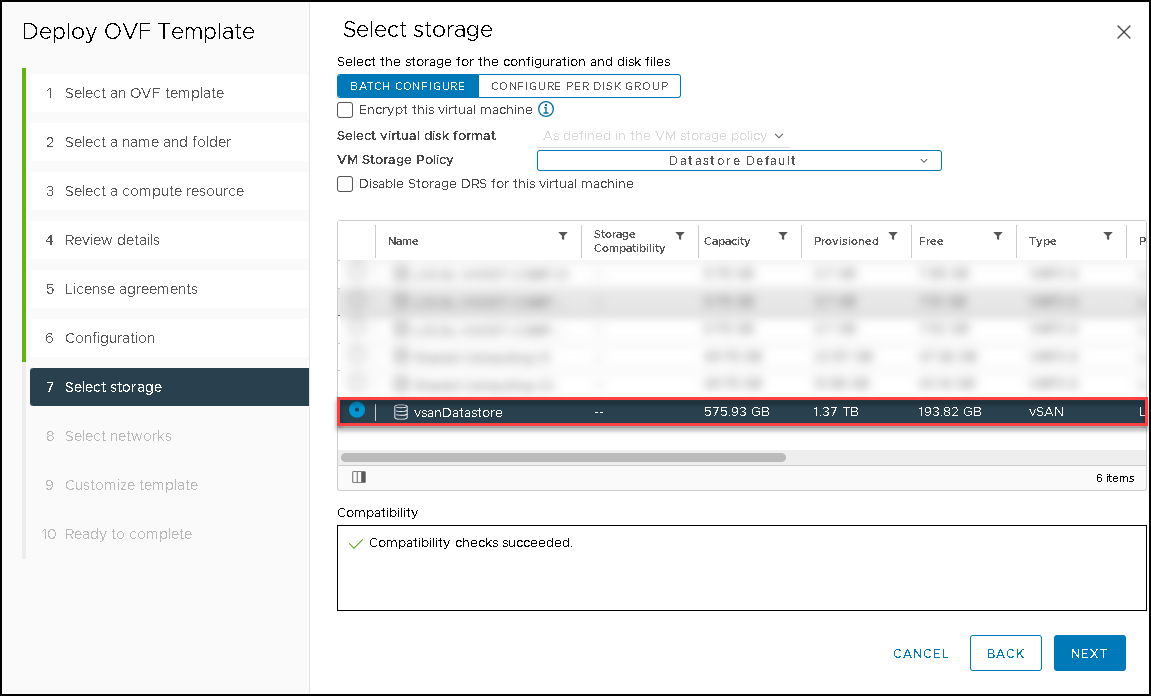
Select the storage. In this case, we are using the Thin Provision as a disk format. Click on NEXT:
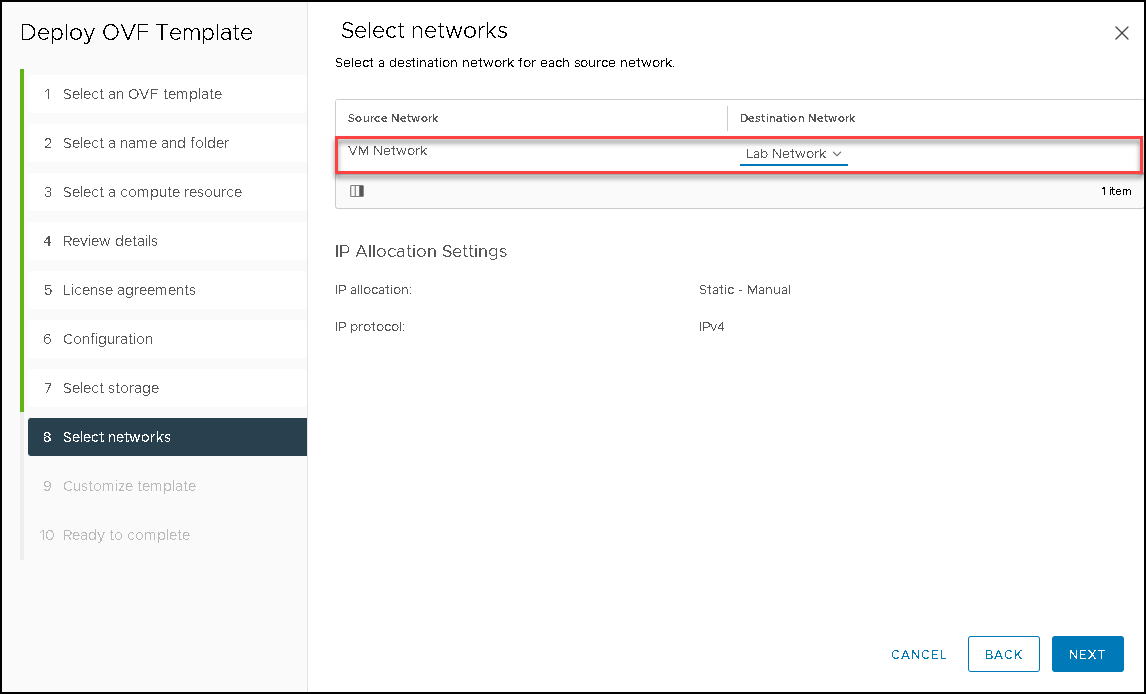
Select the network port group:
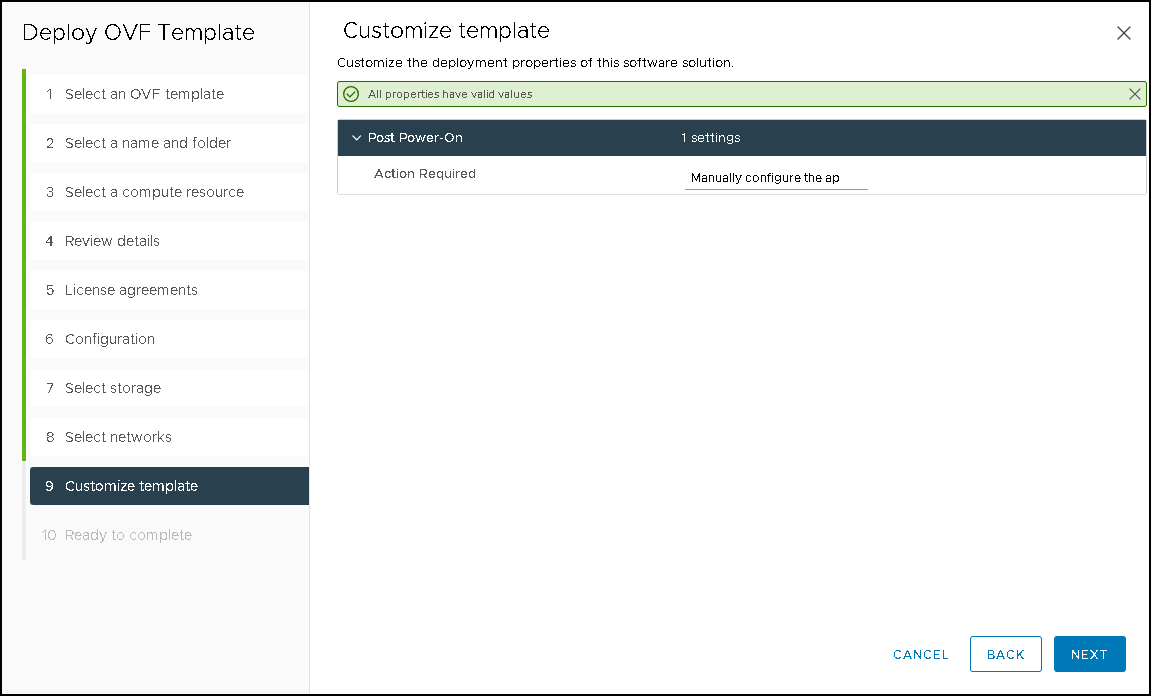
Here, for instance, we can see a message that manual configurations will be needed.
Click on NEXT to continue:
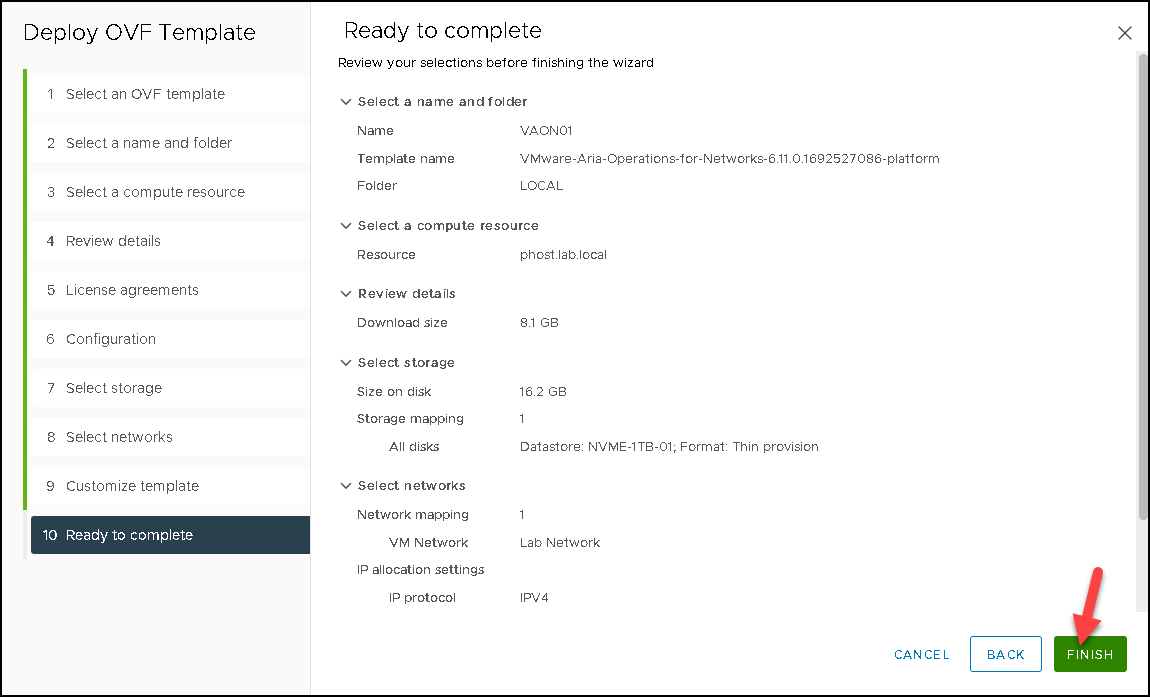
Click on FINISH to start the deployment process:
We can follow this process under the vSphere recent tasks menu:


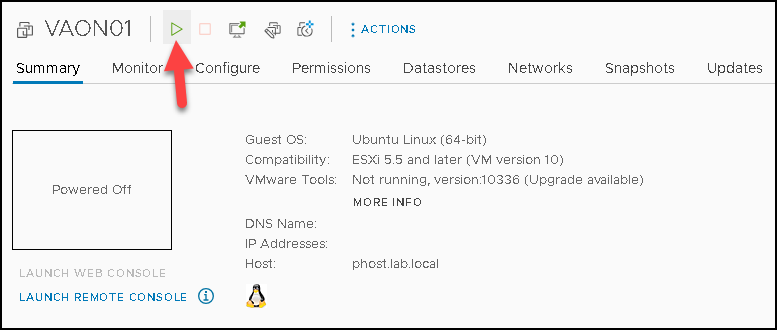
After the deployment is completed, power on the VM:
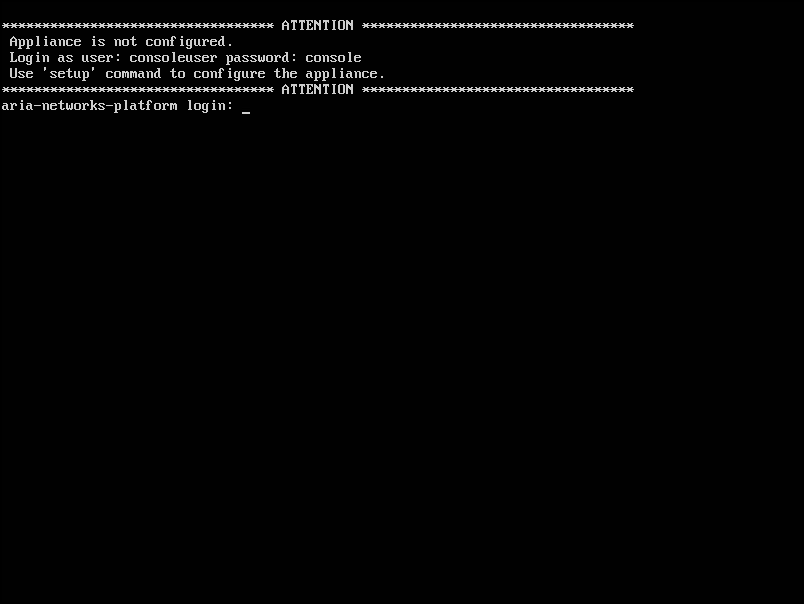
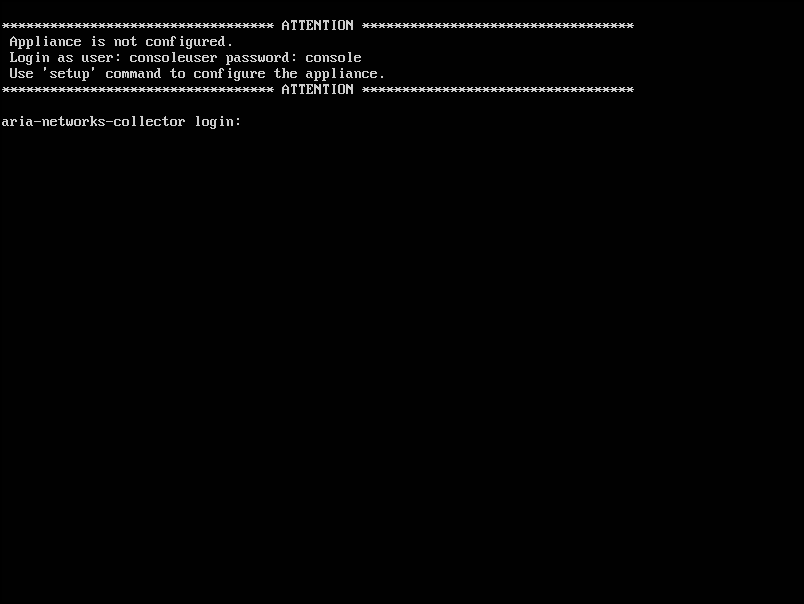
Basically, we have the default user and password to access the VM console.
- Login as user: consoleuser
- Password: console
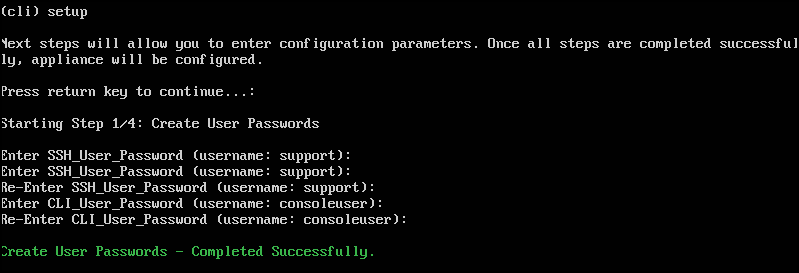
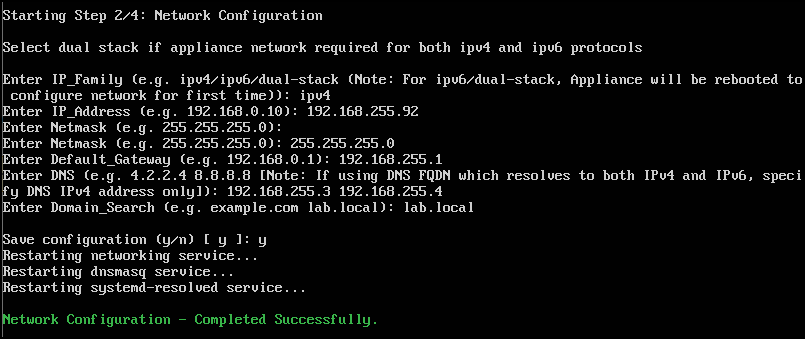
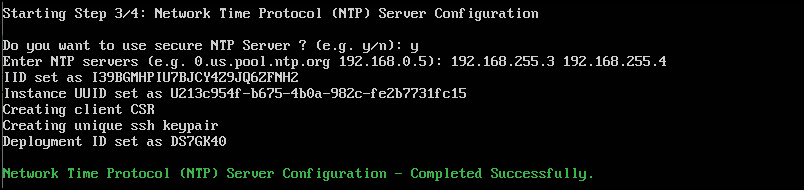
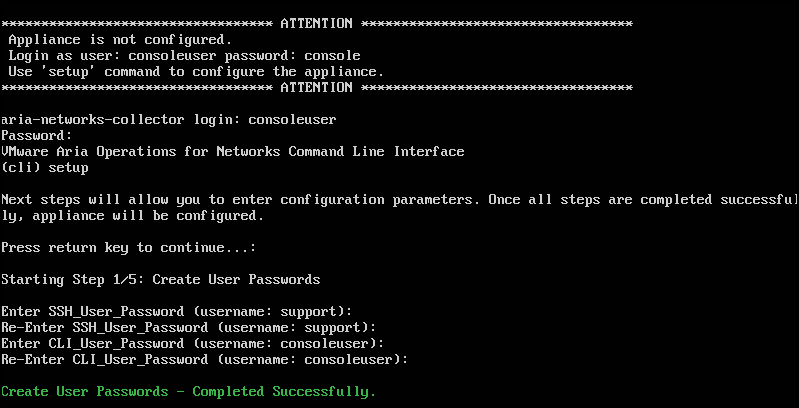
Now we need to set up the initial configuration of the Platform VM. The process is self-explained, but you can follow all the pictures below to help you with that.
Create User Passwords:
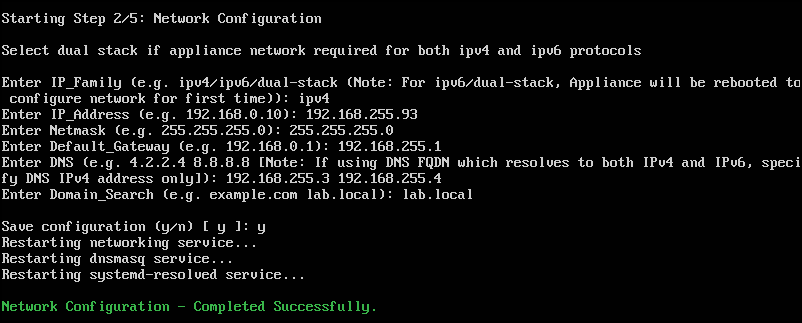
Network Configurations:
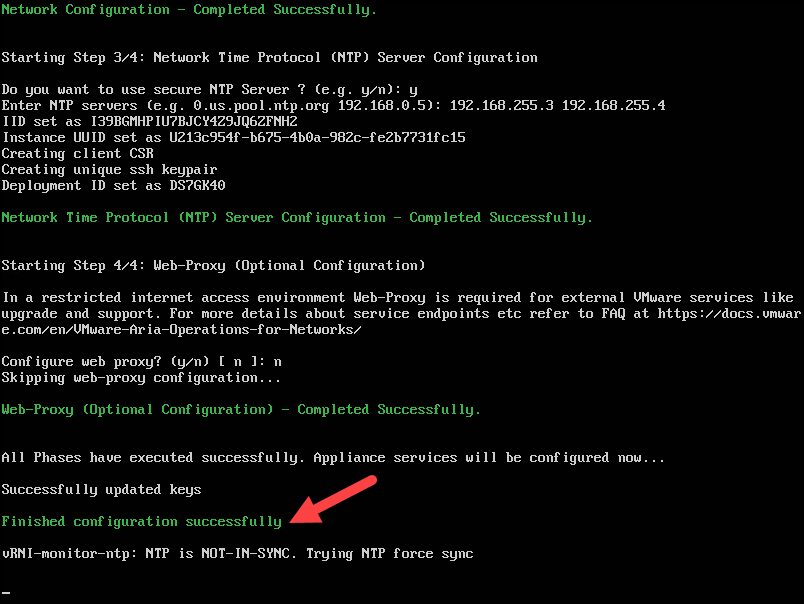
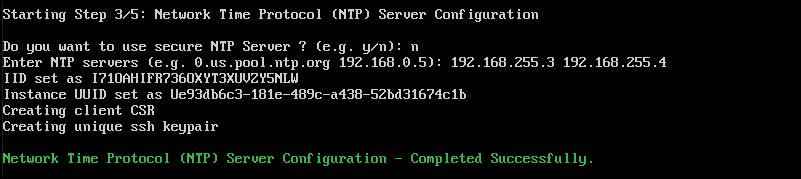
Network Time Protocol (NTP) Server Configuration:
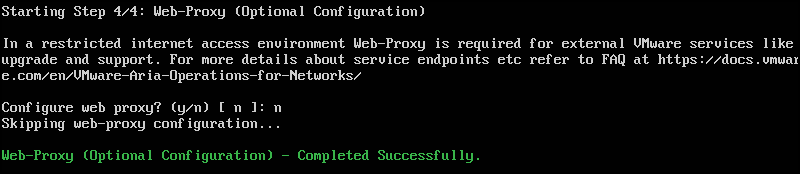
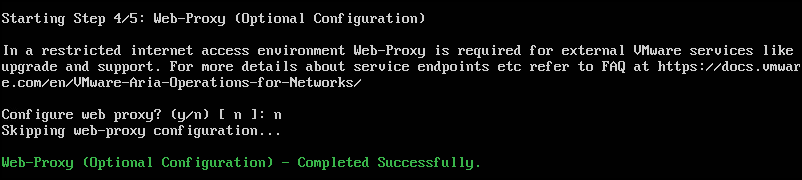
Web-Proxy (Optional Configuration):
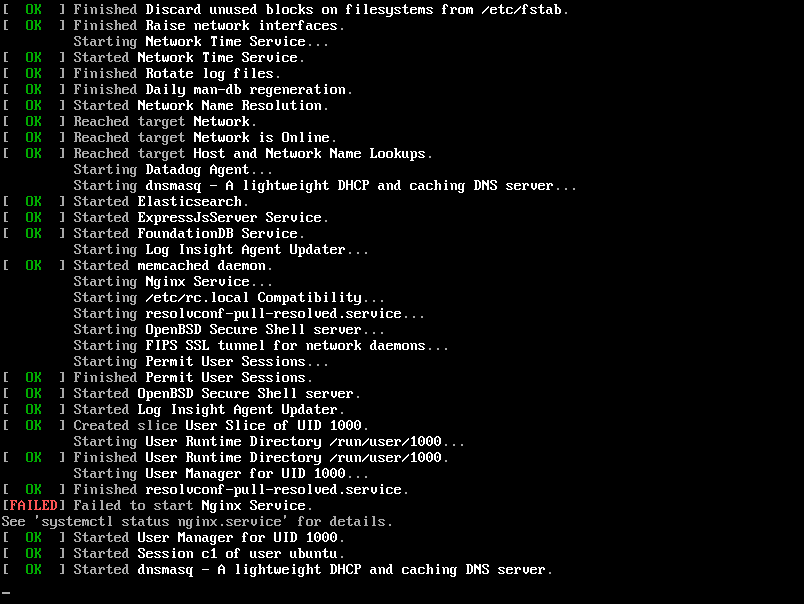
In the next picture, we can see that all initial configurations have been done:
To illustrate, the next step is to access the VMware Operations for Networks using the browser:
https://IP_HOSTNAME_ARIA_FOR_NETWORKS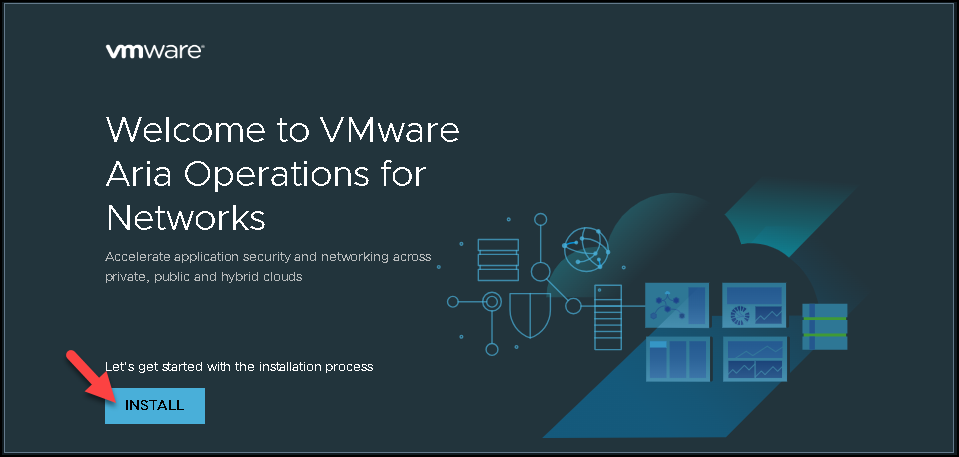
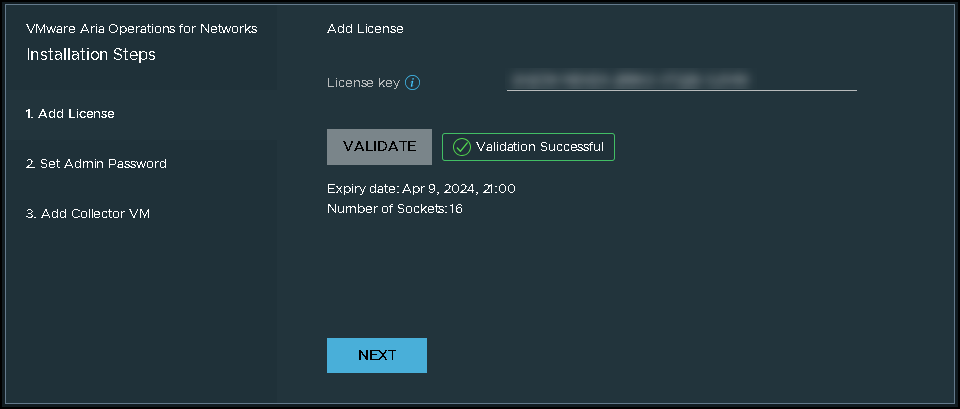
Now that we need to type a valid license and click on VALIDATE:
Set the Admin Password for the user “admin@local”.
On this page, you can get the Collector OVA file and GENERATE the Shared secret key. The Shared secret key will be used to add the Collector VM. You can generate this key and copy it to a safe place:
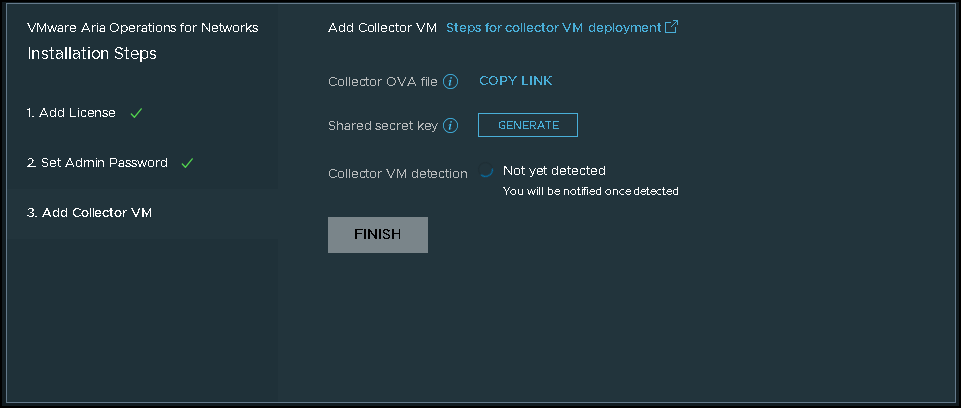
Note: Do not close this page. Now, we need to deploy the Collector VM!
Deploying the Collector Component from OVA
The process to deploy the Collector VM is very similar to the process to deploy the Platform VM:
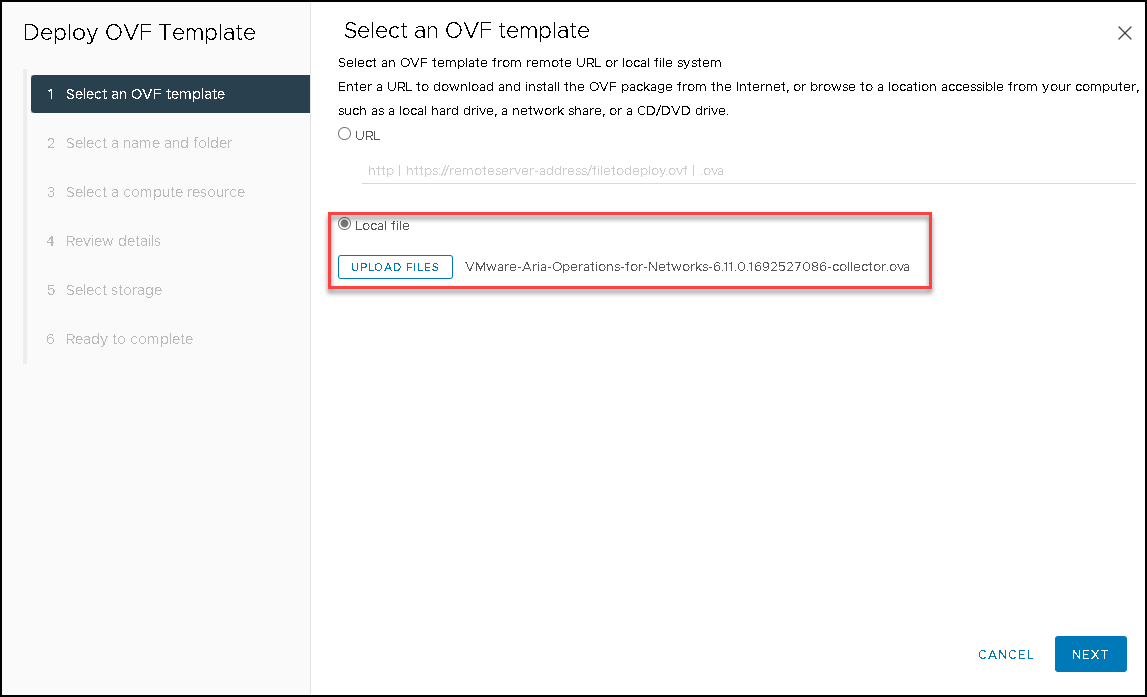
Select the Collector OVA file and click on NEXT:


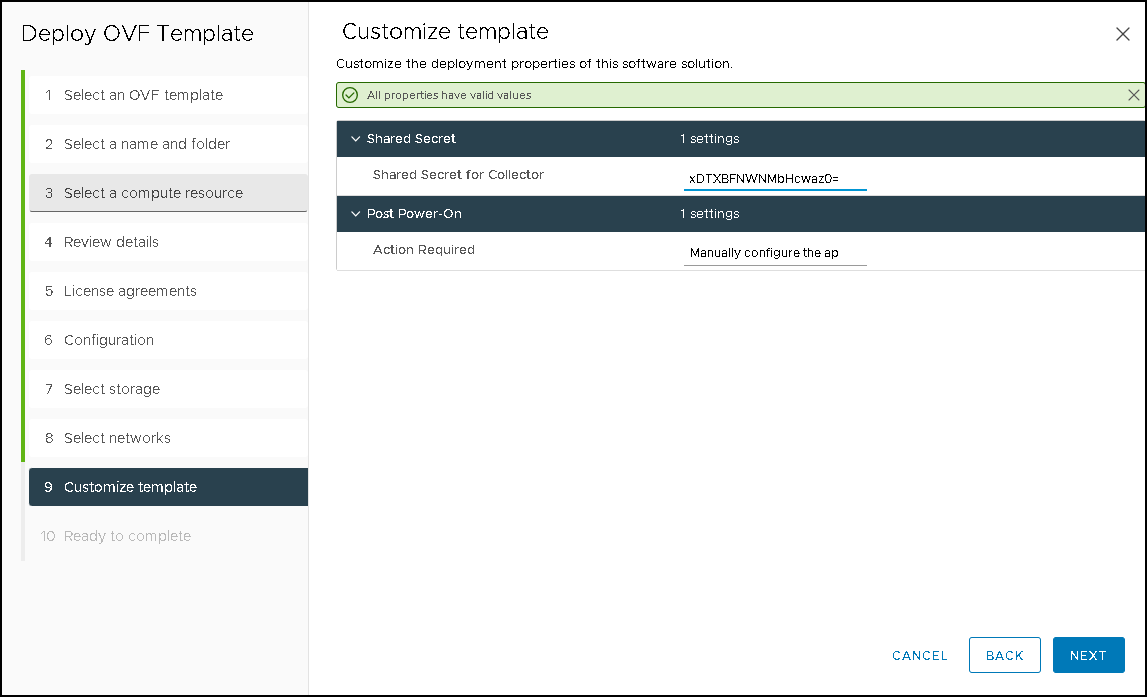
Under the customize template, we need to type the Shared Secret. This key has been generated by the Platform VM:
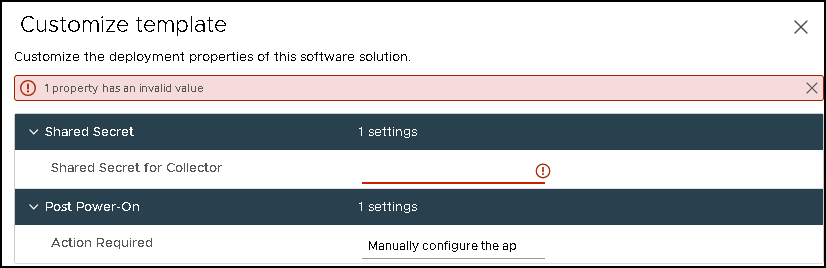
So, type it and click on NEXT:
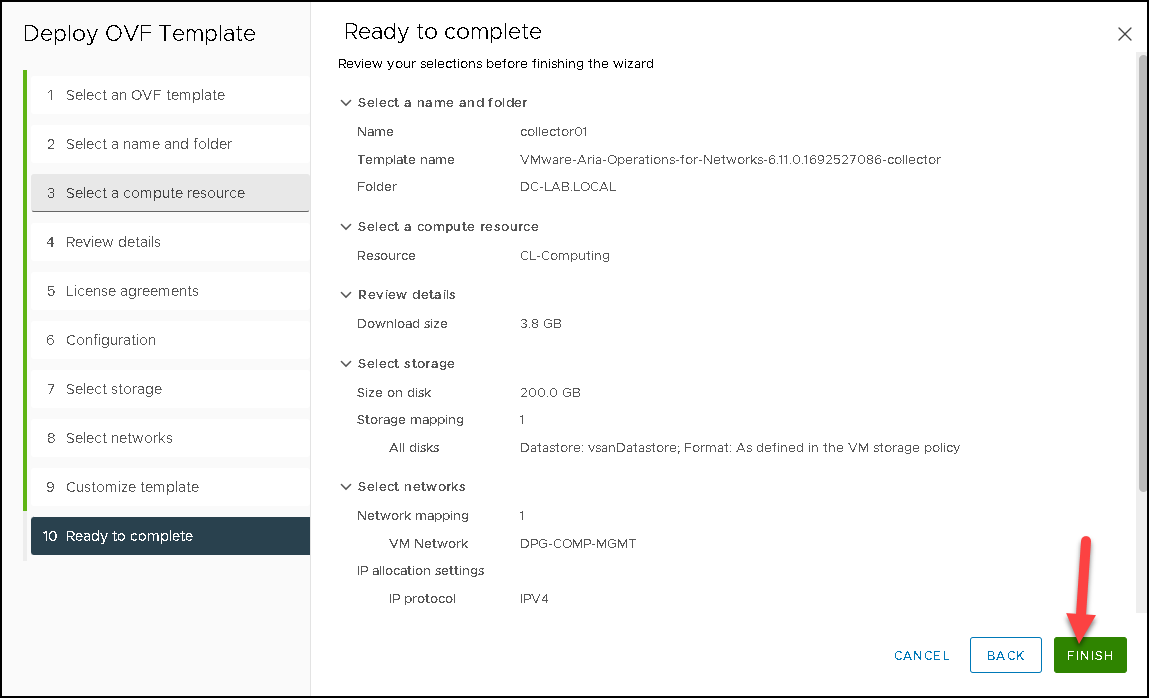
Click on FINISH to start the Collector deployment process:
We can follow the process under recent tasks in the vSphere Client:


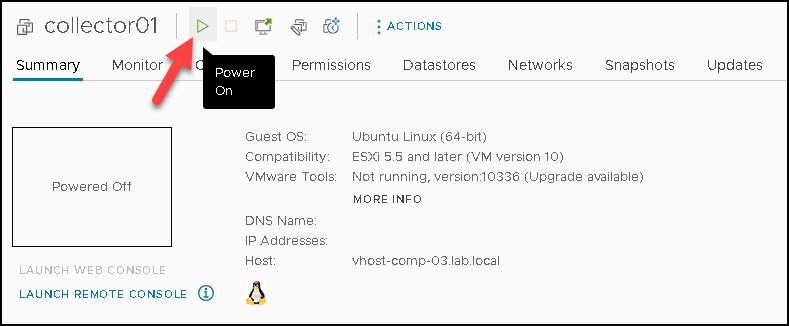
After the process is completed, we can power on the Collector VM:
The initial setup is similar to the setup of the Platform VM. However, you can follow the pictures below to guide you if necessary:
Create User Passwords:
Network Configuration:
Network Time Protocol (NTP) Server Configuration:
Web-Proxy (Optional Configuration):
Here, the initial configuration is finished:
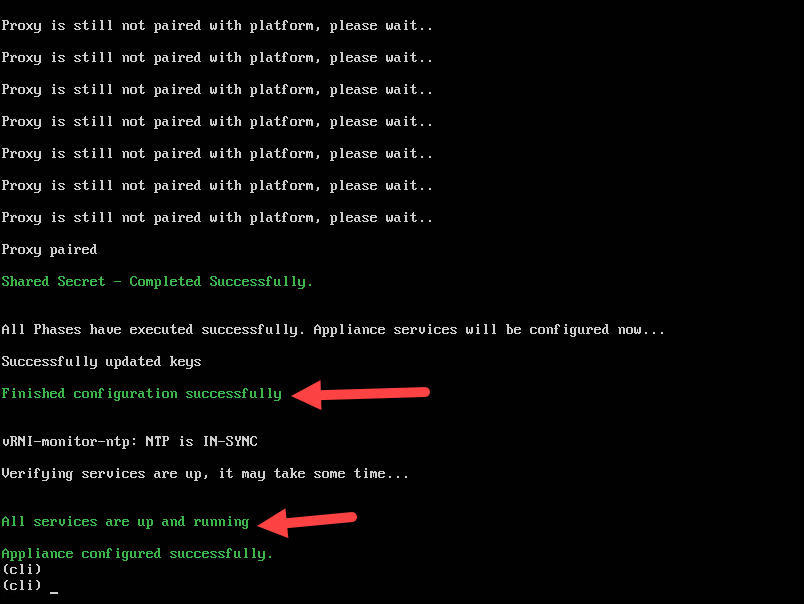
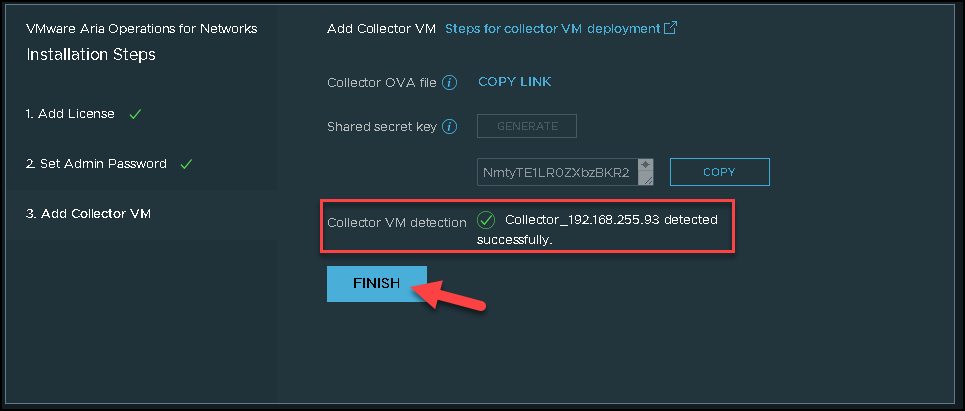
We can go back to the Platform VM UI and see that the Collector VM detection is done successfully 🙂
Click on FINISH:
Accessing the VMware Aria Operations for Networks UI
Finally, we can access the UI by typing https://IP_FQDN.
The admin user is: admin@local
The password has been set during the Platform VM setup:
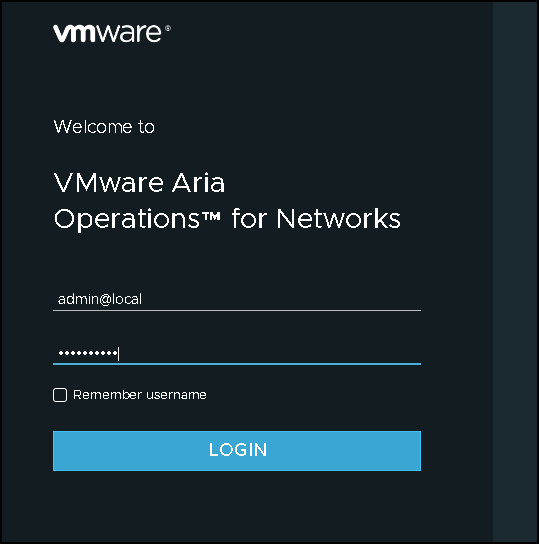
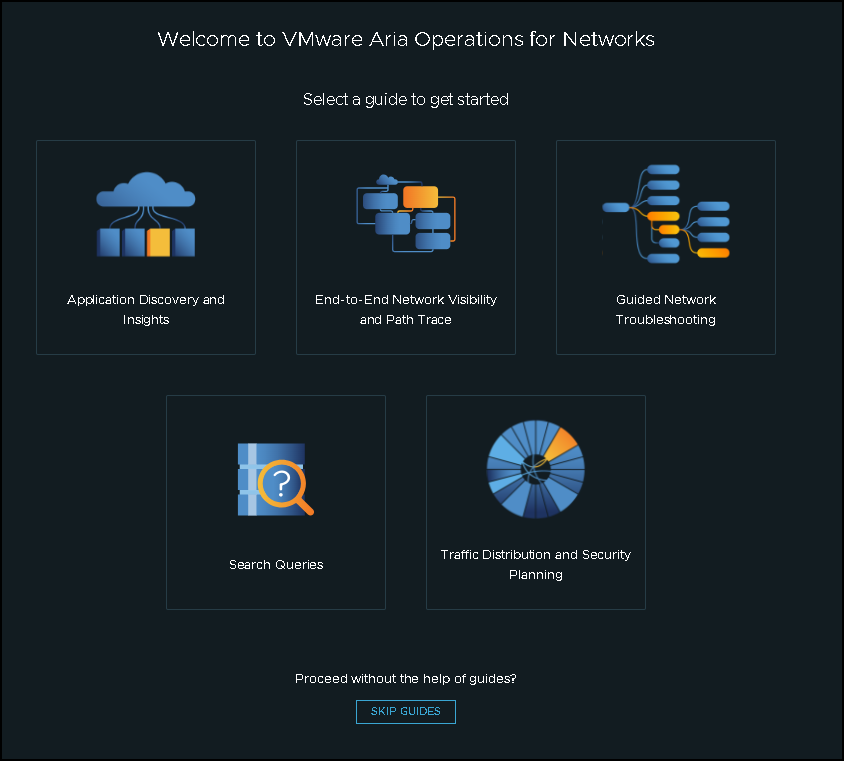
So, there we are 🙂
At this point, the Platform and Collector VM have been deployed and we can start to use this powerful solution 🙂