Expanding the PowerFlex Cluster with New Disks shows how to add new disks to current SDS devices.
Our PowerFlex cluster is running on a nested environment. So, all steps demonstrated here are not in a production environment. The PowerFlex cluster is 4.5.2, and all nodes are CentOS-based!
Currently, which disks are used on each SDS?
1- Access the MDM primary node by SSH and execute the following command:
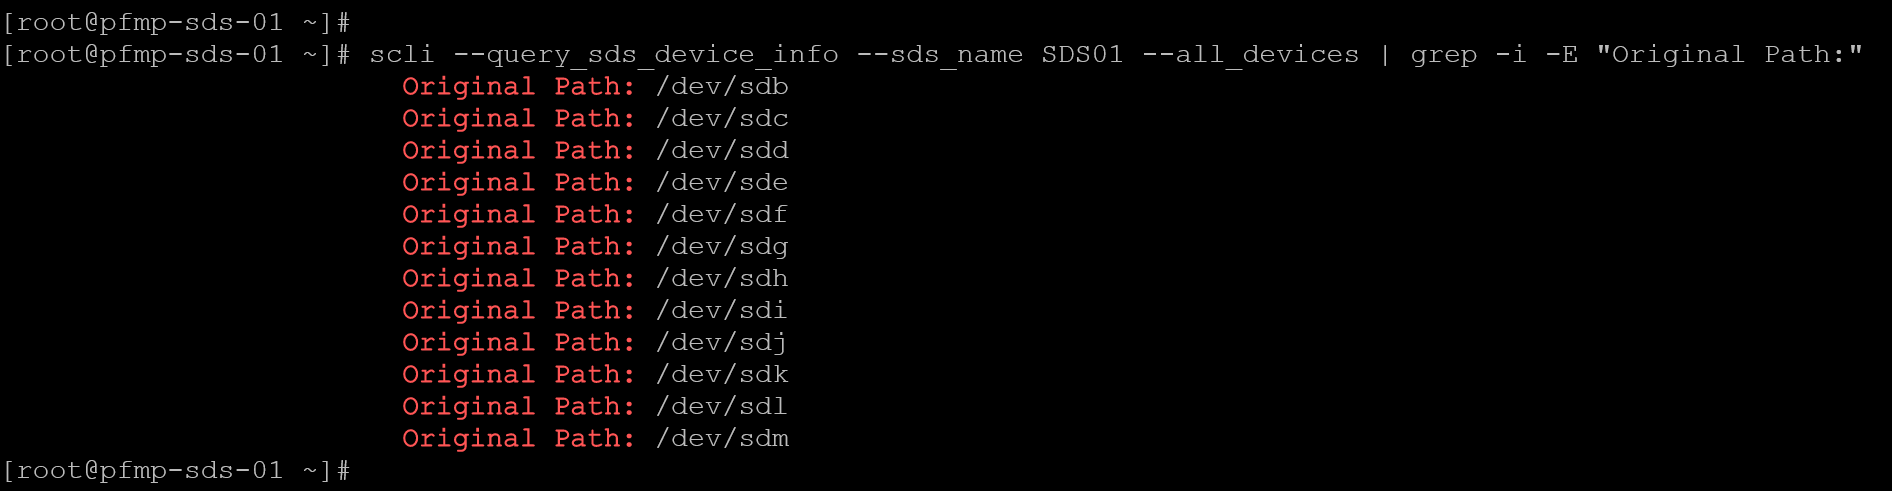
scli --query_sds_device_info --sds_name SDS01 --all_devices | grep -i -E "Original Path:"As we can see in the following picture, we have disks from /dev/sdb to /dev/sdm:
The following command can be executed to list all attached disks:
lsblk --pathAs we can see in the following picture, the disks /dev/sdn and /dev/sdo are attached to the system; however, they are not in use in the PowerFlex cluster:
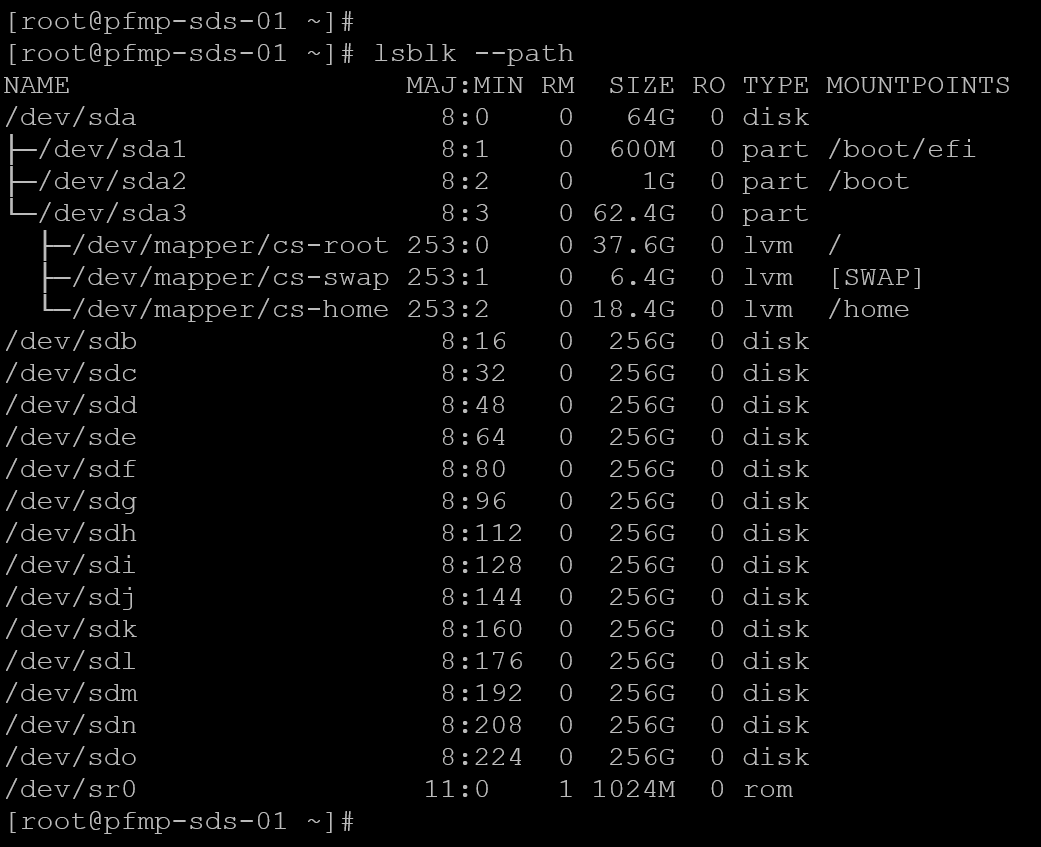
So, in this case, the disks /dev/sdn and /dev/sdo are available to add to the PowerFlex cluster!
2- Adding both disk devices:
scli --add_sds_device --sds_name SDS01 --protection_domain_name PD01 \
     --storage_pool_name SP01 --device_path /dev/sdn --device_name SDS01-sdn

scli --add_sds_device --sds_name SDS01 --protection_domain_name PD01 \
--storage_pool_name SP01 --device_path /dev/sdo --device_name SDS01-sdoNote: Replace the sds name, protection domain, storage pool, device path, and device name to reflect your details!

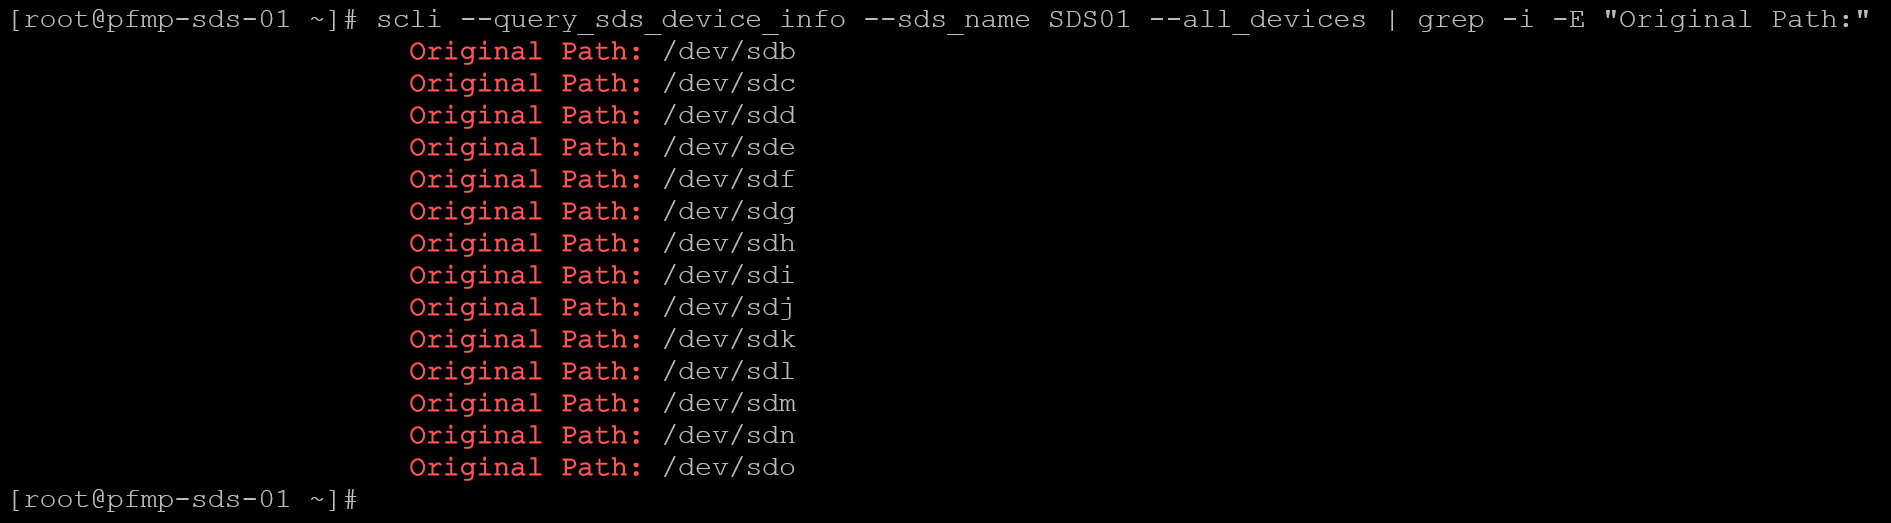
3-Afterward, both disks /dev/sdn and /dev/sdo are in use, as we can see in the following picture:
4- Repeat the same tasks on all SDS devices!
That