How to Install VyOS Router in a Lab Environment is an article that shows how to install the VyOS Open Source Router.
So, I have been searching for some router solutions to install in my virtual lab environment just to integrate with my NSX-T environment. I found some solutions but I’m really impressed with the VyOS. I did not know about VyOS and I highly recommend you to know more about it. In the below link, you can read more about it:
VyOS – Open source router and firewall platform
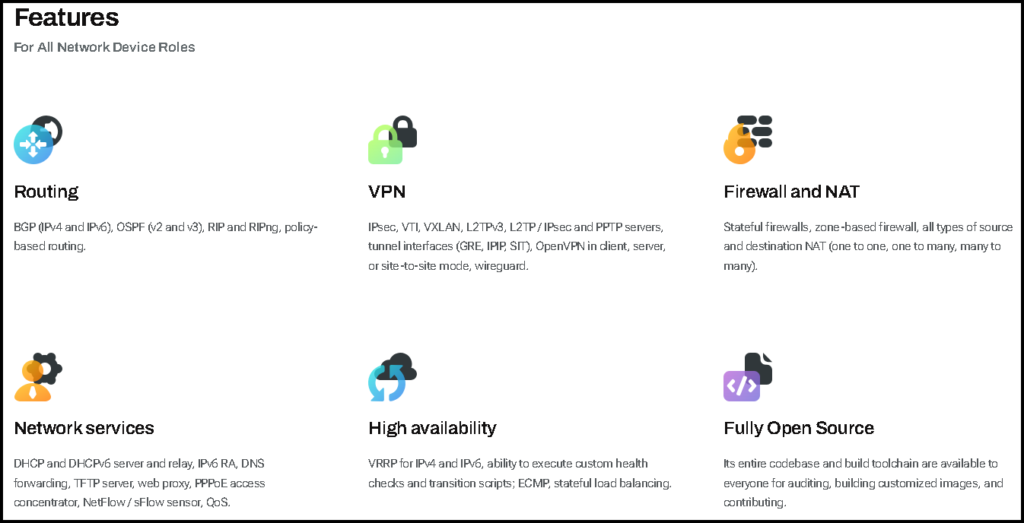
Below, there are some interesting features that are available on VyOS:
- Routing – BGP (IPv4 and IPv6), OSPF (v2 and v3), RIP and RIPng, policy-based routing
- VPN – IPSec, VXLAN, GRE, OpenVPN client/server, etc
- Firewall and NAT – Stateful firewall, zone-based firewall, NAT
- Network Services – DHCP and DHCPv6, DNS Forwarding, TFTP Server, PPPoE concentrator, Netflow, etc
- High Availability – VRRP for IPv4 and IPv6, ECMP, etc
- Fully Open Source – full open code

Downloading the VyOS Installation File
We are using the free download “.iso” file available under the Download option on the VyOS website:

I detected that new VyOS builds are released fast. So, you can download the latest version available. In our lab environment, we are using the build highlighted below:

Installing the VyOS Router
In our environment, we have a three-node cluster. To store and manage our “.iso” files, we have a vSphere Content Library. So, we just imported the VyOS “.iso” file inside the Content Library:

The next steps we are showing how to create a Virtual Machine for the VyOS:

Type the VM name:

Select the datastore:

Here, we need to select the Guest OS Family and the Guest OS Version. In this case, I selected:
Linux as the Guest OS Family
Debian GNU/Linux 10 (64-bit) as the Guest OS Version

On “New CD/DVD Drive” we need to select the VyOS “.iso” file and then, mark the option “Connect” to connect the “.iso” file when the VM is powered on:

After that, we have the review all the options that we selected. We need just click on FINISH:

By default, VyOS is booting with a “Live system”, running directly from the RAM memory. Just type ENTER to continue the boot process:


Type the username and password to log in:

To install the VyOS on disk, we need to type the command:
install image
After that, only follow the wizard:


Here, the VyOS is starting from disk:

Typing the username and password and that’s it. We finished the VyOS installation process:
