Installing Apache with PHP on Debian 11 is an article that shows all the necessary steps to install the web browser Apache with PHP support on Debian 11.
Apache is one of the most common web servers around the world. It can be used to provide access to a website, a web application, or something like that. Our aim here is just to show all the necessary steps to install this web server.
First and foremost, we have written an article explaining how to install the Linux Debian 11 in a lab environment. If you want to know more about that, access the below link:
https://dpcvirtualtips.com/installing-linux-debian-11/
Applying All Pending Updates on Debian 11
Firstly, we need to access the Debian 11 by SSH. We can use the following command just to check if the SSH daemon/service is running:
systemctl status ssh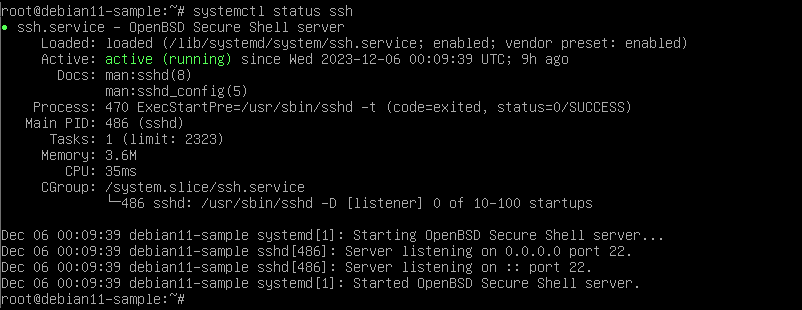
In your case, if the SSH daemon is not running or not installed, you can install it with the following command:
apt install openssh-serverSecondly, access the Debian 11 by SSH and apply the commands to update the system. By default, the user root cannot have permission to access the OS by SSH. You can choose it by editing the SSH configuration file:
vi /etc/ssh/sshd_config

FROM:
PermitRootLogin prohibit-password

TO:
PermitRootLogin Yes

systemctl restart ssh
Applying all pending updates:
apt update
apt upgrade
Installing the Apache Server
Now, we need to install the web server Apache:
apt install apache2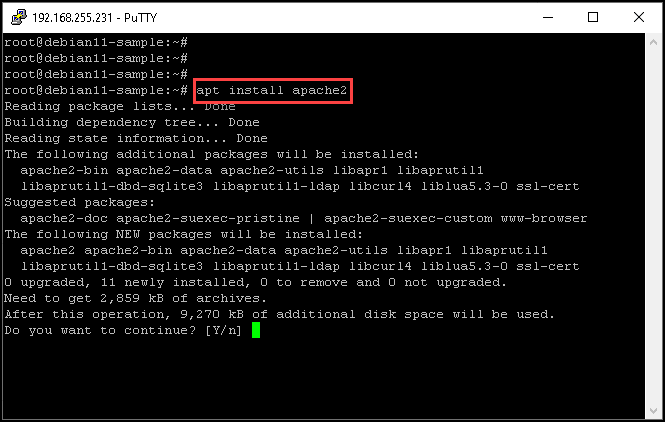
After that, we should check if the Apache2 service is running:
systemctl status apache2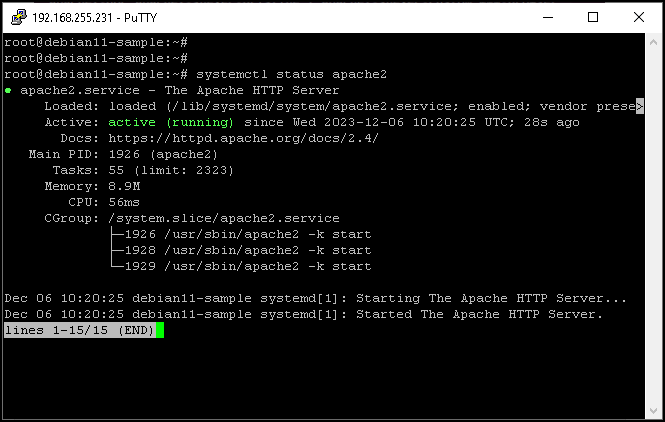
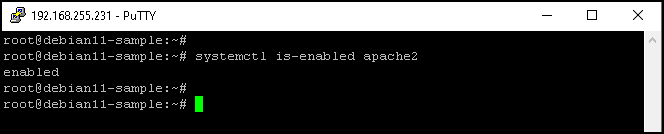
Additionally, we should check if the Apache2 service is configured to start at the VM boot. In this case, for instance, the Apache2 is already enabled:
We can test the access to the default web page provided by our web server. Install the curl application and execute the below test. To install the curl application:
apt install curlTo execute the test just to validate if the web server is working fine and accept connections:
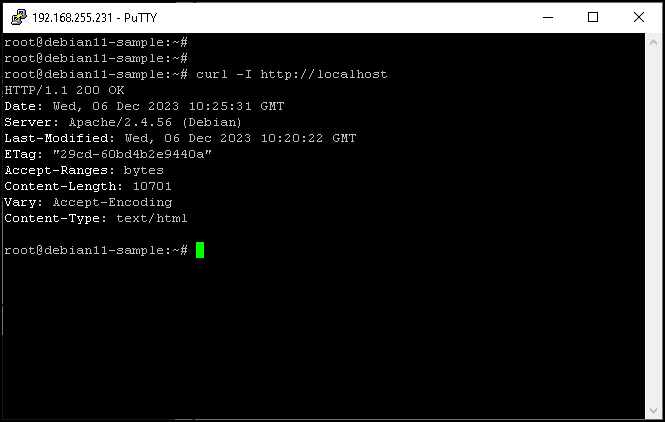
curl -I http://localhostAs we can see in the below picture, we received an “HTTP 200” answer. This means that our web server is working fine:
Installing the PHP Support for our Debian 11
How we are installing the PHP. Firstly, we need to enable all repositories that will be used to install PHP.
Execute the following commands for doing that:
apt install lsb-release ca-certificates

curl -sSLo /usr/share/keyrings/deb.sury.org-php.gpg https://packages.sury.org/php/apt.gpg

sh -c 'echo "deb [signed-by=/usr/share/keyrings/deb.sury.org-php.gpg] https://packages.sury.org/php/ $(lsb_release -sc) main" > /etc/apt/sources.list.d/php.list'

apt update
Next, install the PHP module for Apache:
apt install libapache2-mod-php8.2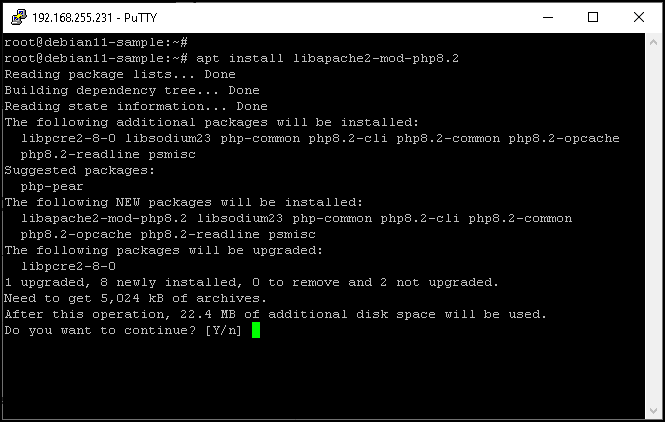
Checking the PHP version:
/usr/bin/php -v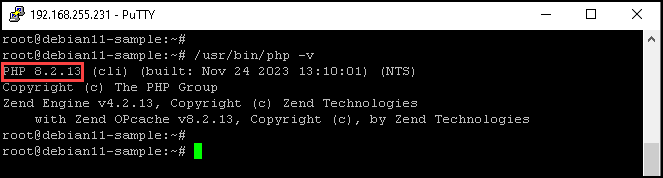
Accessing a Web Page Provided by our Web Server
Finally, we will check if the web server is working properly.
By default, the home directory for the web server Apache files is /var/www/html/.
We will access this directory and create a small file just to test the web server and, of course, test if the PHP is working fine with Apache2:
cd /var/www/html/Under this directory, rename the default web server file and create one file “index.php”:
mv index.html index.html.backup

touch index.php
Edit the index.php file and put the following content in:
<?php
phpinfo();
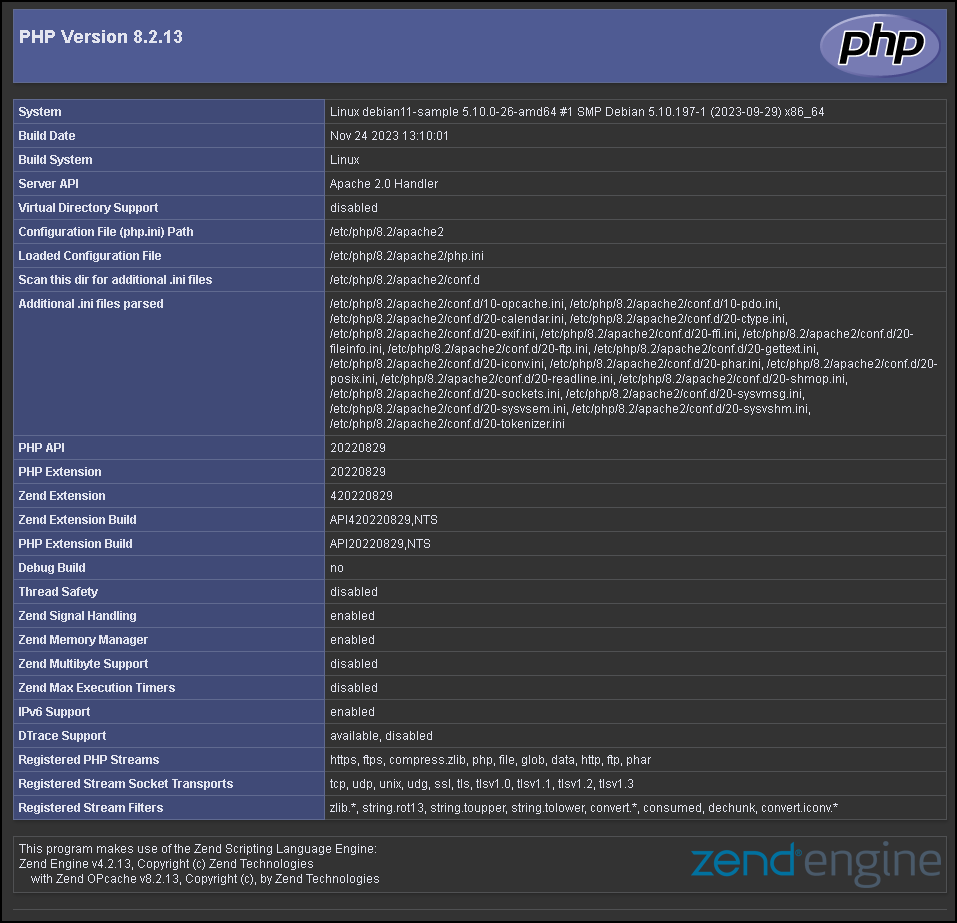
?>Lastly, from a web browser, access the web server and check the results. The expected result is to see the PHP page, as we can see in the following picture:
Wrapping This Up
If you can see the PHP page as we can show in the above picture, your web server was installed correctly and the PHP is working fine with the web server 🙂
Now, you can create your pages and host them on your web server 🙂