Installing Linux Debian 11 is an article that shows how to install the Linux Debian 11 step-by-step.
First and Foremost, Where Can I download the Debian 11 installation file?
For this article, we are using the Debian 11.0.0 x64 version. You can download the installation file at the following link:
https://cdimage.debian.org/mirror/cdimage/archive/11.0.0/amd64/iso-cd/debian-11.0.0-amd64-netinst.iso
About Our Environment
So, we are installing the Linux Debian 11 in a lab environment. We are using a nested virtual environment and the following steps were made using the vSphere Client interface. However, you can use your preferred platform to install this OS. Our aim here is to provide all the necessary steps just to install the Debian 11. Of course, you can reach me in case of trouble or additional questions.
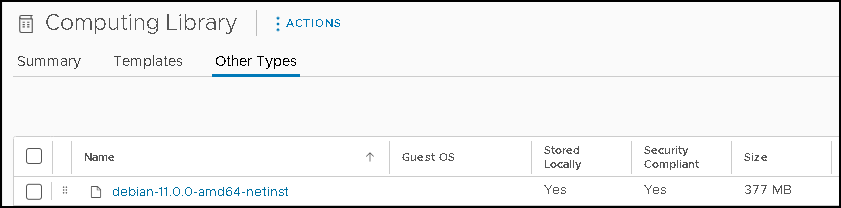
After downloading the Debian 11 installation file, we already put it in a Content Library:
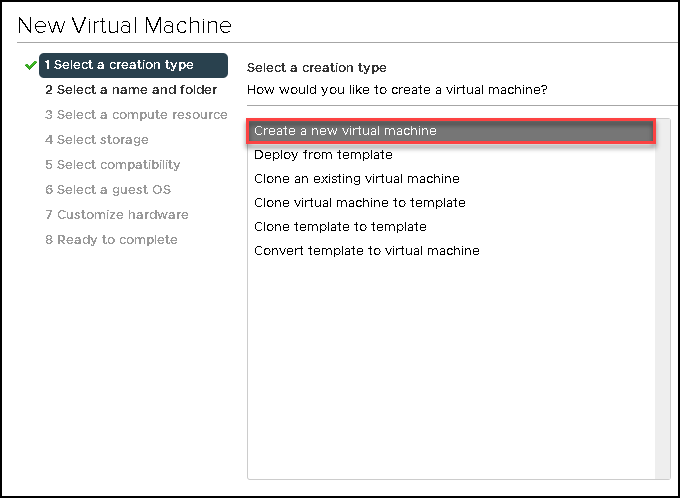
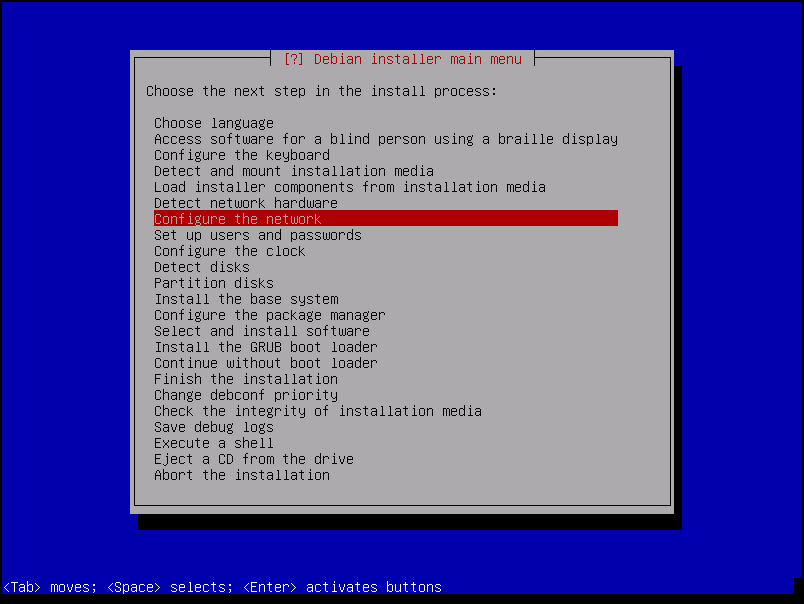
Creating the Virtual Machine on the vSphere Client
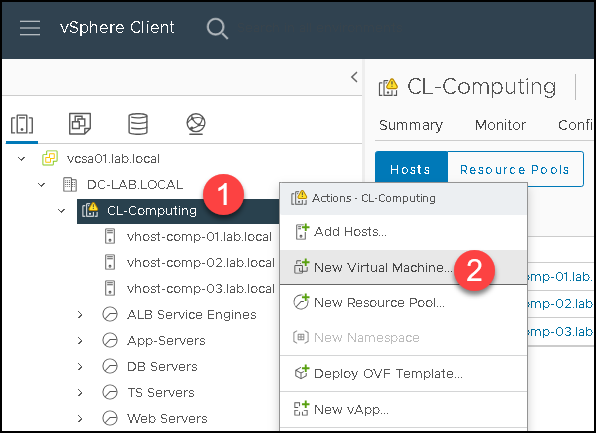
Firstly, right-click on the cluster and select the option “New Virtual Machine” just to start the virtual machine creation wizard:
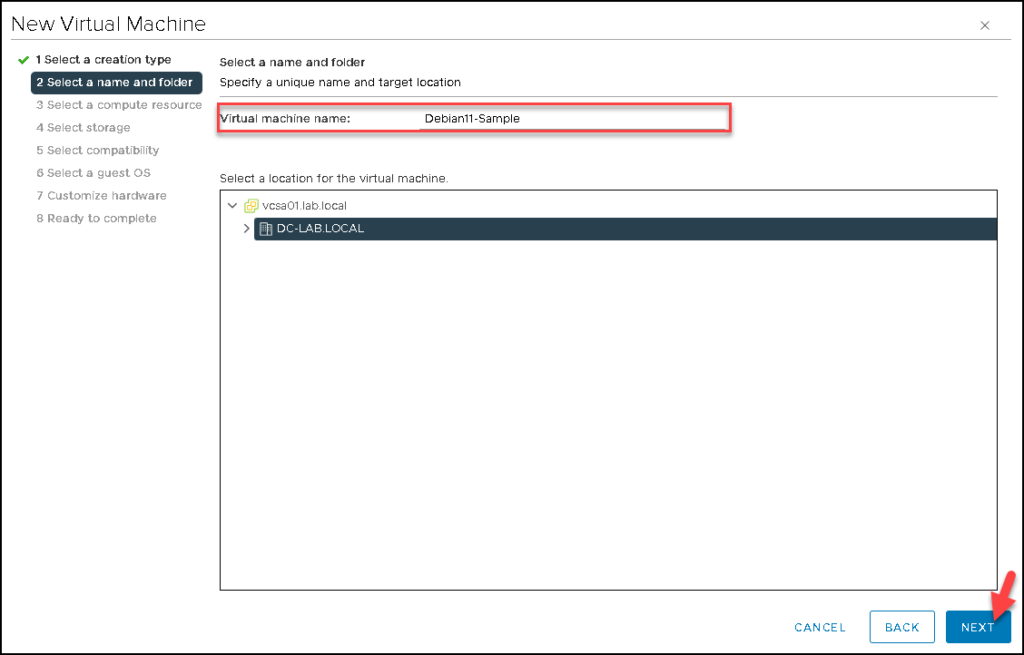
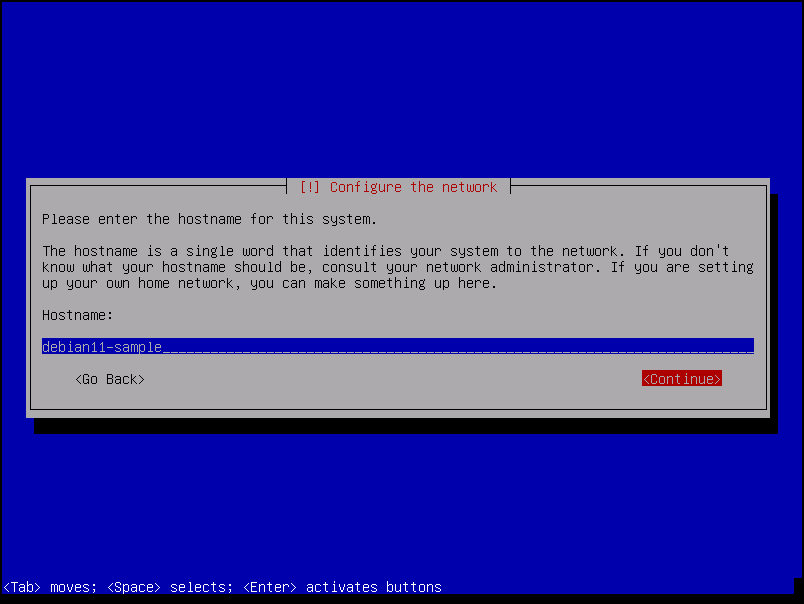
Type the virtual machine name and click on NEXT to continue.
In this case, for instance, the VM name is “Debian11-Sample” (feel free to type your desired VM name here):
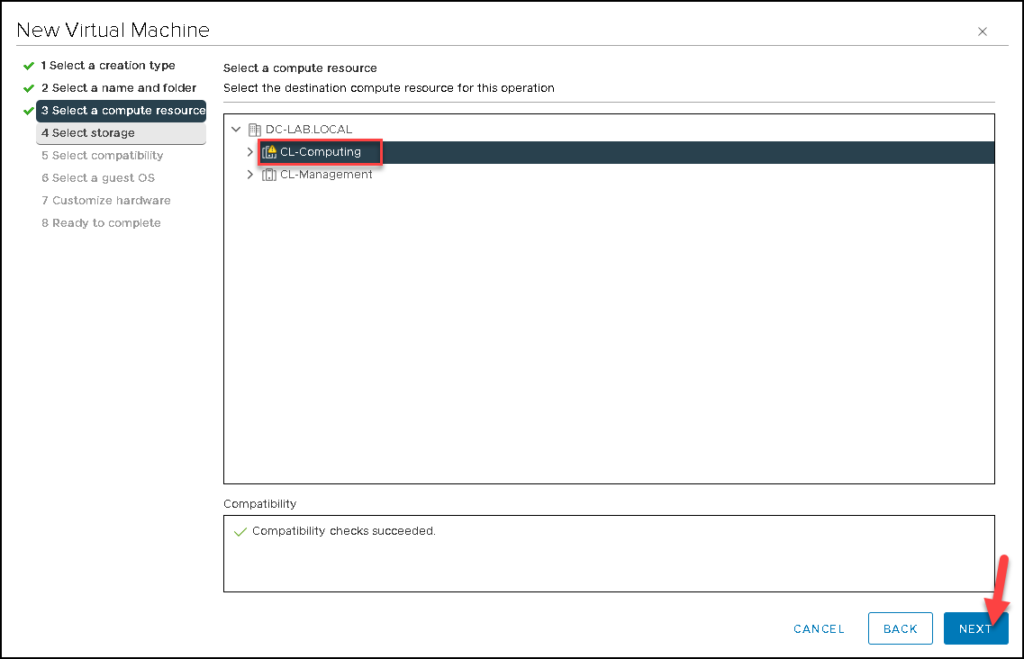
Select the destination compute resource where this VM will run. In our case, for instance, we are selecting the cluster “CL-Computing”. Click on NEXT to continue:
Note: If you are not using the DRS resource or if this resource is not enabled on the cluster, you will probably need to select the specific host instead to select the cluster!
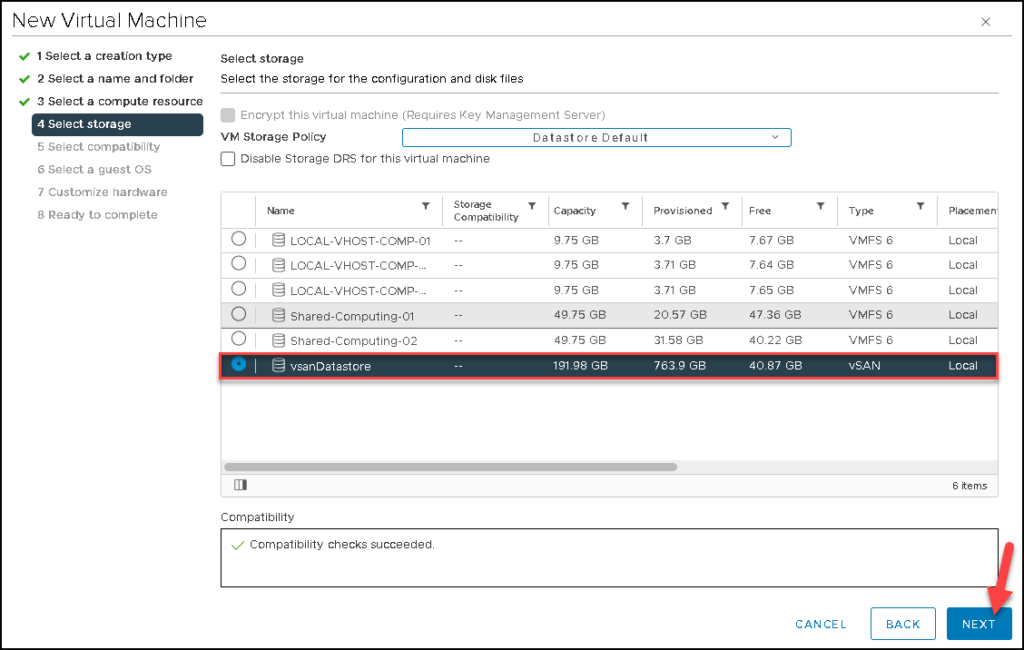
Select the storage for the VM configuration and disk files.
In this case, we are using the “vsanDatastore” as our Datastore. Click on NEXT to continue:
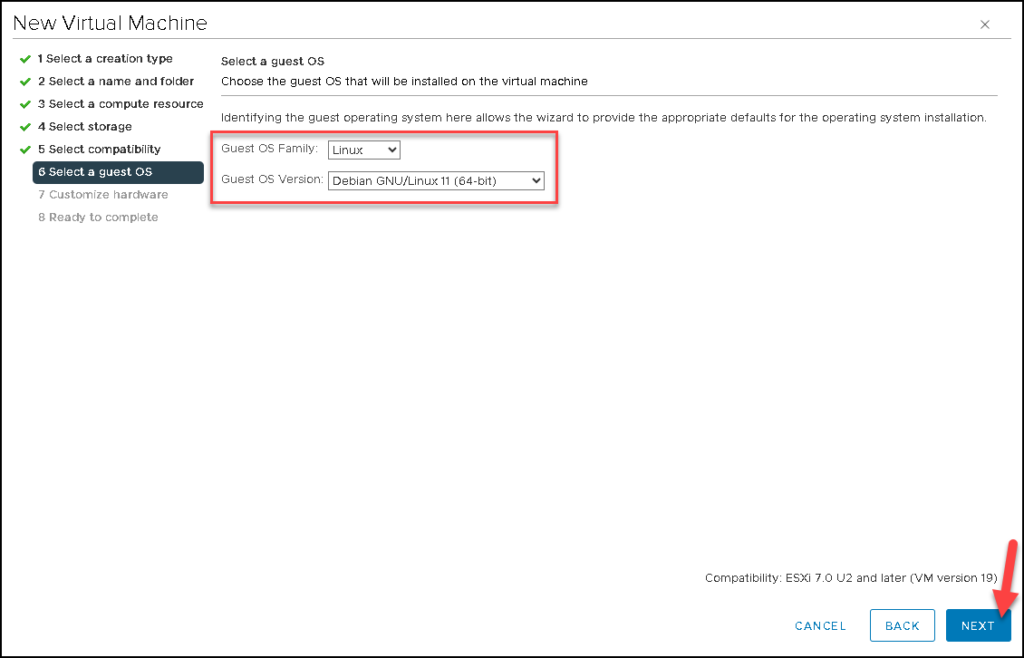
Under this page, we need to specify what is the Guest OS Family and the Guest OS Version.
Look to select the correct Guest OS as we can see in the below picture. Click on NEXT to continue:
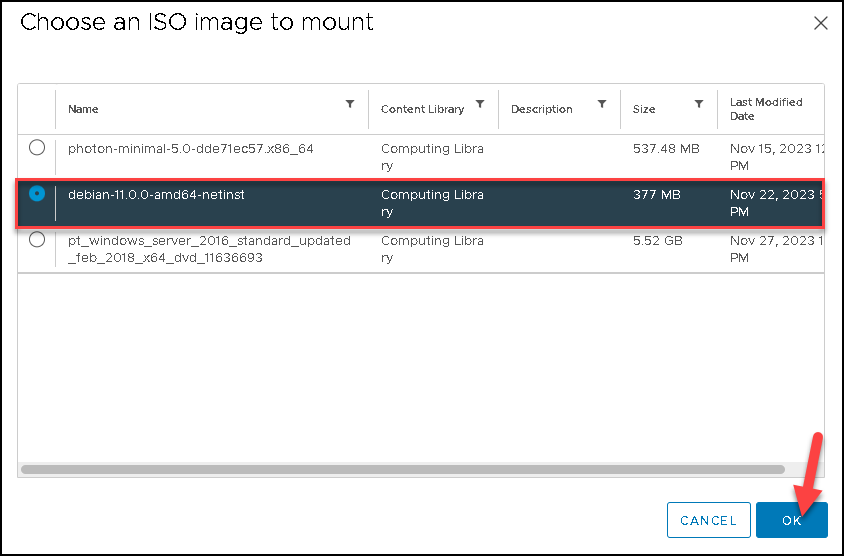
Under “New CD/DVD Drive”, select “Content Library ISO File” just to select the Debian 11 installation file. As we can say before, the Debian 11 installation file is stored in a vSphere Content Library:
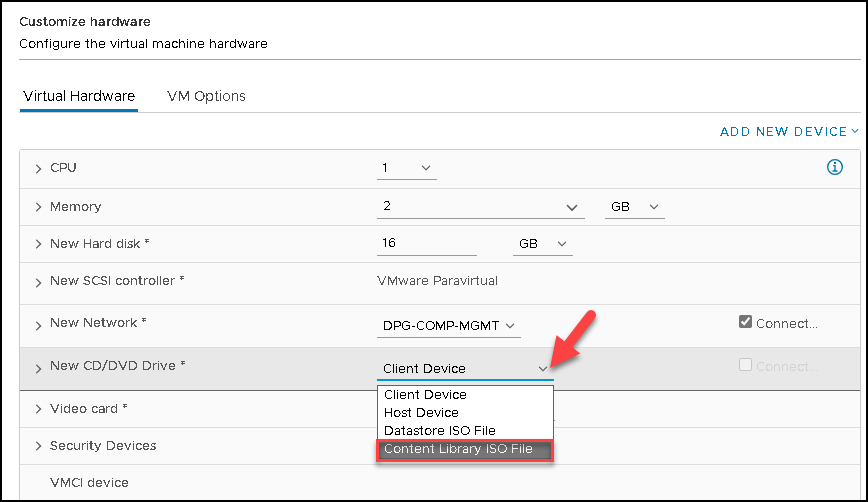
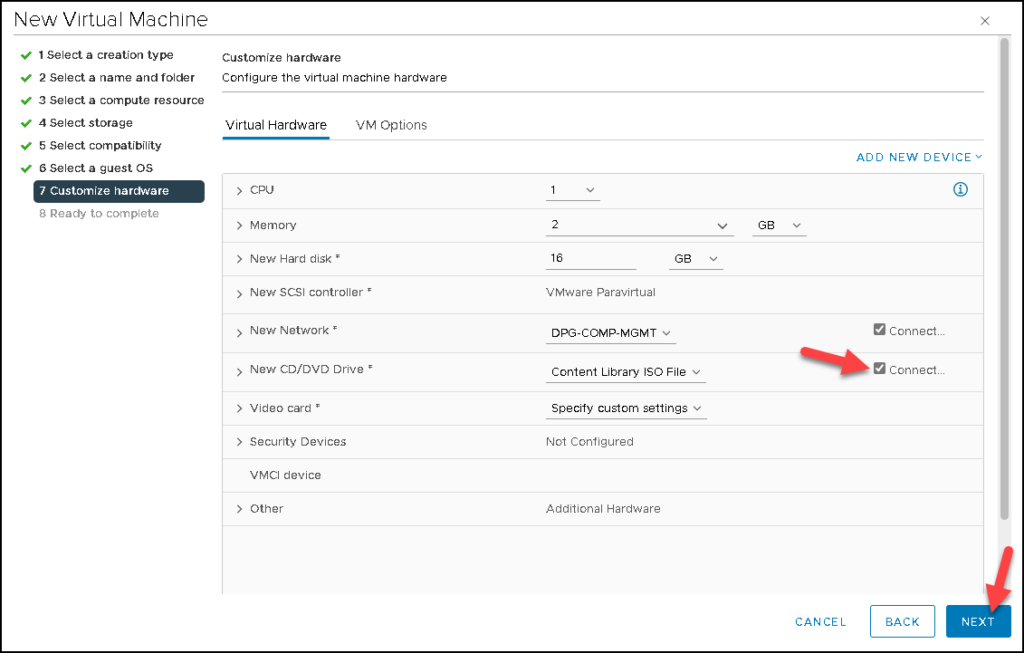
Make sure to select the option “Connect” just to connect the CD/DVD Drive on a VM start-up:
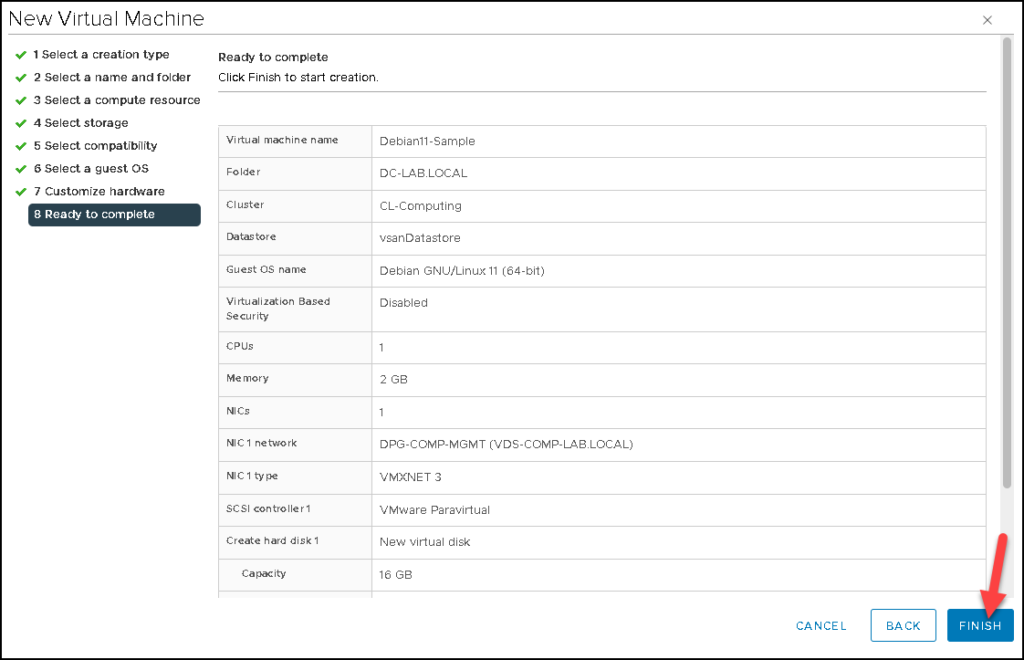
After that, click on FINISH. Here, the VM creation process has been done successfully:
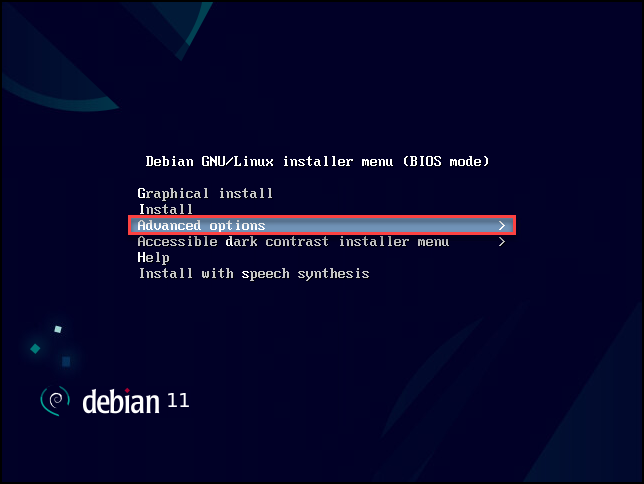
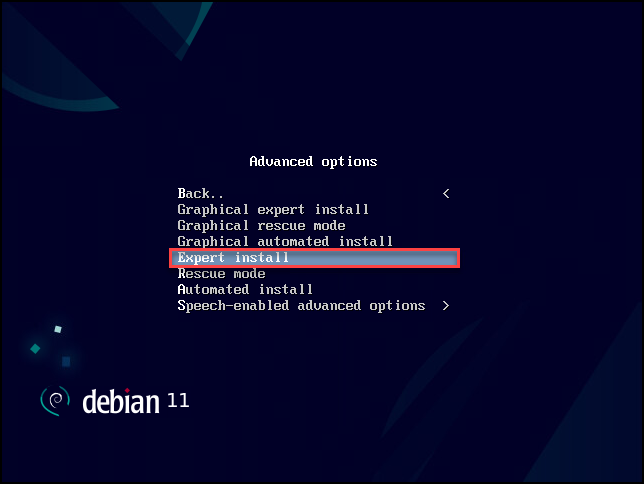
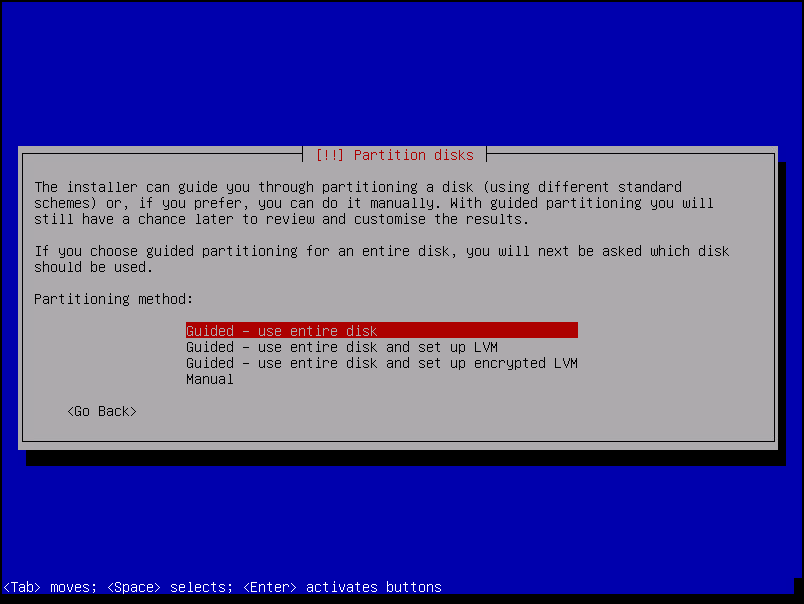
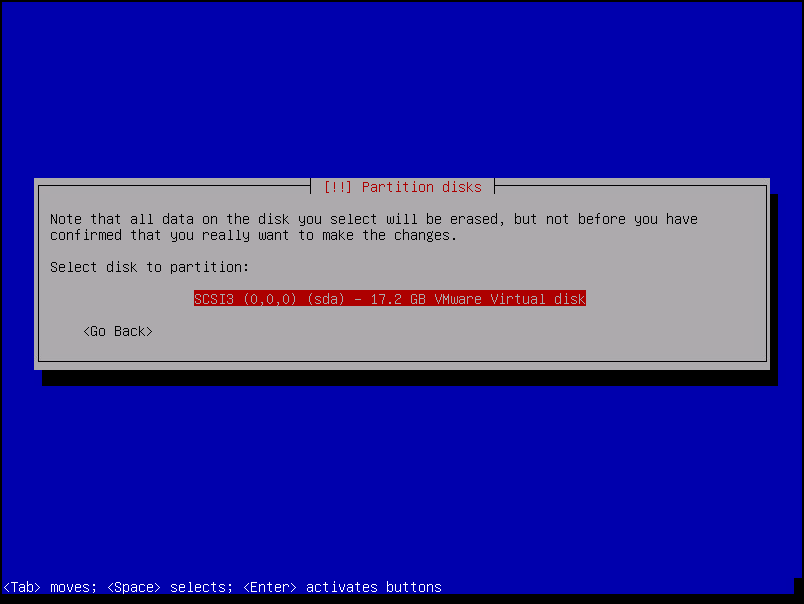
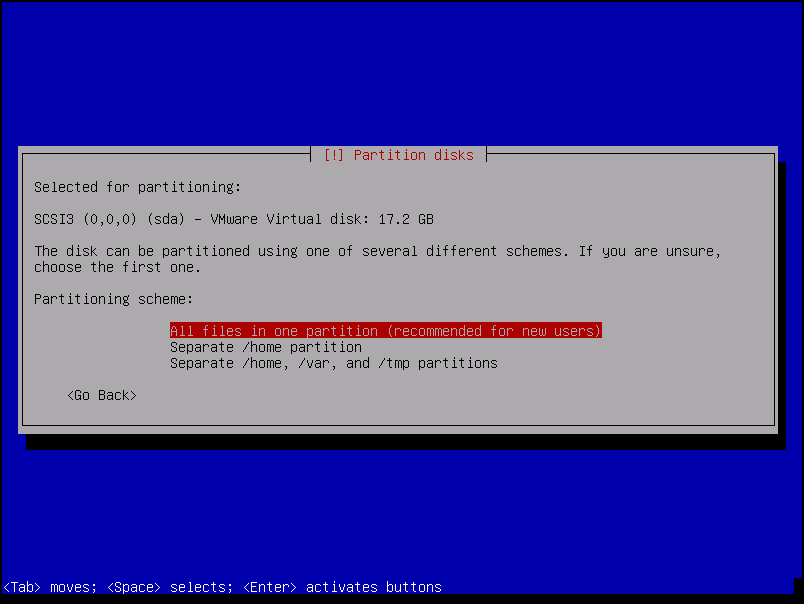
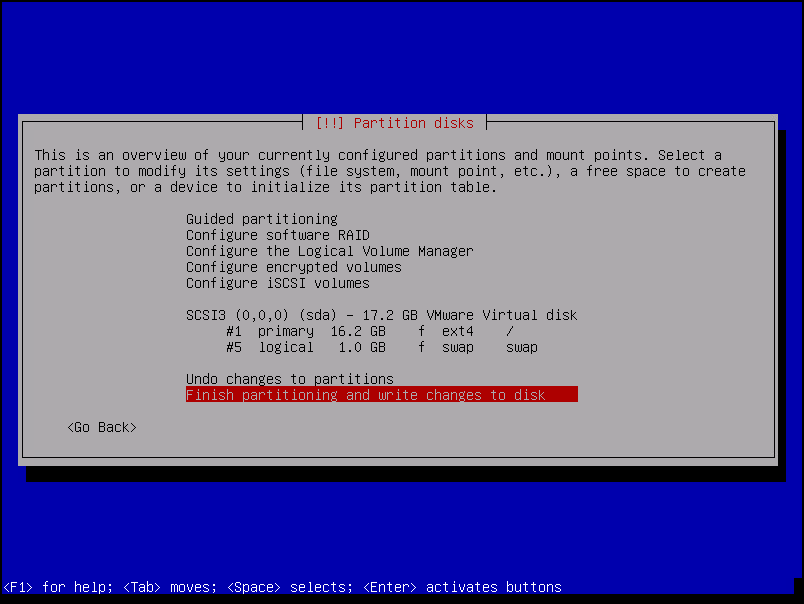
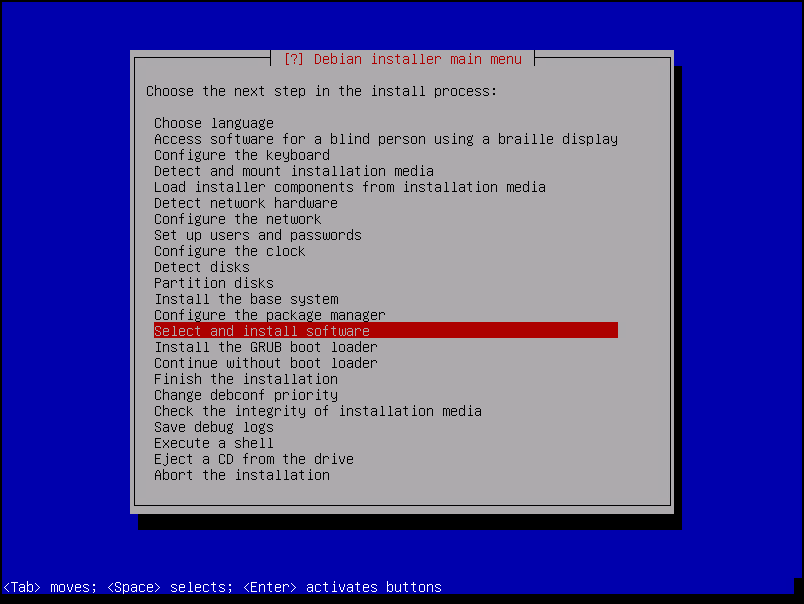
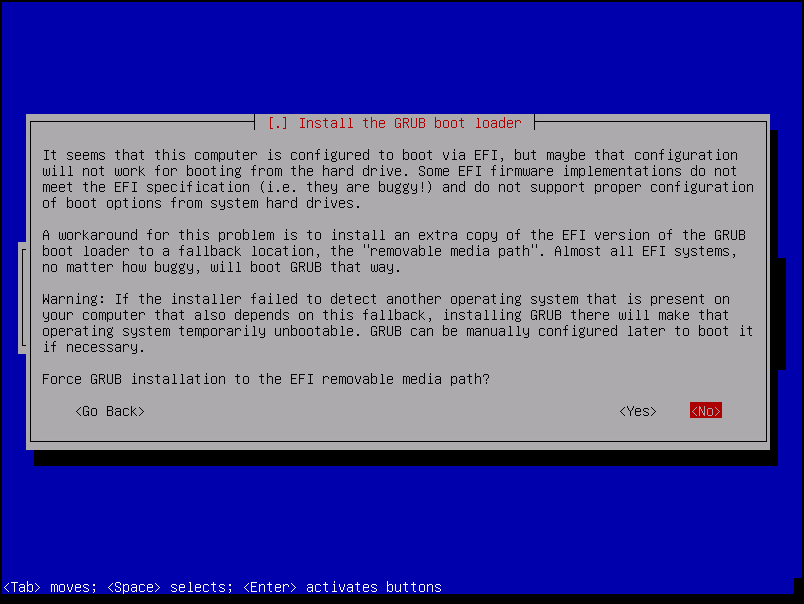
Installing Debian 11 using the Expert Install Option
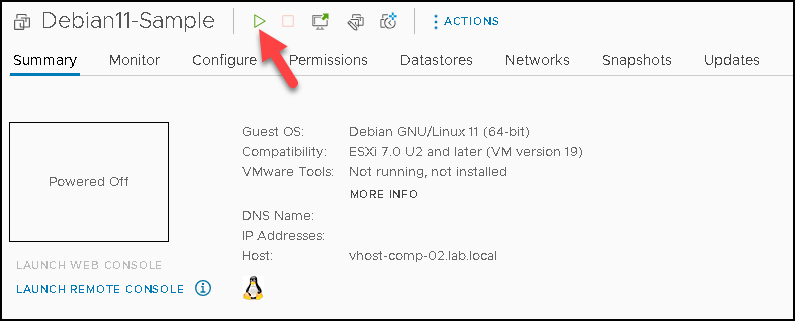
So, after creating the VM, we need to power up it:
We will use the Expert Install option. Before continuing, you need to check if this VM will have an Internet connection available. We will need the Internet just to download all the necessary packets.
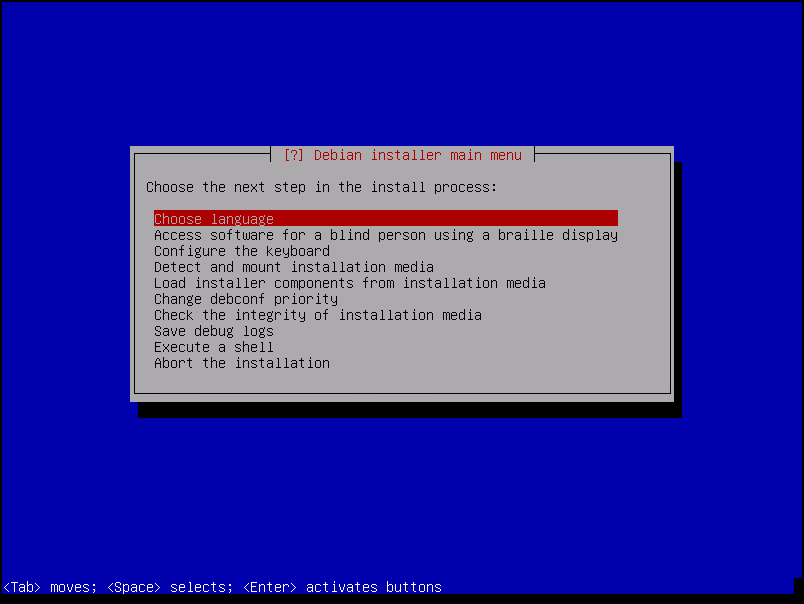
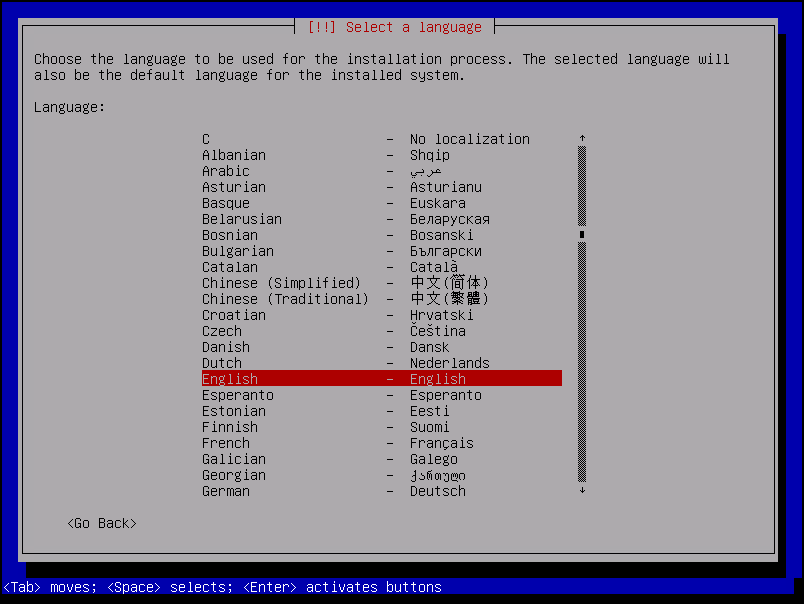
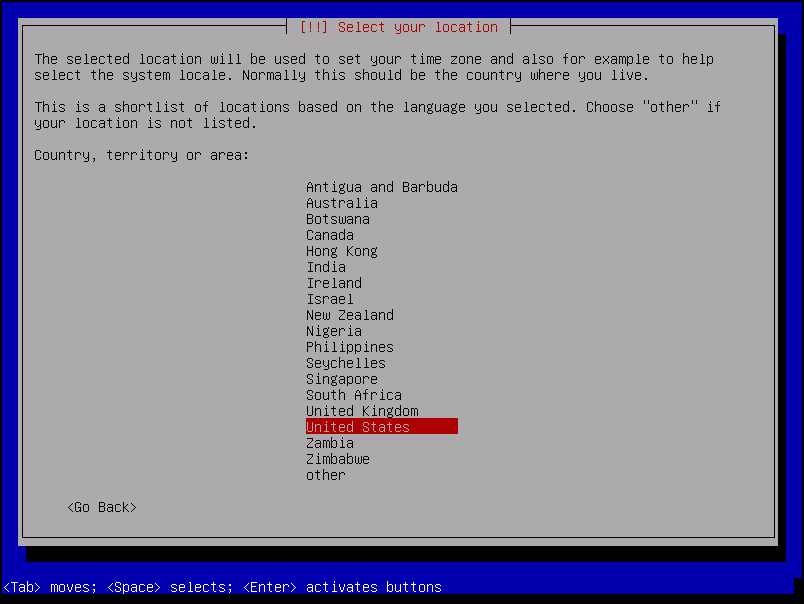
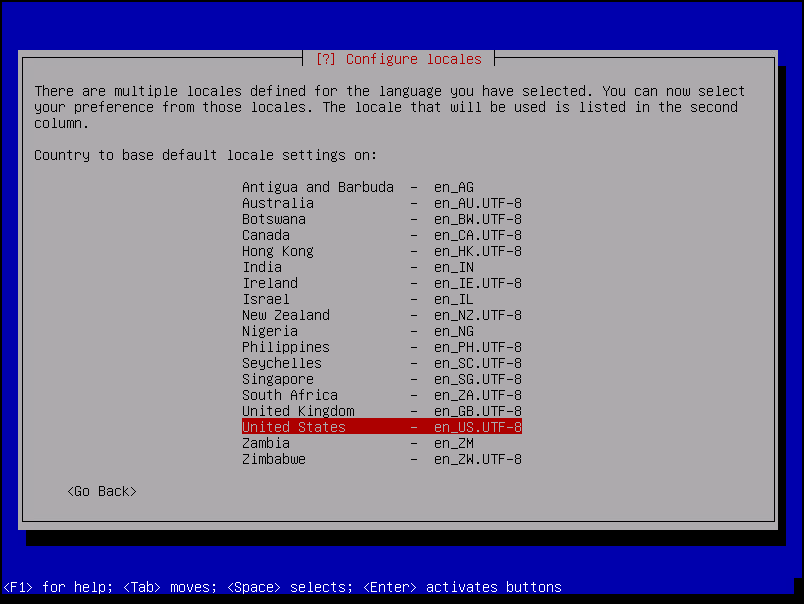
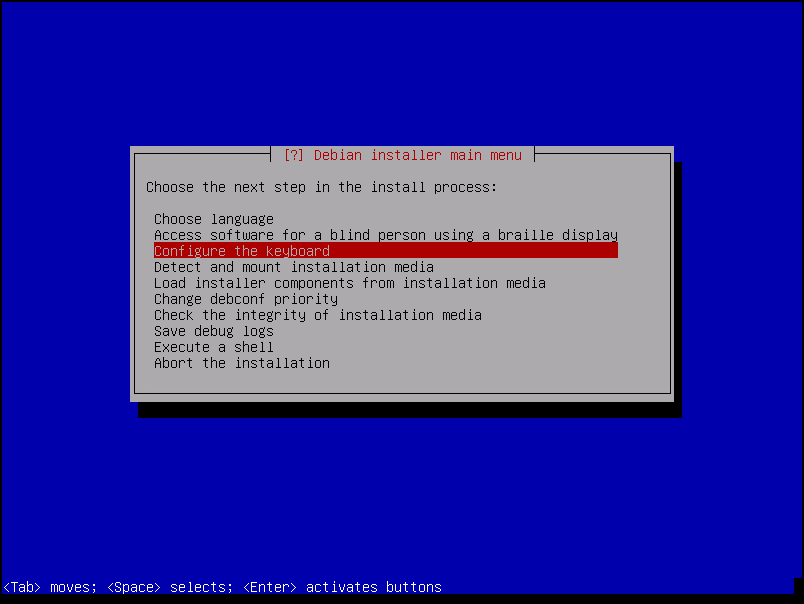
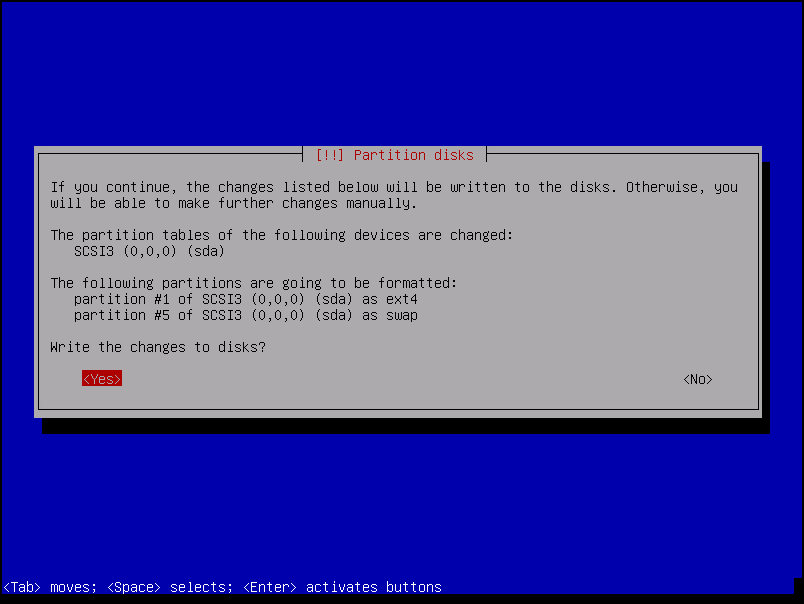
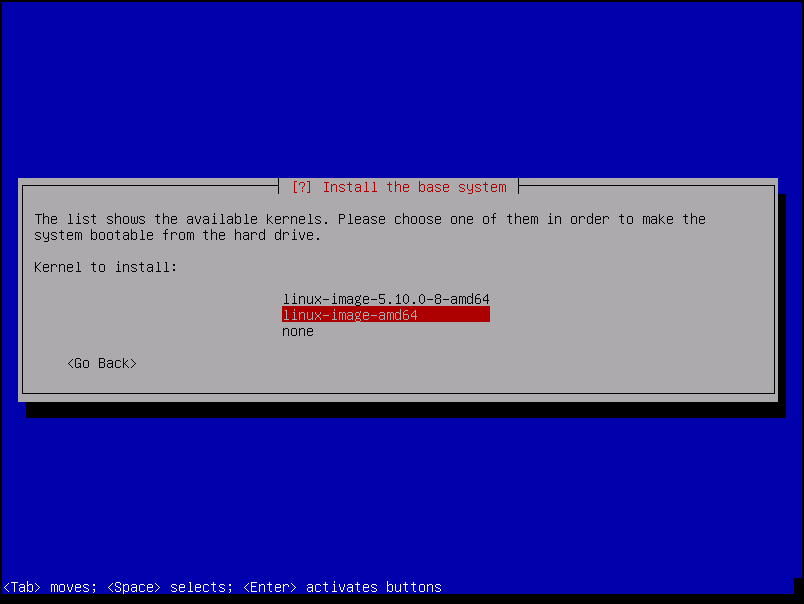
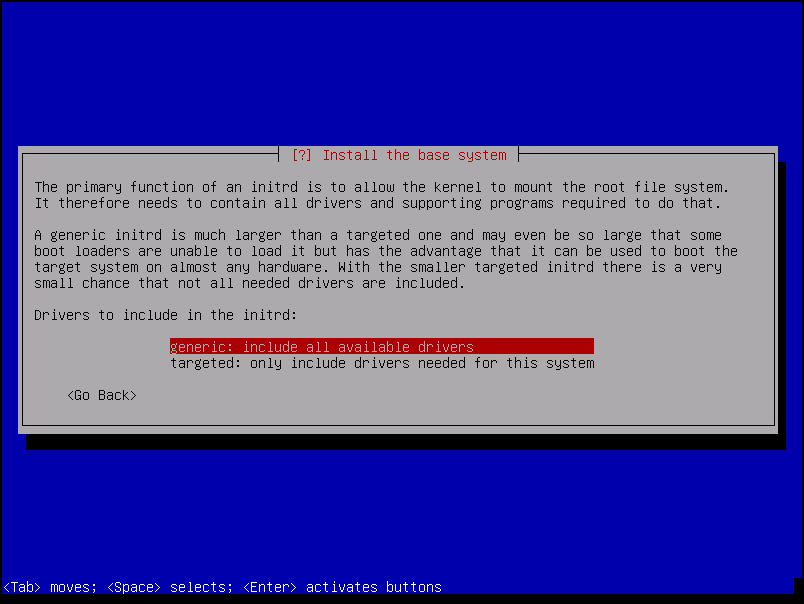
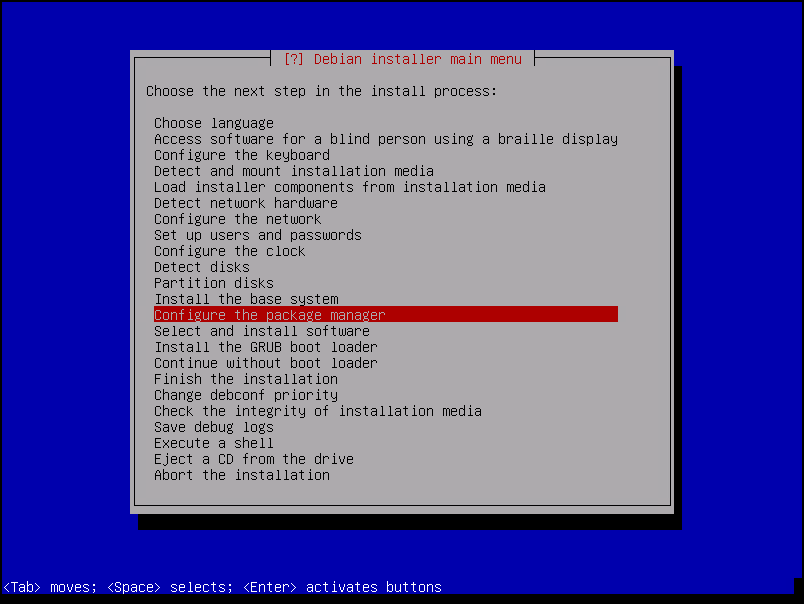
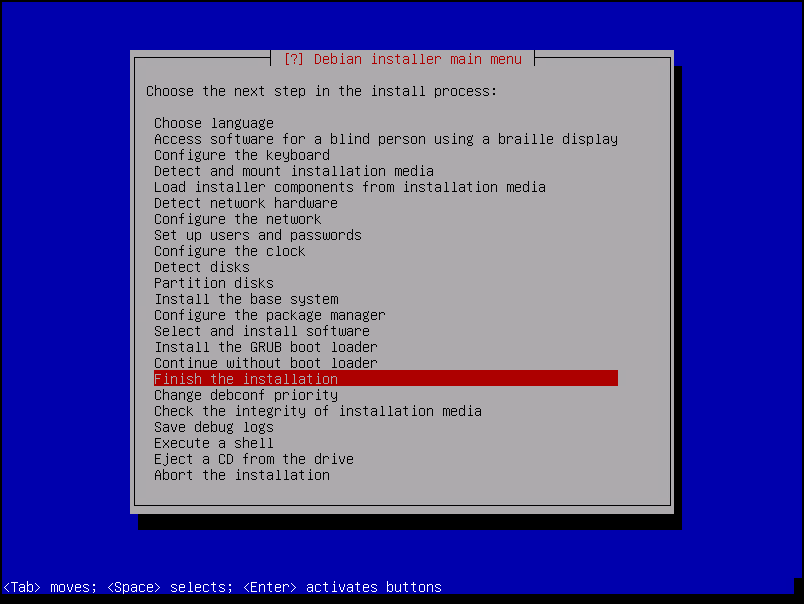
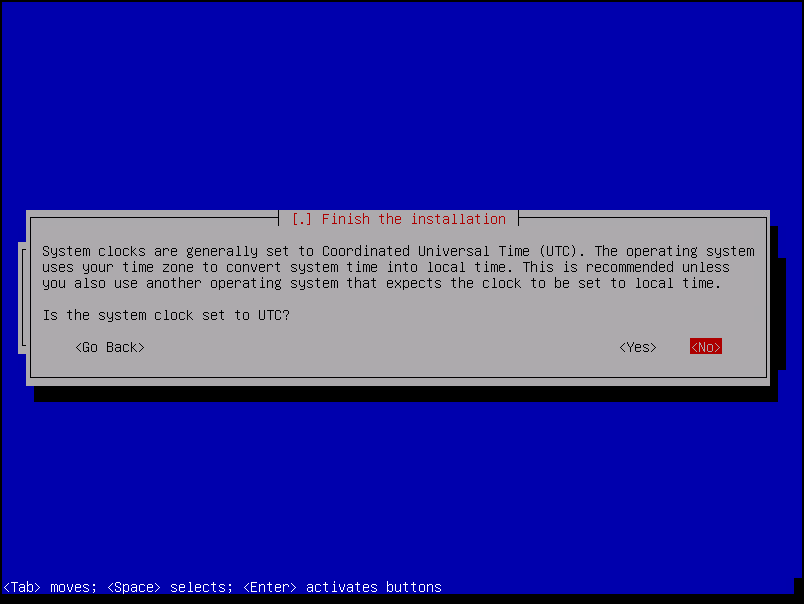
The installation process is very straightforward, and we can follow up on each picture, selecting the appropriate option as we are showing in these pictures.
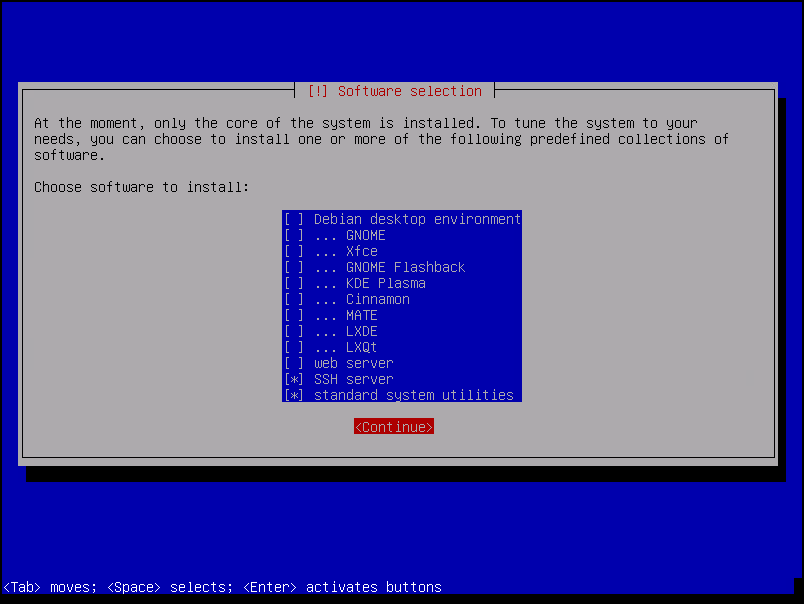
Our installation will not have any Desktop Manager like KDE, GNOME, or something like that. To interact with our OS, we will only use the command line interface (locally or by an SSH session):
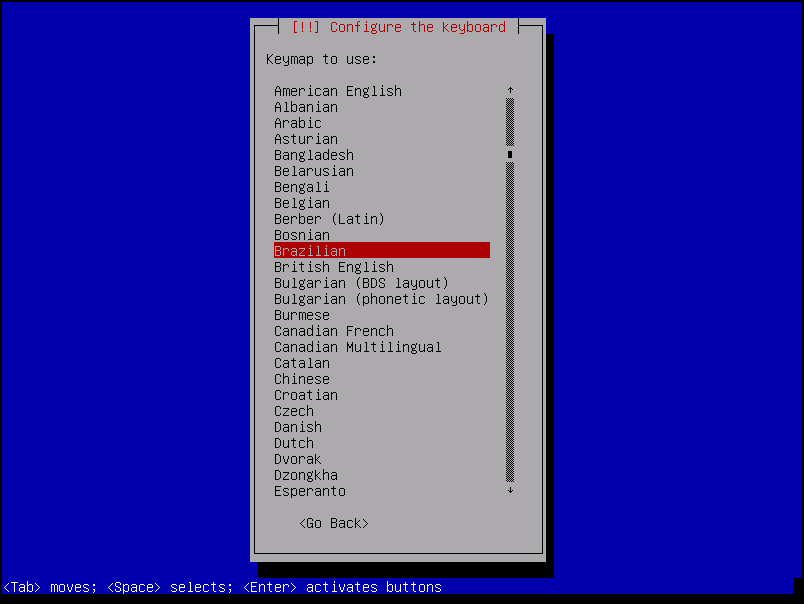
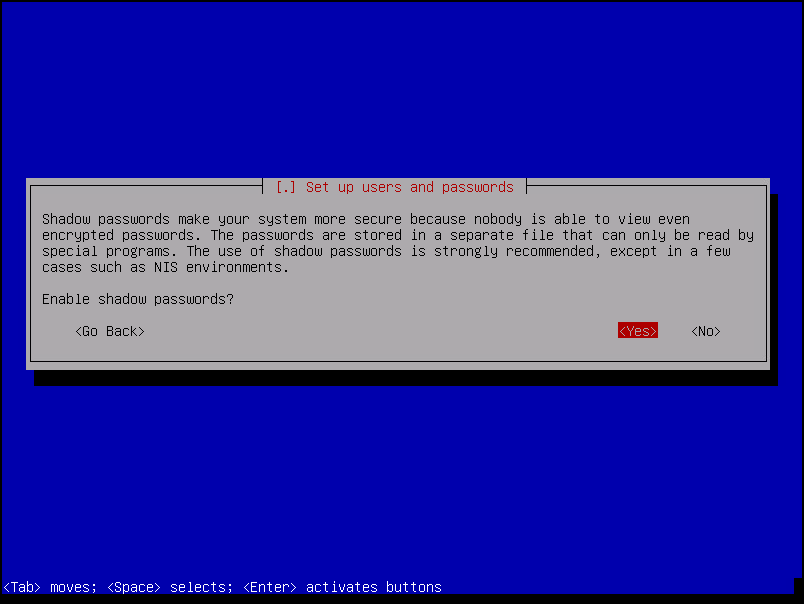
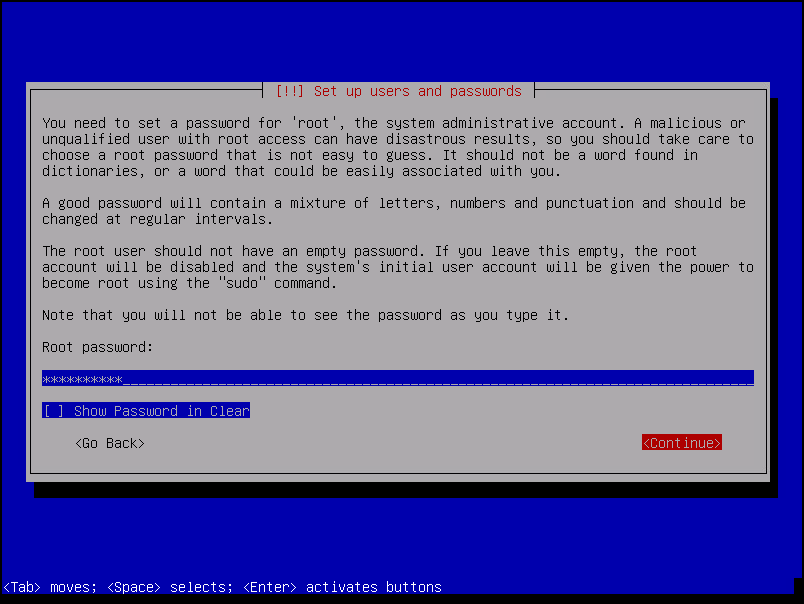
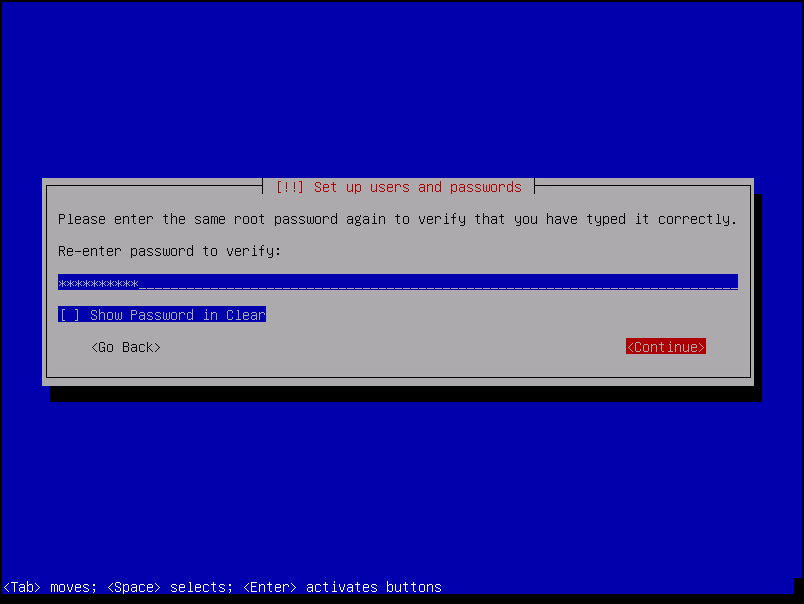
Using the Expert install option is a good way to know all possible installation steps and all available configuration options:

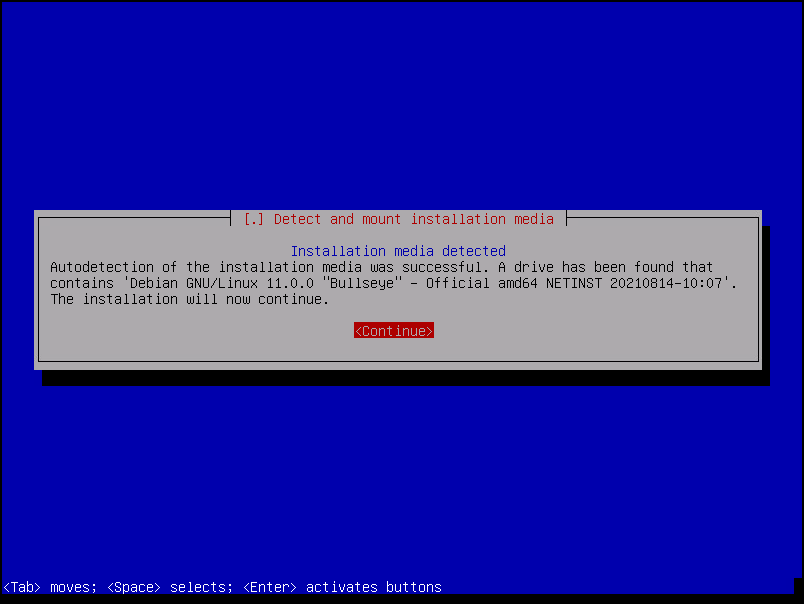
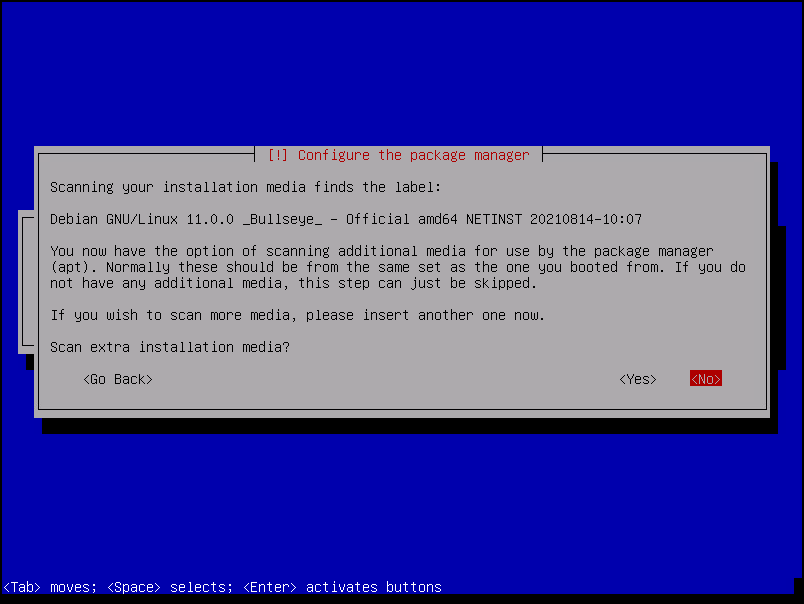
In the below picture, we can see that our Debian installation file has been detected by the installation process:
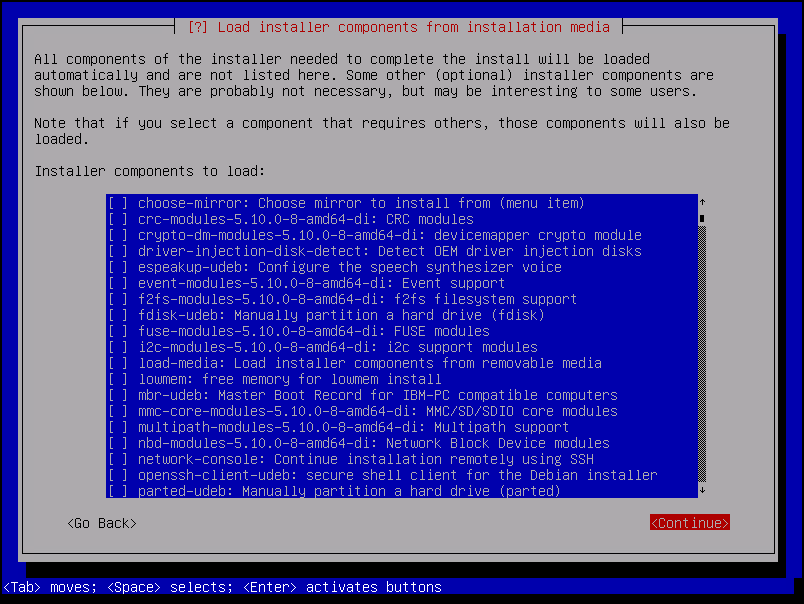
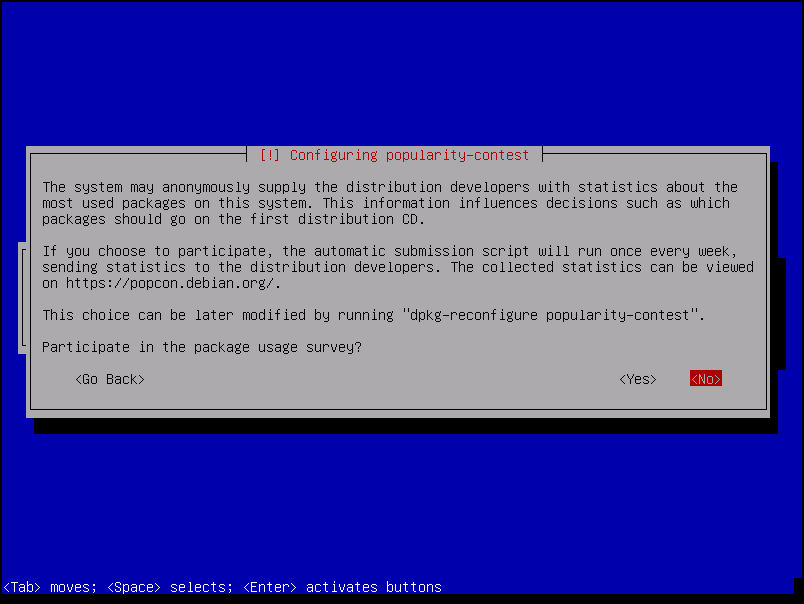
Here on this page, for instance, we have the flexibility to load additional components to be used during the installation process. In this example, we are not using any additional module or component:

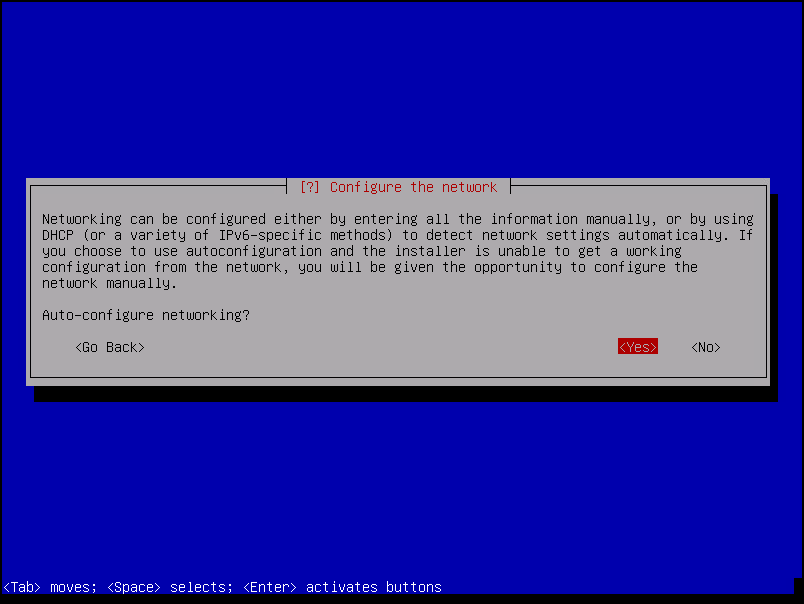
As we said before, we are installing Debian 11 on a vSphere lab environment. In this network segment, we have an enabled DHCP server. So, in this case, we are using the Auto-configure networking method.
The expected behavior here is our VM acquired an IP address from the DHCP server and has an Internet connection for downloading all the necessary installation packets:
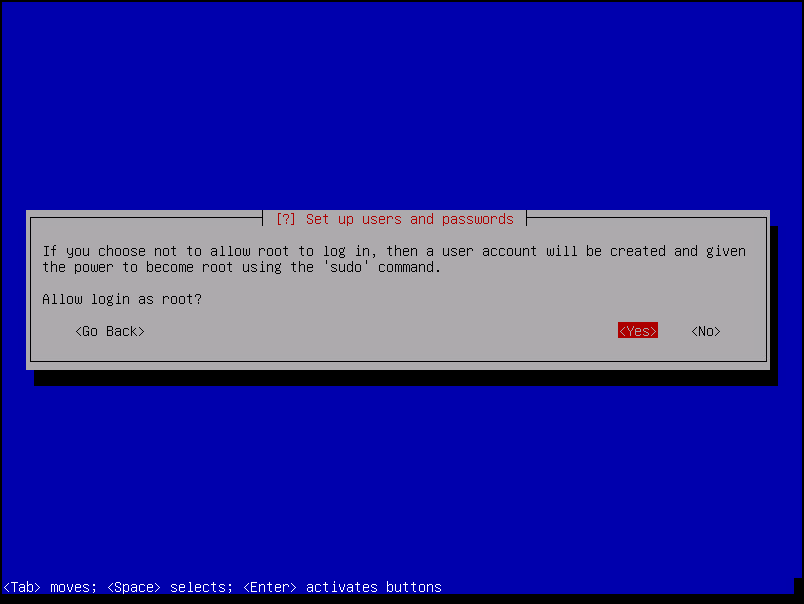
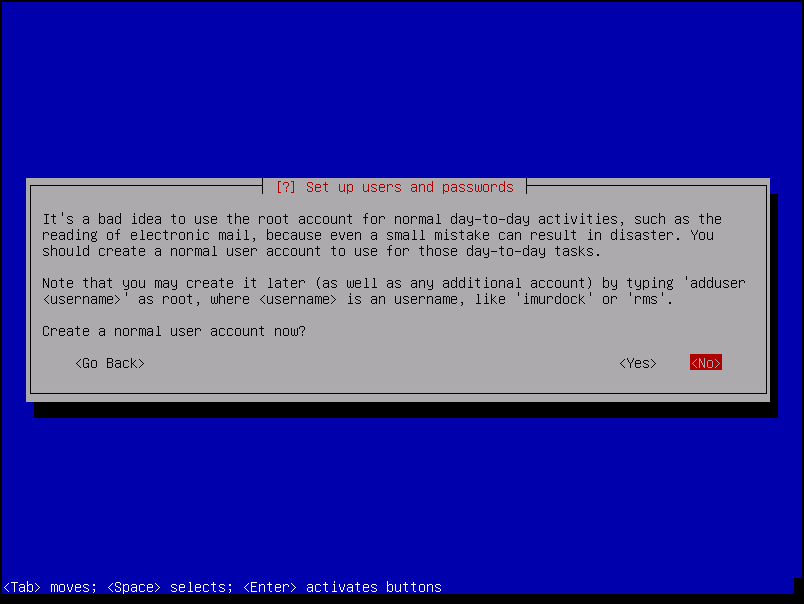
If you want to add additional users (in addition to the root user), you can select “Yes” and do that.
In another way, just select “No” and continue:


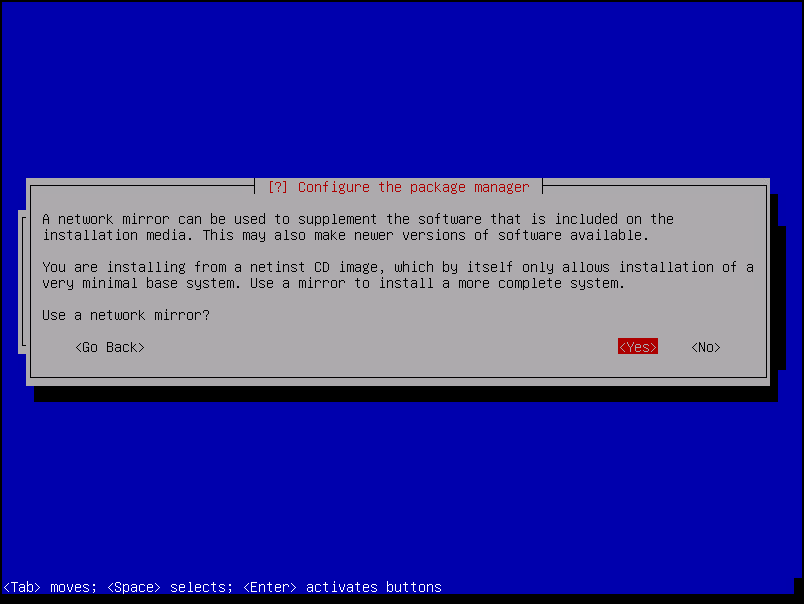
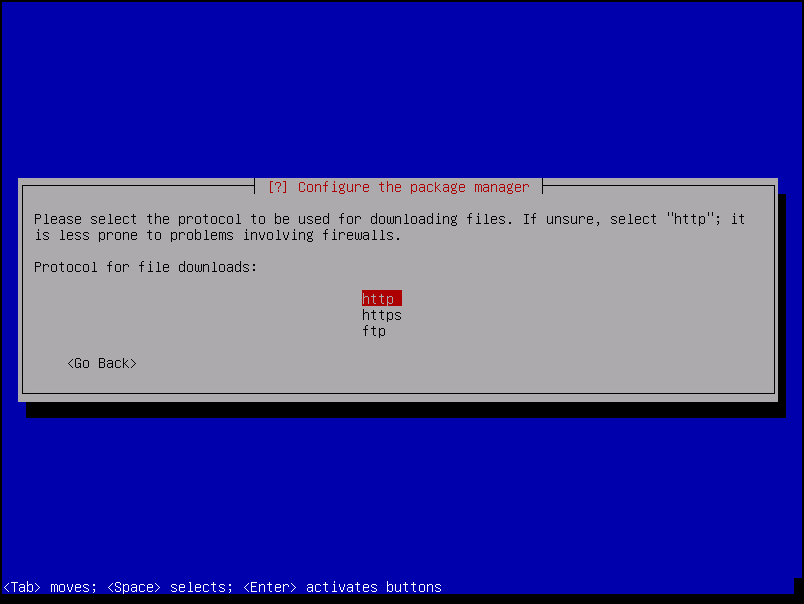
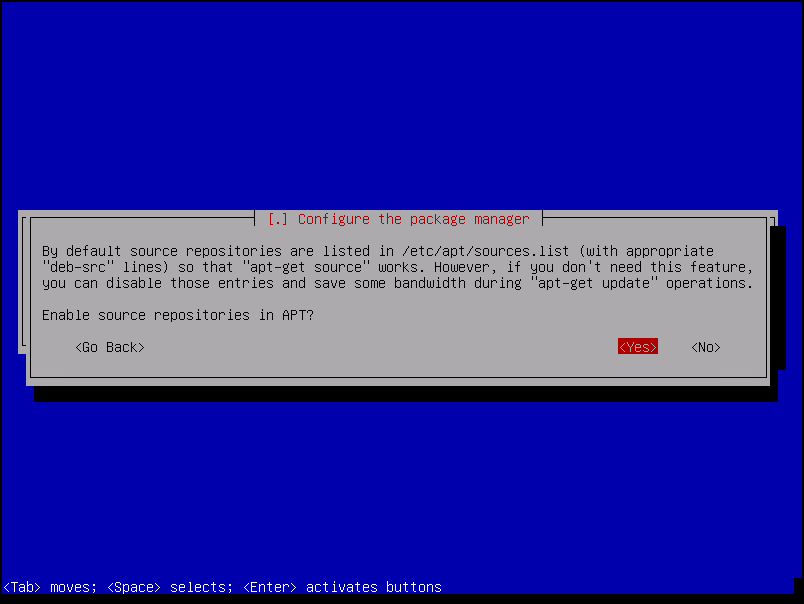
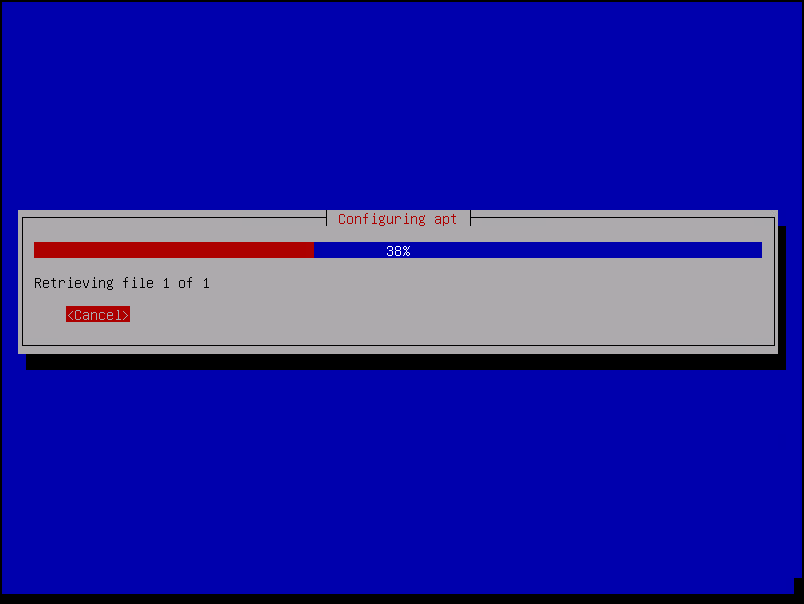
Here is the step which we are accepting to use a network mirror for downloading the additional packets:

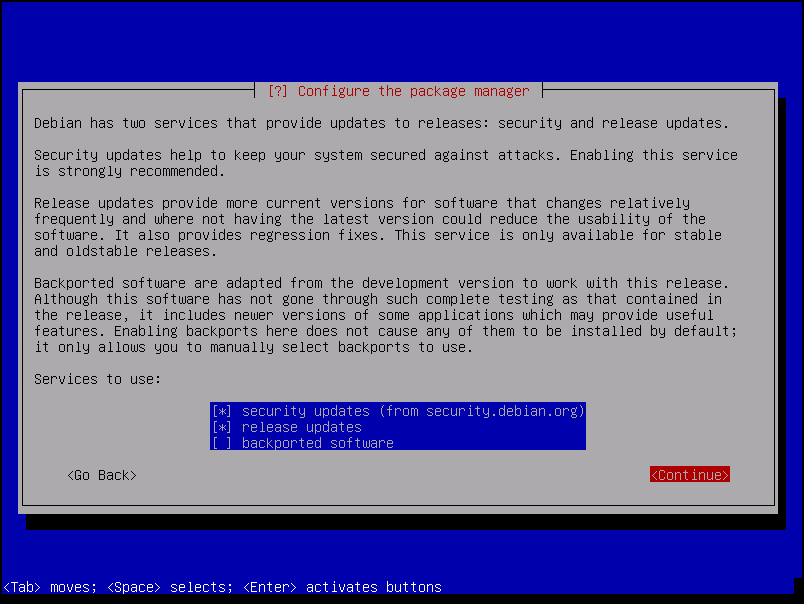


Look that we are not installing the Debian desktop environment – if you want to use the Graphical Interface, feel free to enable the Desktop environment option and choose your preferred Window Manager (GNOME, Xfce, MATE, and so on):
Congratulations!
If you stay here, your installation finished successfully 🙂
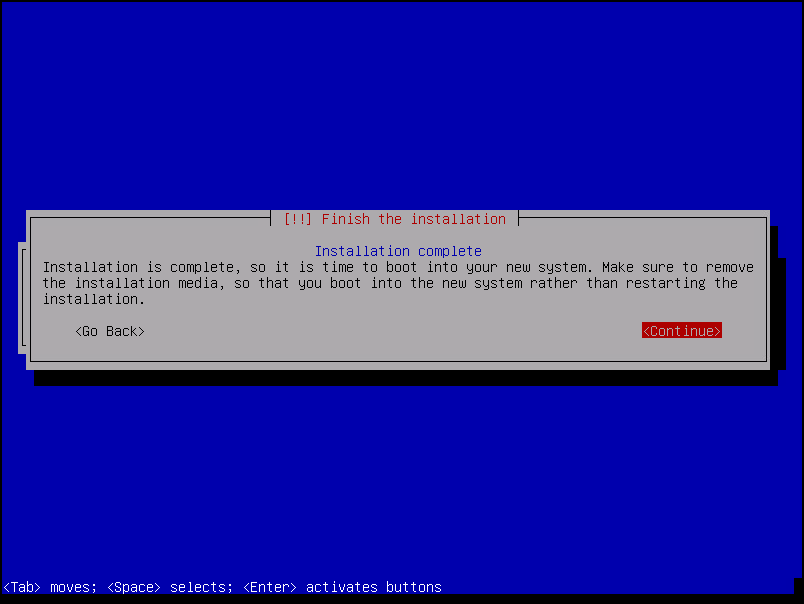
The system will reboot and will start/boot from the hard disk:

There we go 🙂
As you can see in the below picture, we can log in to our Debian 11 normally 🙂

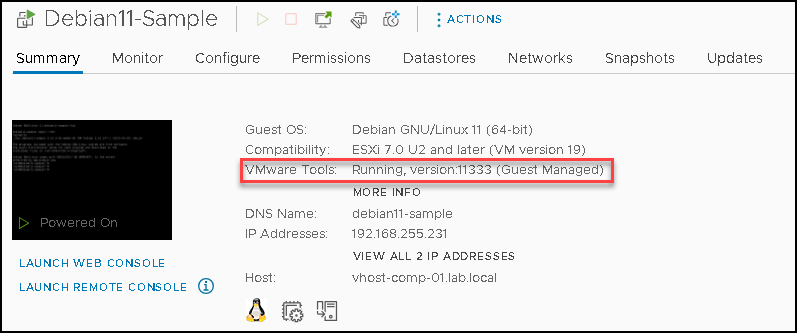
Checking the Guest OS VMware Tools Details
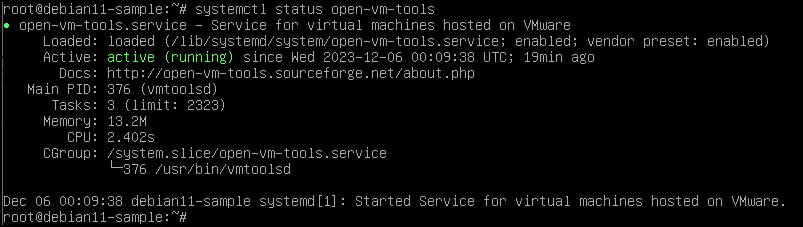
During the installation process, the packet “open-vm-tools” is installed on the OS.
This package will permit the VM can access the hardware layer and access the resources provided by the hypervisor in the best way possible.
On the vSphere Client, we can confirm that the VMware Tools are running:
On the Debian 11 command line, we can type the below command to confirm that the service “open-vm-tools” is running as well:
systemctl status open-vm-tools