Managing the vCenter Server Services is a very important task for all vSphere Administrators. In this article, we will show how to see the status of all services and, if necessary, how to stop and start these services.
Access the vCenter Server by SSH
The first step for Managing the vCenter Server Services is to access the vCenter Server by SSH. You can use your first SSH client, but, in this lab, we are using Putty to access the vCenter Server. To download Putty, click HERE.
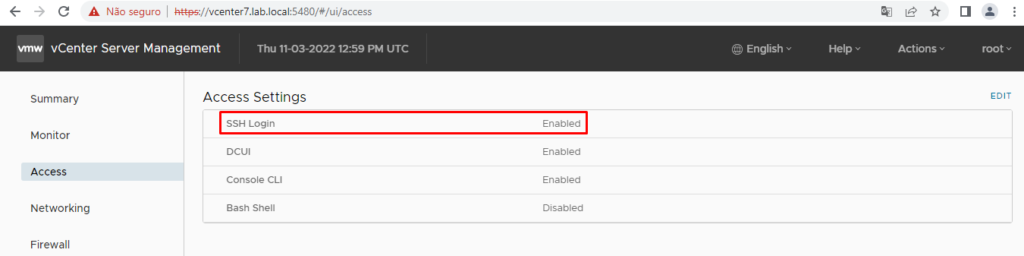
Before, access the VAMI interface and check if SSH service is enabled. On the Access menu, check if the SSH Login is Enabled. If not, click on Edit and enabled it.
In this lab, for instance, the SSH Login is already enabled:
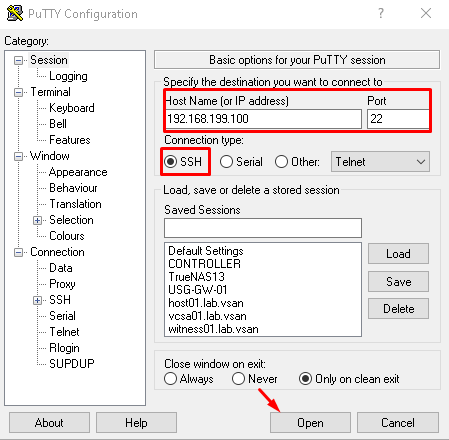
Open the Putty application and access the vCenter Server by SSH. In this lab, for instance, the vCenter Server IP is 192.168.199.100:
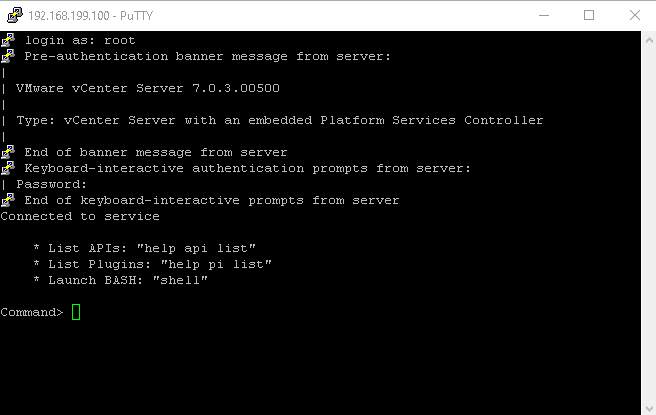
Type the root username and password:
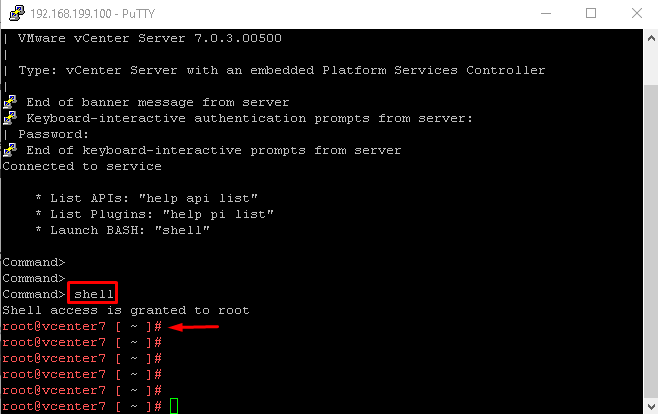
By default, the default shell for the root user is not a “bash” shell. So, to gain access to the bash shell is necessary to type “shell” and press ENTER:
Check the vCenter Services’ status
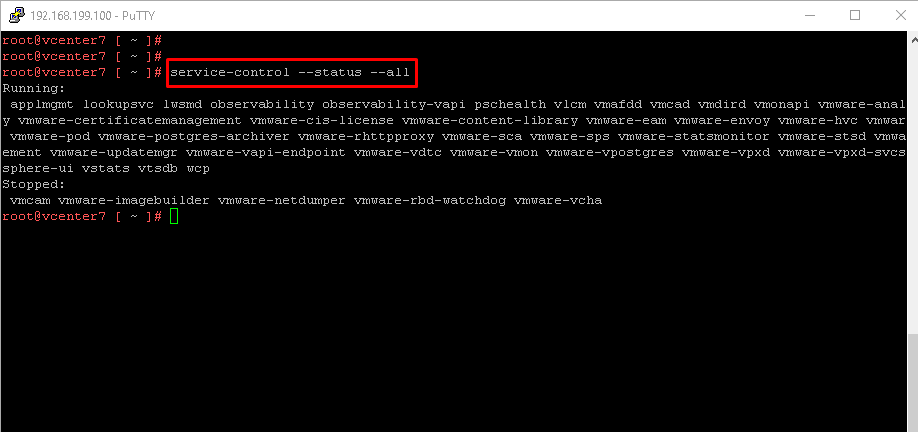
As I said, the vCenter Server has a lot of services. To check these services’ status by CLI, the command below can be used:
service-control –status –all
To stop all services, for instance, we can execute the command below:
service-control –stop –all
To start all services:
service-control –start –all
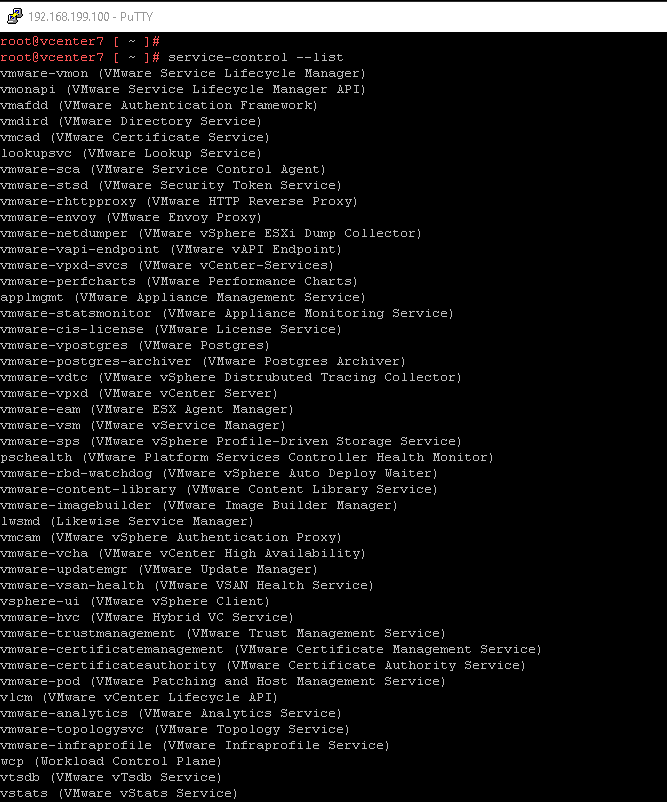
Note: To see all the vCenter Server names, we can execute the command below:
service-control –list
Note: It is possible to apply the “stop” or “start” in a specific service. If you want to stop and start the service called “wcp”, for instance, you can use the command:
service-control –stop wcp
service-control –start wcp
To get more details about it, check the link below: