Manual Removal of an NSX Manager Appliance is an article that explains the process of manually removing an NSX Manager Appliance from the NSX Manager Cluster.
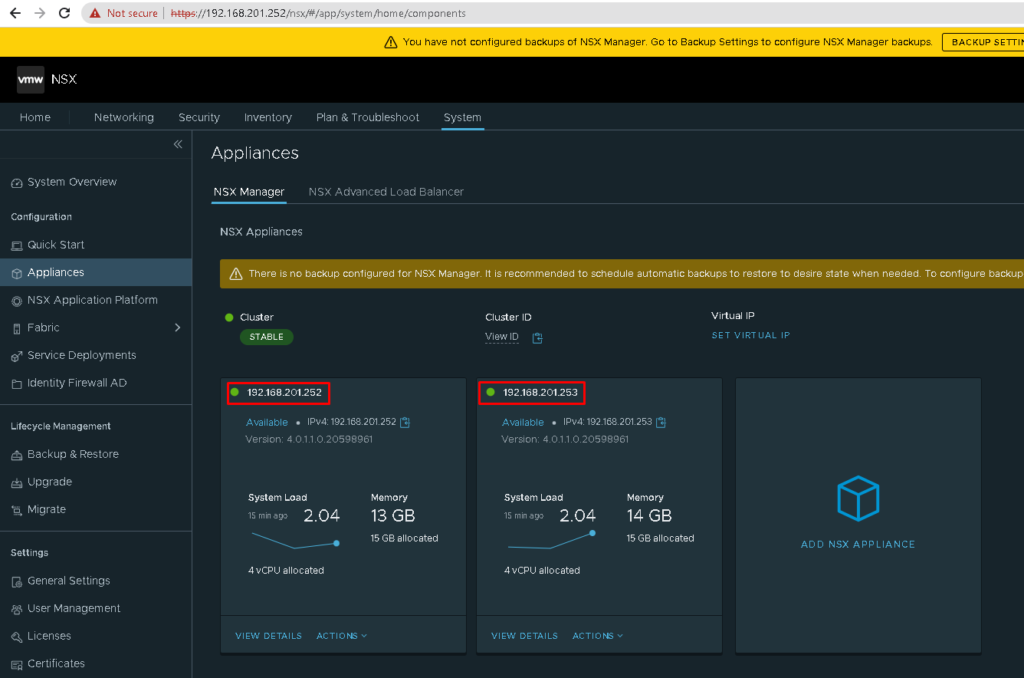
VMware recommends that the first NSX Manager Appliance deployment is done from vSphere Client. To deploy additional NSX Manager Appliances, we can use the NSX Manager UI. But, if all NSX Manager Appliances were deployed by the manual process instead from NSX Manager GUI, we cannot delete this NSX Manager Appliance from UI (the delete option will be Grayout):
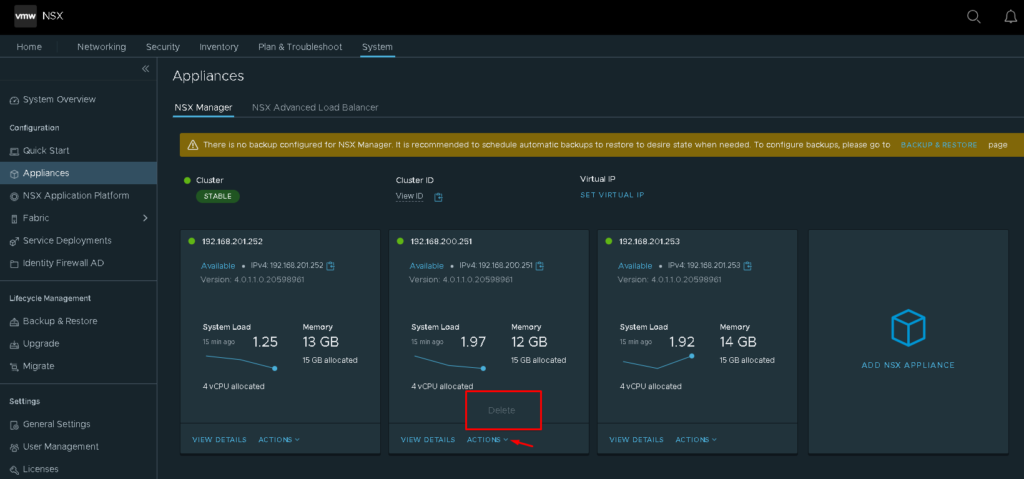
We can check what Deployment Type of an NSX Manager Appliance by clicking on the “VIEW DETAILS” option under the specific NSX Manager Appliance.
In this example, we are seeing information about the NSX Manager Appliance “192.168.200.251”. The Deployment Type is “Manual” and as we said before, it is the reason the Delete option is Grayout:

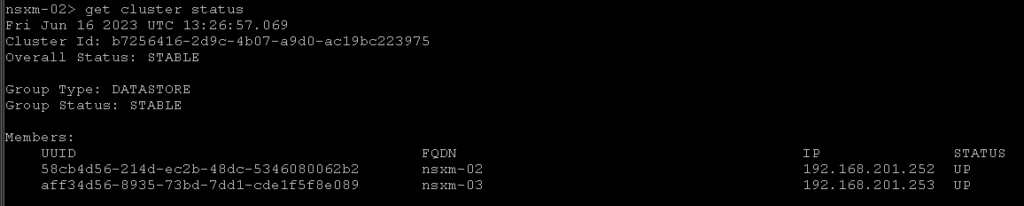
Firstly, we need to collect the NSX Manager Appliance UUID. In this example, our aim is to delete the NSX Manager Appliance. The FQDN “nsxm-01” and the IP address “192.168.200.251”:
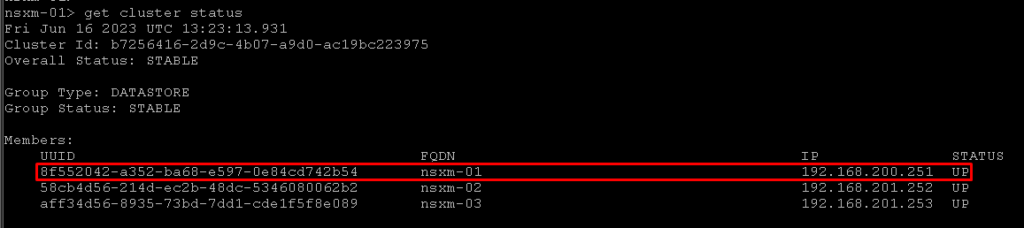
After that, we need to access other NSX Manager Appliance by SSH (log in with admin user), and type the command to detach the desired node:
detach node 8f552042-a352-ba68-e597-0e84cd742b54Where:
8f552042-a352-ba68-e597-0e84cd742b54 –> UUID of the NSX Manager Appliance that we want to delete/remove from our NSX Manager Cluster

Now, when we access the Appliances view, we cannot see Appliance 192.168.200.251 anymore 😉
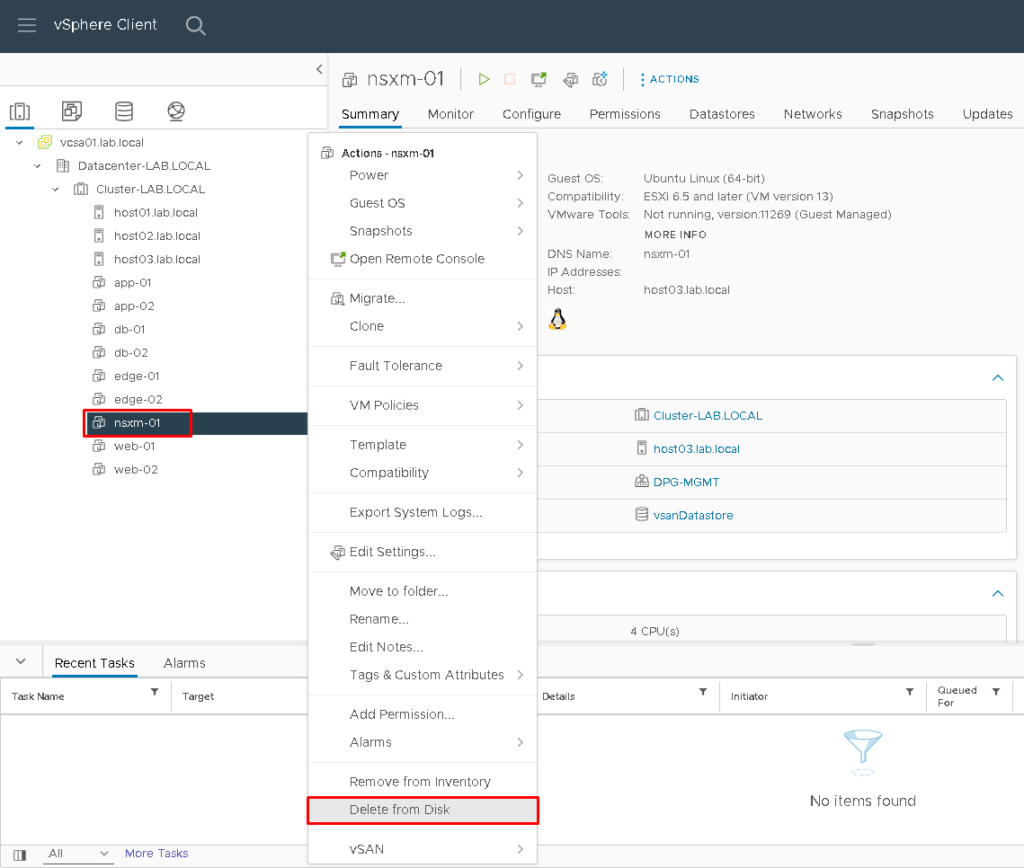
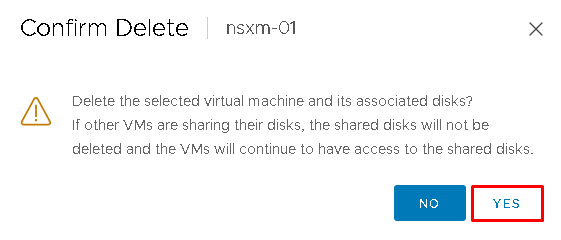
The last step is to delete the NSX Manager Appliance from vSphere Client (if your NSX Manager Appliance was deployed in a vSphere Cluster):