Migrating a vDisk to Another Storage Container shows how to migrate a vDisk from a default storage container to a custom storage container.
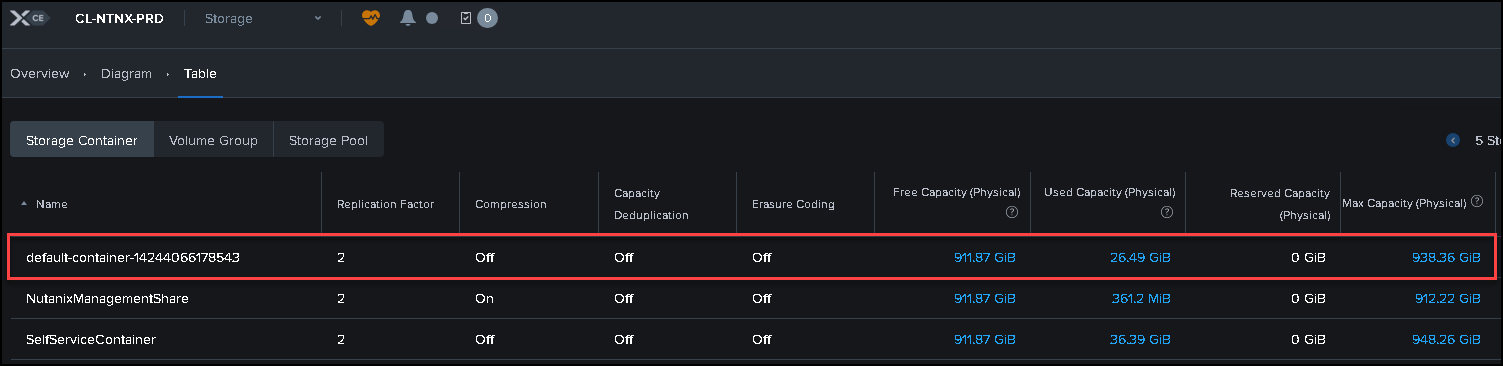
First and foremost, when a VM is created on a Nutanix CE cluster, we must create a vDisk and assign it to a VM during its creation process. By default, the storage container used by the vDisk is the “default-container”:
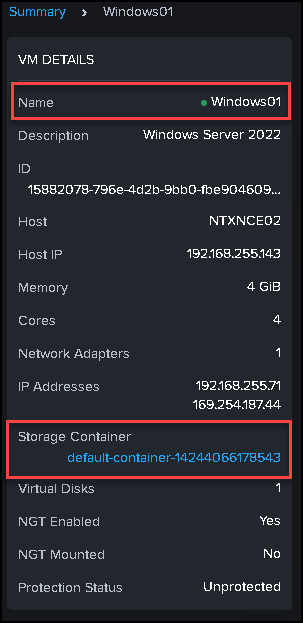
Our test VM “Windows01′ was installed using the default storage container, as we can see in the following figure:
How can I change the Storage Container in a running VM?
1- Select and access by SSH one Controller VM (CVM);
2- Execute the following command to change the VM’s storage container:
acli vm.update_container VM_NAME container=CONTAINER_NAME wait=falseReplace “VM_NAME” with your VM name and “CONTAINER_NAME” with your storage container name.
Example:
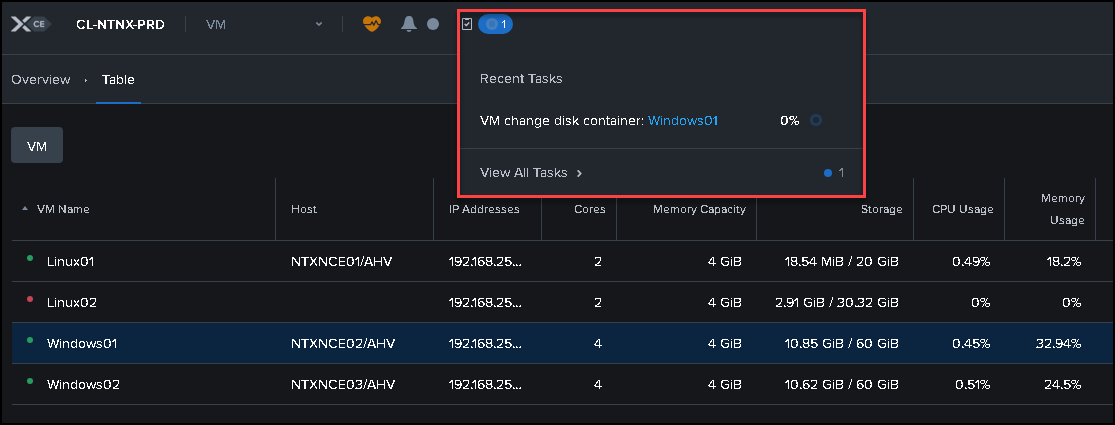
acli vm.update_container Windows01 container=VMsWindows wait=falseAfter executing the command, a task will be created, and we can see it through the Prism Element interface:
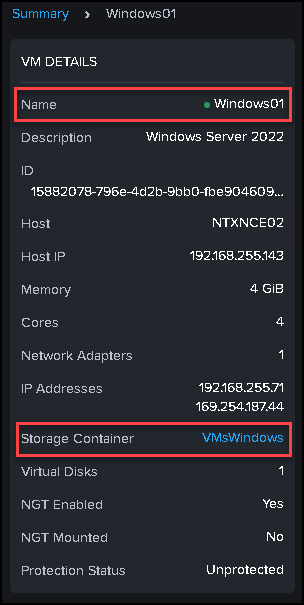
After some moments, the task will be finished, and we can see the new Storage Container:
That’s it 🙂
To get more details, access the official documentation: