Performing Basic Configuration on the VyOS is an article that shows how to perform some basic and fundamental configurations on the VyOS router after the initial installation process.
First things first, we have written an article that explains the VyOS installation process. If you wish to check it, please access the below link:
How to Install VyOS Router in a Lab Environment – DPC Virtual Tips
Changing user password
In this example, the username is “vyos” and the password is “123456”:
configure
set system login user vyos authentication plaintext-password 1234565
commit
save
exit
Setting up a Banner (pre-login and post-login banner)
configure
set system login banner pre-login "WARNING: AUTHORIZED ACCESS ONLY!"
set system login banner post-login "WARNING: BE CAREFUL. ALL ACTIONS ARE BEING MONITORED!"
commit
save
exit
Setting up a Hostname and Domain Name
configure
set system host-name vyos-01
set system domain-name lab.local
commit
save
exit
IP address and VLAN Interface
In this example, our VyOS router has two network interfaces identified as “eth0” and “eth1”.
We are setting up the “eth0” with the IP directly on the interface.
And for the “eth1” interface, we are creating the VLAN 10 and setting up a VLAN interface through the “eth1” interface:
configure
set interfaces ethernet eth0 address 192.168.255.8/24
set interfaces ethernet eth1 vif 10 description VLAN10
set interfaces ethernet eth1 vif 10 address 10.10.10.10/24
commit
save
exit
Setting up the Default Route
configure
set protocols static route 0.0.0.0/0 next-hop 192.168.255.1
commit
save
exit
Setting up the NTP
In this example, we are setting up both internal NTP servers and removing external NTP servers:
configure
set service ntp server 192.168.255.3
set service ntp server 192.168.255.4
delete service ntp server time1.vyos.net
delete service ntp server time2.vyos.net
delete service ntp server time3.vyos.net
commit
save
exit
show ntp
Setting up DNS Servers
configure
set system name-server 192.168.255.3
set system name-server 192.168.255.4
commit
save
exit
Enabling SSH Service
configure
set service ssh
commit
save
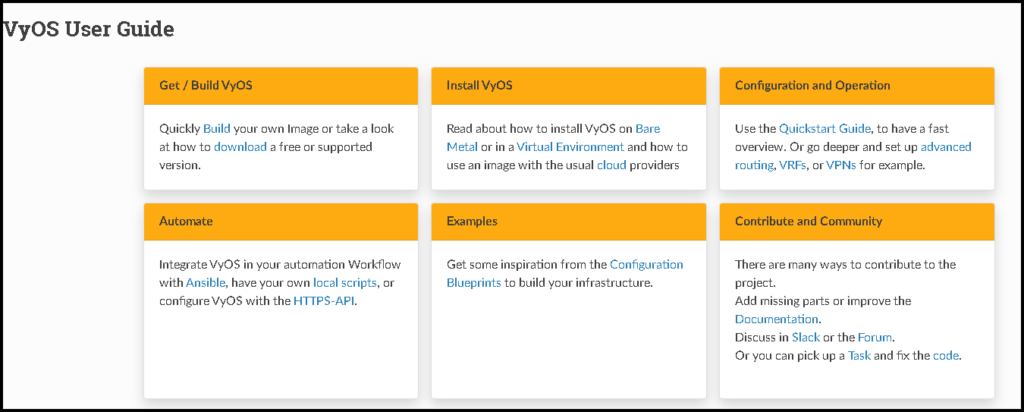
As I said before, these are basic commands to set up some important configurations after the installation process. All details are extracted from the VyOS User Guide:
VyOS User Guide — VyOS 1.4.x (sagitta) documentation
