Removing NSX Manager VIP Configuration is an article that explains all steps to remove the NSX Manager Virtual IP configuration.
Firstly, if you need to understand what steps are necessary to deploy the NSX Manager, we have an article that explains these steps. We can see all details by clicking on the below link:
https://dpcvirtualtips.com/nsx-manager-deployment-steps/
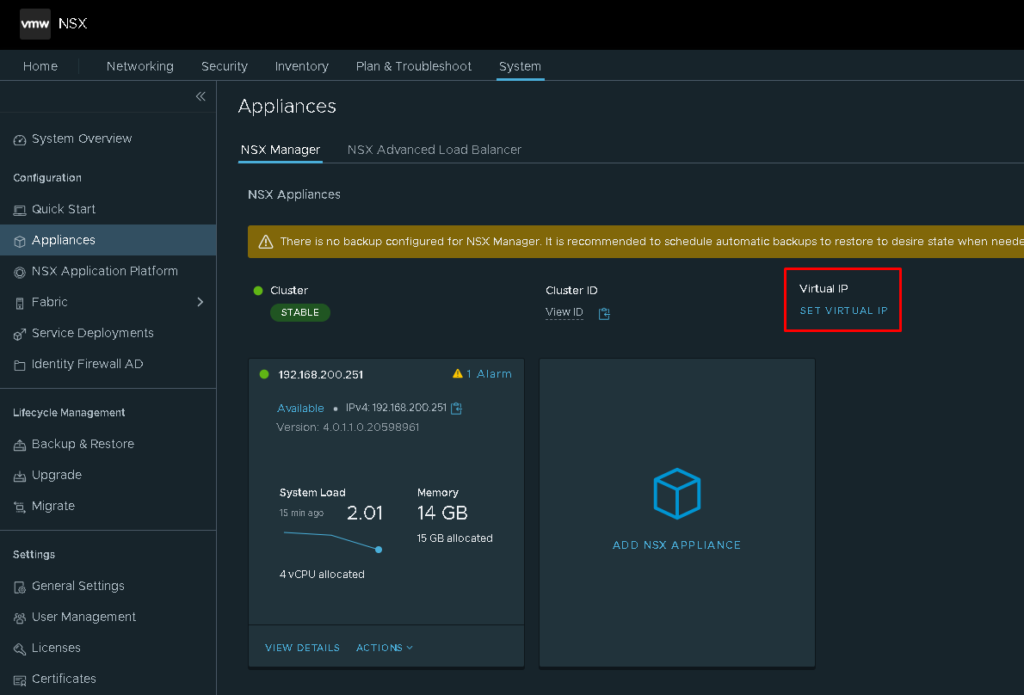
As a VMware recommendation, three NSX Manager Appliances are recommended for high availability and redundancy purposes. So, to access the NSX Manager Cluster using one IP address, for example, we can enable the Virtual IP (VIP) configuration. We have an article to explain how to do it too:
https://dpcvirtualtips.com/configuring-nsx-manager-virtual-ip/
So, let’s get started to talk about the aim of this article 🙂
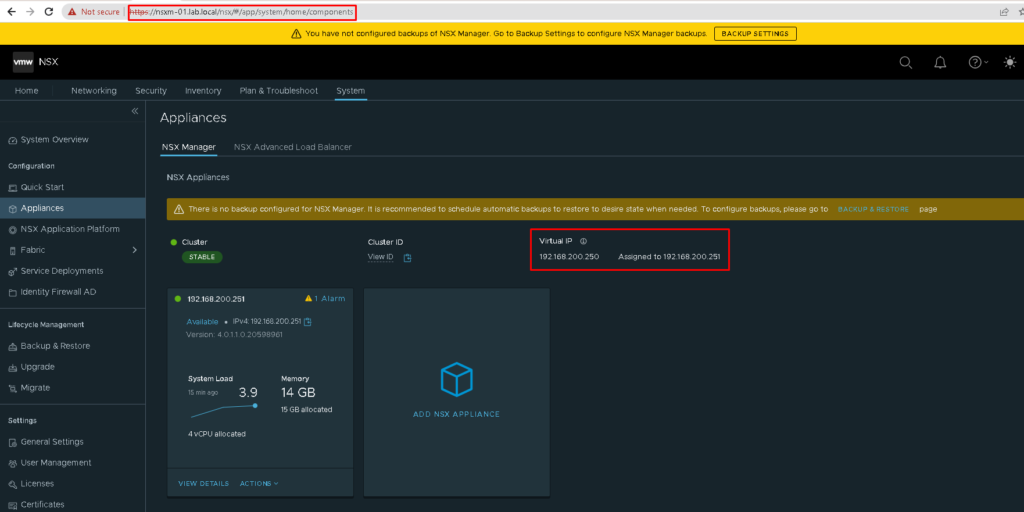
Sometimes can be necessary (for any reason) to remove the NSX Manager VIP configuration. In our lab environment, we have this configuration enabled, as shown in the below picture.
The VIP address is 192.168.200.250 and all connections for this address are forwarded to the IP 192.168.200.251 (in this example, 192.168.200.251 is the IP address for the only NSX Manager Appliance in our NSX Manager Cluster):
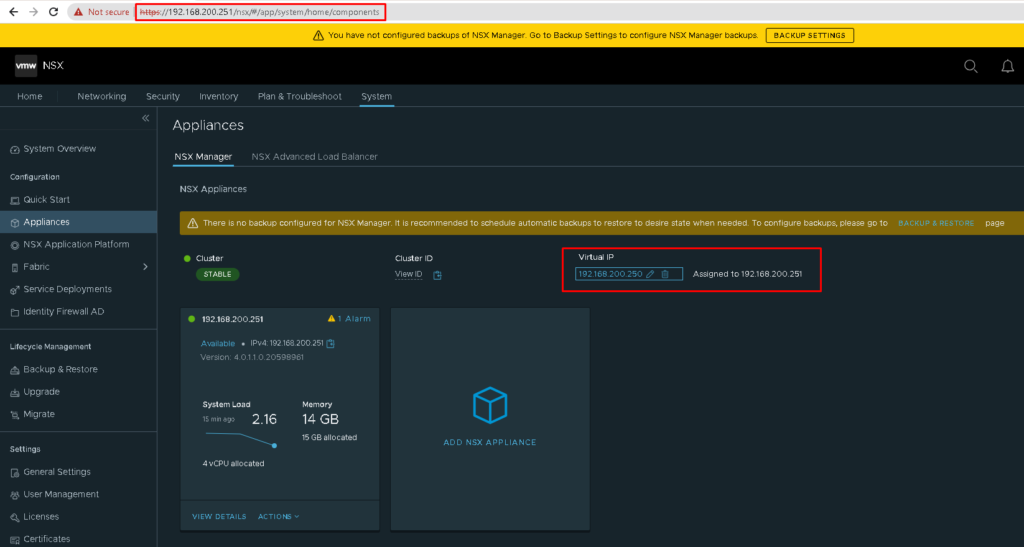
To remove the Virtual IP configuration, we need to access the NSX Manager UI (User Interface) by using the IP address of the NSX Manager Appliance instead the FQDN.
In this example, we are using the below address:
https://192.168.200.251
IMPORTANT: So, pain attention, we are not using the VIP IP address. We are using the NSX Manager Appliance IP address!
Under Virtual IP configuration, we need to click on the “Trash” icon:
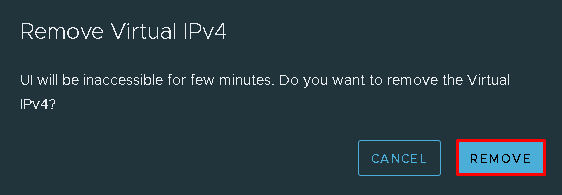
After that, click on “REMOVE” to confirm this operation:
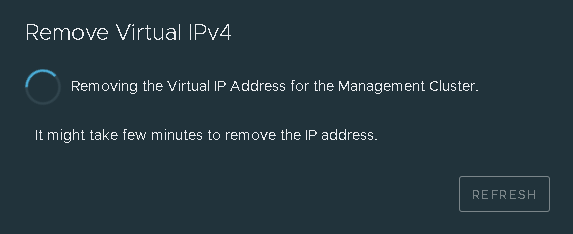
Wait for a few seconds while the removal process is running:
After that, we can see “SET VIRTUAL IP” under the “Virtual IP” configuration. It means that the removal process was finished successfully 🙂