

Installing TrueNAS CORE in Lab Environment is an article that describes how to install TrueNAS, step-by-step, in a lab environment using the VMware Workstation software. If you don’t use VMware Workstation, no problem, I believe that all concepts can be used in any way (physical or another virtual environment).
I’m using VMware® Workstation 16 Pro version 16.1.2 build-17966106 installed on Windows 10 Machine.
TrueNAS® CORE (formerly known as FreeNAS®) is the world’s most popular storage OS because it gives you the power to build your own professional-grade storage system to use in a variety of data-intensive applications without any software costs. Simply install it onto hardware or a VM and experience the true storage freedom of open-source storage.
TrueNAS CORE can be used from the home to the office to the data center for a variety of data-intensive use cases. IT professionals, photographers, designers, audio/video producers and editors, developers, and any user serious about storing and protecting lots of data can take advantage of TrueNAS CORE. Pair it with your favorite backup software to archive large quantities of infrequently used data off of your local devices and even sync and push data to the cloud.
In my opinion, the OpenZFS filesystems used by TrueNAS are the heart of TrueNAS.
Previously only available on the highest-end enterprise storage systems, TrueNAS gives you direct, user-friendly access to ZFS. With its built-in RAID, powerful data management tools, and ability to automatically detect and repair silent data corruption (and bit rot), TrueNAS and OpenZFS ensure data integrity from start to finish.
More details about TrueNAS:
https://www.truenas.com/truenas-core/
Creating the Virtual Machine
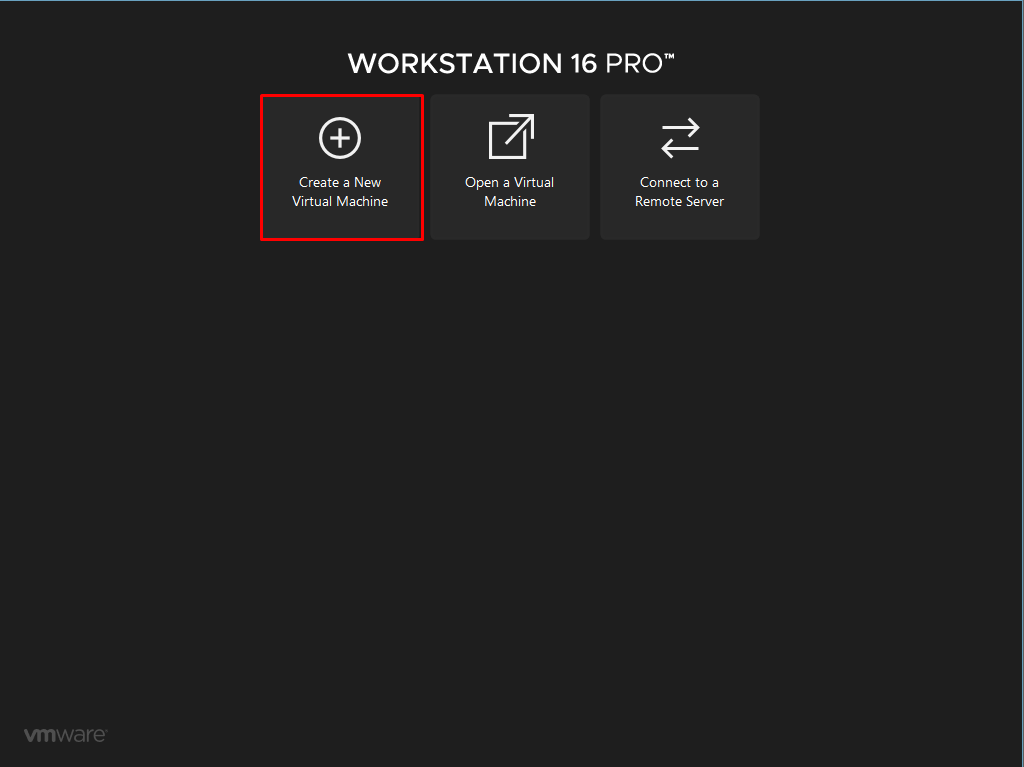
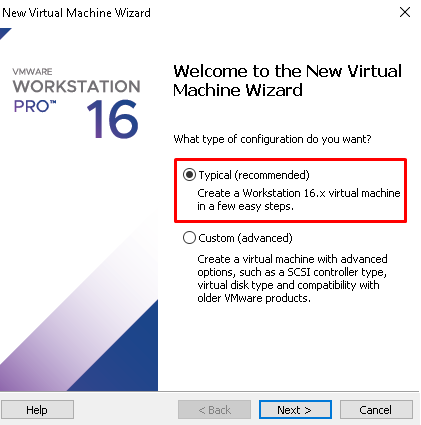
Before we Installing TrueNAS CORE, the first step is to create a Virtual Machine on VMware Workstation:
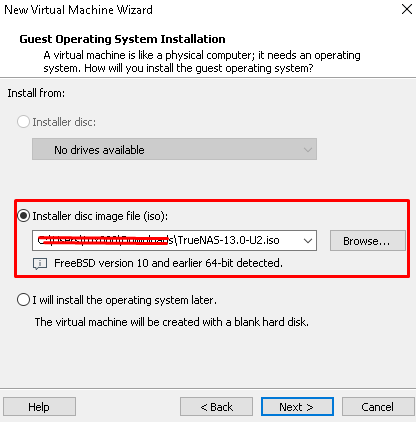
Select the TrueNAS iso file:
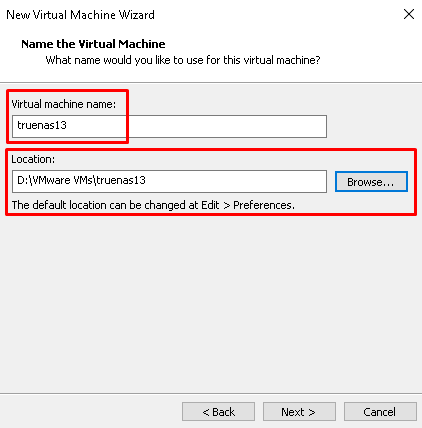
Type the Virtual Machine name and Location where the Virtual Machine will be stored:
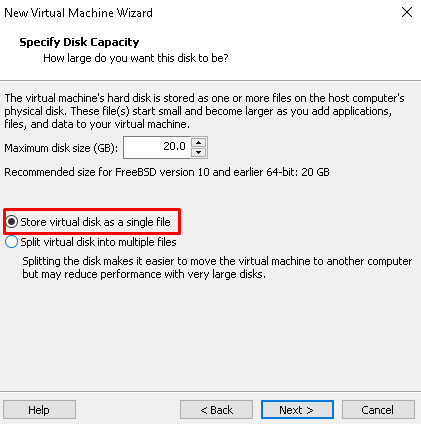
By default, the virtual disk of the VM is split into multiple files. We will change this option to “Storage virtual disk as a single file”:
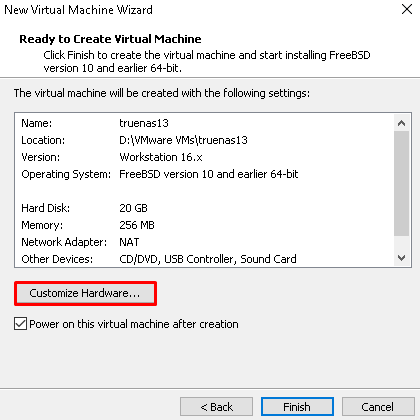
Click on “Customize Hardware…” to adjust the Memory and CPU values:
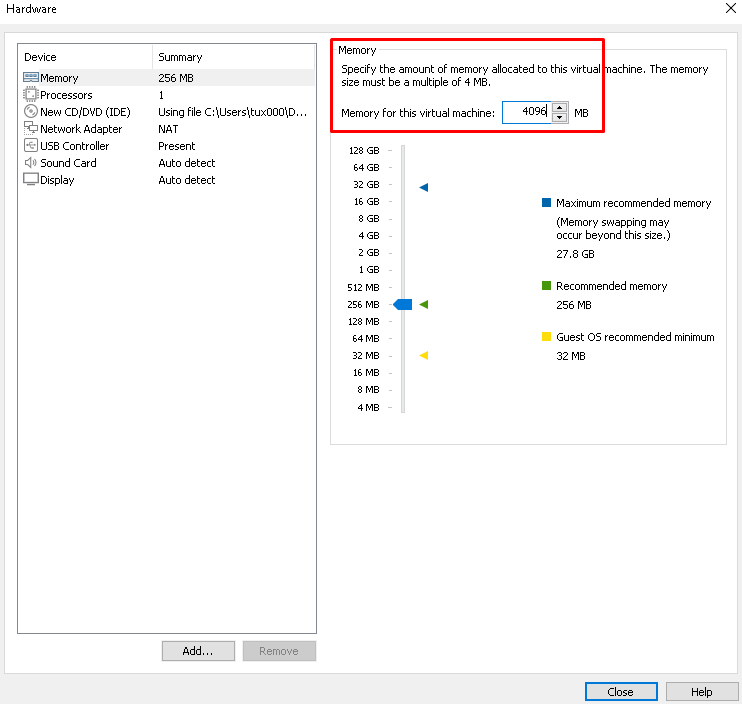
Set the Memory to 4096 MB:
Set the Number of processors to more than 1, if possible:
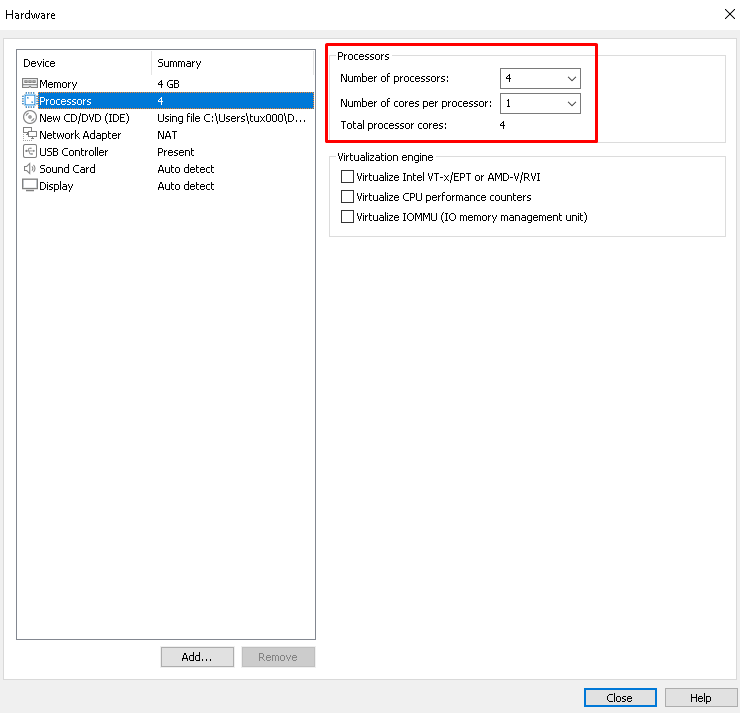
After that, click on Power on to start the TrueNAS VM:
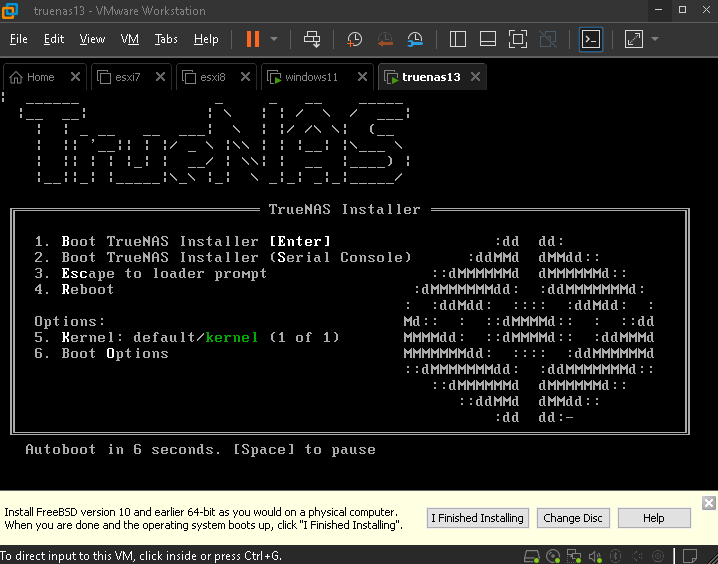
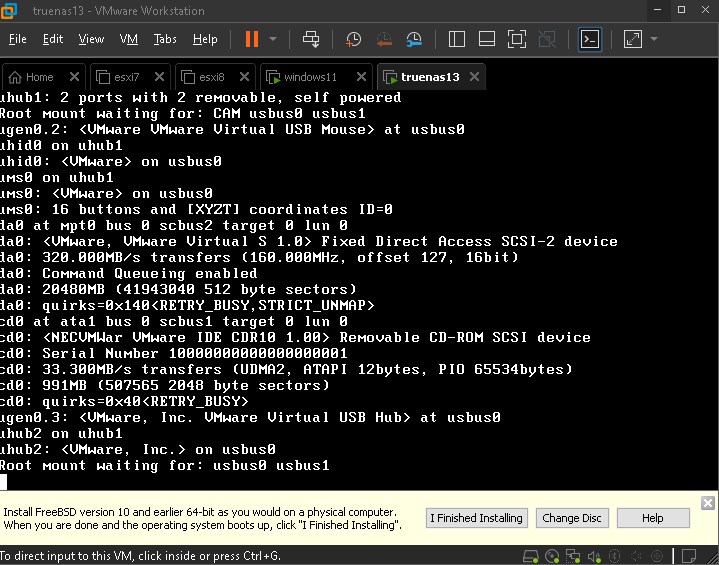
Install the TrueNAS
Here, we have the Console Setup. This is a type of Wizard to guide on the process install of the TrueNAS:
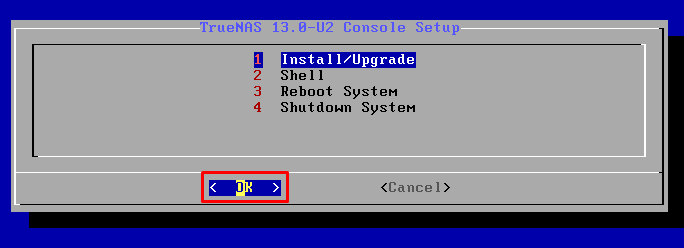
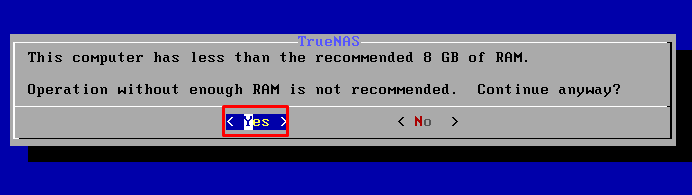
Note: The minimal memory requirement to run the TrueNAS OS is 8GB. But, in this case, we have 4GB and the Console Setup detected that. As a lab environment, we choose “Yes” to bypass this alert and proceed with the installation process:
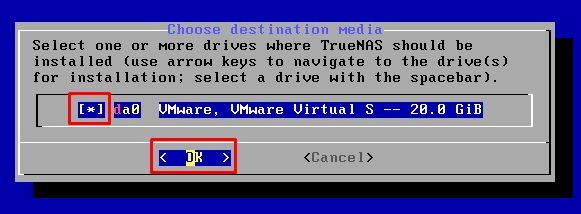
Use the backspace to select the virtual disk and click on “OK”:
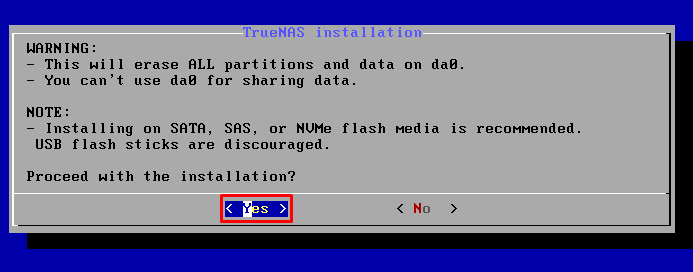
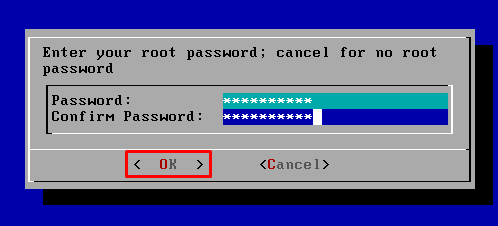
Set the password and confirm the password of the root password:
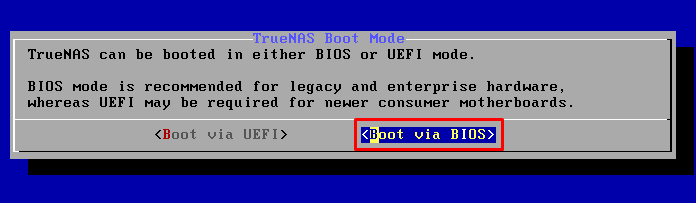
Choice the boot method. We have available BIOS or UEFI mode. I used to “Boot via BIOS”. Then, the installation process will start:
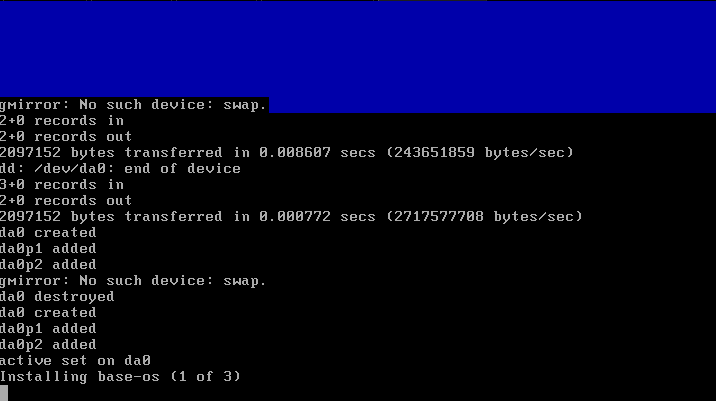
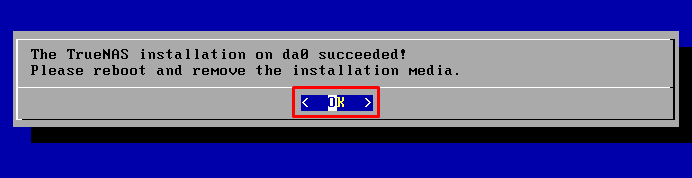
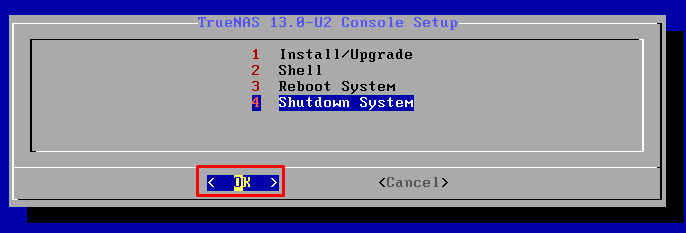
When the installation process is finished, click on “OK” and select “Shutdown System”. Then, do we need to edit its settings and remove the iso file used to install the TrueNAS:
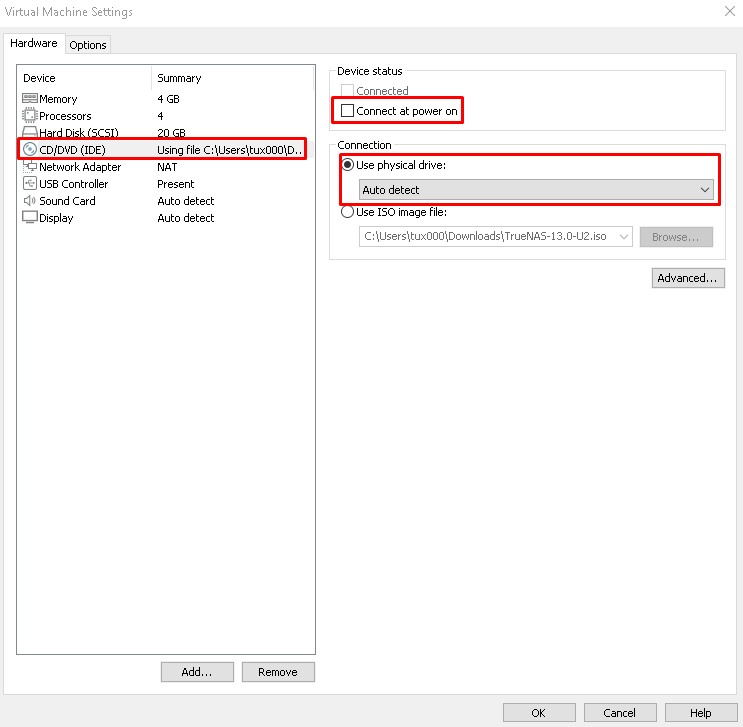
Access the TrueNAS
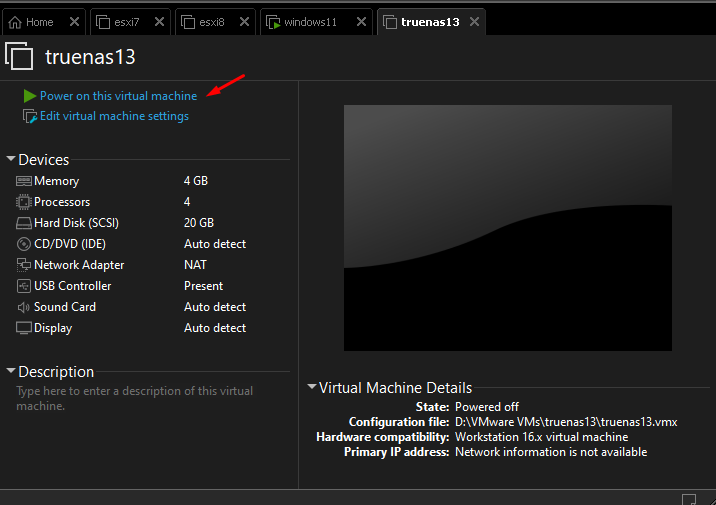
Select the TrueNAS Virtual Machine and click on “Power on this virtual machine”:
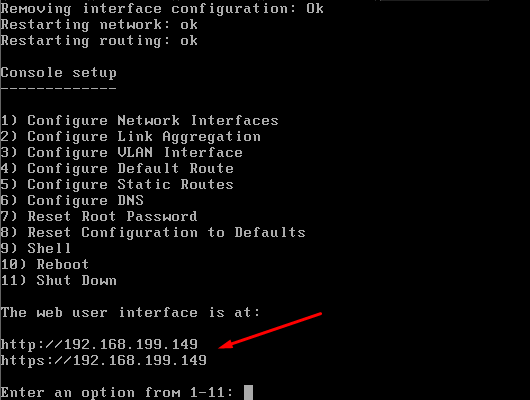
Here we have the TrueNAS console setup:
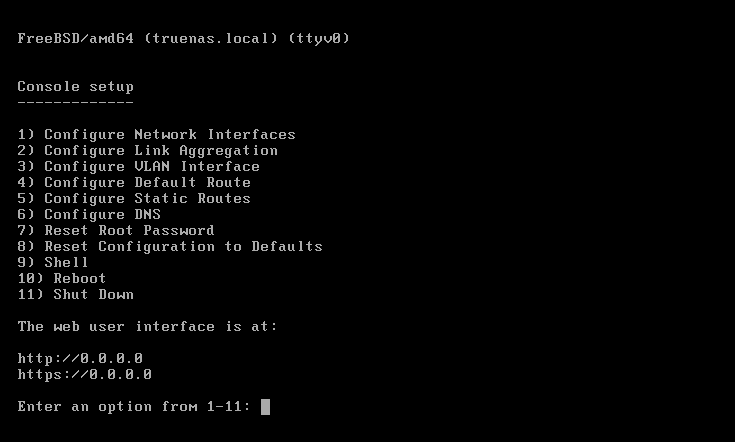
To configure the web browser management access, we need to select the first option to configure the network interface. Select the option “1) Configure Network Interfaces” and then follow the small wizard to do this process:
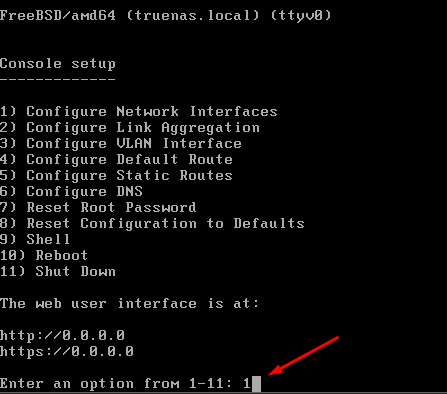
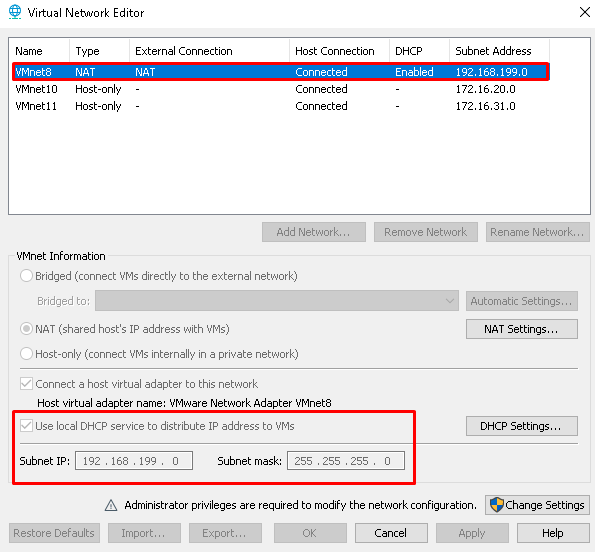
Note: the network configuration for this VM is “NAT”. In my environment, the NAT interface on VMware Workstation has a subnet 192.168.199.0/24 and the DHCP service is enabled on this interface. So, you need to check it on your environment (probably the subnet for the NAT interface can be different):
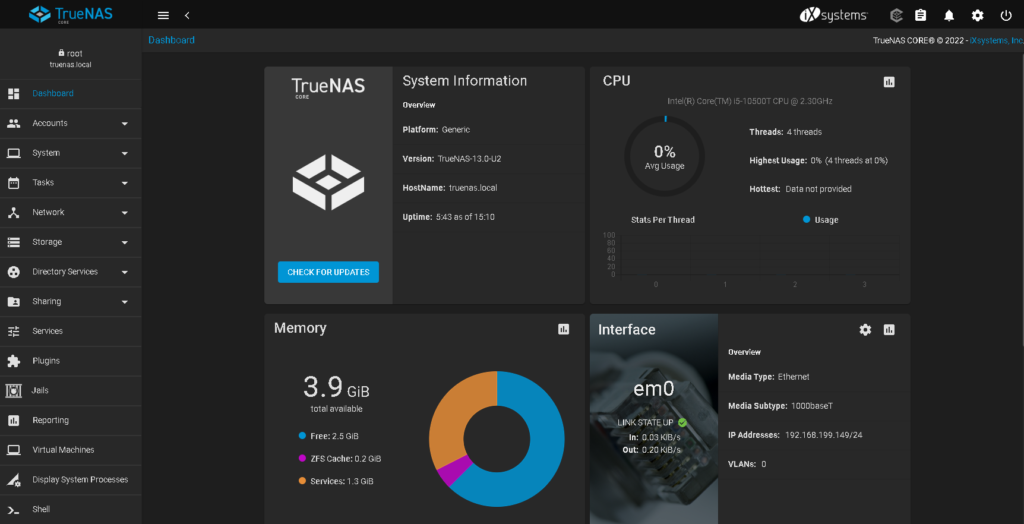
By default, the interface em0 was configured by DHCP. To access the web management interface is 192.168.199.149:
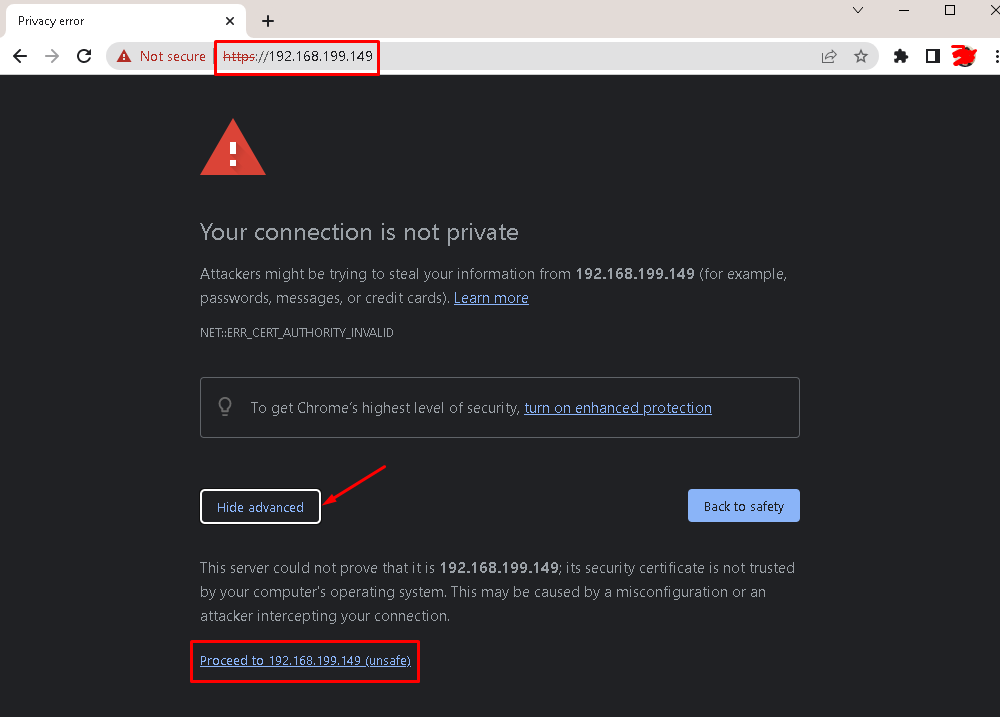
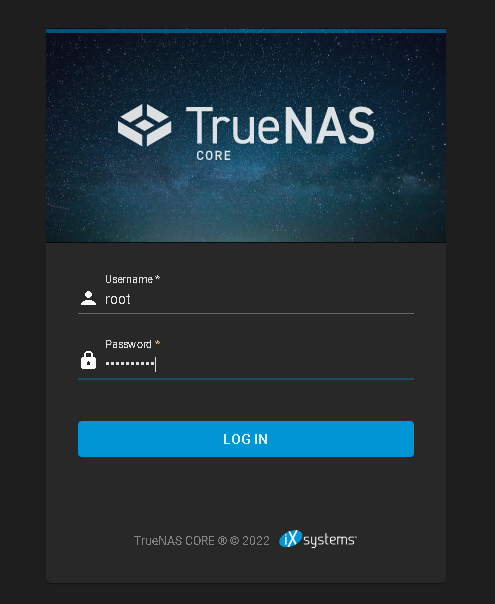
Here, we have the TrueNAS Dashboard 🙂 :
We have an interesting post that we are using the TrueNAS with a Storage to a vSphere Cluster. To read this full article, please, click on the link below:
