Adding Additional NSX Manager Appliance is an article that explains the process to add additional NSX Managers appliances to the NSX Management Cluster.
We posted a previous article explaining how to deploy the first NSX Manager. So, click HERE to read this article.
There is a recommendation from VMware to deploy 3 NSX Managers in an NSX-T Data Center environment. This is a very important recommendation for resilience and redundancy purposes.
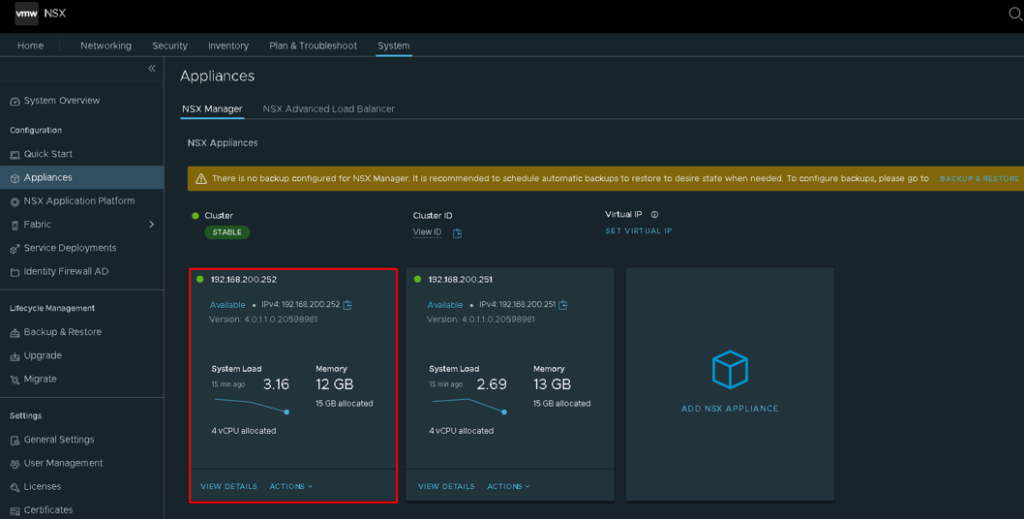
Firstly, we need to log in on the current NSX Manager UI. After that, click on:
System –> Appliances –> ADD NSX APPLIANCE
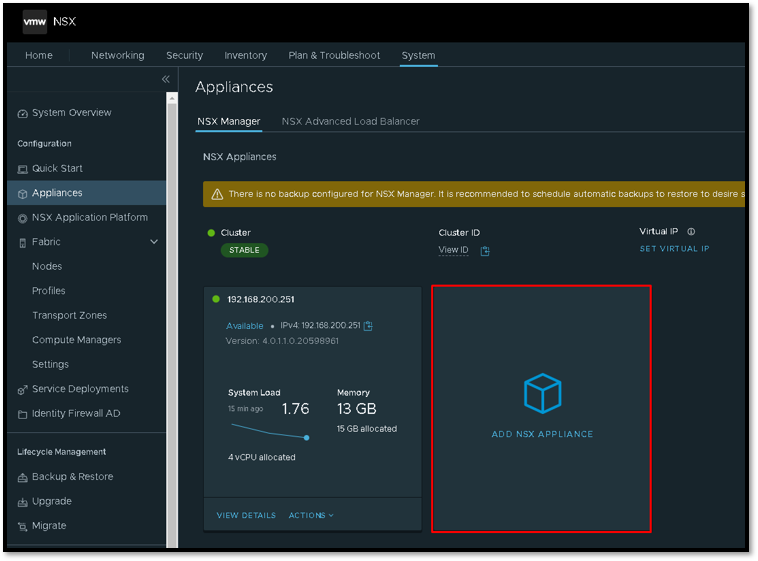
An Add Appliance wizard will show.
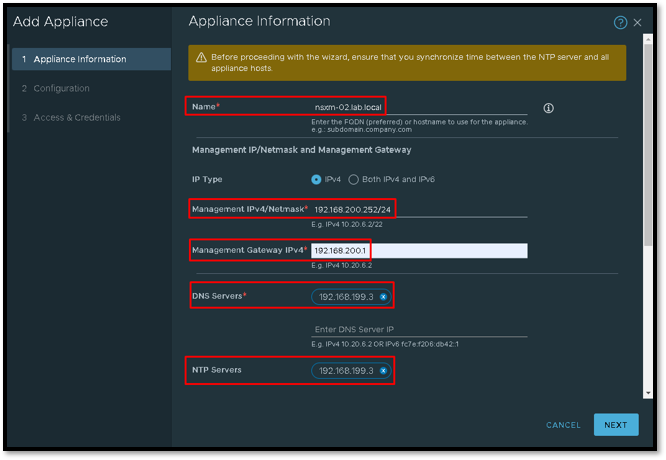
On this page, we need to type the required detail for the next NSX Manager Appliance.
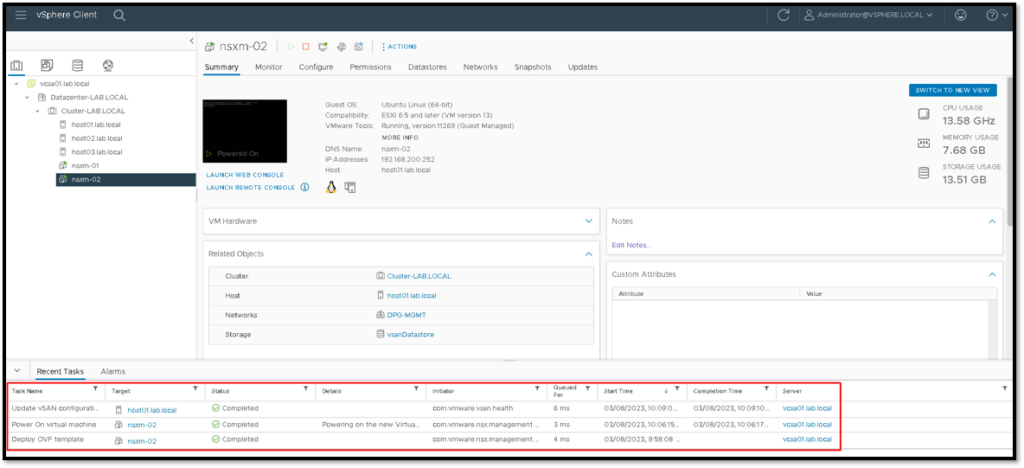
In this example, the name for this NSX Manager Appliance is “nsxm-02.lab.local”.
The management IP is 192.168.200.252/24.
The management default gateway IP is 192.168.200.1.
The DNS server is 192.168.199.3.
The NTP Server is 192.168.199.3.
Type the detail correctly and click on NEXT to continue:
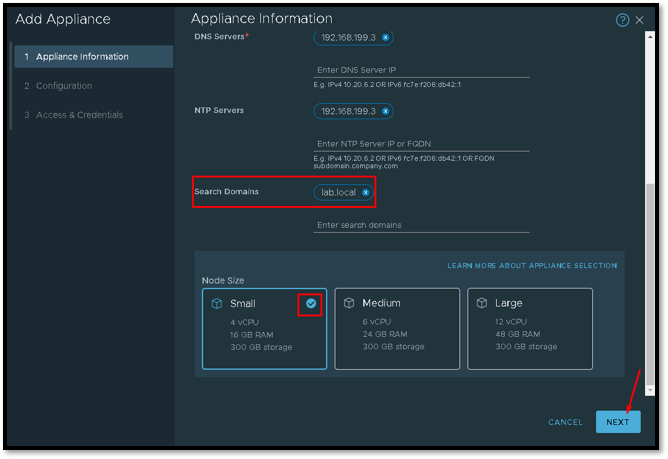
Also, type the Search Domains for the DNS resolution process and choose the Node Size. In this lab, we are using a Small size. Click on NEXT to continue:
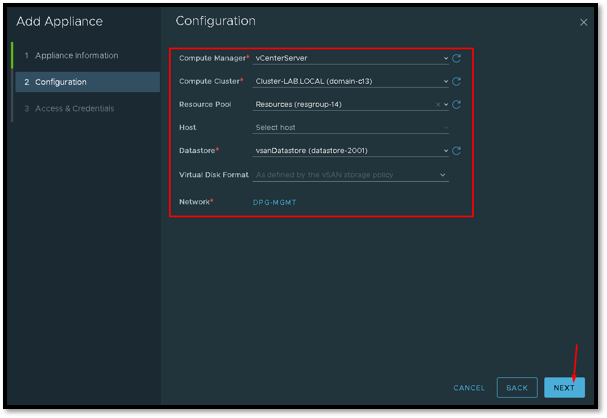
On this page, we need to type where the new NSX Manager Appliance will be placed and run.
Note: In our lab, we are using a vSAN Cluster. So, our Datastore is vSAN based. Look that our datastore is “vSAN Datastore”. Type the correct information based on your environment. Click on NEXT to continue:
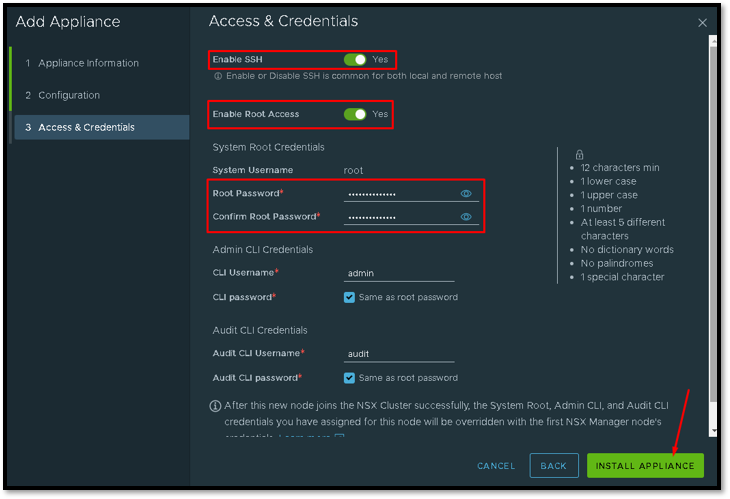
Now, here is the last part of the configuration wizard.
We need to Enable SSH and Enable SSH Root Access too. Also, we need to define the root, admin, and audit passwords. Look that in this case, the same password will be used for all these users.
So, click on INSTALL APPLIANCE to start the deployment process:
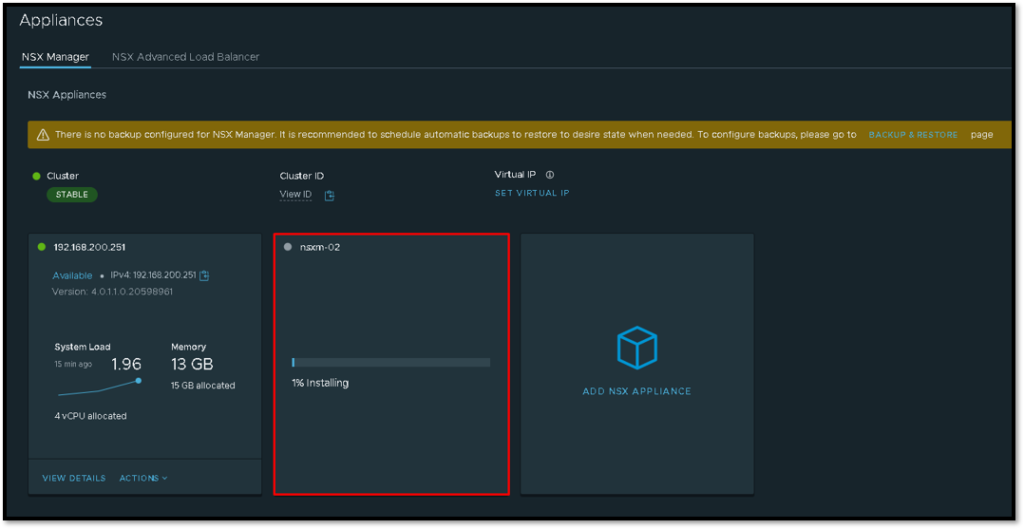
On the same page, for instance, it is possible to follow the deployment process:
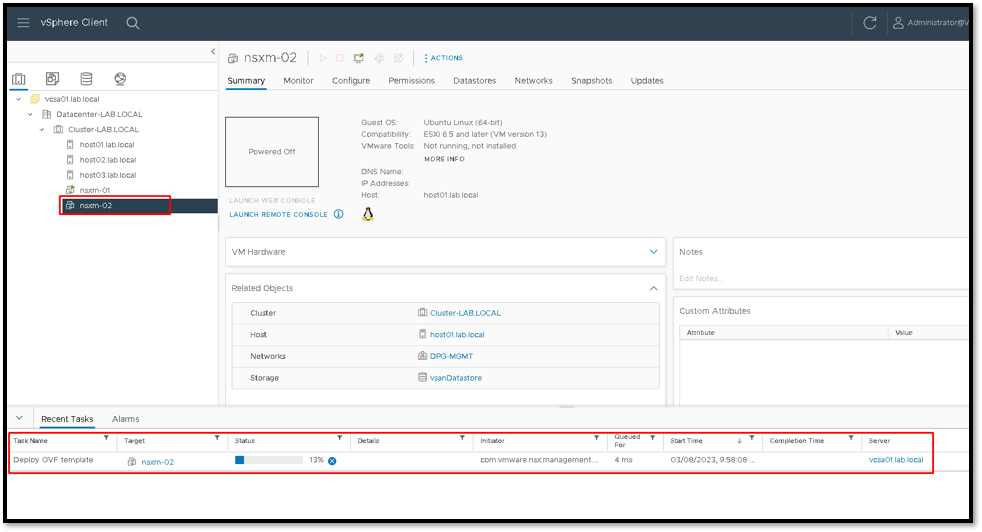
However, you can see related tasks on the vSphere Client Recent Tasks.
This process can take a lot of time to finish. So, take your coffee and wait some minutes 😉
So, the deployment process is finished. We can see all related tasks with “Completed” status:
Finally, after some minutes, this new NSX Manager Appliance will be available on the Appliances page under NSX Manager UI 🙂