Gaining Superuser Access on RHEL shows how to access the system with superuser privileges. We’re using Red Hat Enterprise Linux; however, these examples apply to any Linux distribution.
Most operating systems have a superuser (administrator) responsible for administrative and restrictive tasks. In the majority of Linux distributions, the superuser is the “root” account. For tasks such as installing or removing software, and to manage system files and directories, users must escalate their privileges to the root user.
In some Linux distributions, for security purposes, the root account has no valid password by default, so we cannot directly log in as the root user with a password. Typically, the users must access the system with a normal account and then switch to the root account to execute a specific task or function.
Switching User Accounts
First and foremost, let’s execute the “id” command and analyze its output:
id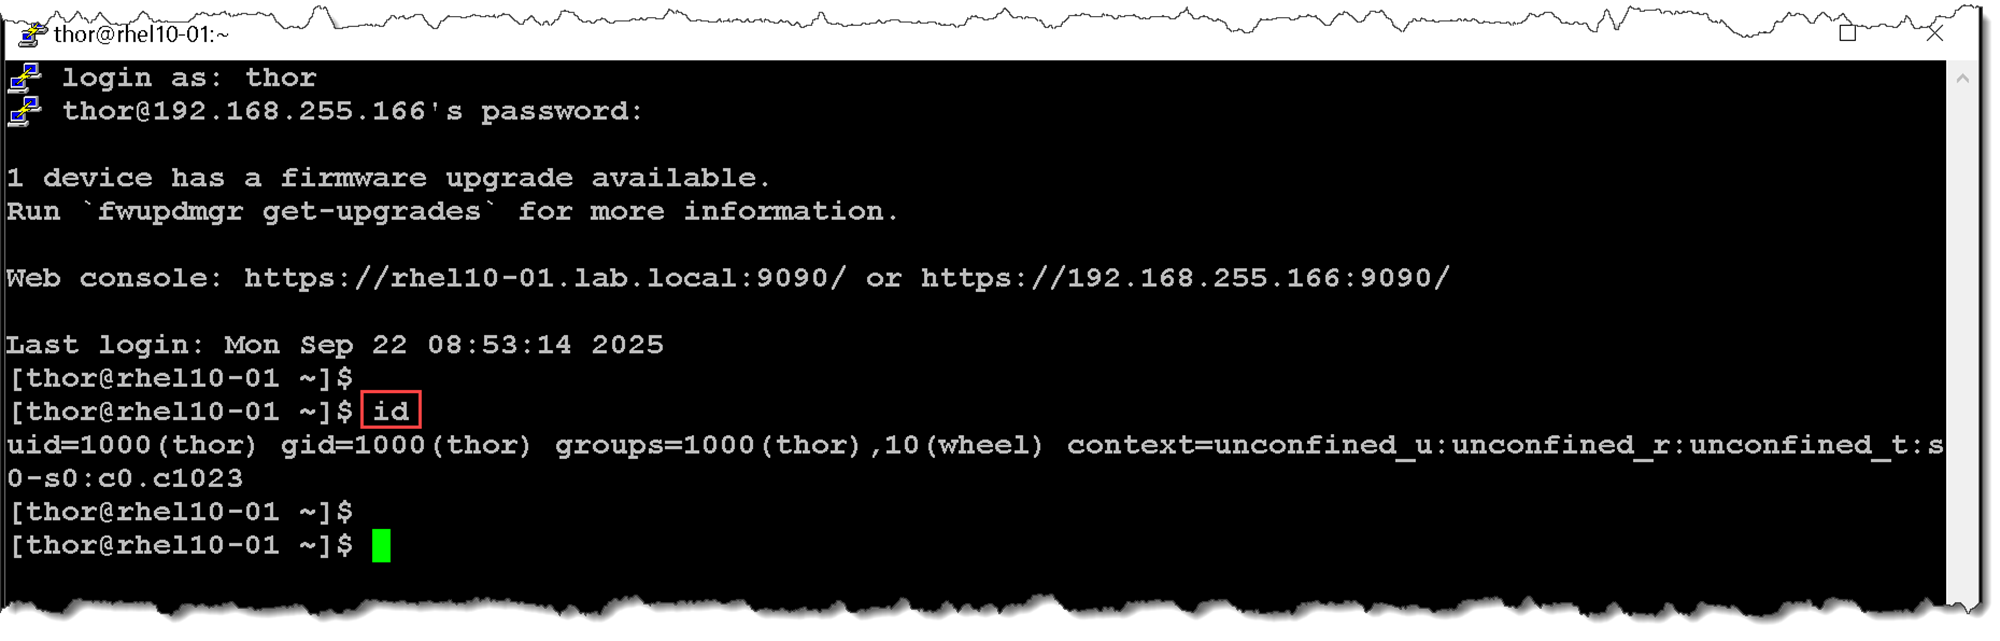
As we can see, the “id” command shows details of the current logged account, such as user ID (UID), group ID (GID) of the primary group, supplementary groups, etc.
With the su command, users can switch to a different user account. If you run the su command from a regular user account with another user account as a parameter, then you must provide the password of the account to switch to. When the root user runs the su command, you do not need to enter the user’s password.
This example uses the su command from the thor account to switch to the john account:
su - john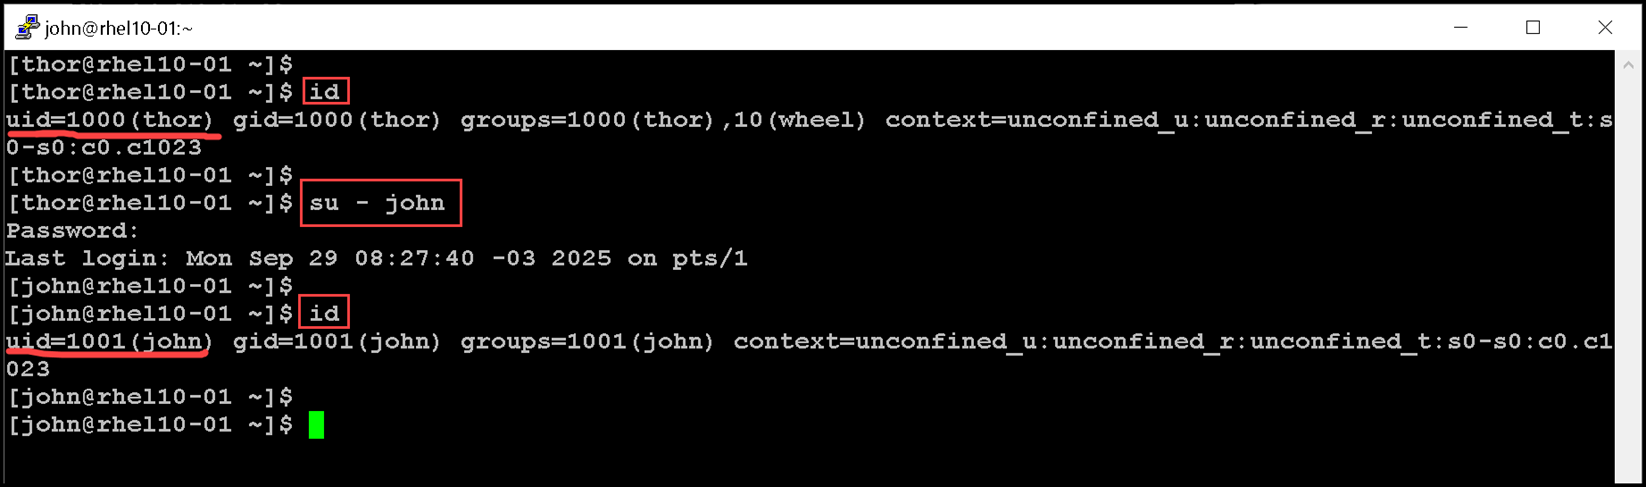
If you omit the username, then the su or su - command attempts to switch to root by default:
su -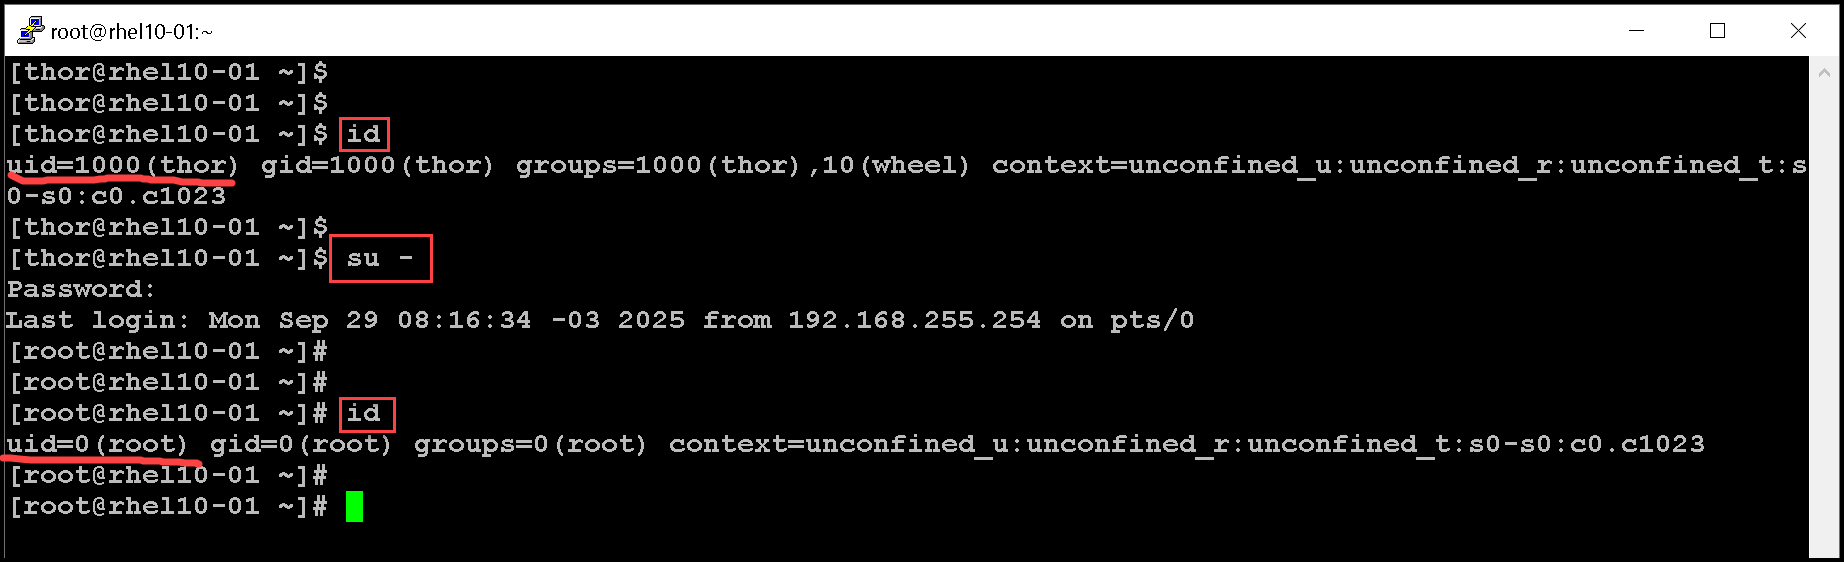
What is the difference between “su” and “su -“?
This is a classic difference in Linux privilege escalation!
su
Meaning: “substitute user” or “switch user.”
Behavior:
- By default, it switches to the root user but does not load the root user’s environment.
- You get the root user’s privileges but still keep the current shell environment (your
$PATH,$HOME, etc.). - Example:
suAfter entering the root password, you’re root, but the environment may still be that of your user.
su –
Meaning: “switch user and simulate a login.”
Behavior:
- Switches to the root user and loads the root user’s login environment (like a full login shell).
- You get root’s
$PATH,$HOME, and other environment variables. - This is essentially like logging in directly as root.
- Example:
su -After entering the root password, you’re in a clean root environment, just like root logging in directly.
Note: Generally, administrators should run the su - command to get a shell with the target user’s environment settings. This approach ensures that the resulting shell is initialized in the same way that it would be if that user logged in as usual!
Running Commands with Sudo
In RHEL 10, the root account has no valid password by default. In other words, there is no password that allows a user to authenticate and access the root account, either by attempting to log in directly as root or by trying to use the su command. However, the system administrator could set a password for the root account, which would allow you to become the root user with the su command if you know that password.
For security reasons, system administrators commonly do not set a valid password for the root account. In that case, to get access to the root account, users must use a regular password to log in to a regular user account, and then use the sudo command to become the root user or to run commands as the root user.
Note:
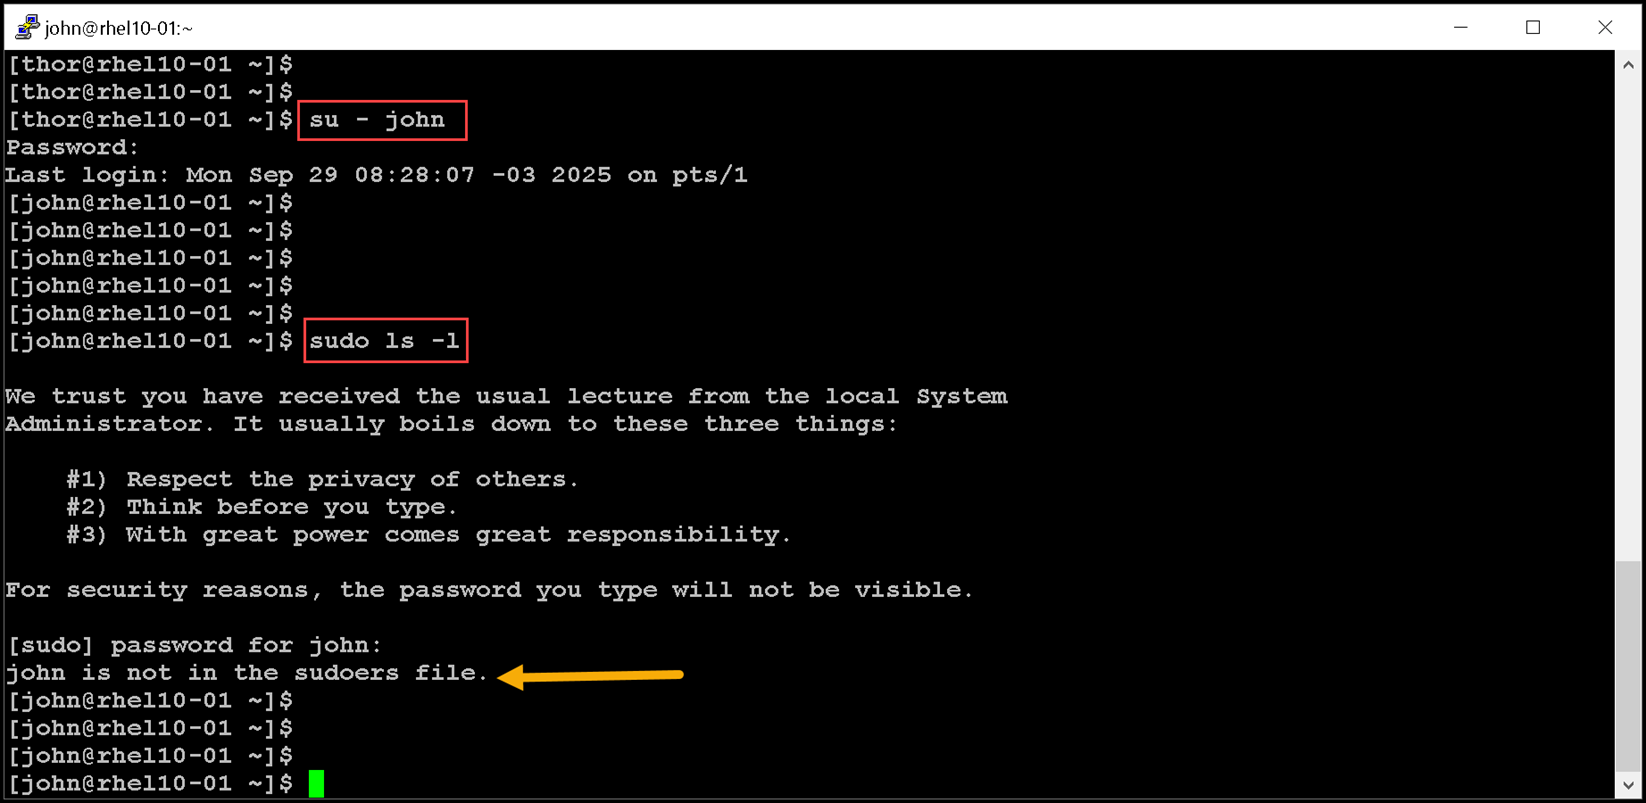
Unlike the su command, the sudo command typically requires users to enter their own password for authentication, not the password of the user account that they are trying to access. That is, users who use the sudo command to run commands as the root user do not need to know the root password. Instead, they use their own passwords to authenticate access.Additionally, you can configure the sudo command to allow specific users to run any command as some other user, or only some commands as that user. Let’s provide an example of an unauthorized user trying to execute a command with sudo:
sudo ls -lWe switched to the “john” user account and executed a sudo command. However, it did not work because the “john” user was not authorized to execute commands with sudo:
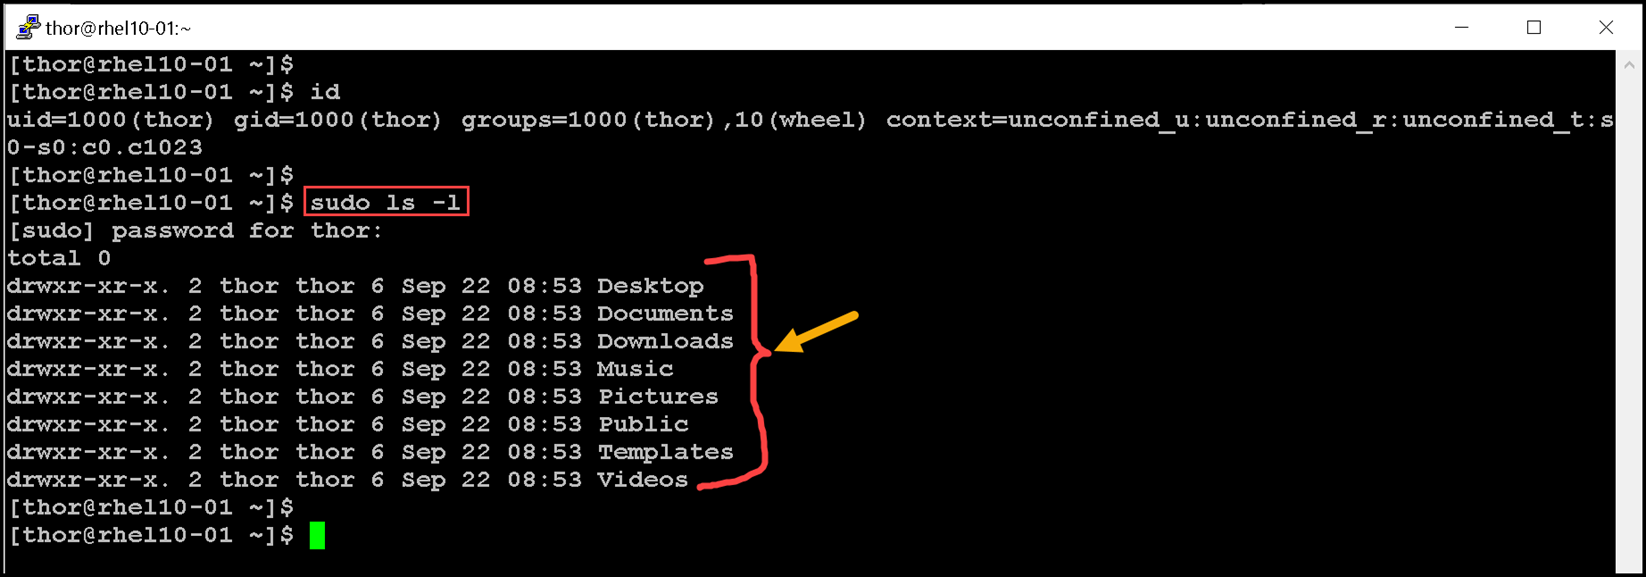
Let’s execute the same command logged with the “thor” user account:
sudo ls -lAs we can see in the following picture, the user “thor” could execute the command “sudo ls -l” with success:
In simple words:
sudo= “superuser do” (or “substitute user do” in newer versions).- It allows a permitted user to run a specific command as another user (usually root) without switching to that user’s shell.
- You don’t become root permanently — you just execute a single command with elevated privileges.
Important:
By default, the sudo command caches your password for five minutes after a successful authentication. As a result, you do not need to enter your password multiple times if you run a quick series of sudo commands.

You can run the sudo -k command to immediately remove your password from the cache.
Configuring Sudo
The /etc/sudoers file is the main configuration file for the sudo command. To avoid problems if multiple administrators try to edit the file at the same time, you can edit it only with the special visudo command. The visudo editor also validates the file to ensure no syntax errors.
For example, the following line from the /etc/sudoers file enables sudo access for wheel group members:
%wheel ALL=(ALL:ALL) ALL- The
%wheelstring is the user or group that the rule applies to. The percent sign (%) before thewheelword specifies a group. - The
ALL=(ALL:ALL)command specifies that on any host with this file (the firstALL), users in thewheelgroup can run commands as any other user (the secondALL) and as any other group (the thirdALL) on the system. - The final
ALLcommand specifies that users in thewheelgroup can run any command.
Note: By default, the /etc/sudoers file also includes the contents of any files in the /etc/sudoers.d directory as part of the configuration file. With this hierarchy, you can add sudo access for a user by putting an appropriate file in that directory.
Let’s provide some examples:
1- To enable full sudo access for the user01 user, you can create the /etc/sudoers.d/user01 file with the following content:
user01 ALL=(ALL) ALL2- To enable full sudo access for the group01 group, you can create the /etc/sudoers.d/group01 file with the following content:
%group01 ALL=(ALL) ALL
3- To enable users in the games group to run the id command as the operator user, you can create the /etc/sudoers.d/games file with the following content:
%games ALL=(operator) /bin/id4- To set up sudo to allow a user to run commands as another user without entering their password, by using the NOPASSWD: ALL command:
ansible ALL=(ALL) NOPASSWD: ALLGetting an Interactive Root Shell with Sudo
To access the root account with the sudo command, use the sudo -i command. This command switches to the root account and runs that user’s default shell (usually bash) and associated interactive login scripts:
sudo -i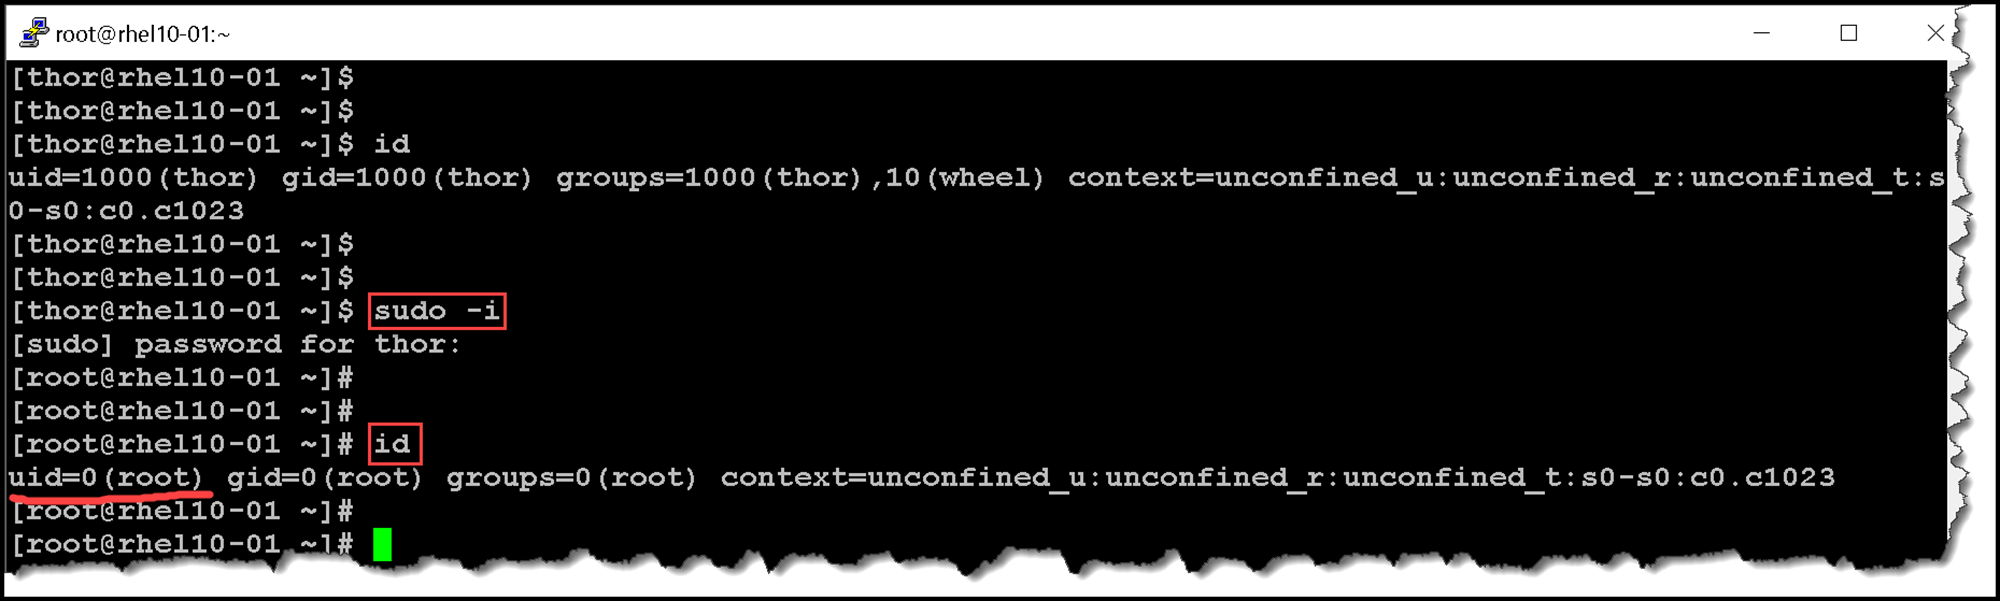
That’s it for now 🙂