How to Install RHEL 8 on Lab shows all the necessary steps to install Red Hat Enterprise Linux 8 on a lab environment.
Downloading the Installation File (.iso)
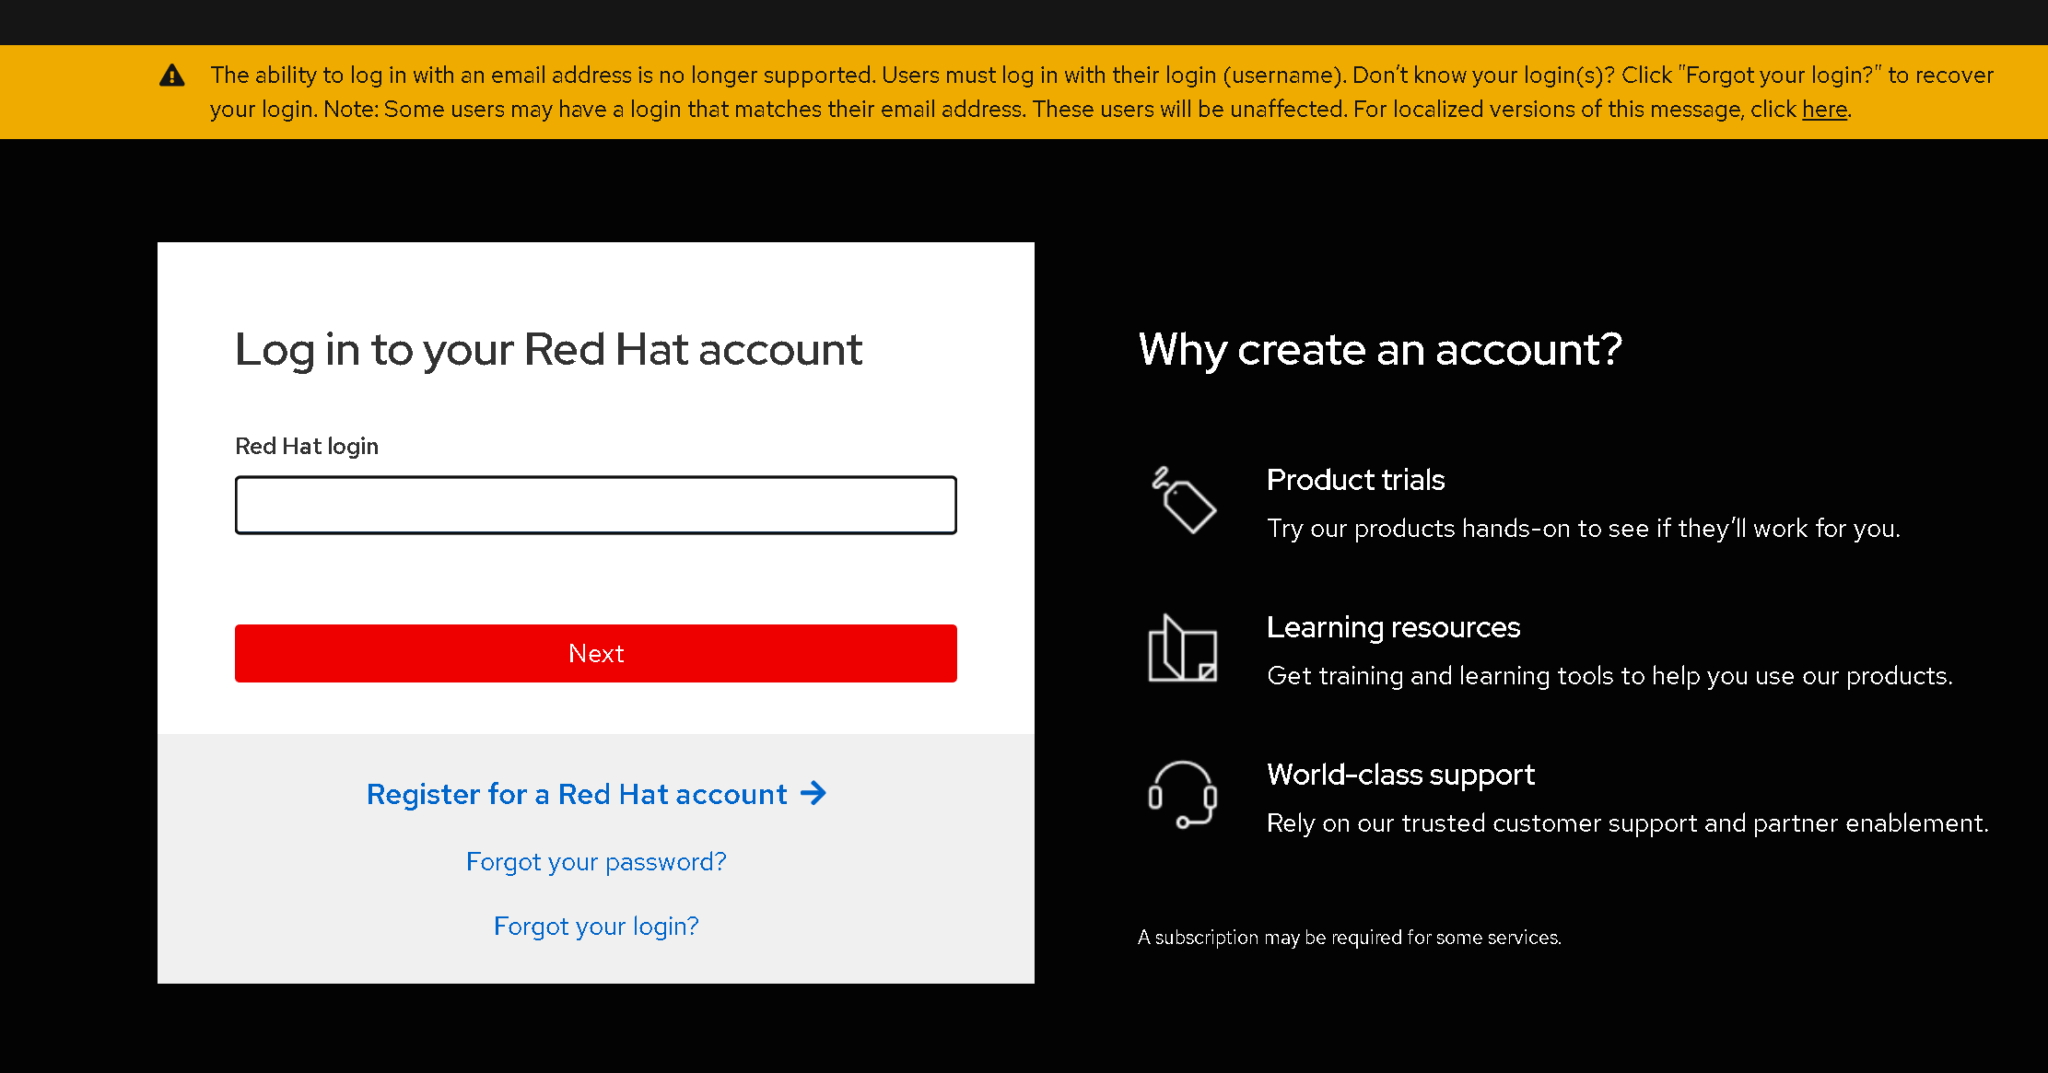
First and foremost, access http://access.redhat.com/ and create an account if you have not yet:
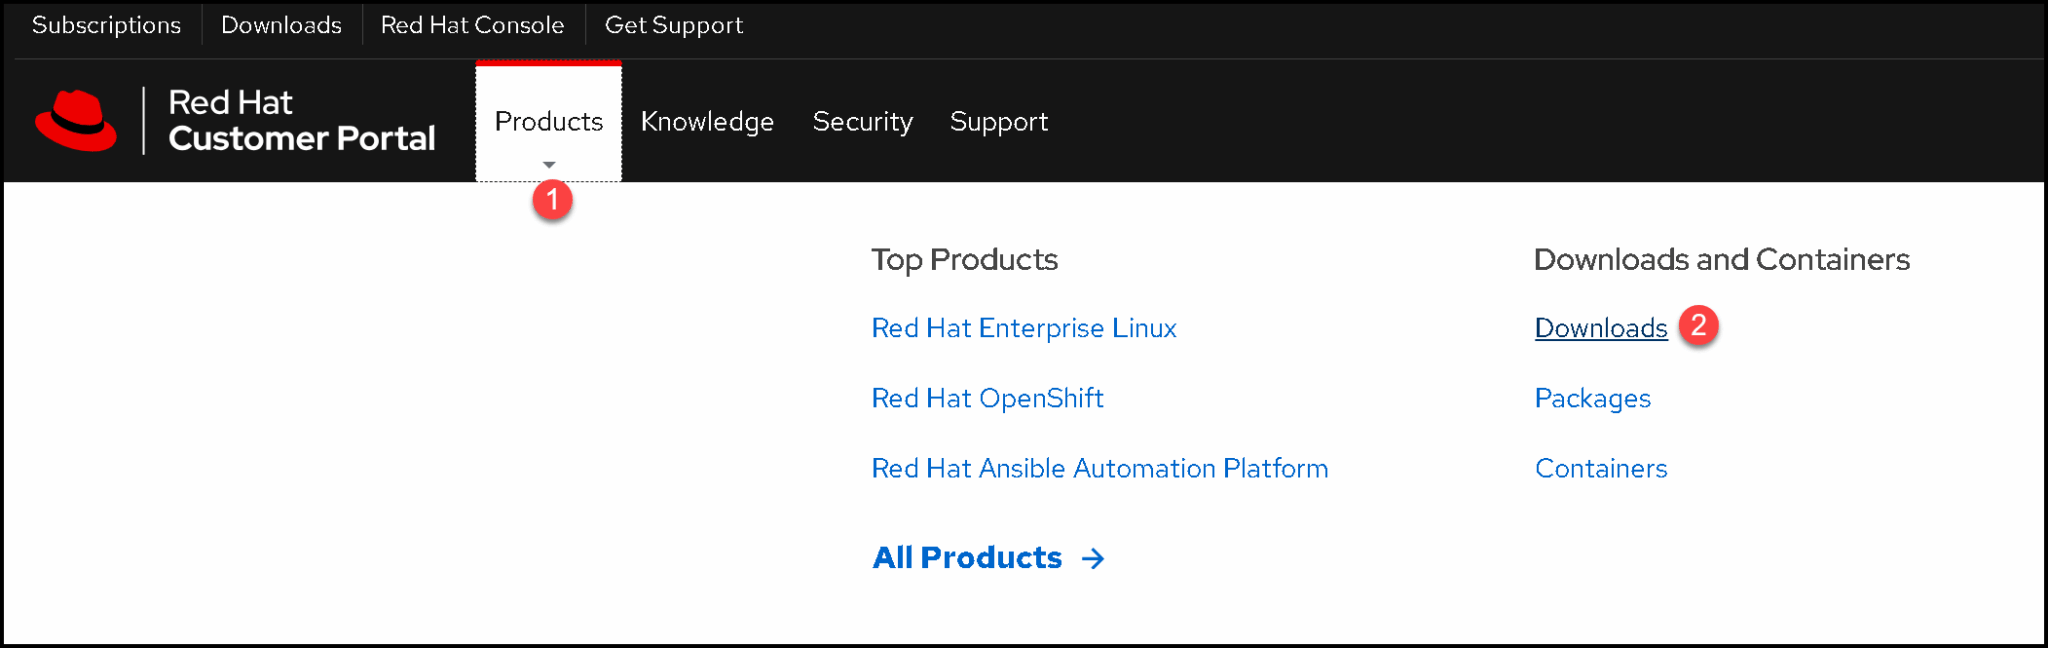
After accessing your account, go to Products –> under Downloads and Containers, click on Downloads:
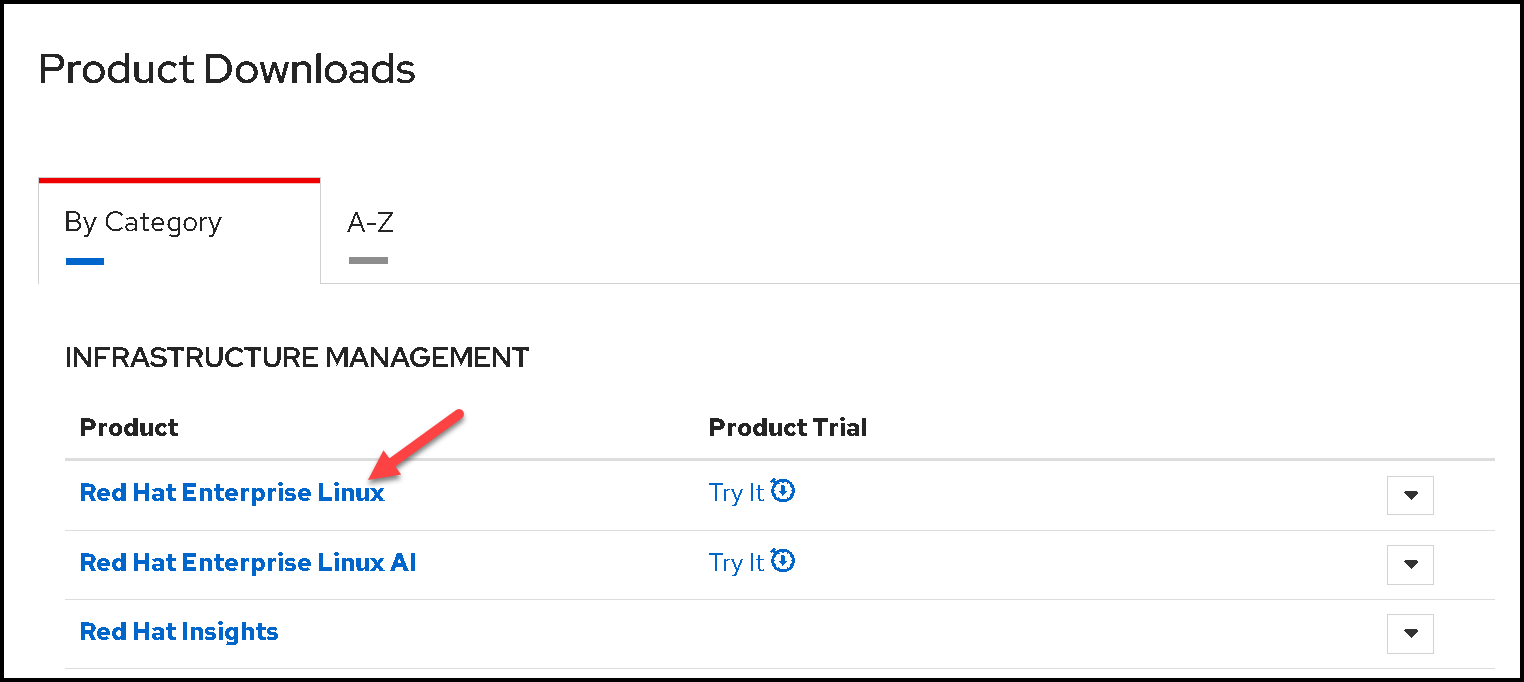
All available downloads will be shown, segmented by category. Click on “Red Hat Enterprise Linux”:
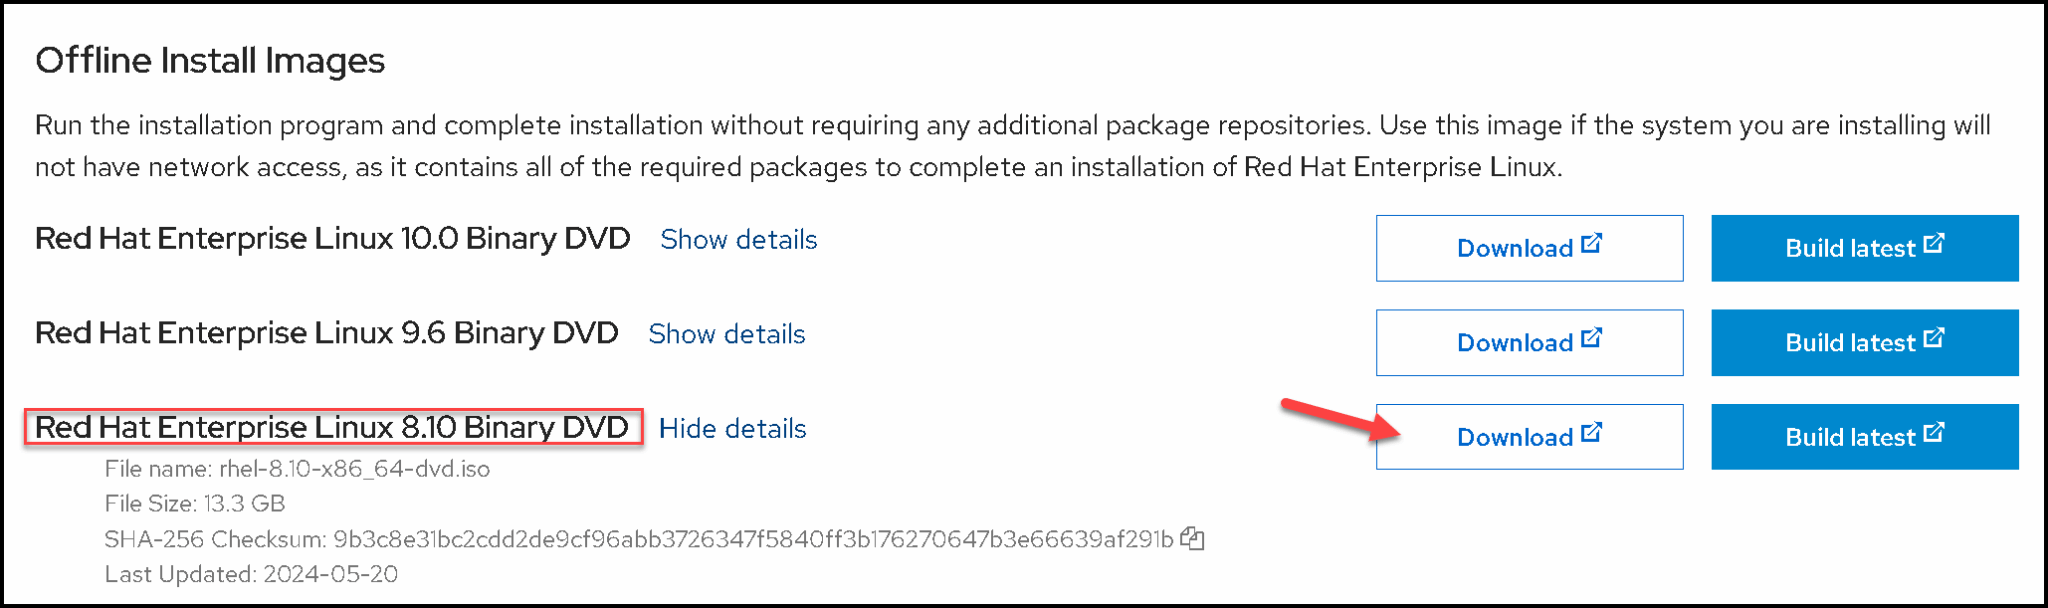
For this lab, we’re using RHEL 8.10 – Feel free to use another version:
Booting with Installation File
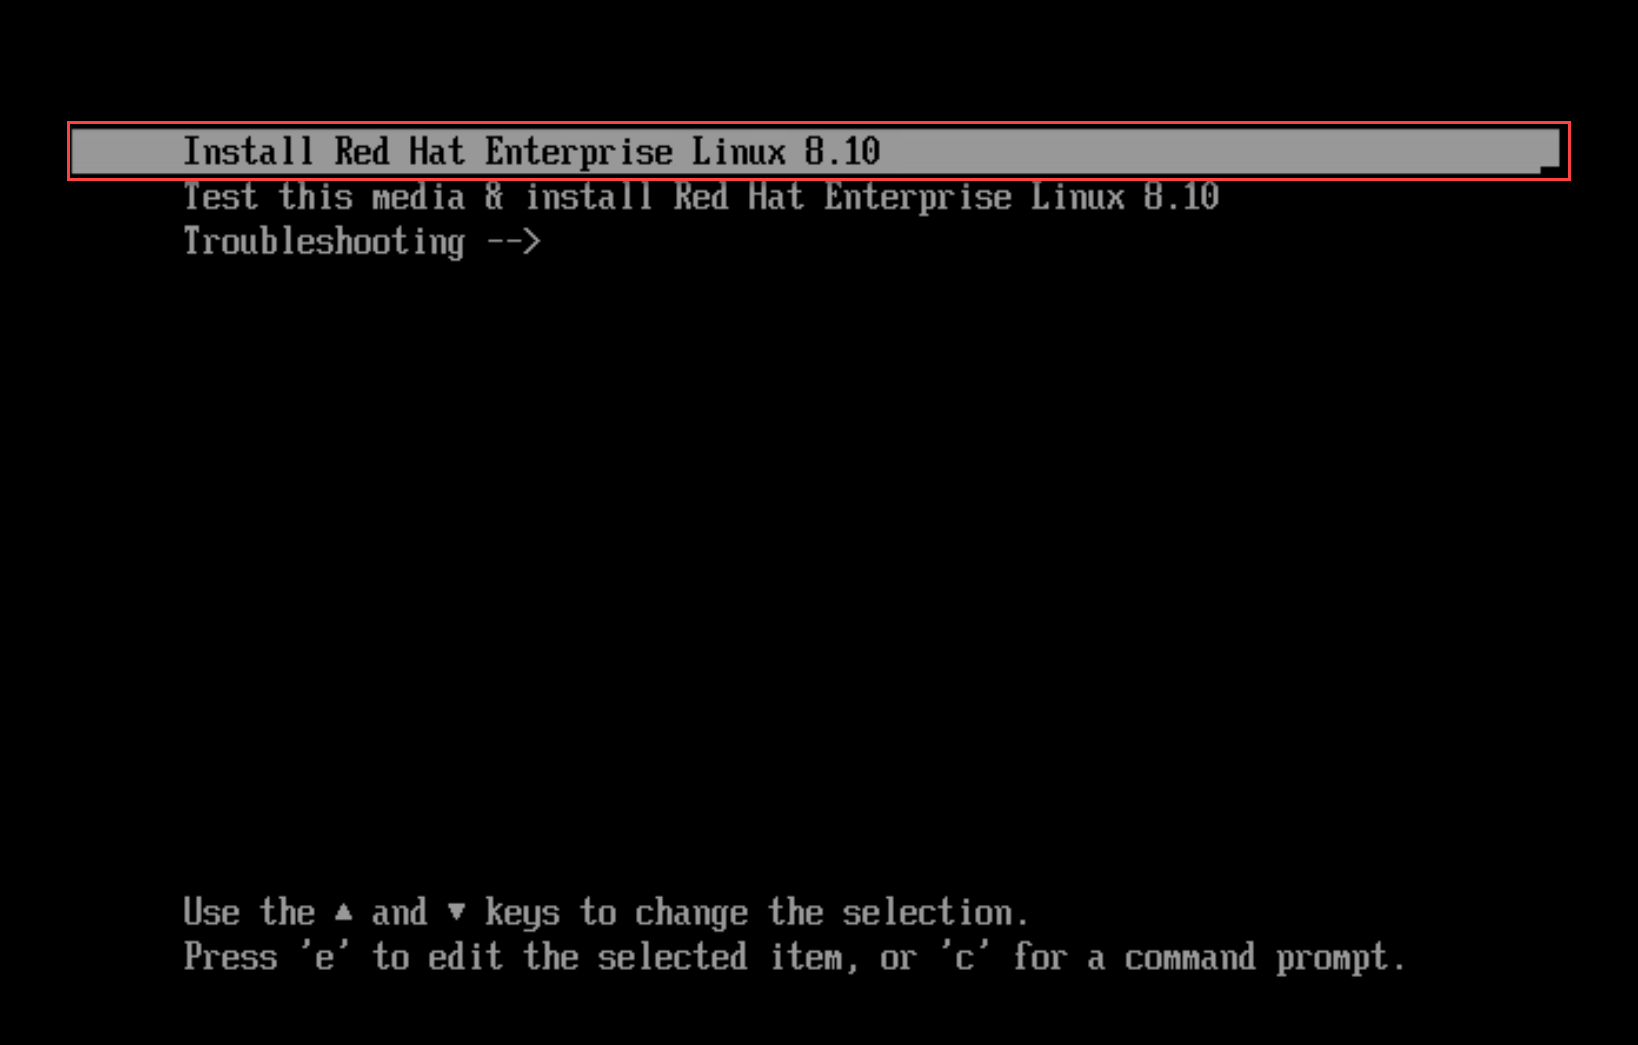
We created a VM and set it up to boot from the installation file (.iso):
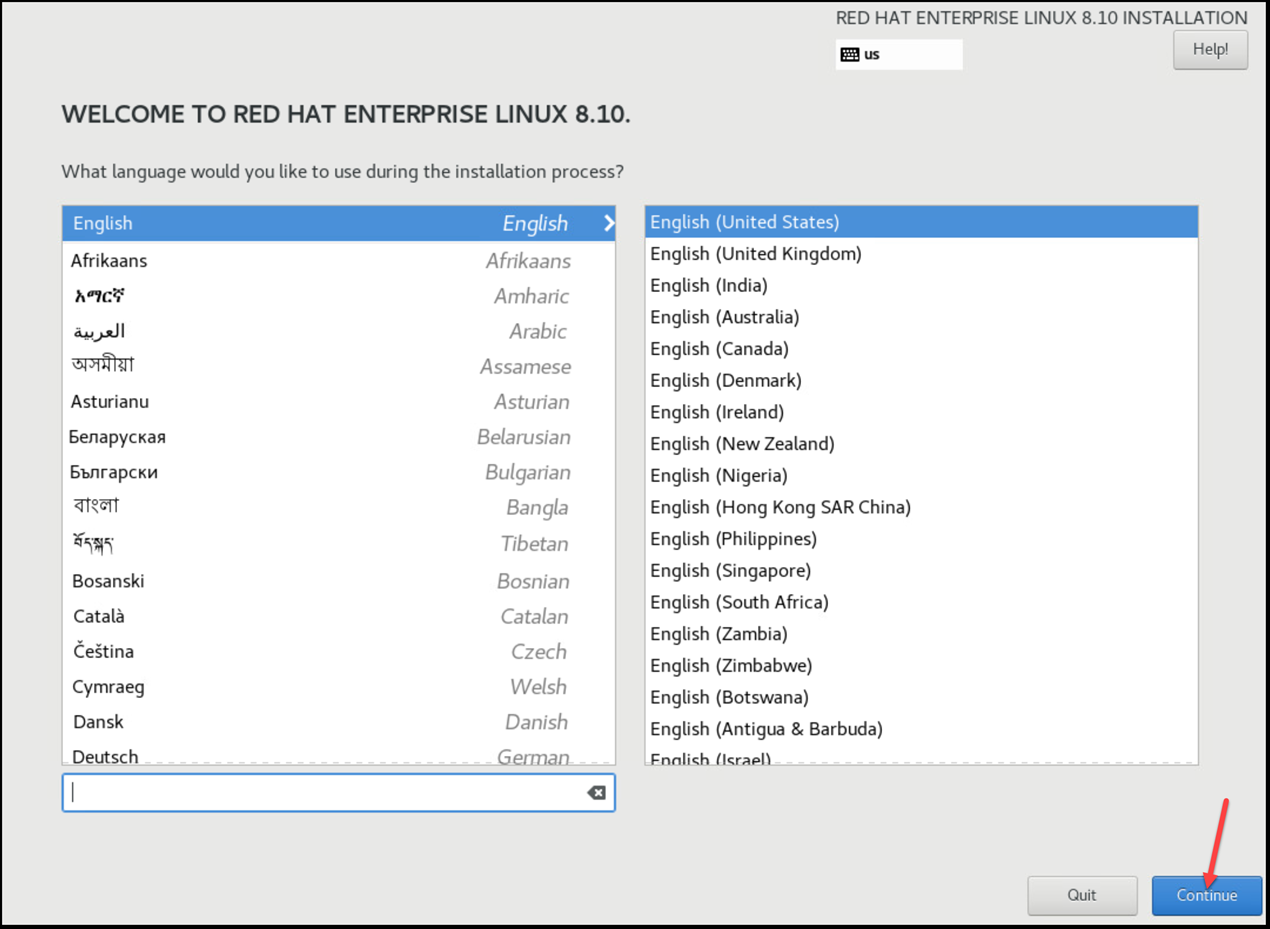
After some moments, the installer wizard will be available:
You can configure the language to use during the installer wizard:
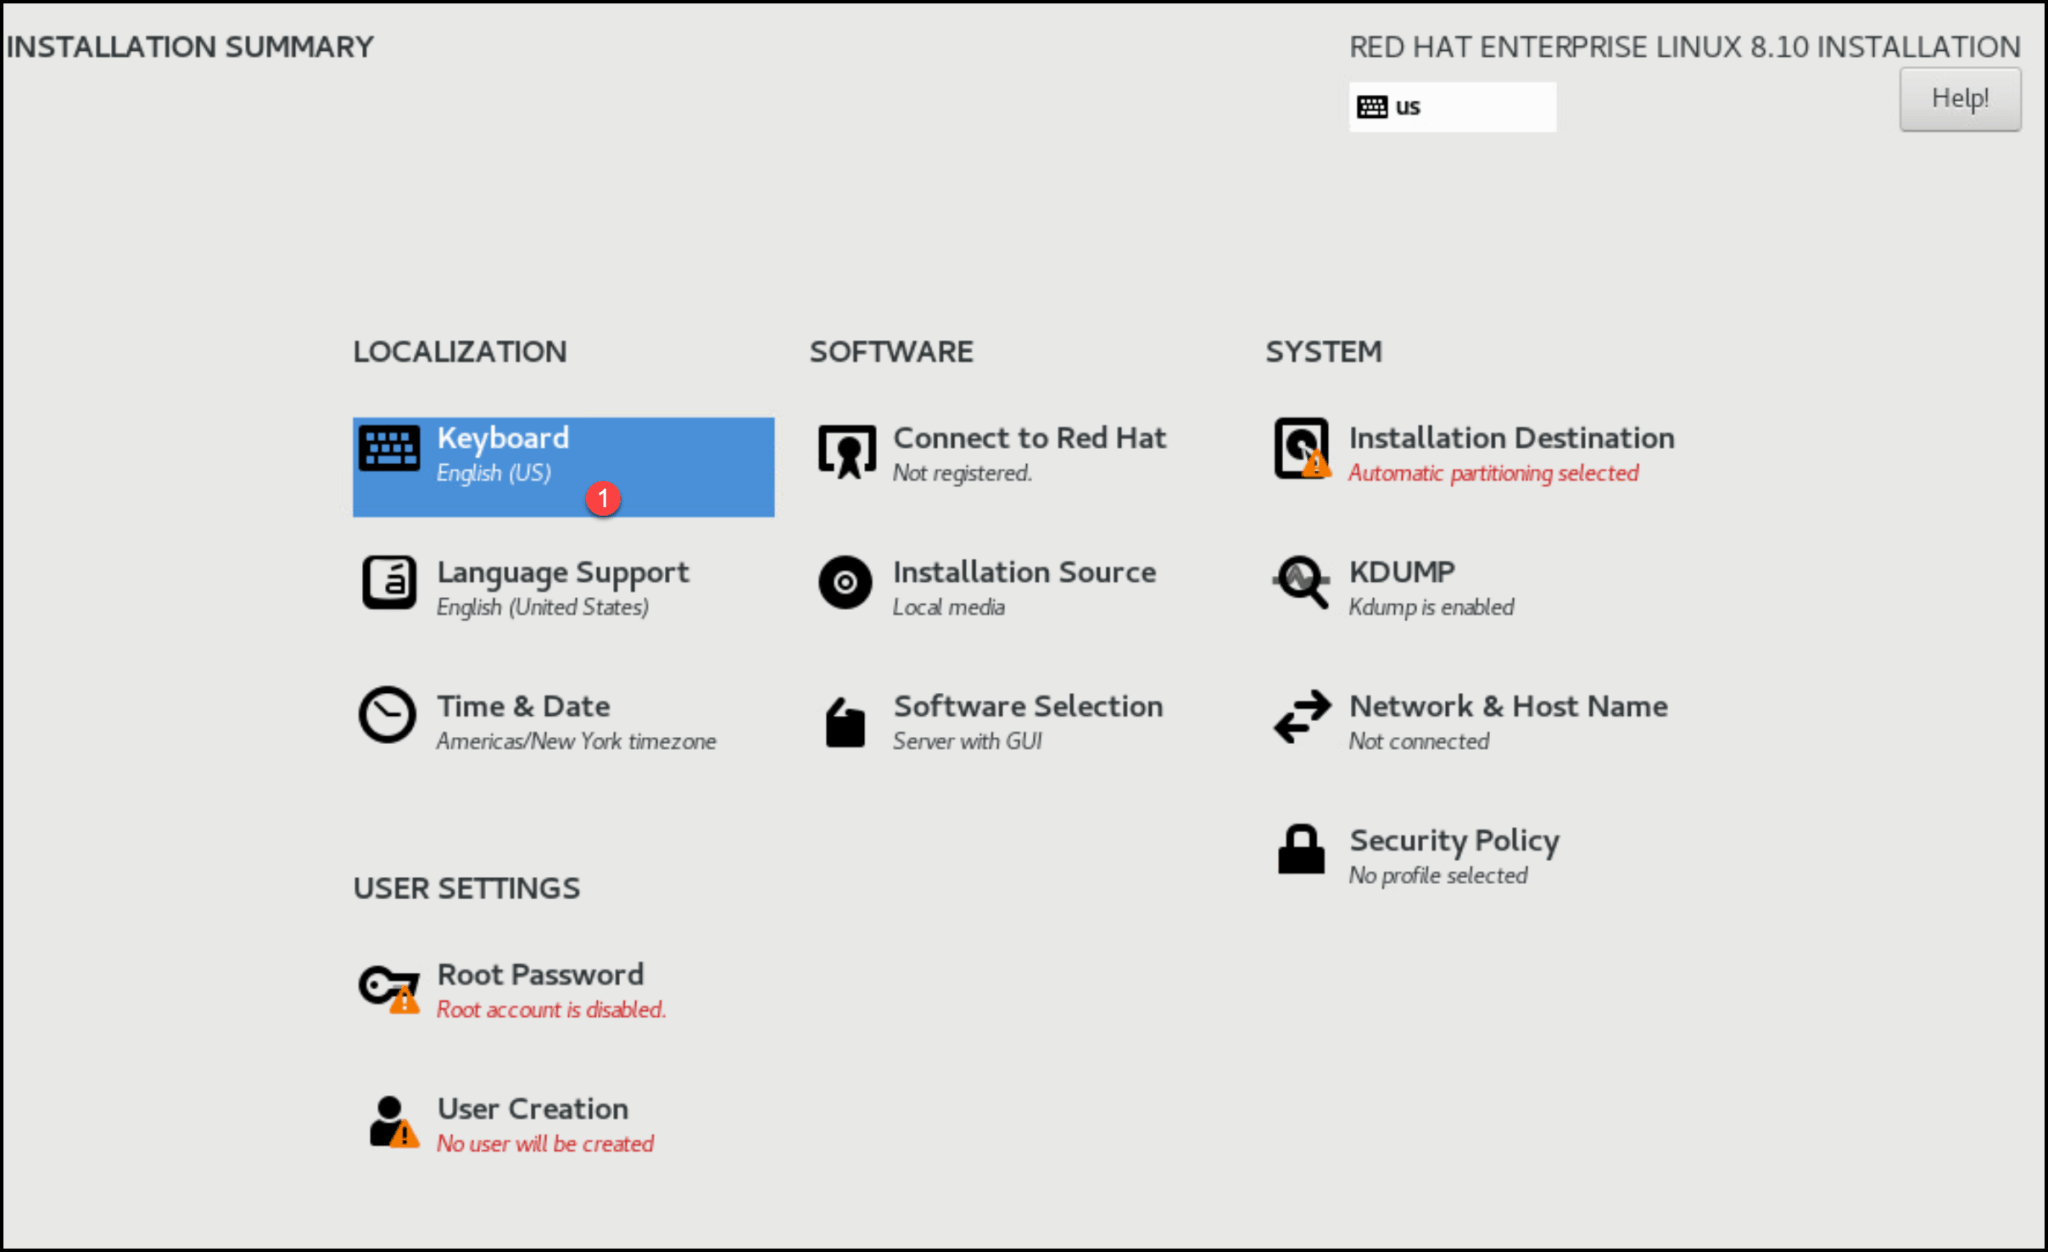
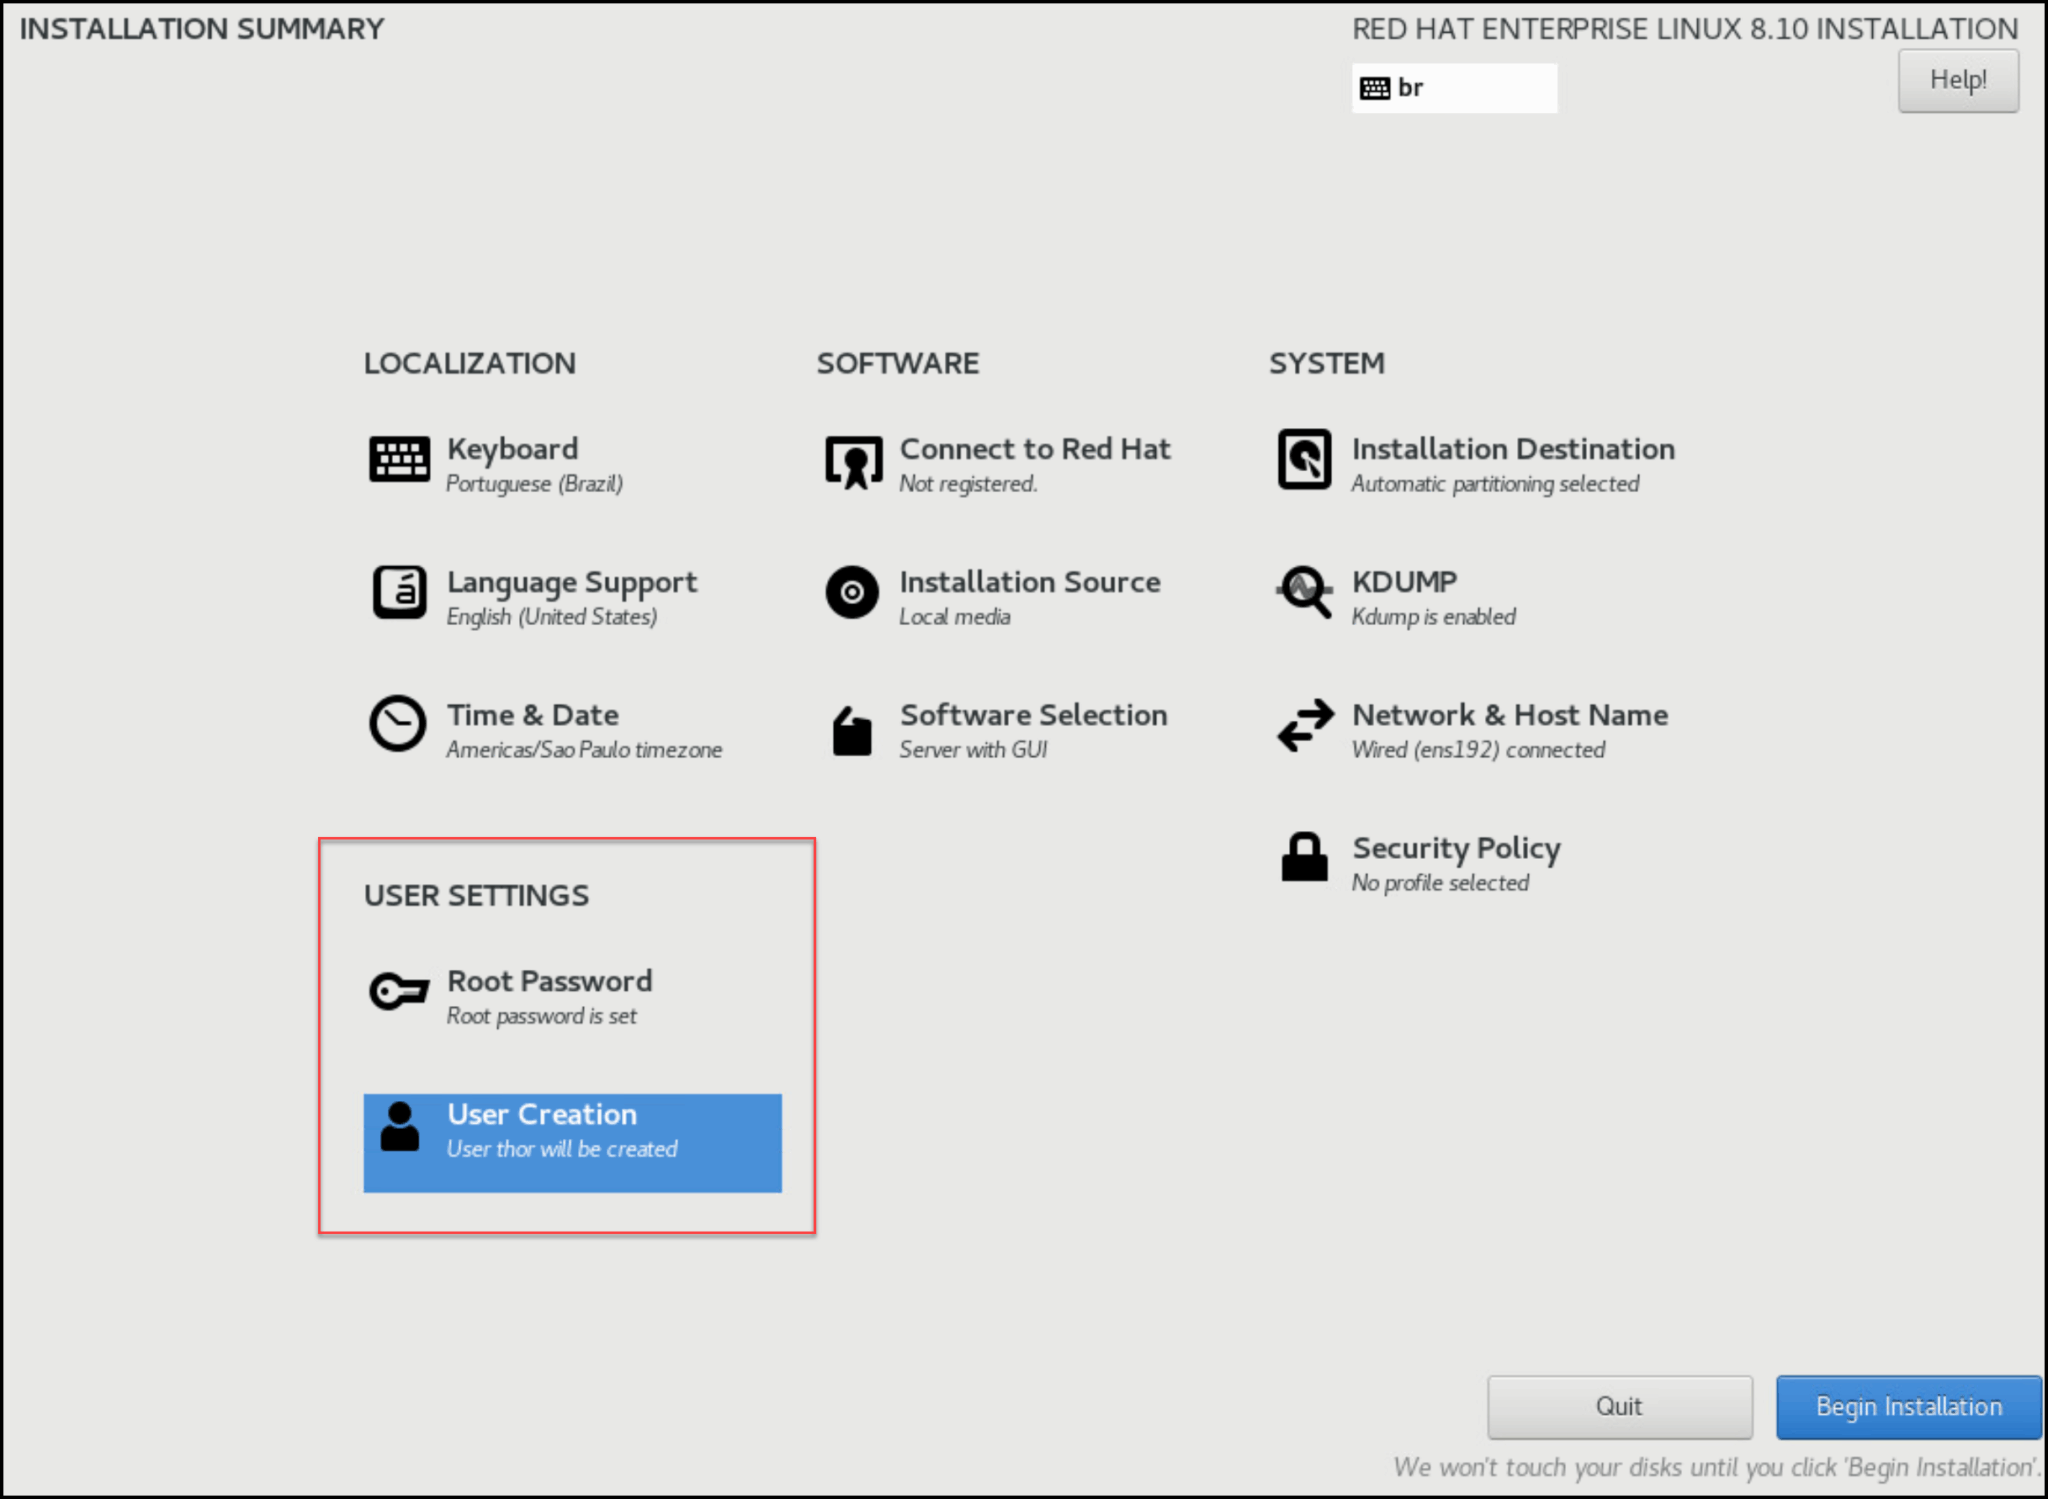
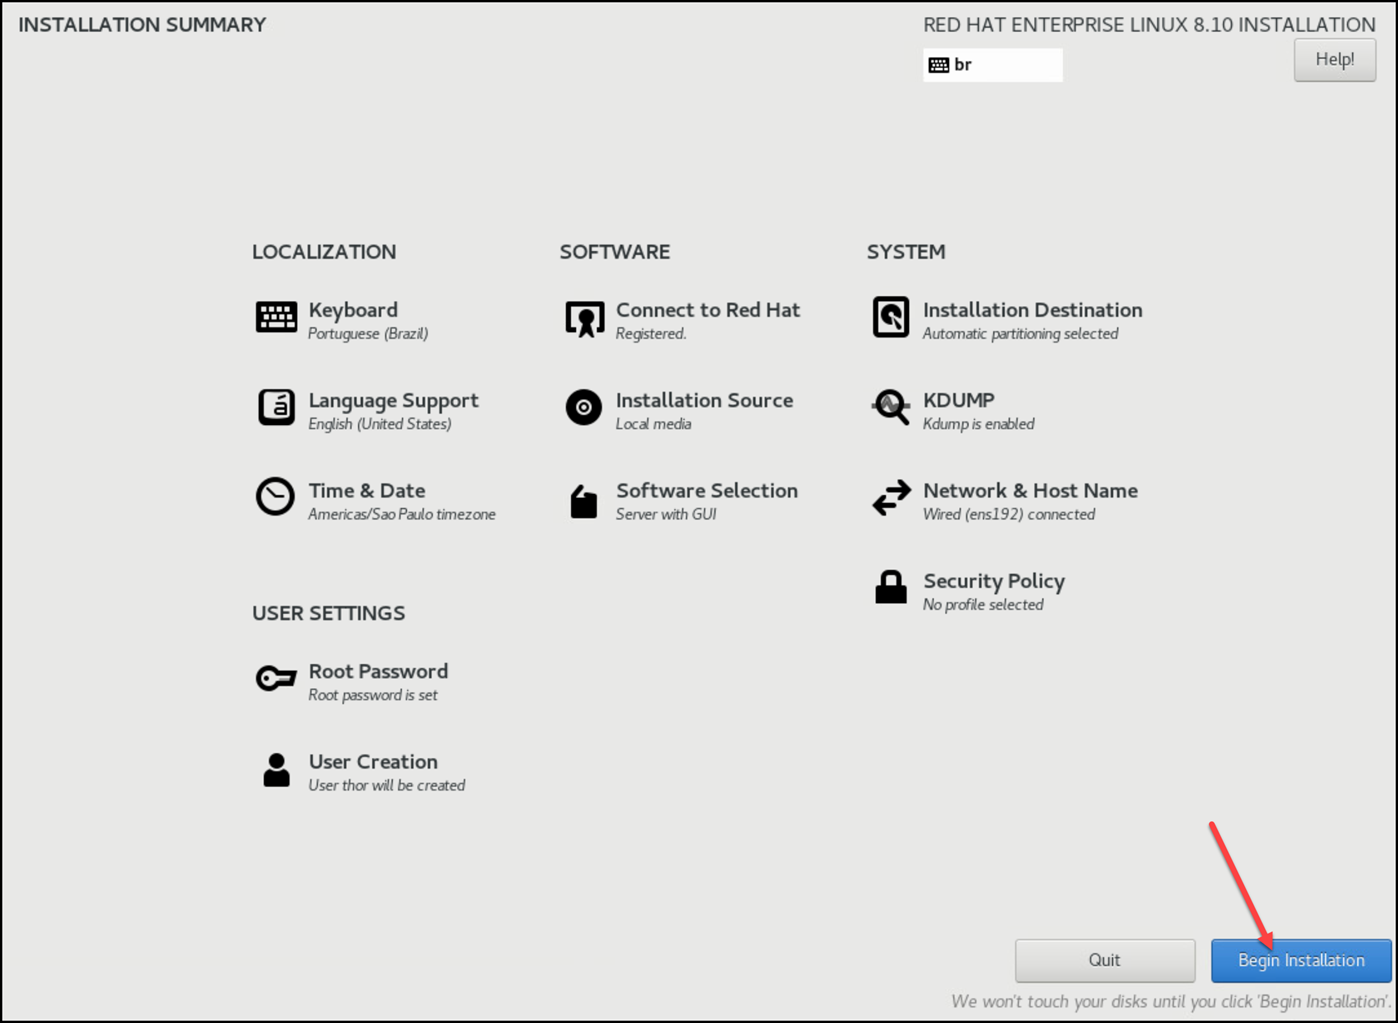
The installation summary screen contains all the options for the RHEL installation.
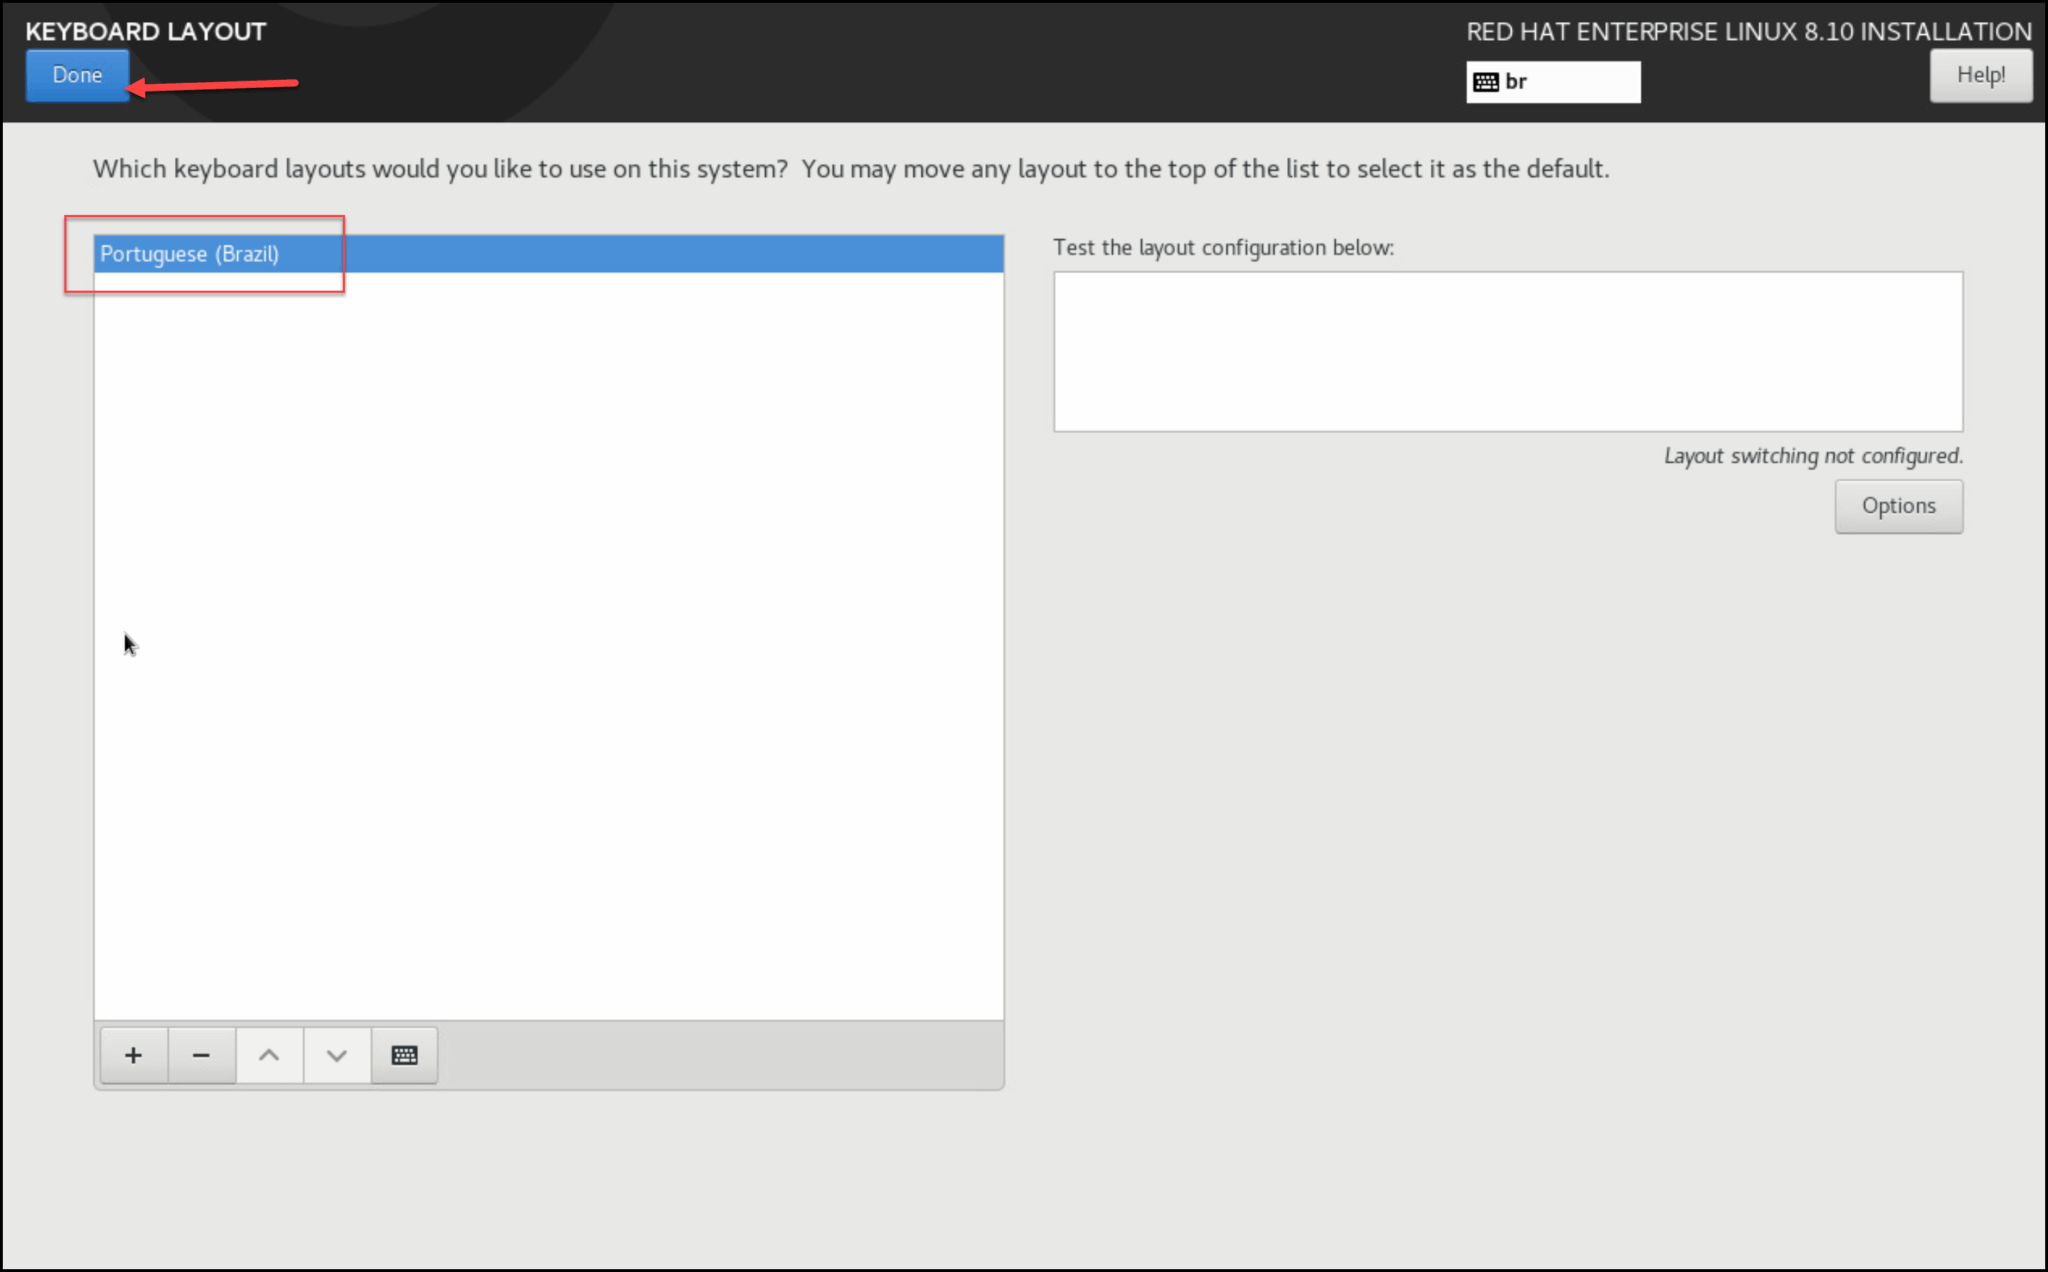
The first one to adjust is the keyboard layout. In our case, for instance, the keyboard layout is defined as English (US). To change it or add more keyboard layouts, click on it and adjust as you need:
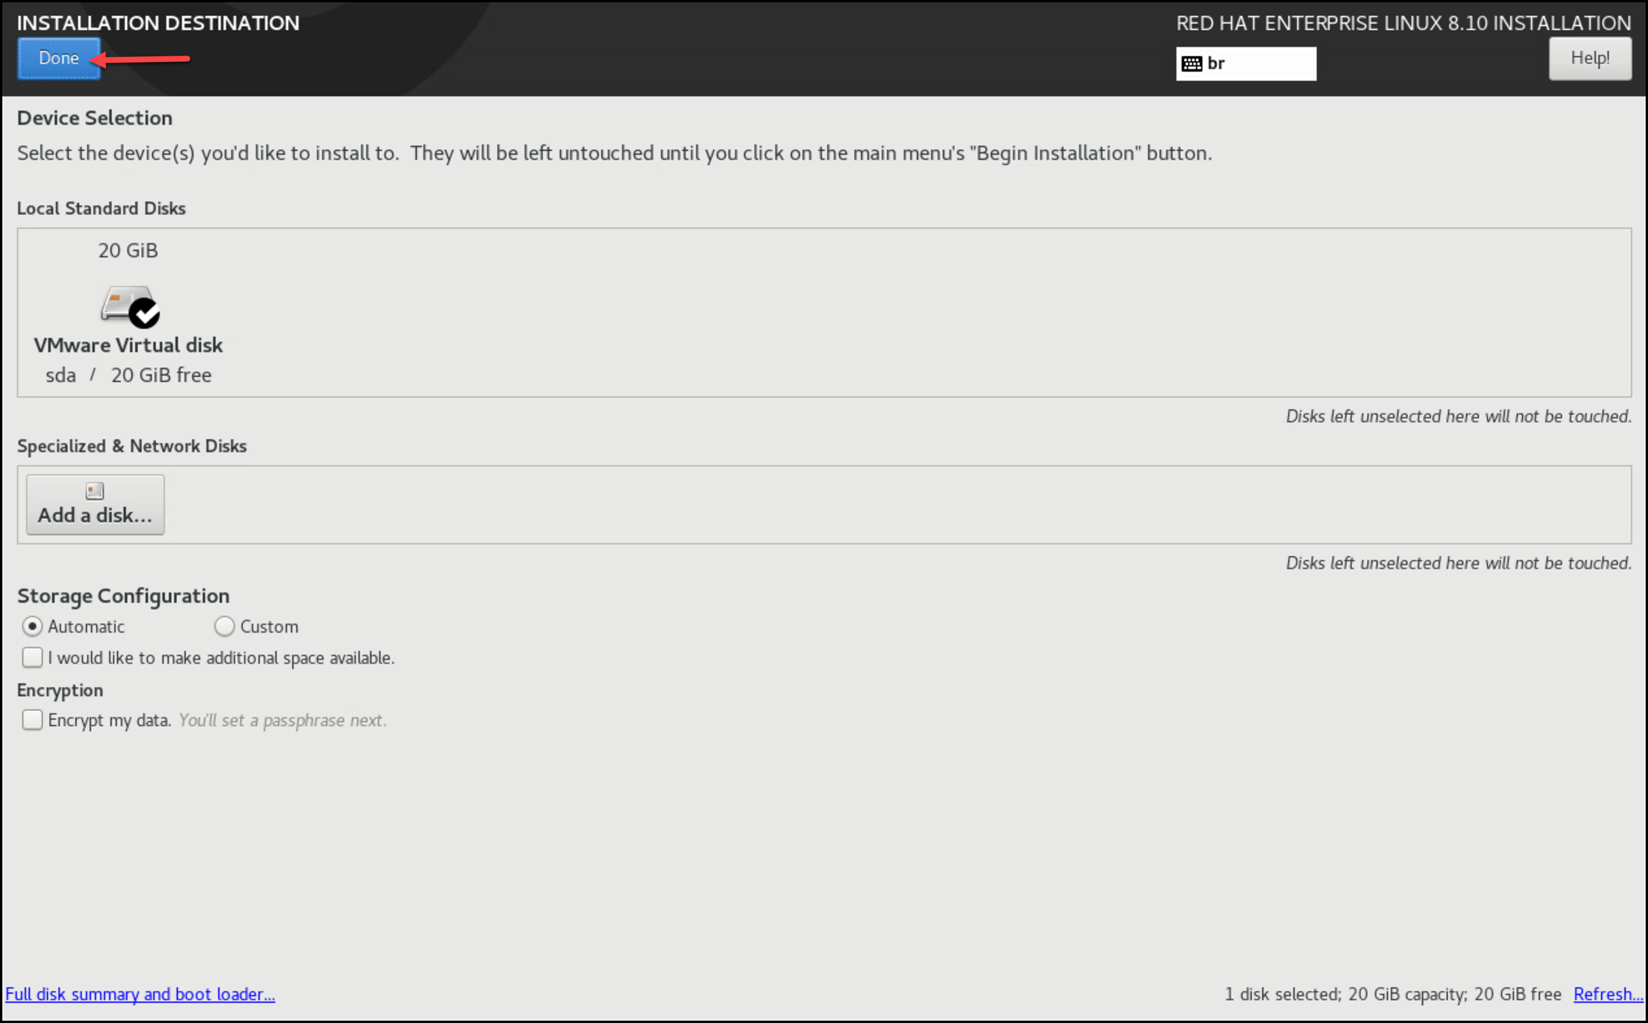
Afterward, click on “Installation Destination”. Under this page, you can manually create the partitions to satisfy your needs – or simply keep the default for automatic storage configuration and click on “Done”:
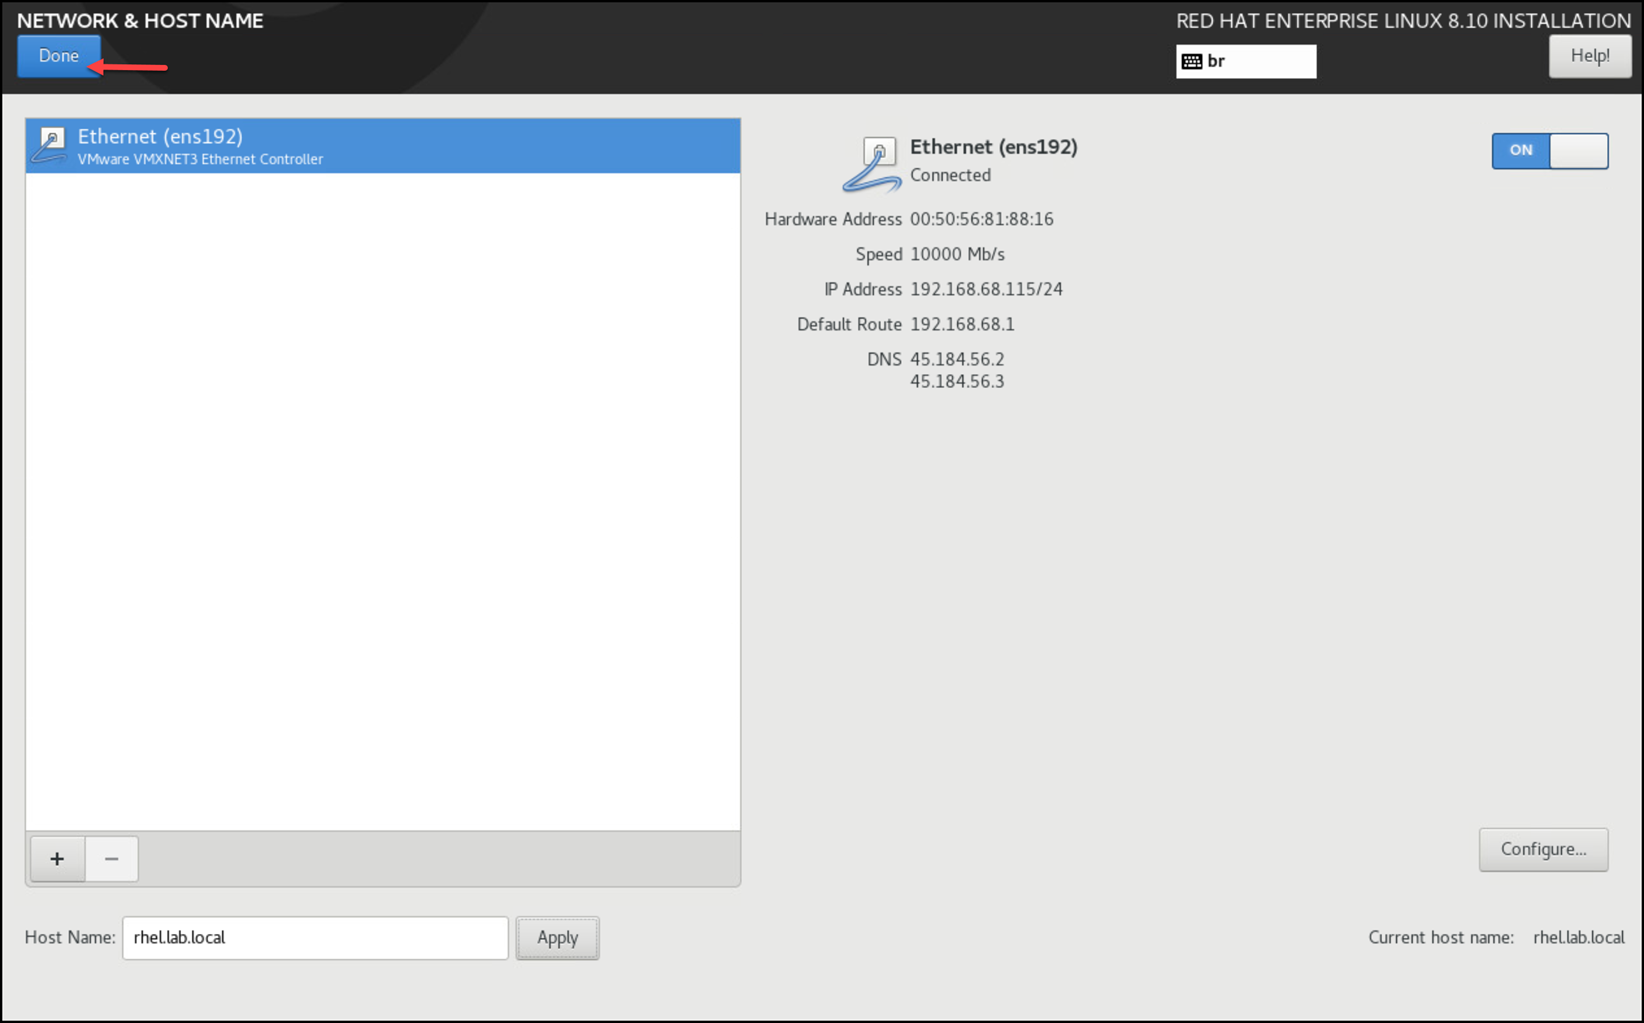
The following recommendation is to set up the network. Click on “Network & Host Name”:

Define the hostname and click on apply.
By default, when you turn on the network interface, it will attempt to acquire an IP address from the DHCP server. If you want to use a static IP configuration, click on configure and set it up:
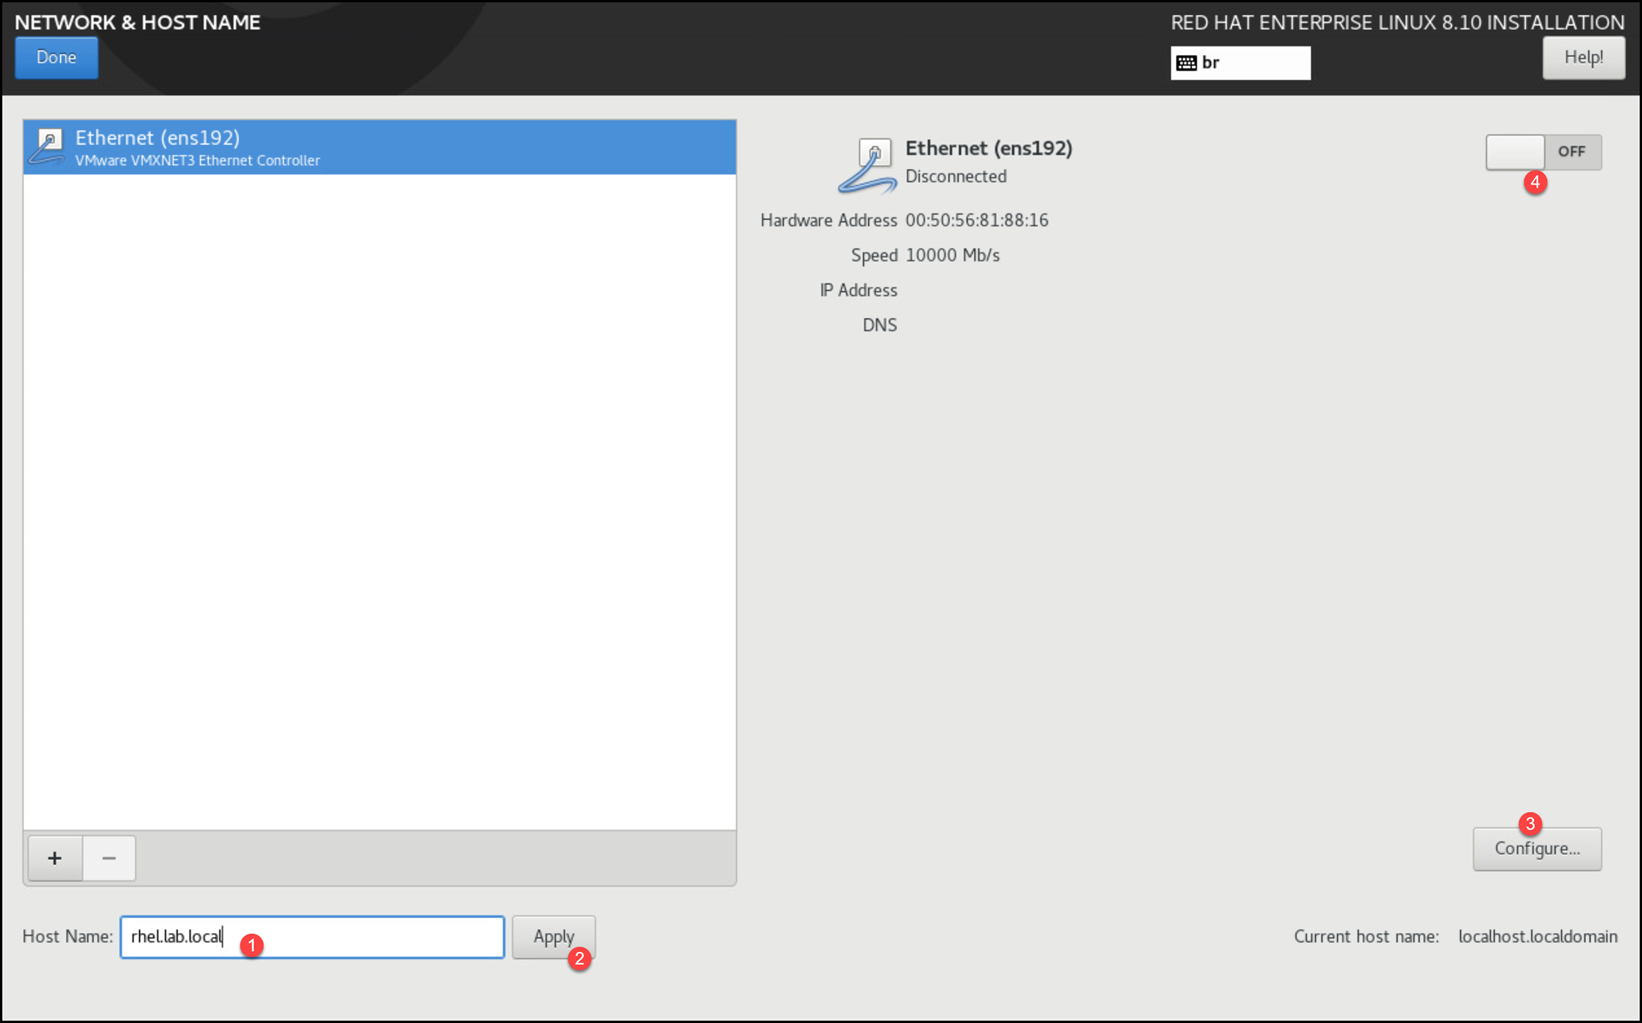
In our case, for instance, we keep the network interface configured to acquire IP configuration via DHCP protocol:
Under “User Settings”, define the password for the root user. Additionally, if you want to add a regular user, click “User Creation” and do that – in this case, we’re creating a regular user named “thor”:
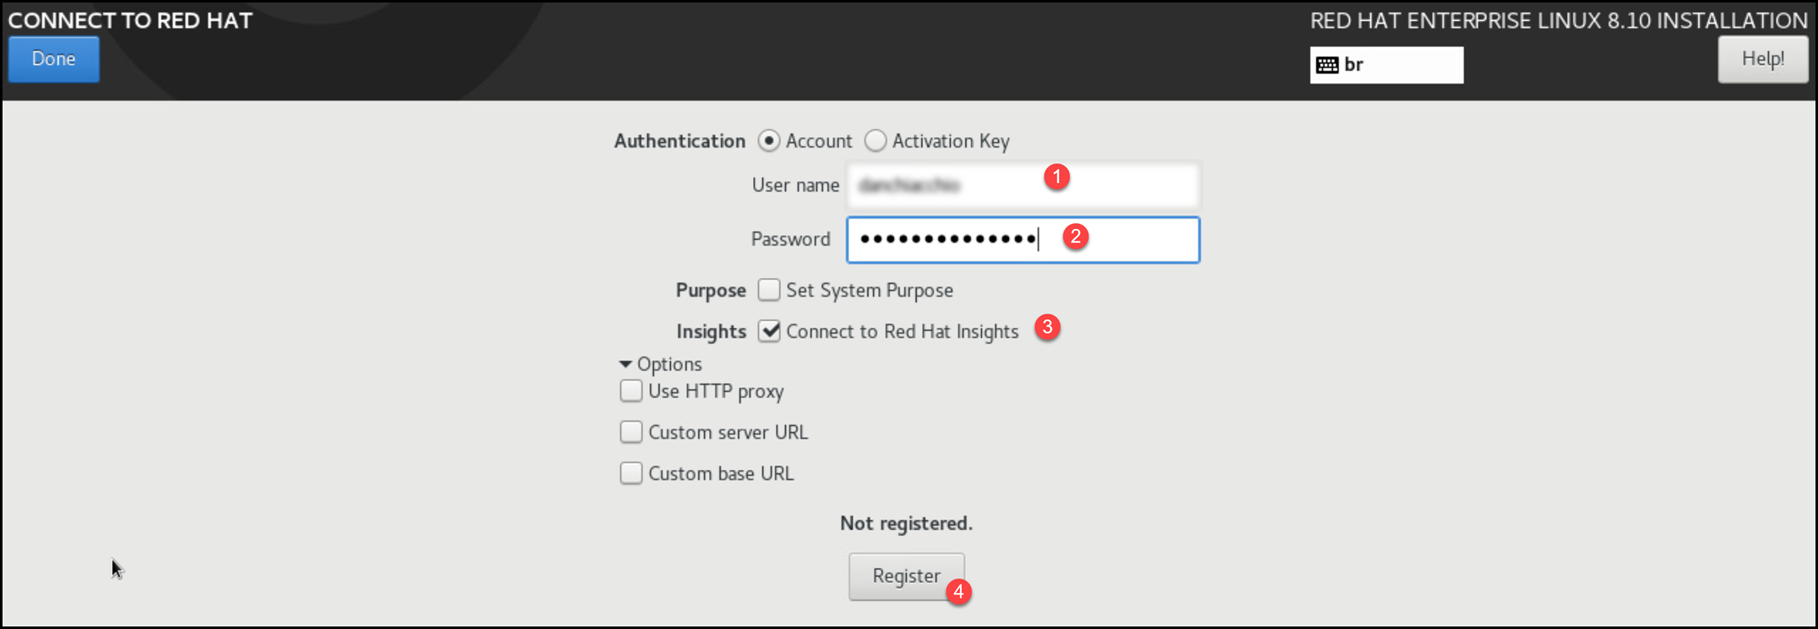
Another recommendation is to connect the system to the Red Hat cloud.
To do it, click on “Connect to Red Hat” and type your Red Hat username and password:
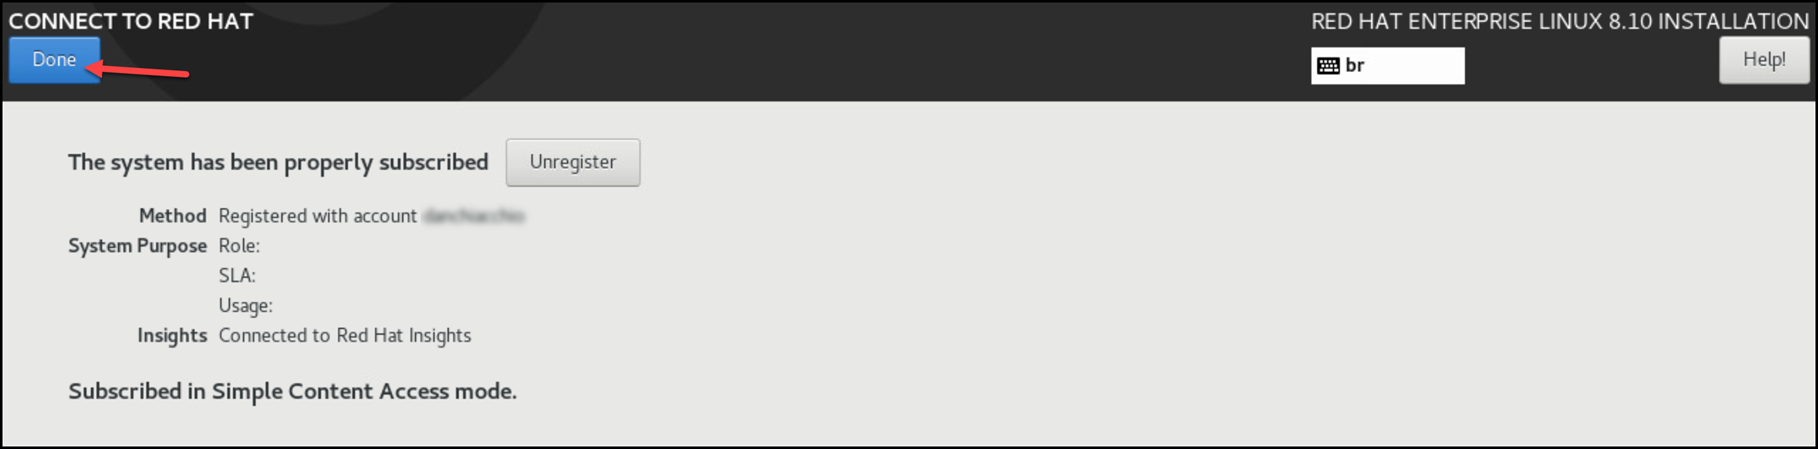
If the system has an Internet connection and your Red Hat account is okay, you should see something like this:
After configuring all required items under the Installation Summary page, click on “Begin Installation” to start the installation process:
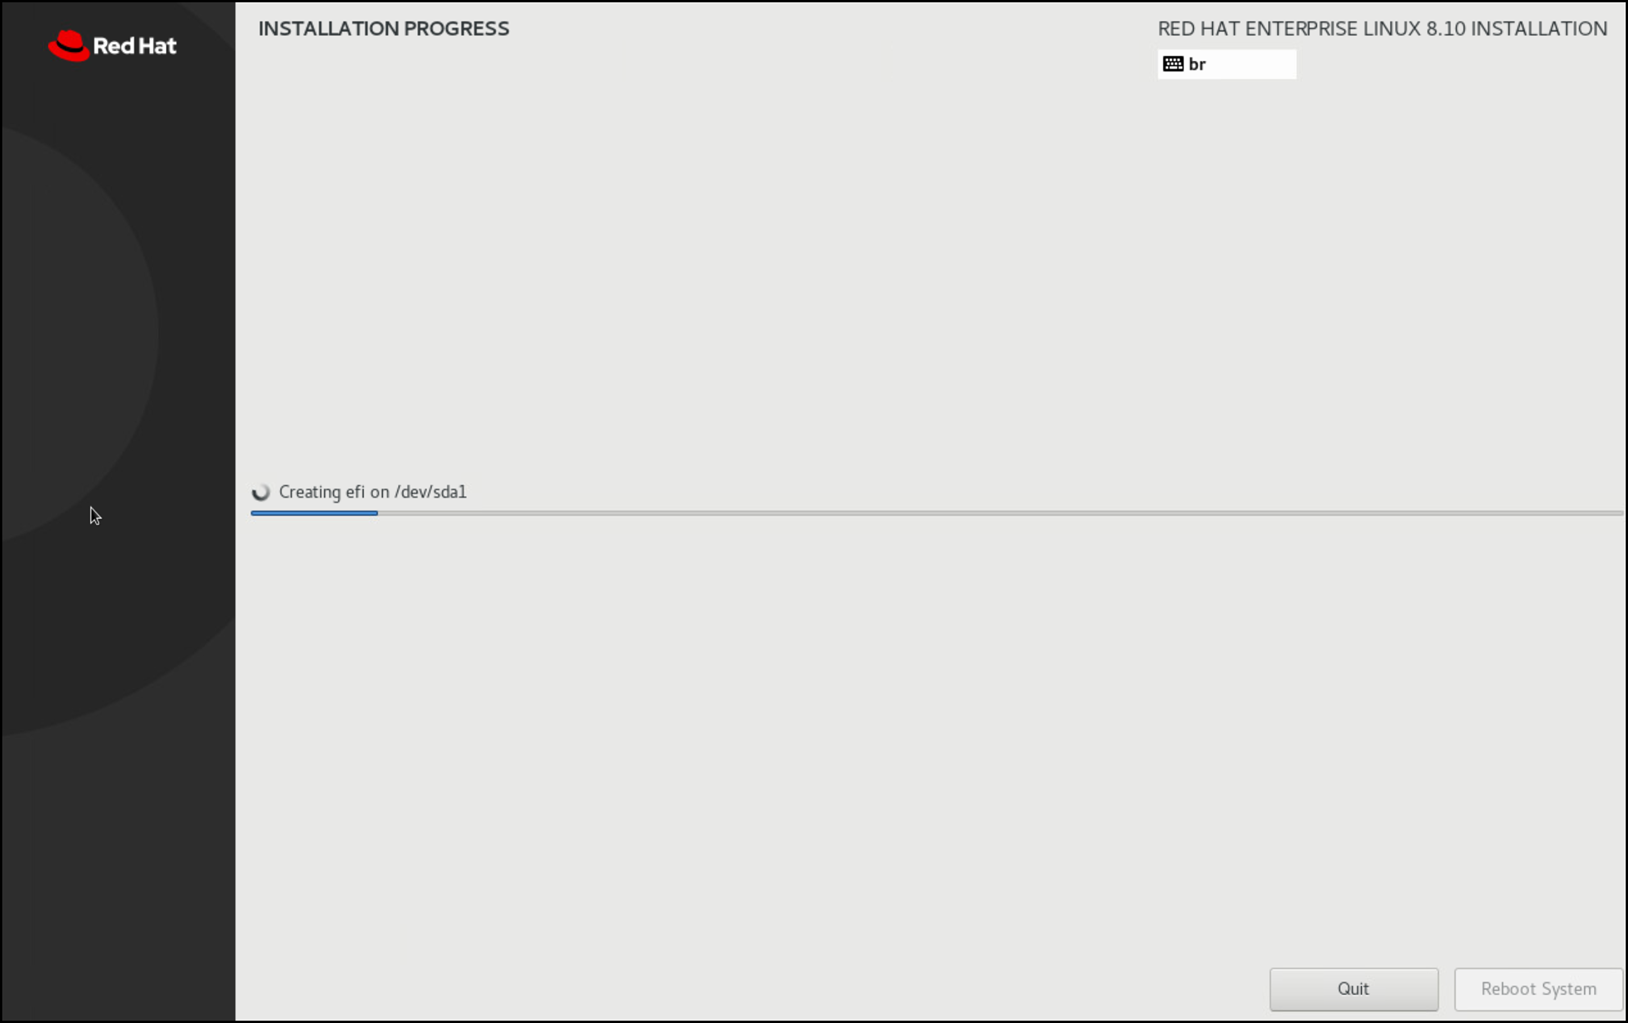
The installation process takes a while to complete – even running in a lab environment:
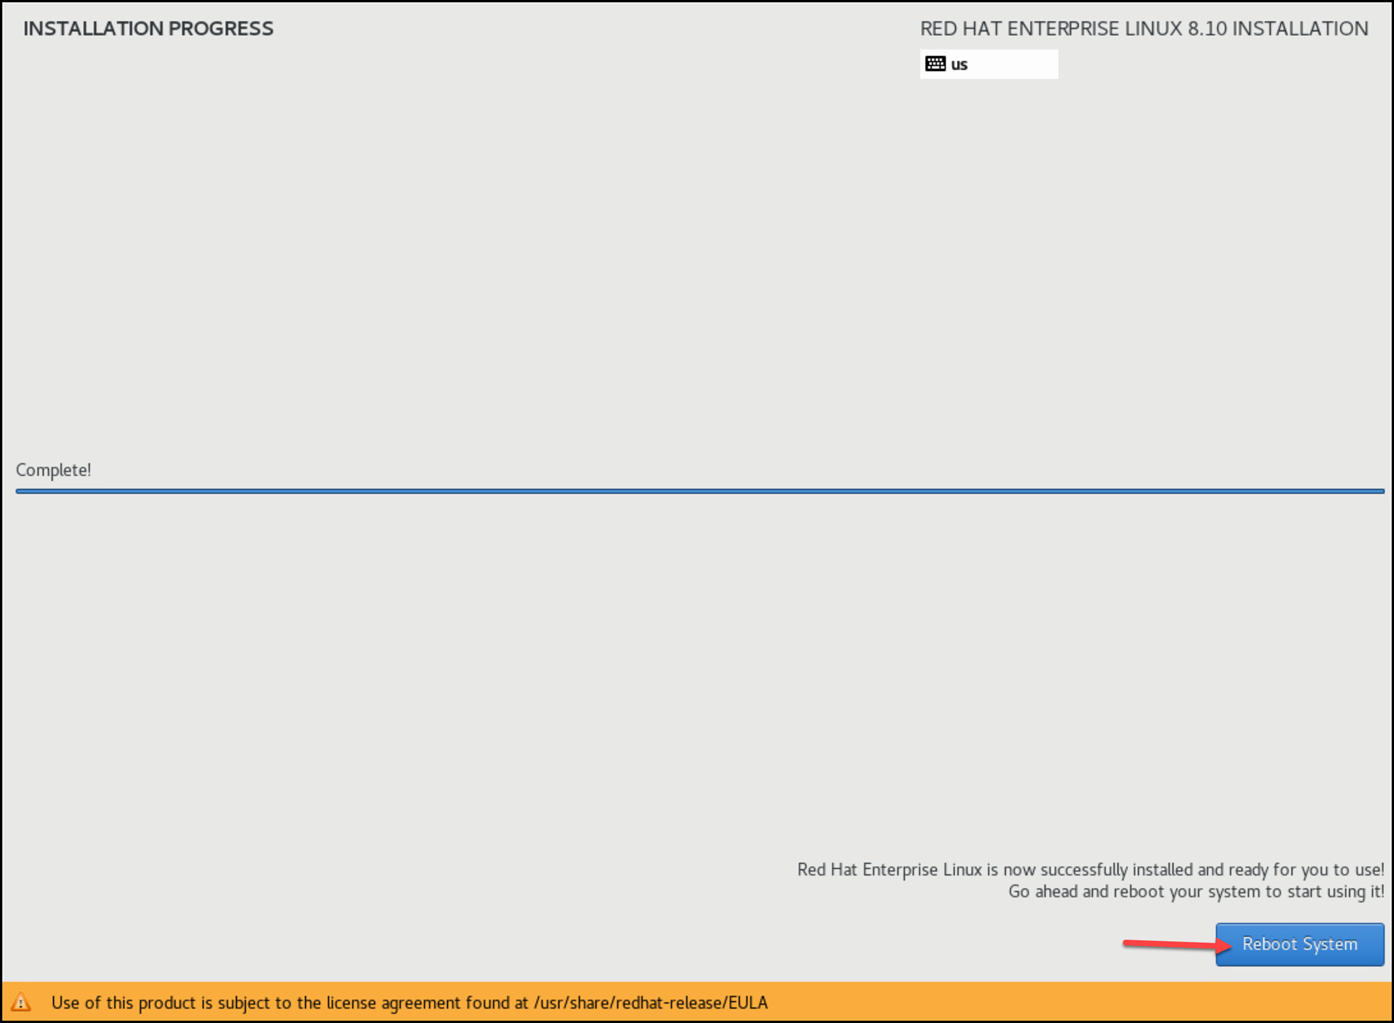
When it finishes, click on “Reboot System”:
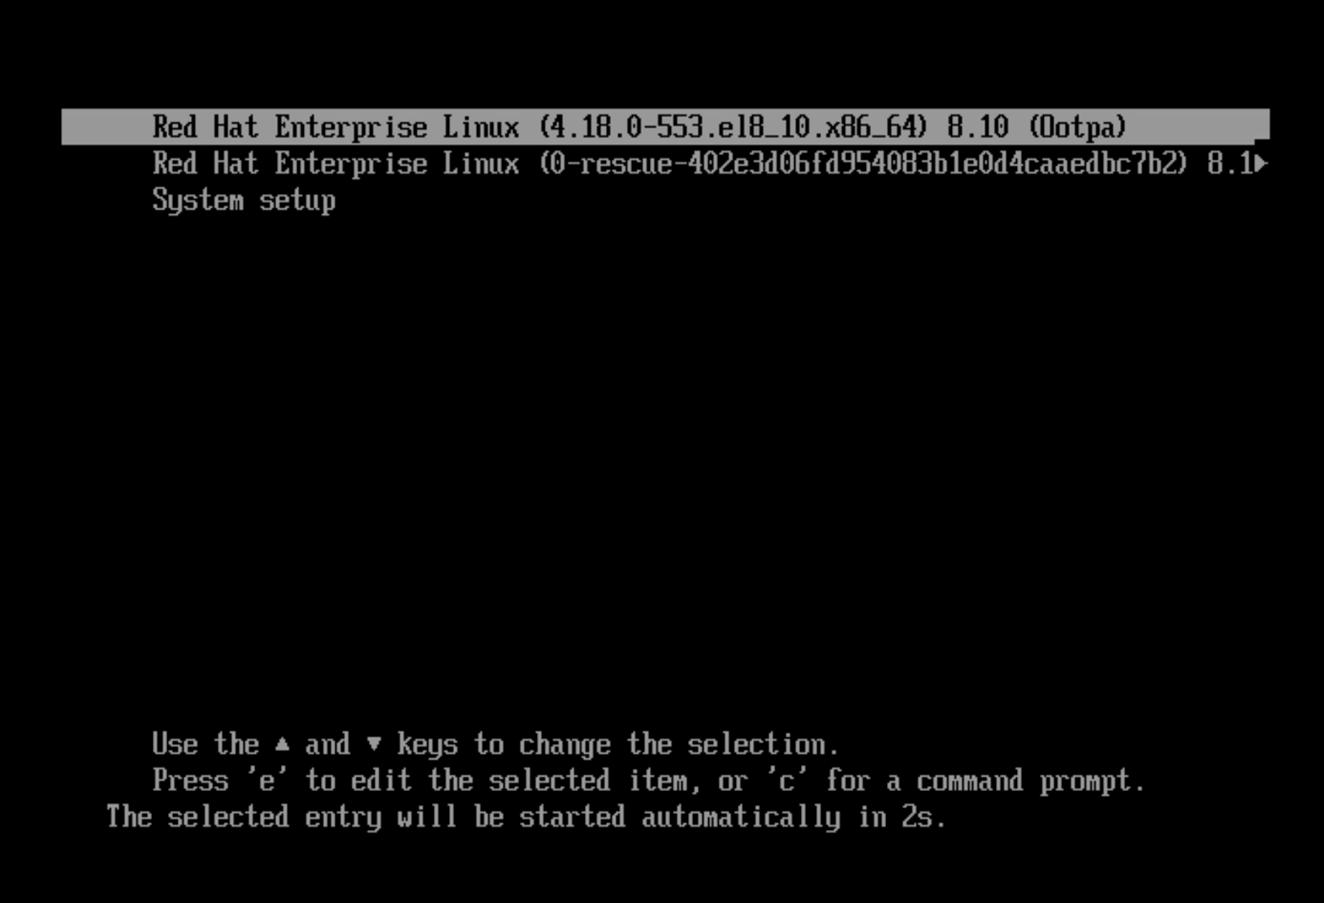
The system will reboot and boot with the installation on disk:
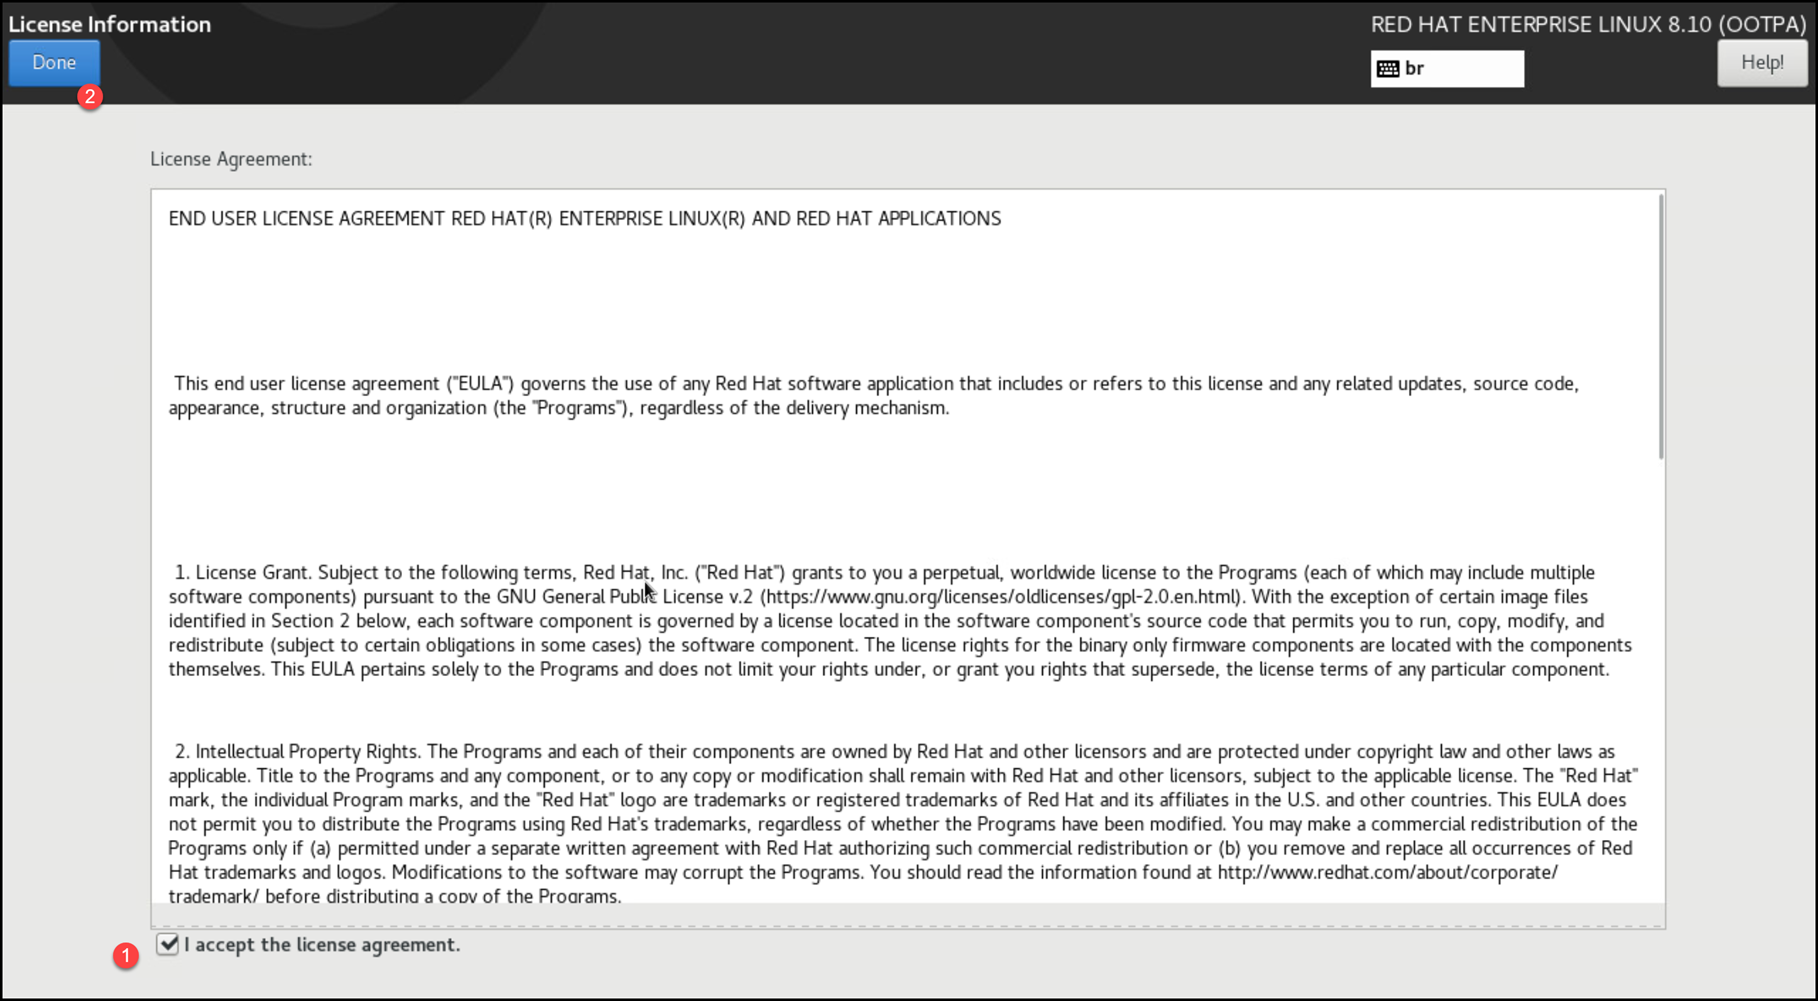
At the first boot, it’s normal to see that the License is not accepted. Click on it to accept the license:

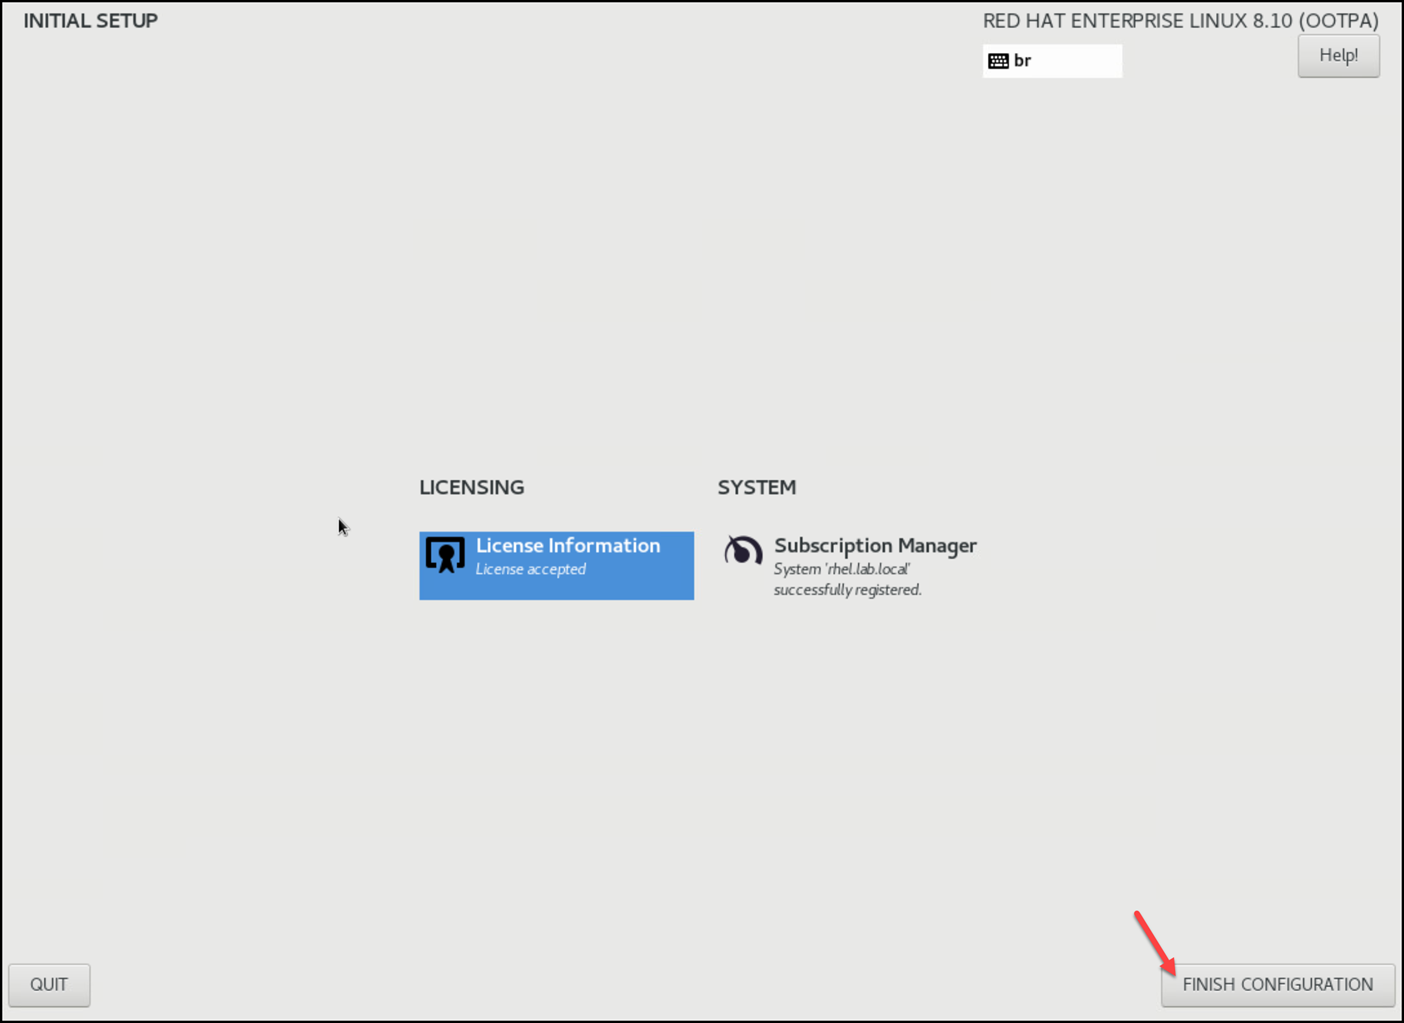
Click on “Finish Configuration”:
And that’s it, our RHEL is done 🙂
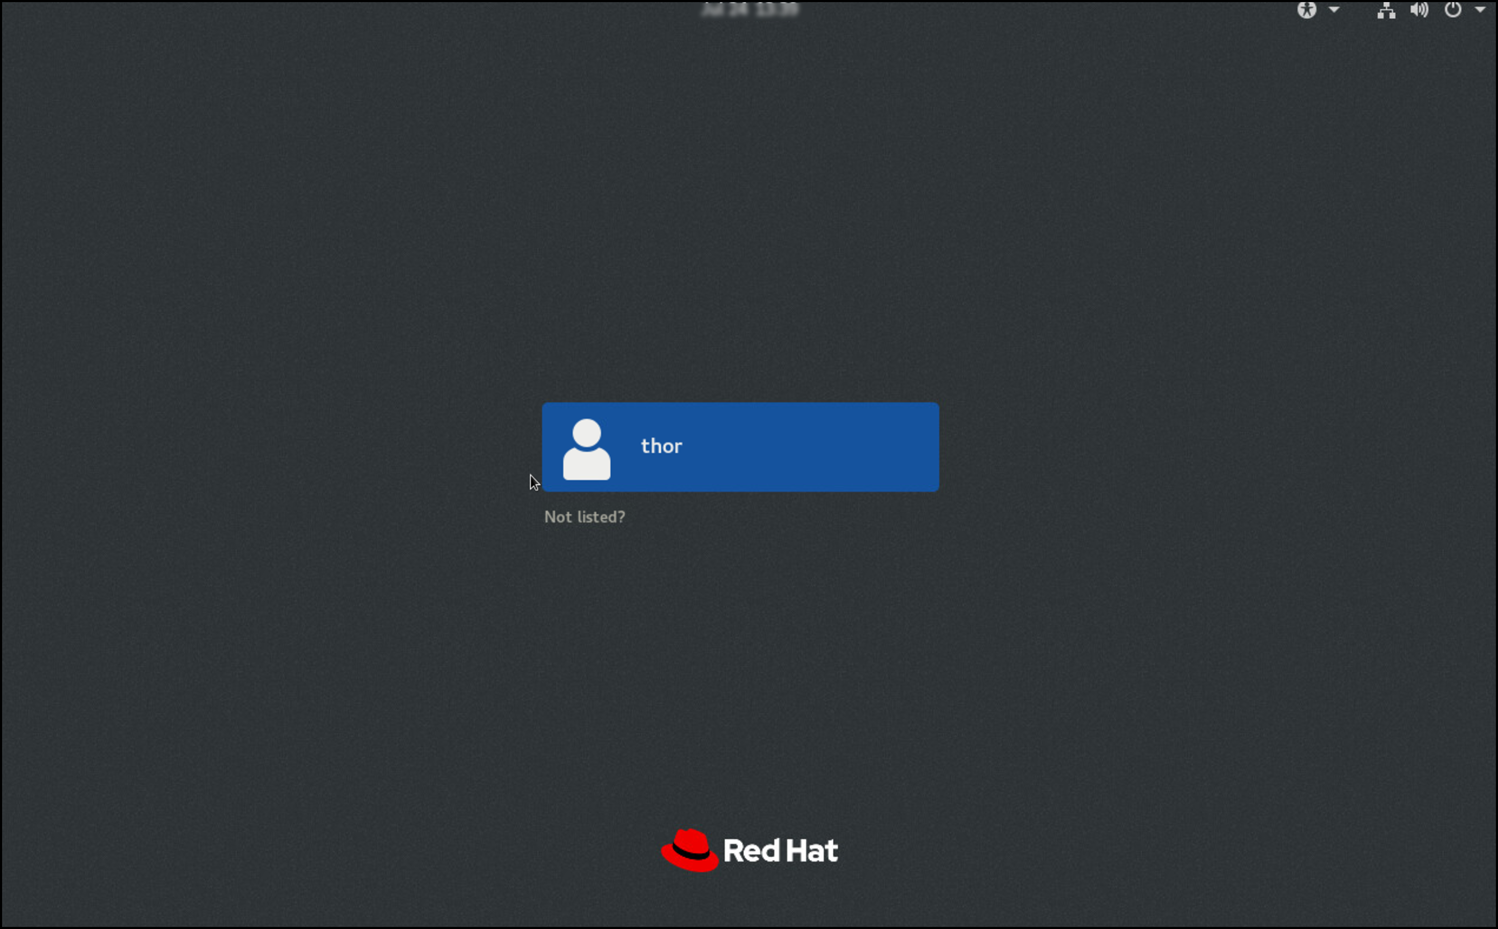
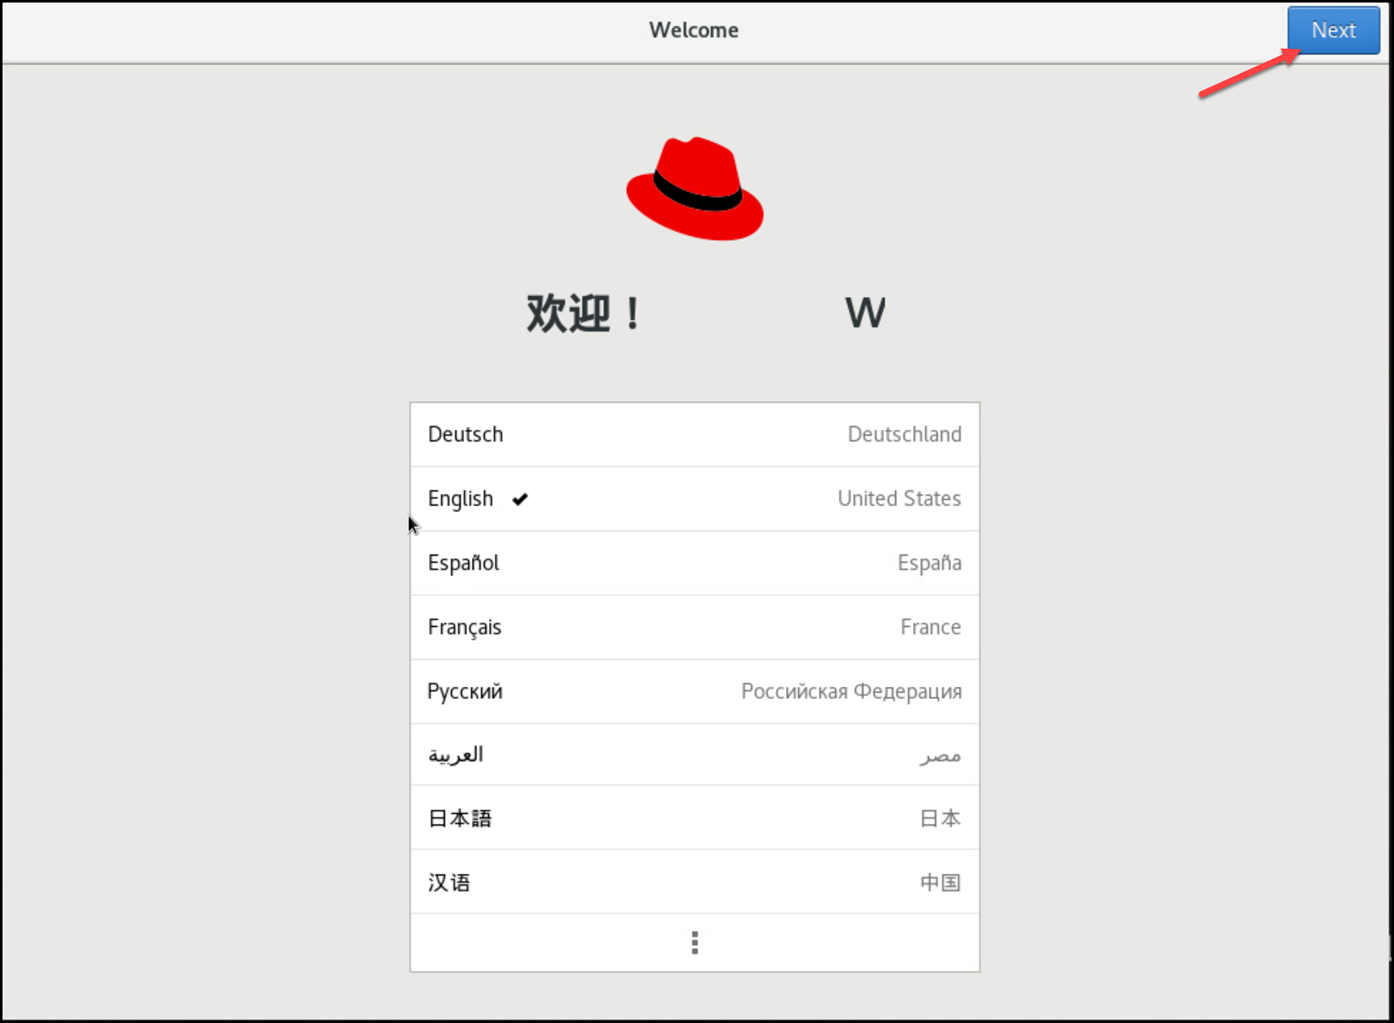
After the first login, it’s expected to see the “Welcome” wizard.
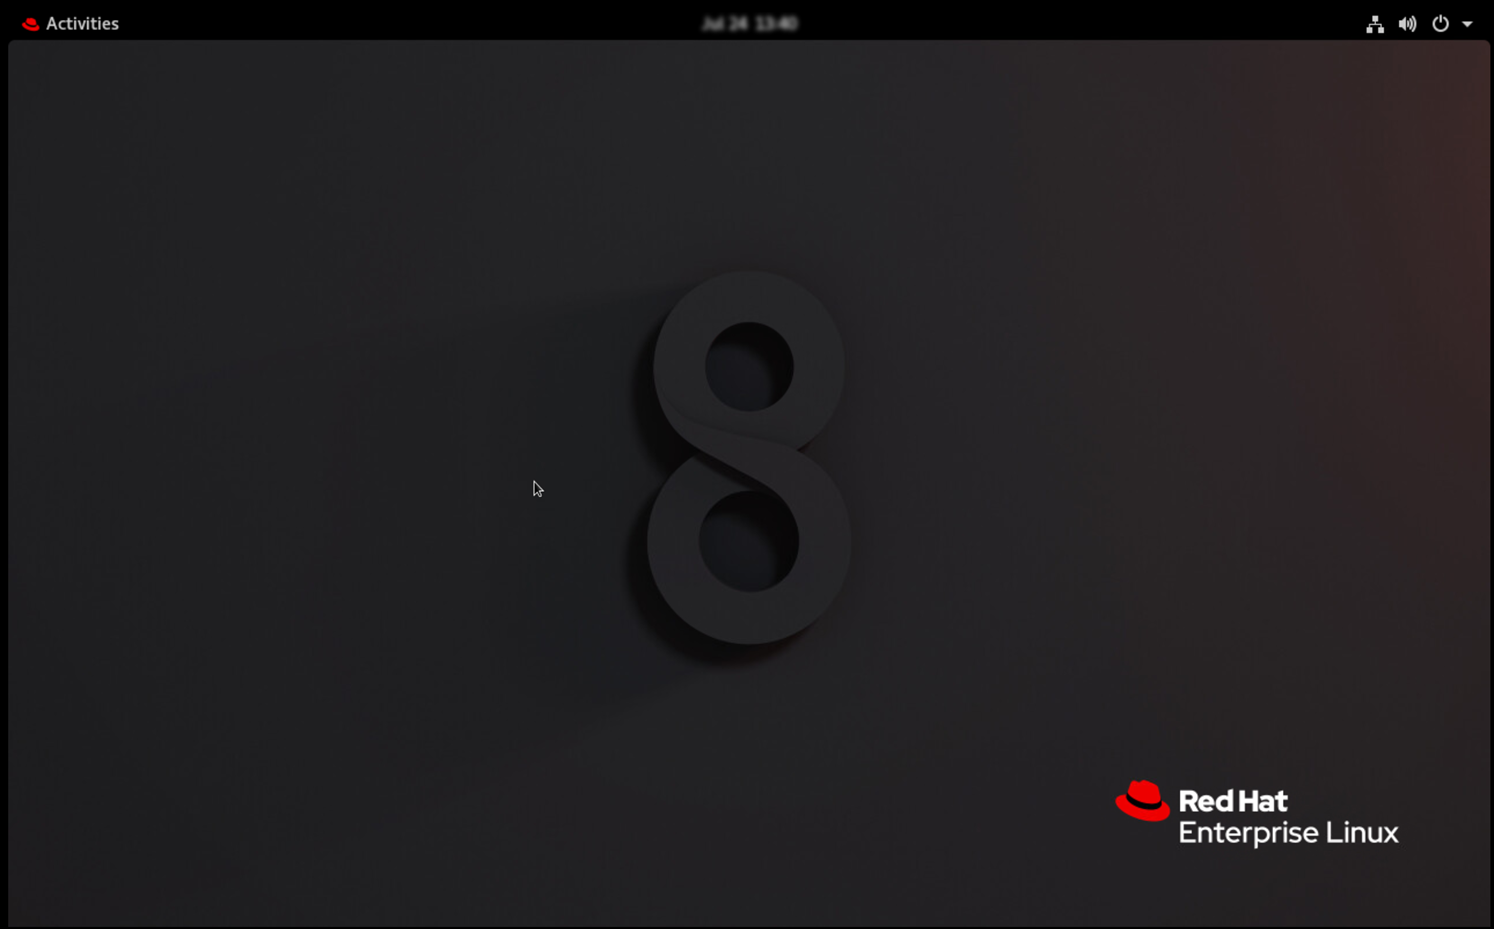
With this wizard, you can confirm the language, keyboard, and other settings. Just follow it:
That’s it for now 🙂