
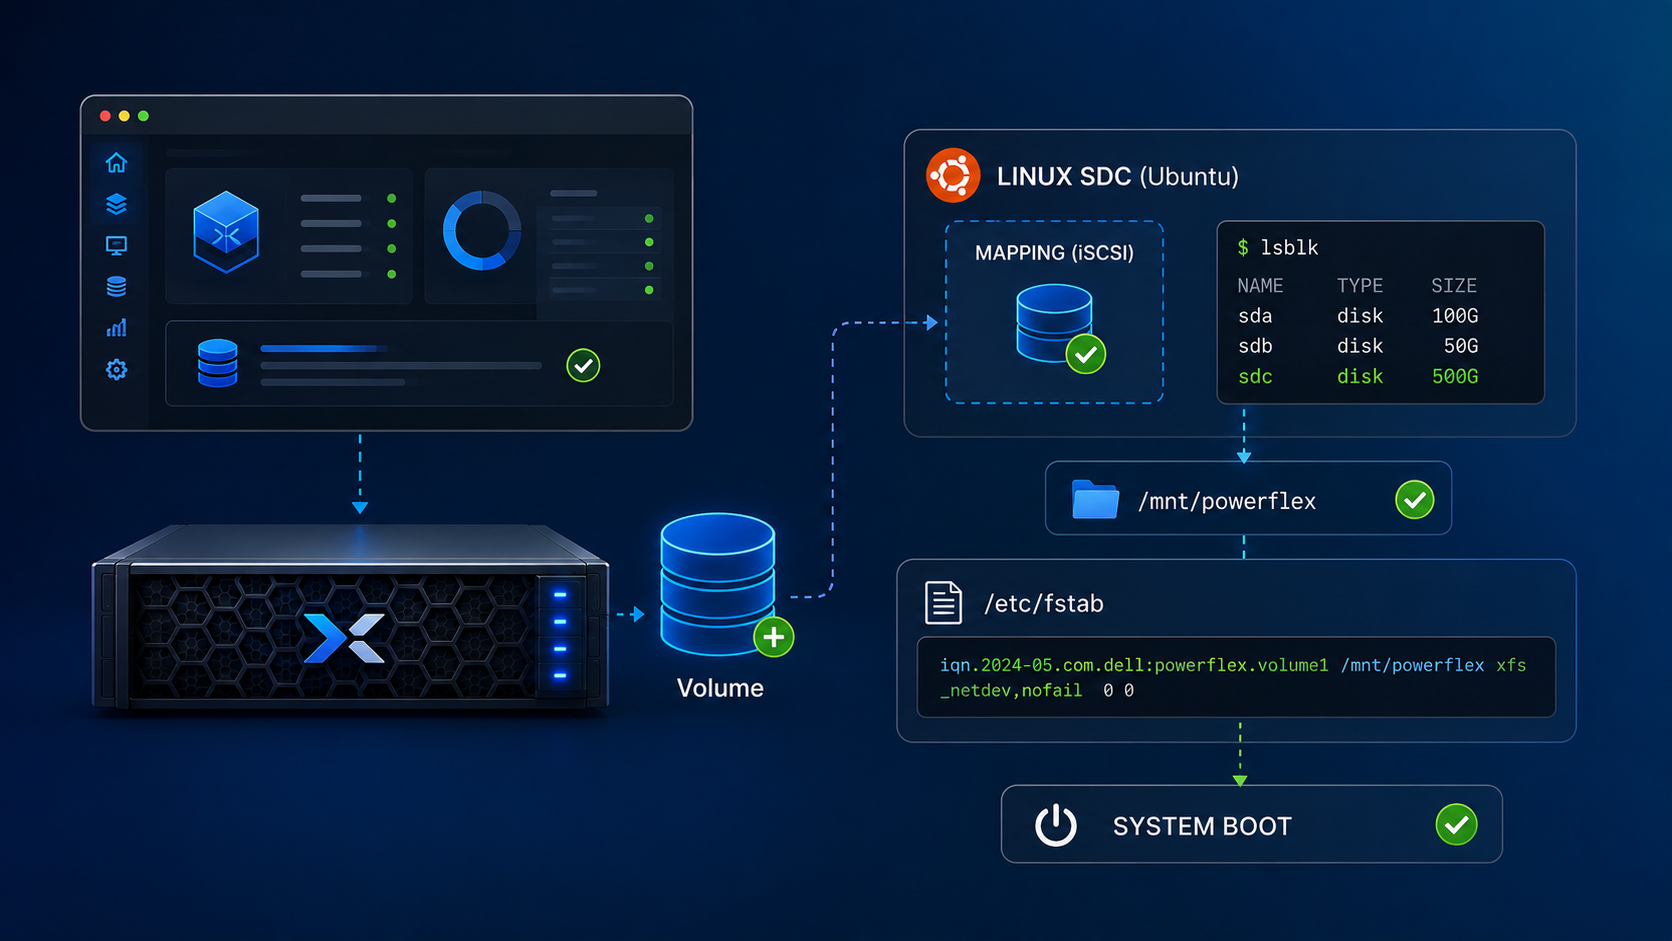
A PowerFlex volume can be mapped to a Linux Storage Data Client (SDC) and mounted for applications to use. However, a manual mount does not automatically return after a server reboot. This guide shows how to configure /etc/fstab so a PowerFlex filesystem is mounted during startup, using the persistent device path supplied by PowerFlex and the appropriate systemd ordering options.
The example uses a nested PowerFlex 4.5.2 lab with an Ubuntu-based Linux SDC. Device identifiers, mount points, filesystem types, and service names vary by environment. Confirm the exact operating-system and PowerFlex combination in Dell’s current support matrix before applying the procedure to production systems.
If you still need to create and map the volume, follow PowerFlex on Linux: Create and Map a Volume to an SDC.
Identify the PowerFlex Partition
1- Start by identifying the mapped volume and the partition that contains the filesystem. Do not assume the /dev/sciniX name will remain the same after reboot:
lsblk --path

Output example:

NAME                                  MAJ:MIN RM  SIZE RO TYPE MOUNTPOINTS
/dev/loop0                              7:0    0 44.3M  1 loop /snap/snapd/23258
/dev/loop1                              7:1    0 49.8M  1 loop /snap/snapd/18357
/dev/loop2                              7:2    0 91.9M  1 loop /snap/lxd/29619
/dev/loop3                              7:3    0 91.8M  1 loop /snap/lxd/24061
/dev/loop4                              7:4    0 63.3M  1 loop /snap/core20/1828
/dev/loop5                              7:5    0 63.7M  1 loop /snap/core20/2434
/dev/sda                                8:0    0   16G  0 disk
├─/dev/sda1                             8:1    0    1M  0 part
├─/dev/sda2                             8:2    0  1.8G  0 part /boot
└─/dev/sda3                             8:3    0 14.2G  0 part
  └─/dev/mapper/ubuntu--vg-ubuntu--lv 253:0    0   10G  0 lvm  /
/dev/sr0                               11:0    1 1024M  0 rom
/dev/scinia                           252:0    0   64G  0 disk
└─/dev/scinia1                        252:1    0   64G  0 part
/dev/scinib                           252:16   0    8G  0 disk
/dev/scinic 252:32 0 8G 0 diskNote: In this lab, /dev/scinia1 is the partition to mount.
2- Next, we need to grab the disk-id absolute path:
ls -ld /dev/disk/by-id/*As we can see in the following output, the absolute disk path for /dev/scinia1 is “/dev/disk/by-id/emc-vol-8c40194f563e090f-29039d3800000001-part1” (this is the information that we will need later):
lrwxrwxrwx 1 root root  9 Dec 20 14:44 /dev/disk/by-id/ata-VMware_Virtual_SATA_CDRW_Drive_00000000000000000001 -> ../../sr0
lrwxrwxrwx 1 root root 10 Dec 20 14:44 /dev/disk/by-id/dm-name-ubuntu--vg-ubuntu--lv -> ../../dm-0
lrwxrwxrwx 1 root root 10 Dec 20 14:44 /dev/disk/by-id/dm-uuid-LVM-Sp2h5MStgFIAzTpa0H7f433s1hpXDDYrgM1fUXunm5UxO96Vc0DOIiwlcJ1eH3h6 -> ../../dm-0
lrwxrwxrwx 1 root root 12 Dec 20 14:46 /dev/disk/by-id/emc-vol-8c40194f563e090f-2900b70600000004 -> ../../scinic
lrwxrwxrwx 1 root root 12 Dec 20 14:46 /dev/disk/by-id/emc-vol-8c40194f563e090f-2900b70700000006 -> ../../scinib
lrwxrwxrwx 1 root root 12 Dec 20 14:46 /dev/disk/by-id/emc-vol-8c40194f563e090f-29039d3800000001 -> ../../scinia
lrwxrwxrwx 1 root root 13 Dec 20 14:46 /dev/disk/by-id/emc-vol-8c40194f563e090f-29039d3800000001-part1 -> ../../scinia1
lrwxrwxrwx 1 root root 10 Dec 20 14:44 /dev/disk/by-id/lvm-pv-uuid-avF020-i9IU-vIJZ-S3bC-QvSE-FAM5-auO3w5 -> ../../sda3
Use the identifier from your own host. Confirm that it resolves to the intended partition and that the filesystem type matches the value you plan to put in /etc/fstab:
sudo blkid /dev/disk/by-id/emc-vol-8c40194f563e090f-29039d3800000001-part1Add the Persistent Mount to /etc/fstab
3- Create the mount point if it does not already exist, then make a backup of the configuration file before editing it:
sudo mkdir -p /mnt/linux-vol-01
sudo cp -a /etc/fstab "/etc/fstab.backup.$(date +%F-%H%M%S)"
Add one entry to /etc/fstab, replacing the sample PowerFlex identifier with the path from your system:
/dev/disk/by-id/emc-vol-8c40194f563e090f-29039d3800000001-part1 /mnt/linux-vol-01 ext4 _netdev,x-systemd.requires=scini.service 0 0The entry contains six fields: the block-device path, mount point, filesystem type, mount options, dump setting, and filesystem-check setting. Here, ext4 must match the filesystem actually created on the partition. The final 0 2 disables dump backups and marks this non-root filesystem for checking after the root filesystem; follow your system’s filesystem policy if it differs.
The options have separate roles. _netdev tells systemd to treat this as a network-backed mount and order it with network mounts. x-systemd.after=scini.service orders the mount after the PowerFlex SDC service. Confirm that the service name is correct and that the SDC service is enabled and starts successfully on this Linux distribution.
Dell’s PowerFlex 4.5.x guide uses a persistent /dev/disk/by-id/ path and documents x-systemd.after=scini.service with _netdev for PowerFlex mount entries. Its example also includes noauto for a specific deployment scenario.
Do not include
noautowhen the goal is to mount this filesystem automatically during boot.
_netdev does not confirm that the PowerFlex cluster or volume is healthy; it only informs systemd about the network-dependent mount ordering. Likewise, x-systemd.after= specifies ordering, not a requirement to start the service. Avoid changing it to x-systemd.requires= unless you specifically want a stronger Requires= dependency and have validated that behavior for your systemd and SDC service configuration.
Test the Entry Before Rebooting
4- Reload systemd’s generated units and ask it to verify the fstab entries:
sudo systemctl daemon-reload
sudo findmnt --verify
If the verification reports no relevant errors, test this mount point without rebooting:
sudo mount /mnt/linux-vol-01
findmnt --target /mnt/linux-vol-01
df -Th /mnt/linux-vol-01Note: Resolve any error before restarting the host. A successful manual mount from the fstab entry confirms that the path, filesystem type, mount point, and options are usable in the current session.
Confirm the Volume Survives a Reboot
5- After the fstab entry mounts successfully in the current session, reboot the lab SDC and check the mount again:
findmnt --target /mnt/linux-vol-01df -Th
Output example:
root@pfmp-sdc-01:~# df -Th
Filesystem Type Size Used Avail Use% Mounted on
tmpfs tmpfs 96M 1.2M 95M 2% /run
/dev/mapper/ubuntu--vg-ubuntu--lv ext4 9.8G 5.7G 3.6G 62% /
tmpfs tmpfs 479M 0 479M 0% /dev/shm
tmpfs tmpfs 5.0M 0 5.0M 0% /run/lock
/dev/sda2 ext4 1.7G 191M 1.4G 12% /boot
/dev/scinia1 ext4 63G 24K 60G 1% /mnt/linux-vol-01
tmpfs tmpfs 96M 4.0K 96M 1% /run/user/0The output should show the expected filesystem mounted at /mnt/linux-vol-01. Using the persistent PowerFlex identifier avoids depending on a temporary /dev/sciniX name, while the systemd options help order startup around network and SDC availability. Validate the same behavior after any change to the SDC package, service name, Linux release, or PowerFlex version.
External References
- Dell — PowerFlex 4.5.x Install and Upgrade Guide: Create Partitions and Mount Points Provides PowerFlex-specific Linux guidance for identifying mapped volumes, using persistent device names, creating filesystems, and configuring `/etc/fstab` mount options.
- Dell — Mount a PowerFlex Volume on an SDC-Only Host Explains why `/dev/sciniX` names should not be assumed to persist across reboots and demonstrates mounting a PowerFlex volume through its persistent `/dev/disk/by-id/` path.
- Ubuntu — systemd.mount Manual Page Documents how systemd handles network mounts and explains the `_netdev`, `x-systemd.requires=`, and `x-systemd.after=` options used to express mount dependencies and ordering.
- Ubuntu — fstab Manual Page Describes the six fields in an `/etc/fstab` entry and recommends filesystem identifiers such as UUIDs over device names that can change with hardware detection order.
- Dell — PowerFlex Operating-System Support Matrix Lists operating-system and PowerFlex component combinations. Check the exact Linux distribution and release for the SDC before using the configuration in production.
