
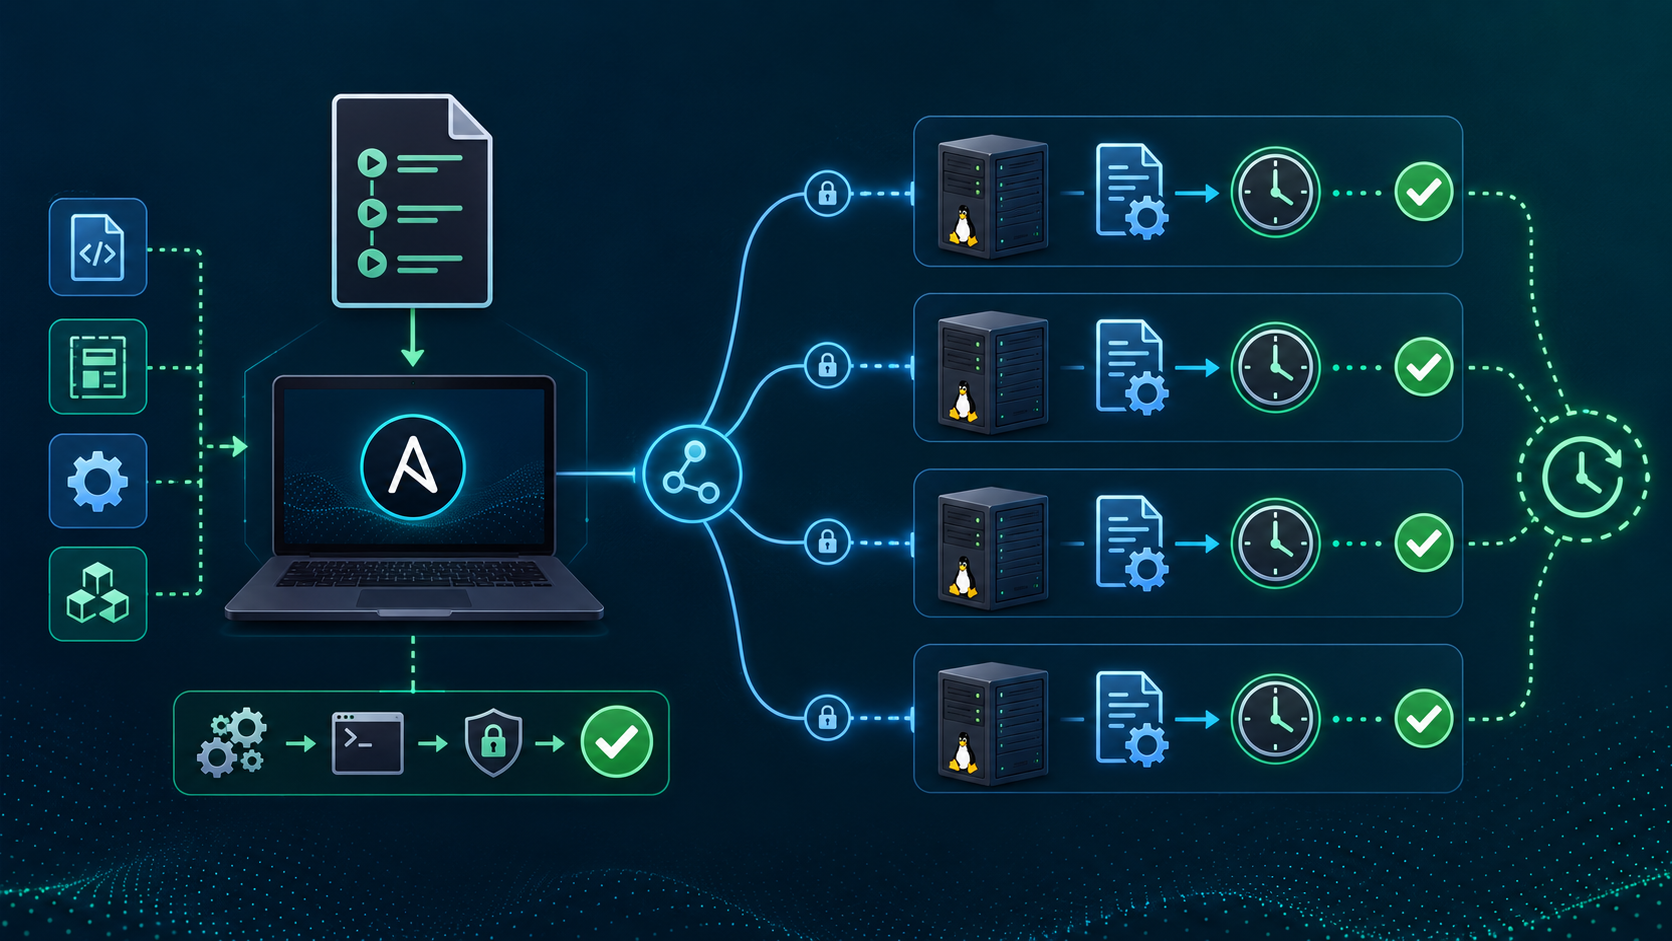
Keeping time synchronized across Linux servers is especially important in environments where authentication, logging, monitoring, distributed applications, and cluster services depend on consistent timestamps.
In this guide, I will use Ansible to manage the Chrony configuration across multiple Linux systems in my HPC lab.
Instead of manually editing /etc/chrony.conf on each server, we will use an Ansible inventory, group_vars, a Jinja2 template, handlers, and an automated synchronization check.
The final workflow will:
- Ensure Chrony is installed.
- Deploy the same NTP configuration to all managed nodes.
- Restart
chronydonly when the configuration changes. - Ensure the service is enabled and running.
- Wait for Chrony to synchronize.
- Verify the selected NTP source.
Lab Environment
The lab used for this guide contains:
- Ansible control node: CentOS Stream 9
- Managed systems: Red Hat Enterprise Linux 8
- Login node:
hpc2-login - Head node:
hpc2-head - Compute nodes:
hpc2-node01throughhpc2-node06 - Internal NTP server:
192.168.255.3 - Time synchronization: Chrony
I use root access in this lab for simplicity.
For production environments, I recommend using a dedicated automation account with controlled sudo privileges instead of relying on direct root access.
If you are new to Ansible, start with “Creating Your First Ansible Playbook: A Practical Lab Guide“ before continuing with this example.
How Chrony Fits Into This Lab
Chrony is an implementation of the Network Time Protocol used by many Linux distributions.
The main daemon is:
chronydand the command-line utility used to inspect and interact with it is:
chronycOn RHEL-based systems, the main configuration file is normally:
/etc/chrony.confRed Hat documents chronyd as the daemon responsible for synchronization and chronyc as the tool used to monitor and control it.
In this lab, Ansible will manage that configuration file for all nodes.
Project Structure
I keep the inventory, variables, templates, and playbooks in separate directories.
The project structure is:
/root/ansible/
├── inventory/
│   ├── hosts.ini
│   └── group_vars/
│       └── all.yml
├── templates/
│   └── chrony.conf.j2
└── playbooks/
    └── chrony.yml
Create the required directories:
mkdir -p /root/ansible/inventory/group_vars
mkdir -p /root/ansible/templates
mkdir -p /root/ansible/playbooks
Then move into the project directory:
cd /root/ansibleCreate the Ansible Inventory
Create:
touch inventory/hosts.iniAdd the lab systems:
[hpc2_login_nodes]
hpc2-login

[hpc2_head_nodes]
hpc2-head

[hpc2_compute_nodes]
hpc2-node[01:06]

[all:vars]
ansible_user=root
This inventory creates three logical groups while still allowing the playbook to target all systems with:
hosts: allValidate the inventory:
ansible-inventory \
  -i inventory/hosts.ini \
  --graph
Before continuing, also confirm Ansible connectivity:
ansible \
  -i inventory/hosts.ini \
  all \
  -m ansible.builtin.ping
All managed nodes should return:
pongCreate the Chrony Variables
Create:
touch inventory/group_vars/all.ymlFor this lab, use:
---
chrony_server: "192.168.255.3"
chrony_driftfile: "/var/lib/chrony/drift"
chrony_makestep: "1.0 3"
chrony_keyfile: "/etc/chrony.keys"
chrony_leapsectz: "right/UTC"
chrony_logdir: "/var/log/chrony"
Because this file is located under:
inventory/group_vars/all.ymlthe variables are available to all hosts in this inventory.
Ansible supports variables from several different scopes and sources, and the complete precedence rules are more extensive than a simple numbered list. For this lab, we do not need to reproduce the full precedence table; group_vars/all is simply a convenient place for values shared by every managed node.
The variable you will most likely change is:
chrony_server: "192.168.255.3"Replace it with the NTP server used in your environment.
Create the Chrony Jinja2 Template
Create:
touch templates/chrony.conf.j2Add:
# ==================================================
# Managed by Ansible
# Manual changes may be overwritten
# ==================================================

server {{ chrony_server }} iburst
driftfile {{ chrony_driftfile }}
makestep {{ chrony_makestep }}
rtcsync
keyfile {{ chrony_keyfile }}
leapsectz {{ chrony_leapsectz }}
logdir {{ chrony_logdir }}
In this lab, 192.168.255.3 is one specific NTP server, so I use:
serverrather than:
poolChrony documents the server directive for defining an individual NTP server by hostname or IP address.
If your organization provides multiple NTP servers, the template can easily be expanded later to loop through a list.
Create the Ansible Playbook
Create:
touch playbooks/chrony.ymlUse this playbook:
---
- name: Manage Chrony configuration on Linux systems
  hosts: all
  become: true

  tasks:

    - name: Ensure Chrony is installed
      ansible.builtin.package:
        name: chrony
        state: present

    - name: Deploy chrony.conf from template
      ansible.builtin.template:
        src: ../templates/chrony.conf.j2
        dest: /etc/chrony.conf
        owner: root
        group: root
        mode: '0644'
        backup: true
      notify: Restart chronyd

    - name: Ensure chronyd is enabled and running
      ansible.builtin.systemd_service:
        name: chronyd
        state: started
        enabled: true

    - name: Apply pending chronyd restart before validation
      ansible.builtin.meta: flush_handlers

    - name: Wait for Chrony to synchronize
      ansible.builtin.command:
        argv:
          - chronyc
          - waitsync
          - "12"
          - "0.1"
      register: chrony_waitsync
      changed_when: false

    - name: Show Chrony sources
      ansible.builtin.command:
        argv:
          - chronyc
          - sources
          - -v
      register: chrony_sources
      changed_when: false

    - name: Display Chrony source status
      ansible.builtin.debug:
        var: chrony_sources.stdout_lines

  handlers:

    - name: Restart chronyd
      ansible.builtin.systemd_service:
        name: chronyd
        state: restarted
This version fixes several problems that existed in my original playbook.
Why flush_handlers Matters
The template task uses:
notify: Restart chronydThe handler only runs when the template actually changes.
That behavior is useful because we do not want to restart chronyd on every playbook execution.
However, Ansible normally runs notified handlers later in the play. Since we want to verify synchronization immediately after changing /etc/chrony.conf, we explicitly run:
- name: Apply pending chronyd restart before validation
  ansible.builtin.meta: flush_handlers
This forces any notified handler to run before the synchronization test.
Without this step, Ansible could validate Chrony before the daemon had reloaded the new configuration. The Ansible documentation specifically recommends flush_handlers when a notified handler must run before subsequent tasks.
Why I Use chronyc waitsync
My original playbook used:
chronyc sources | grep '^\*'immediately after restarting chronyd.
That can produce a false failure.
Chrony may need some time to contact the configured source, collect measurements, select the source, and synchronize the clock.
Instead, the updated playbook runs:
chronyc waitsync 12 0.1The waitsync command is designed specifically to wait until chronyd synchronizes.
The first value specifies the maximum number of attempts, while the second defines the maximum remaining clock correction that will be accepted.
Chrony checks every 10 seconds by default, so:
12 attemptsallows approximately two minutes for synchronization before returning an error.
This is much cleaner than adding an arbitrary three-second pause.
Validate the Playbook Syntax
Before running the playbook against all servers:
ansible-playbook \
  -i inventory/hosts.ini \
  playbooks/chrony.yml \
  --syntax-check
Then, if appropriate for your environment, preview the expected changes:
ansible-playbook \
  -i inventory/hosts.ini \
  playbooks/chrony.yml \
  --check
Keep in mind that check mode depends on module support and cannot always reproduce every runtime behavior.
Run the Playbook
Execute:
ansible-playbook \
  -i inventory/hosts.ini \
  playbooks/chrony.yml
The original article had a typo:
ansilble-playbookThe correct command is:
ansible-playbookDuring the first execution, Ansible may report changes if it has to install Chrony, replace the configuration, enable the service, or restart it.
A successful recap may look like:
PLAY RECAP

hpc2-head      : ok=7 changed=1 unreachable=0 failed=0
hpc2-login     : ok=7 changed=1 unreachable=0 failed=0
hpc2-node01    : ok=7 changed=1 unreachable=0 failed=0
hpc2-node02    : ok=7 changed=1 unreachable=0 failed=0
hpc2-node03    : ok=7 changed=1 unreachable=0 failed=0
hpc2-node04    : ok=7 changed=1 unreachable=0 failed=0
hpc2-node05    : ok=7 changed=1 unreachable=0 failed=0
hpc2-node06    : ok=7 changed=1 unreachable=0 failed=0
Your exact task counts can differ.
Verify the Selected NTP Source
At the end of the playbook, the command:
chronyc sources -vruns on every managed node.
A synchronized source normally has a marker such as:
^*The * indicates the source currently selected for synchronization.
You can also check an individual host manually:
chronyc trackingand:
chronyc sources -vRed Hat recommends chronyc for checking and managing Chrony synchronization status on RHEL systems.
Test the Desired State in the Lab
One of the most useful parts of this lab is verifying that the playbook can recover a system that no longer matches the desired configuration.
Lab test only: Do not intentionally remove production NTP configuration without understanding the impact on your environment.
On one test node, move the configuration file out of the way:
mv /etc/chrony.conf /etc/chrony.conf.lab-testThen stop Chrony:
systemctl stop chronydRun the playbook again.
Ansible should:
- Detect that
/etc/chrony.confis missing. - Render it again from the Jinja2 template.
- Start
chronyd. - Flush the restart handler if required.
- Wait for synchronization.
- Verify the NTP sources.
This is a more useful test than simply checking whether the YAML runs without errors.
It demonstrates that the playbook can move a node from an incorrect state back to the desired state.
Verify Idempotency
Run the playbook once more without changing anything. When all managed nodes already match the desired state, you should see very few or no changes:
changed=0for most hosts.
That indicates that the declarative tasks are not making unnecessary changes.
For example:
ansible.builtin.package:
  name: chrony
  state: present
means:
Make sure Chrony is installed.
It does not mean:
Install Chrony every time this playbook runs.
Likewise:
ansible.builtin.systemd_service:
  name: chronyd
  state: started
  enabled: true
only needs to change the system when the service is not already in the requested state. Ansible documents started as an idempotent service state.
Why the Template Creates a Backup
The template task includes:
backup: trueWhen Ansible replaces the existing /etc/chrony.conf, it keeps a timestamped backup of the previous file.
This is particularly useful when introducing configuration management to systems that may already have manually maintained settings. The ansible.builtin.template module supports this behavior specifically for recovering the previous destination content if necessary.
It does not replace proper configuration version control, but it provides an additional safeguard during the lab and initial deployment.
Troubleshooting
chronyc Cannot Talk to the Daemon
If you see:
506 Cannot talk to daemonfirst verify:
systemctl status chronydThe error can occur when chronyd is not running. Red Hat also documents configuration options such as port 0 or cmdport 0 as possible causes in some environments.
waitsync Fails
If this task fails:
Wait for Chrony to synchronizecheck:
chronyc sources -vand:
chronyc trackingAlso verify:
- NTP server reachability
- UDP port 123
- Firewall rules
- DNS, if hostnames are used
- Correct NTP server address
- Whether the upstream source itself is synchronized
A failed synchronization check should be treated as useful evidence rather than hidden by failed_when: false.
That is another change from the original version of this playbook.
Final Thoughts
Ansible is especially useful for configurations such as time synchronization because consistency matters more than simply configuring one server correctly.
In this lab, the workflow becomes:
Inventory
    ↓
Shared variables
    ↓
Jinja2 template
    ↓
Deploy chrony.conf
    ↓
Restart only when required
    ↓
Wait for synchronization
    ↓
Verify the selected source
The important improvement is that the playbook now validates the actual operating state, not just whether the configuration file was copied successfully.
If a managed node loses its Chrony configuration or the daemon stops, the same playbook can restore the desired state and verify synchronization again.
That is a much stronger automation workflow than simply copying /etc/chrony.conf to several servers.
External References
-
Ansible Template Module
Official documentation for deploying Jinja2 templates to managed nodes with
ansible.builtin.template. -
Ansible Handlers
Official guidance on handlers, notifications, and using
flush_handlerswhen a handler must run before later tasks. -
Ansible Variables
Documentation for variables, inventory variables,
group_vars, scopes, and variable precedence. -
Ansible systemd_service Module
Official reference for managing systemd services such as
chronyd. -
Chrony Official Documentation
Official documentation for
chronyd,chronyc, time sources, synchronization, and Chrony configuration directives. -
chronyc Command Reference
Reference for monitoring Chrony and commands such as
sources,tracking, andwaitsync. - Red Hat — Configuring Time Synchronization Red Hat guidance for installing, configuring, managing, and validating Chrony on RHEL systems.
