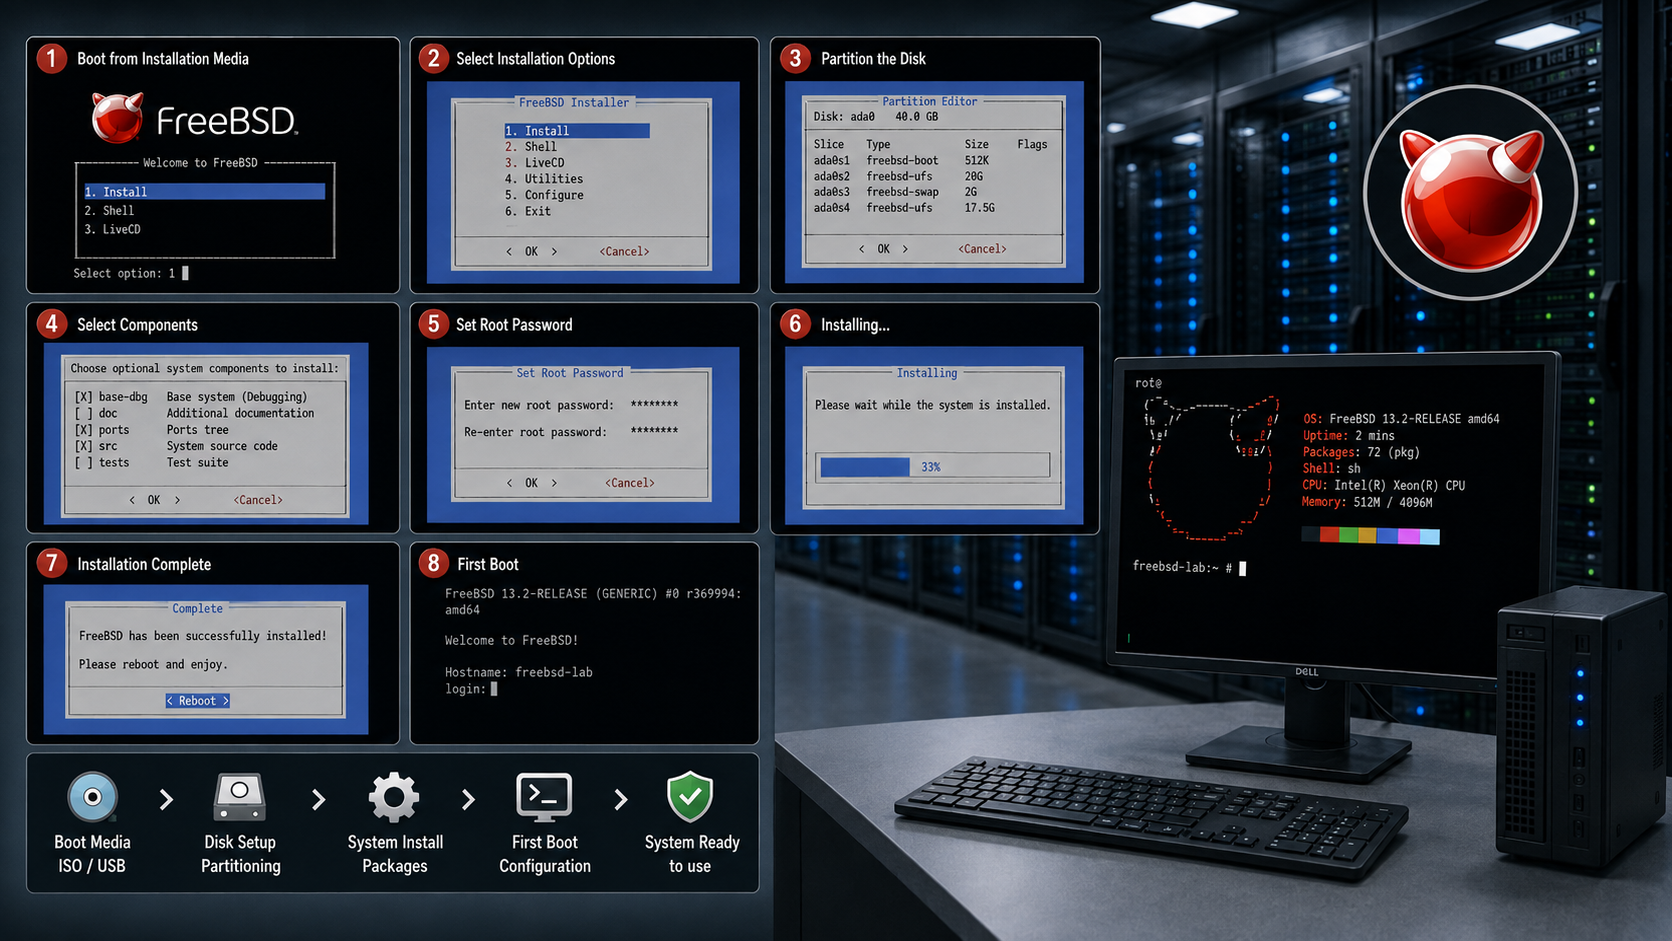
How to install FreeBSD 13 is an article that explains how to install FreeBSD step-by-step in a lab environment. FreeBSD is a fantastic OS and it is used a lot around the world. A lot of systems are based on FreeBSD, such as TrueNAS. To see more details about TrueNAS, click HERE.
To get more details about FreeBSD:
FreeBSD download page:
Creating the Virtual Machine
Our lab is based on vSphere 7. So, first, we will create the Virtual Machine.
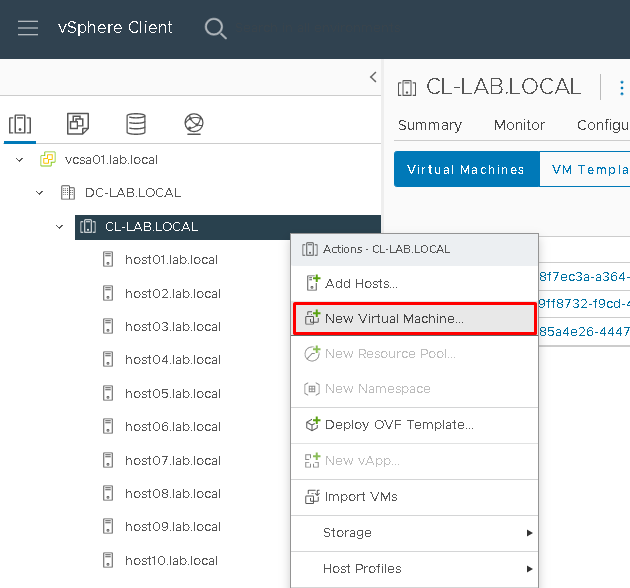
Right-click on the cluster name and then click on the “New Virtual Machine …”:
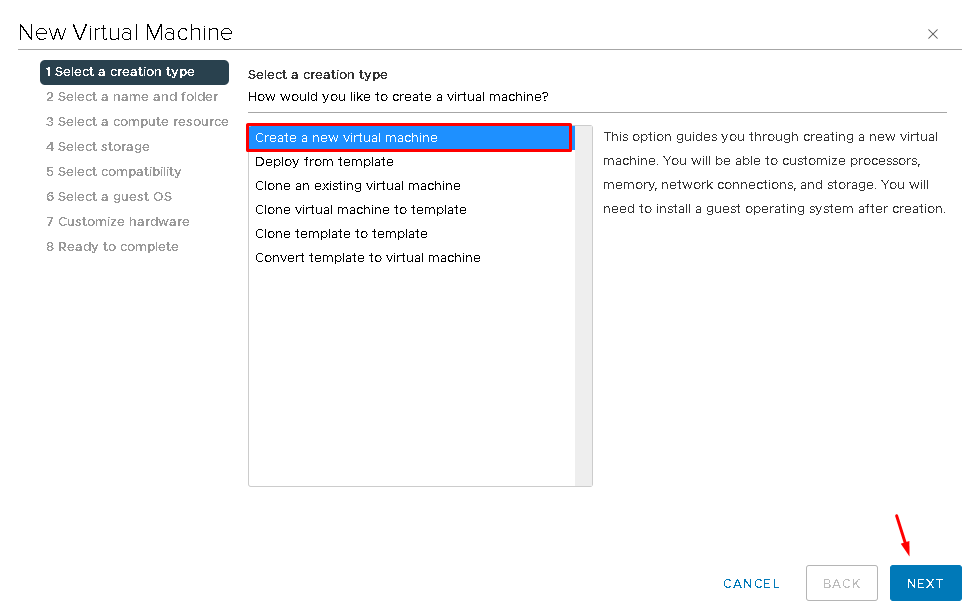
Type the Virtual Machine name. In this case, for example, the Virtual Machine name is “FreeBSD-13-VM”:
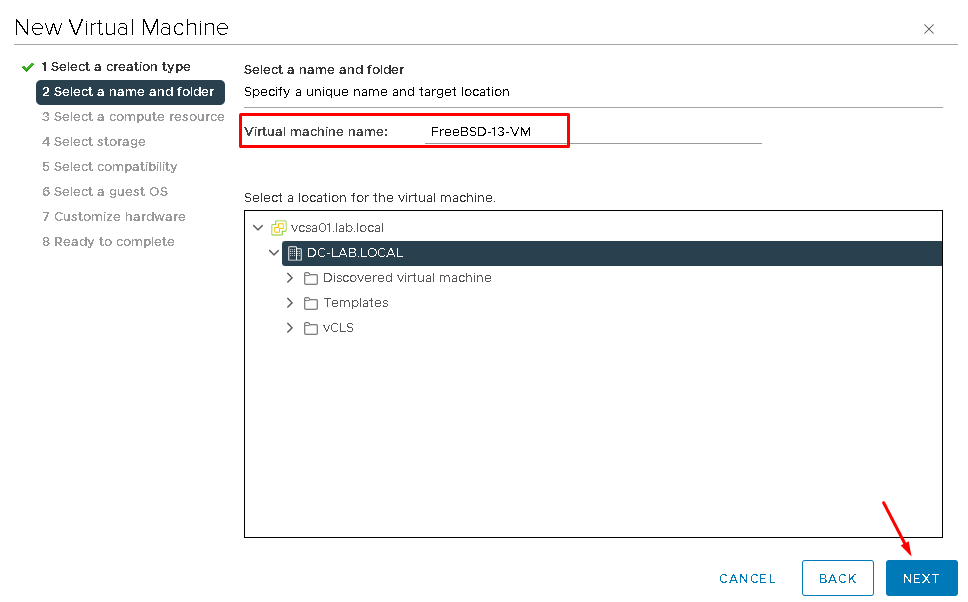
The DRS service is disabled. So, it’s necessary to select manually the ESXi host. In our lab, we have 10 ESXi hosts in the vSphere Cluster. I choose the ESXi host “host04.lab.local”. However, another ESXi host can be selected too:
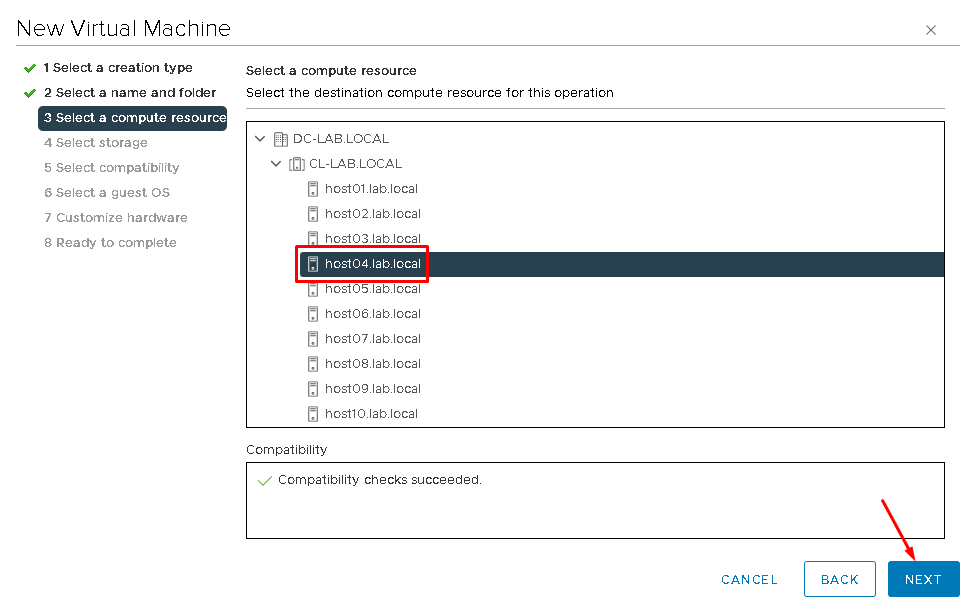
Select the storage that this new Virtual Machine will use. In this example, we are choosing the datastore “ISCSI01′:
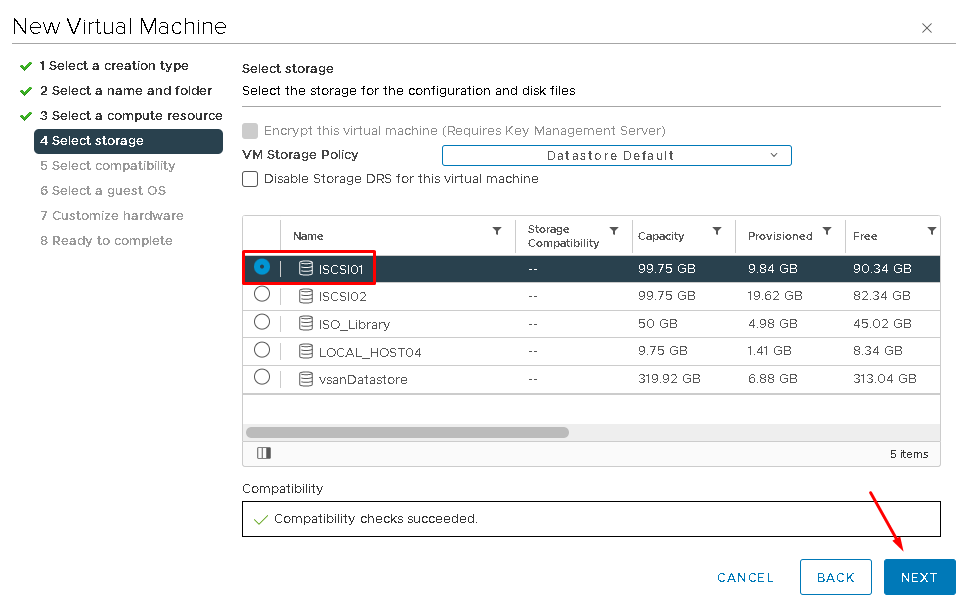
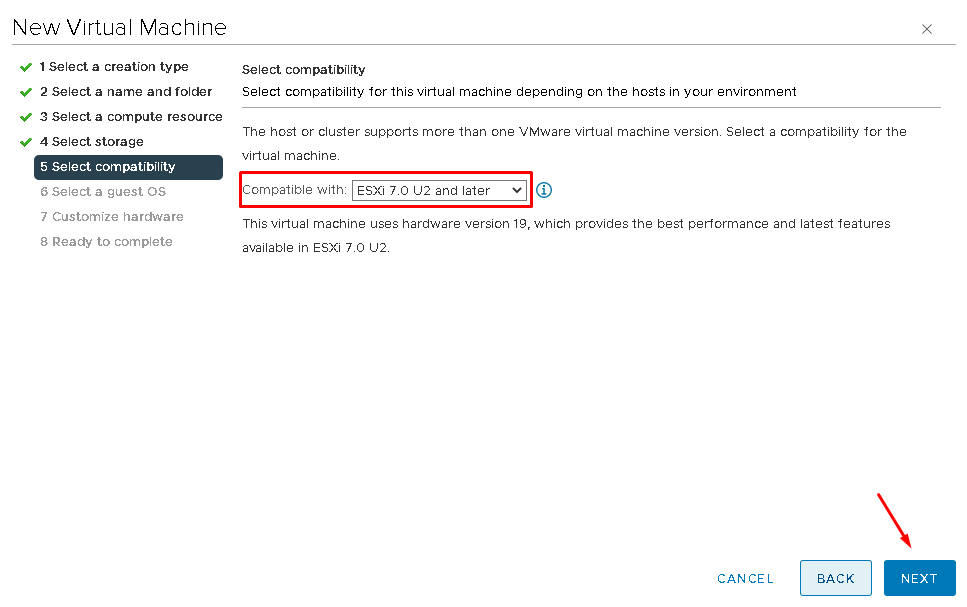
Here, we need to choose the Guest OS Family and the Guest OS Version:
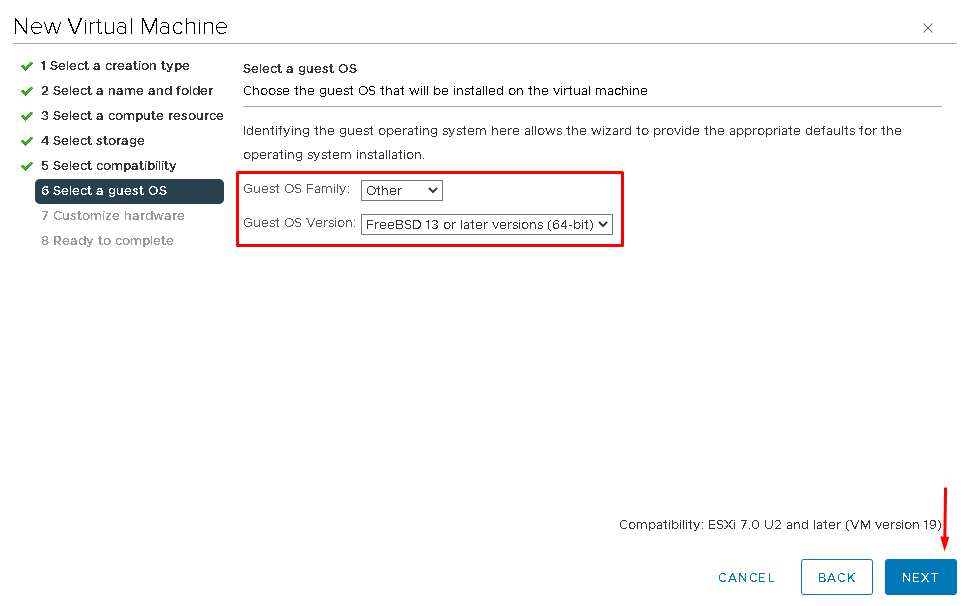
On the Customize hardware step, select “Datastore ISO File” on the “New CD/DVD Drive” to attach the FreeBSD Installation Media to this Virtual Machine. In our lab, we have an NFS datastore used for ISO Library for our vSphere Cluster.
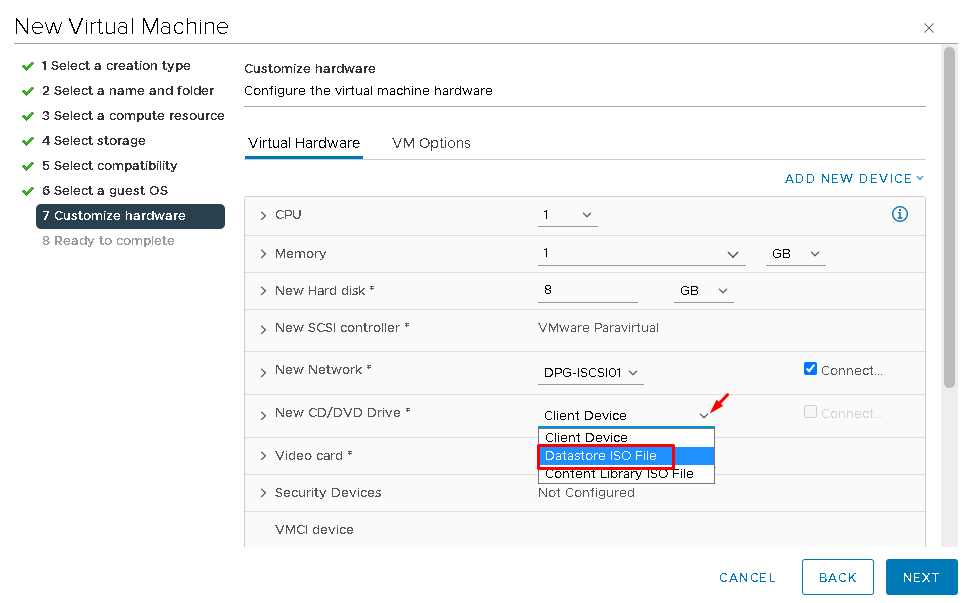
Browsing the ISO Library datastore and selecting the FreeBSD Installation Media:
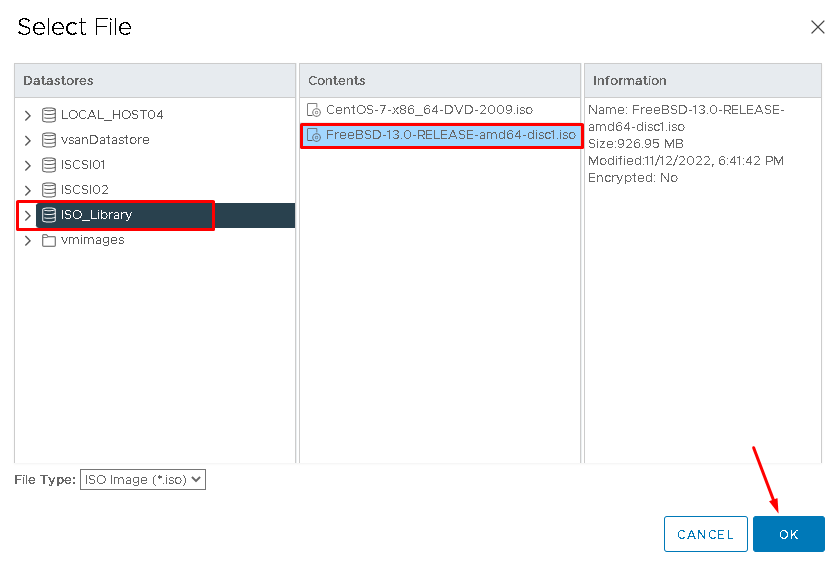
Don’t forget to mark the “Connect” box on the “New CD/DVD Drive”:
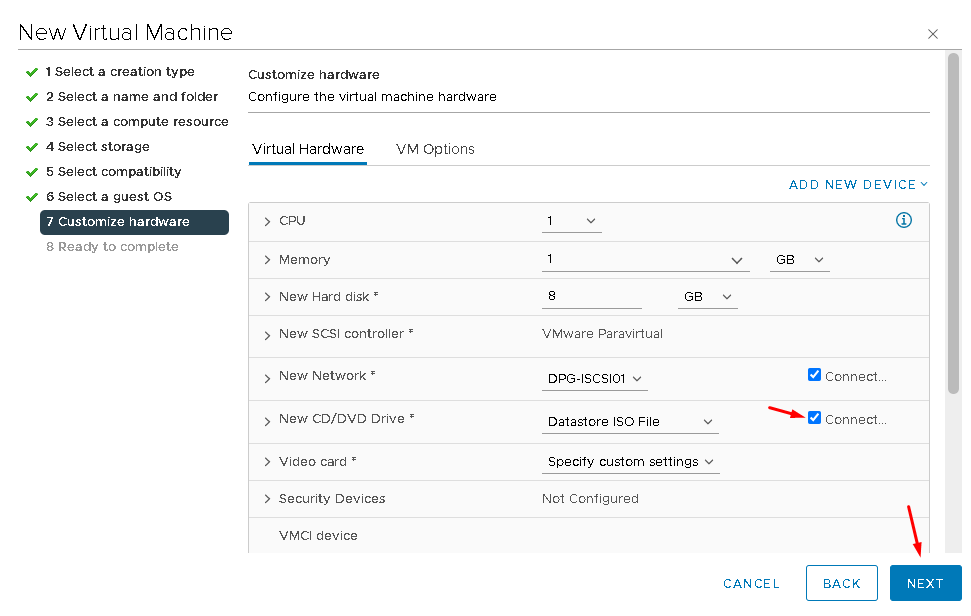
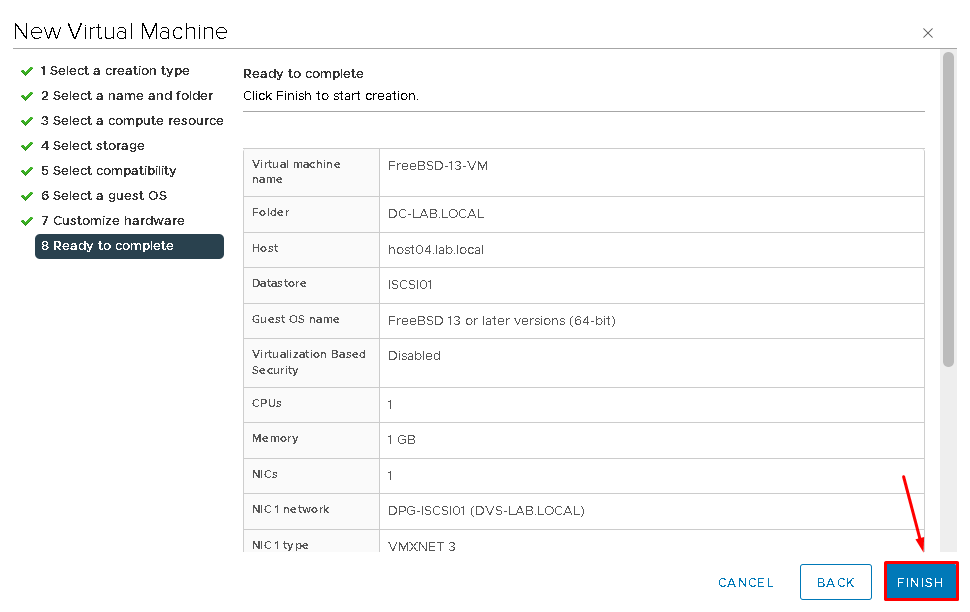
Click on “FINISH” to finish the Virtual Machine Creation Wizard:
Installing the FreeBSD
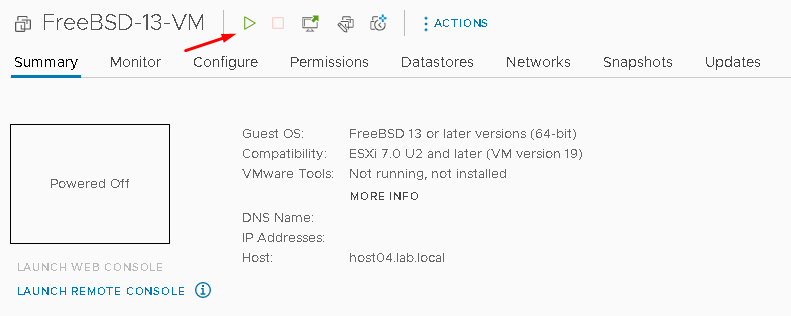
First, it’s necessary to powered-on the Virtual Machine. On the vSphere Client, select the Virtual Machine and then click on the “Power ON” button:
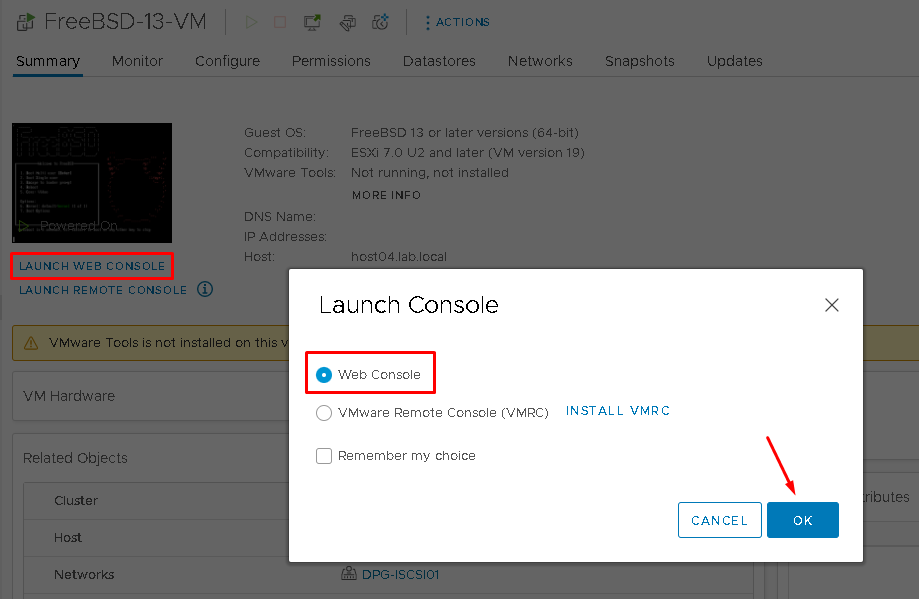
Click on “LAUNCH WEB CONSOLE” to access the Virtual Machine console. Then, click on “Web Console”:
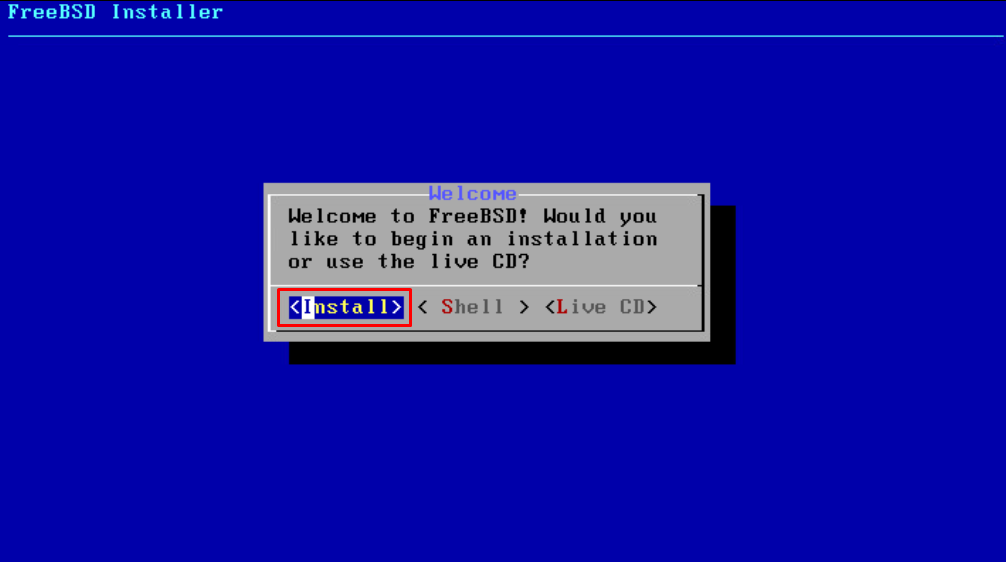
So, the FreeBSD Installer will be shown. Select “Install” and press ENTER:
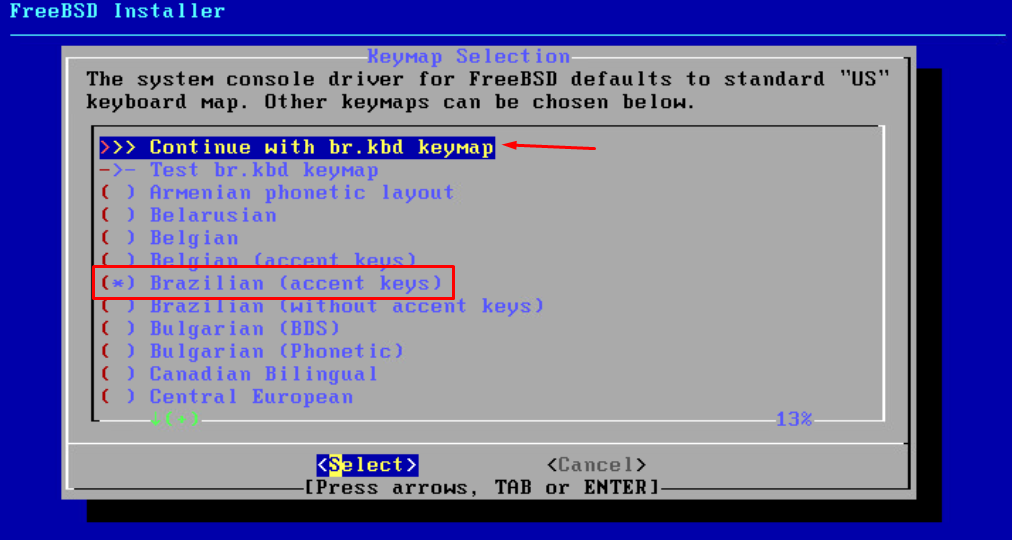
Select the keymap. In this case, for example, we are selecting the “Brazilian (accent keys)”. After selecting, click on “Continue with br. kbd keymap”:
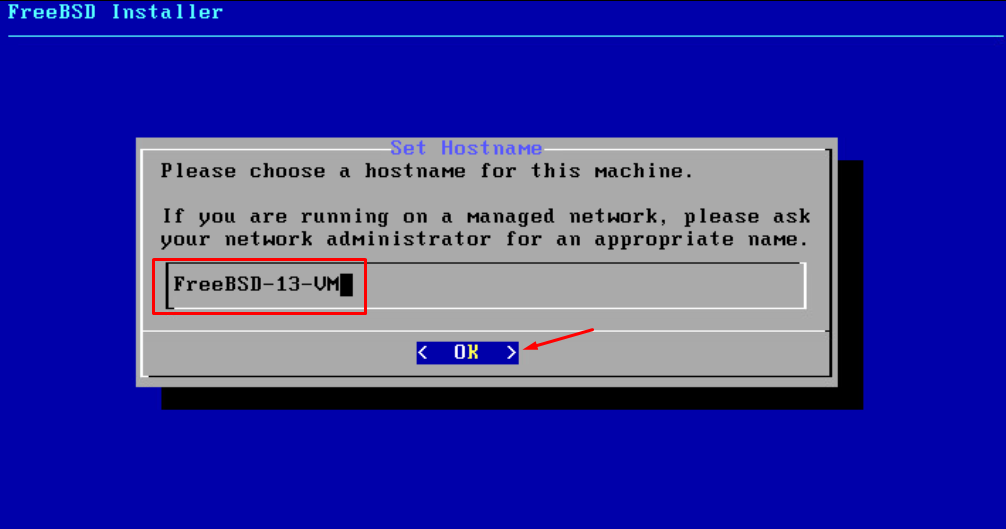
Type the hostname for this Virtual Machine. “FreeBSD-13-VM” is the Virtual Machine name is this example:
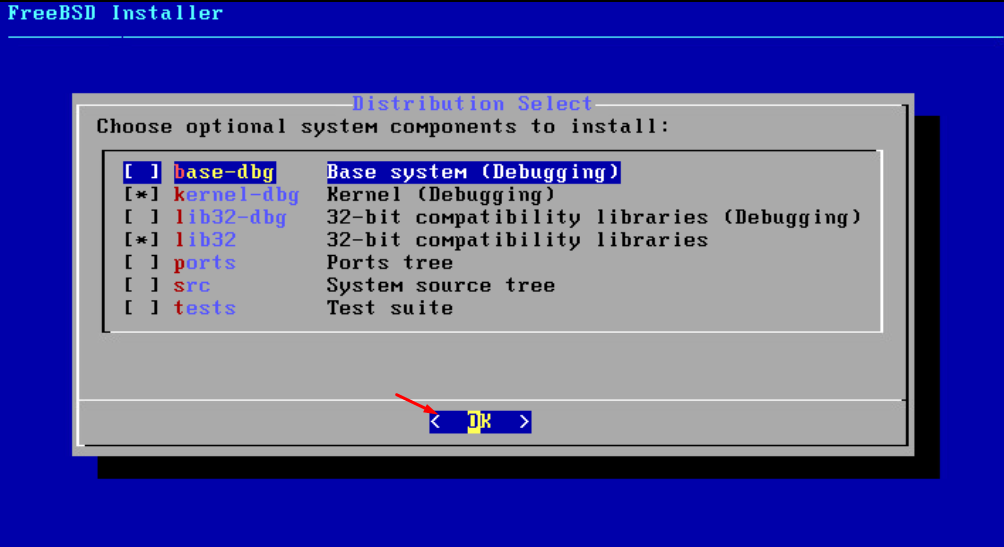
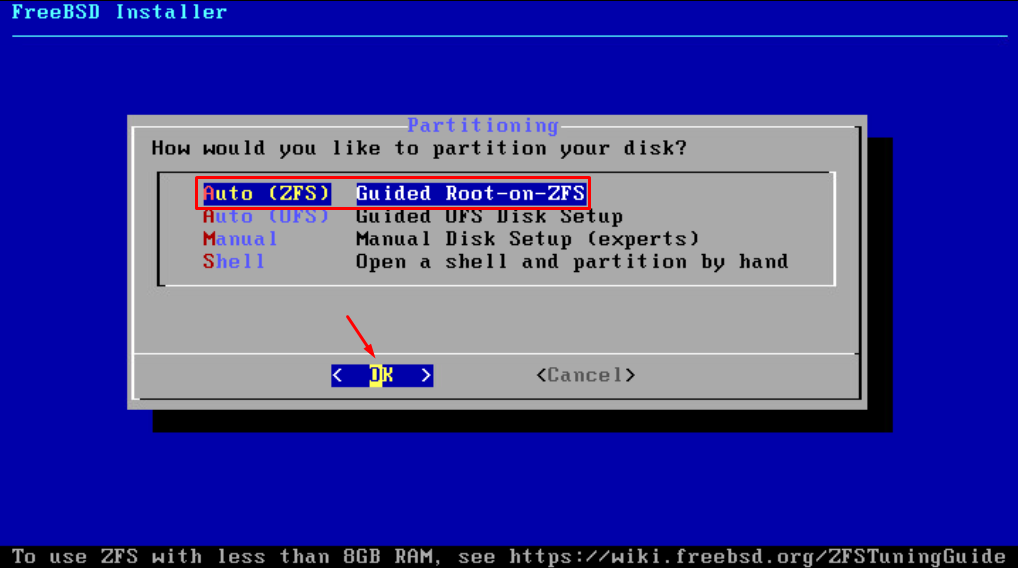
By default, FreeBSD supports both File Systems: ZFS and UFS.
In this example, we are using the ZFS. So, select “Auto (ZFS)” and press ENTER to continue:
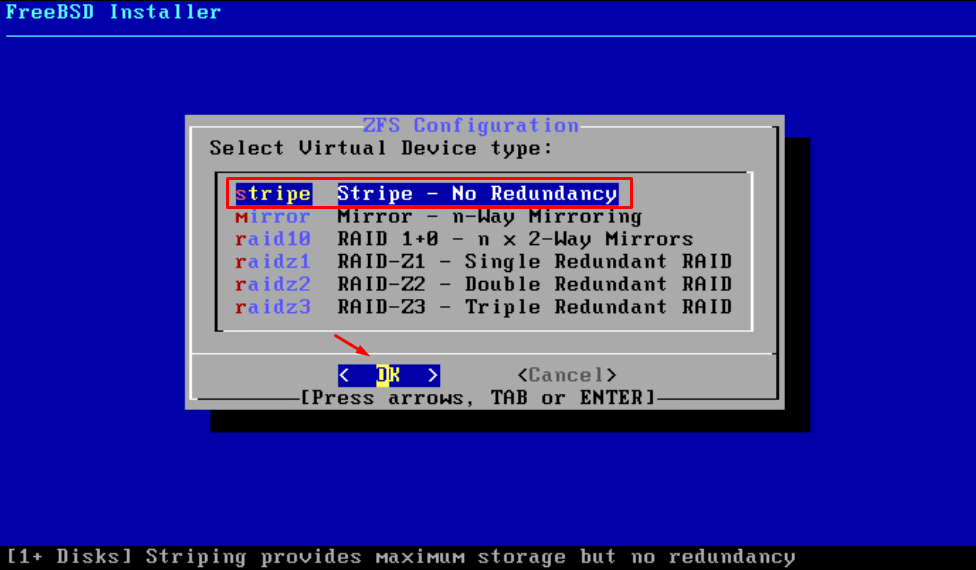
The ZFS File System has a ZFS Pool concept to create a logical area based on the physical disks. In this case, for instance, we have only one physical disk. So, we will not use anything type of ZFS redundancy. In other words, the ZFS Virtual Device will select with “Stripe”:
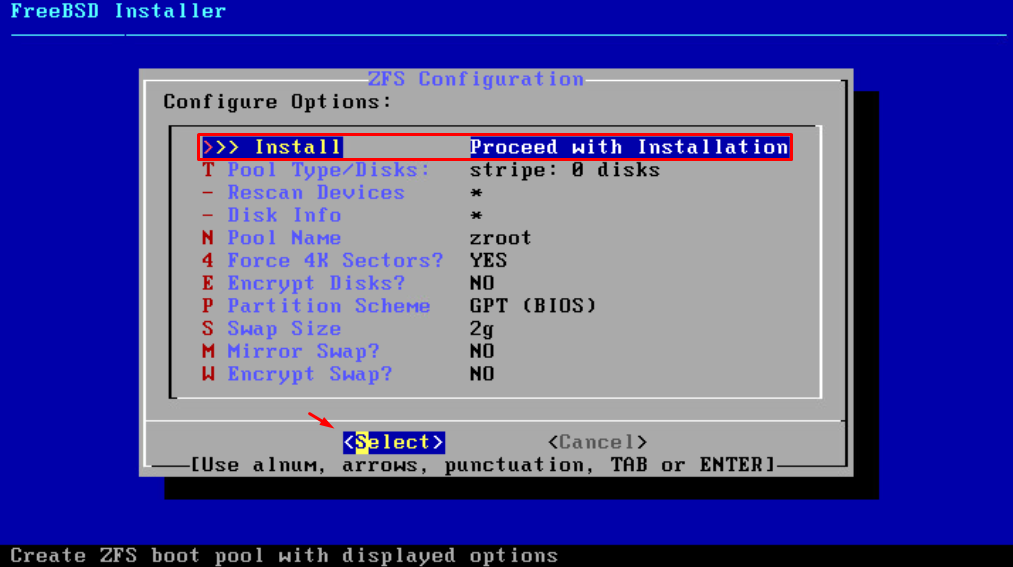
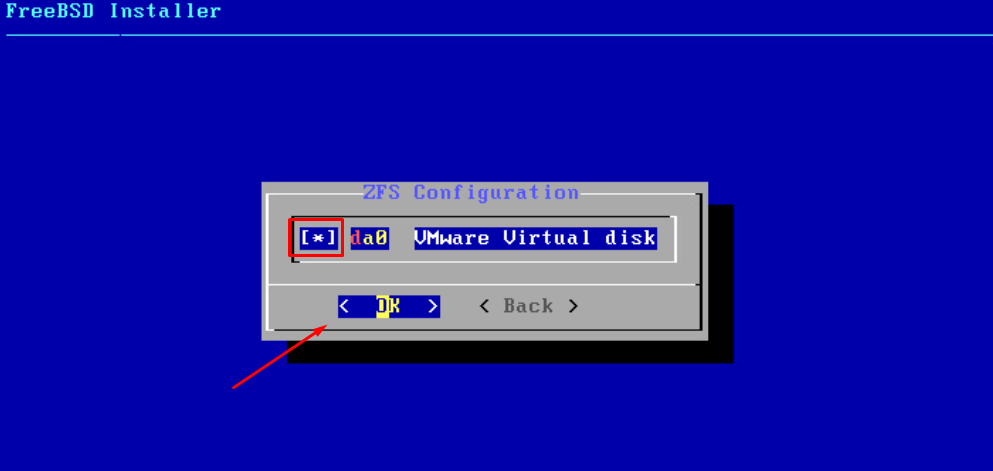
Select the physical disk. To do it, use the backspace to select the disk:
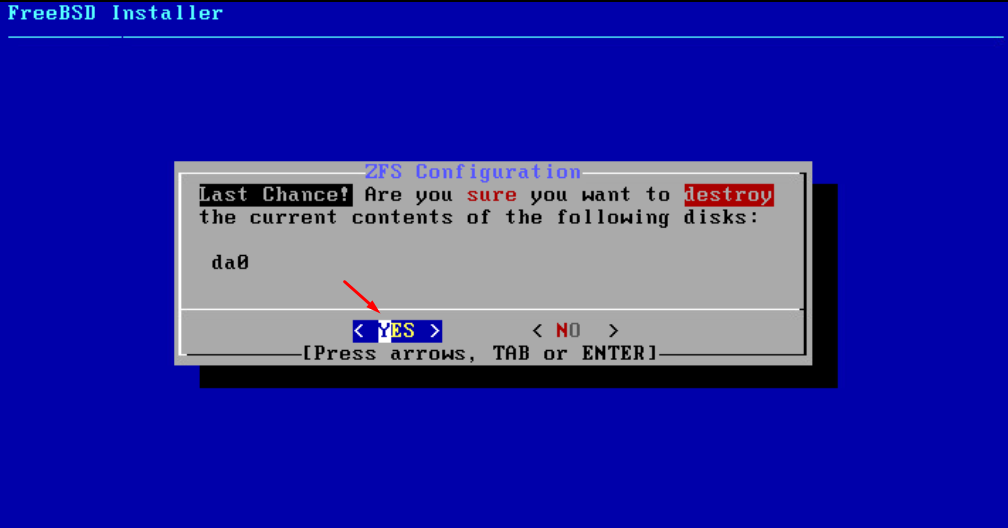
Here is your last chance 🙂
At this point, all data in the physical disk will be erased/destroyed. Select “YES” and press ENTER to continue the process:
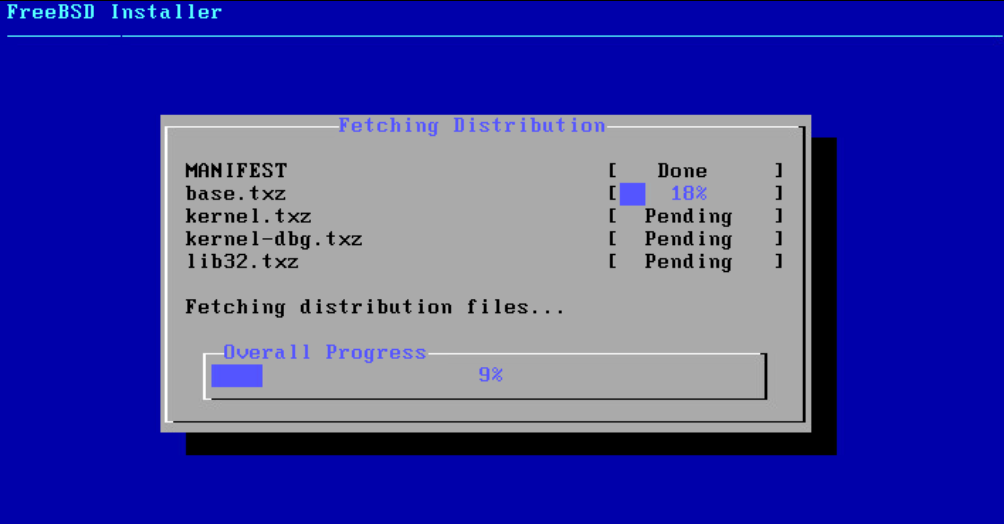
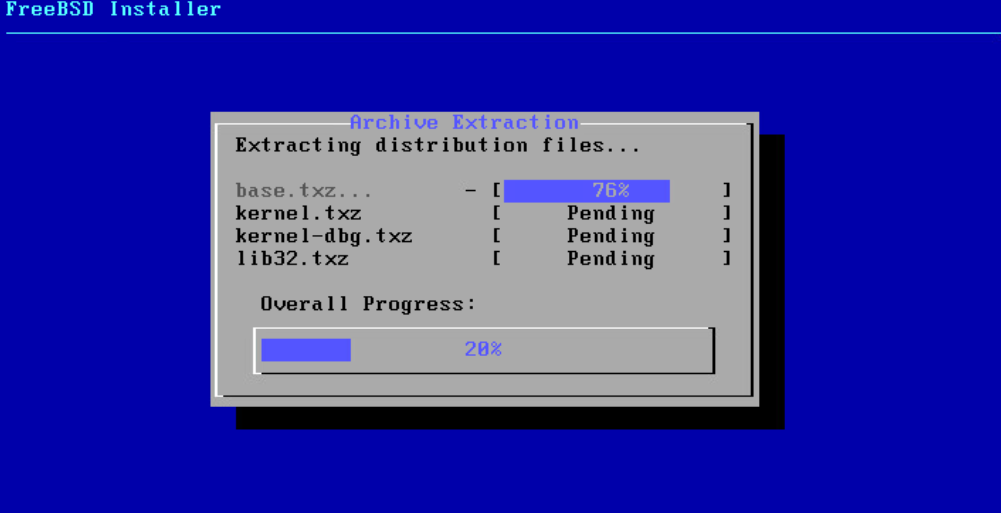
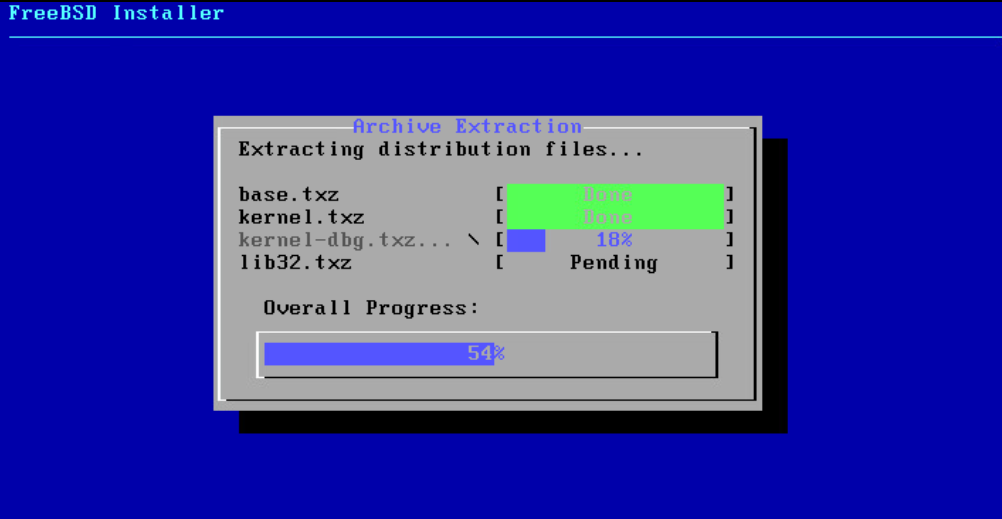
Wait some minutes while the installation process is running:
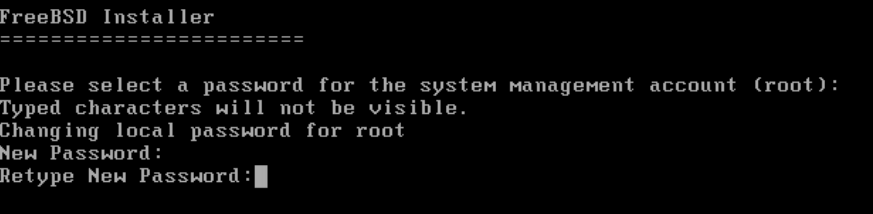
Type the root password. Pay attention because it’s necessary to put the root password and repeat this password again:
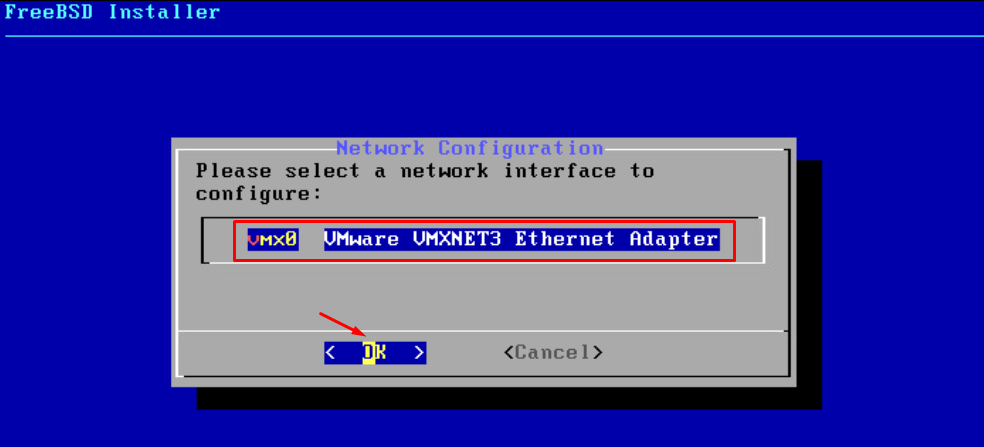
The next step is to configure the network for this Virtual Machine. Select the network interface to configure and press ENTER to continue. In this lab, we only have one interface on this Virtual Machine:
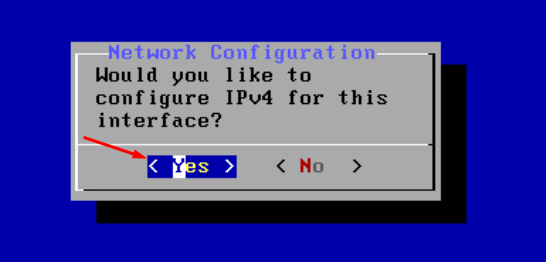
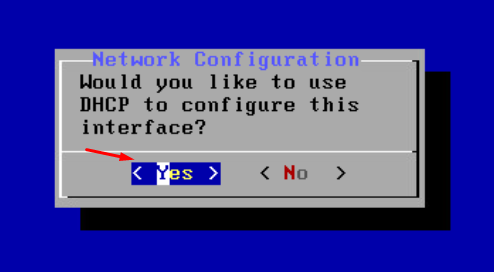
We would like to configure IPv4 for this interface and, this interface will acquire IPv4 settings from the DHCP protocol:
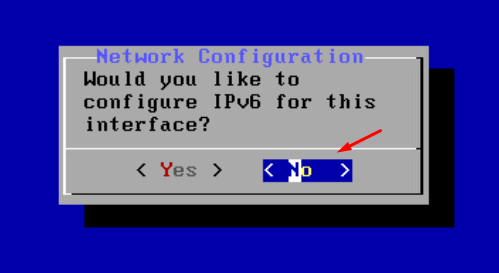
Select “No” for IPv6 configuration:
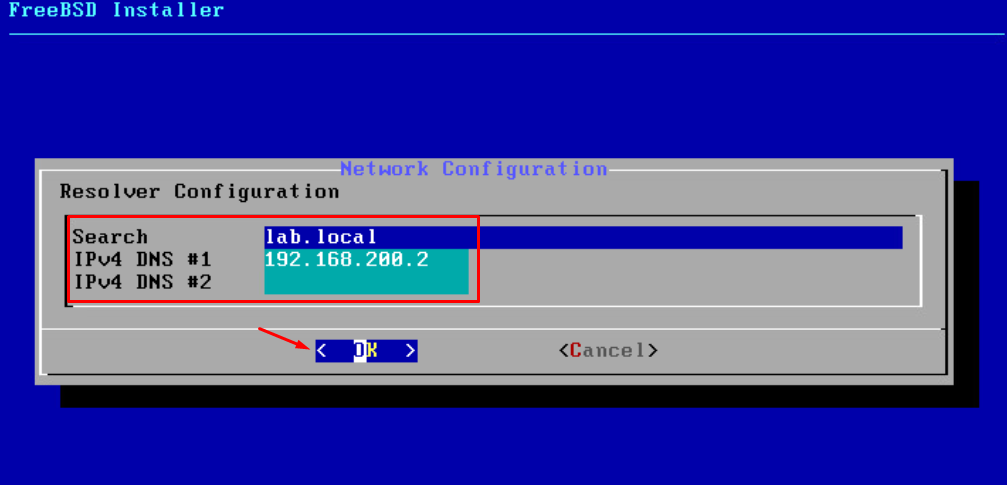
Type the DNS Search domain and adjust the DNS Servers, if necessary:
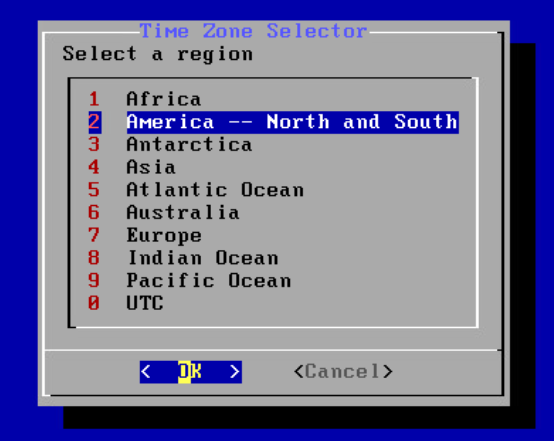
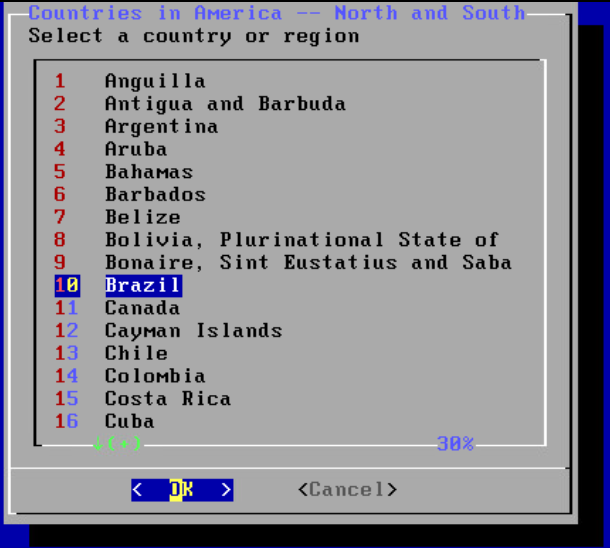
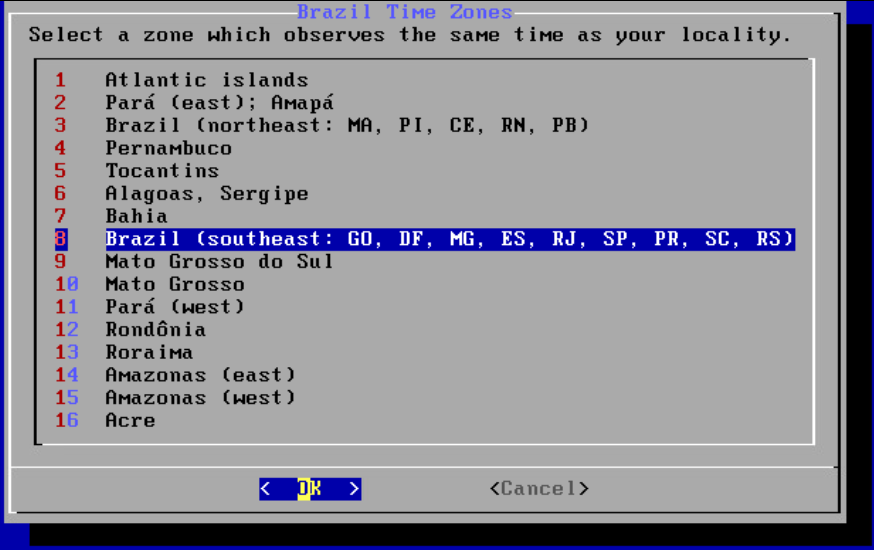
Next, it’s necessary to configure Timezone details. This is a particular configuration and you can select the best option for you:
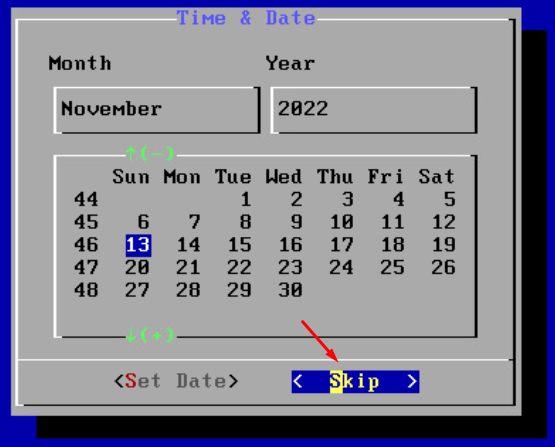
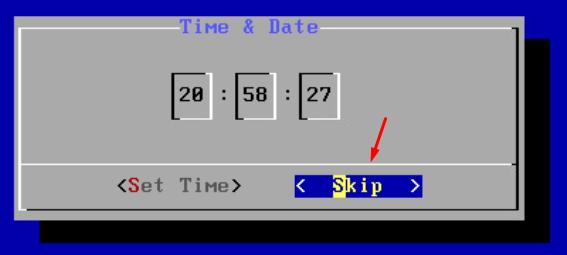
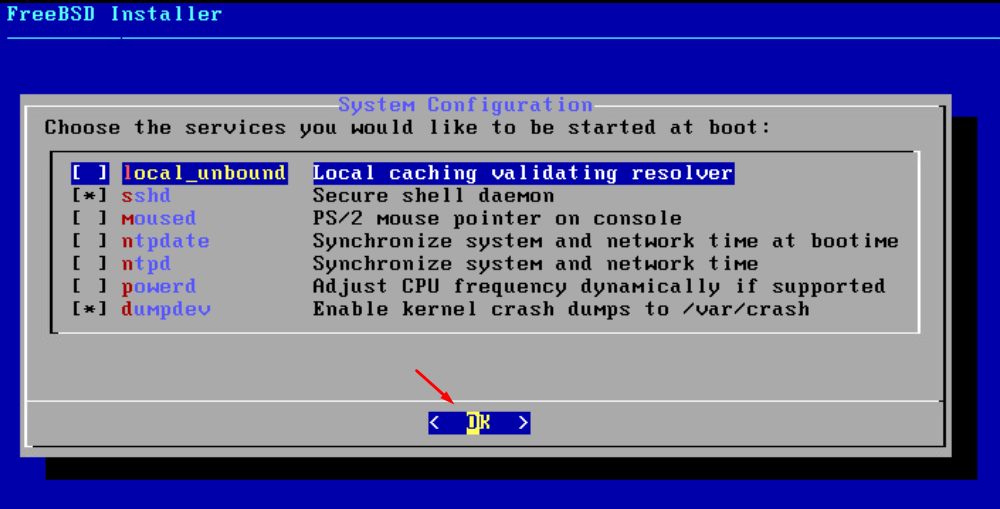
On the System Configuration, we can maintain the default values:
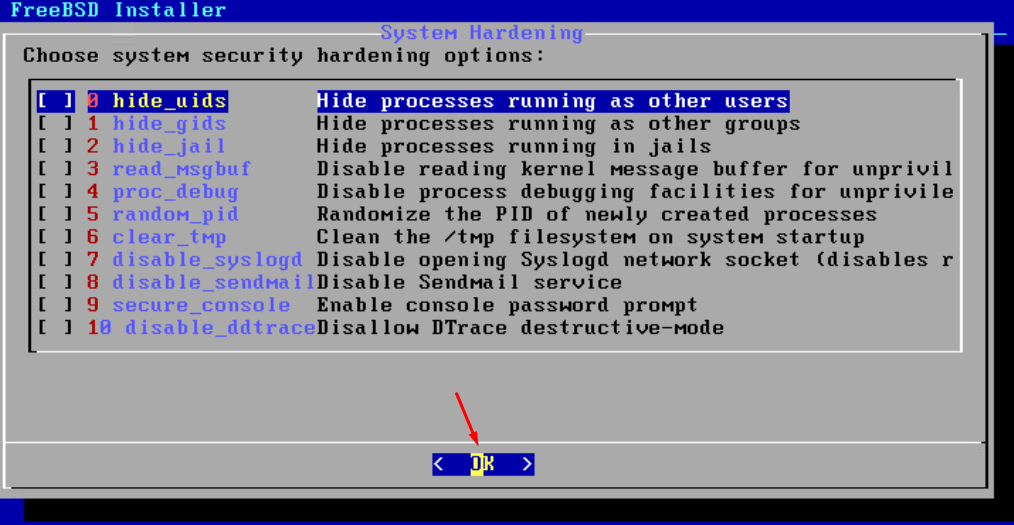
It’s possible to change some configurations for hardening the system. In this case, we can maintain the default values:
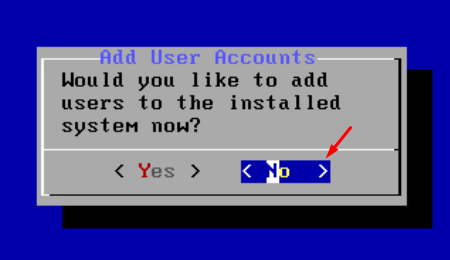
Besides the root account, it’s possible to add additional user accounts to the system. If you want to add more users, select “Yes” and press ENTER. However, if you will not do it, select “No” and press ENTER:
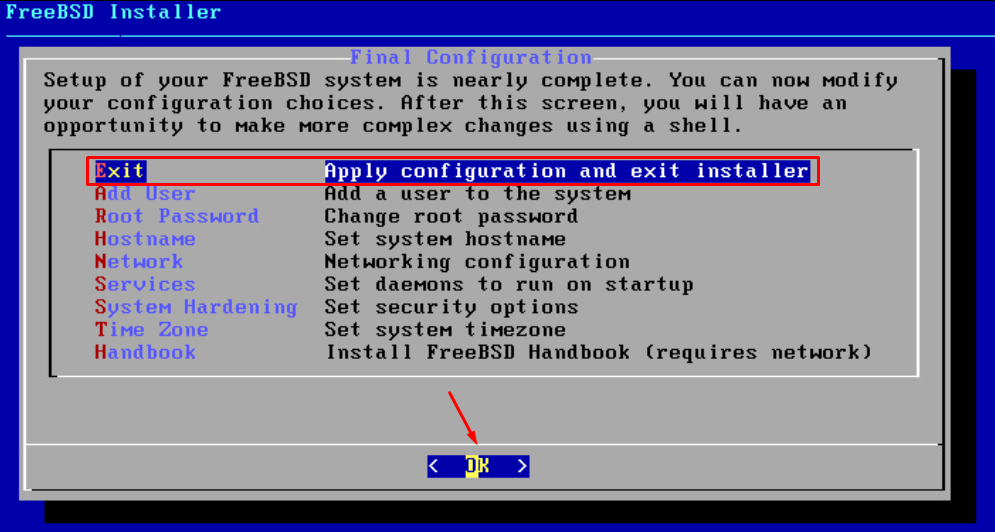
Select “Exit” and press ENTER:
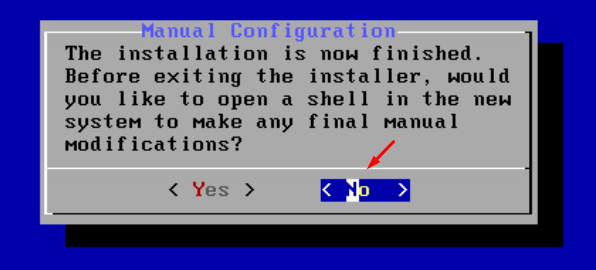
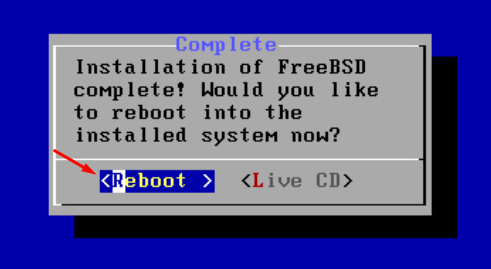
Select “Reboot” and press ENTER. The Virtual Machine will reboot and the FreeBSD will start from disk:
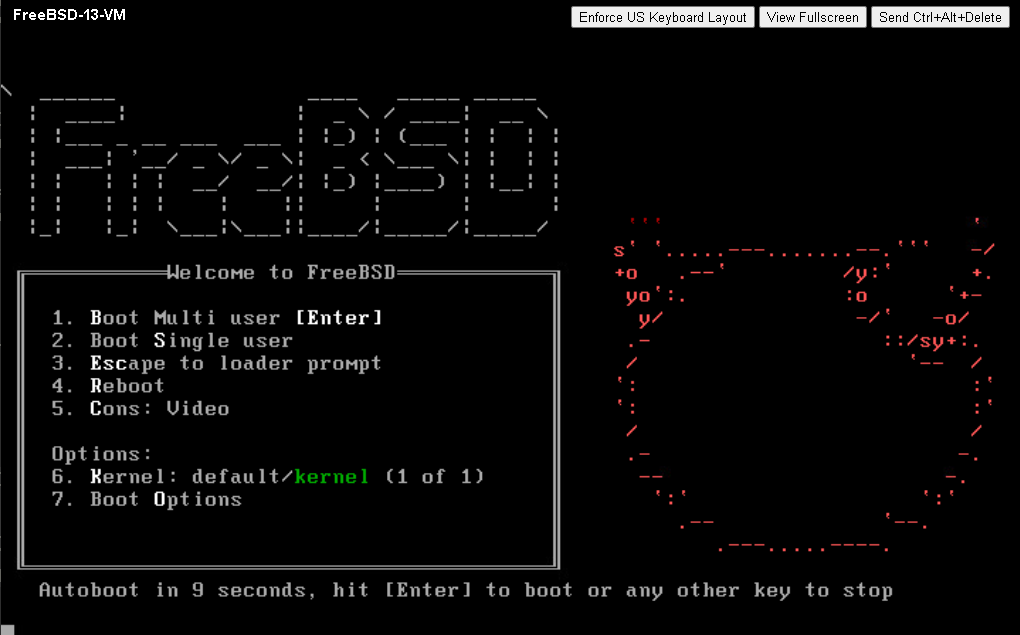
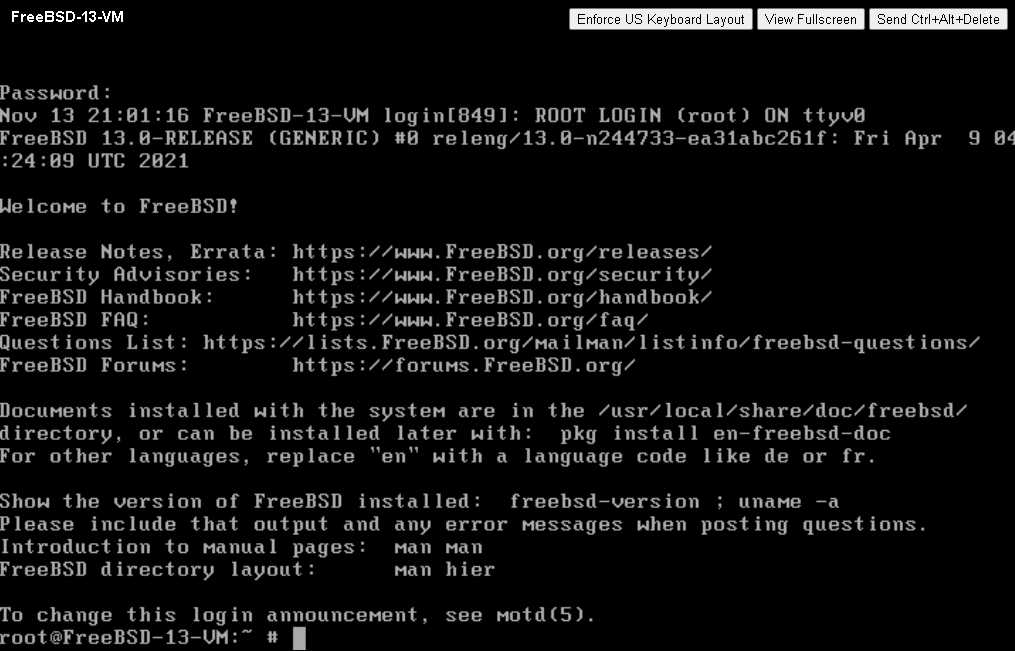
Installing the Open VM Tools on the FreeBSD
If you have a graphical interface:
pkg install open-vm-tools
If you don’t have a graphical interface:
pkg install open-vm-tools-nox11
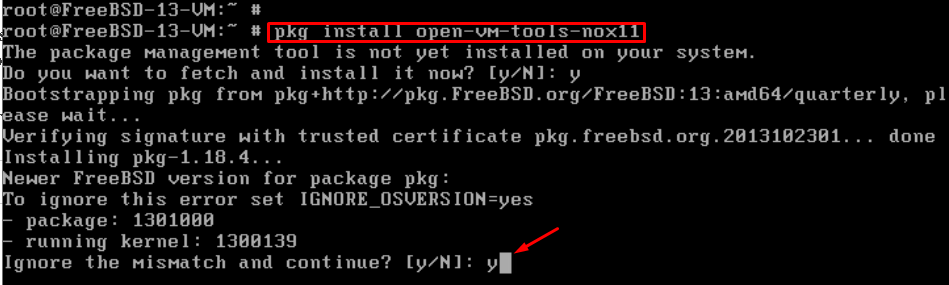
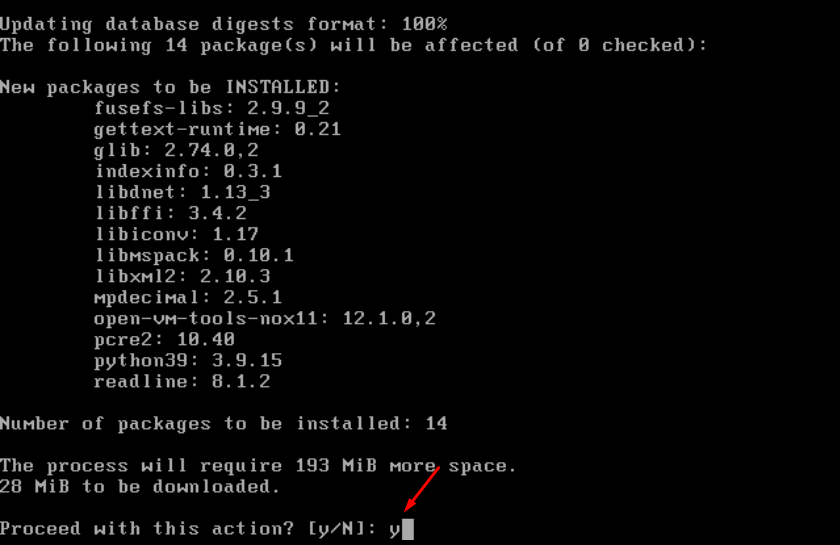
Some packages need to be installed together (like dependencies or something related to it). Therefore, type “y” and press ENTER:
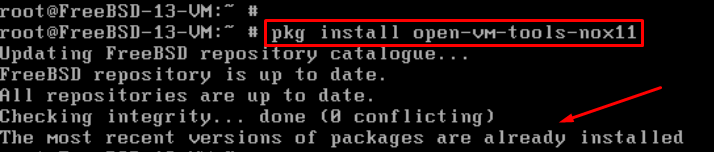
In this example, I rerun the command to install the “open-vm-tools-nox11” package. In this case, this package already installed before, so, the result of the command is showing it:
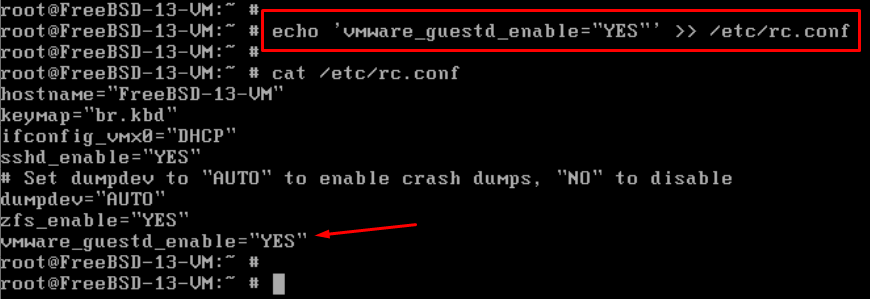
Like other services that run on FreeBSD, it’s necessary to add a configuration in the /etc/rc.conf file. However, you can use your preferred text editor like vi, vim, ee, or something like that:
echo ‘vmware_guestd_enable=”YES”‘ >> /etc/rc.conf
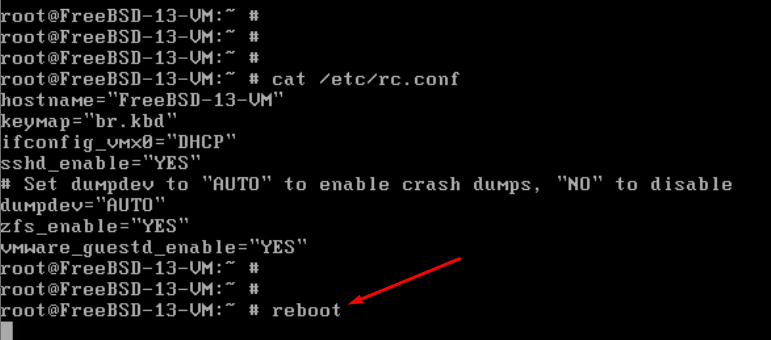
Reboot the Virtual Machine to validate if, in the next boot, the Open VM Tools will start automatically:
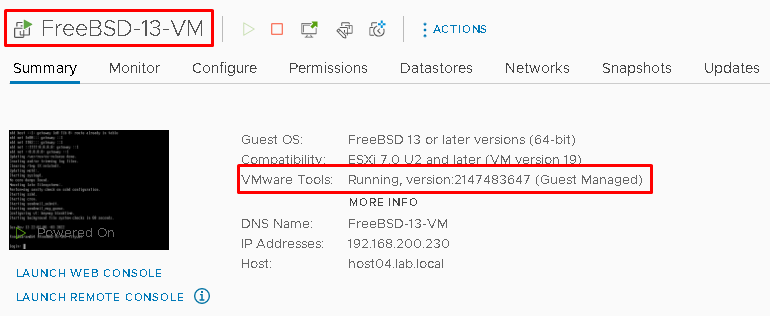
So, we can confirm that the Open VM Tools was started correctly 🙂