


Installing Rocky Linux shows how to install, step-by-step, the Rocky Linux OS.
First and foremost: What is Rocky Linux?
Nowadays, Red Hat is one of the biggest and most important companies in the IT sector. They develop and maintain Red Hat Enterprise Linux, one of the biggest Linux flavors used by companies all around the world.
On December 8, 2020, Red Hat announced that it would discontinue development of CentOS, which has been a production-ready downstream version of Red Hat Enterprise Linux, in favor of a newer upstream development variant of that operating system known as “CentOS Stream”. In response to that, the founder of CentOS, Gregory Kurtzer, announced that he would again start a project to achieve the original goals of CentOS. Its name was chosen as a tribute to early CentOS co-founder Rocky McGauch. By December 12, the code repository of Rocky Linux became the top-trending repository on GitHub.
Source: https://rockylinux.org/pt-BR/about
Getting the Rocky Linux Installation File
To download the latest Rocky Linux version, use the following link:
https://rockylinux.org/pt-BR/download
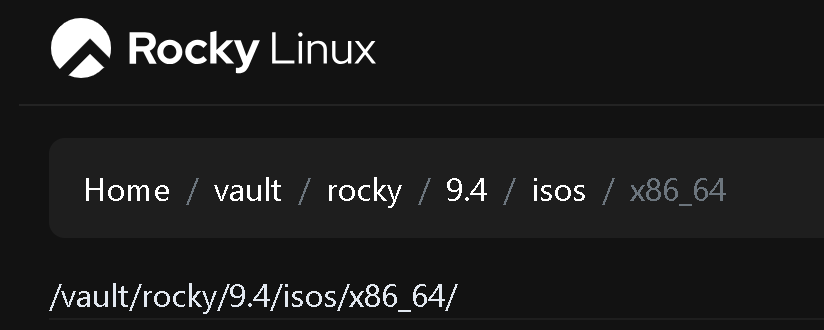
So, if you need to download older versions, use the following link:
https://dl.rockylinux.org/vault/rocky/
We’ll show how to install Rocky Linux using the 9.4 version:

Creating the Virtual Machine (VM)
After downloading Rocky Linux, the first step is to create a virtual machine (Yes, since we’re in a virtual-lab environment, we’ll show how to install Rocky Linux under a virtual machine). Our hypervisor is VMware ESXi, but the steps are very similar across hypervisors (create the VM, attach the ISO file, boot from the ISO, etc.).
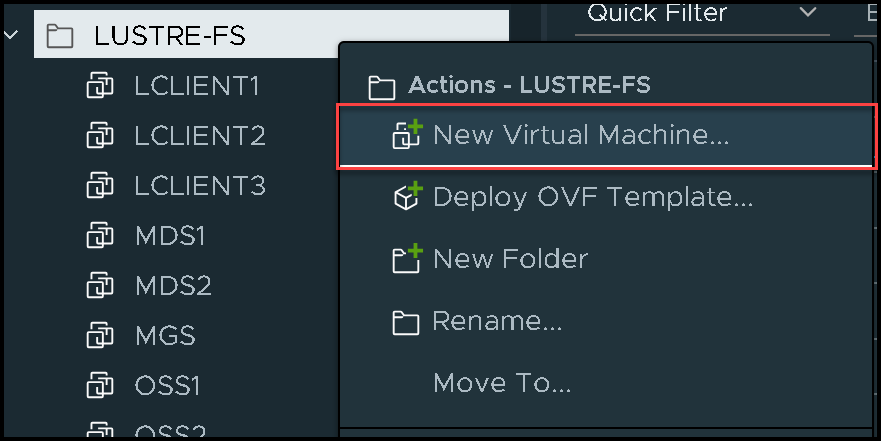
Access the hypervisor administration page, select the folder, right click, and then, “New Virtual Machine”:
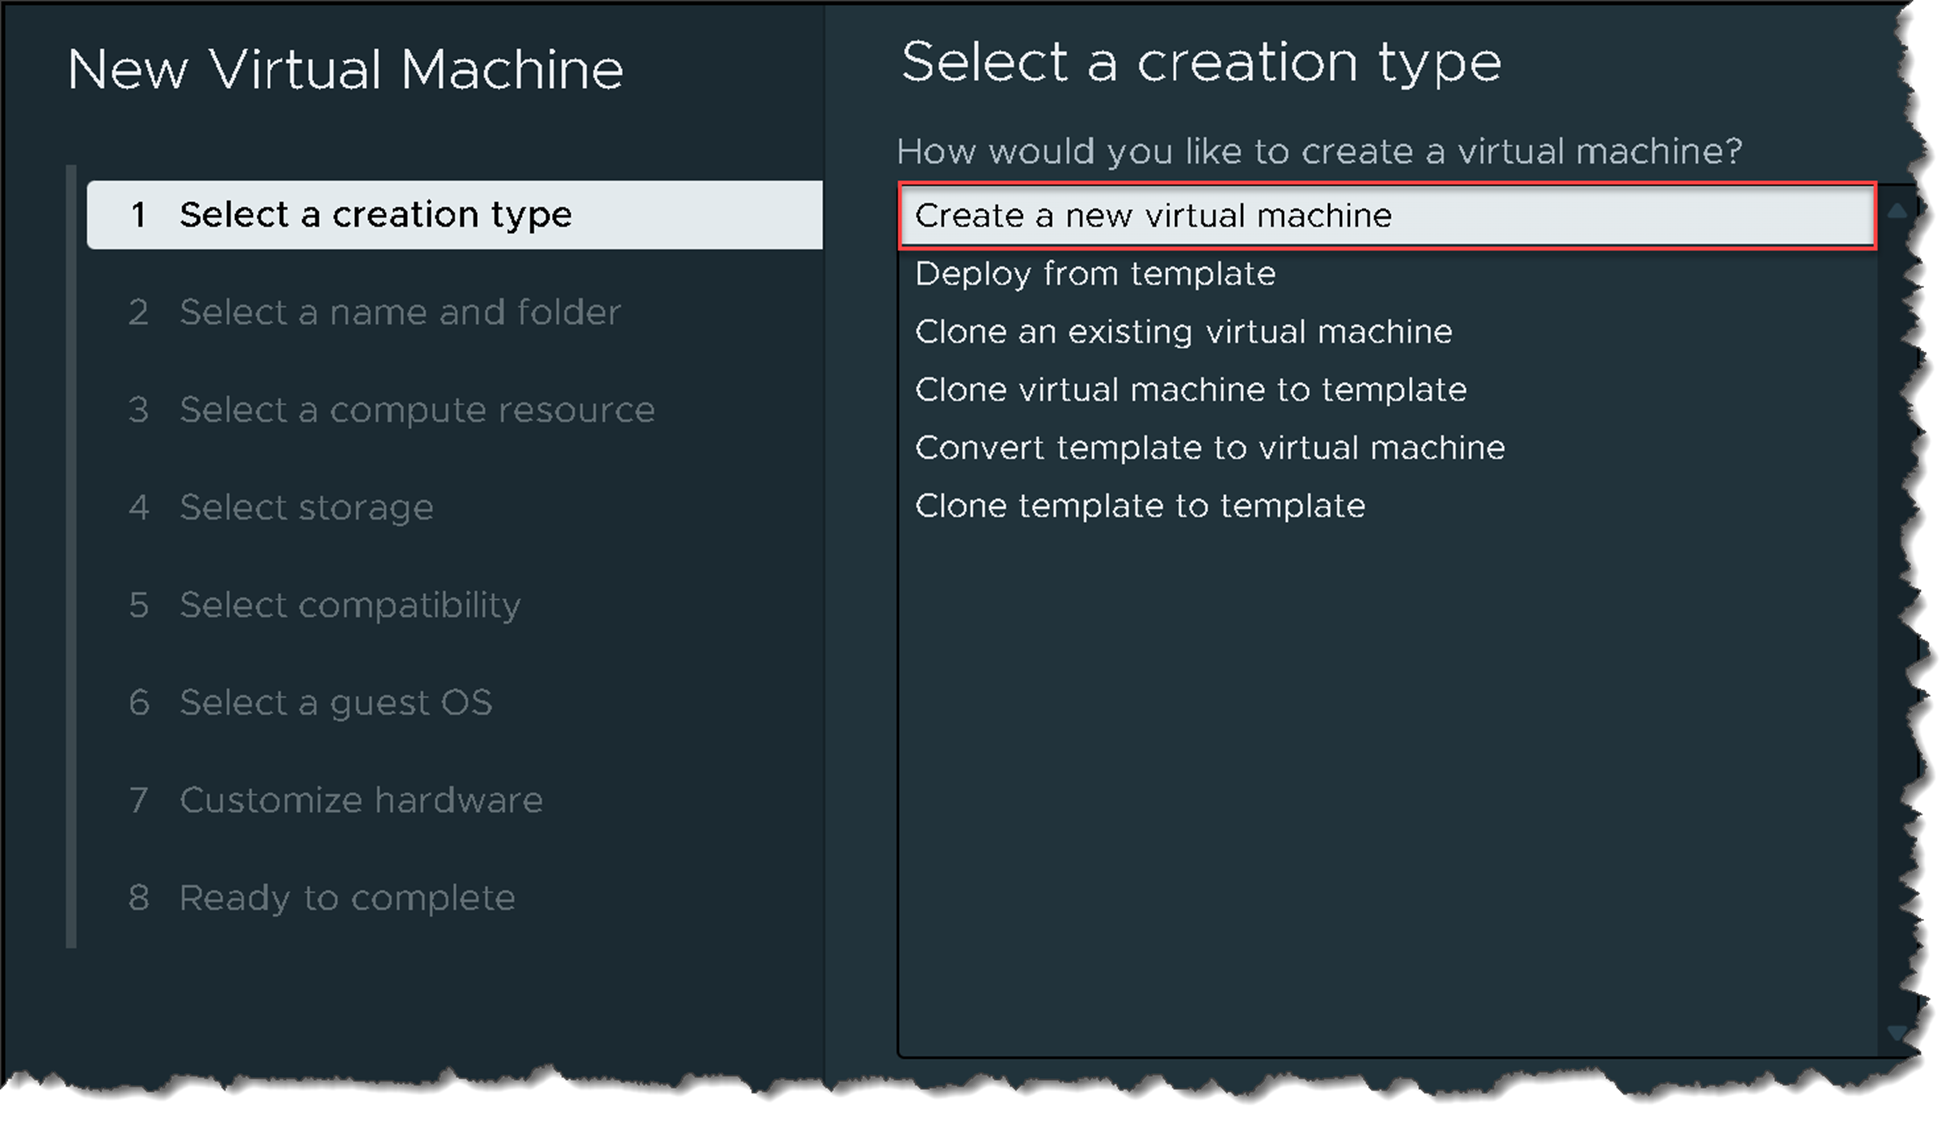
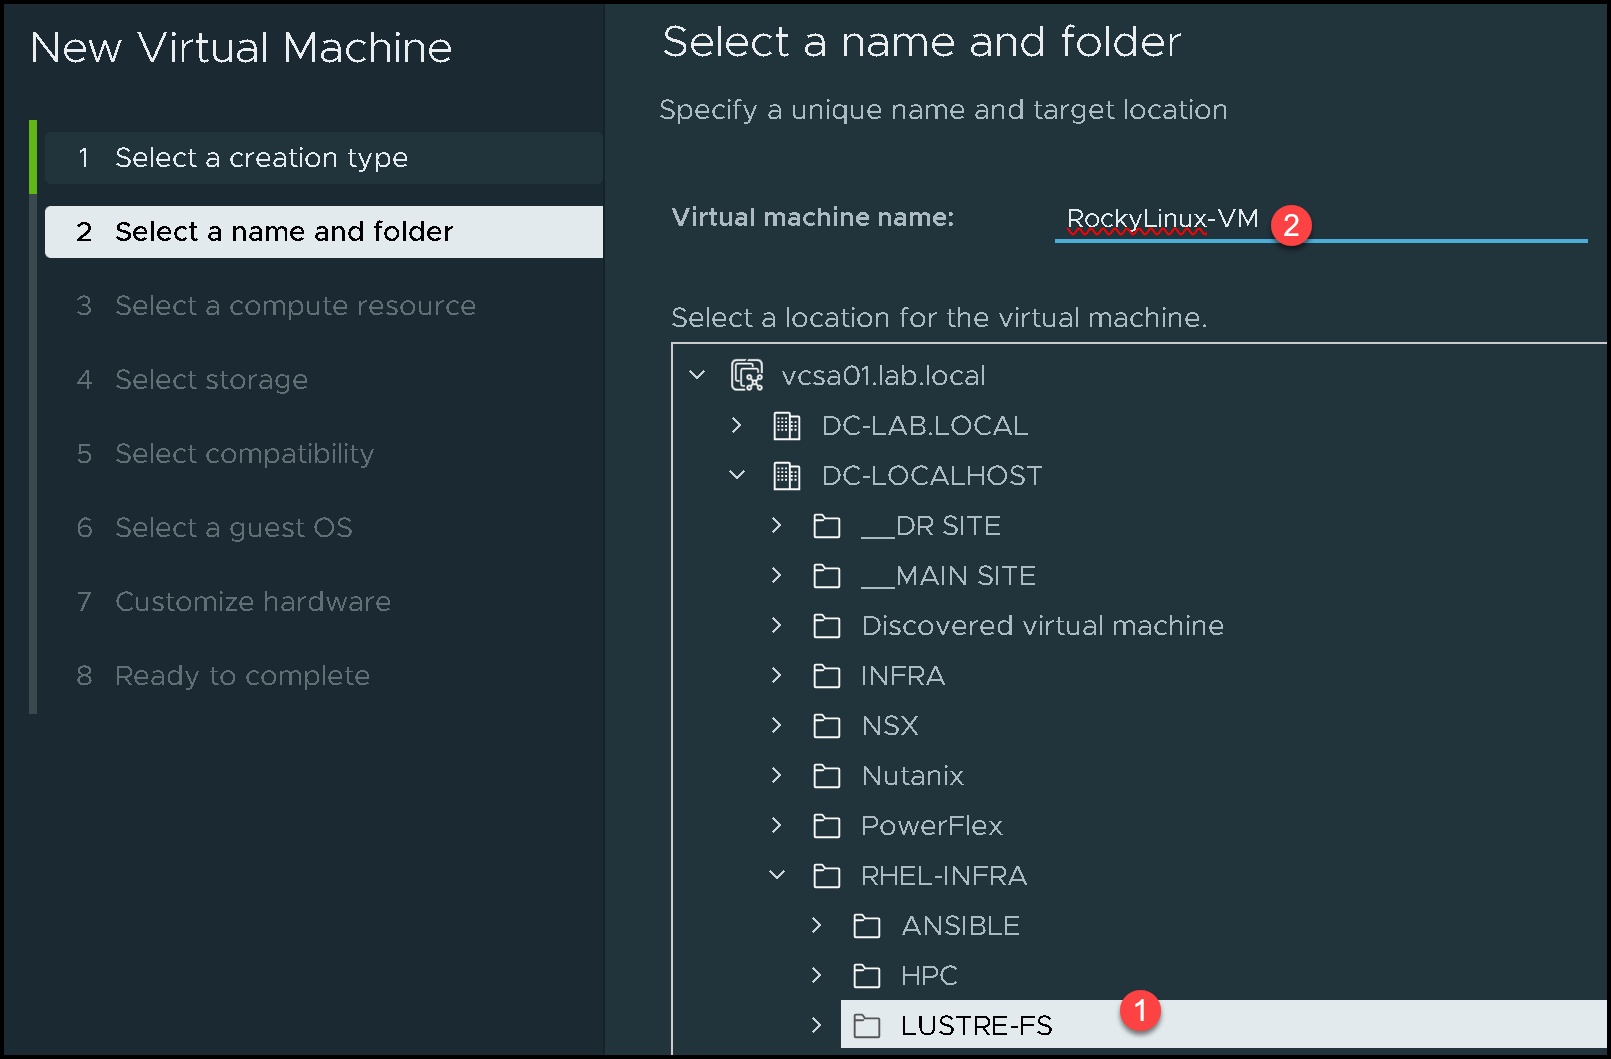
Select the folder to create the virtual machine in, and then type the virtual machine name. In our example, the virtual machine name is “RockyLinux-VM”:
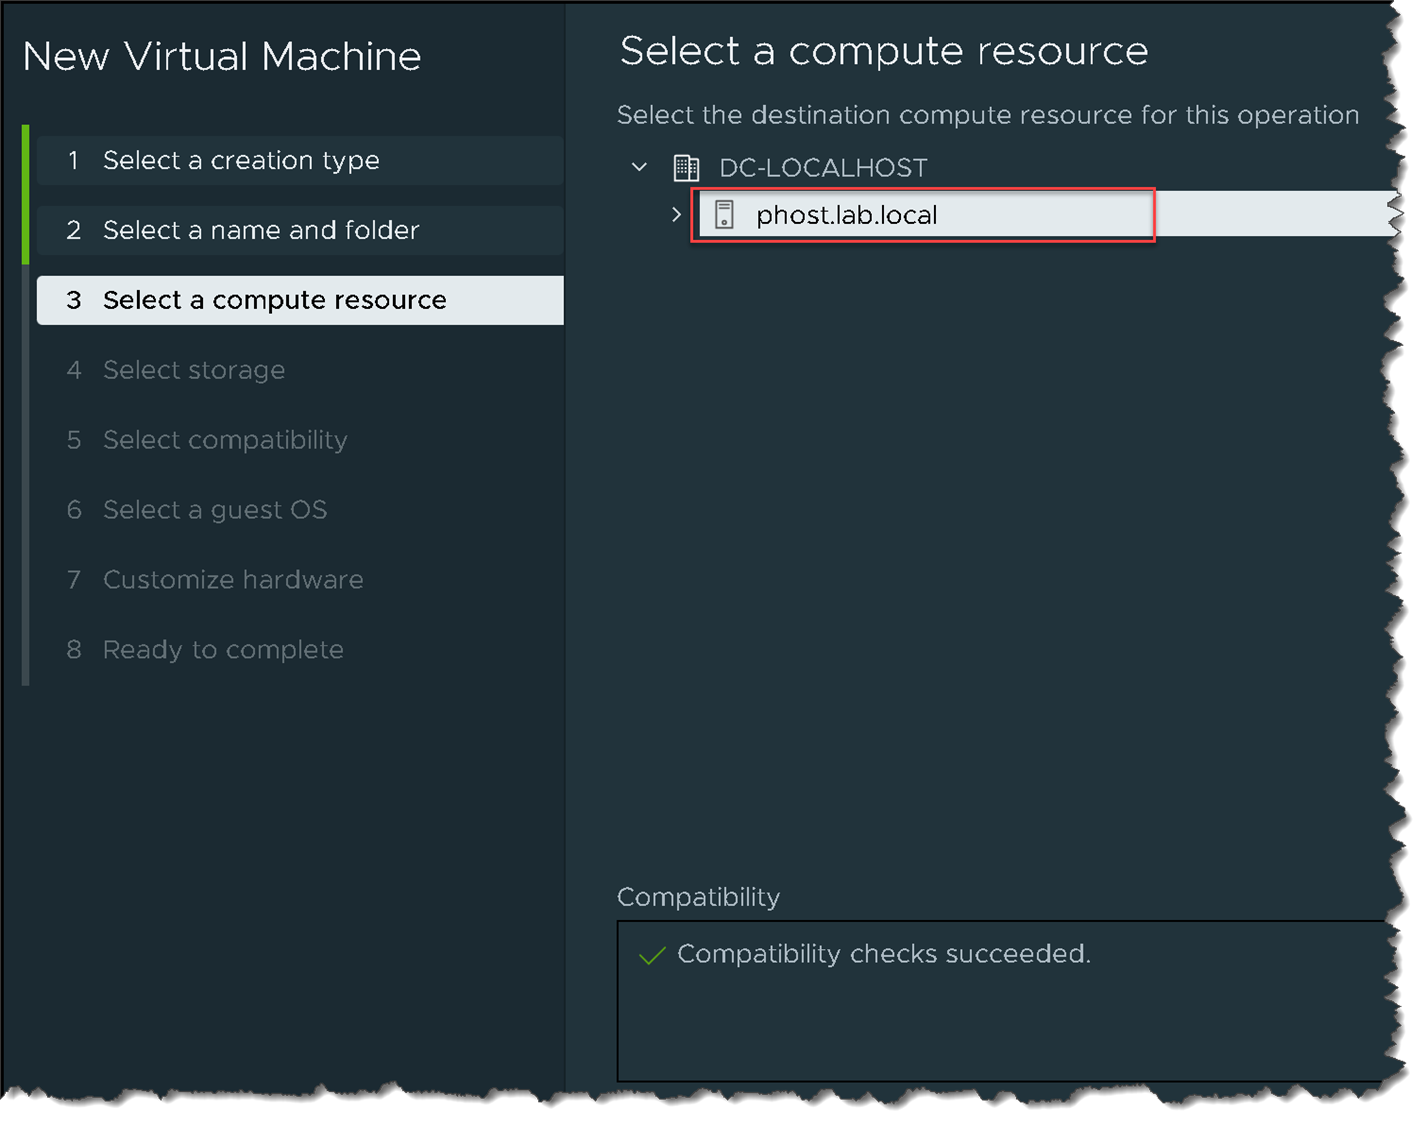
Since we have only one physical host, select it (if you have more than one host or a cluster, select the compute resource to satisfy this need):
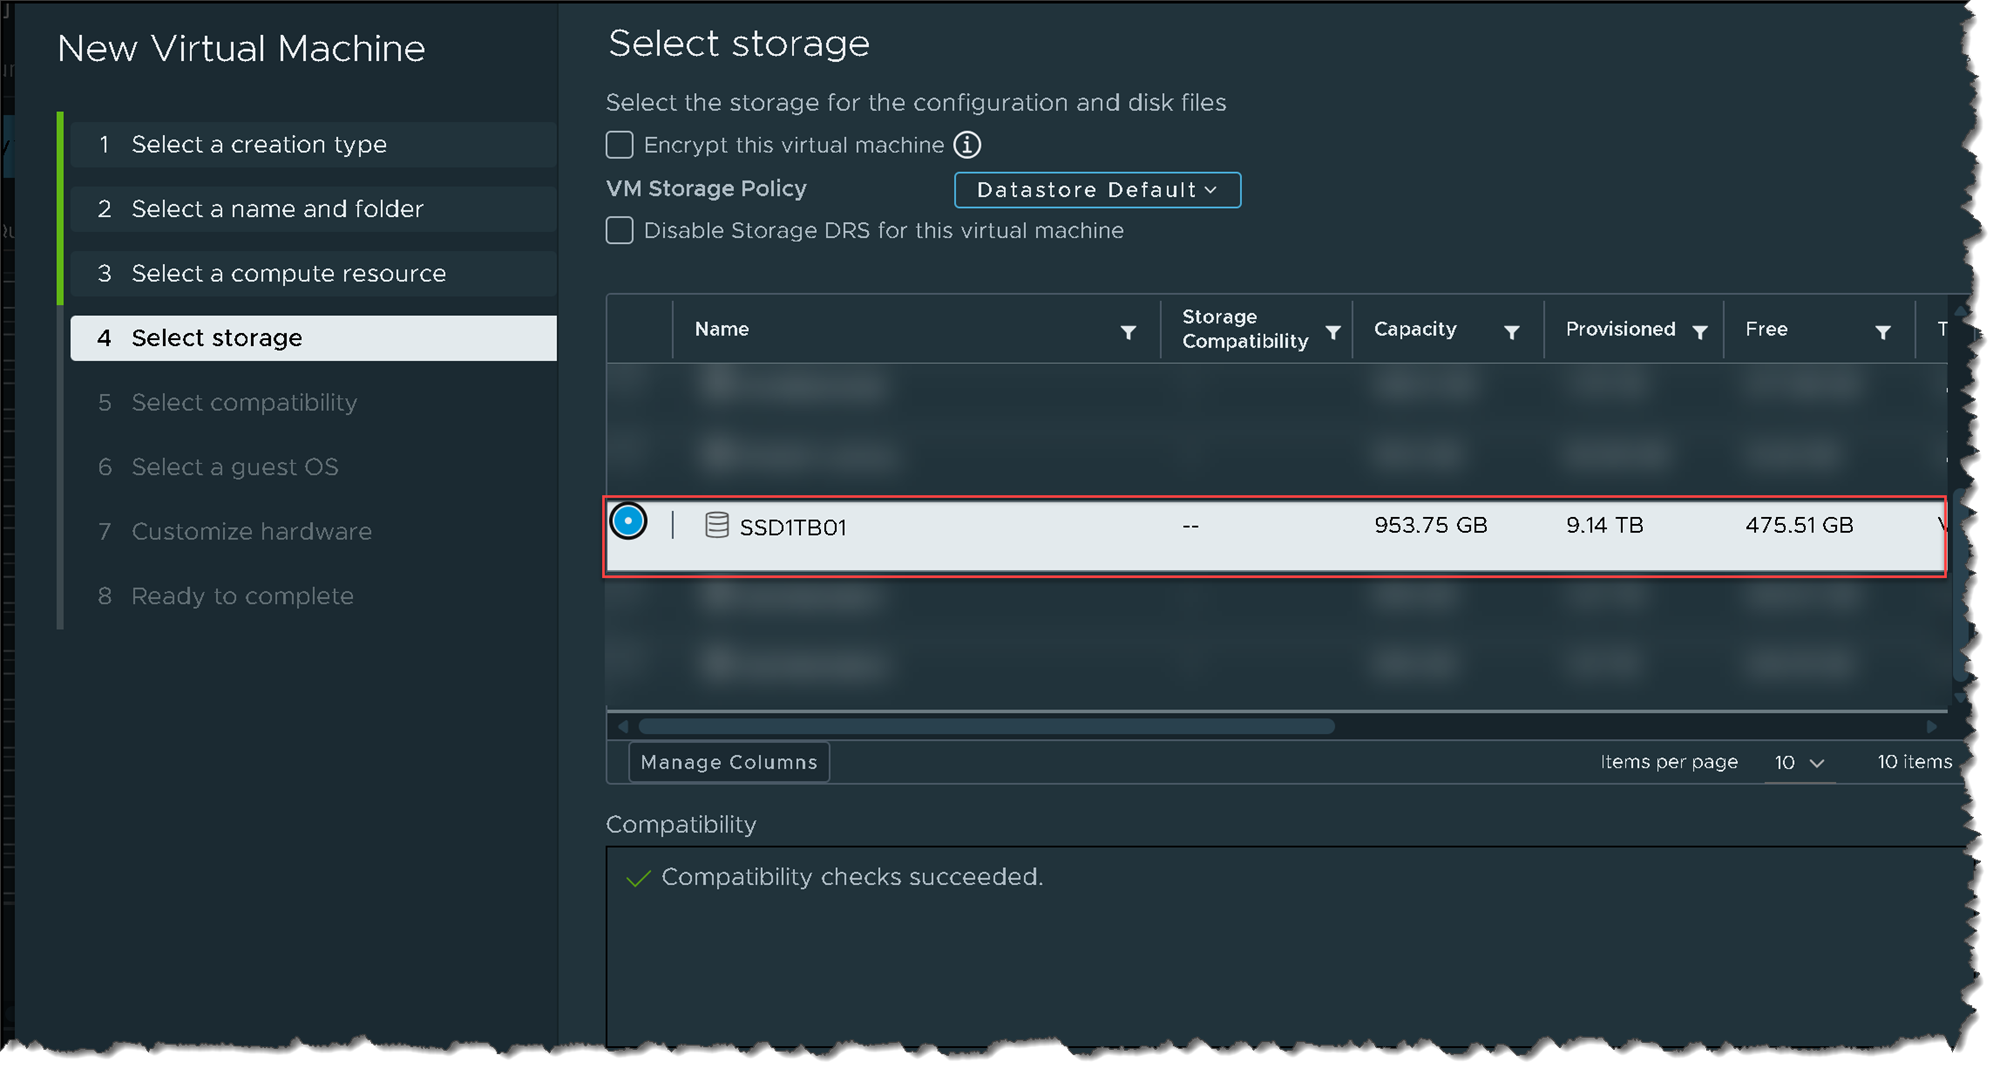
Select the storage:
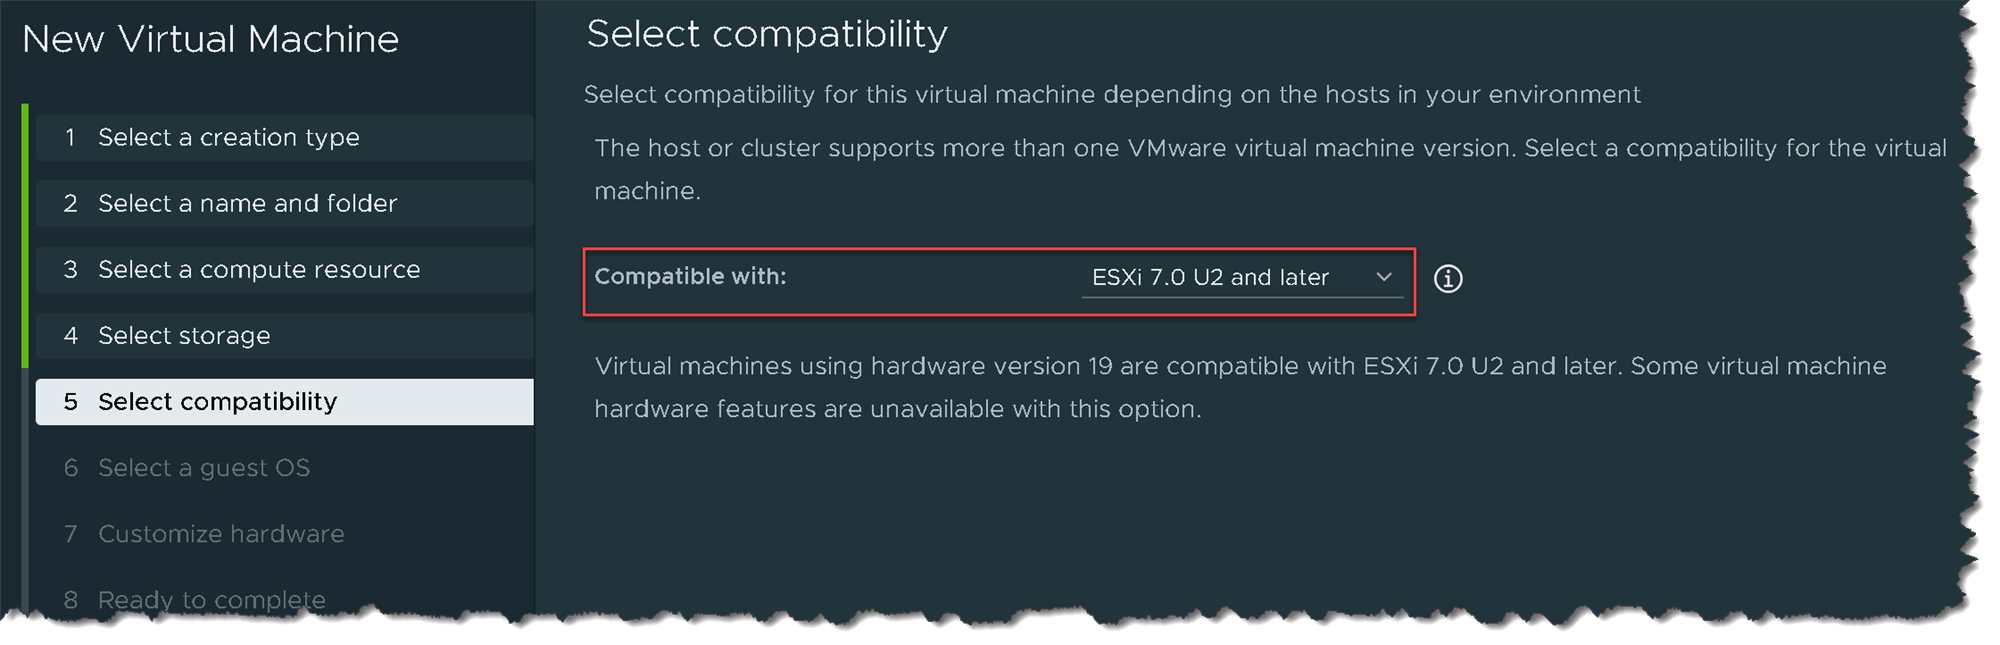
On this page, we can keep the default values:
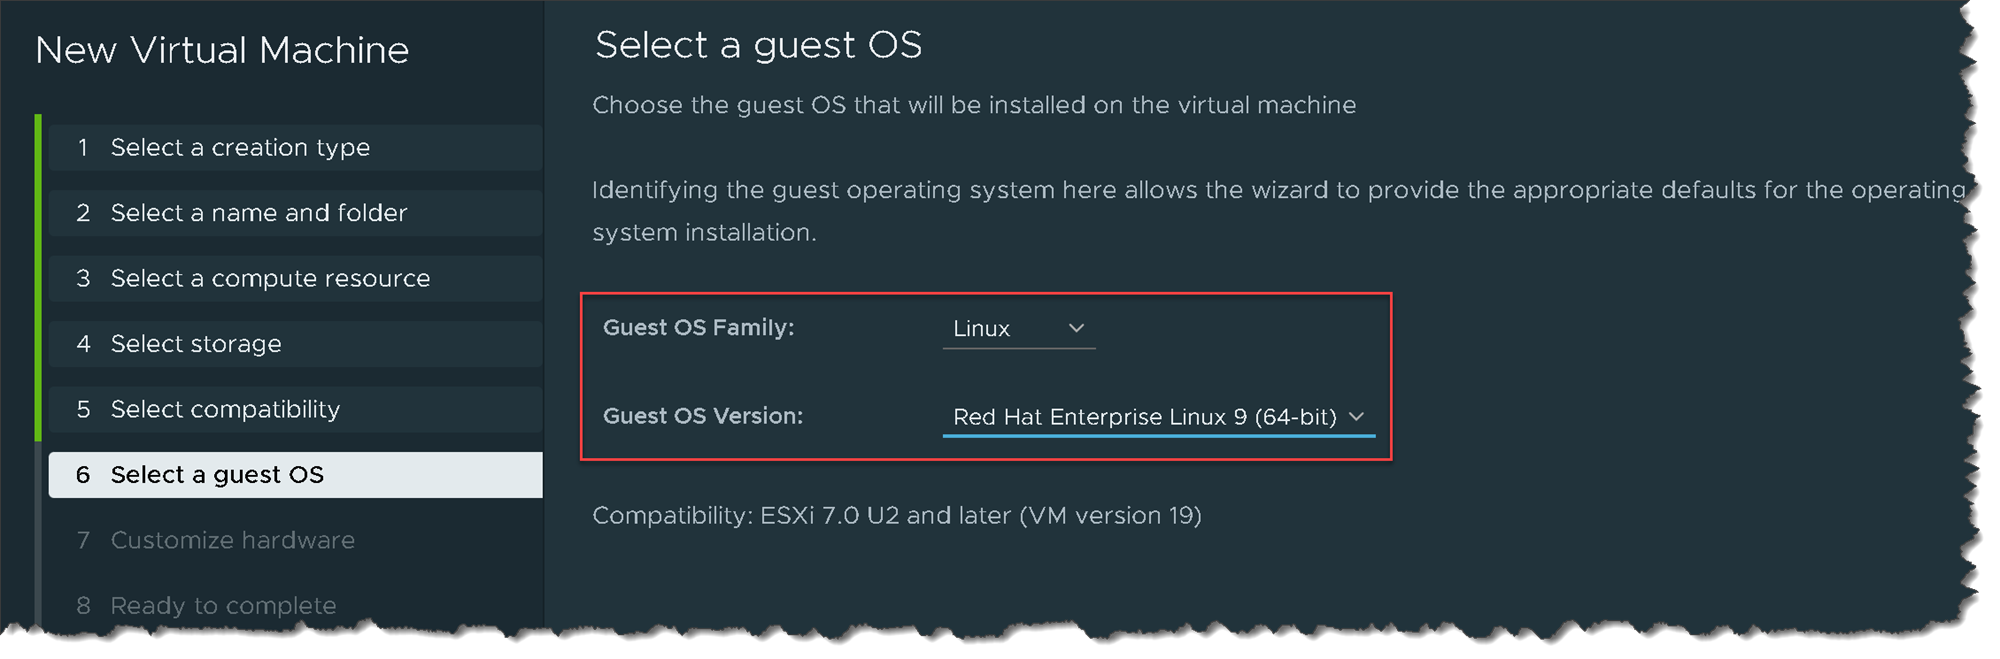
Under “Select a guest OS”, we can choose CentOS or Red Hat. In this case, we’re choosing Red Hat Enterprise Linux 9:
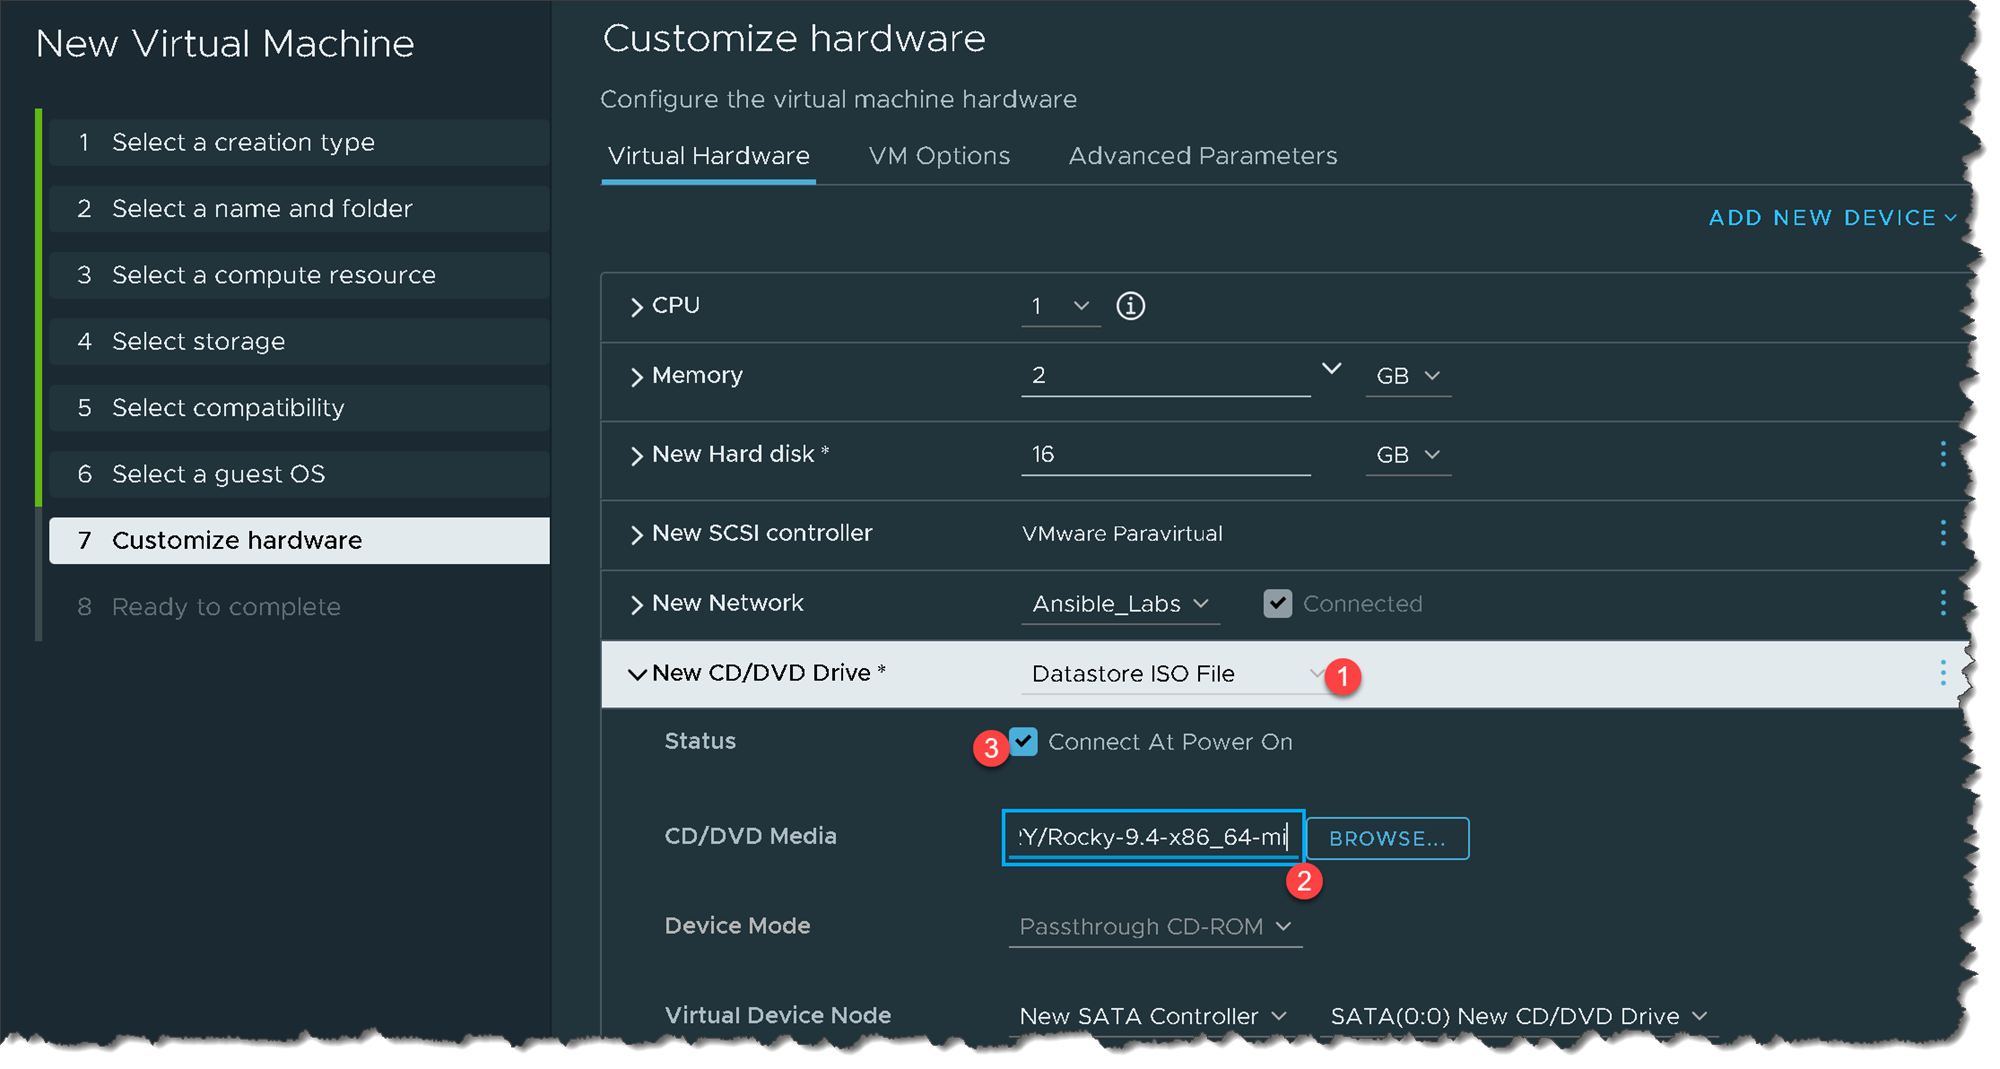
Under “Customize hardware”, there is an essential configuration to do: Under “New CD/DVD Drive”, we need to attach the Rocky Linux installation file (ISO file).
Browse the file based on your configurations, attach the file, and mark the option to “Connect At Power On”, as we can see in the following picture:
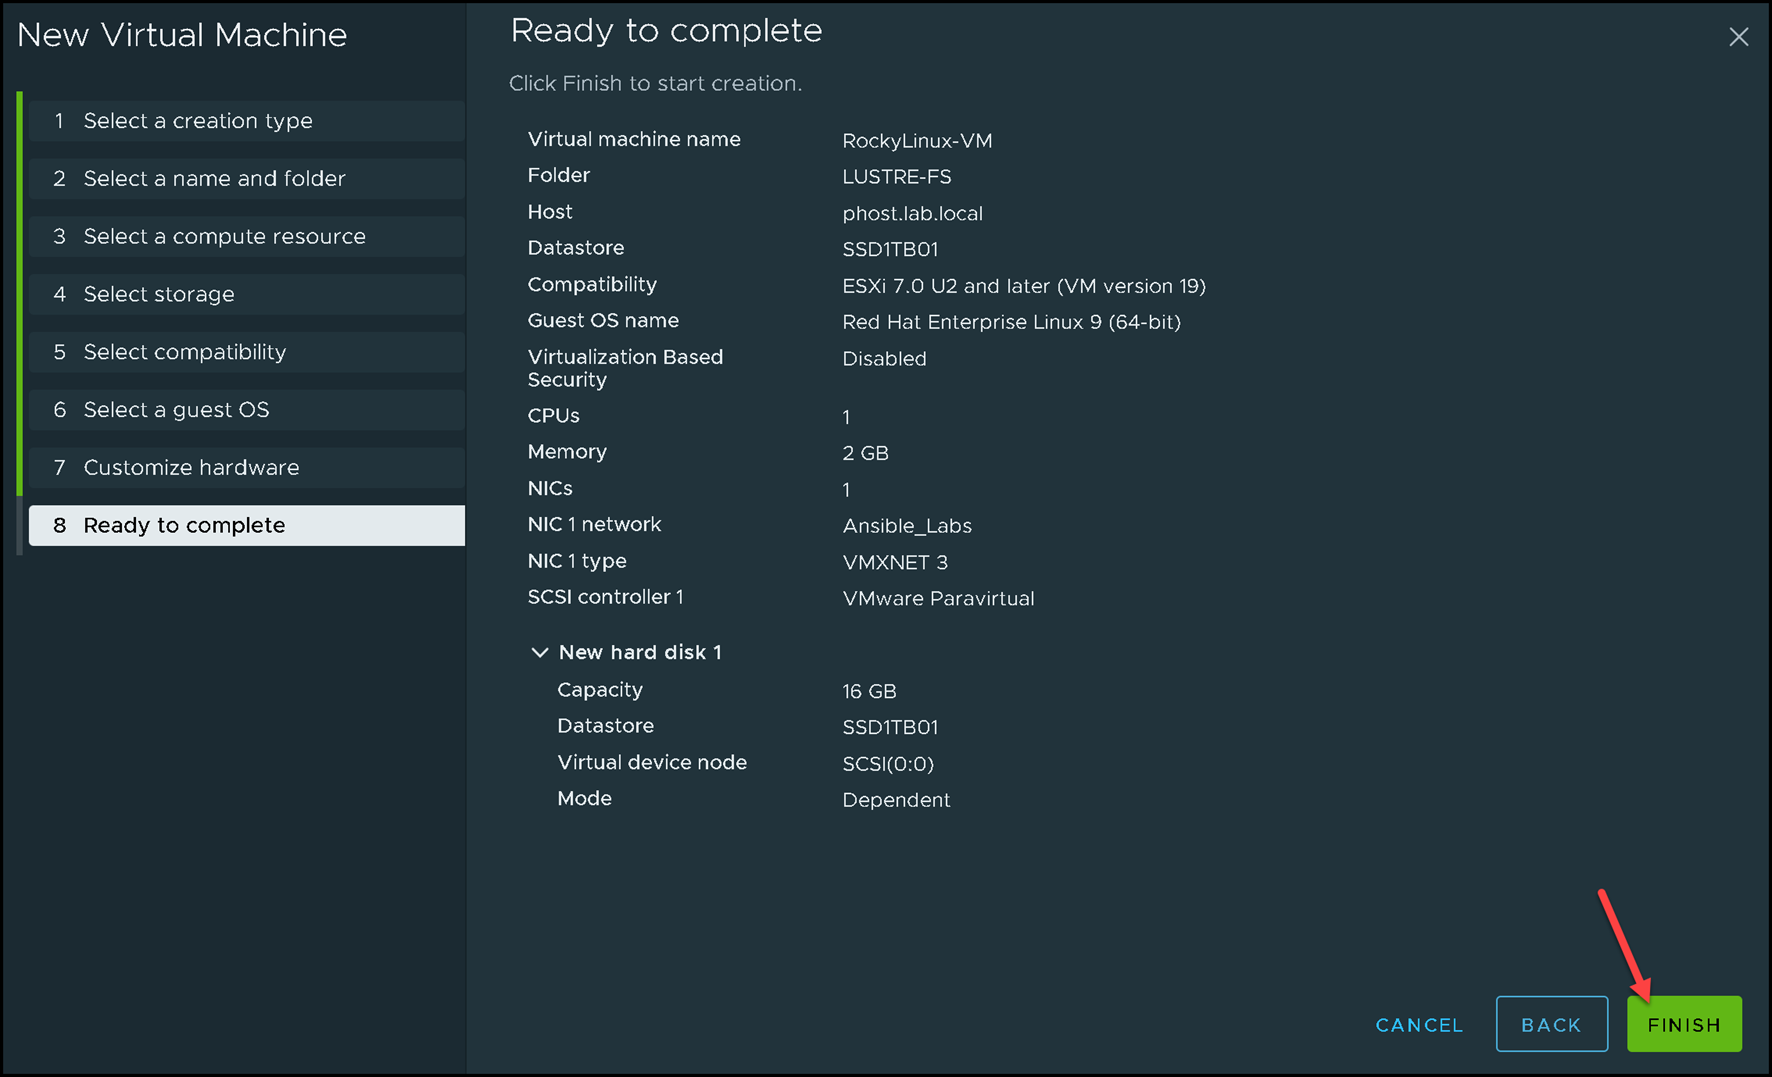
Click on “Finish” to complete the virtual machine creation wizard:
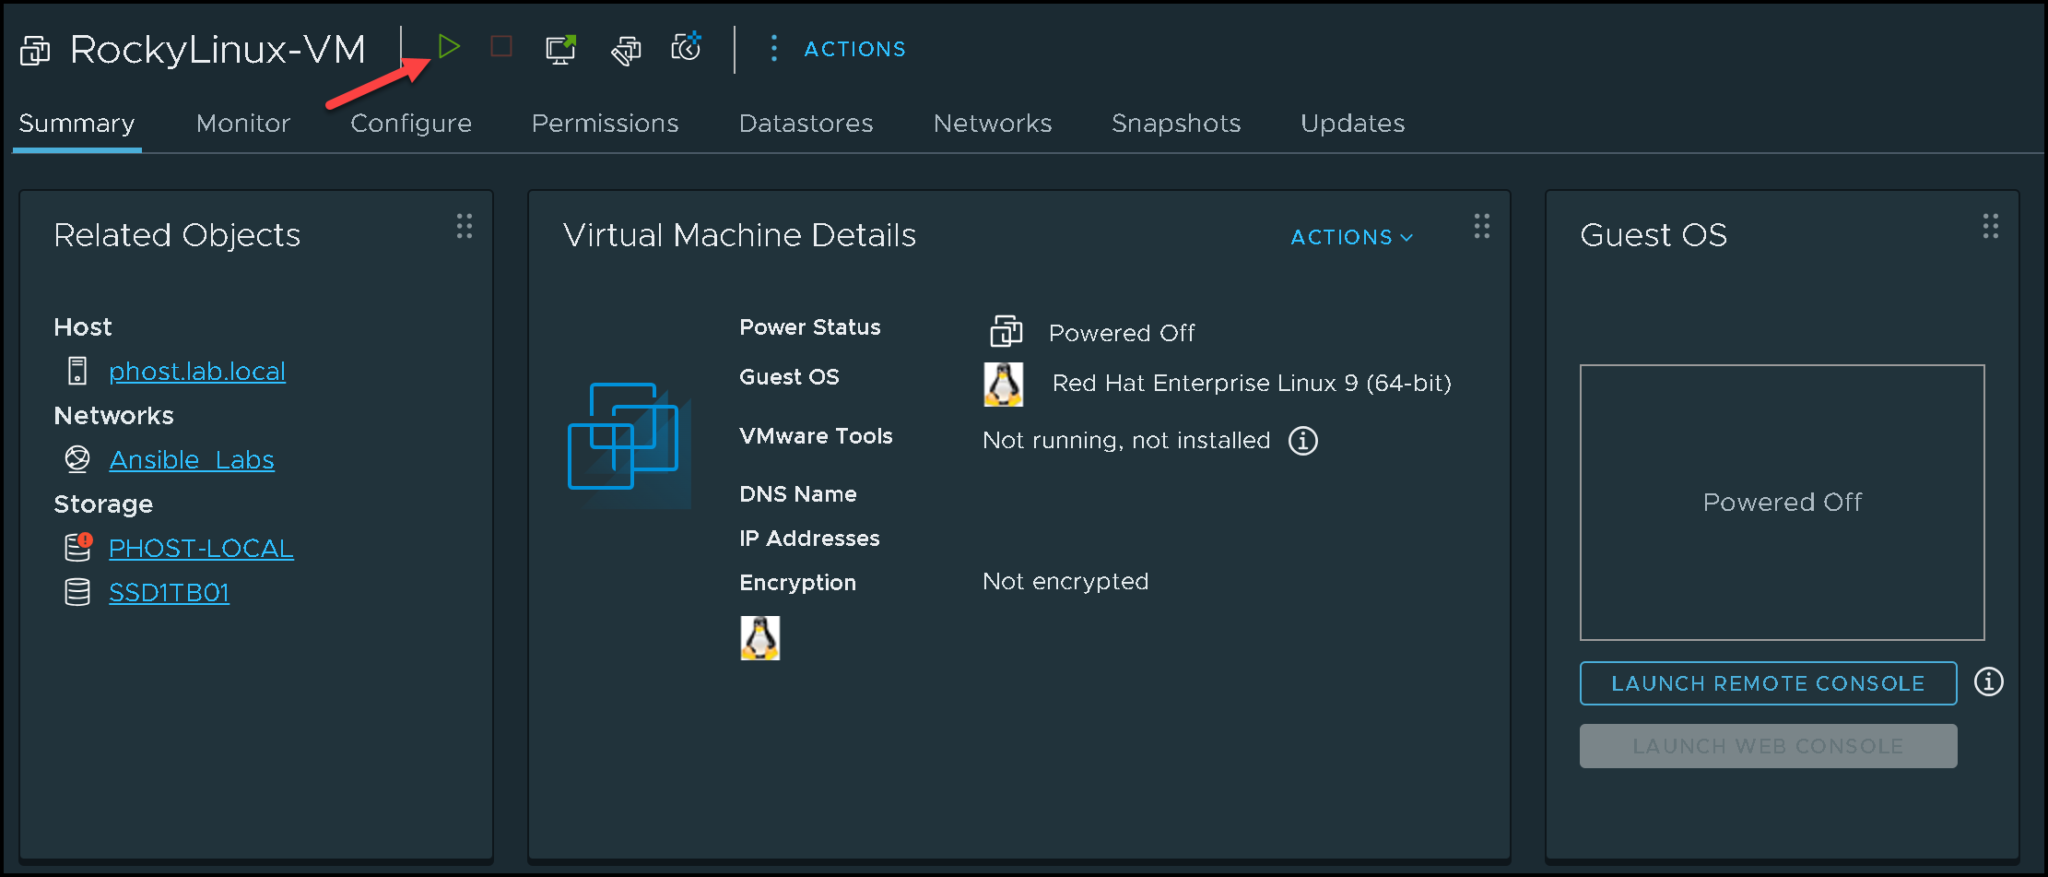
And now, click on the following icon to power up the virtual machine:
Installing Rocky Linux
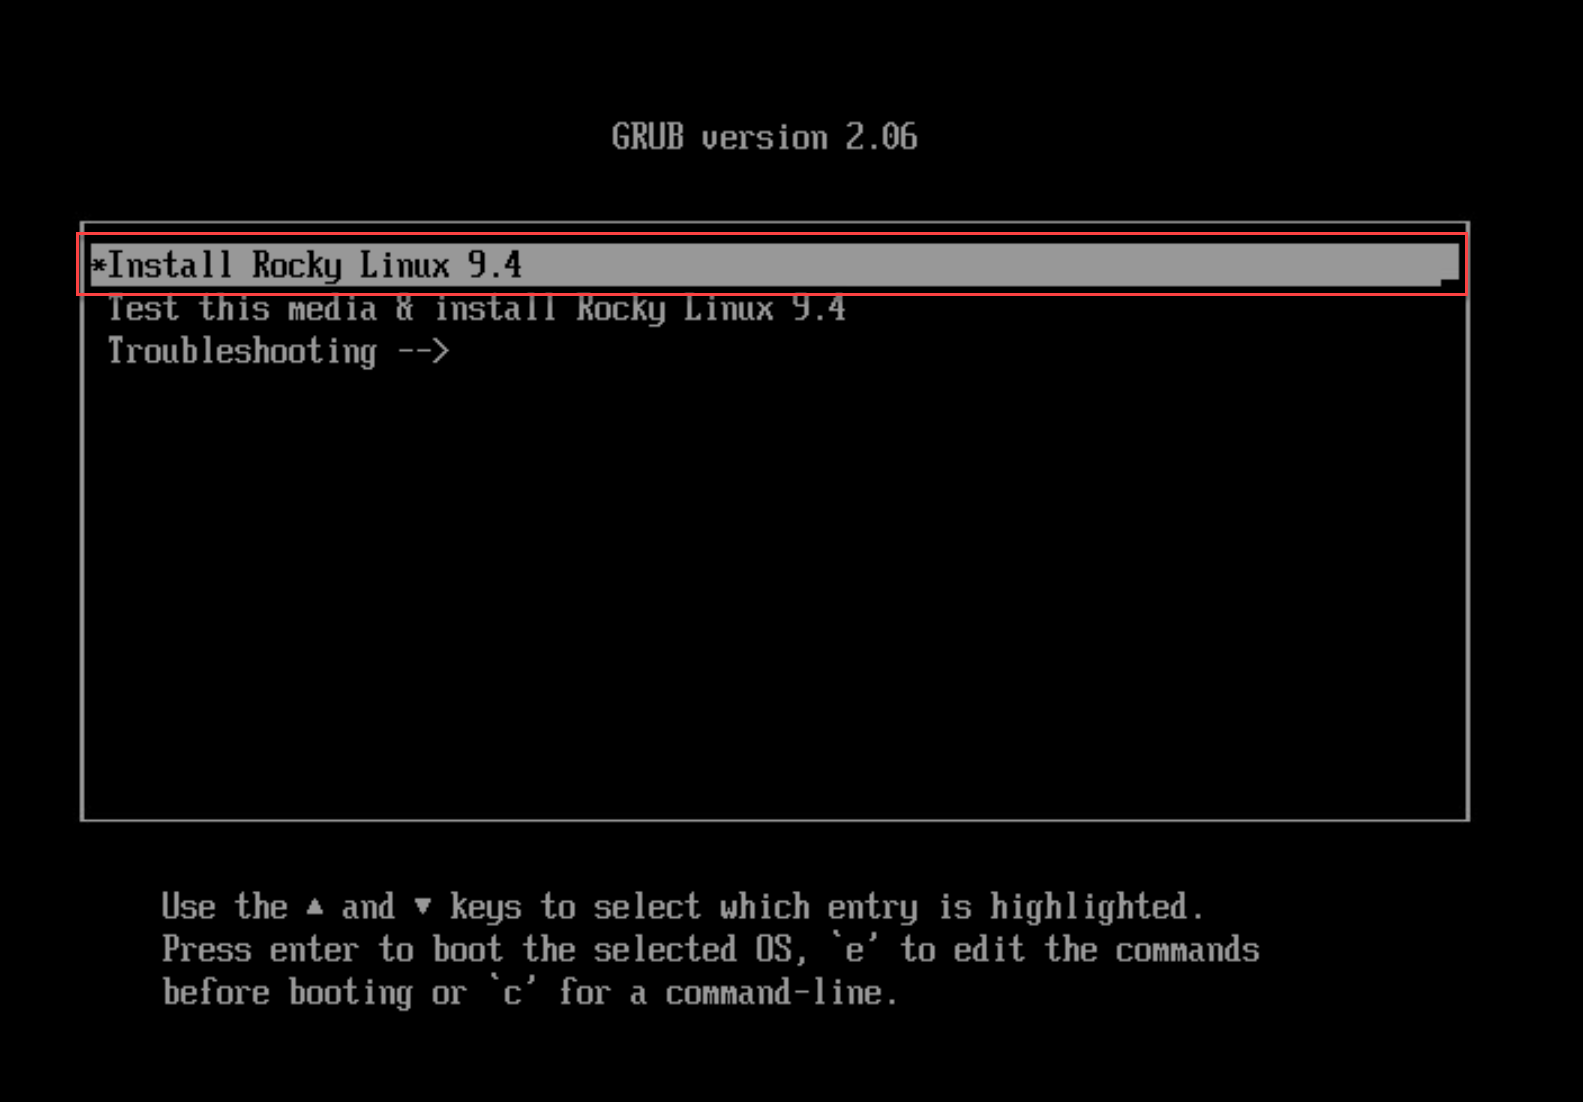
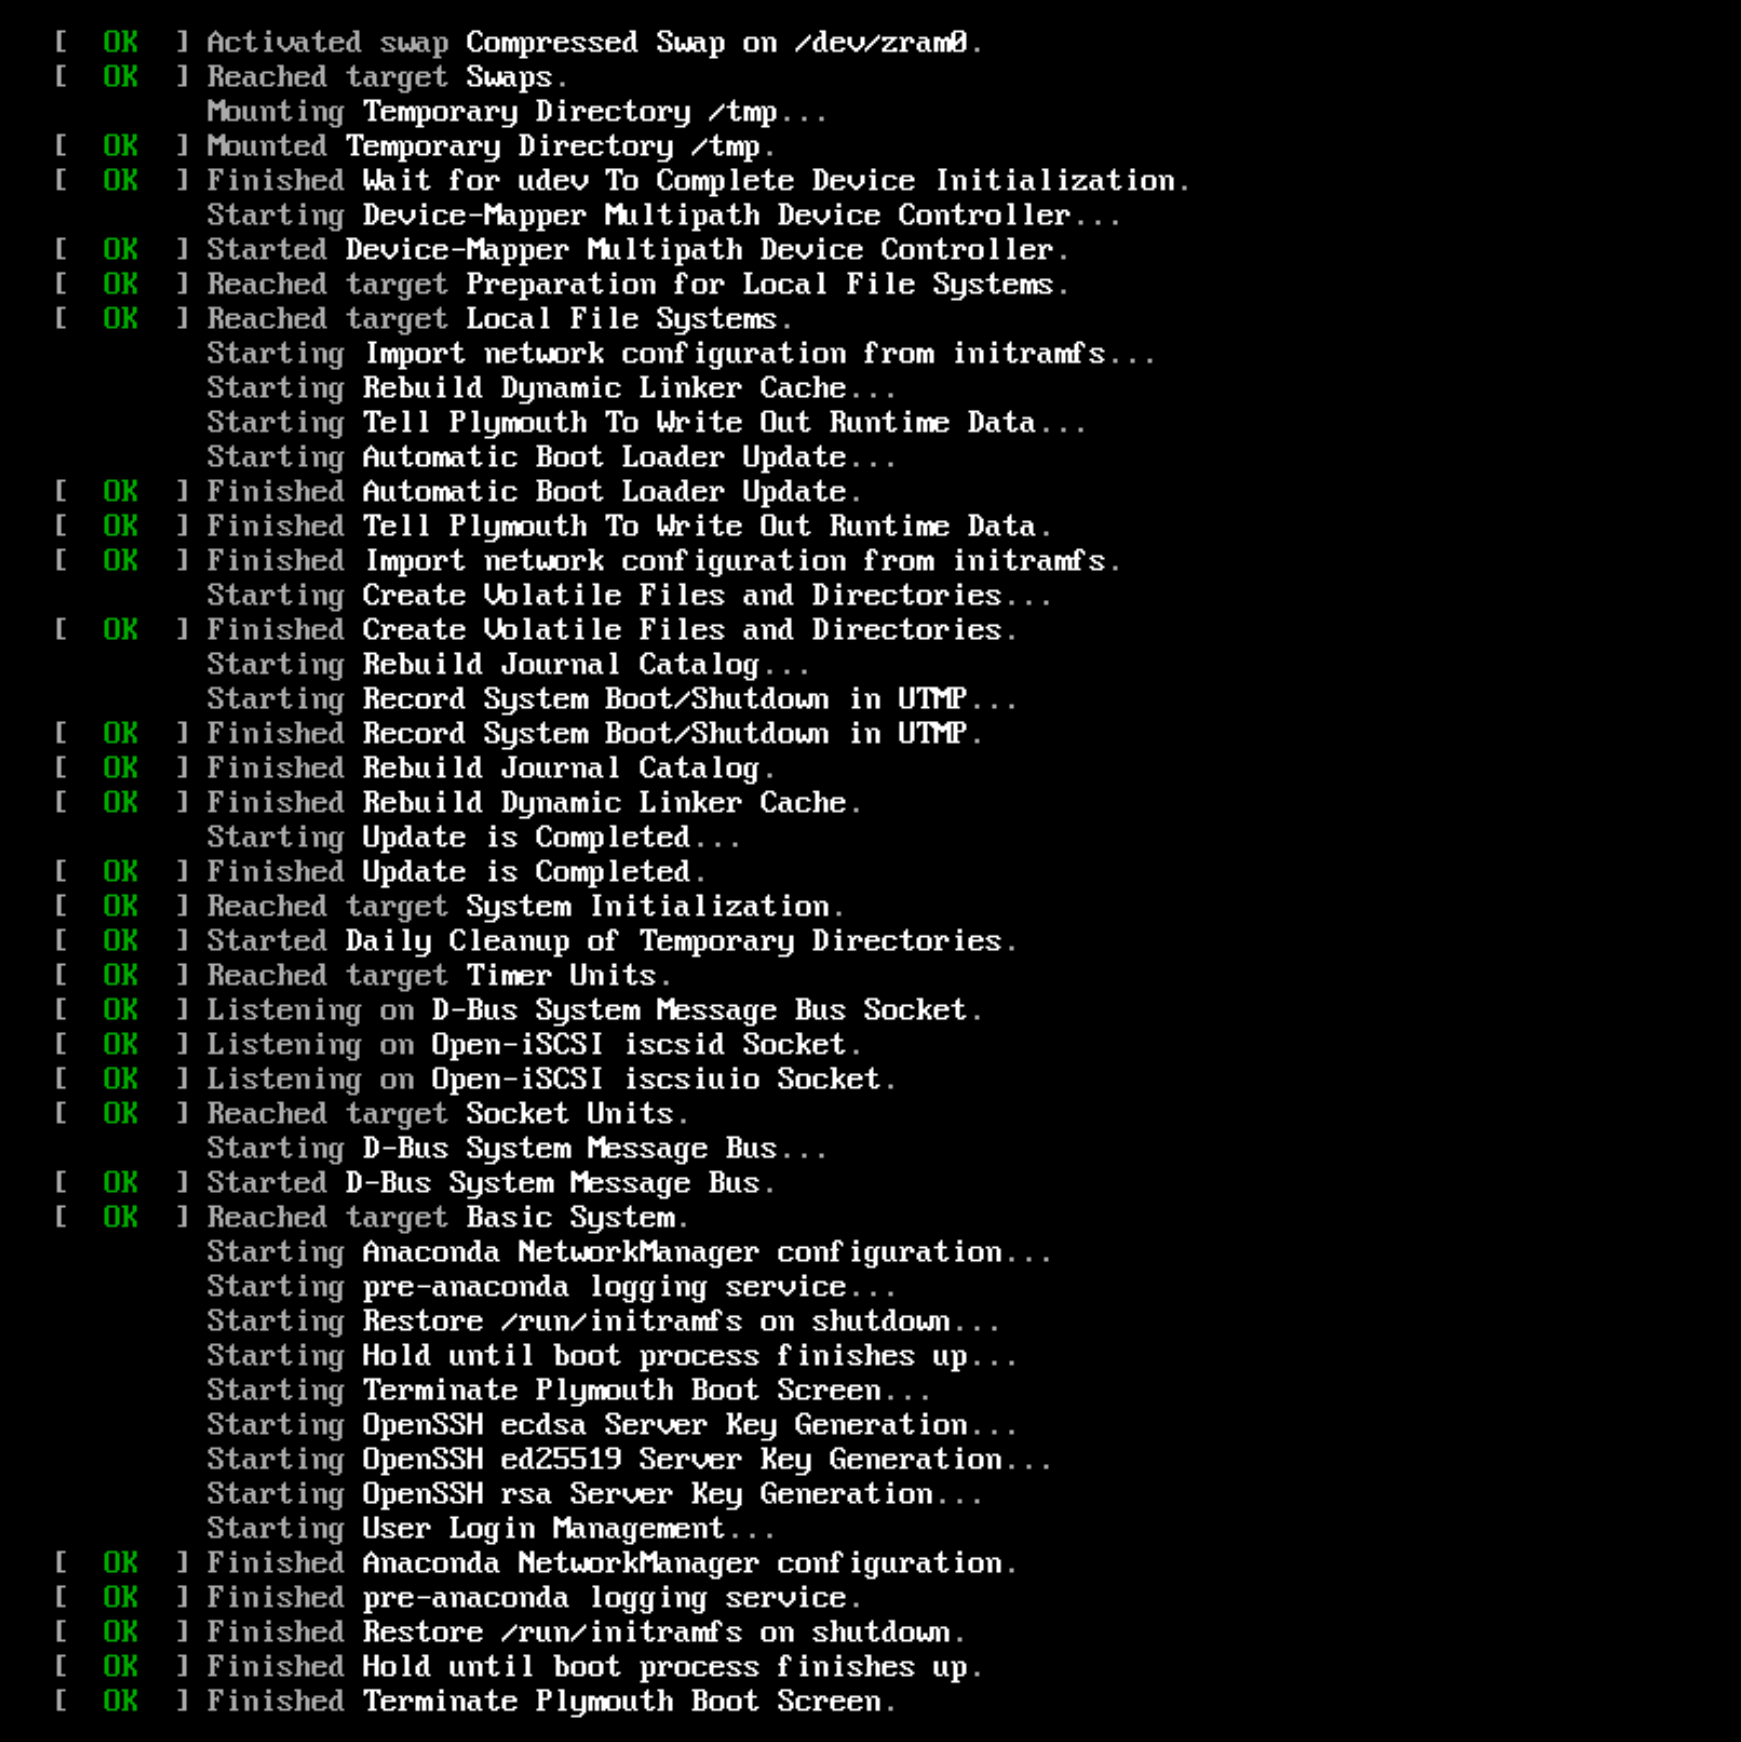
After powering up the virtual machine, launch the virtual machine web console to interact with the installation wizard. Select the “Install Rocky Linux 9.4” option to start the installation wizard:
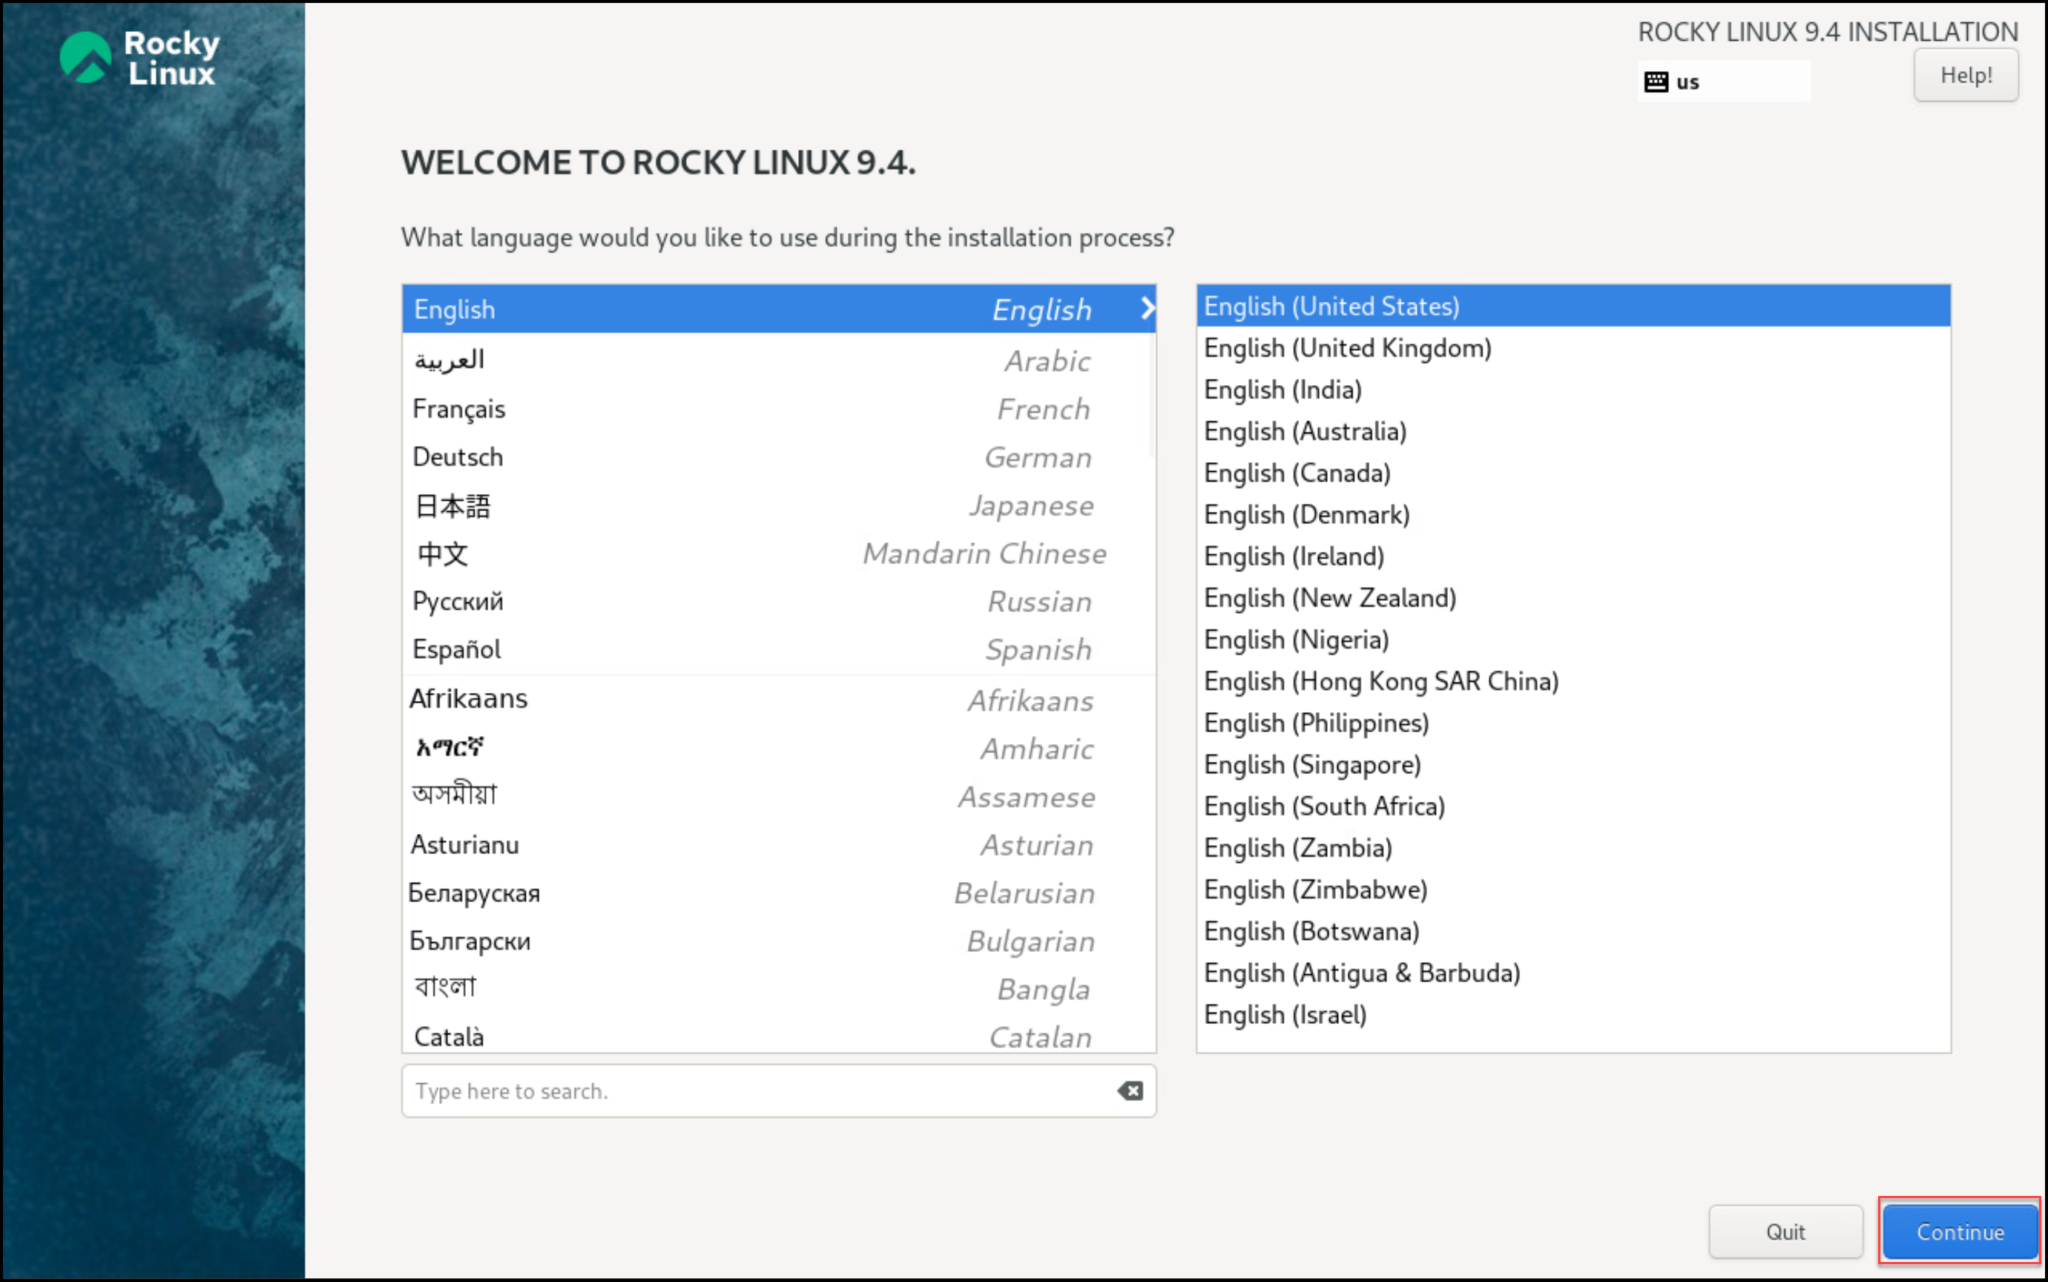
The first configuration option is to select the installation language. We’re keeping the default value:
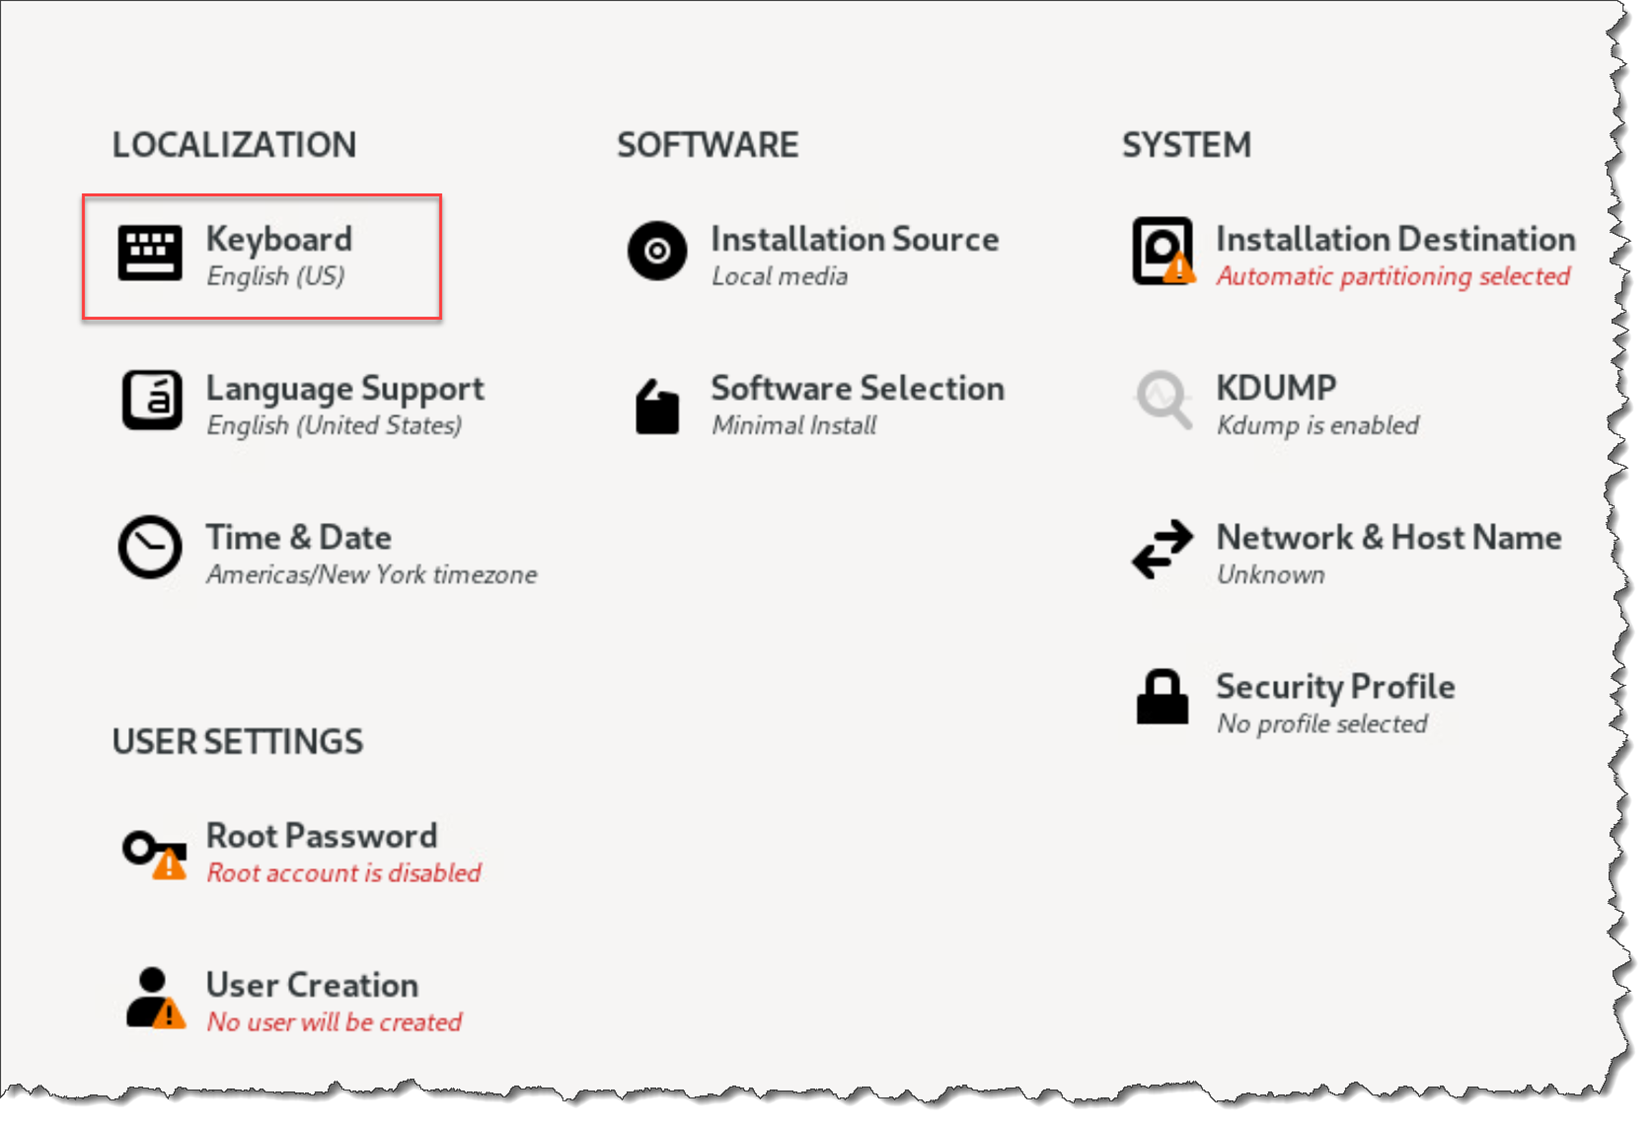
Under “Keyboard”, we can configure the keyboard layout – this is an important configuration:
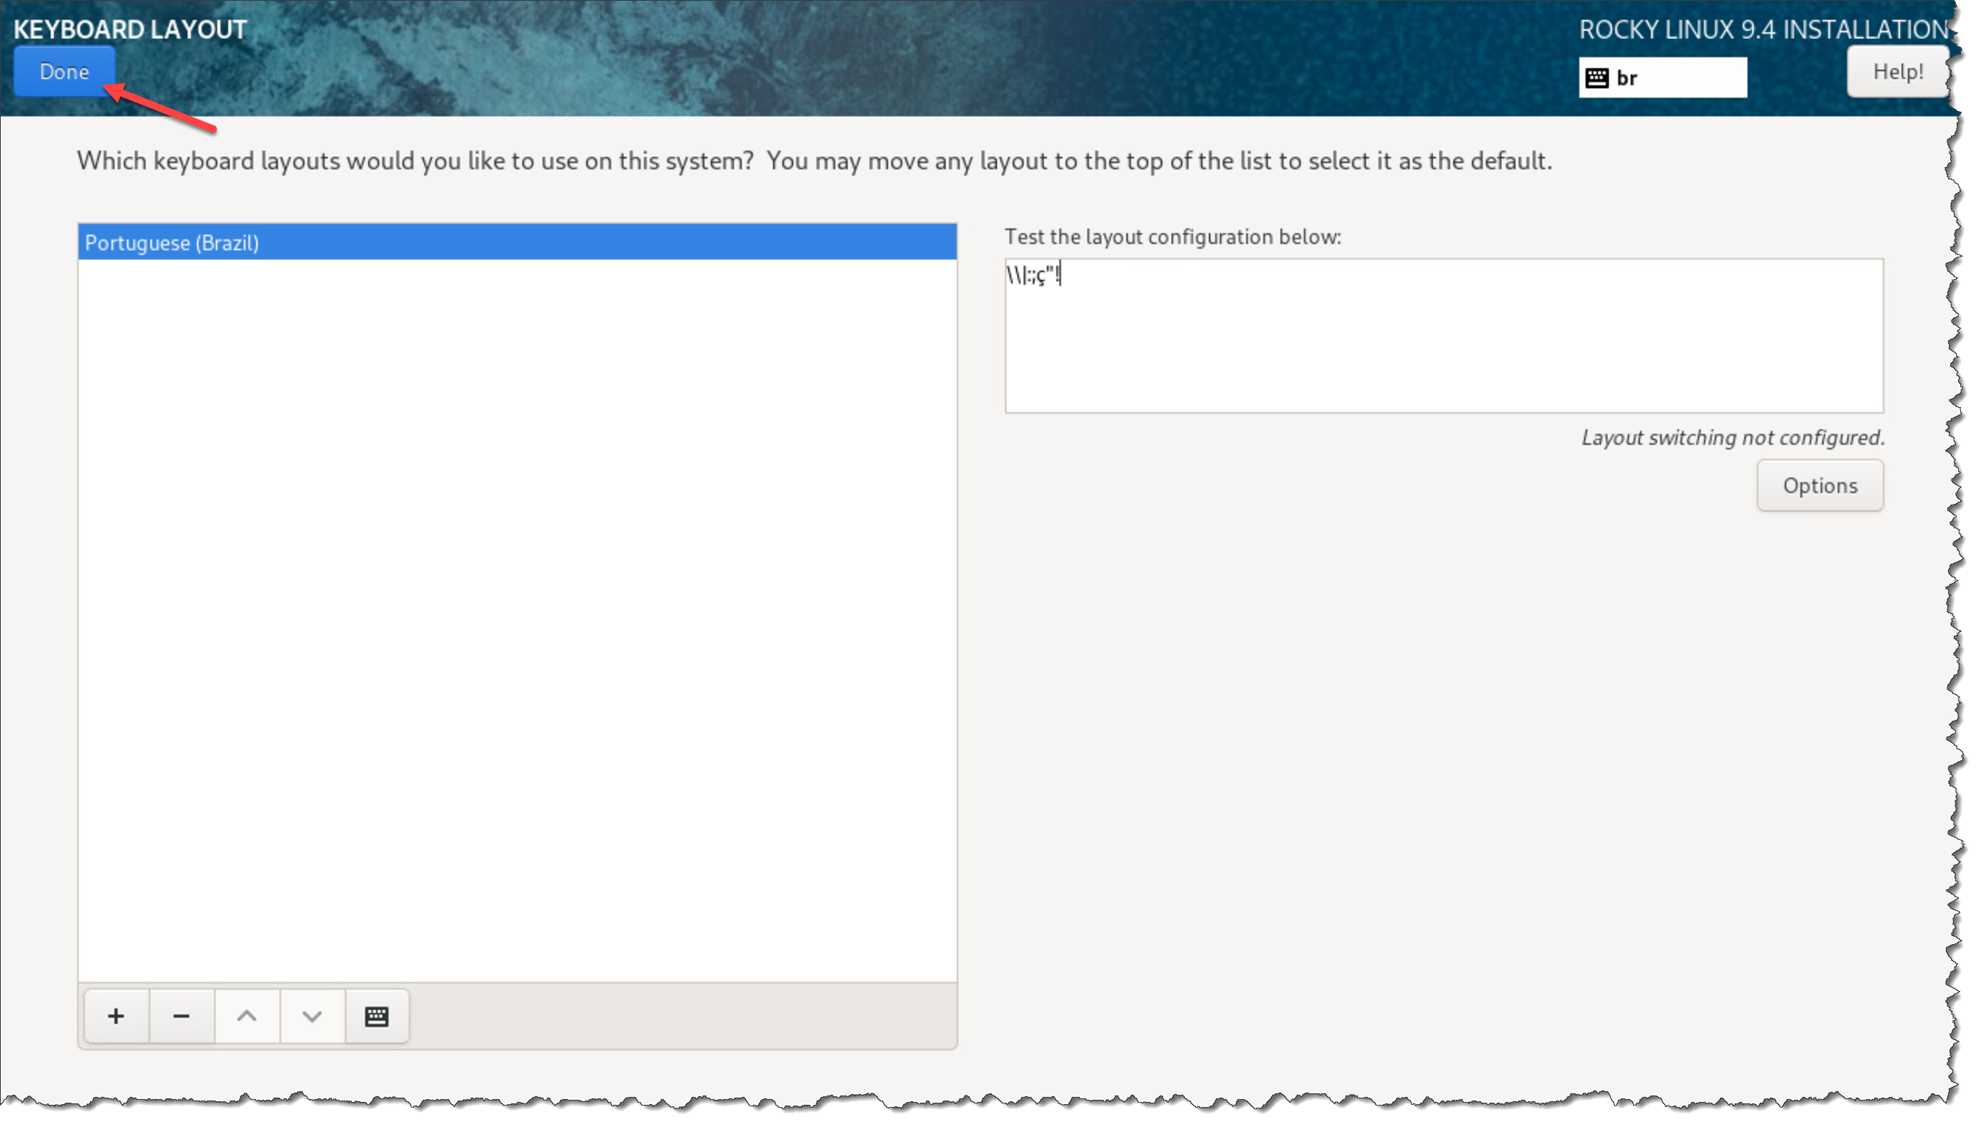
In our case, we removed the “English (US)” keyboard layout and added the “Portuguese (Brazil)” to fit our needs (you need to adjust it to fit your needs based on your location):
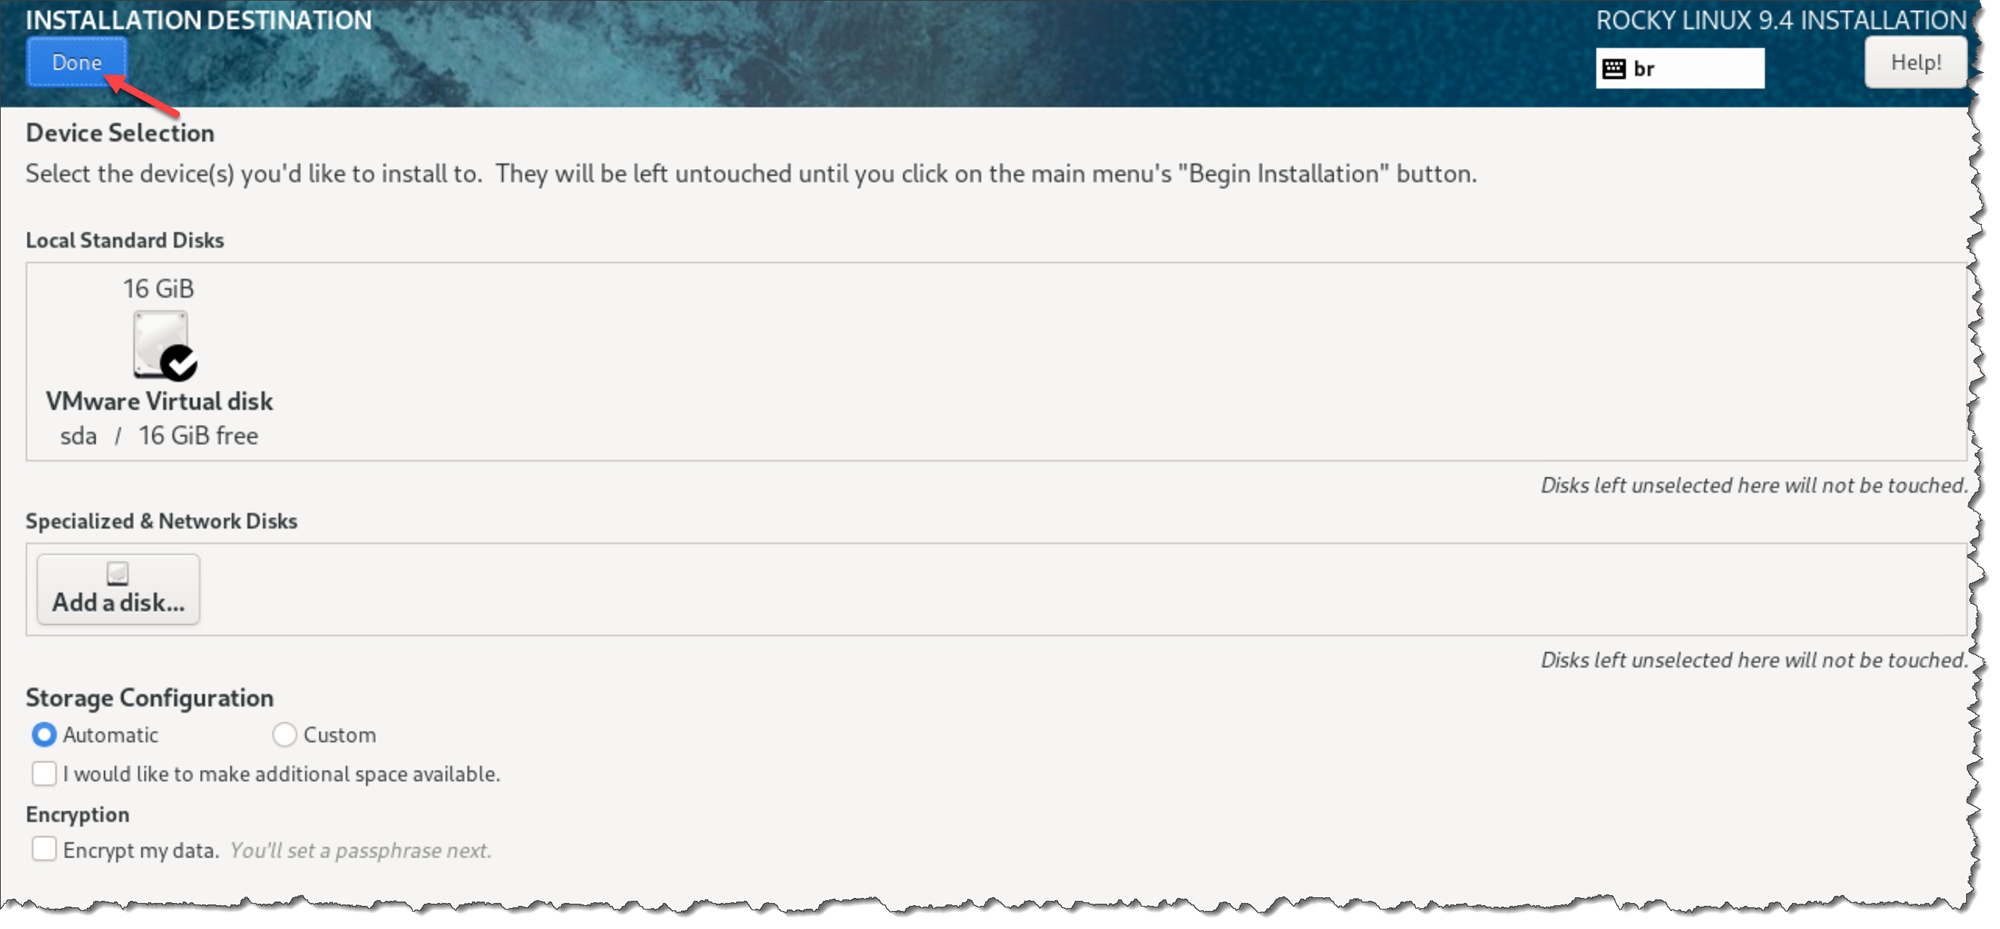
Click under “Installation Destination” to configure the disk partition layout. In this case, for instance, we’re using the “automatic” mode. Just keep the default values and click on “Done”:
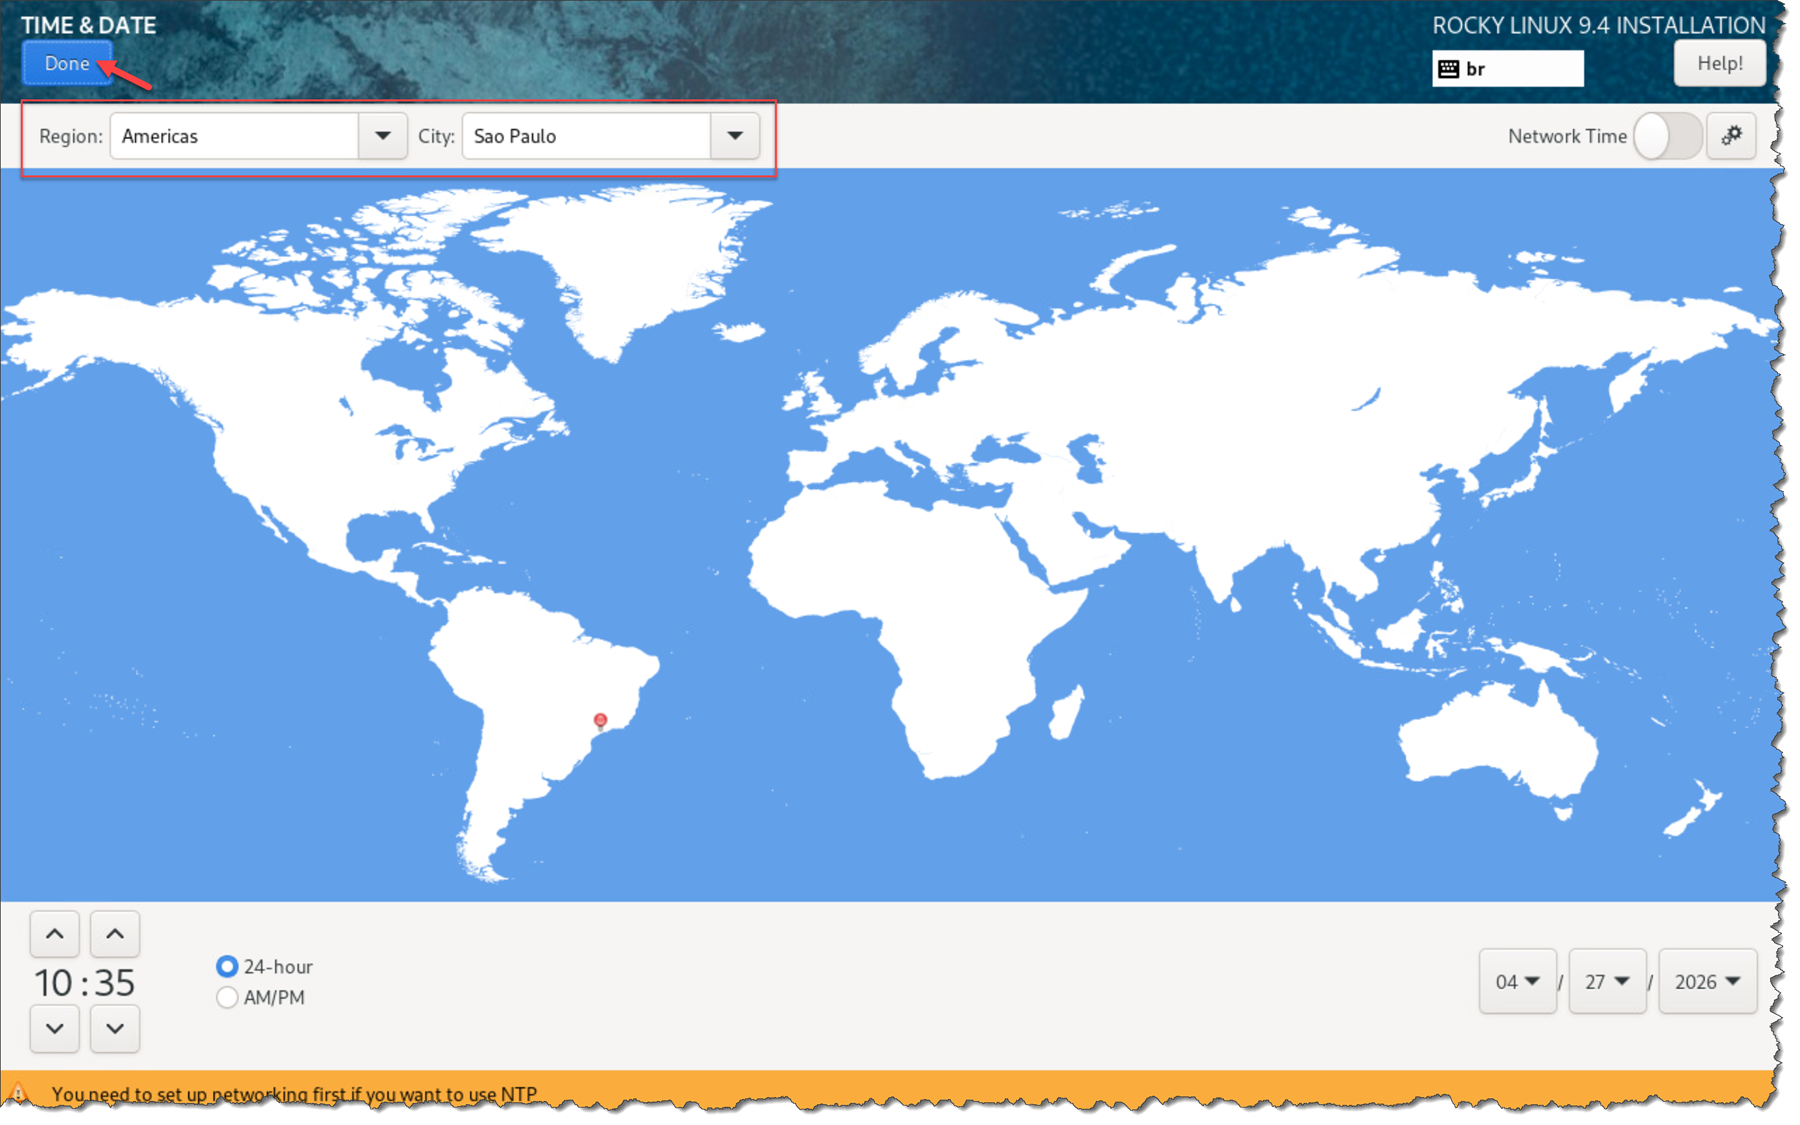
Under “Time & Date”, adjust the region and city and click “Done” to proceed:
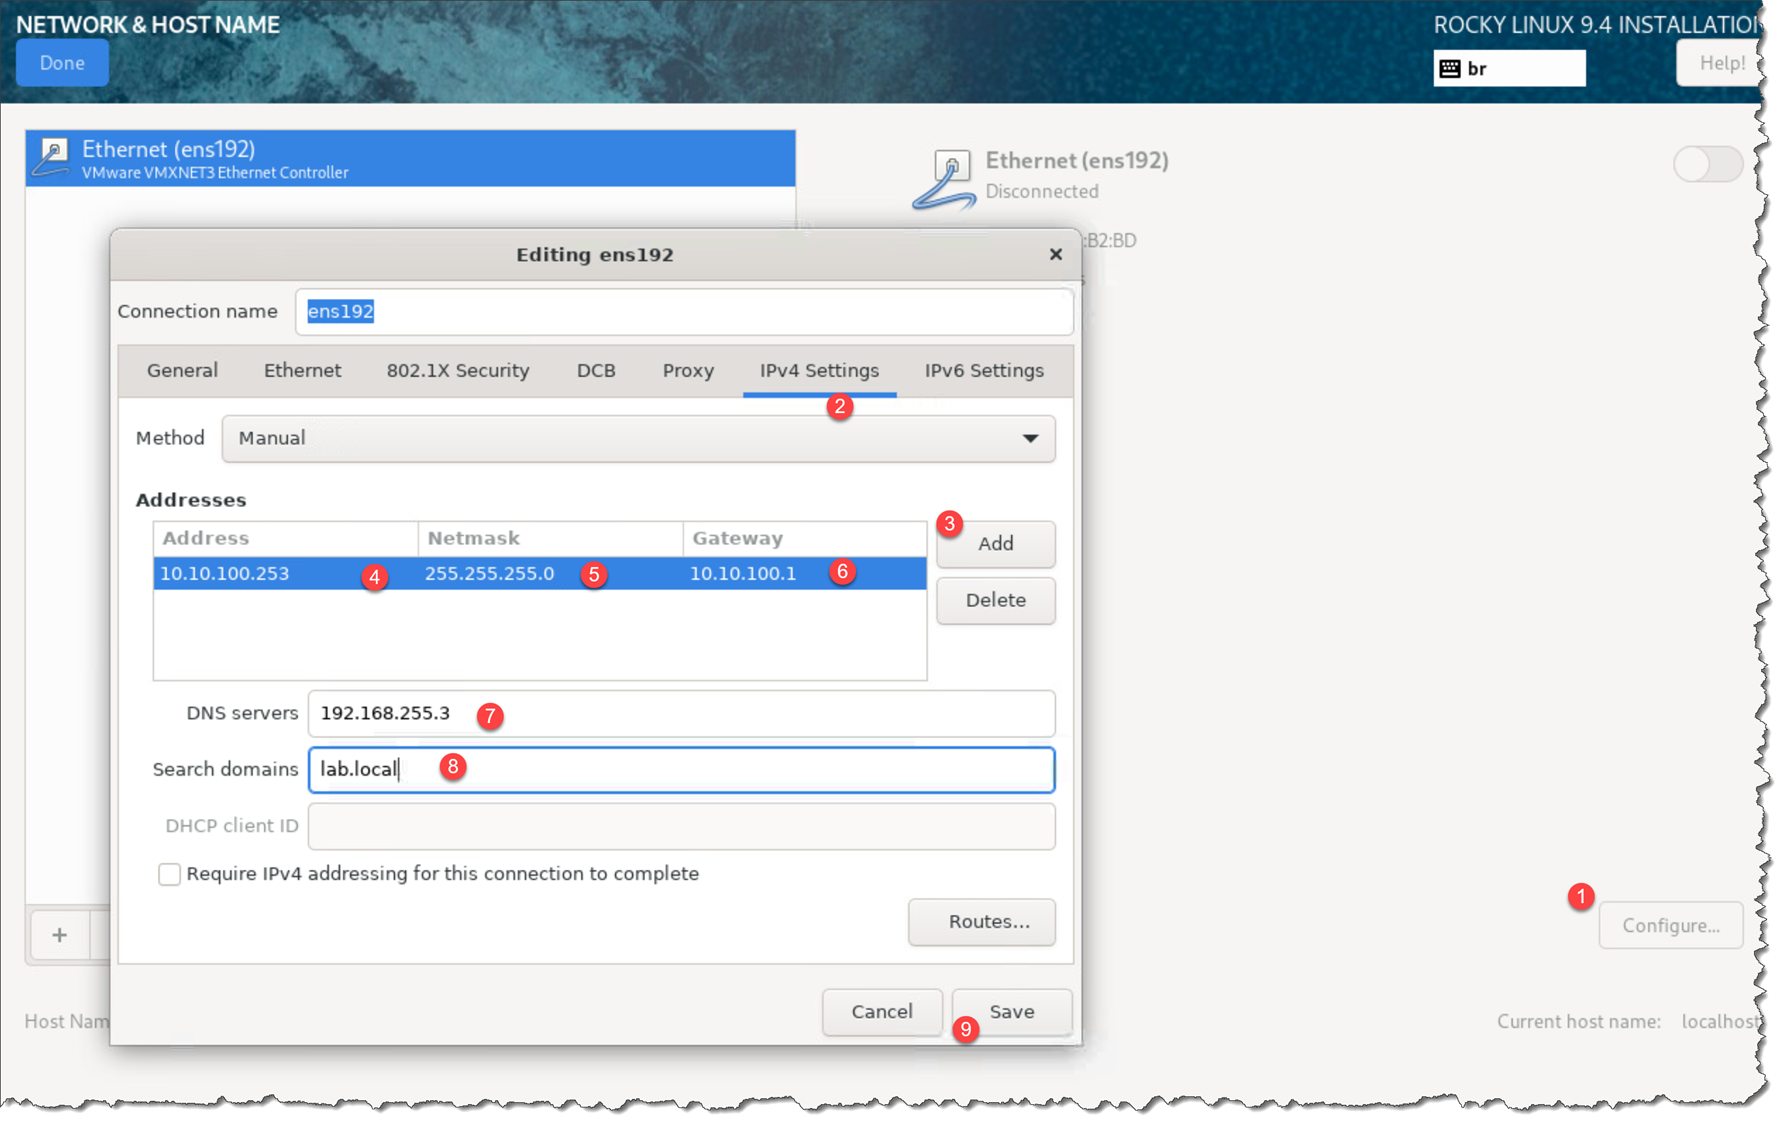
There are a lot of configurations to do on the “Network & Hostname” menu.
The first step is to configure a manual IPv4 address, as we can see in the following picture (if you have a local DHCP Server, you can choose to keep the IPv4 in auto mode, just to acquire an IPv4 address from your DHCP Server):
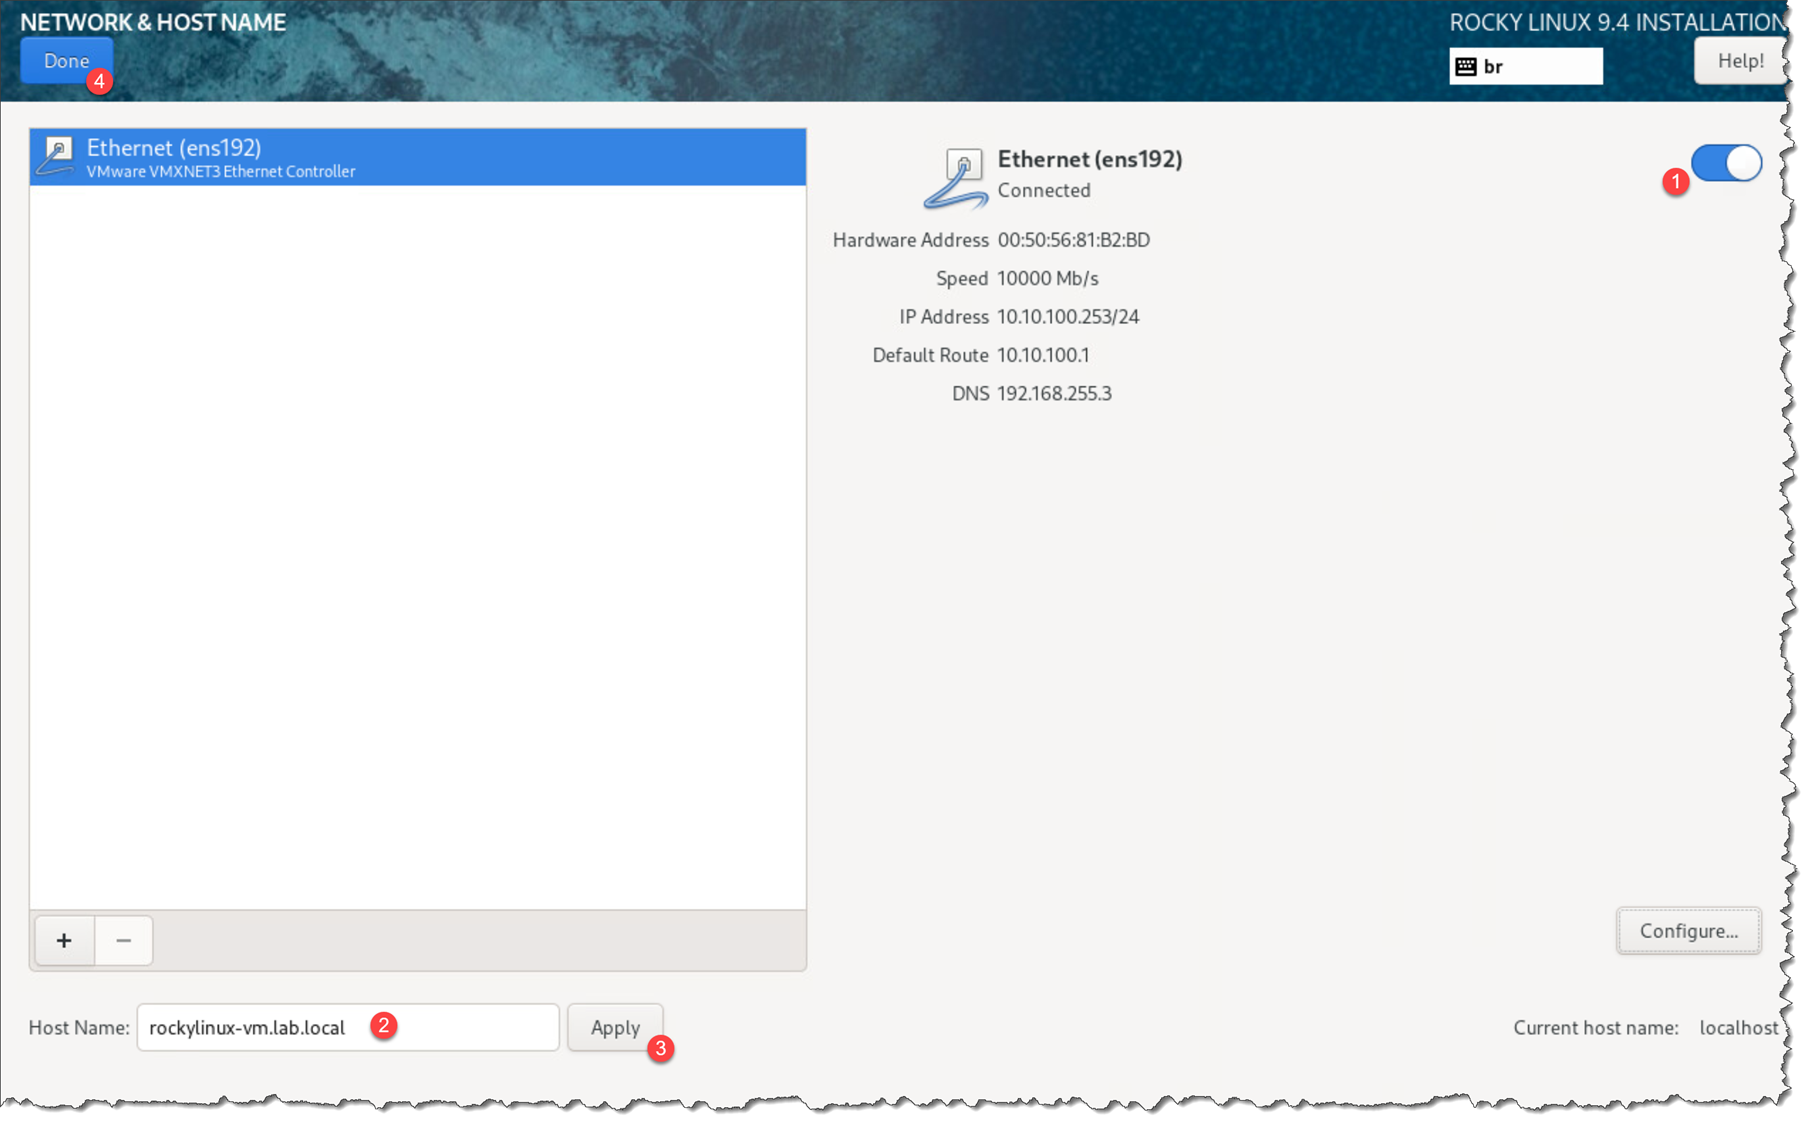
Next, slide the button to the right to enable the network connection, type a system hostname, and click “Done”:
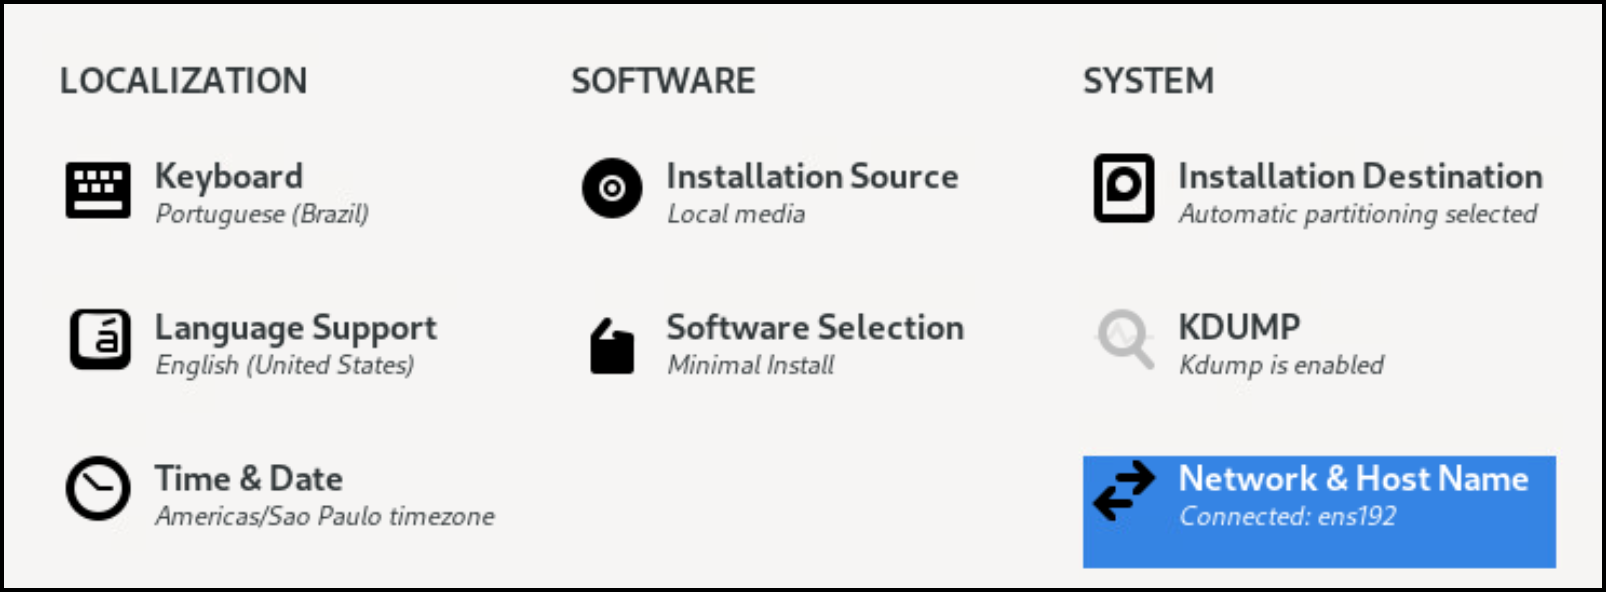
At this point, the installation wizard was configure as the following picture:
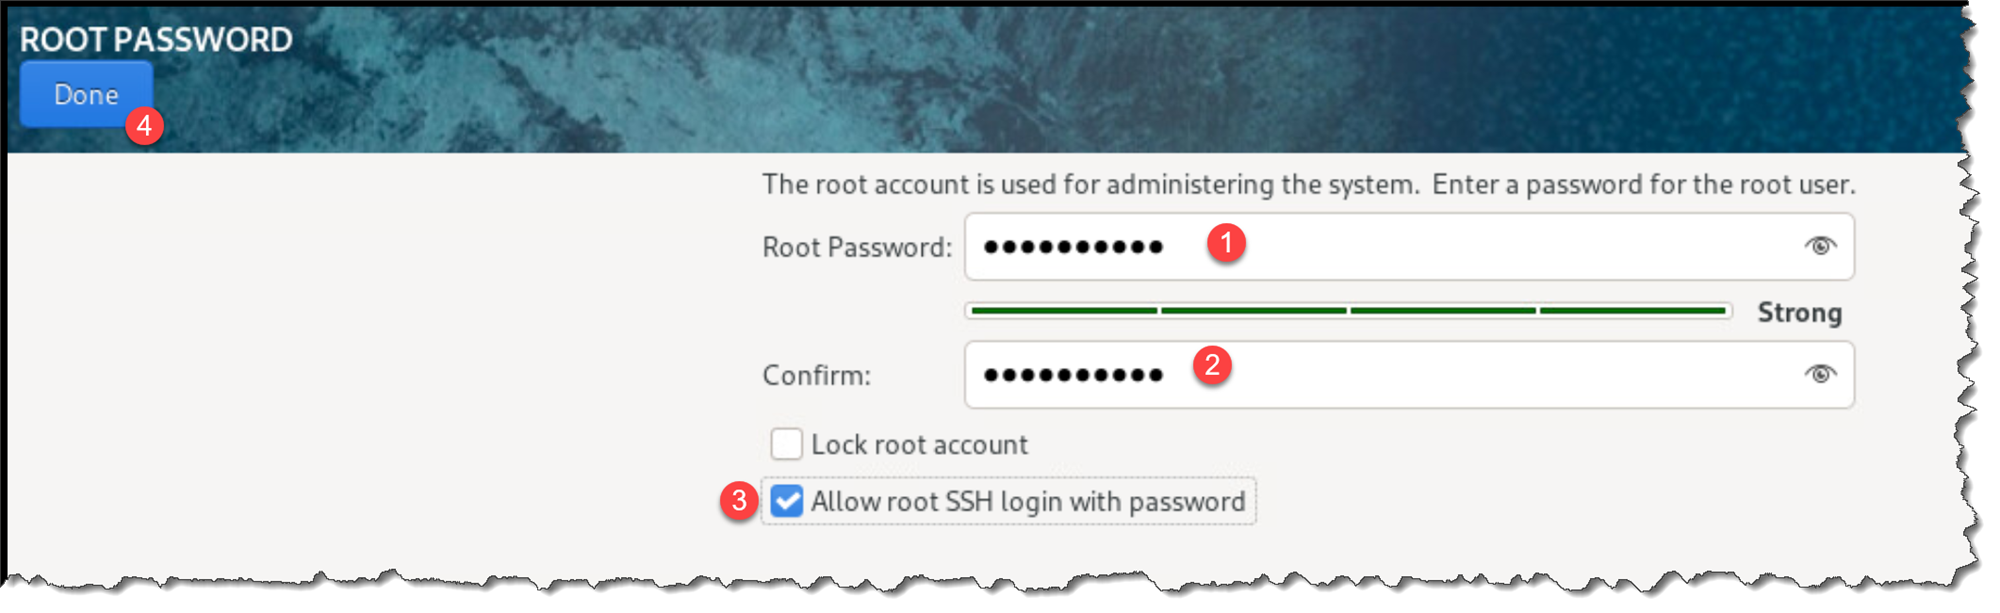
Create a root password:
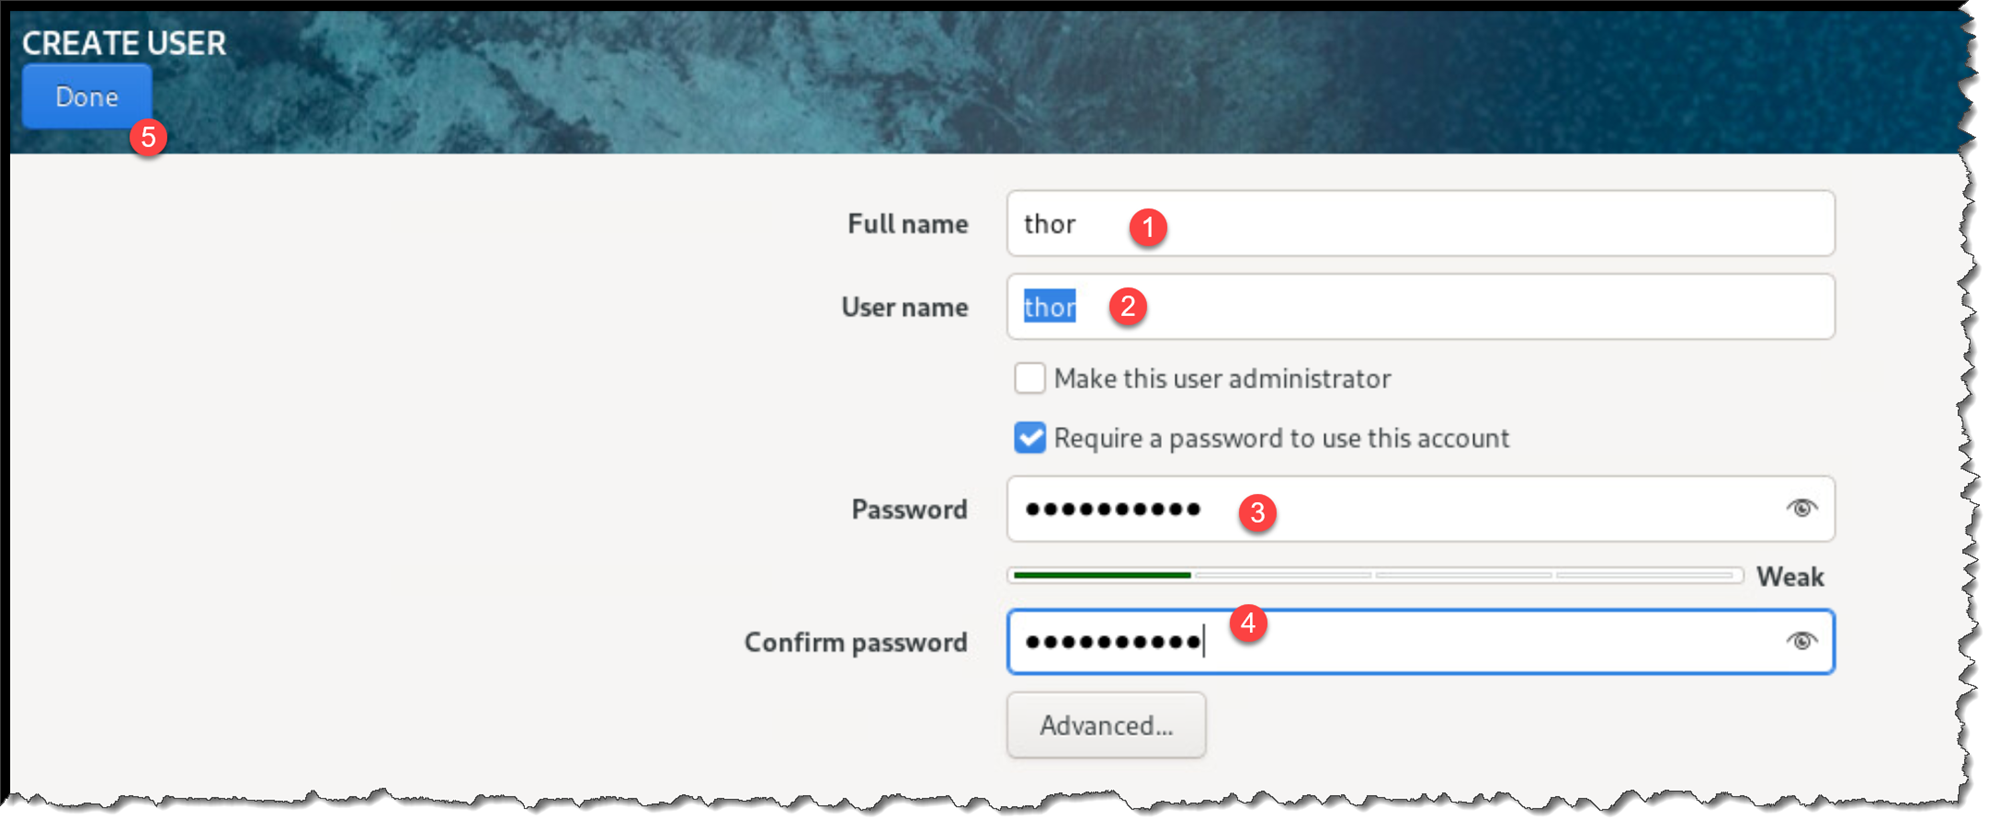
And optionally, create a “non-root” user – in this example, we’re creating a normal user named “thor”:
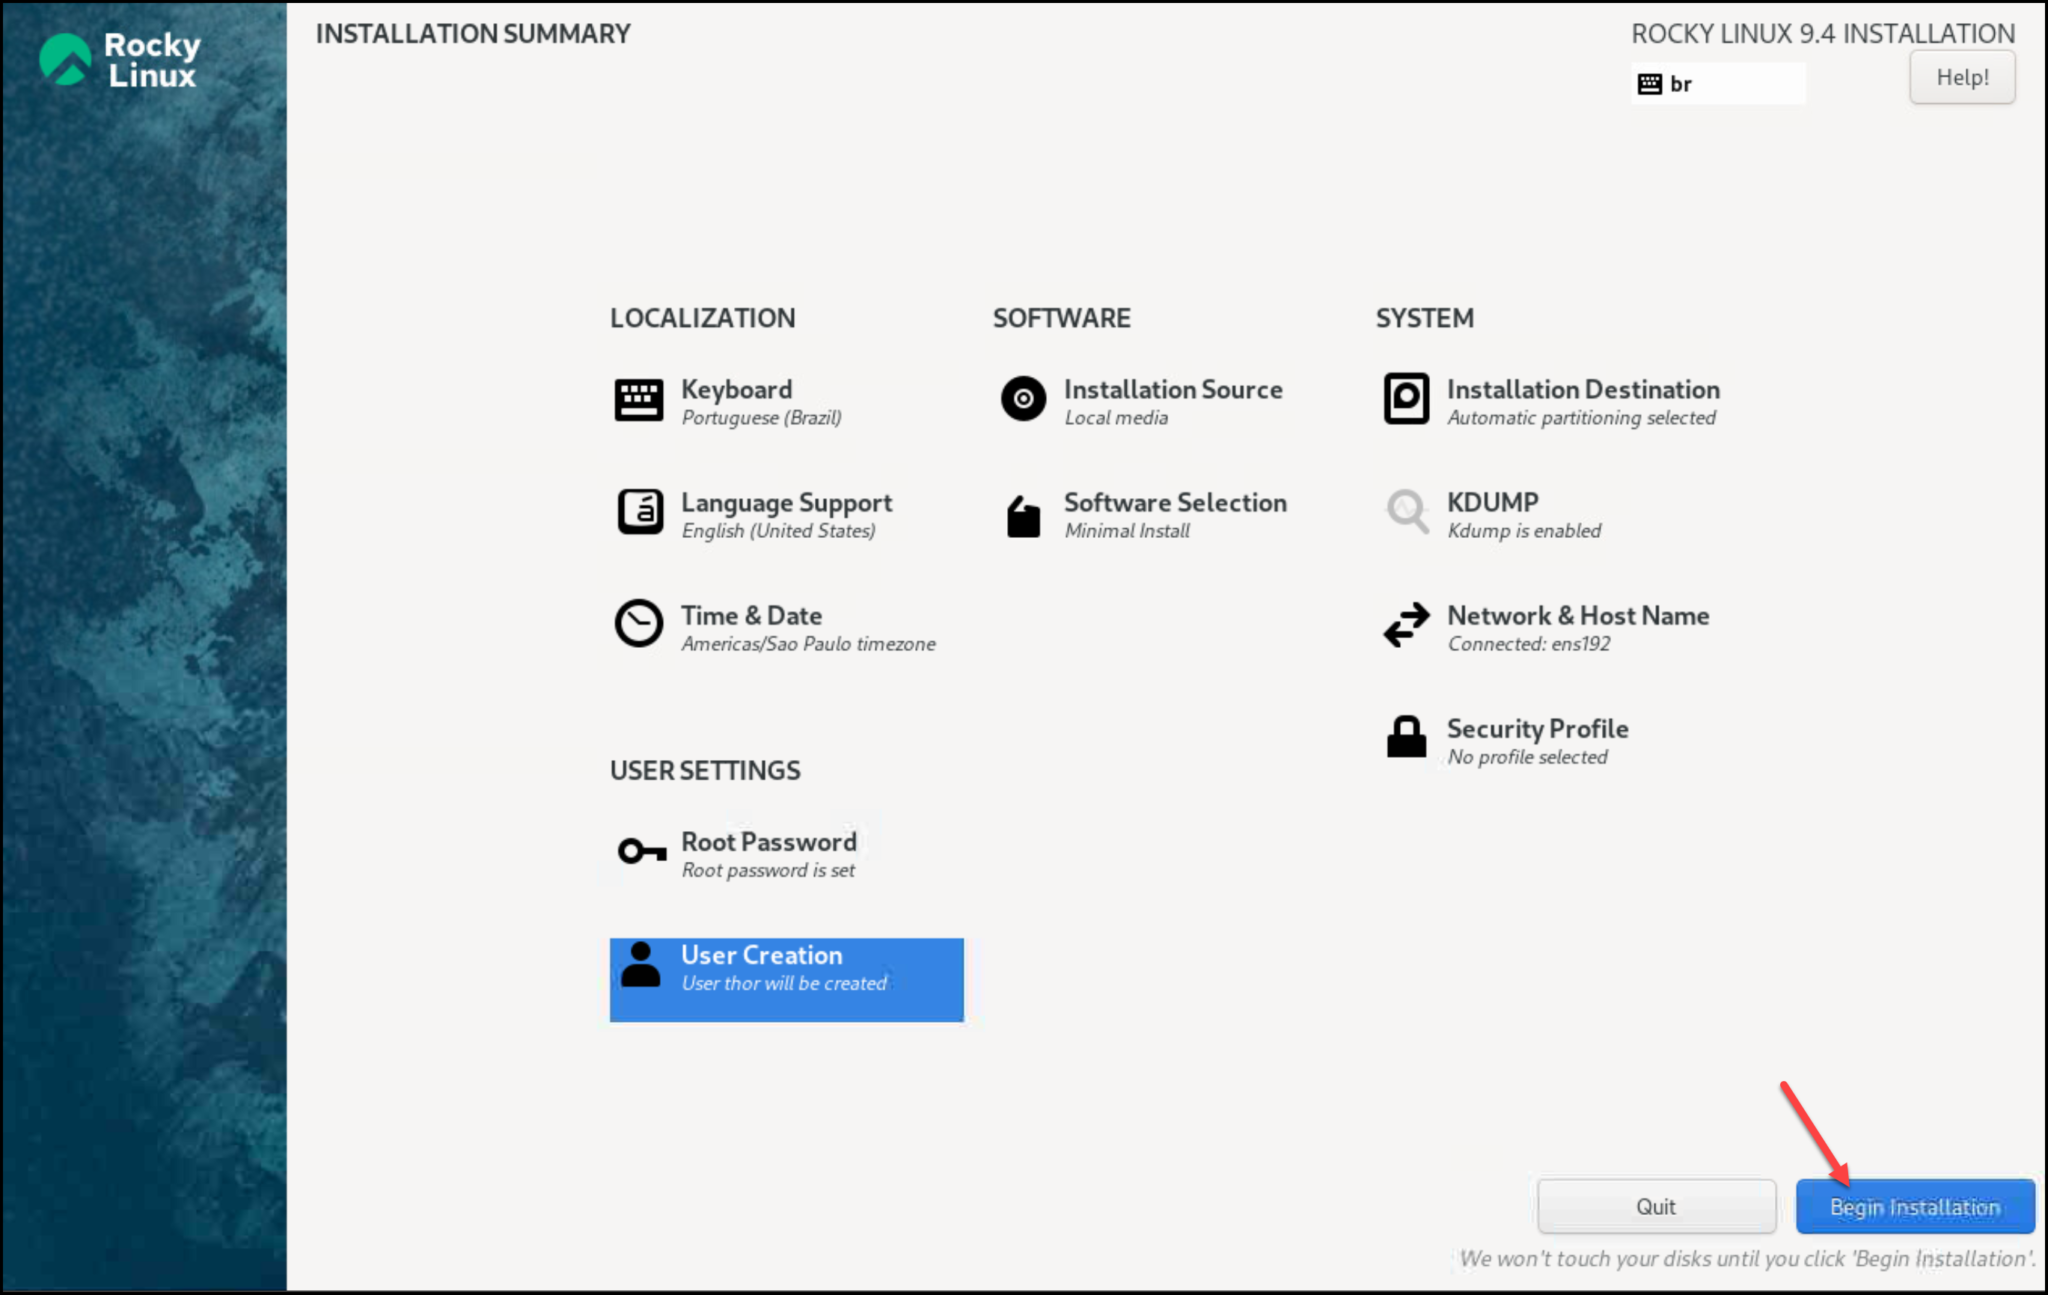
Click on “Begin Installation” to start the installation process:
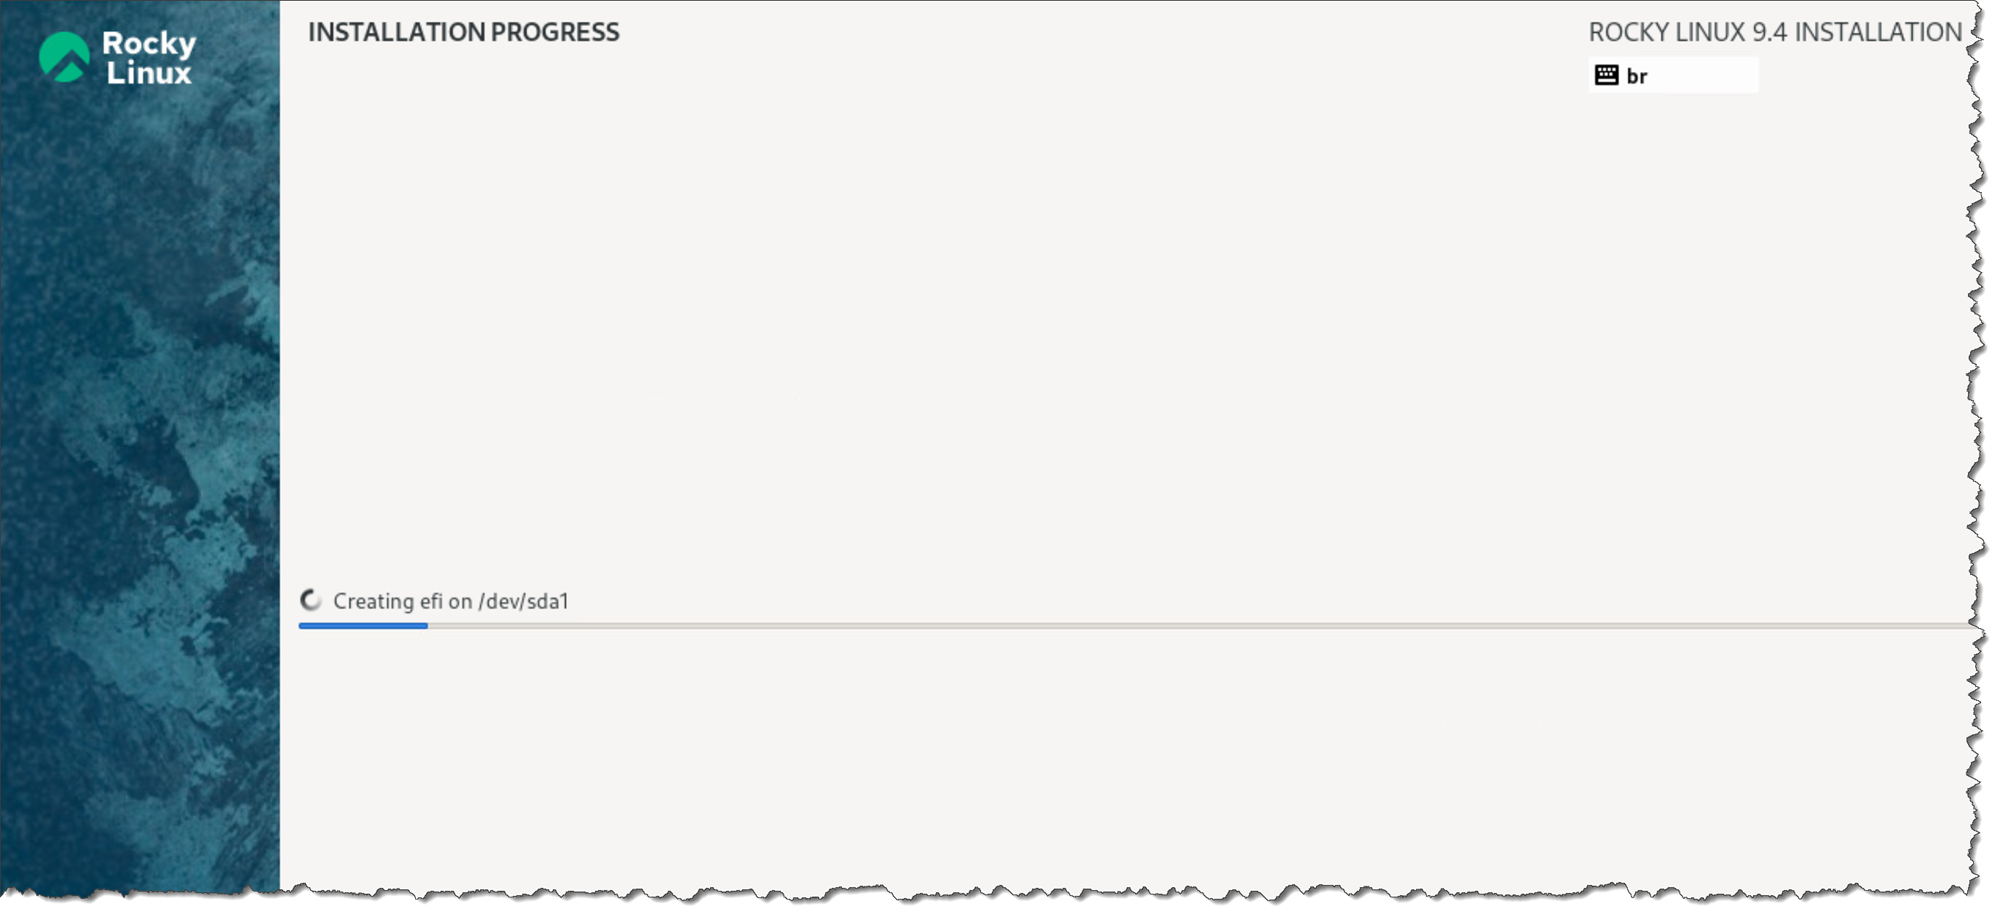
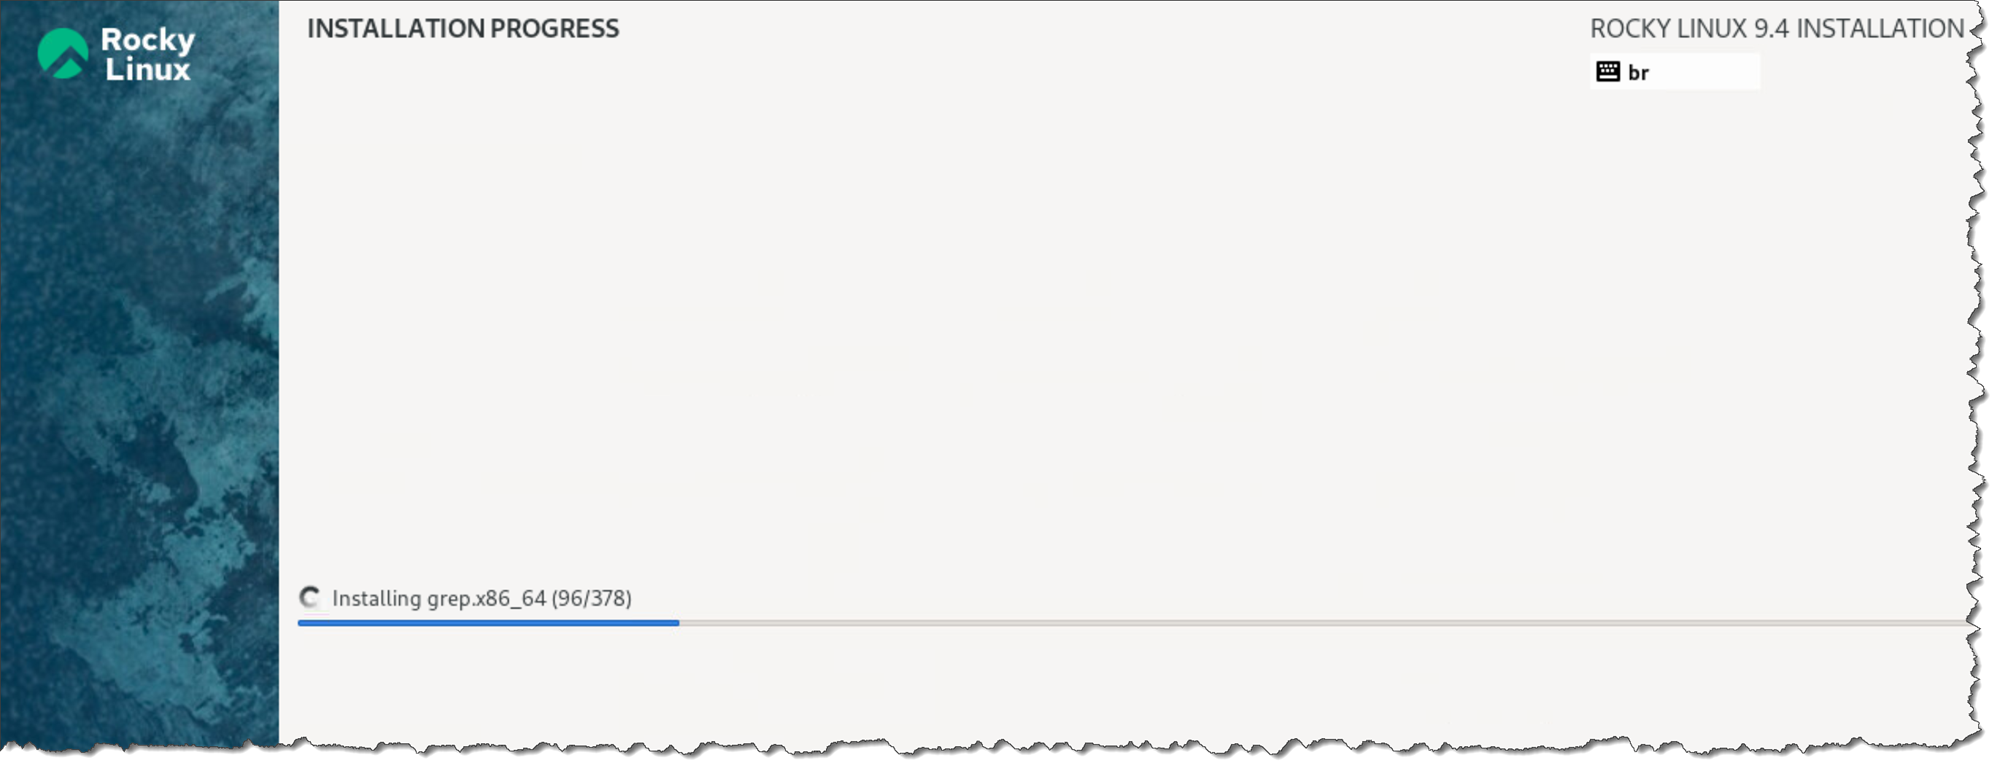
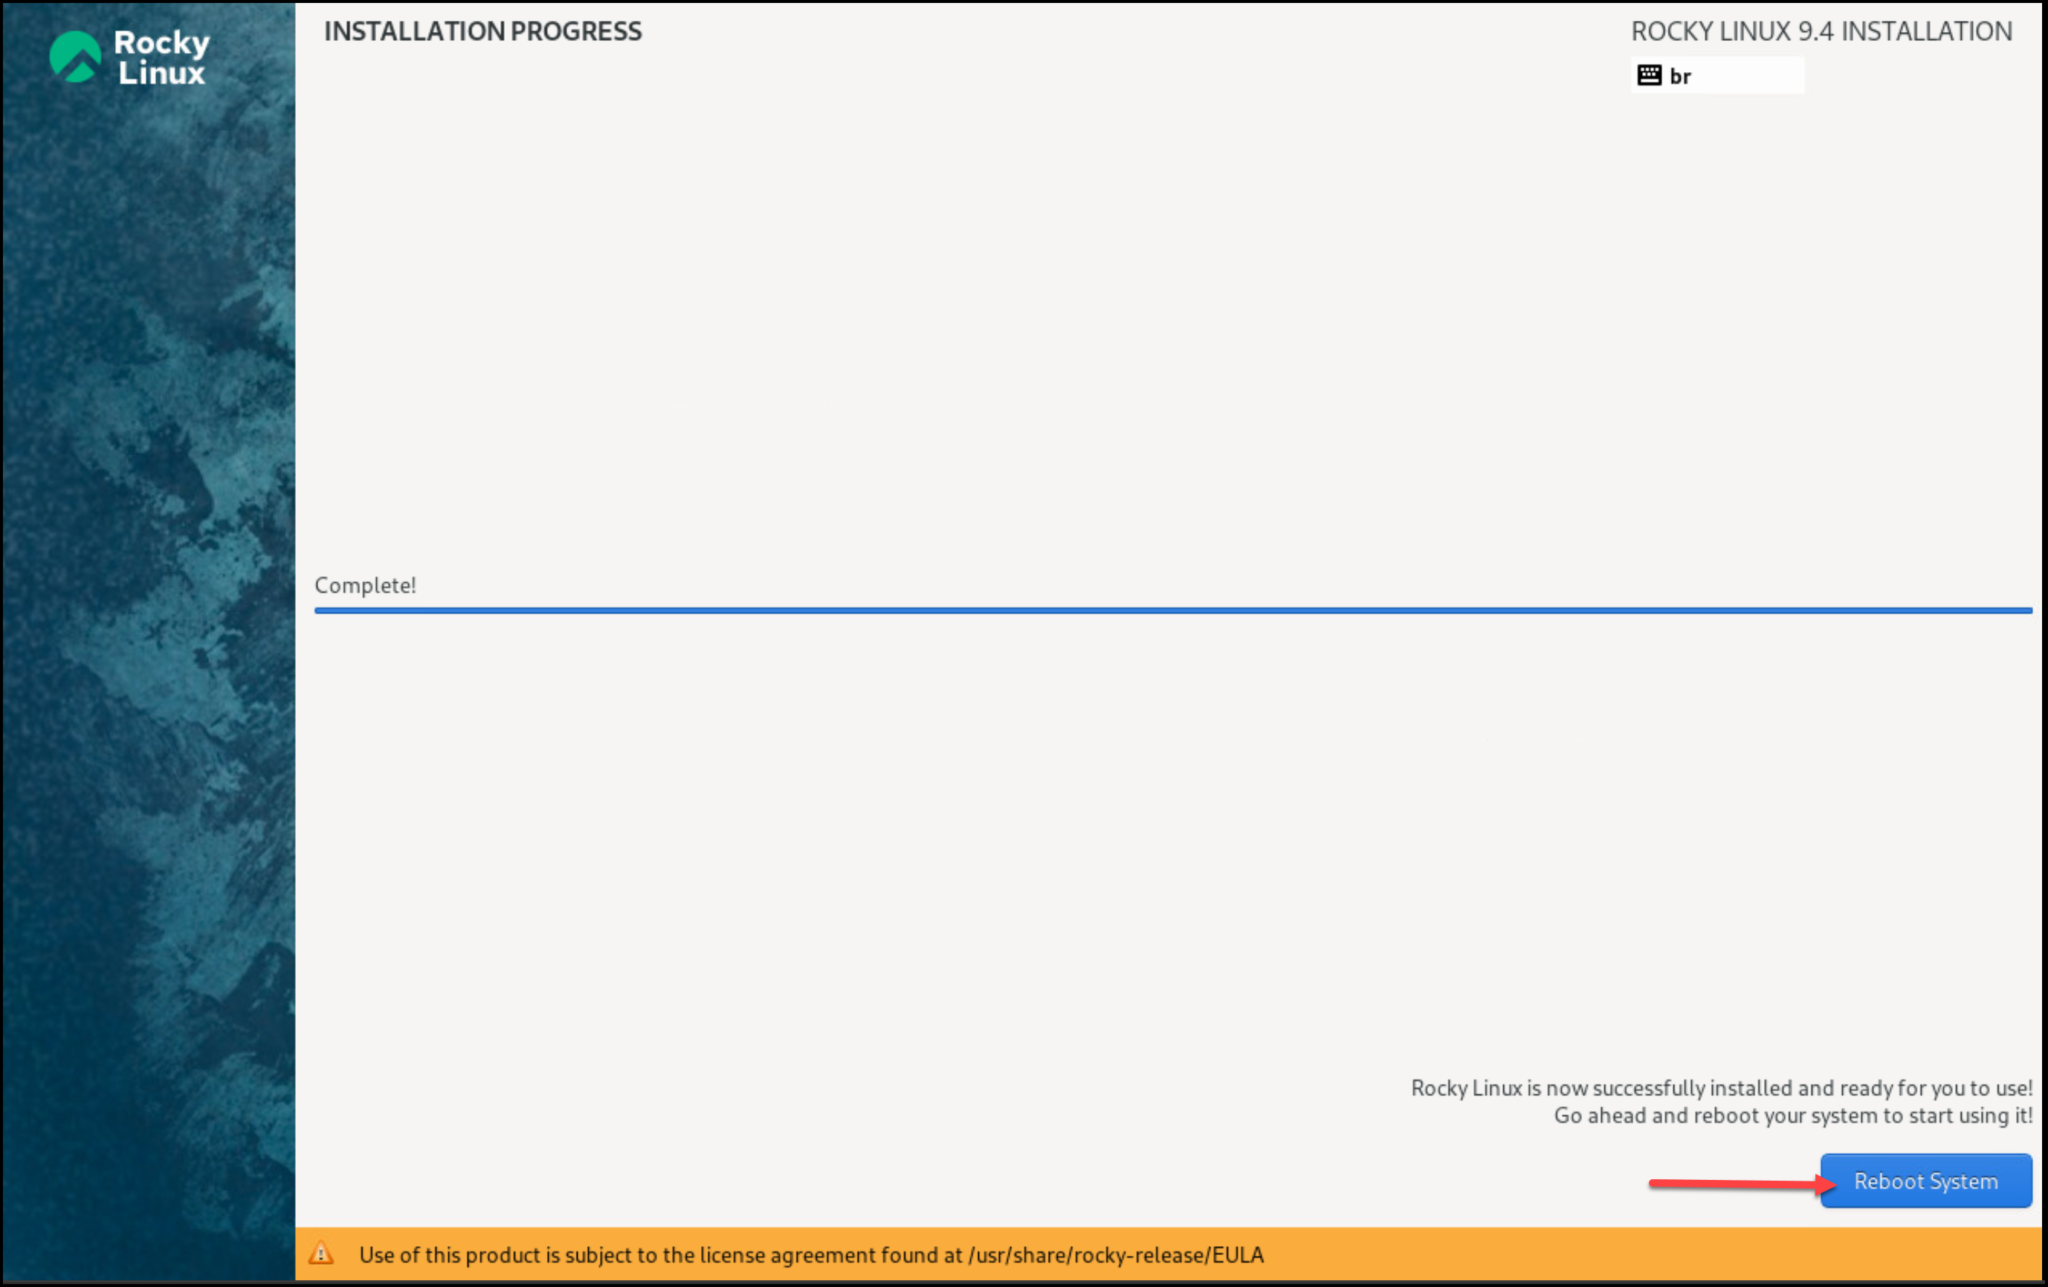
After a few minutes, this is the required – “Complete!”
Just click on “Reboot System”:
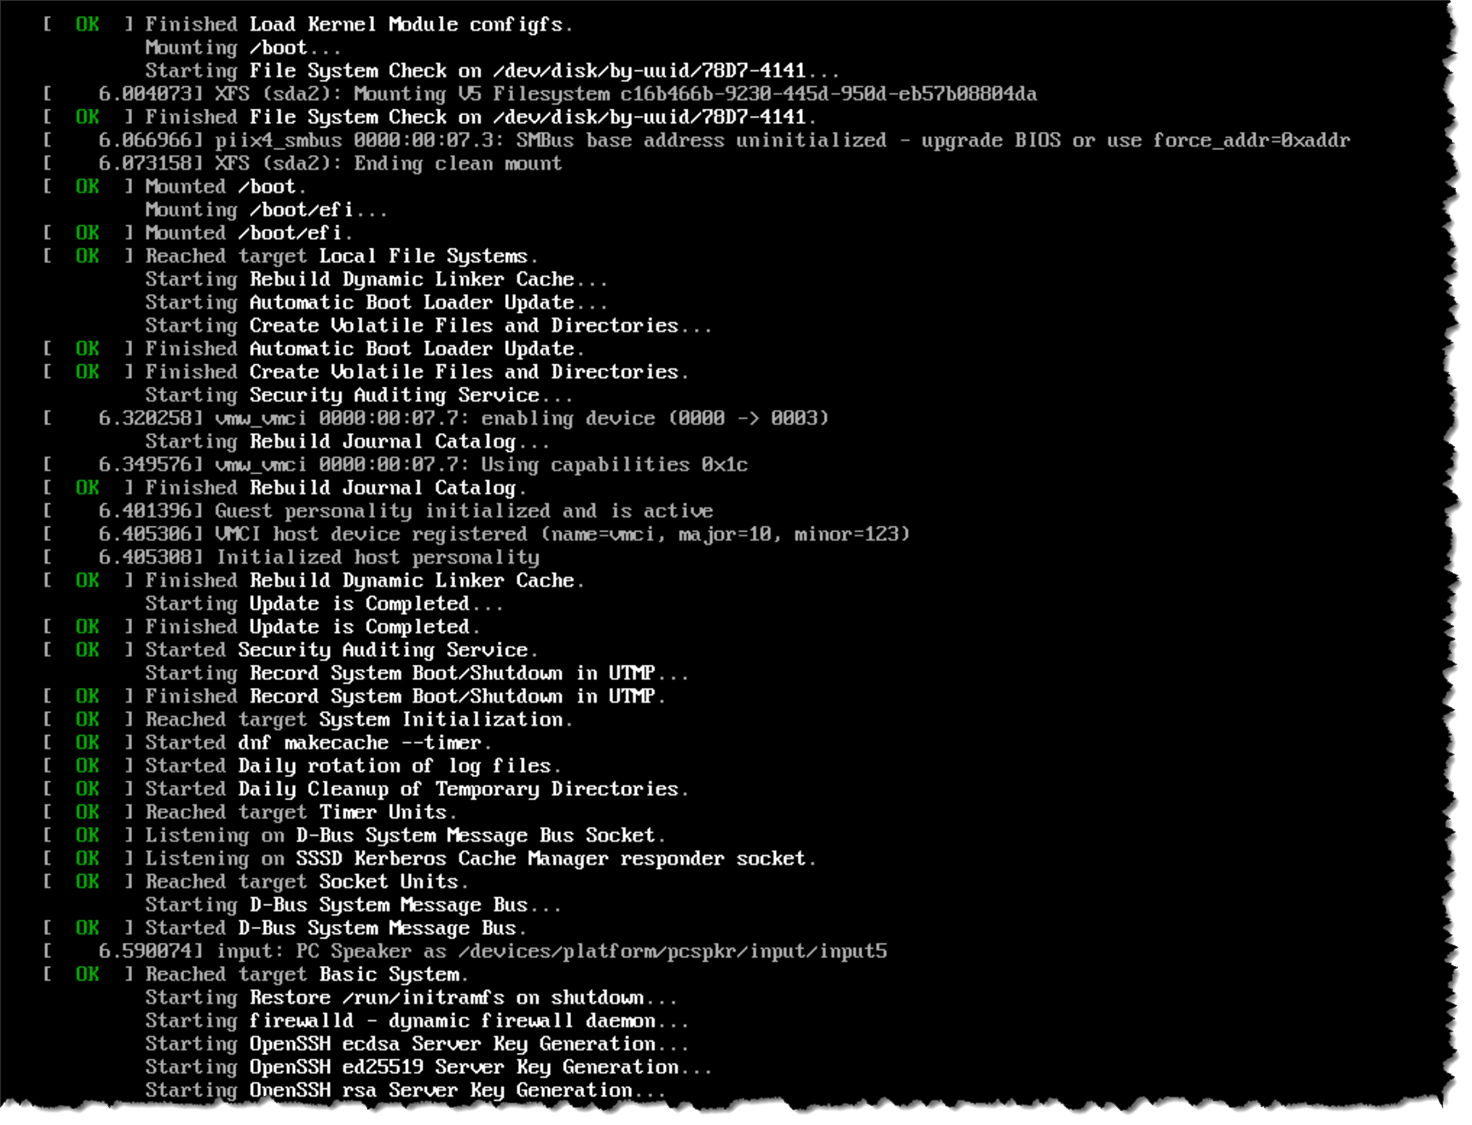
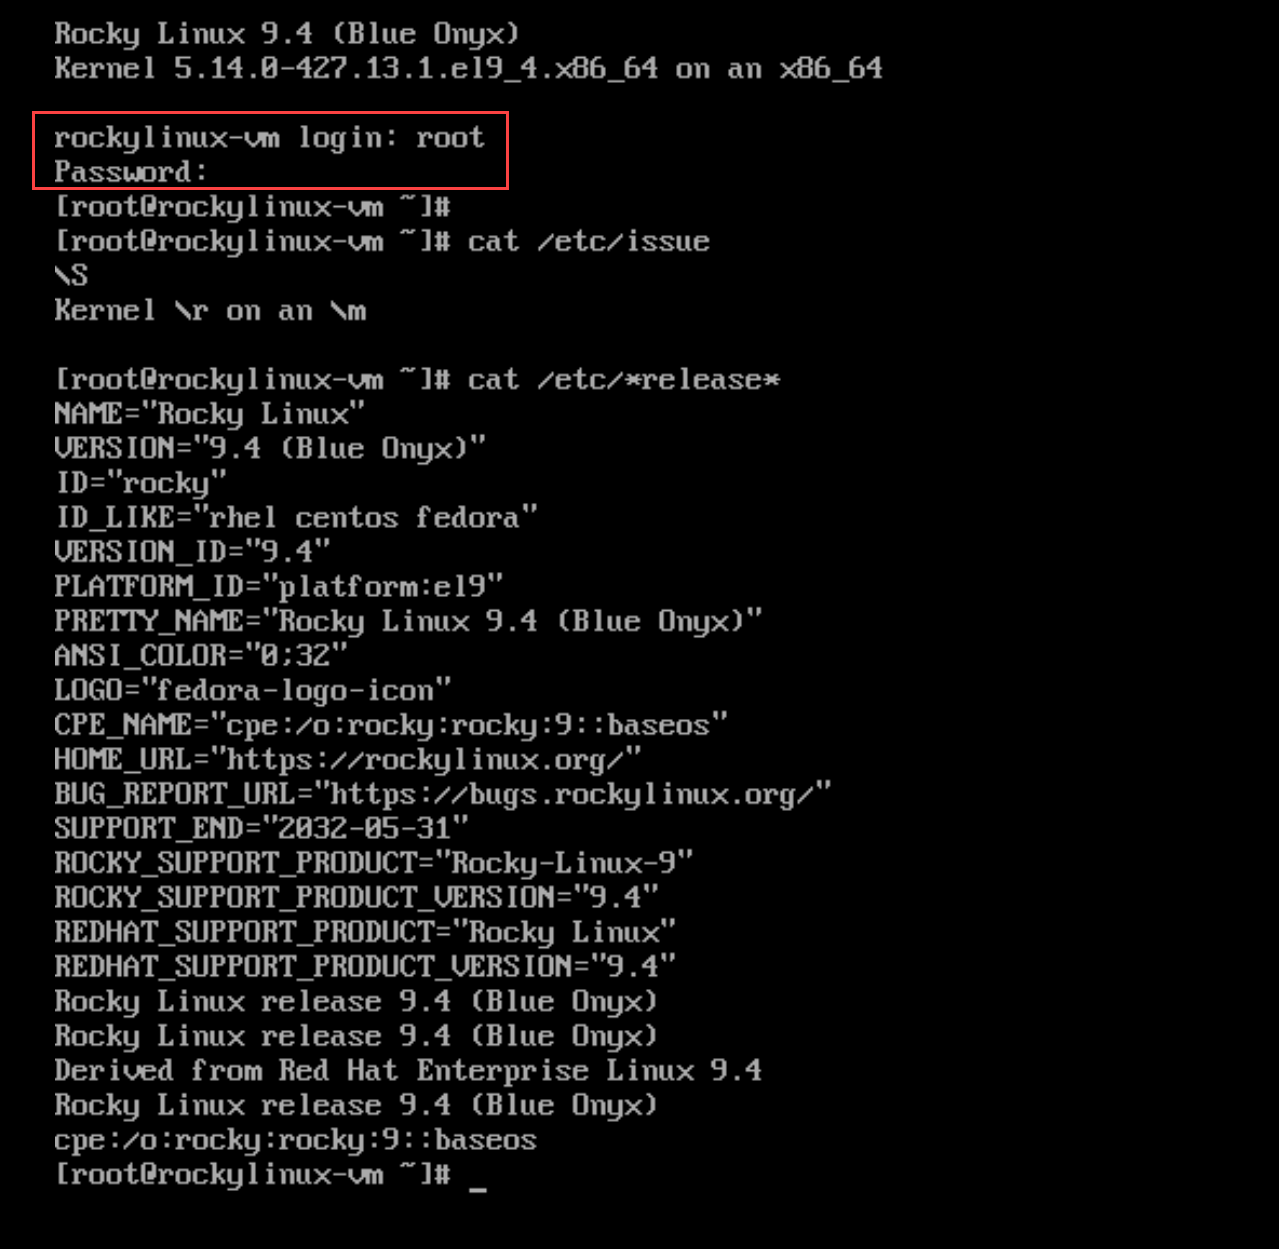
The system will be rebooted and started by the disk installation:
That’s it for now 🙂
