

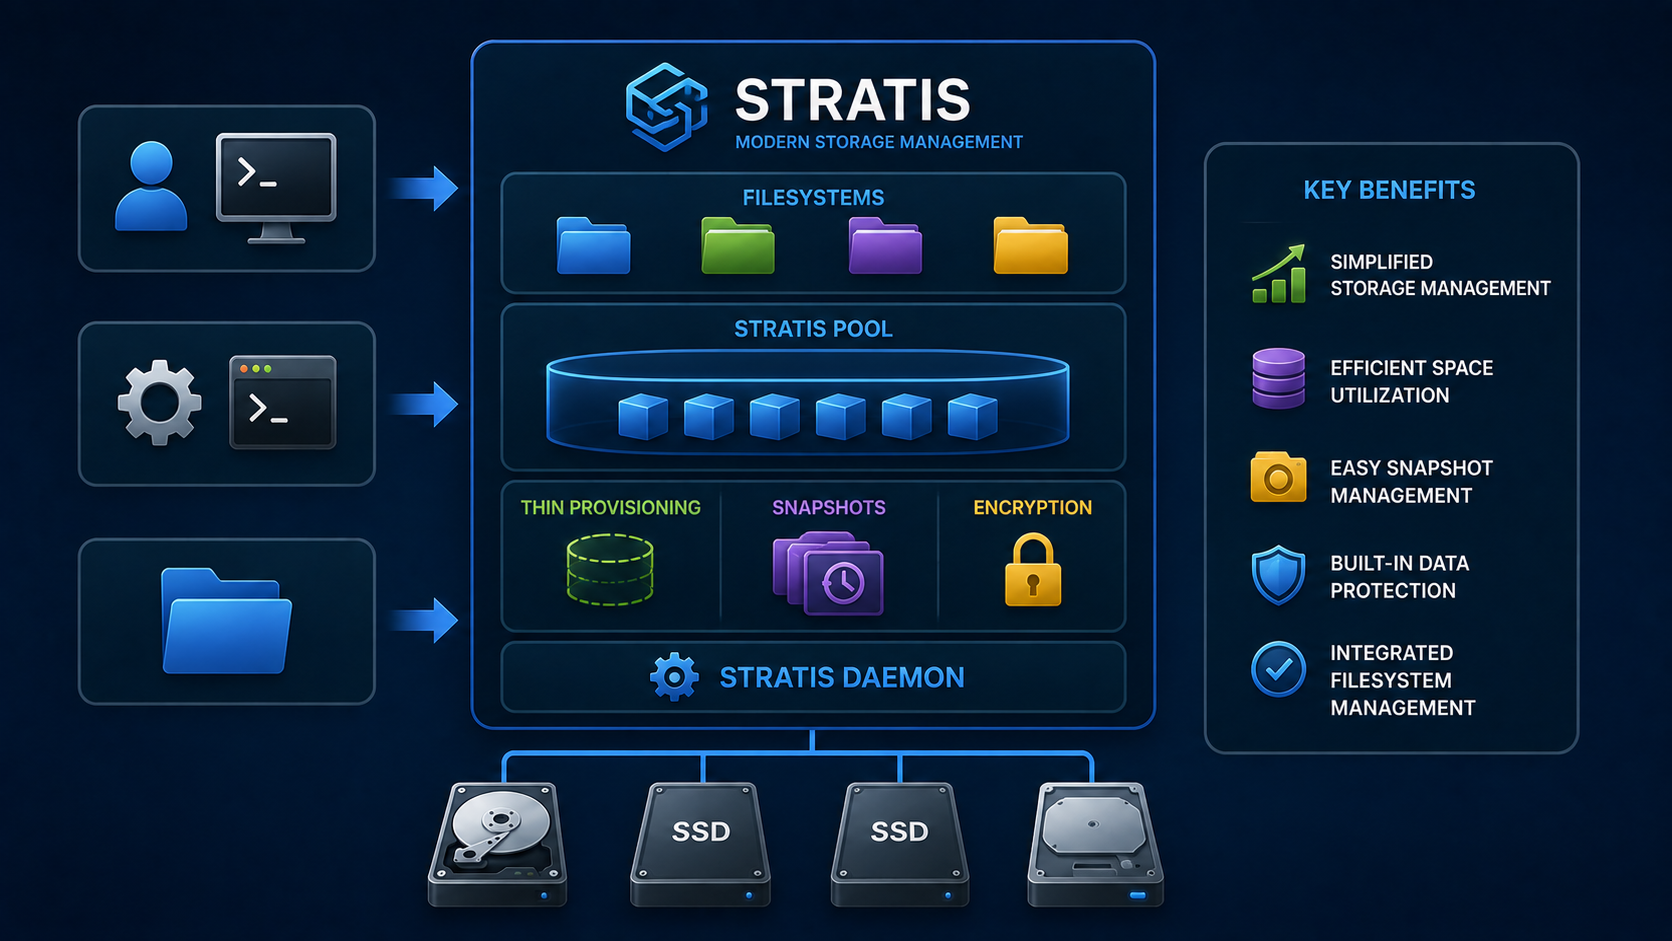
Working with Stratis on RHEL 8 provides an overview of this modern local storage management solution available for Red Hat Enterprise Linux environments. Stratis simplifies storage administration by combining advanced features such as thin provisioning, snapshots, and filesystem management through a unified interface.
In this guide, we will explore the main concepts behind Stratis, including pools, block devices, filesystems, and snapshots. We will also demonstrate how to install, enable, and configure Stratis using practical command-line examples on RHEL 8.
First and foremost: What is Stratis?
Stratis is a local storage management solution built for Red Hat Enterprise Linux. It abstracts LVM and XFS filesystems into a single, unified interface, making complex storage tasks – thin provisioning, snapshots, tiering, and more – accessible through a streamlined CLI and a daemon that handles low-level device-mapper operations behind the scenes.
Core Components of Stratis
- stratisd: The background daemon managing pools and filesystems.
- stratis-cli: The primary command-line tool that you’ll use to create and manage resources.
- D-Bus API: Enables integration with higher-level tools or automation frameworks.
Key Components and Terminology
| Term | Description |
|---|---|
| Blockdev | Physical disk or partition added to a pool. |
| Pool | Virtual storage aggregate made from one or more block devices. |
| Filesystem | Thin-provisioned XFS volume carved from a pool. |
| Snapshot | Point-in-time copy of a filesystem within a pool. |
| Thin Provision | A virtual storage aggregate is made from one or more block devices. |
| Tiering (Cache) | Uses faster devices for caching hot data, managed automatically by stratisd. |
Installing and Enabling Stratis
Based on Red Hat documentation, Stratis is a Technology Preview in RHEL 8 and must be explicitly installed and enabled before use in the environment.
1- Install the package:
dnf install stratisd stratis-cli -y2- Start and enable the daemon:
systemctl enable --now stratisd3- Verify it’s running:
systemctl status stratisd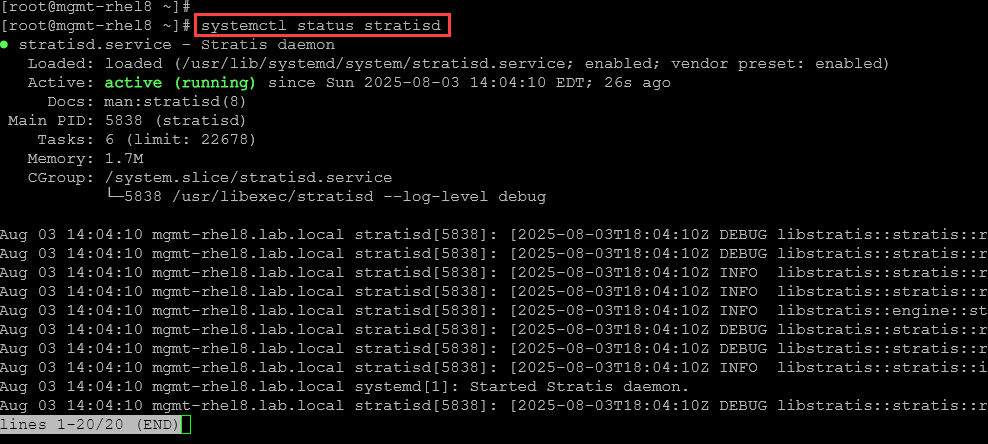
Basic Operations
1- Create an unencrypted pool.
To create a pool, we need to specify the block devices. In our case, for instance, we’ll use three block devices, each of which is 8GB in size:

stratis pool create my-stratis-pool /dev/sdj /dev/sdk /dev/sdl2- Inspect pools:
stratis pool list
3- Create a filesystem:
stratis filesystem create my-stratis-pool myfs01Where:
myfs01 –> Filesystem name
4- Inspect filesystems:
stratis fs list
5- Mount and use:
# Create a local directory to use as a mount point:
mkdir /mnt/stratis-myfs01

# Mount the stratis fs:
mount -t xfs /dev/stratis/my-stratis-pool/myfs01 /mnt/stratis-myfs01
6- Inspect the mount point with “df”:
df -Th | grep -i -E "filesystem|stratis"
7- Create a second filesystem named “myfs02“:
stratis fs create my-stratis-pool myfs02
stratis fs list
8- Configure the /etc/fstab to mount both Stratis filesystems automatically on system boot. Use the UUID for this task.
Getting the UUIID for each filesystem:
blkid /dev/stratis/my-stratis-pool/myfs01
blkid /dev/stratis/my-stratis-pool/myfs02
Add the entries on /etc/fstab:
UUID=98d845c0-2a74-4bc6-b7a2-c5cb74c54329       /mnt/stratis-myfs01     xfs     defaults,x-systemd.requires=stratisd.service    0       0

UUID=1ffdb348-3219-41ee-8fef-9dc93981dbe1       /mnt/stratis-myfs02     xfs     defaults,x-systemd.requires=stratisd.service    0       0
Mount:
mount -a
systemctl daemon-reload
9- Create some files in the first filesystem and then create a snapshot of it:
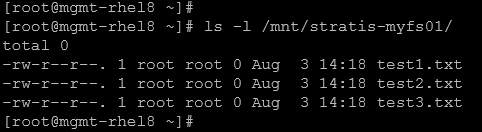
stratis fs snapshot my-stratis-pool myfs01 myfs01-snapWhere:
myfs01 –> Filesystem name
myfs01-snap –> Snapshot name
10- Inspect filesystems and snapshots:
stratis fs list
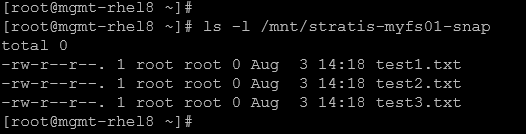
11- The snapshot can be mounted normally:
mount -t xfs /dev/stratis/my-stratis-pool/myfs01-snap /mnt/stratis-myfs01-snapAnd we can confirm that all files created in the filesystems are in the snapshot:
12- To delete a stratis filesystem, we need first to unmount it and then remove it:
umount /mnt/stratis-myfs01
stratis fs destroy my-stratis-pool myfs01
stratis fs list
13- Rename the stratis filesystem “myfs01-snap” to “myfs01” and update the /etc/fstab – Since we’ve removed the “myfs01”, we need to remove or update its UUID:
stratis fs rename my-stratis-pool myfs01-snap myfs01

# Getting the new UUID for myfs01:
blkid /dev/stratis/my-stratis-pool/myfs01

sed -i s/98d845c0-2a74-4bc6-b7a2-c5cb74c54329/45f1e608-997d-48f5-abf3-35b6f4e305d2/ /etc/fstab
Where:
98d845c0-2a74-4bc6-b7a2-c5cb74c54329 –> Old UUID
45f1e608-997d-48f5-abf3-35b6f4e305d2 –> New UUID
14- Reboot the system and inspect the stratis filesystems:
stratis fs list
That’s it for now 🙂
