
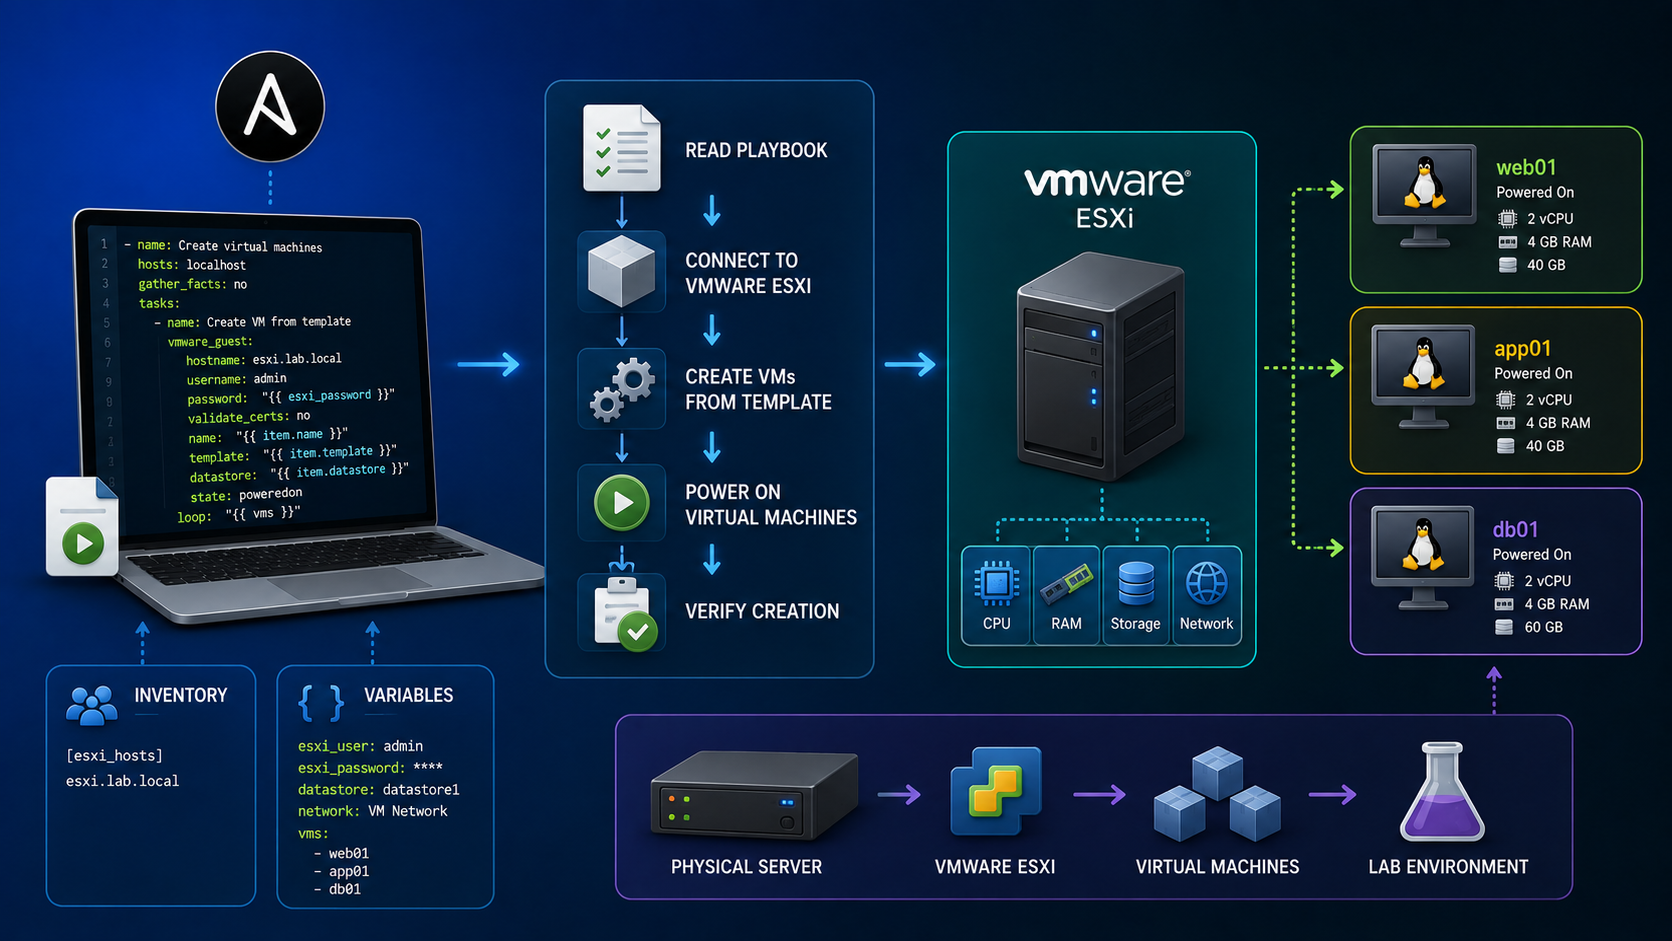
Deploy VMware vSphere VMs with Ansible is a practical way to create consistent lab environments without manually cloning and configuring each VM through the vSphere Client.
In this lab, I use a Red Hat Enterprise Linux 8 virtual machine as the source for deploying multiple servers that will later become part of an HPC environment. Ansible connects to vCenter Server, clones the prepared RHEL template, assigns each VM its hostname and static IP configuration, and powers the systems on.
The most important part of this workflow is preparing the source VM correctly before cloning it. Machine identity, SSH host keys, cloud-init state, VMware Guest Customization, and Red Hat registration must be handled carefully so that every cloned VM starts with its own identity rather than inheriting unique information from the template.
In this guide, I will show how I prepared the RHEL template, configured the required Ansible collections and variables, deployed multiple VMs with community.vmware.vmware_guest, and validated that the VMware guest customization completed successfully.
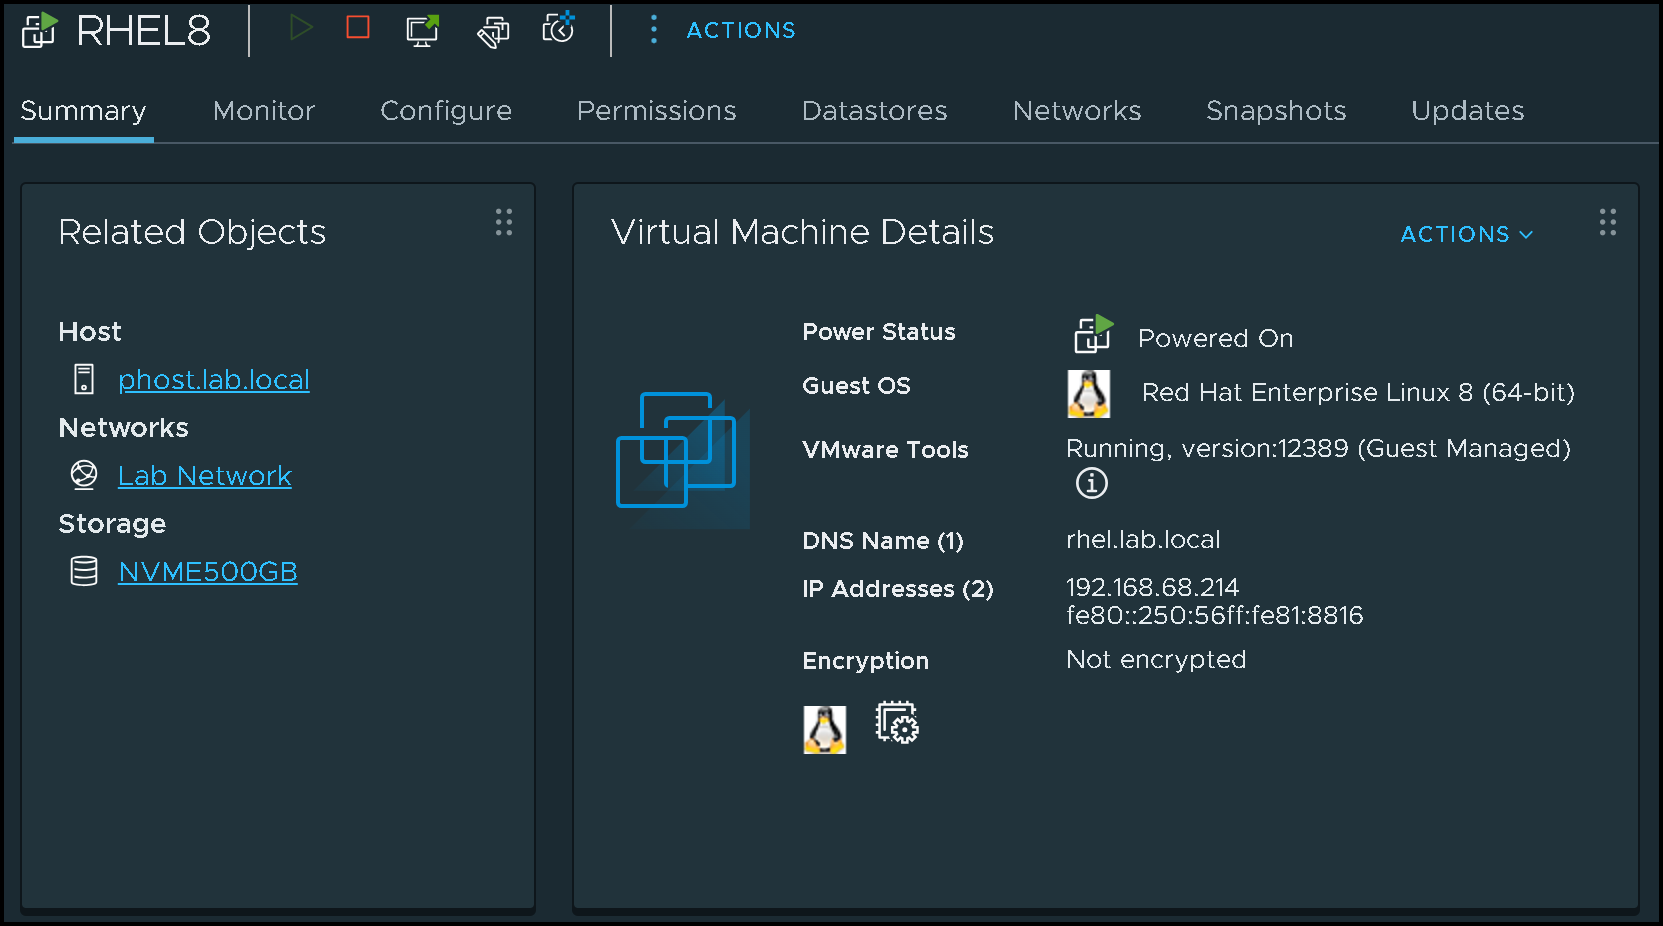
This RHEL VM is our “Template VM”. We’ll use it as a base to create the other VMs.
Make sure to install the following packages in this base VM:
dnf install -y open-vm-tools
dnf install -y cloud-init cloud-utils-growpart
Making Some Configurations on the Base VM
So, since our goal is to create many virtual machines from the “base” RHEL VM, we need to prep the base VM for that. To help us, we’re using the “cloud-init” package.
The cloud-init package on RHEL is a utility that automates the initial setup of a Red Hat Enterprise Linux instance during its first boot. It allows for unattended configuration of a new server by performing tasks like setting the hostname, configuring the network, installing packages, and running scripts. This makes it easier to deploy multiple RHEL instances with consistent, pre-defined configurations across different cloud platforms.
So, let’s get started and adjust some things:
1- On the base RHEL VM, create the configuration file /etc/cloud/cloud.cfg.d/10-ssh-configuration.cfg with the following content – Basically, this file will ensure we can access the cloned VMs using root with password:
ssh_pwauth: true
disable_root: false

# Keep existing SSH server configuration
ssh_deletekeys: false
ssh_genkeytypes: ['rsa', 'ecdsa', 'ed25519']

# Prevent cloud-init from disabling password login
ssh:
  ssh_pwauth: true
2- Creating the configuration file /etc/cloud/cloud.cfg.d/99-DataSource.cfg with the following content – This file will ensure that the VMware Guest injects some configurations during the clone process:
datasource_list: [ VMware, NoCloud, ConfigDrive ]
datasource:
  VMware:
    metadata_ssl_verify: false
3- Edit the configuration file /etc/cloud/cloud.cfg and change the following entry:
disable_vmware_customization: false4- After that, we can shut down the base RHEL VM. Since we’re using ESXi, we can create a VM Template and use the Template as a source for creating the VMs. But it’s not necessary (we can use the VM itself).
Creating Ansible Files on the Control Node
If you are starting with Ansible, see “Creating Your First Ansible Playbook: A Practical Lab Guide“ before continuing.
Basically, the Ansible Control Node is the system where we execute Ansible.
So, let’s create our project to make things happen:
1- On the Ansible Control Node, create a directory for this project:
mkdir -p /root/ansible/create_vms2- Creating the inventory file hosts.yml with the following content – In fact, we’ll use this file to store all variables to use during the Playbook execution (you must replace all variable values with your values):
all:
  vars:
    vcenter_hostname: "vcsa01.lab.local"
    vcenter_username: "administrator@vsphere.local"
    vcenter_password: "Your_Password_Here"
    vcenter_datacenter: "DC-LOCALHOST"
    vcenter_cluster: "phost.lab.local"
    vm_template: "RHEL8"
    vm_folder: "RHEL-INFRA/HPC"
    vm_network: "Lab Network"
    vm_datastore: "NVME2TB"
Explaining each variable:
- vcenter_hostname –> FQDN or IP address of the vCenter Server
- vcenter_username –> vCenter Username
- vcenter_password –> Password of the vCenter Username
- vcenter_datacenter –> Datacenter Name
- vcenter_cluster –> Cluster Name (or you can point to a Standalone ESXi host)
- vm_template –> Virtual Machine Name (this is the “base” VM)
- vm_folder –> Folder Name to store the cloned VMs
- vm_network –> Network Name (Port Group) that will be used by the cloned VMs
- vm_datastore –> Datastore Name
3- Creating the playbook file create_vms.yml with the following content:
---
- name: Deploy VMs from template
  hosts: localhost
  gather_facts: no
  collections:
    - community.vmware

  vars:
    vm_list:
      - { name: hpchead01, ip: 192.168.255.138 }
      - { name: hpchead02, ip: 192.168.255.139 }
      - { name: hpcnfs01, ip: 192.168.255.140 }
      - { name: hpcnode01, ip: 192.168.255.141 }
      - { name: hpcnode02, ip: 192.168.255.142 }
      - { name: hpcnode03, ip: 192.168.255.143 }
      - { name: hpcnode04, ip: 192.168.255.144 }
      - { name: hpcnode05, ip: 192.168.255.145 }
      - { name: hpcnode06, ip: 192.168.255.146 }
      - { name: hpcnode07, ip: 192.168.255.147 }
      - { name: hpcnode08, ip: 192.168.255.148 }
      - { name: hpcnode09, ip: 192.168.255.149 }
      - { name: hpcnode10, ip: 192.168.255.150 }

  tasks:
    - name: Clone RHEL template
      vmware_guest:
        hostname: "{{ vcenter_hostname }}"
        username: "{{ vcenter_username }}"
        password: "{{ vcenter_password }}"
        validate_certs: no

        name: "{{ item.name }}"
        template: "{{ vm_template }}"
        datacenter: "{{ vcenter_datacenter }}"
        folder: "{{ vm_folder }}"
        cluster: "{{ vcenter_cluster }}"
        datastore: "{{ vm_datastore }}"

        networks:
          - name: "{{ vm_network }}"
            ip: "{{ item.ip }}"
            netmask: "255.255.255.0"
            gateway: "192.168.255.1"

        customization:
          hostname: "{{ item.name }}"
          domain: "lab.local"
          dns_servers:
            - "192.168.255.3"
            - "8.8.8.8"
            - "1.1.1.1"

        state: poweredon
loop: "{{ vm_list }}"Note: validate_certs: false is used in this lab because the vCenter certificate is not trusted by the Ansible control node. In production, install the appropriate CA certificate and keep certificate validation enabled.
4- Before executing the Playbook, install the “community.vmware” from Ansible Galaxy – This package is necessary for Ansible to execute the Playbook and do all the things inside the Playbook (Connect to vCenter, Clone VM, Inject configurations, etc):
ansible-galaxy collection install community.vmware4.1 – Install the Python module “pyvmomi”:
pip install --upgrade pyvmomi5- Running the Playbook:
ansible-playbook -i hosts.yml create_vms.yml
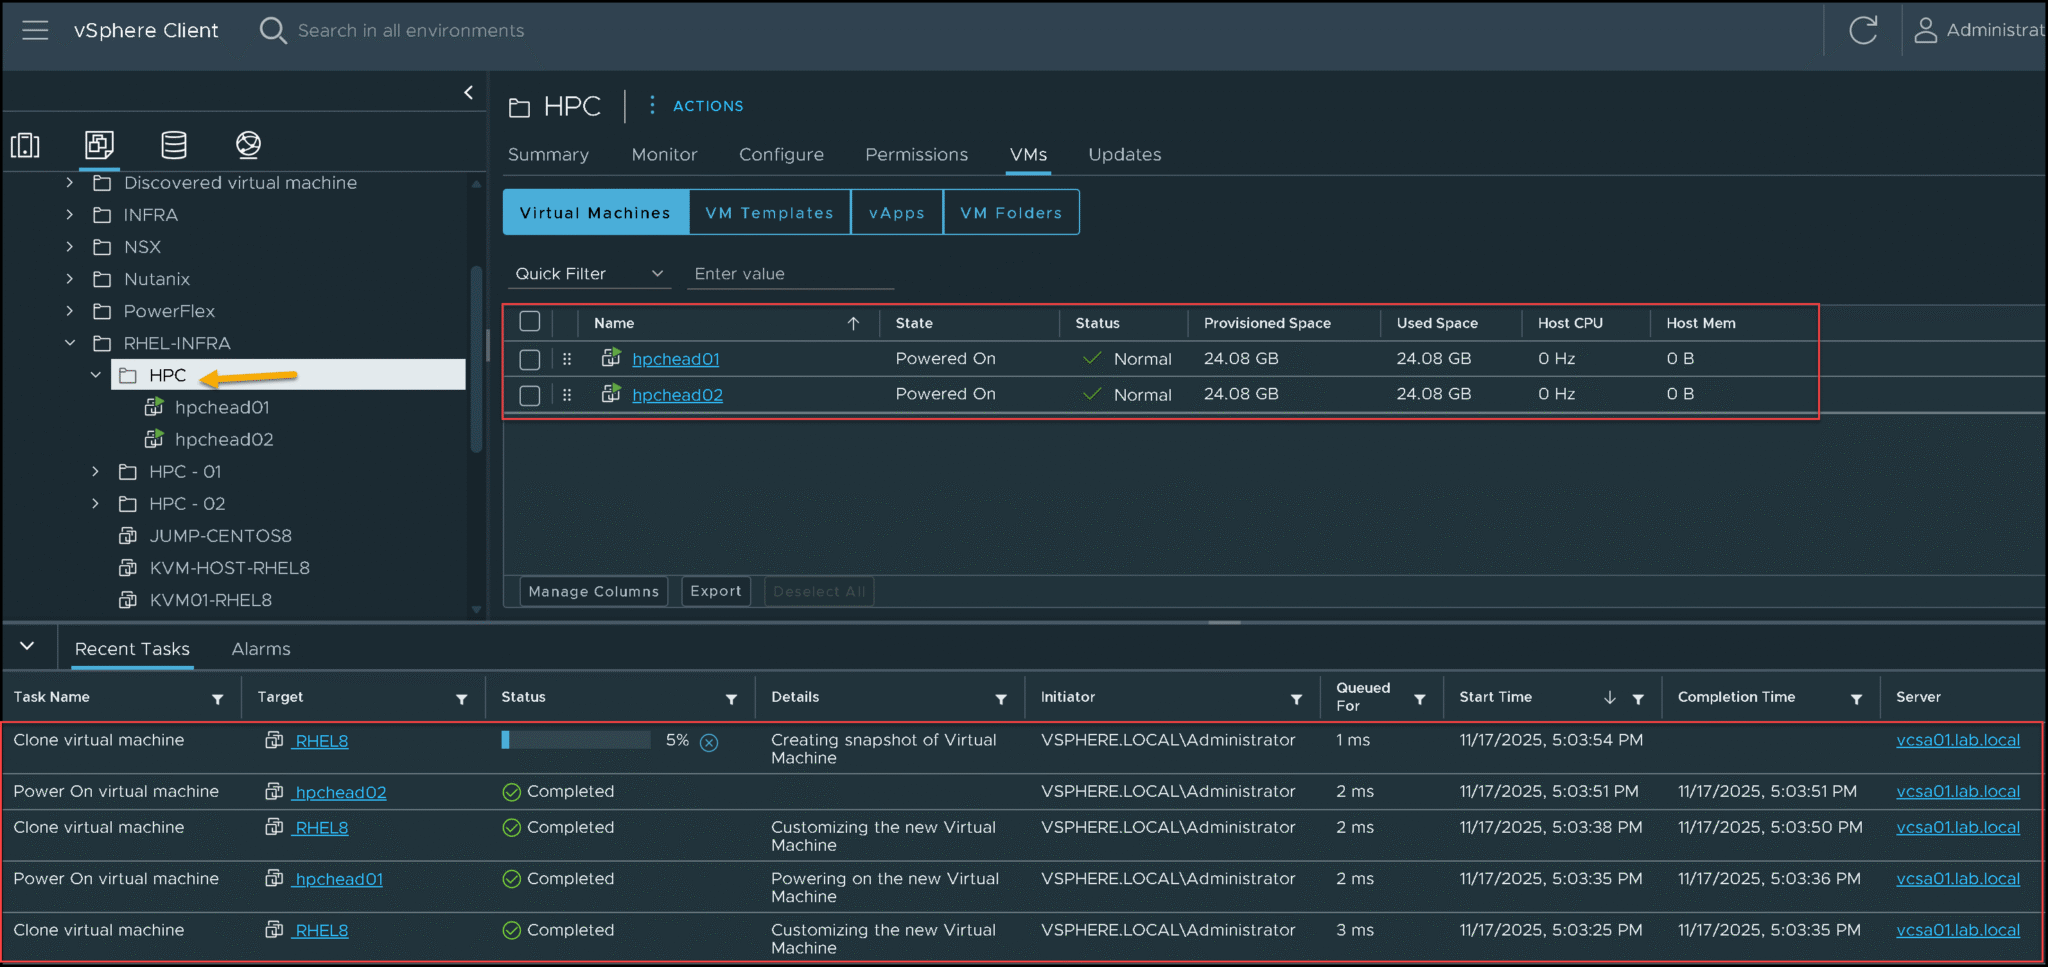
As we can see in the following picture, the VMs are being created under the “HPC” VM Folder:
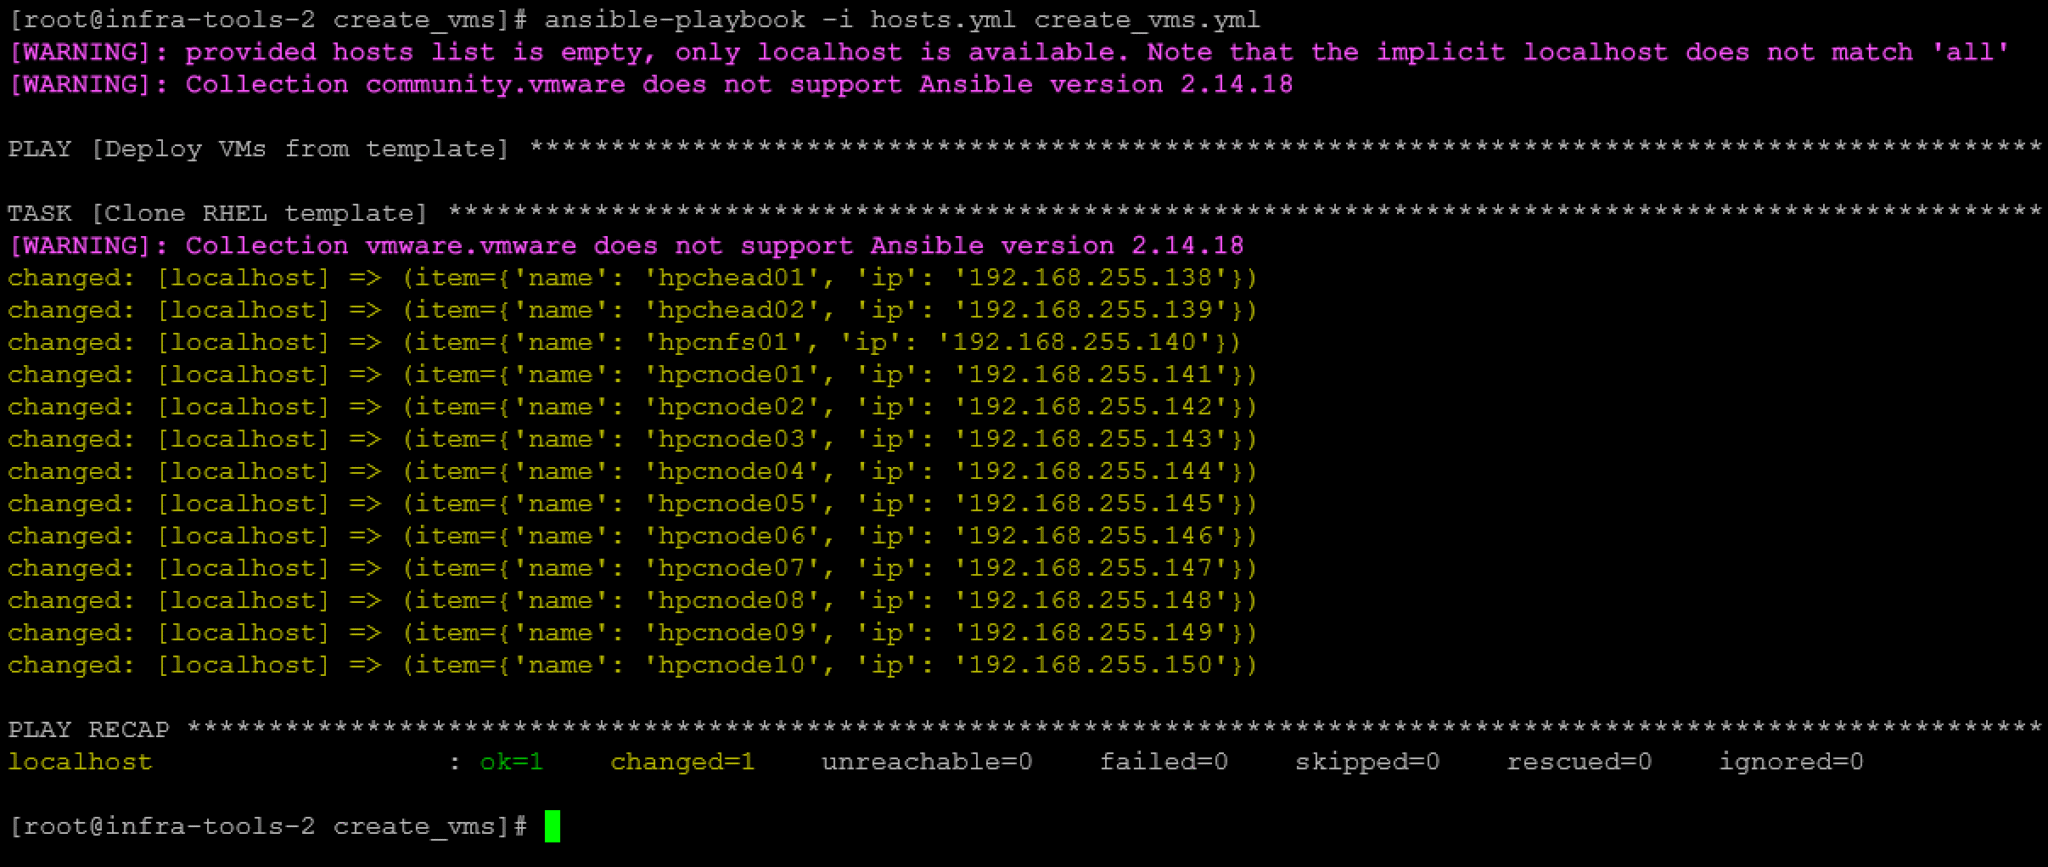
Here, the playbook executed successfully:
And all VMs were created as well:

6- On the Ansible Control Node, install the “sshpass” package and copy the SSH public key to the remote hosts (for passwordless authentication). The aim is to provide Ansible with the capability to access each cloned VM without using a password (aka passwordless authentication):
dnf install -y sshpass

export SSHPASS='Your_Password_Here'

for i in {01..02}; do sshpass -e ssh-copy-id -o StrictHostKeyChecking=no root@hpchead$i; done

for i in {01..10}; do sshpass -e ssh-copy-id -o StrictHostKeyChecking=no root@hpcnode$i; done

sshpass -e ssh-copy-id -o StrictHostKeyChecking=no root@hpcnfs01

unset SSHPASSNotes:
- Since we’re using the root username to copy the SSH keys to the remote hosts, we need to input the root password in the variable “SSHPASS“.
- You need to adjust the commands to satisfy your environment details.
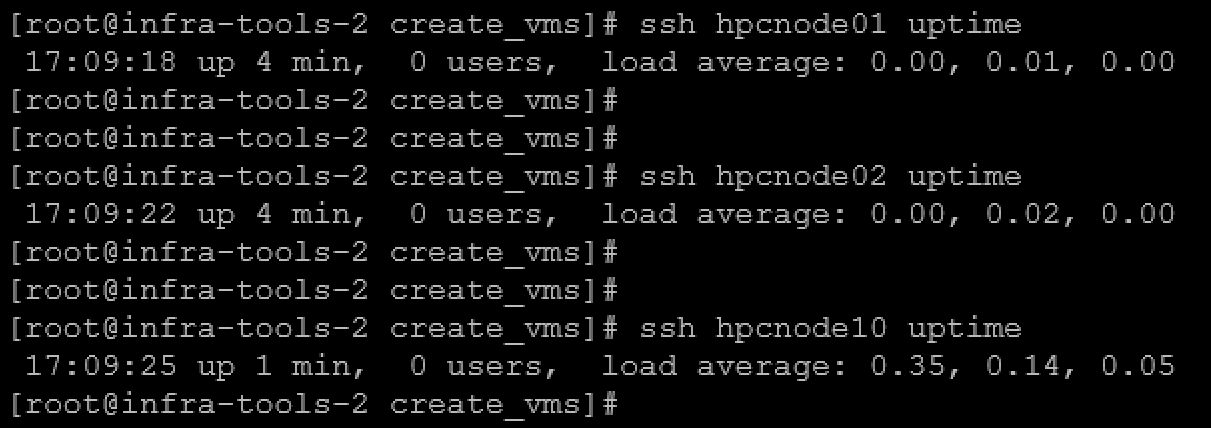
Afterward, we can test the command execution on remote hosts from Ansible without entering a password, as we can see in the following picture:
Registering RHEL VMs
So, using Ansible, we’ll register the cloned virtual machines with Red Hat. To do that, you need to have a Red Hat account, get your ORG ID, and generate an Activation Key.
1- Creating the Playbook “register_rhsm.yml” to fix cloned VM identity & register RHSM:
---
- name: Fix cloned VM identity & register RHSM
  hosts: hpc_hosts
  become: yes

  tasks:

    - name: Reset machine-id (ensure unique identity)
      command: >
        bash -c 'truncate -s 0 /etc/machine-id && systemd-machine-id-setup'

    - name: Remove old SSH host keys
      file:
        path: /etc/ssh/ssh_host_*
        state: absent

    - name: Clean cloud-init state
      command: cloud-init clean --logs
      ignore_errors: yes

    - name: Reboot after cleanup
      reboot:

    - name: Unregister system (ignore if not registered)
      command: subscription-manager unregister
      ignore_errors: yes

    - name: Clean local subscription data
      command: subscription-manager clean
      ignore_errors: yes

    - name: Register system using activation key
      redhat_subscription:
        state: present
        org_id: "XXXXXXX"
        activationkey: "XXXXXXXX"

    - name: Enable BaseOS & AppStream repos
      rhsm_repository:
        name:
          - rhel-8-for-x86_64-baseos-rpms
          - rhel-8-for-x86_64-appstream-rpms
state: enabledNote: Replace the fields “org_id” and “activationkey” with your values!
2- Creating the inventory file “hpc_hosts.ini”:
[hpc_hosts]
hpchead01 ansible_host=192.168.255.138
hpchead02 ansible_host=192.168.255.139
hpcnfs01 ansible_host=192.168.255.140
hpcnode01 ansible_host=192.168.255.141
hpcnode02 ansible_host=192.168.255.142
hpcnode03 ansible_host=192.168.255.143
hpcnode04 ansible_host=192.168.255.144
hpcnode05 ansible_host=192.168.255.145
hpcnode06 ansible_host=192.168.255.146
hpcnode07 ansible_host=192.168.255.147
hpcnode08 ansible_host=192.168.255.148
hpcnode09 ansible_host=192.168.255.149
hpcnode10 ansible_host=192.168.255.150
3- Executing the Playbook:
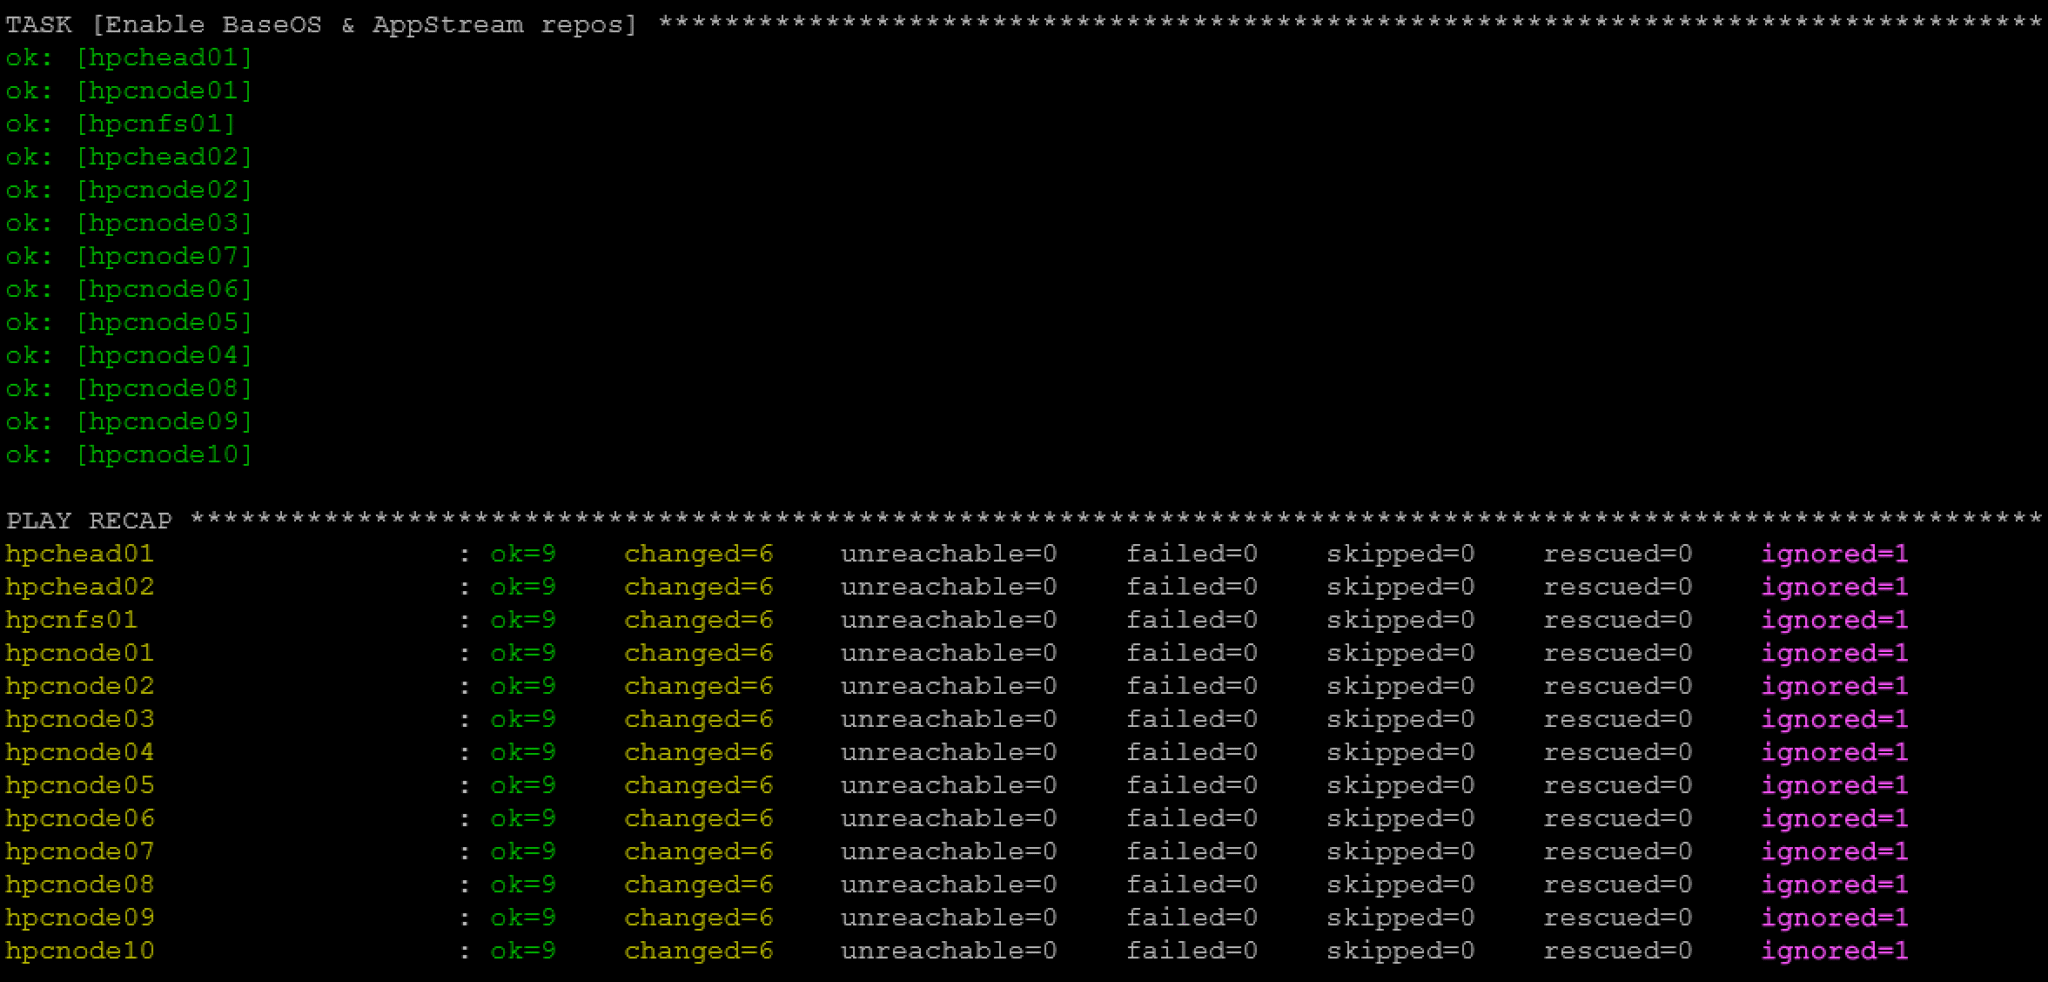
ansible-playbook -i hpc_hosts.ini register_rhsm.yml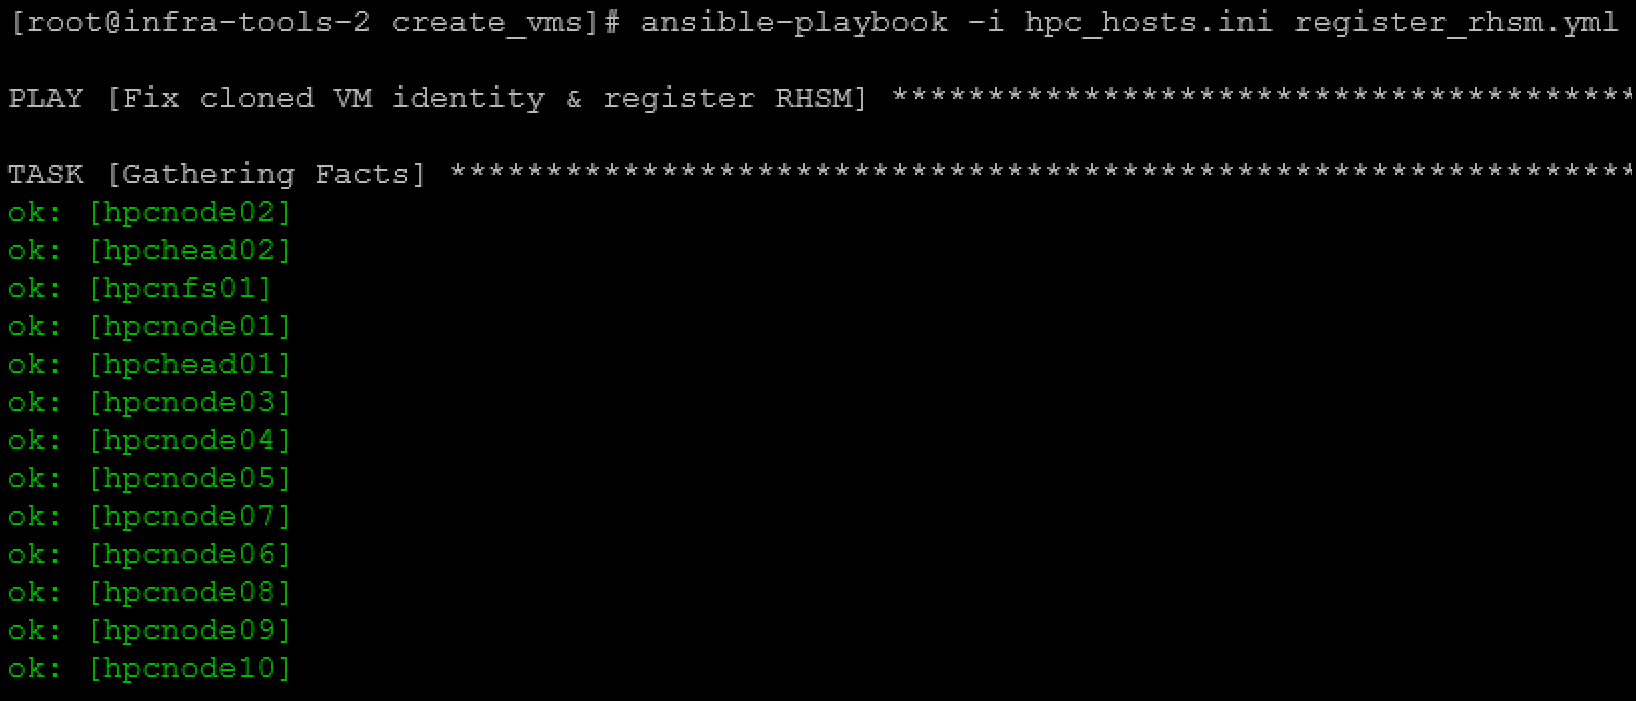
Accurate time synchronization is particularly important before these virtual machines are used as Slurm cluster nodes. For the complete automation workflow, see “Configure Chrony with Ansible: Practical Playbook for Linux Servers“.
Note: The virtual machines deployed in this workflow can then be used to build the environment described in “Setting Up a Slurm Cluster in a Lab: Practical Deployment Guide“.
What This Deployment Workflow Accomplishes
Automating VM deployment with Ansible makes the lab much easier to reproduce, but the reliability of the process depends heavily on the quality of the source template.
Preparing the RHEL VM before cloning prevents duplicate machine IDs, SSH host keys, cloud-init state, and subscription identities from being propagated to every server. Ansible can then focus on the deployment itself: cloning the template, assigning the network configuration, powering on the VM, and waiting for guest customization to complete.
Once the VMs have unique identities and stable network connectivity, additional configuration such as Red Hat registration, time synchronization, DNS, and Slurm installation can be handled by separate Ansible playbooks. Keeping these tasks separated makes the automation easier to test, troubleshoot, and reuse.
External References
- Ansible community.vmware.vmware_guest Module Official Ansible documentation for cloning and managing VMware virtual machines, guest OS customization, network configuration, certificate validation, and waiting for customization and IP assignment.
-
cloud-init VMware Datasource
Official cloud-init reference for VMware Guest OS
Customization, including the required
disable_vmware_customization: falsesetting and VMware datasource behavior. -
cloud-init Command-Line Interface
Official documentation for
cloud-init clean, including the--machine-idoption recommended when preparing golden images for cloning. -
cloud-init Module Reference
Official reference for SSH host-key handling, including
ssh_deletekeys,ssh_genkeytypes, root-login behavior, and SSH key generation on new instances. - Red Hat Enterprise Linux — Cloning Virtual Machines Red Hat guidance for preparing a RHEL system before cloning, including removal of unique system information, SSH host keys, and Red Hat Subscription Management registration data.
- Ansible Vault Official Ansible documentation for protecting sensitive variables such as vCenter passwords, activation keys, and other credentials used by automation playbooks.
- Ansible community.general.redhat_subscription Module Official reference for registering RHEL systems with Red Hat Subscription Management using Organization IDs and activation keys.
