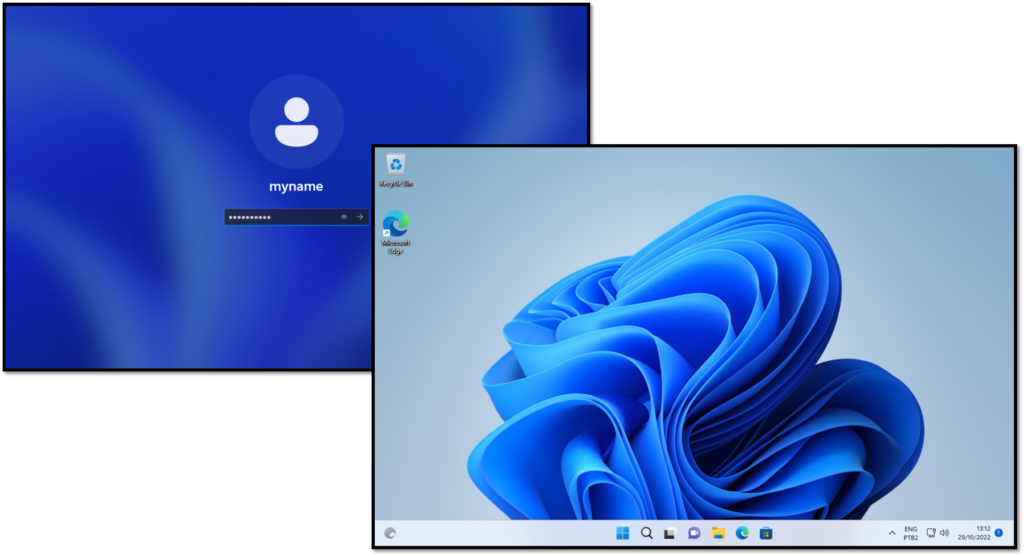
Installing Windows 11 as a Guest OS on VMware Workstation Pro is a practical guide that explains how to deploy the latest Microsoft operating system in a virtualized lab environment. This tutorial covers the main steps required to create and configure a virtual machine before starting the installation.
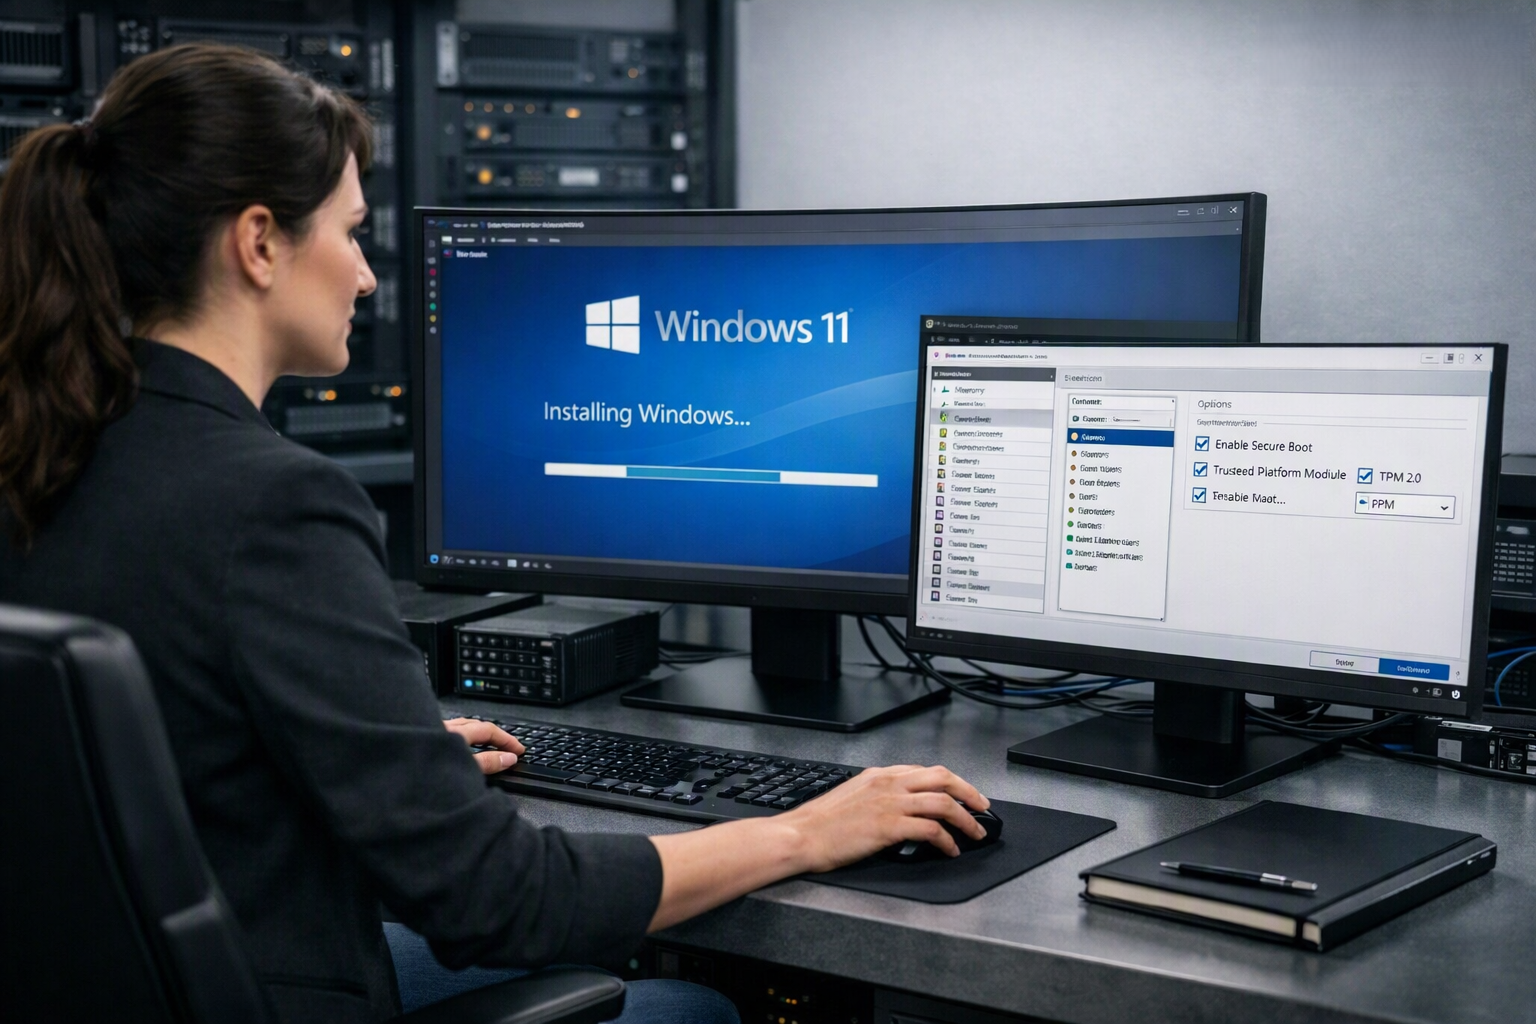
Windows 11 introduces additional hardware requirements compared to previous versions, including UEFI Secure Boot and TPM 2.0 support. When running the operating system as a virtual machine, these settings must be properly configured to allow a successful installation.
In this article, we will install Windows 11 as a guest operating system using VMware Workstation Pro. The process includes creating the virtual machine, configuring memory, disk, encryption, virtual TPM, completing the Windows installation, and installing VMware Tools.
I’m using VMware® Workstation 16 Pro version 16.1.2 build-17966106 installed on Windows 10 Machine.
Note: To get details about Windows 11, click on the link below:
https://www.microsoft.com/en-us/windows/windows-11-specifications?r=1
Creating the Virtual Machine
Before Installing Windows 11 as a Guest OS, the first step is creating a Virtual Machine on the VMware Workstation.
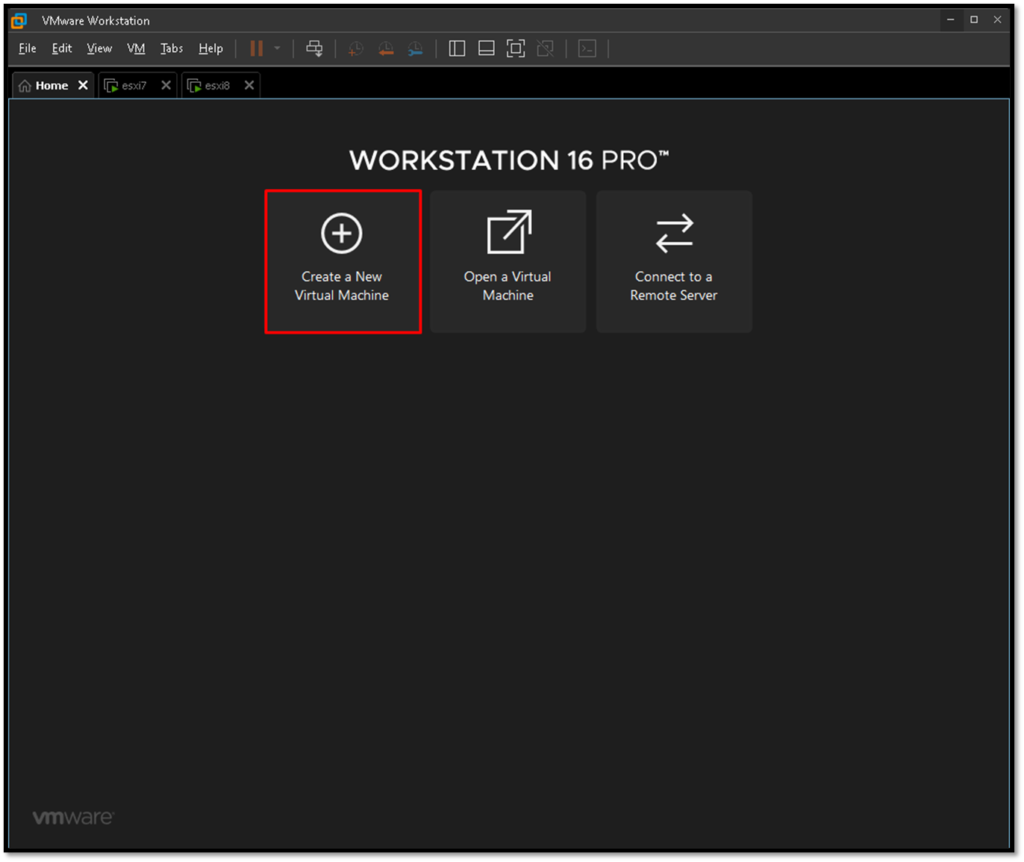
To do it, so, click on “Create a New Virtual Machine”:
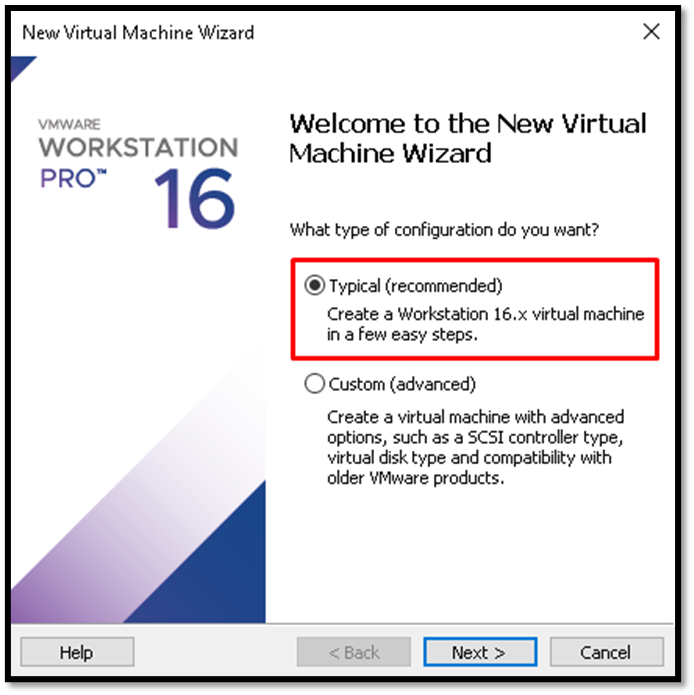
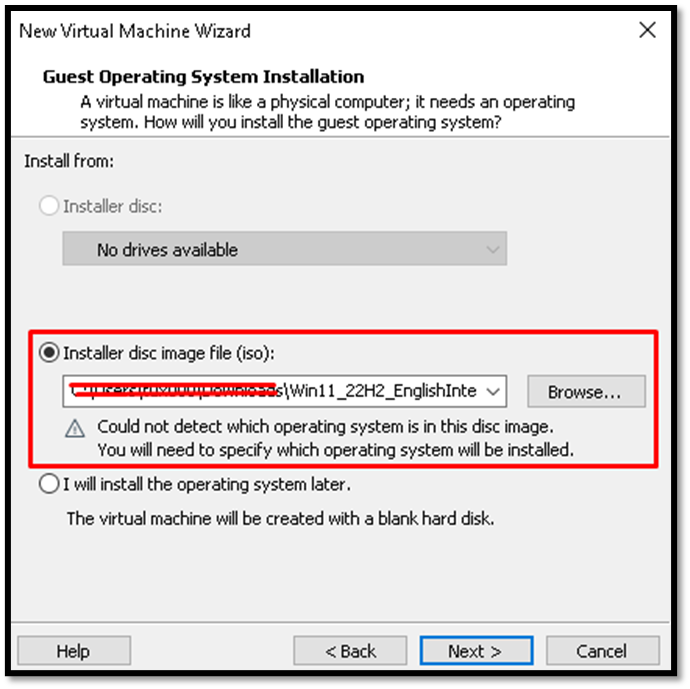
Browse and select the Windows 11 iso file:
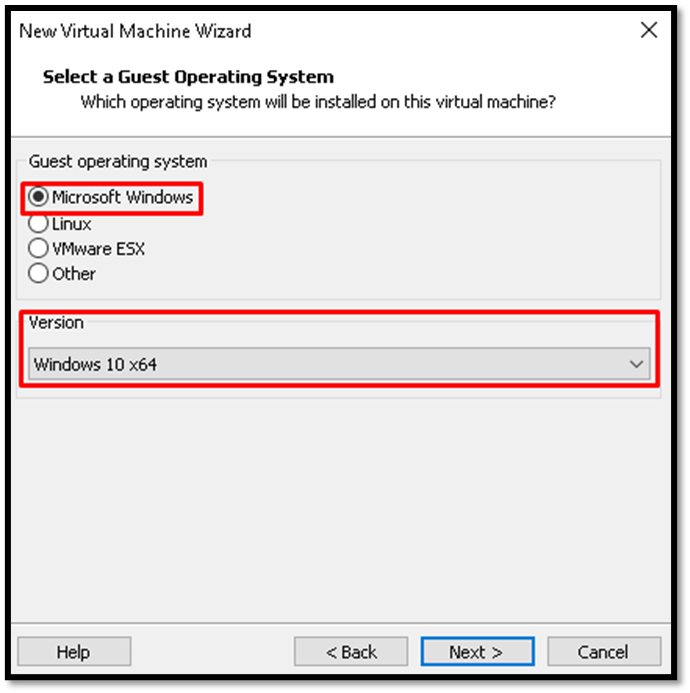
Select the Guest operating system as Microsoft Windows and version Windows 10 x64. This VMware Workstation still does not have the Windows 11 version. But it is not a problem:
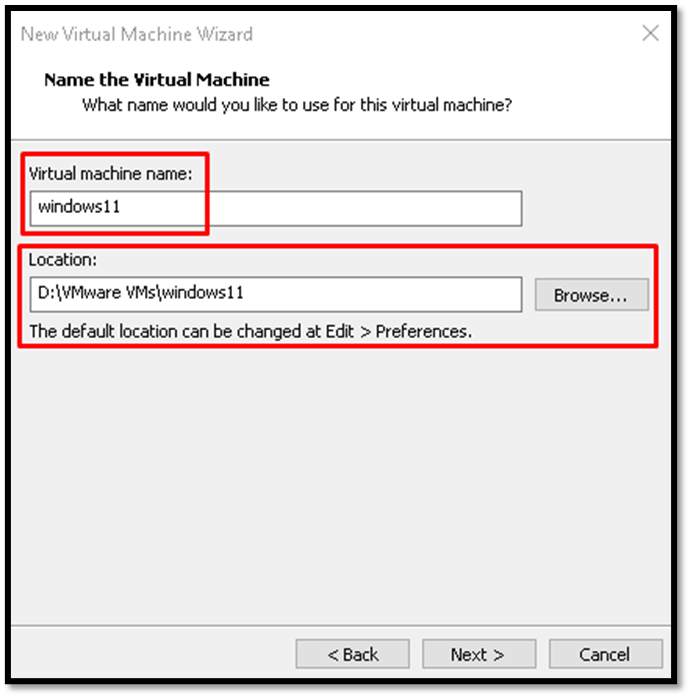
Type the Virtual machine name and location where the Virtual Machine files will be placed.
In this case, for instance, the virtual machine name is “windows11” and the location is “D:\VMware VMs\windows11”:
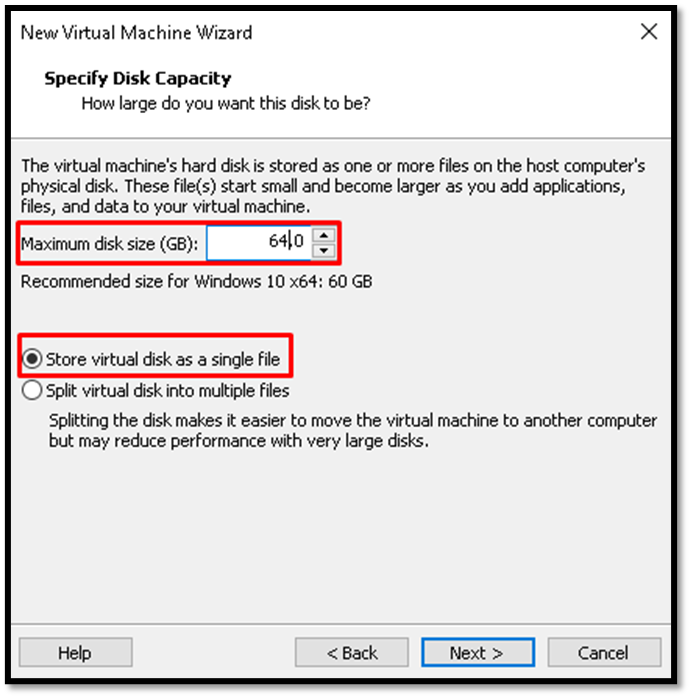
As a lab environment, the Maximum disk size (GB) was changed to 64GB. This is the minimum value required to install Windows 11.
By default, the virtual disk of the VM is split into multiple files. However, we will change this option to “Storage virtual disk as a single file”:
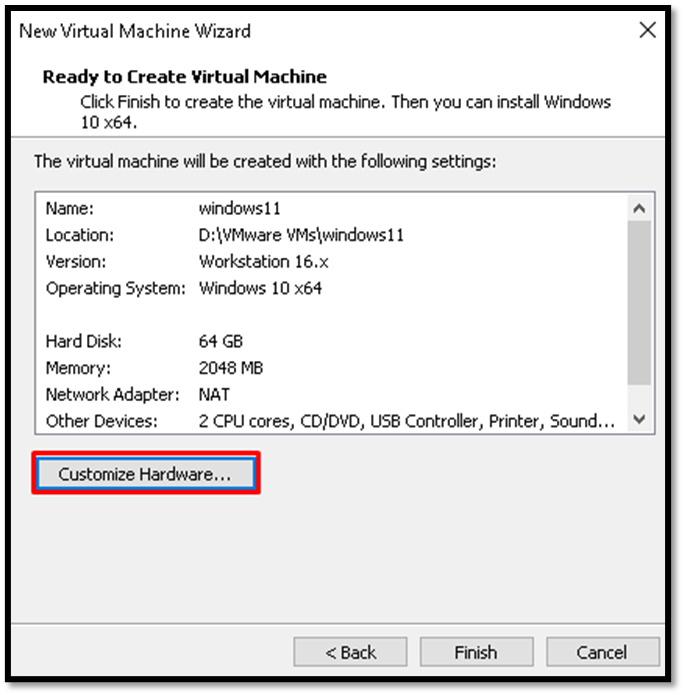
Next, click on “Customize Hardware…”. Will be necessary to upgrade the Memory value and do other customizations:
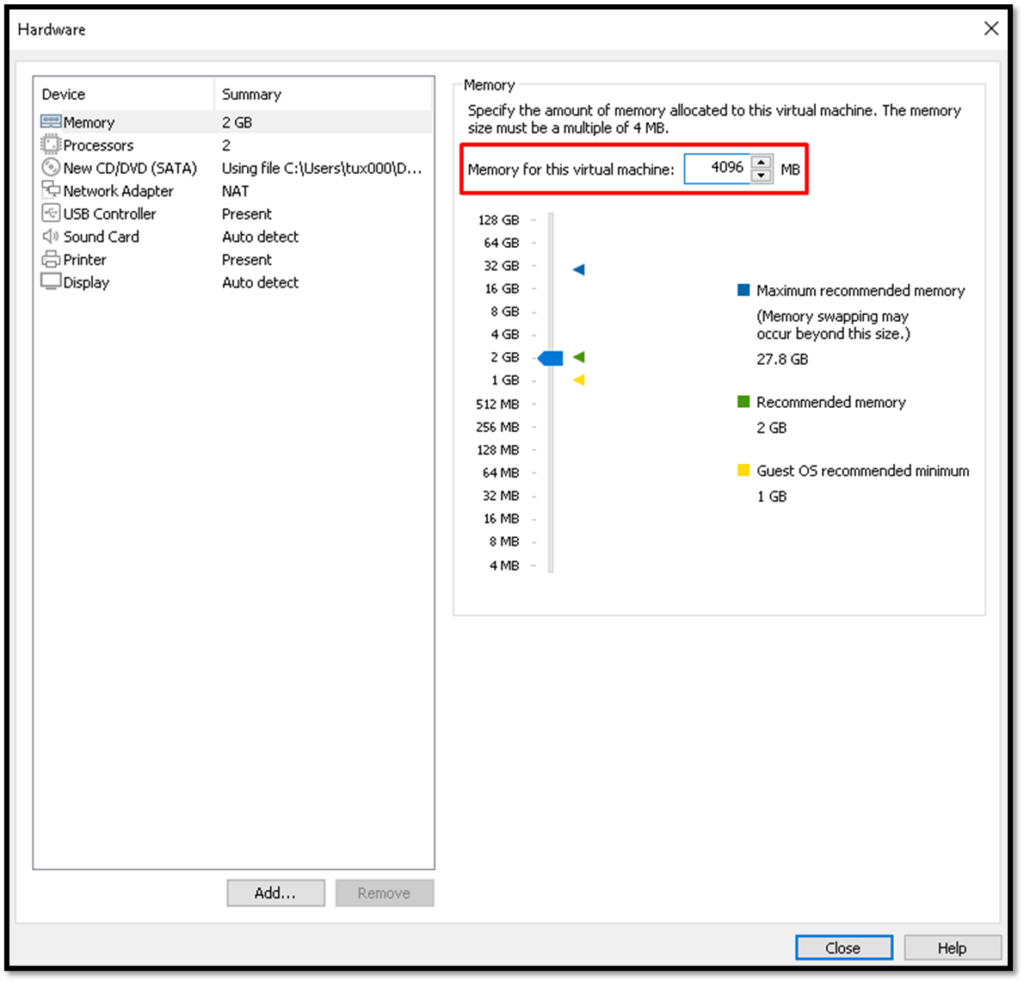
Adjust the memory from 2048MB to 4096MB:
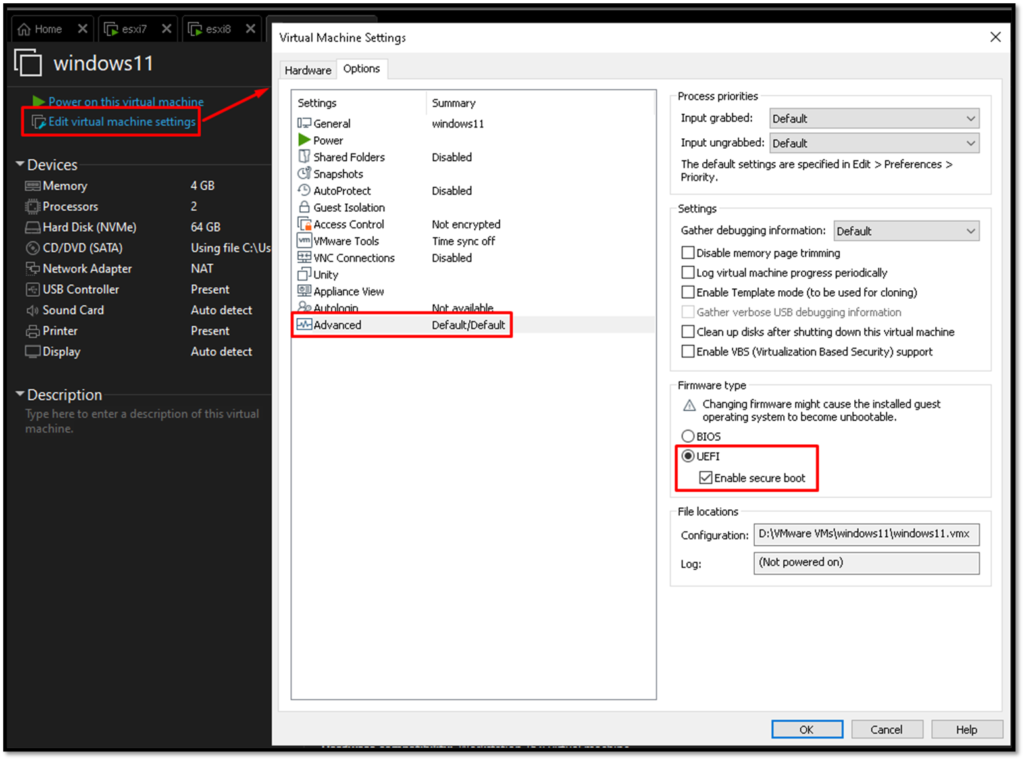
Before starting the Virtual Machine, click on “Edit virtual machine setting”. On the Advanced tab, select the Advanced option and mark the option “Enable secure boot”. Windows 11 requires UEFI Enable Secure Boot:
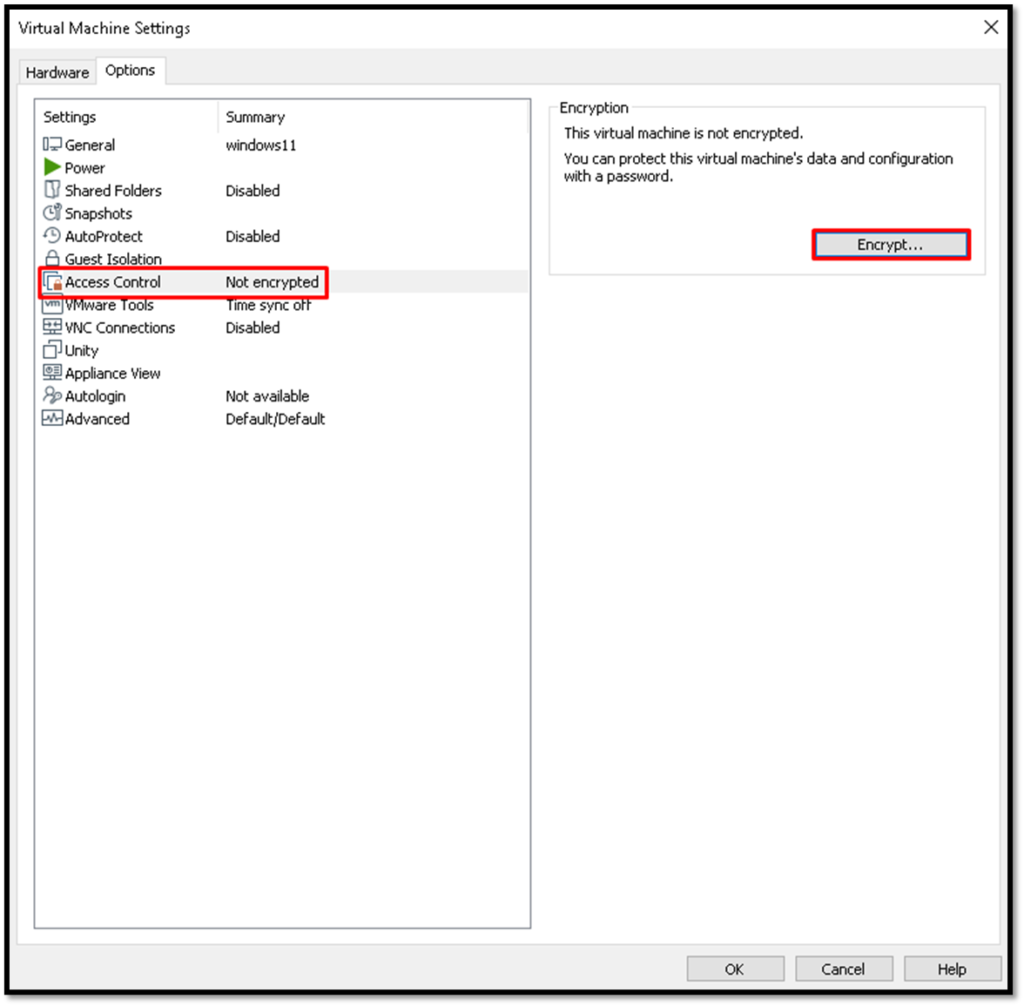
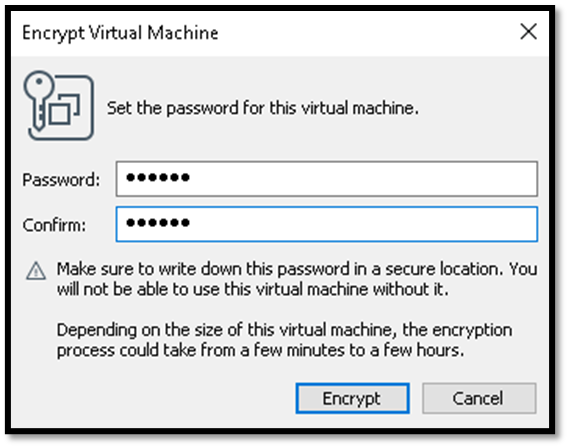
The next step is enabling Virtual Machine Encryption.
Under the Access Control option, click on “Encrypt…” to enable the encryption on this Virtual Machine. After that, click on this option, which will be necessary to define a password for this virtual machine:
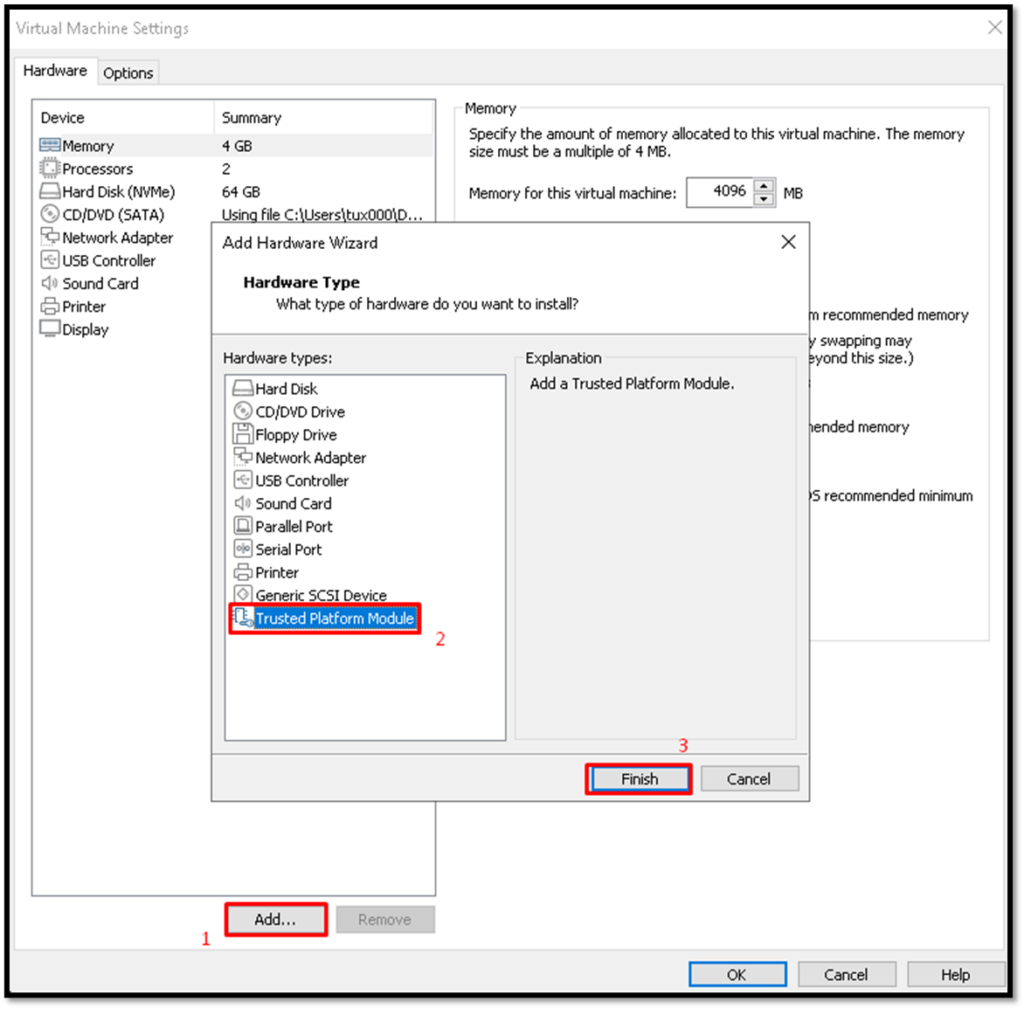
Now, change to the Hardware tab and click on “Add” to add a new virtual hardware device to this Virtual Machine. By default, Windows 11 requires a TPM 2.0 module. So, we will add a virtual TPM module to this Virtual Machine:
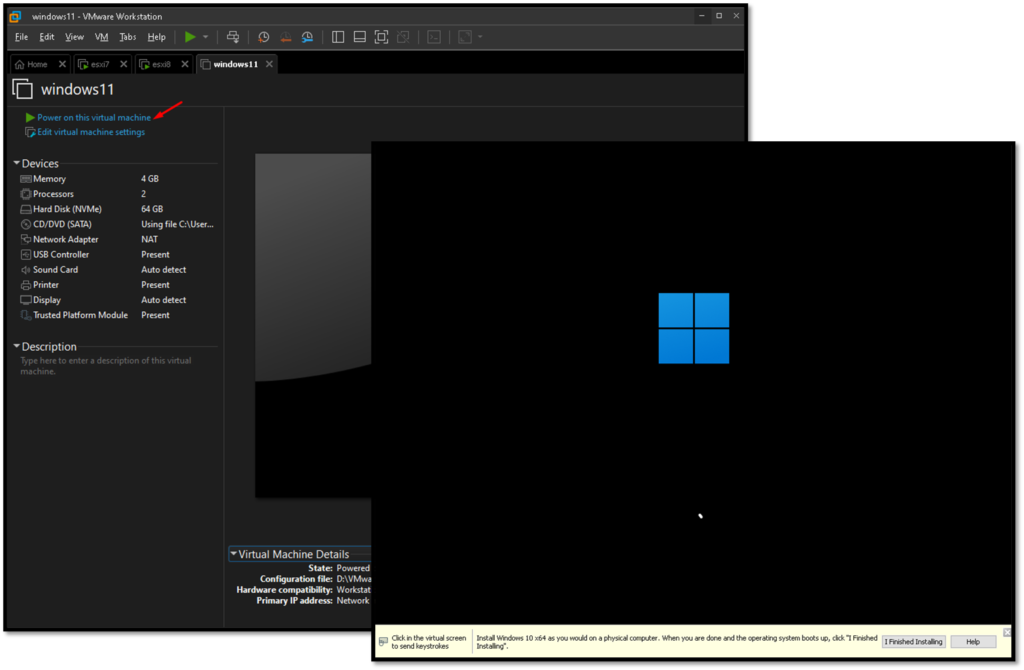
Power on the Virtual Machine and follow the installation wizard
Click on “Power on this virtual machine” to start that. Wait a few seconds. The installation wizard will be shown:
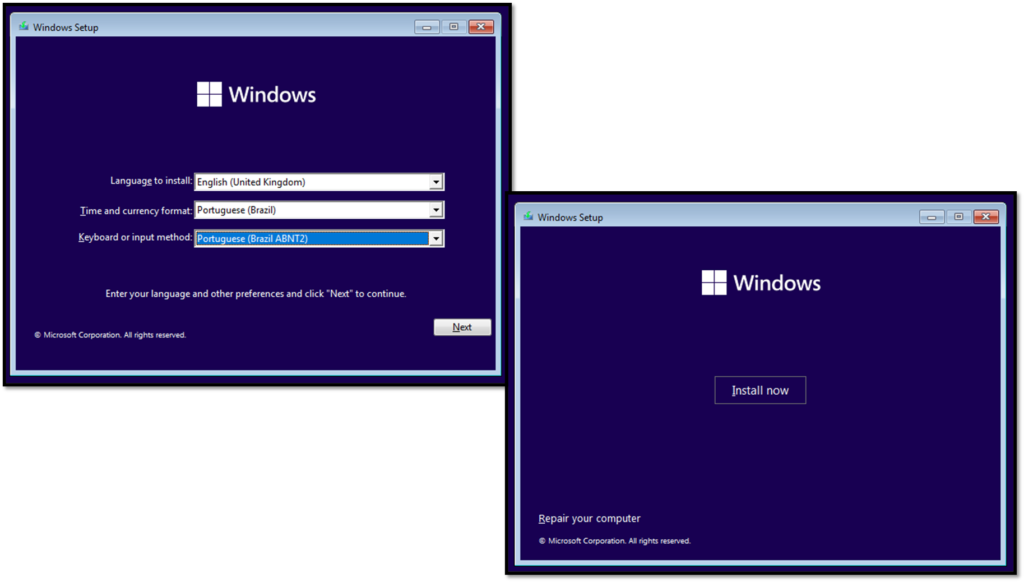
Select the installation language, time and currency format, and keyboard type. Click on “Next”.
Click on “Install now” to start the installation process:
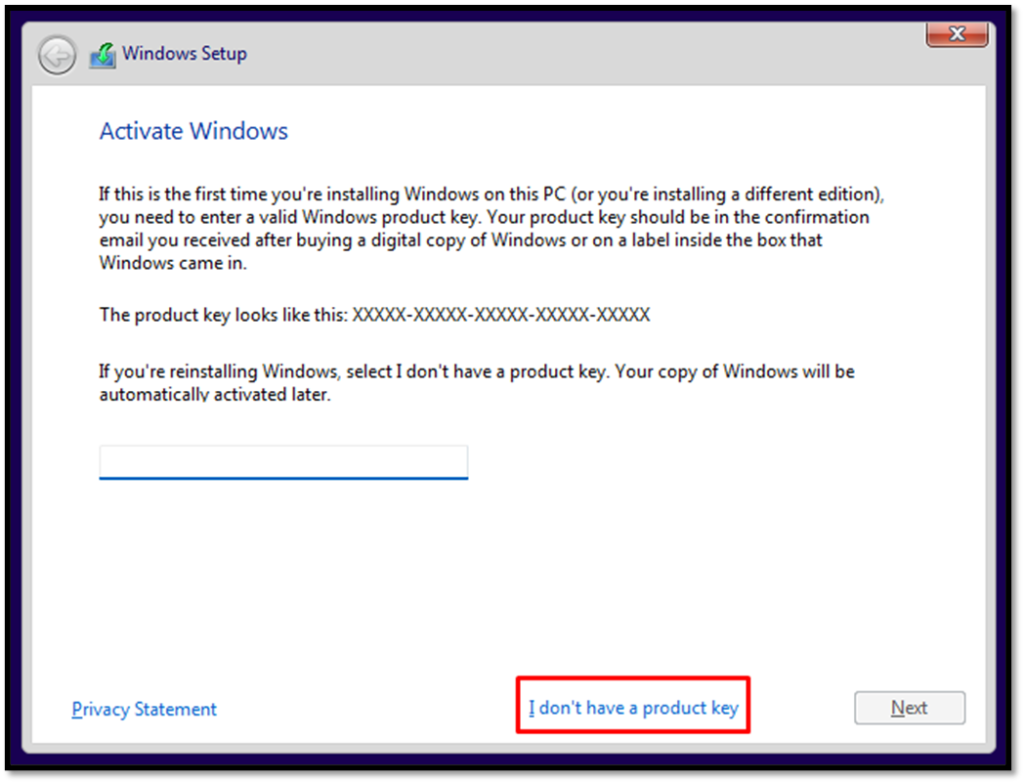
There are a lot of Windows 11 versions. In this lab, we are choosing Windows 11 Pro. Click on “Next”:
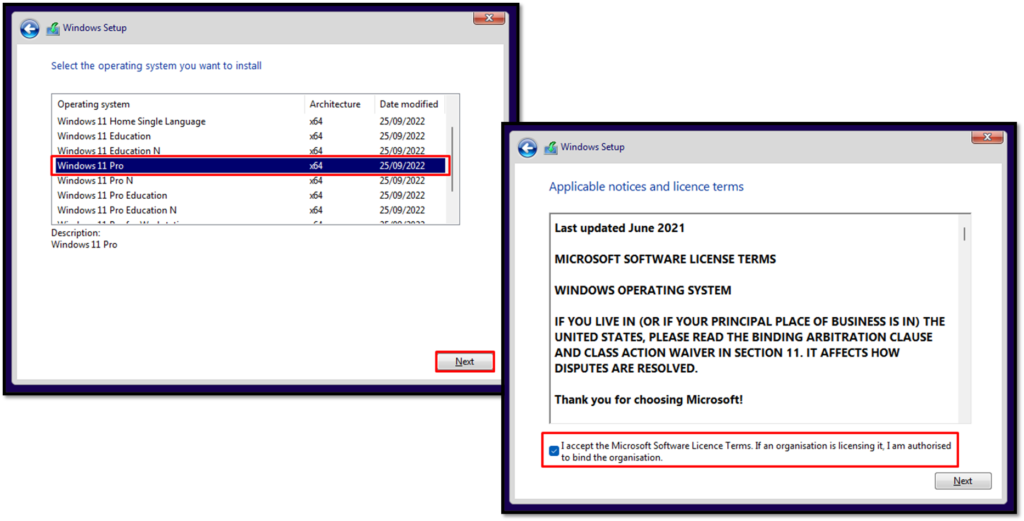
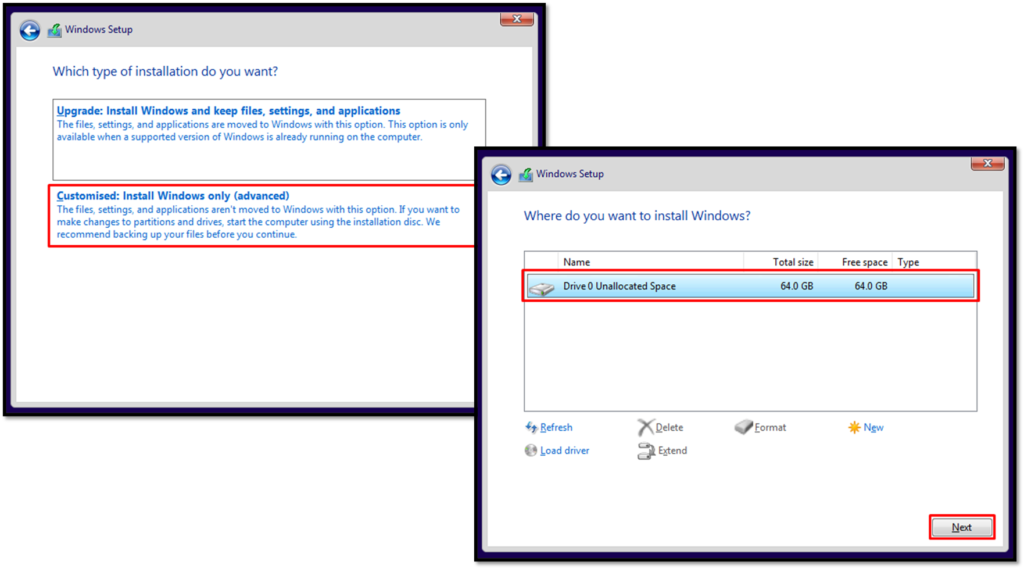
Wait some minutes while the installation process is running:
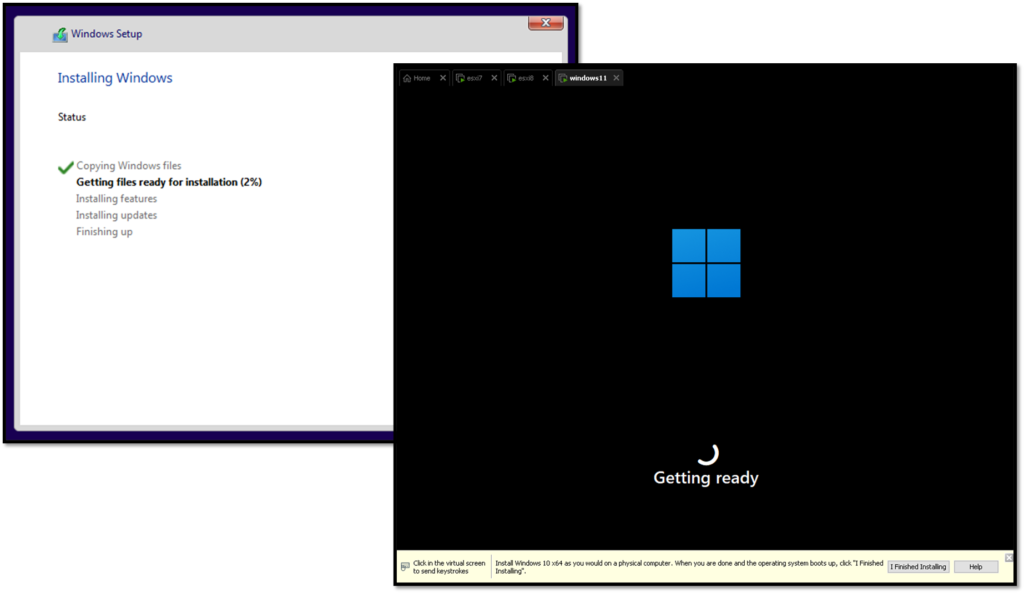
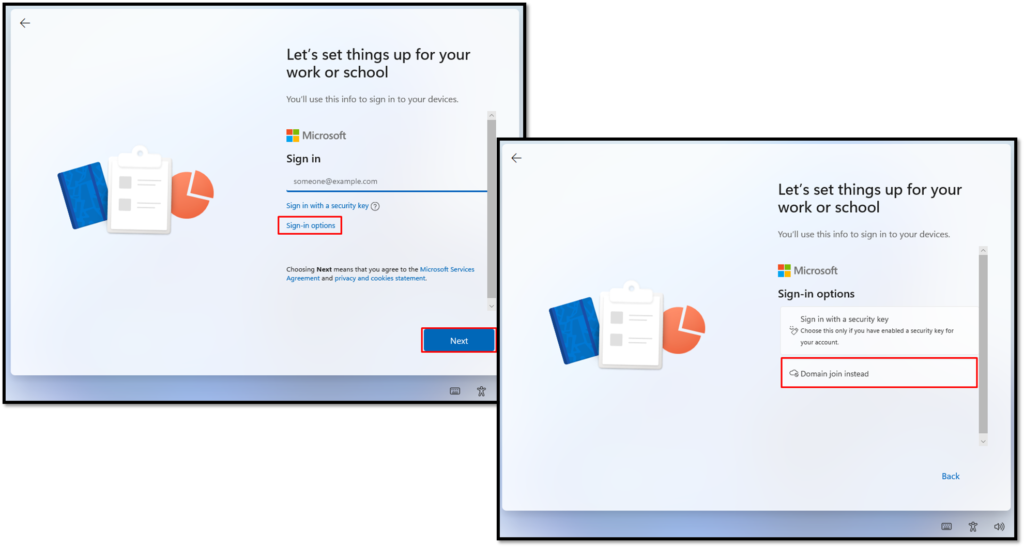
The next step is to configure Windows 11 for the first use. All configurations are very intuitive, so, choose the best option for your scenario or personal preferences.
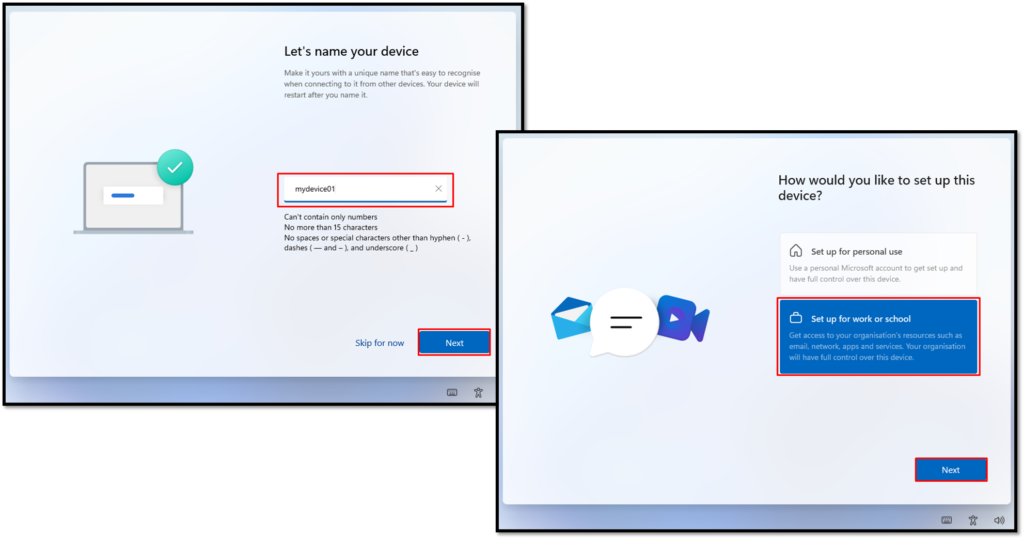
Set the device name, or network name of this device:
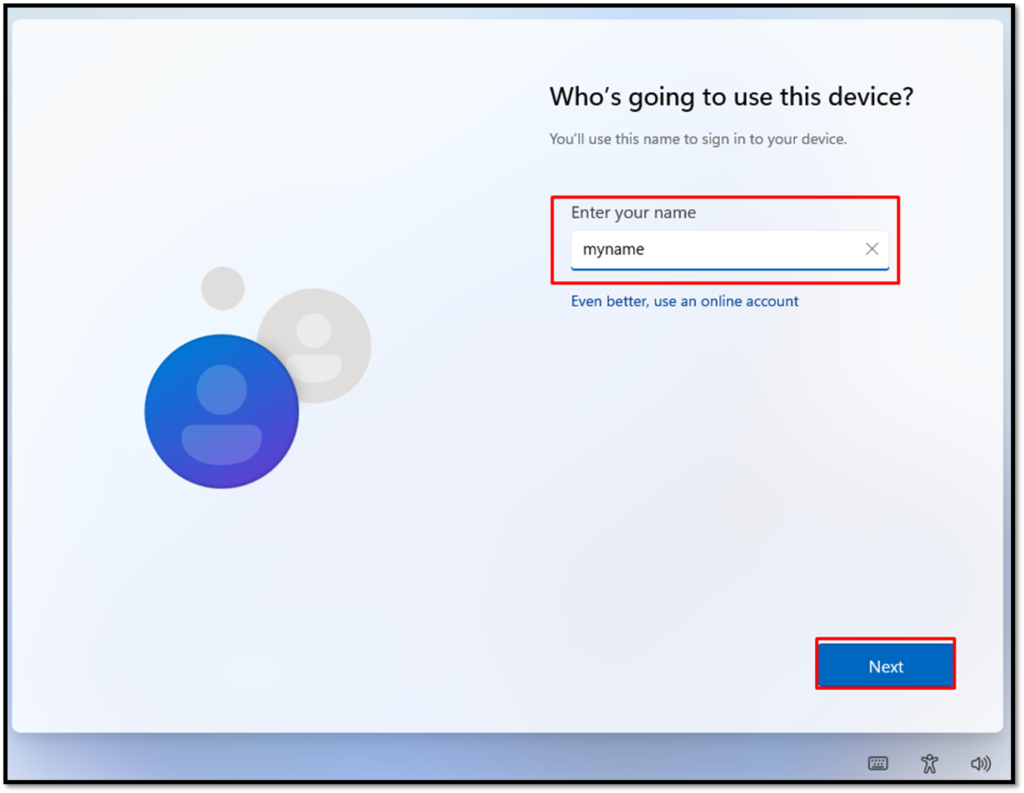
Set the name to sign in on this device. This is the username of the person who will use this device:
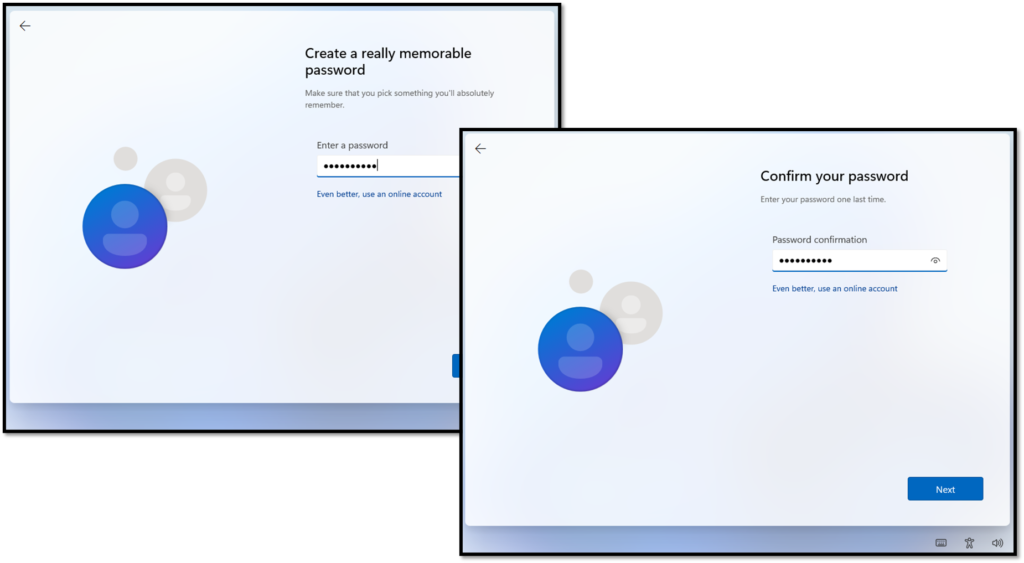
Create and confirm a user password:
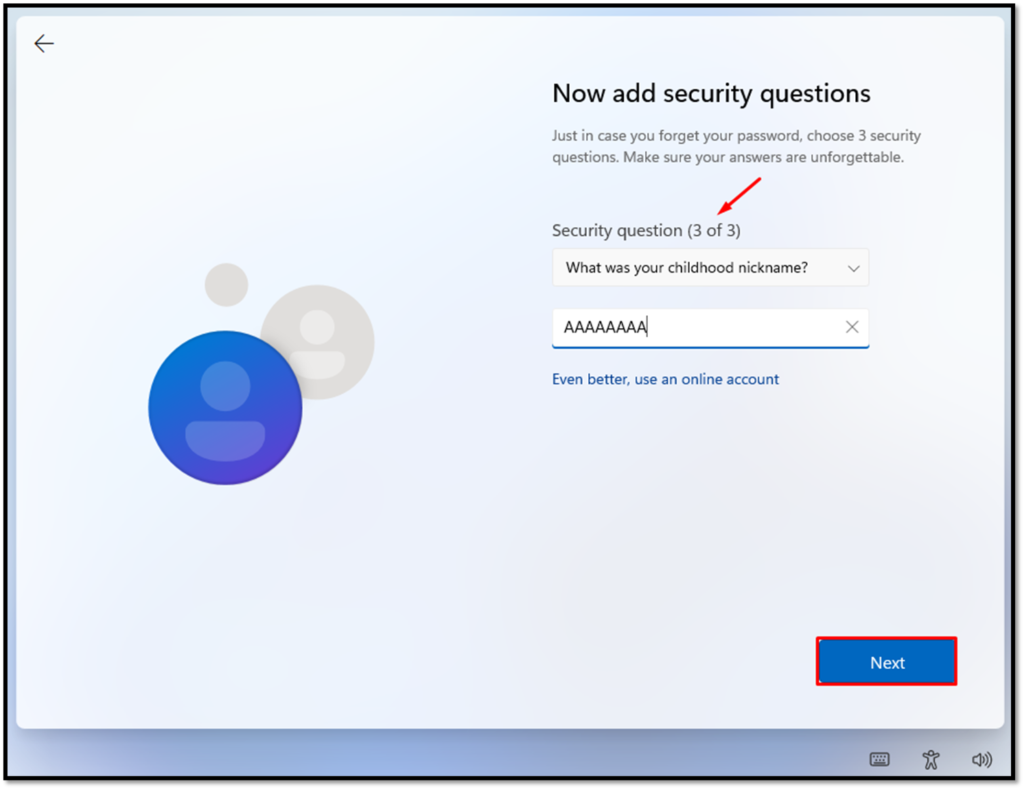
With a focus on improving security, is necessary to answer 3 security questions. Choose three predefined questions and put your answers.
Note: Is a good idea to save all questions and answers in a secure place. This will help in a recovery process, for example:
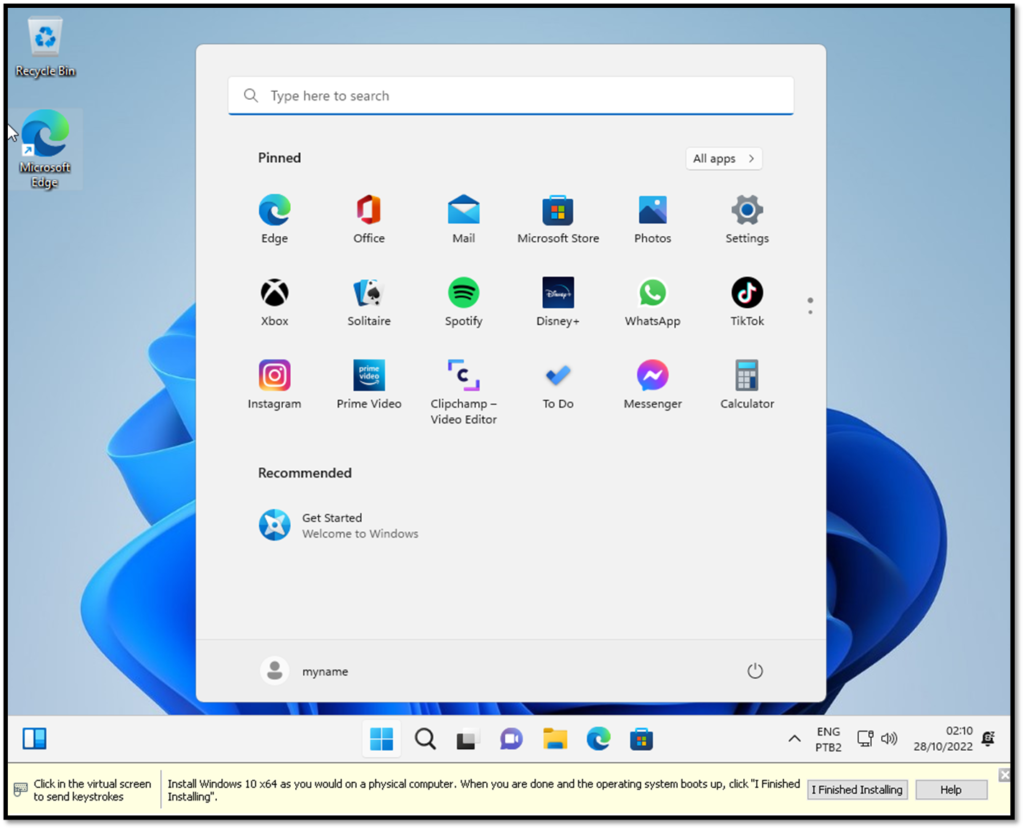
Choose the next configurations according to your preferences. After that, a message like shown in the picture below will be exhibited:

Here, we have the Windows 11 Desktop 🙂 :
To improve usability, we recommend installing VMware Tools. This software is provided by VMware Workstation and provides a Virtual Machine a better hardware utilization.
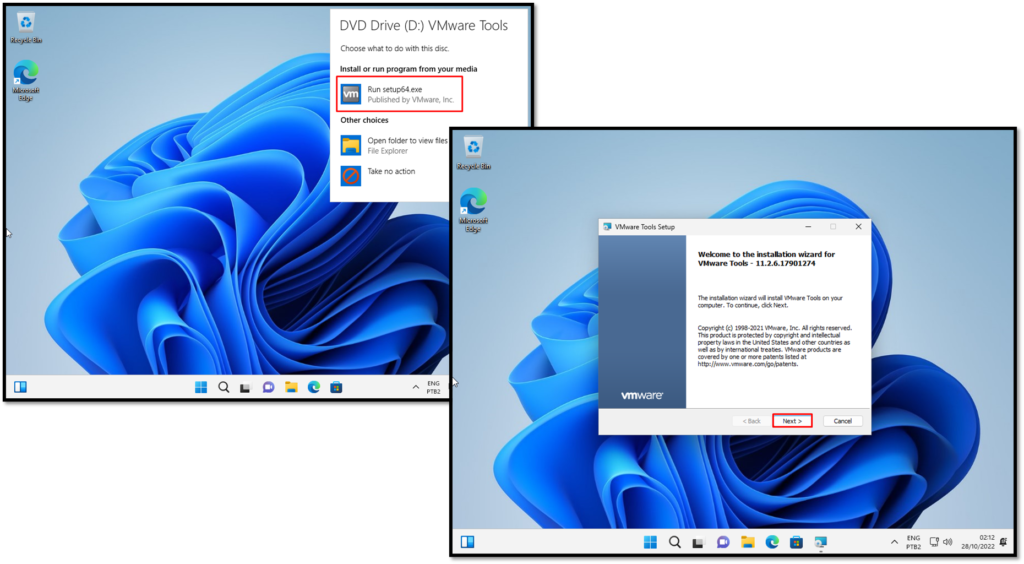
To install the VMware Tools, right-click on Virtual Machine name –> Install VMware Tools. Inside the Virtual Machine, probably a pop-up will be shown.
Click on “Run setup64.exe” to start the VMware Tools installation process:
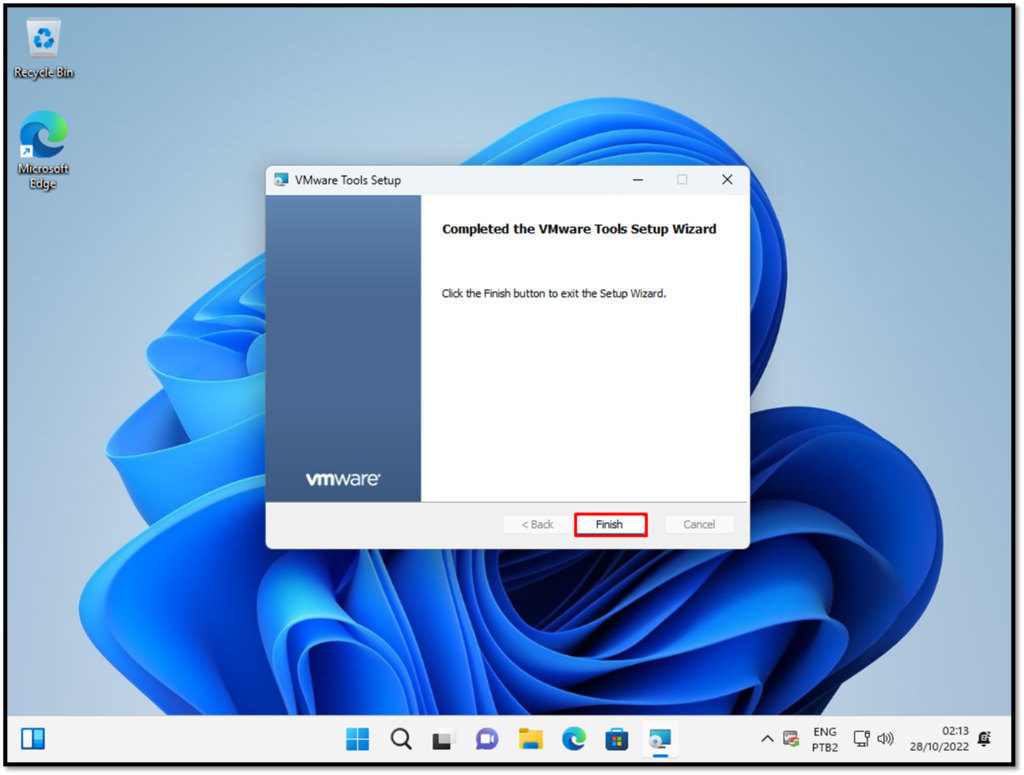
Click on “Finish” to finish the VMware Tools installation. A reboot is necessary:
Log in on Windows 11: