

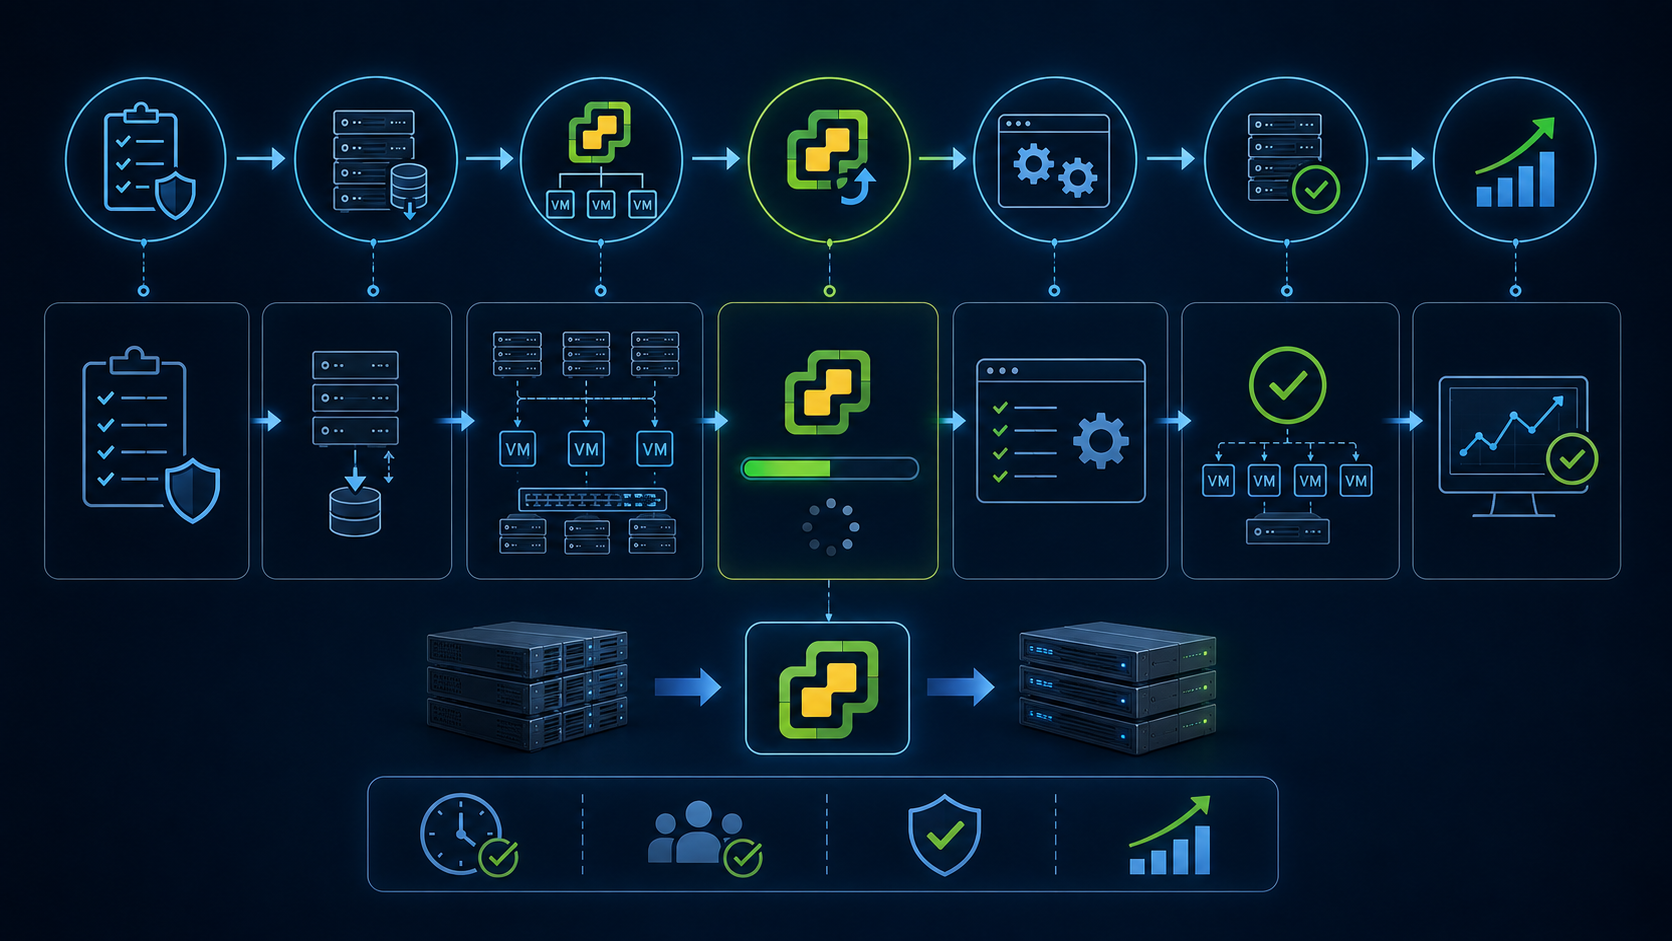
vCenter Reduced Downtime Upgrade shows how to perform a vCenter Server upgrade with reduced downtime.
First and foremost, what is the Reduced Downtime Upgrade?
Reduced downtime upgrade (RDU) is a migration-based approach to upgrade vCenter Server between major and minor versions that reduces downtime to less than 5 minutes under ideal network, CPU, memory, and storage conditions.
The reduced downtime upgrade process uses a migration-based approach. This approach deploys a new vCenter Server Appliance, and the current vCenter data and configuration are copied. The reduced downtime upgrade does not replace the current vCenter Server upgrade process through the GUI installer.
During the reduced downtime upgrade process, the source vCenter Server Appliance and all resources remain online. The downtime occurs when the source vCenter Server Appliance is stopped, the configuration is switched over to the target vCenter, and the services are started.
Note: The downtime is expected to take less than 5 minutes under ideal network, CPU, memory, and storage provisioning.The high-level steps for the reduced downtime upgrade are:
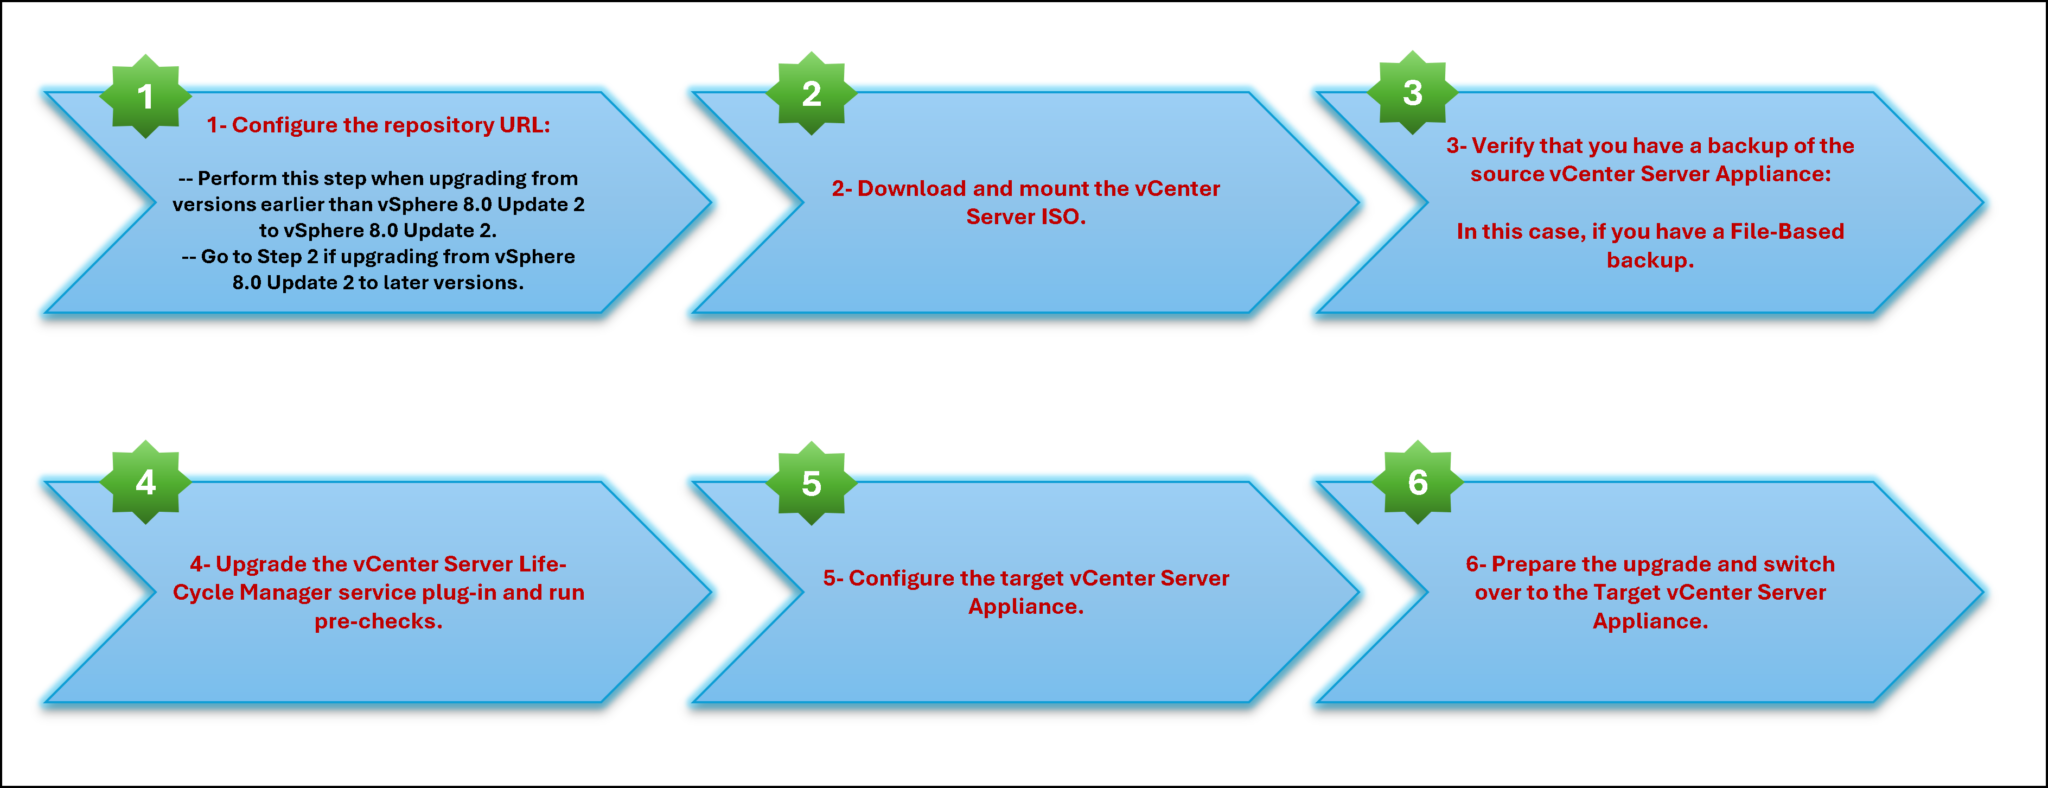
To get more details, I highly recommend that you check the following link:
Reduced Downtime Upgrade
About the Lab Environment
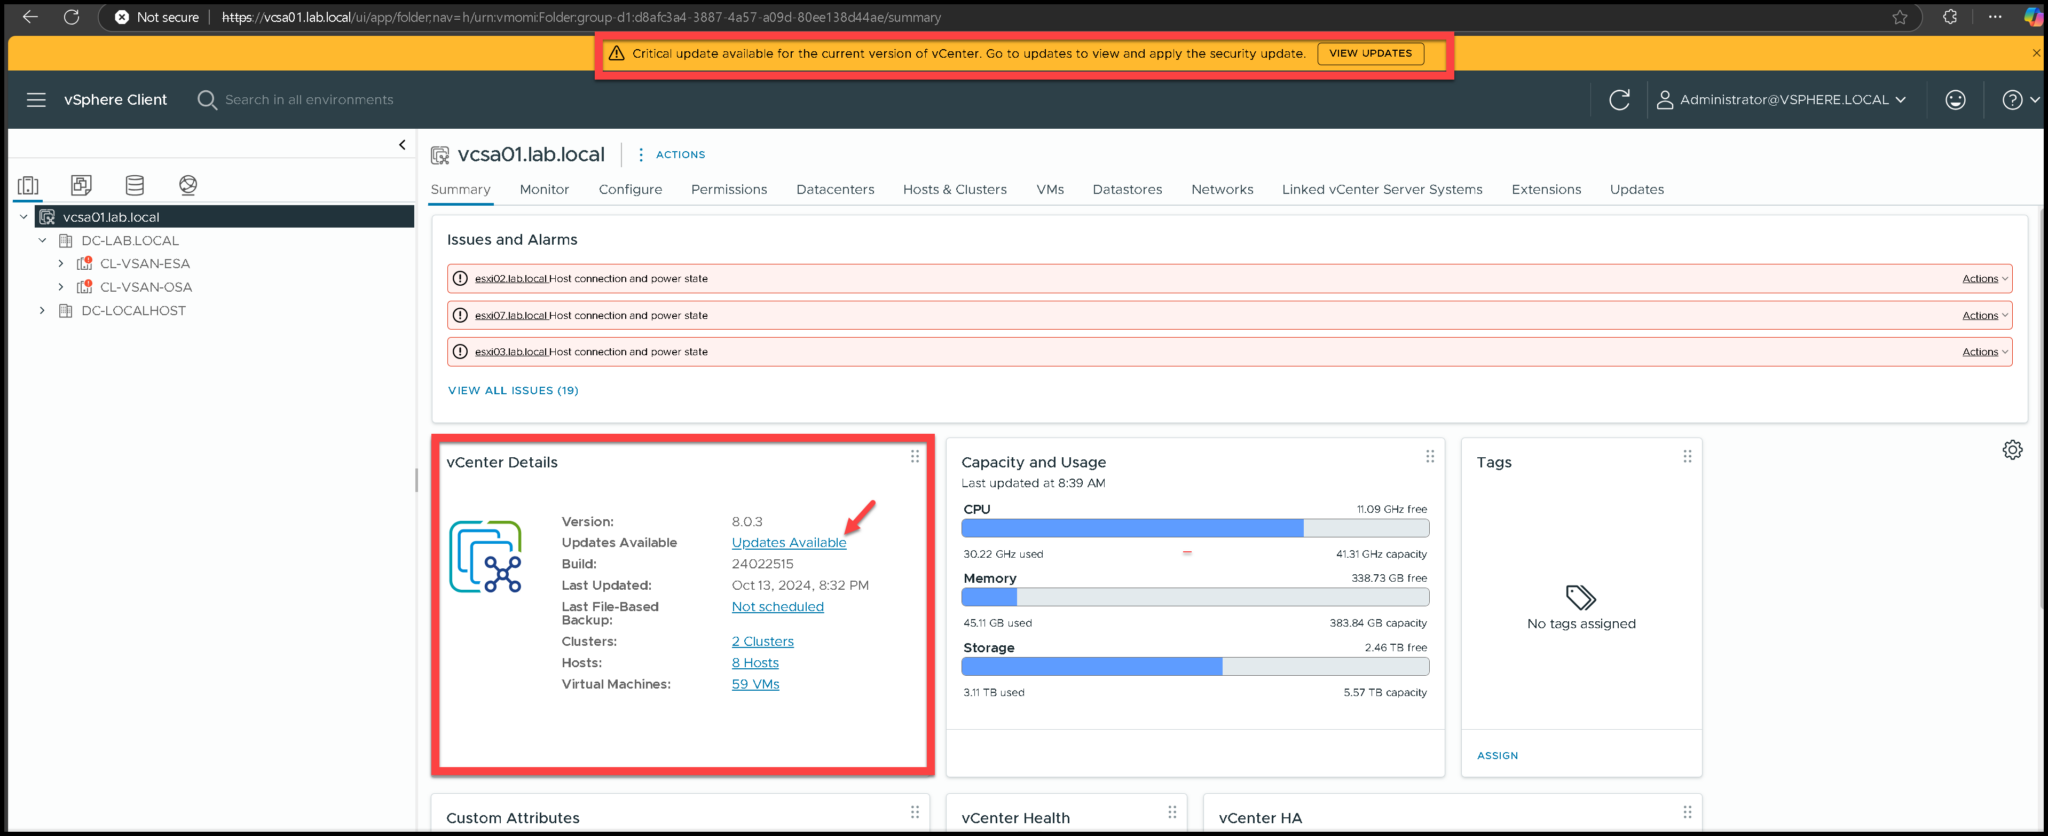
Our vCenter Server is running on an older vCenter version, as we can confirm in the following picture:
Downloading and Mounting the vCenter ISO
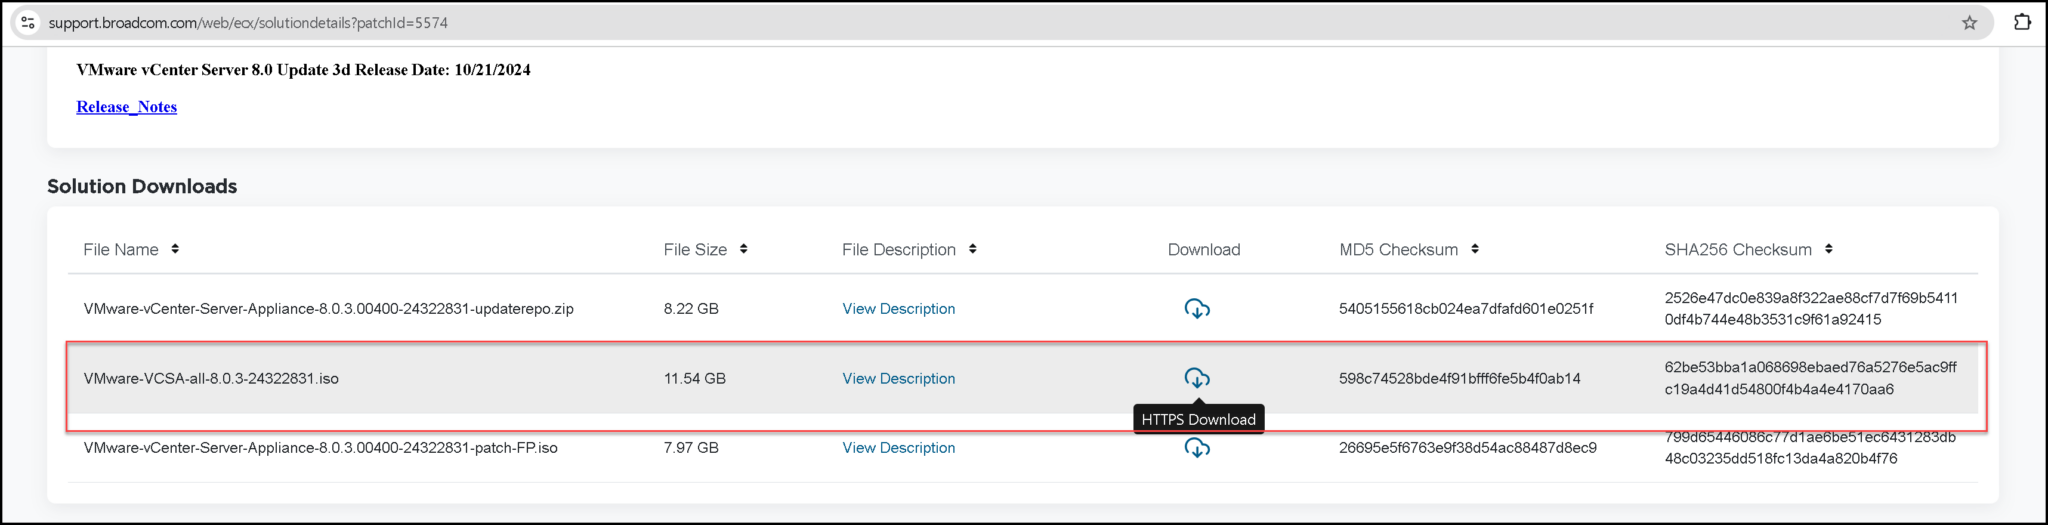
Since we are running the 8.0.3 version, it is not necessary to configure the repository. Go to the Broadcom support page and download the target vCenter Server ISO file:
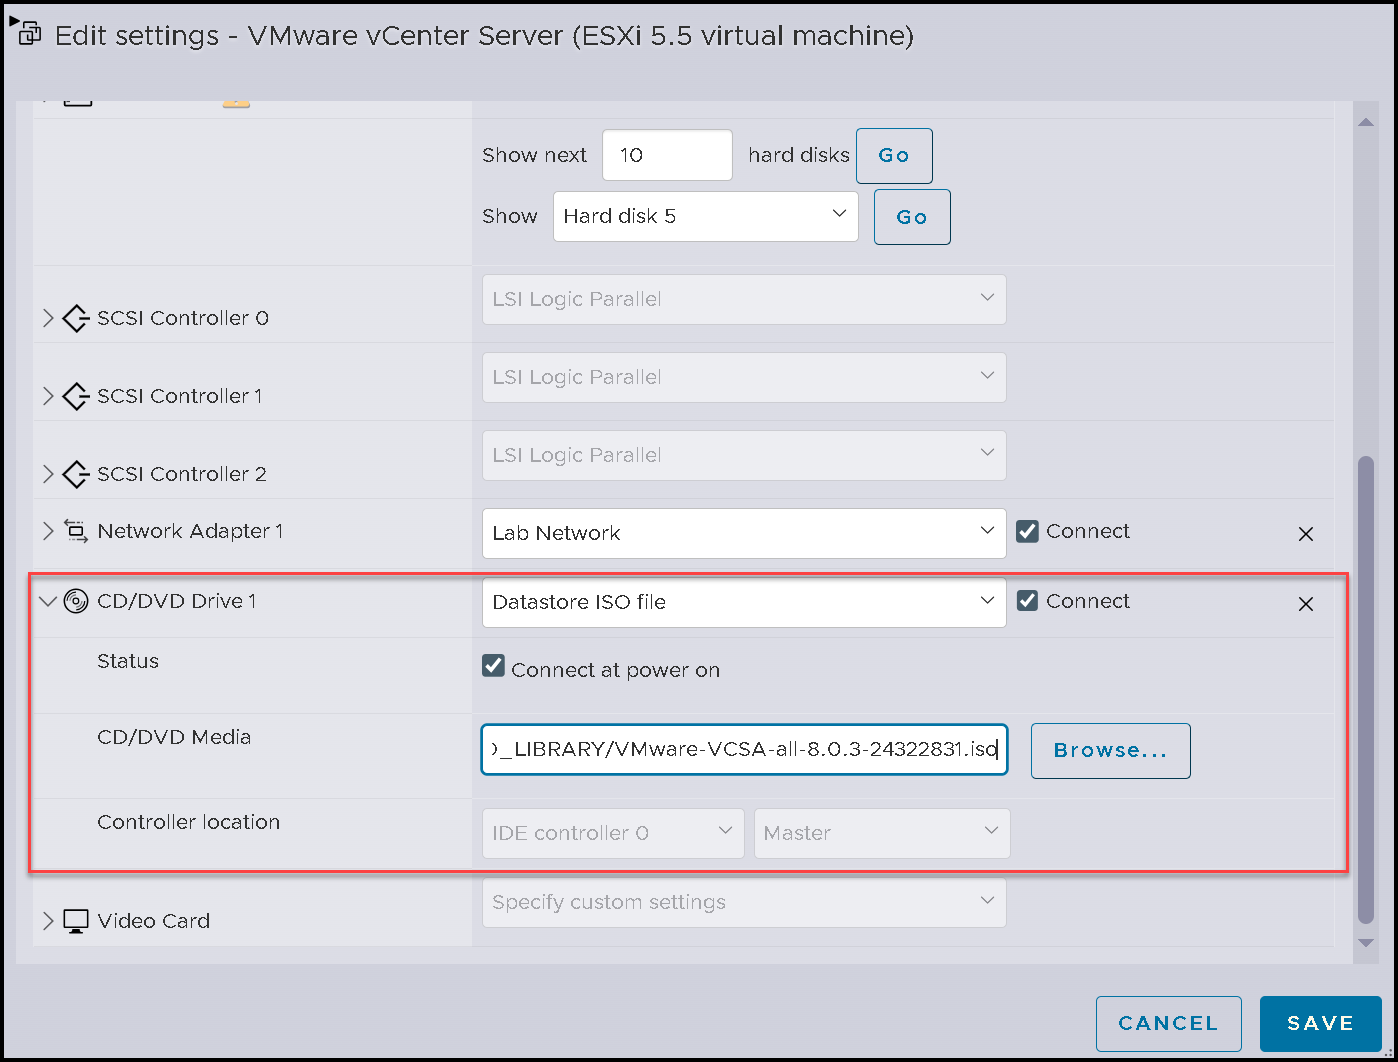
Afterward, go to the vCenter Server VM and mount the ISO file. Our vCenter Server is running on an ESXi host. So, we’ve uploaded the ISO file to the host’s datastore and then mapped it to the vCenter VM:
Taking a vCenter File-Based Backup
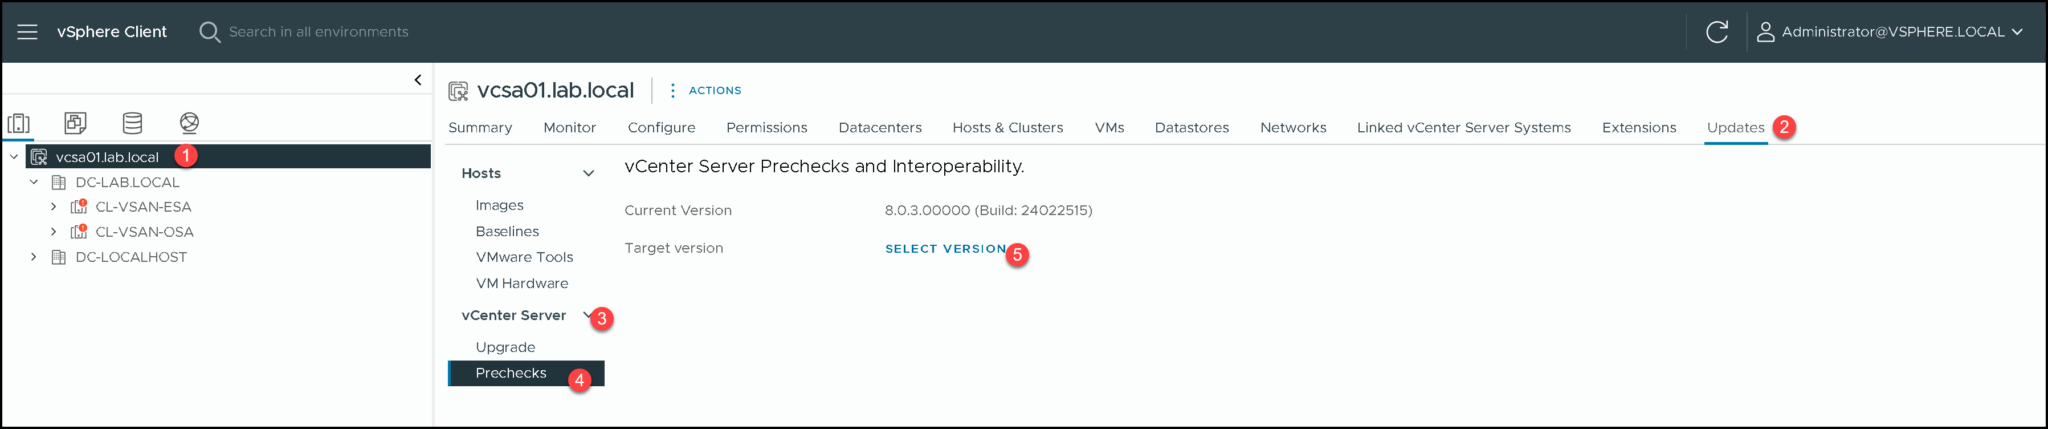
Select the vCenter object and go to the Updates tab to start the reduced downtime upgrade.
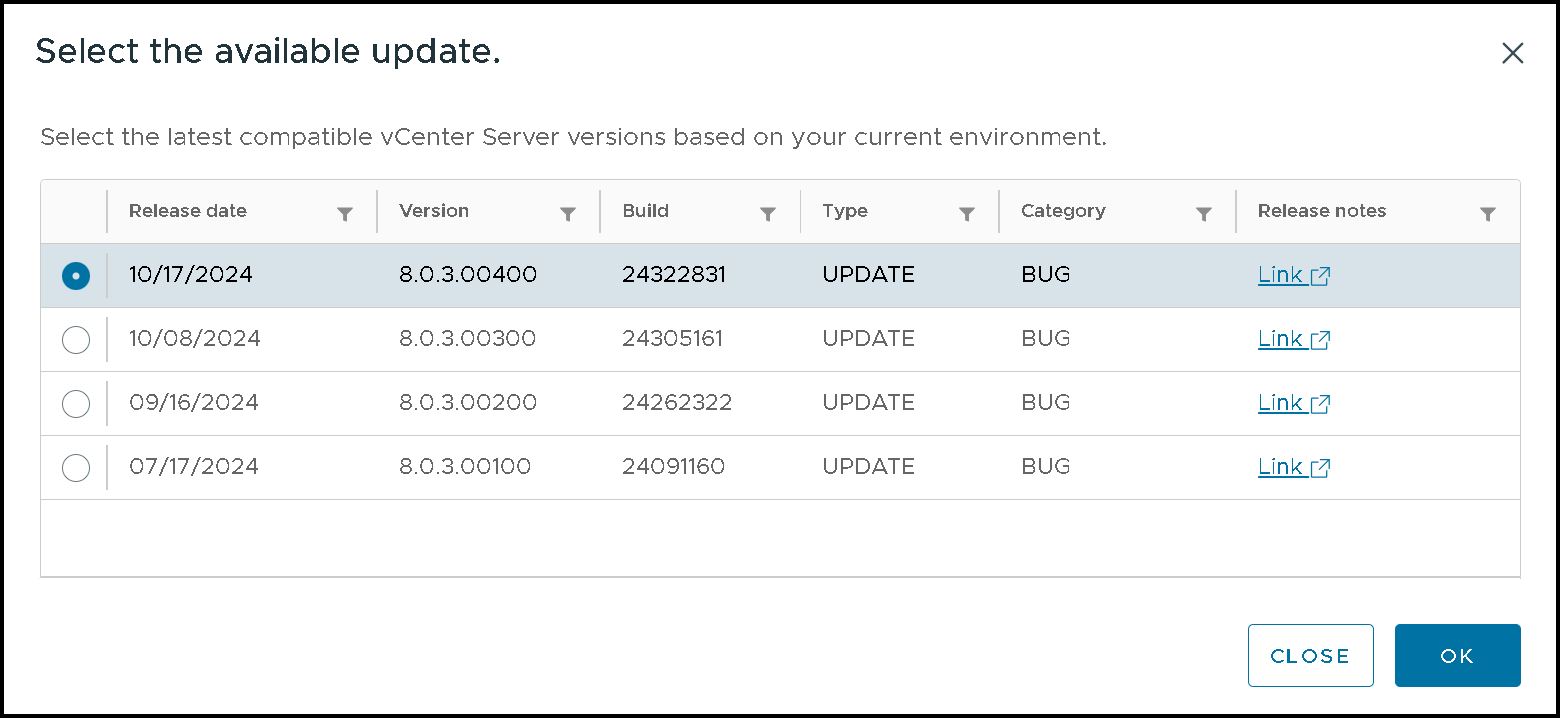
Afterward, select the target vCenter Server:
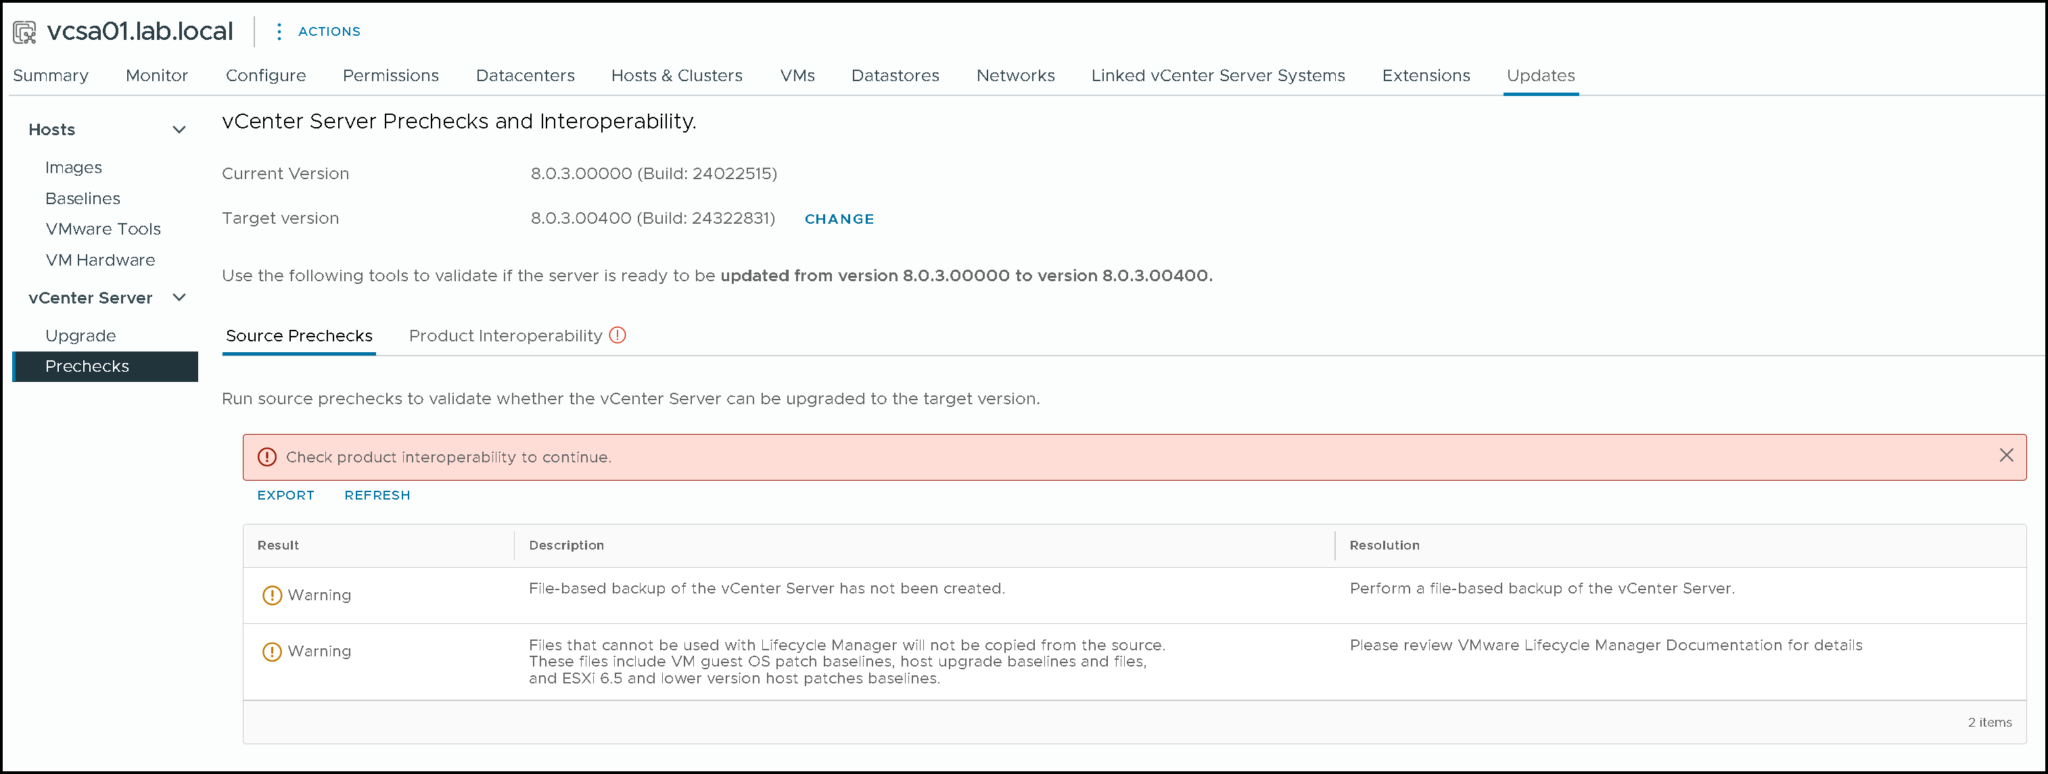
A source pre-check step will be started:
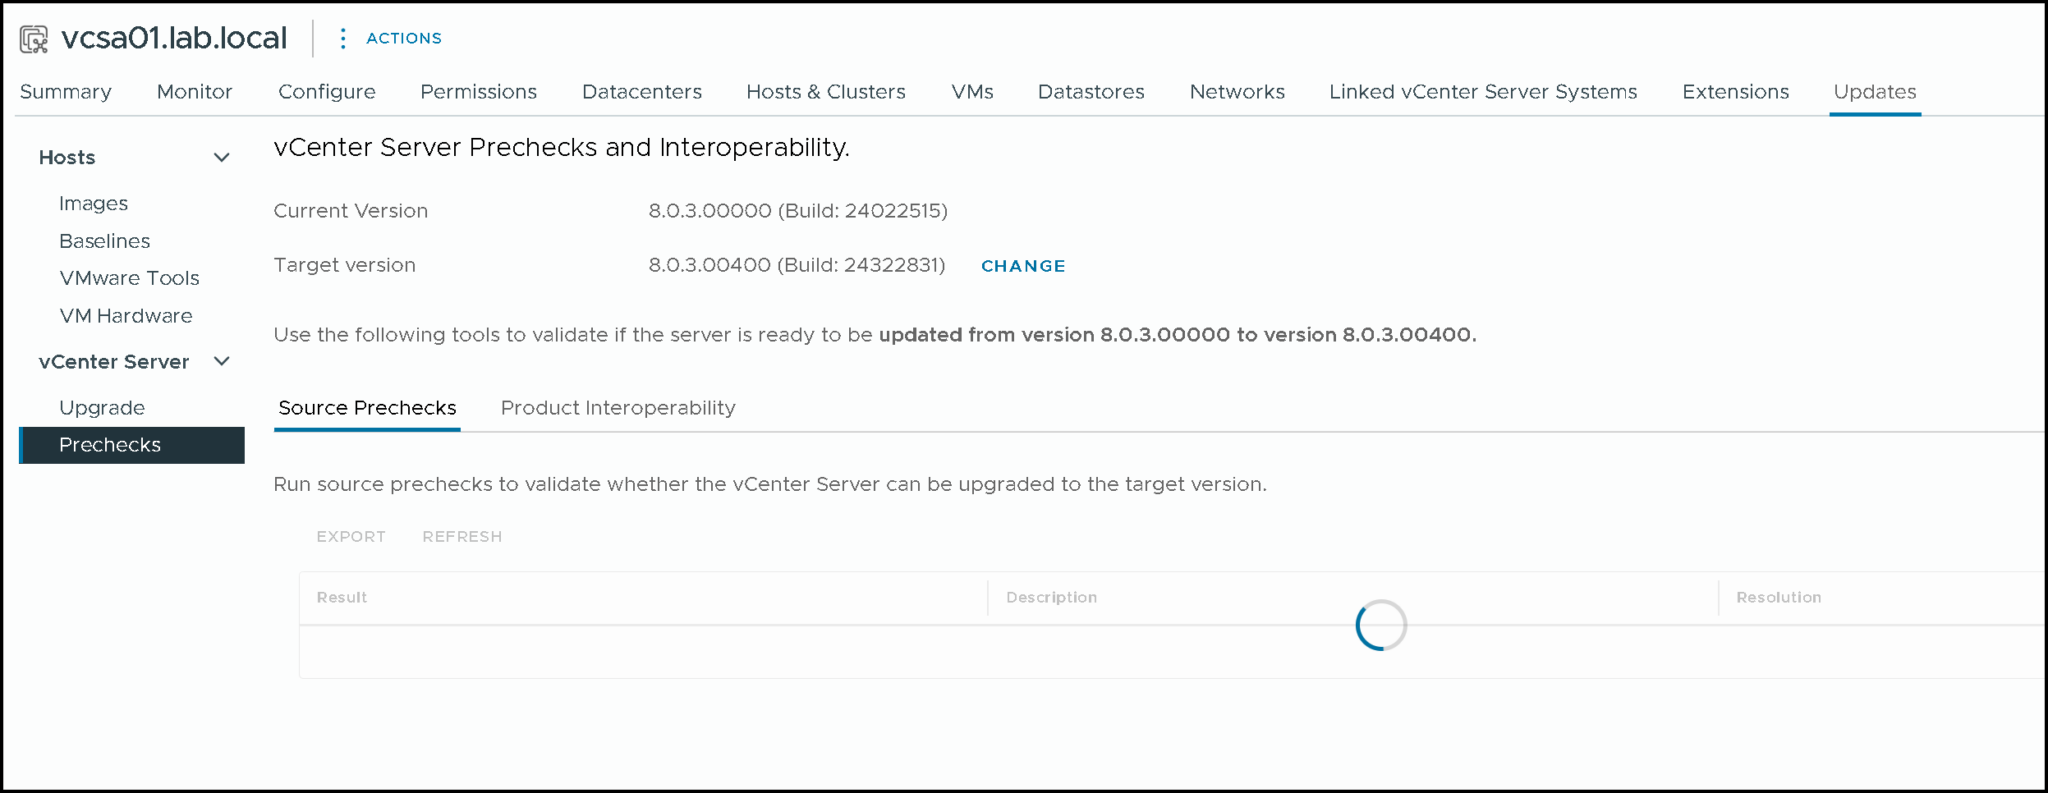
As we can see, we do not have a valid vCenter Server backup (File-Based backup). So, the recommendation is to perform the backup before following the next step:
We’ve written an article about that:
https://dpcvirtualtips.com/creating-a-backup-of-vcenter-data/
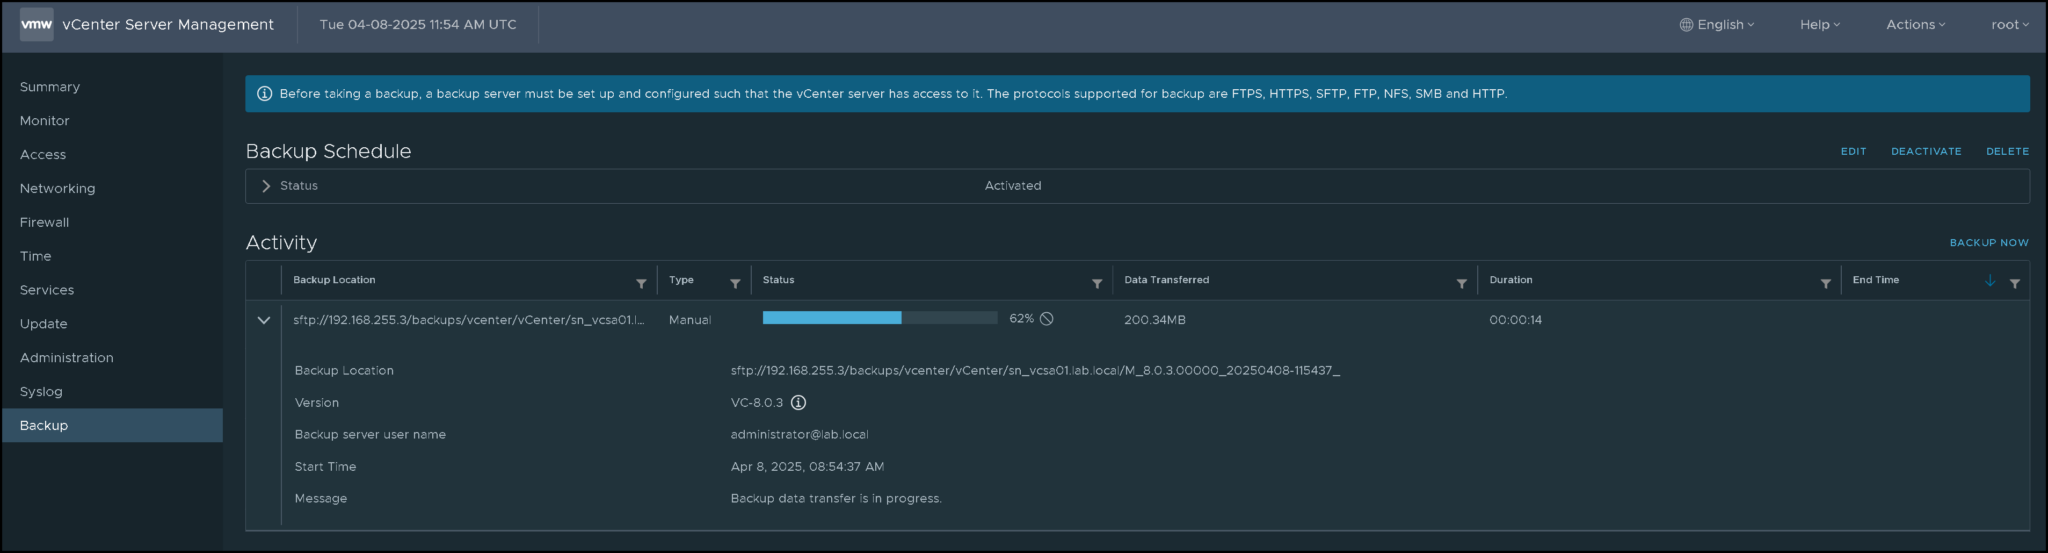
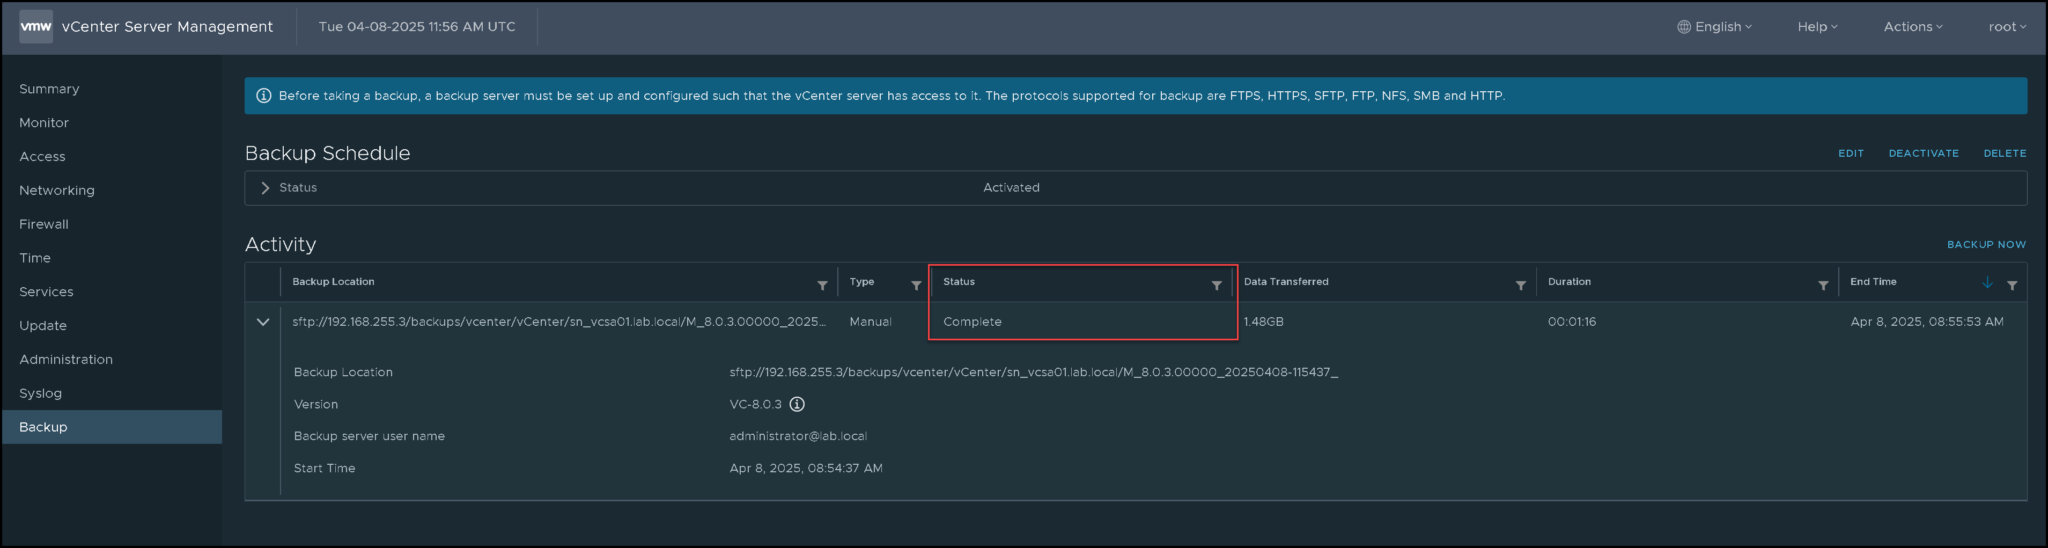
Now we have a vCenter Server File-Based backup:
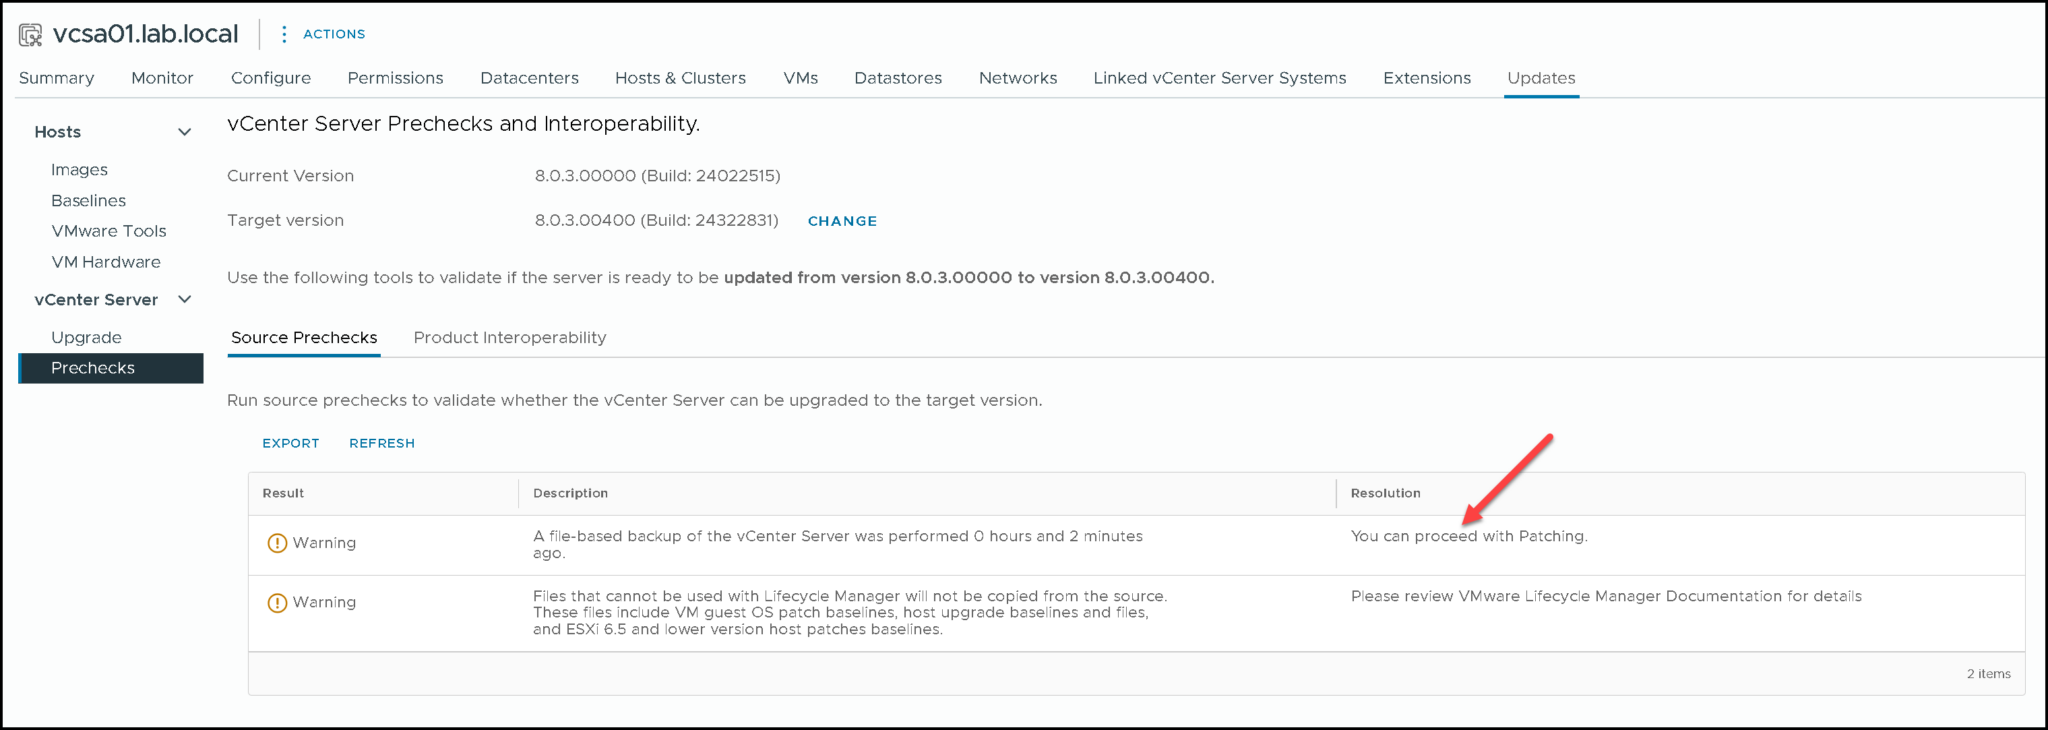
We’ve executed the pre-check again, and now the reduced downtime upgrade detected the backup and allowed us to continue the process:
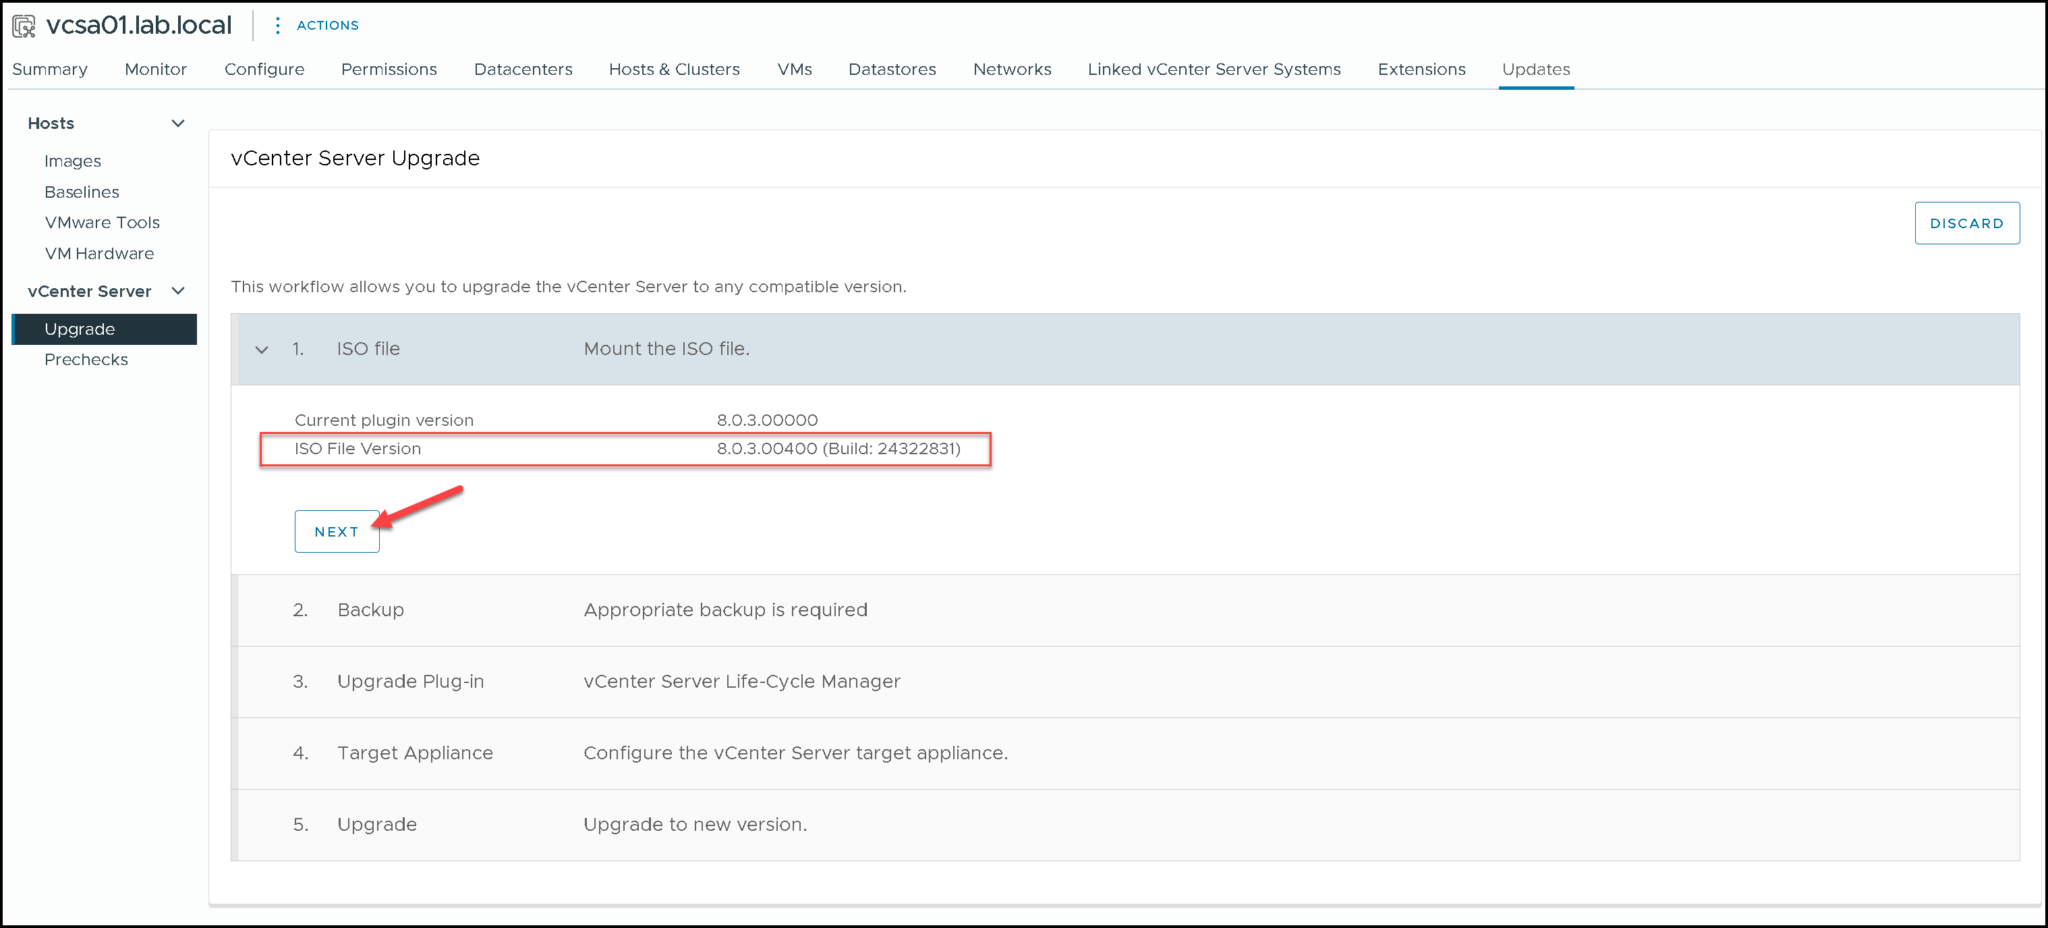
The attached vCenter Server ISO was recognized, and we could continue the process:
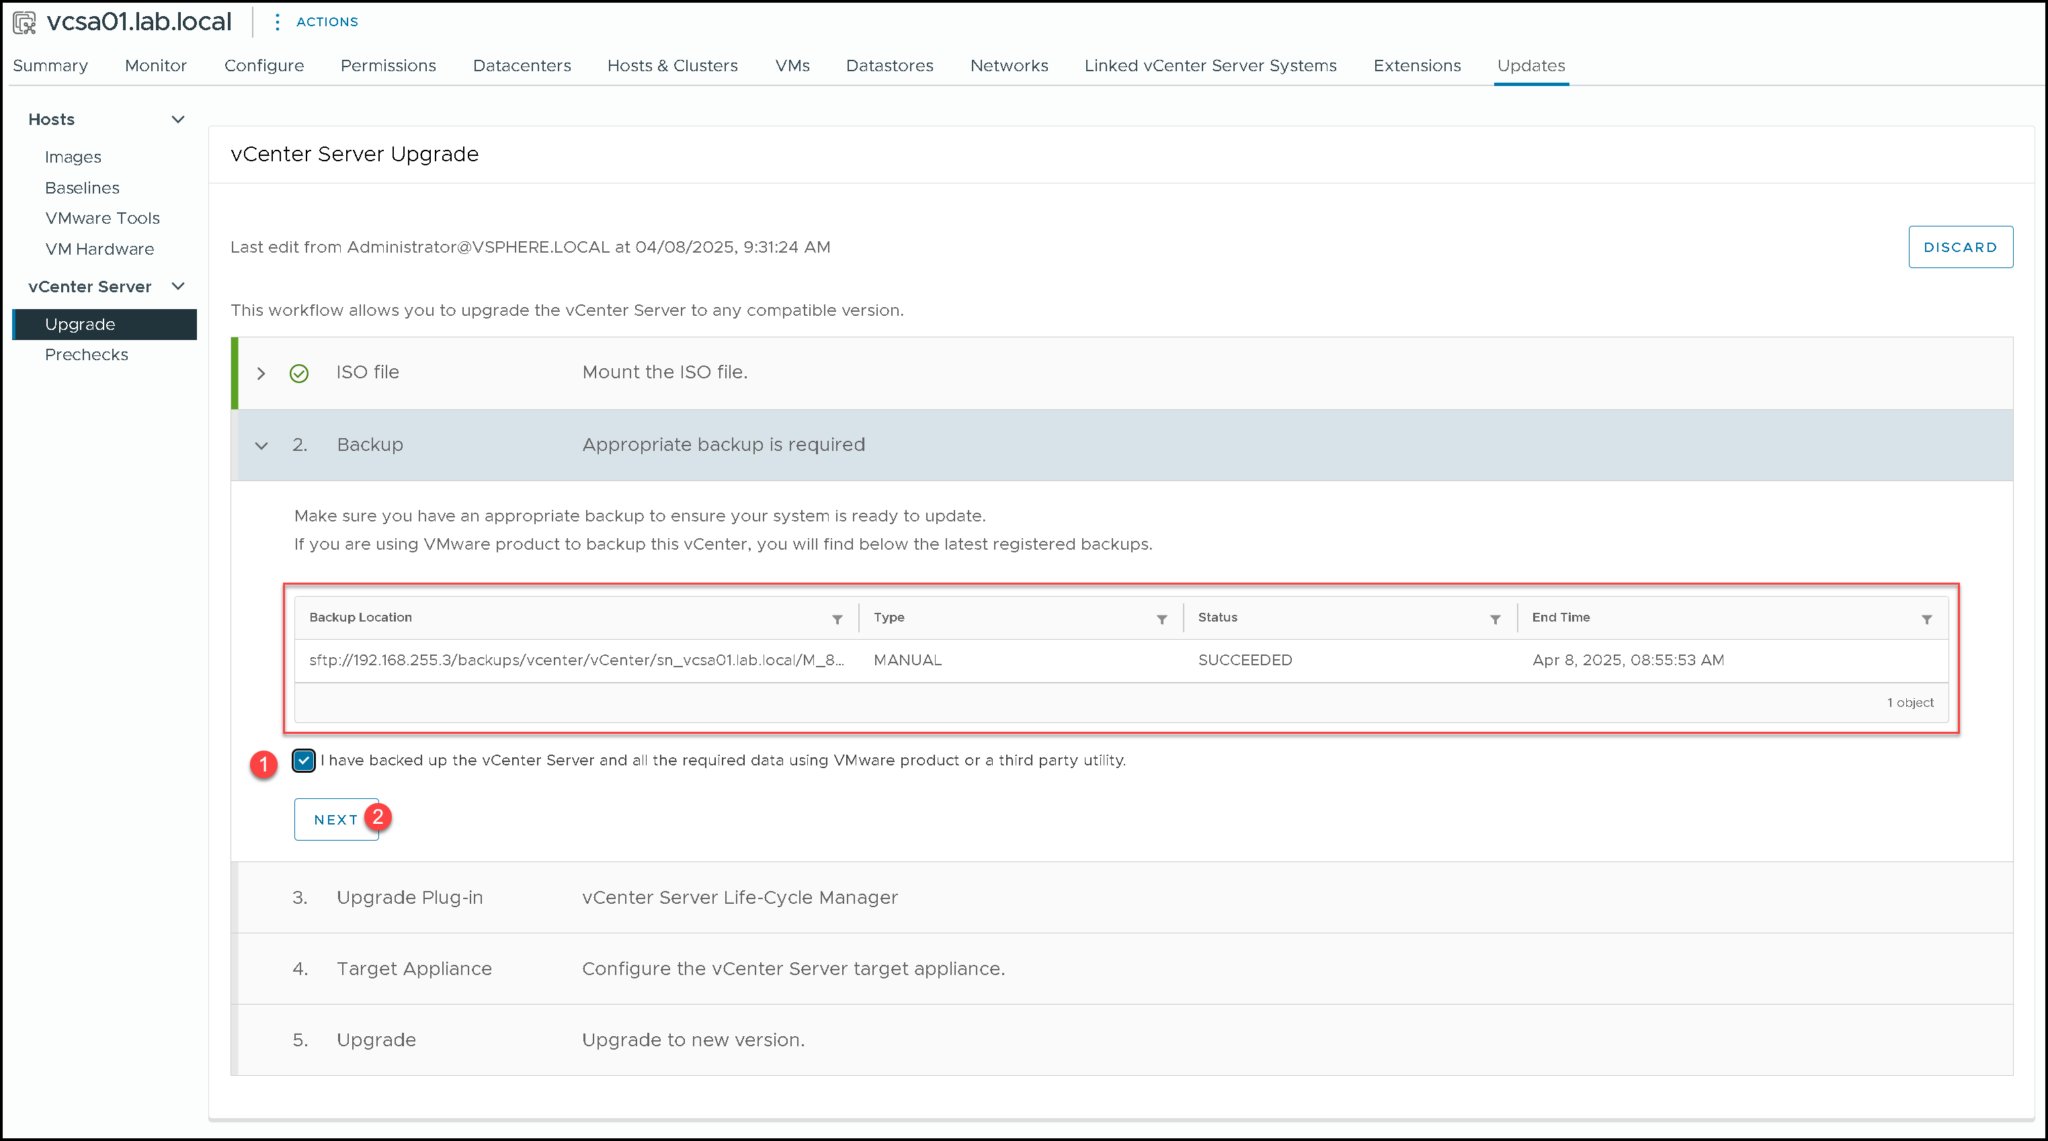
The manual backup we have taken was detected:
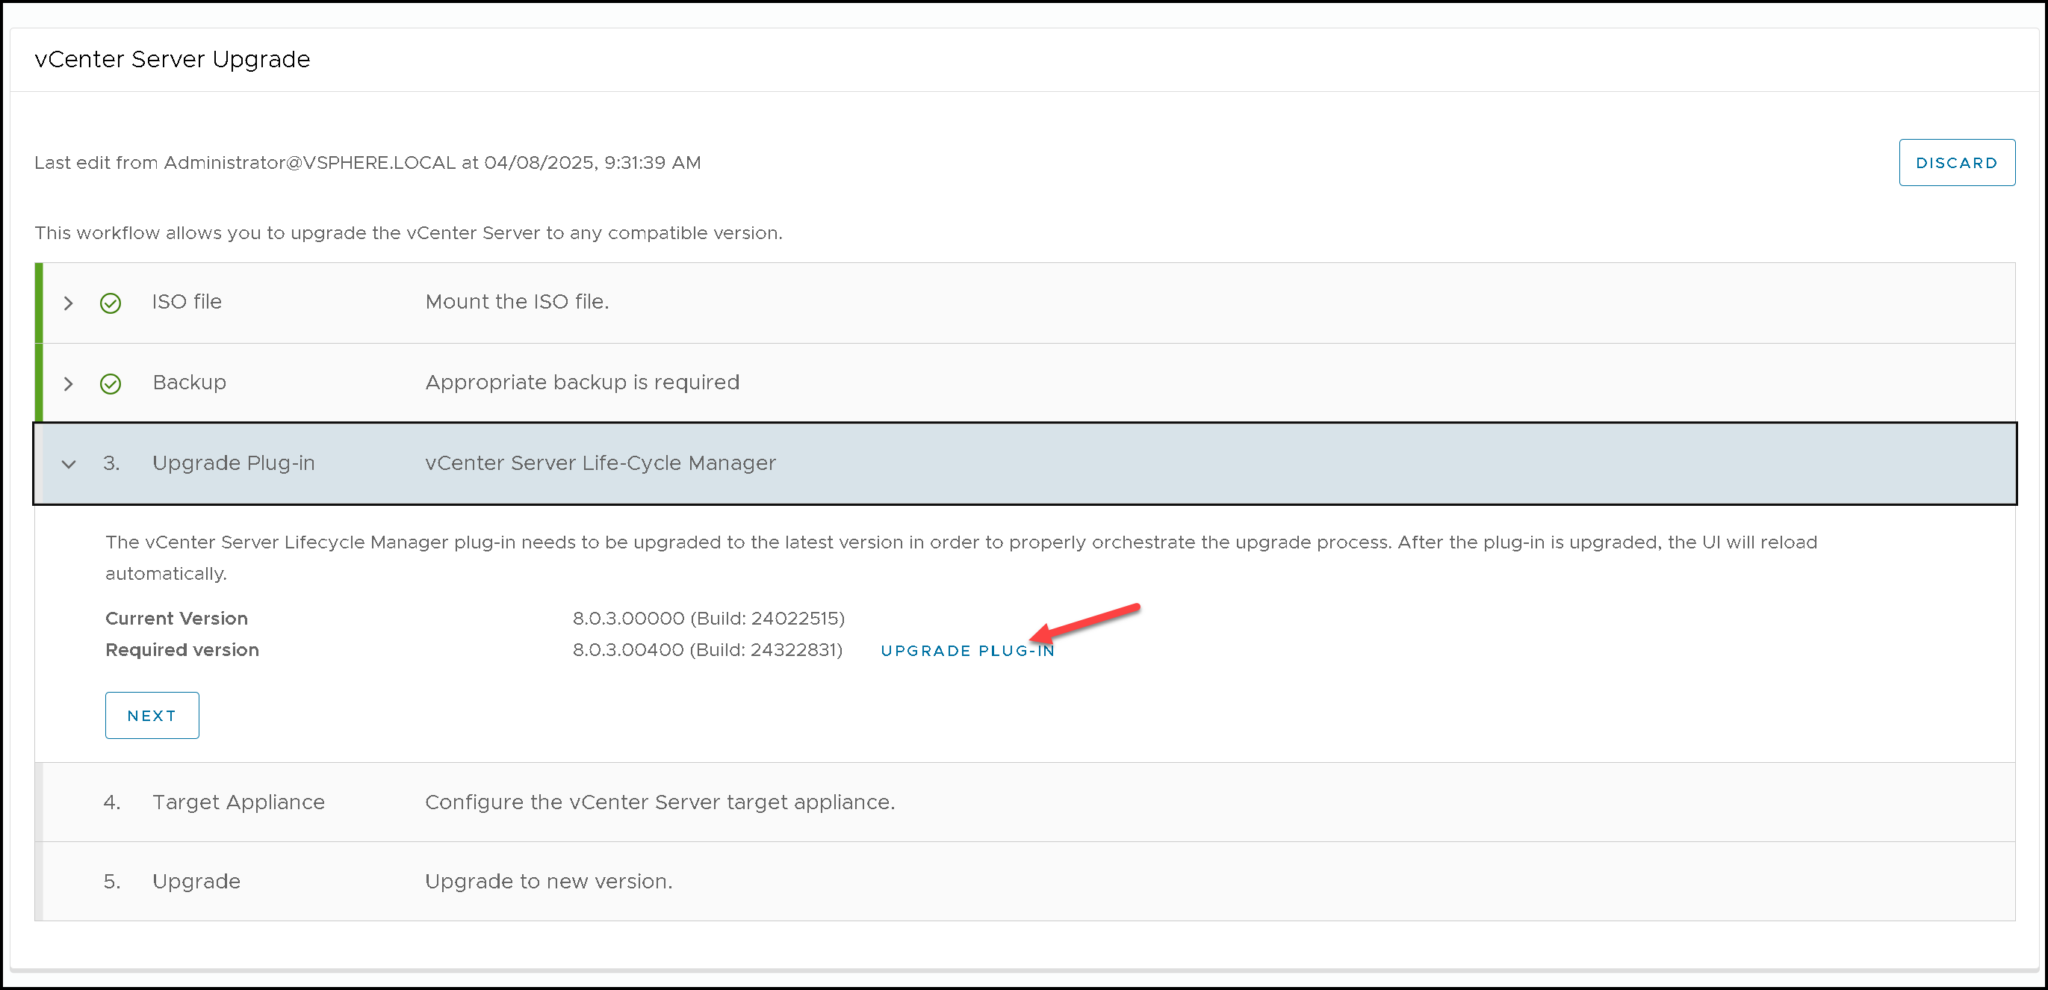
And now we need to upgrade the vCenter Server Lifecycle Manager plugin:
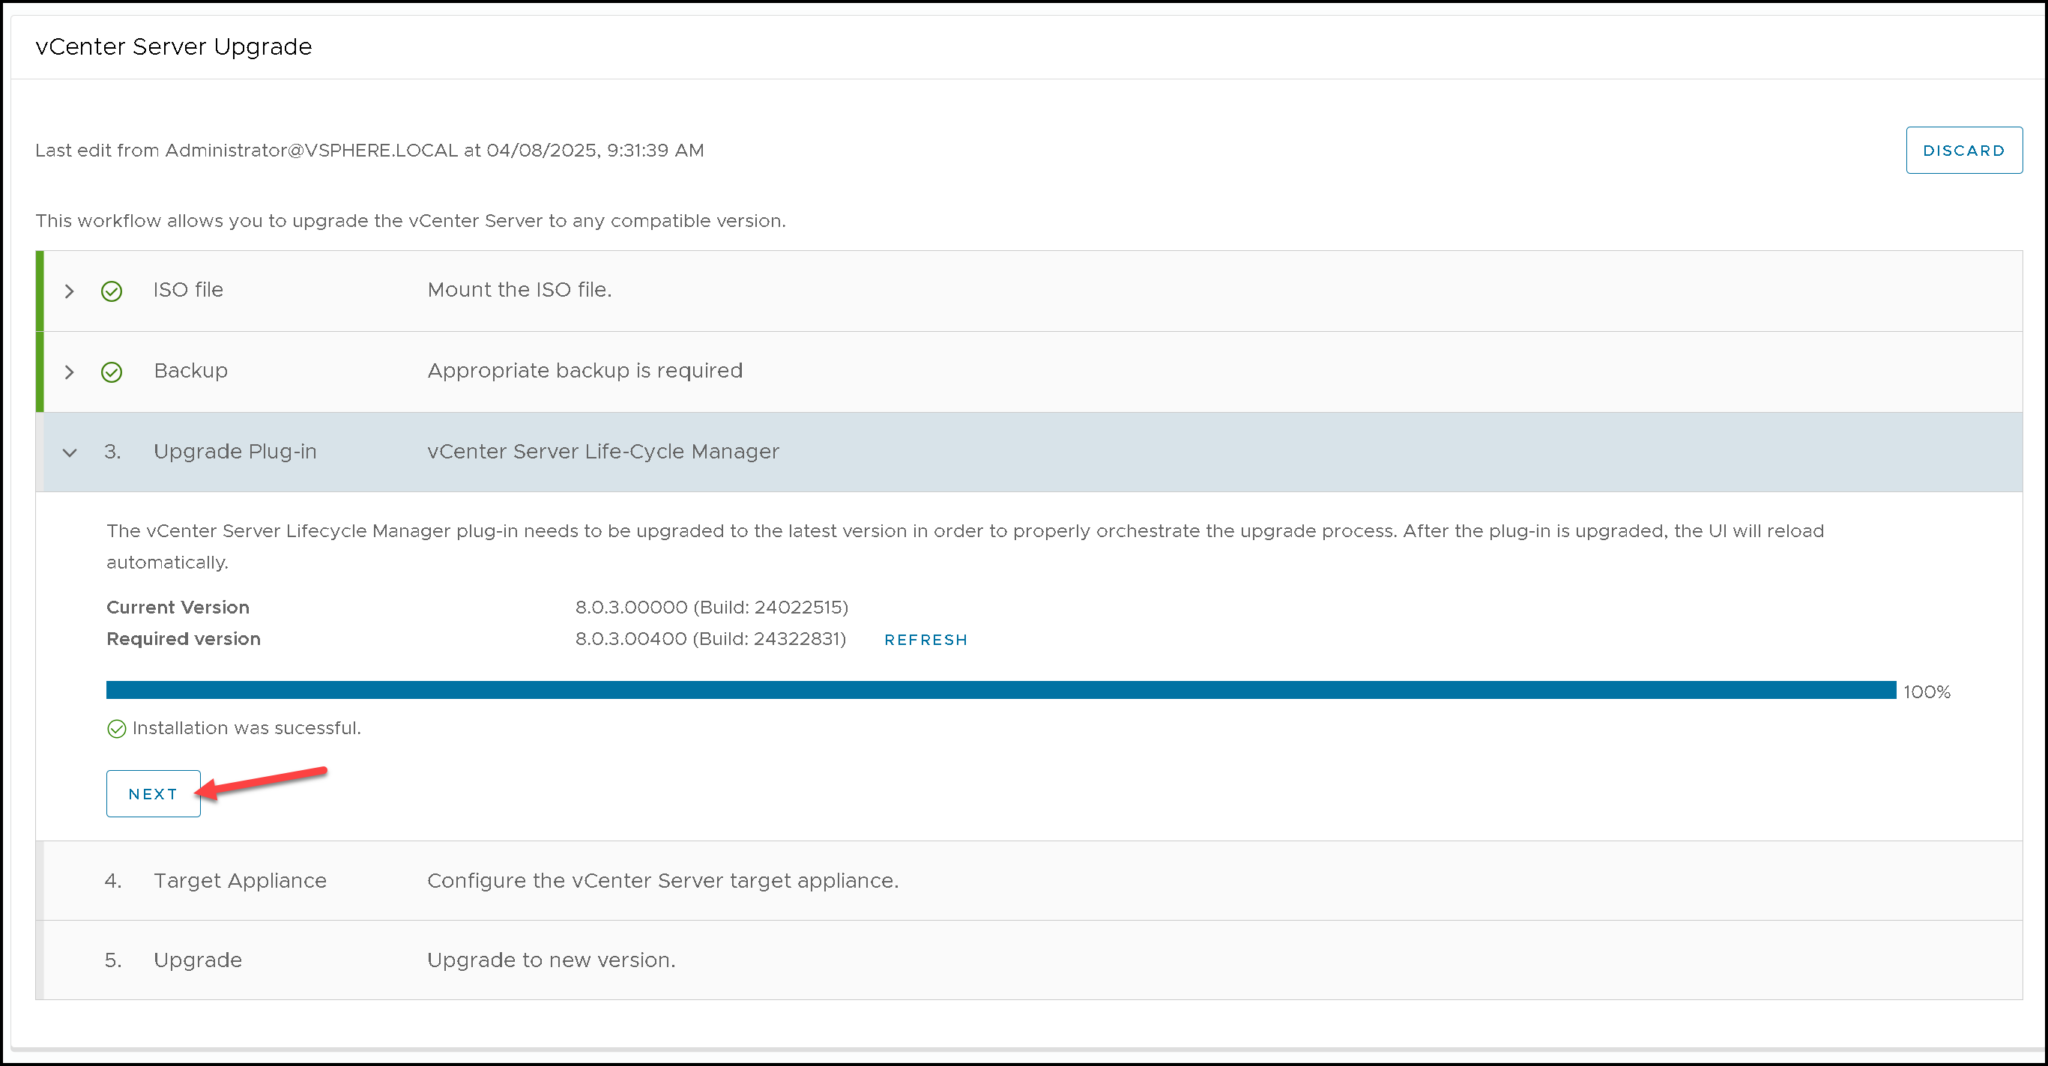
We must execute a new pre-check with the updated vCenter Server Lifecycle Manager plugin:
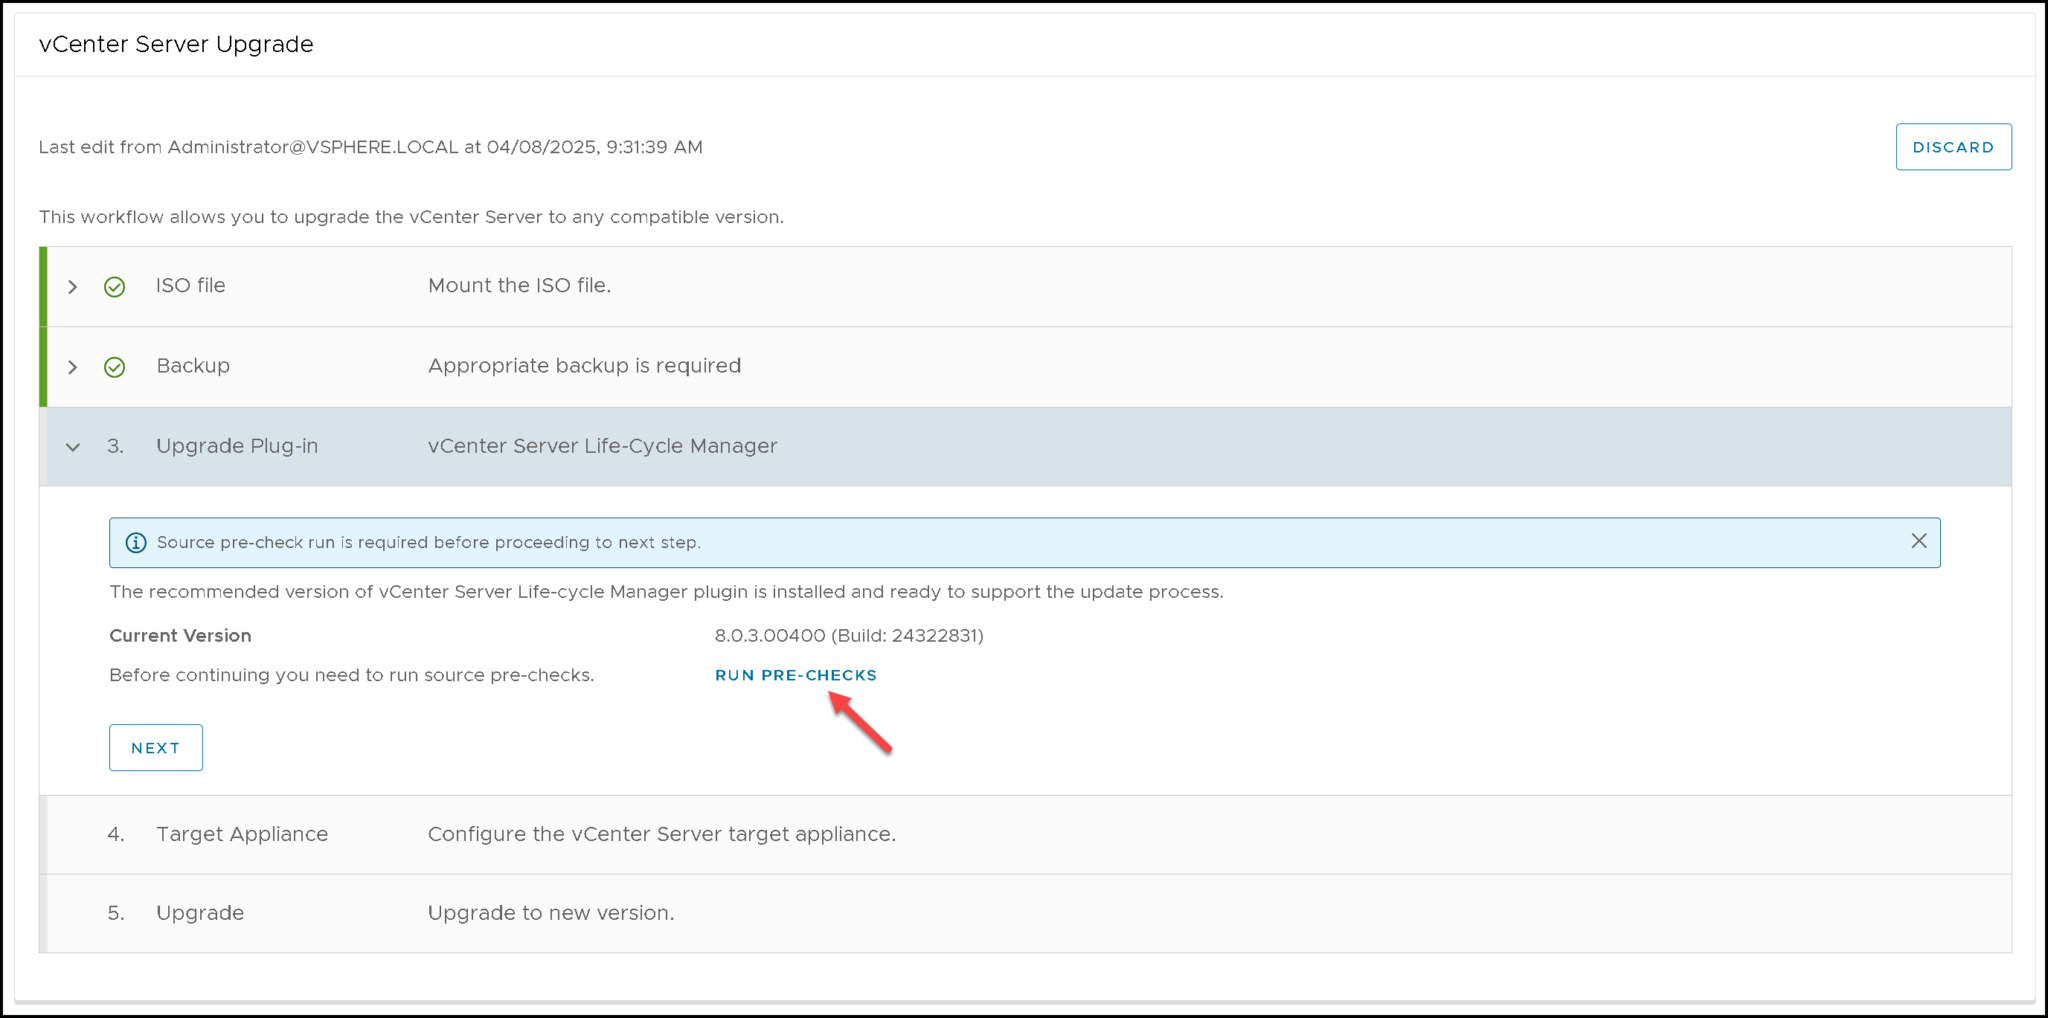
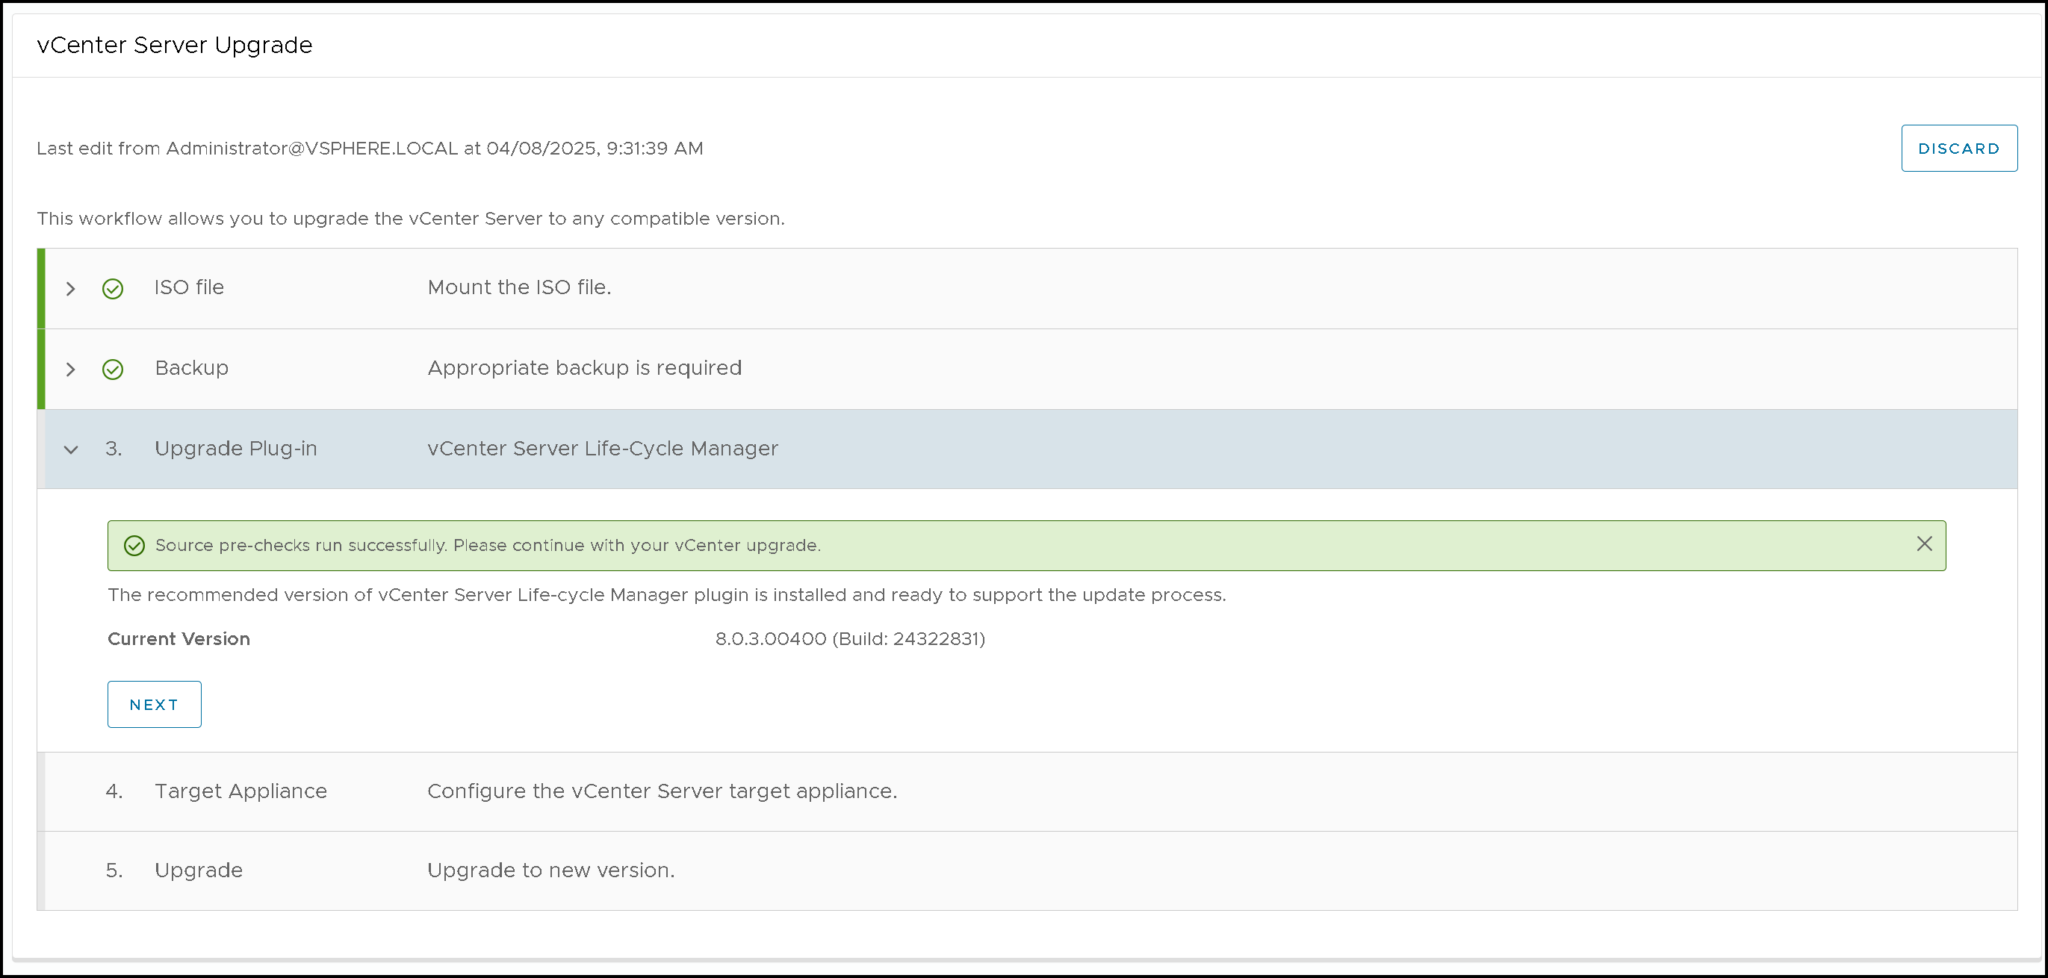
As we can see, the pre-check was executed successfully and no issues were found:
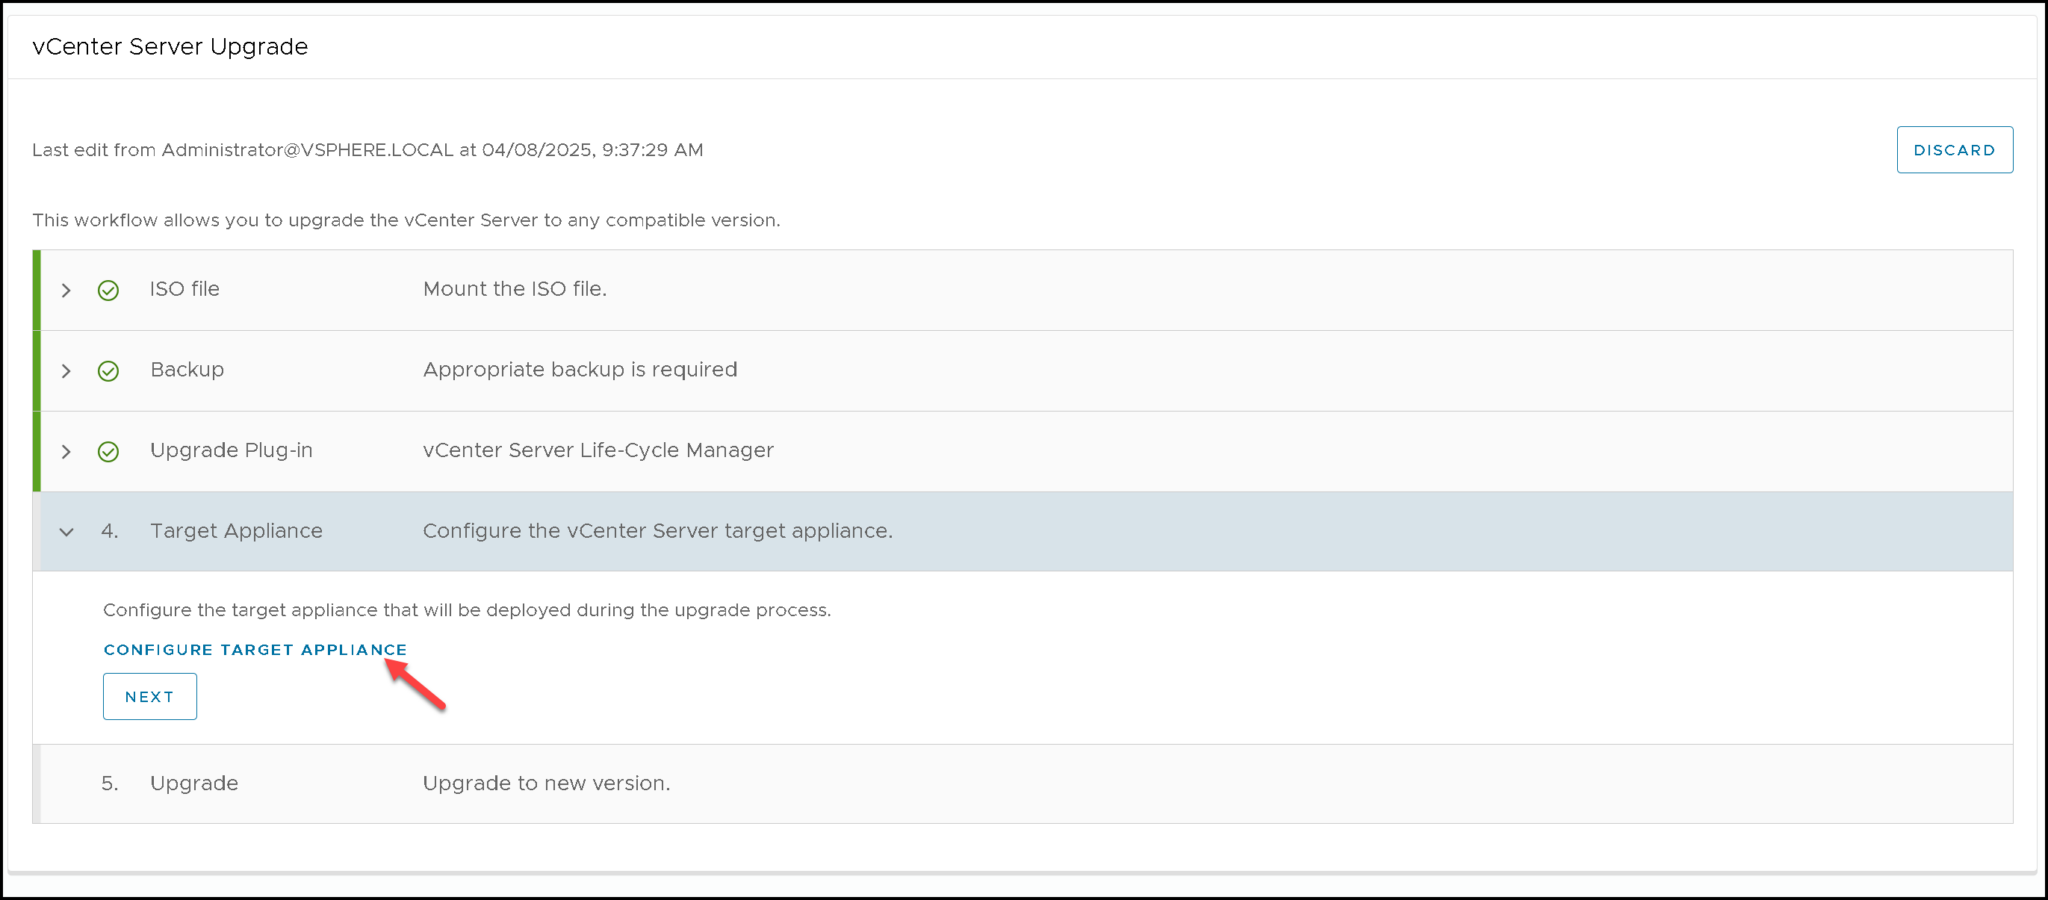
Configuring the Target vCenter Server Appliance
On this step, we need to set up details for deploying the new vCenter Server appliance. As we told you, the Reduced Downtime Upgrade has a migration-based approach. So, a new VM will be created and all data will be migrated from the source vCenter to the new one:
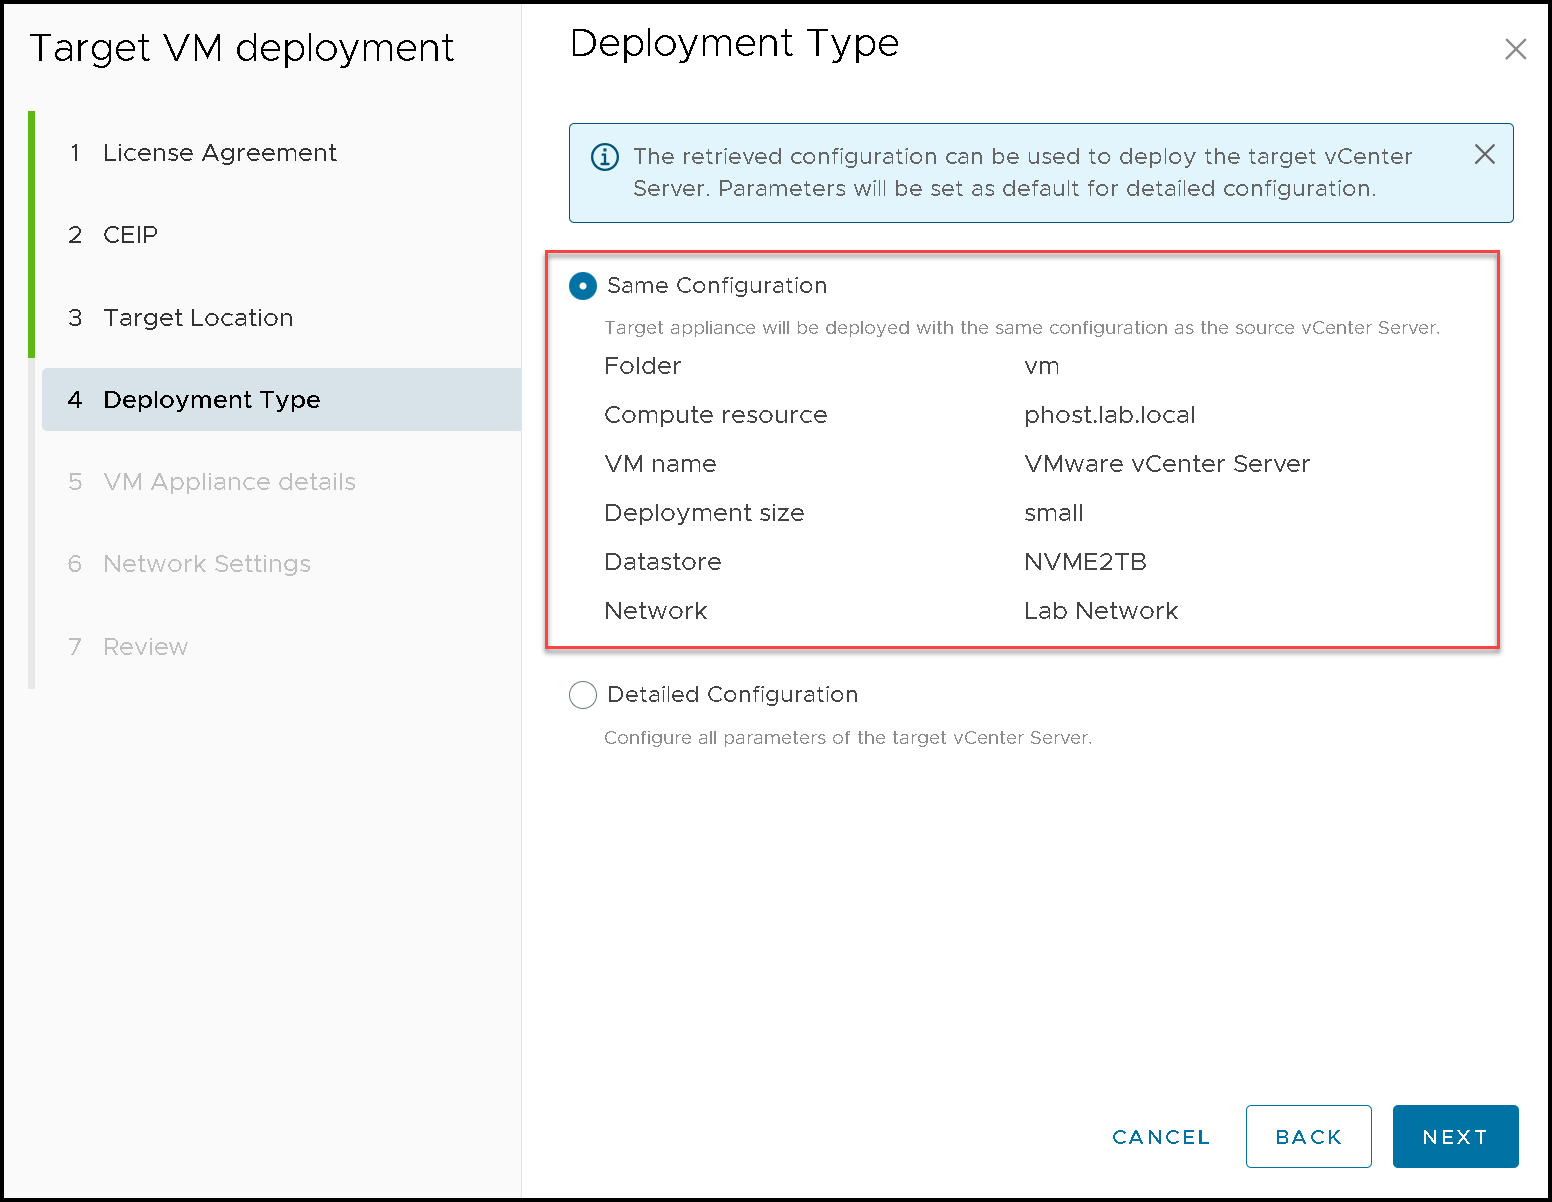
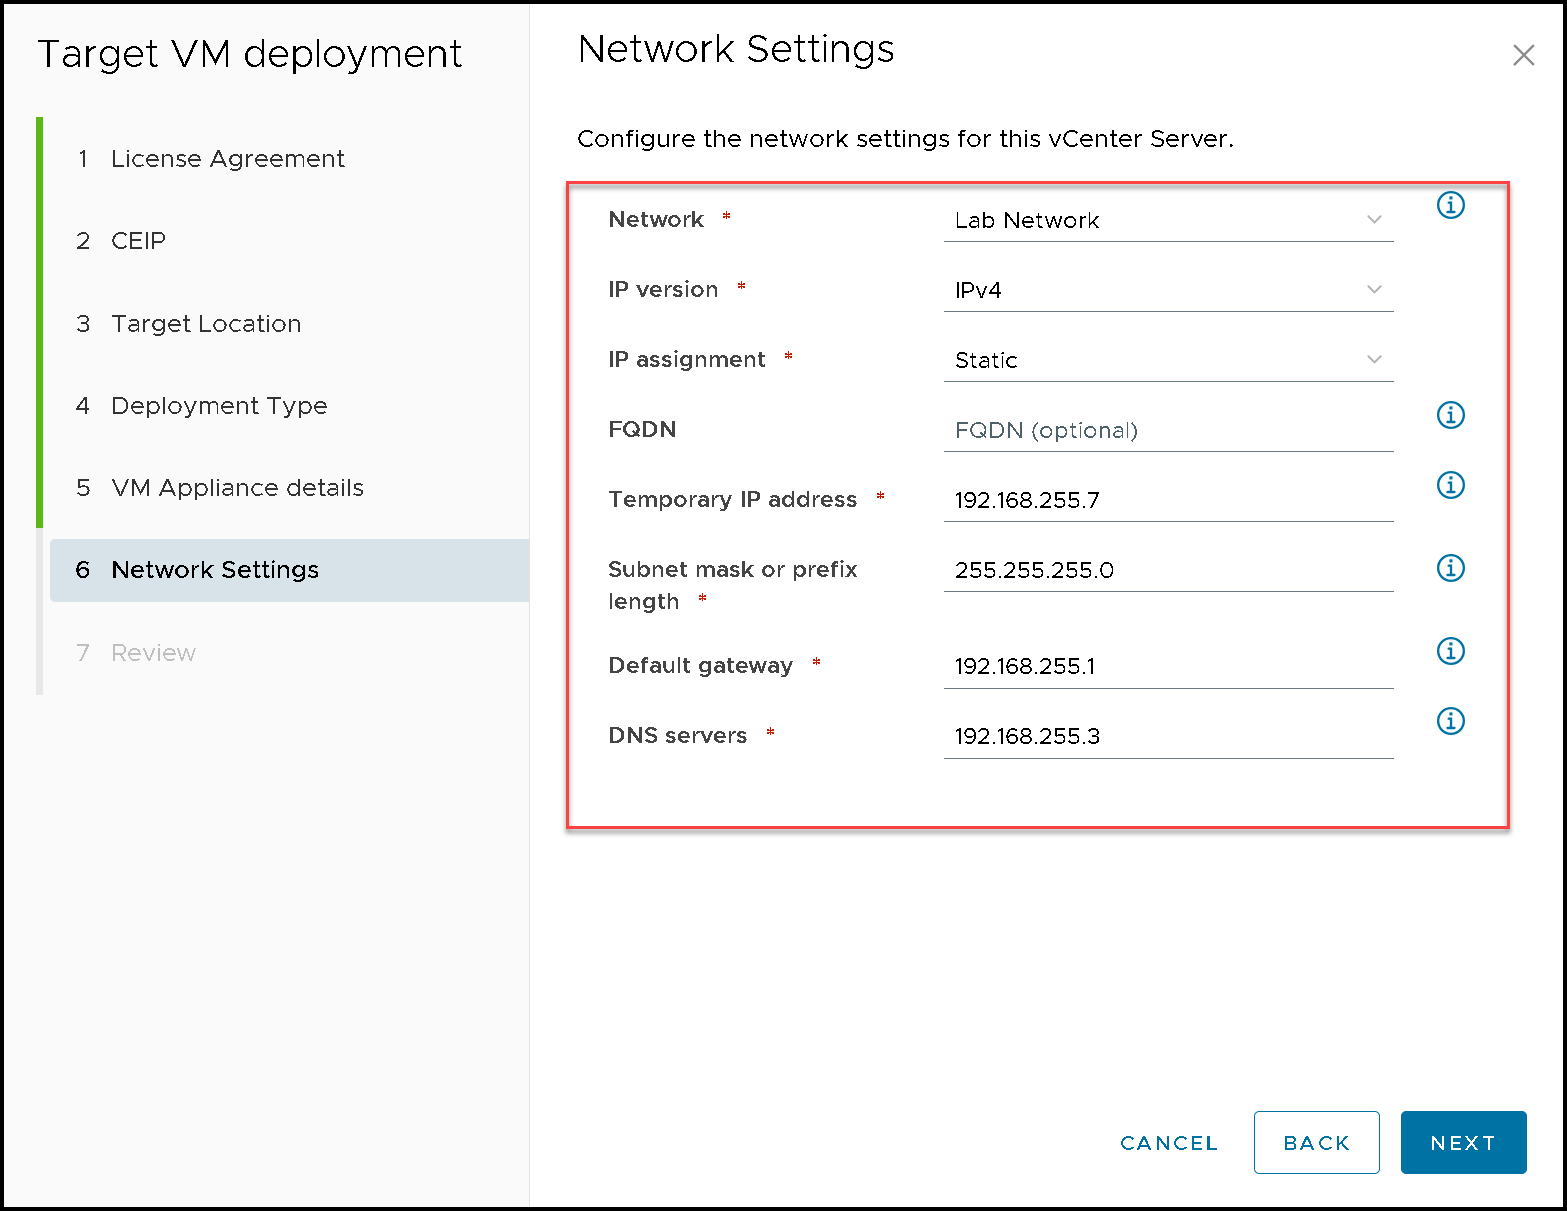
The Target VM deployment wizard is straightforward:
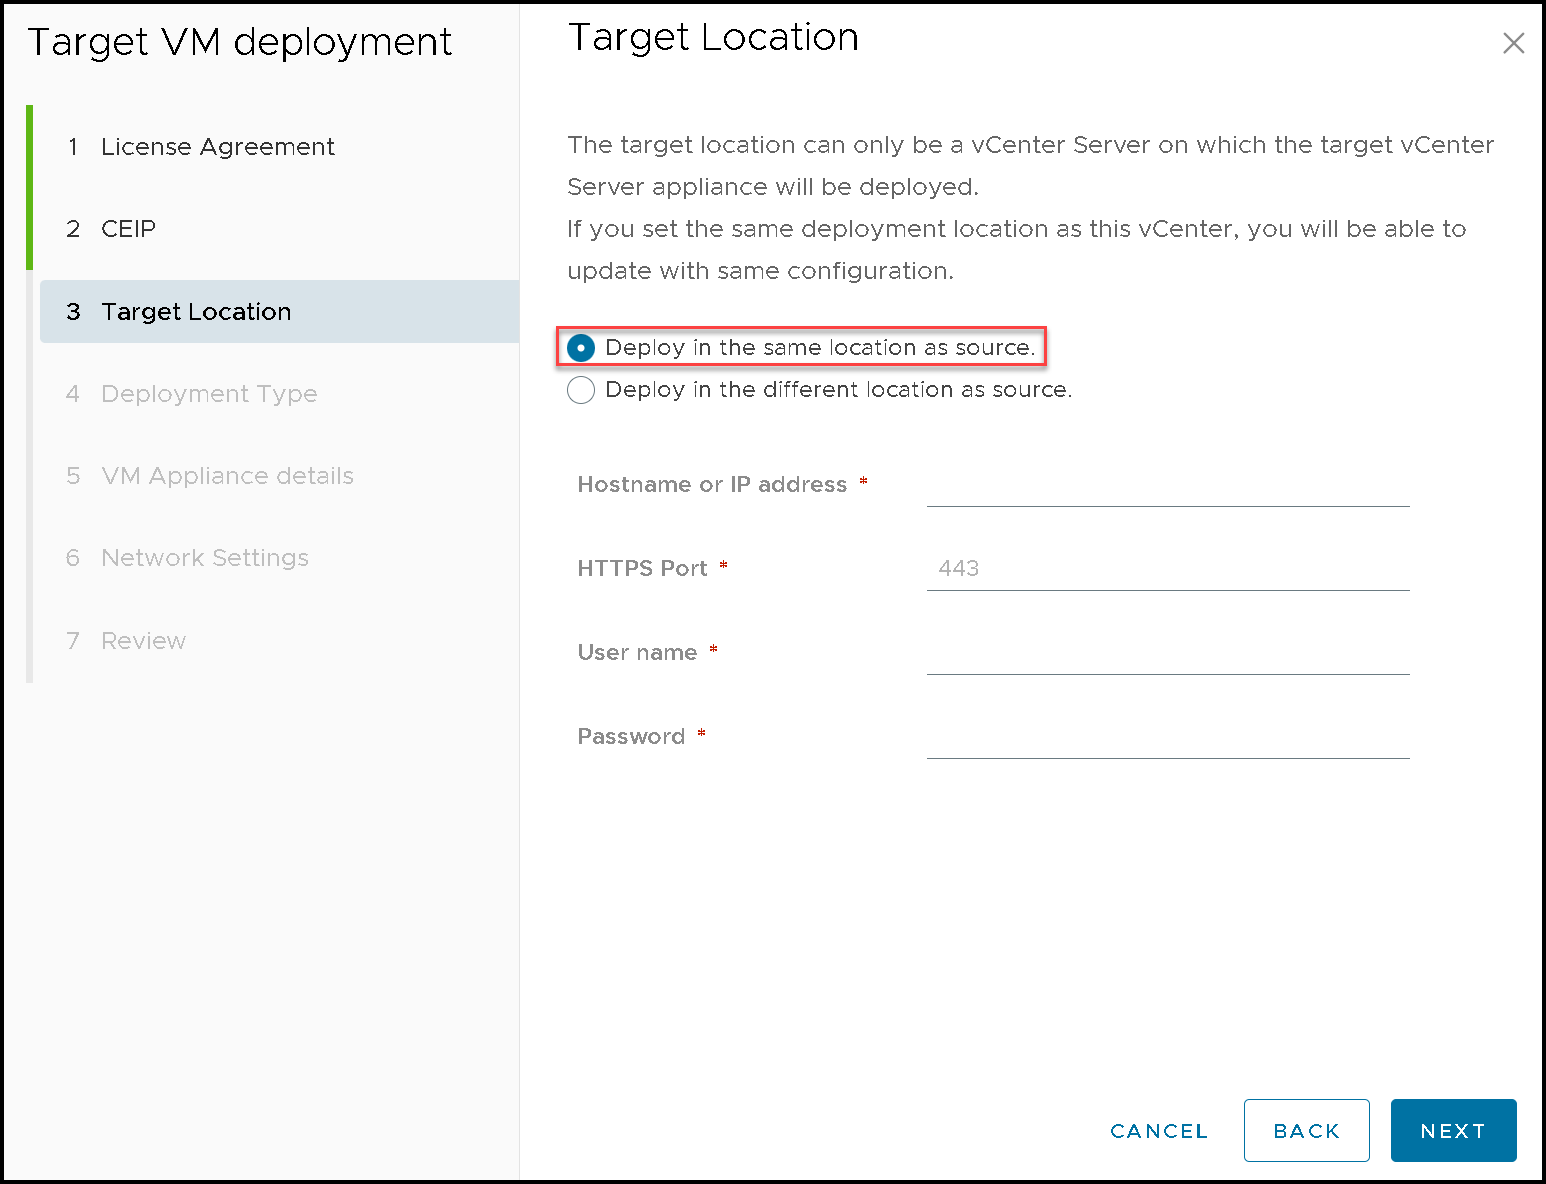
We are keeping the same VM configuration for the new vCenter as the source vCenter:
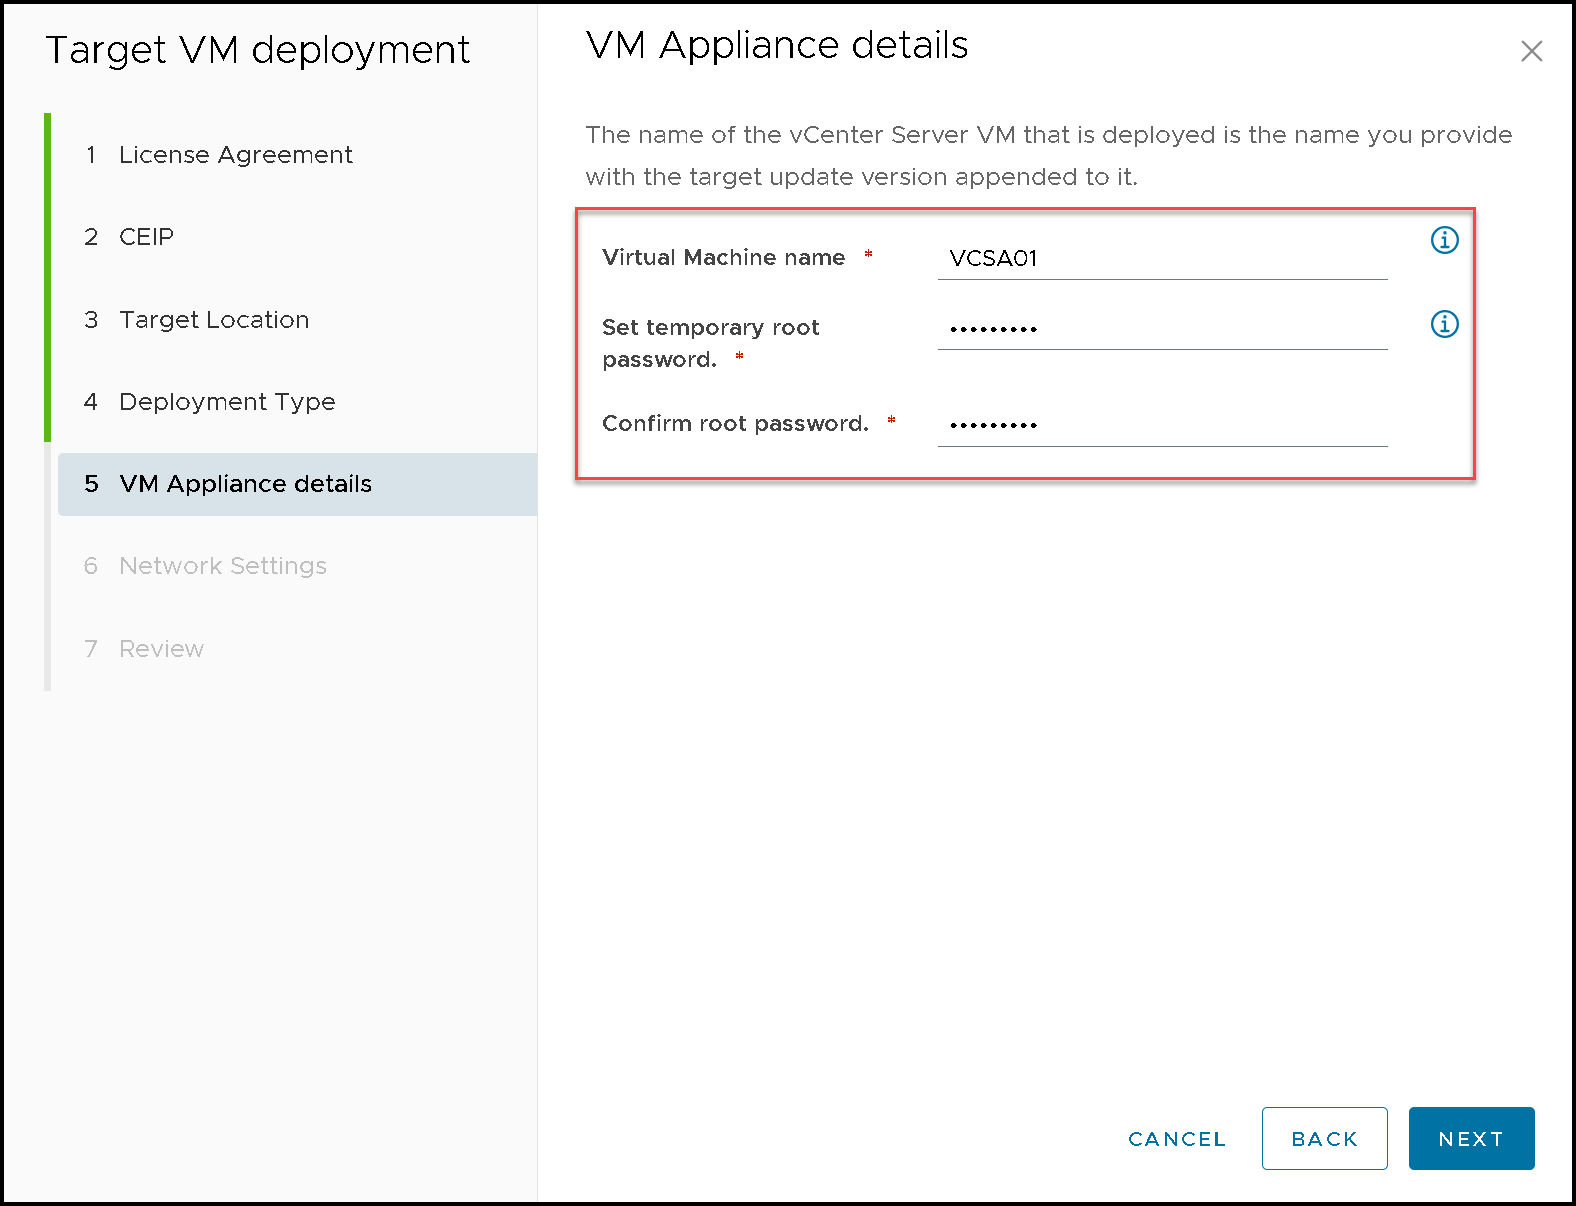
Be careful with that. You must use a temporary IP address. Make sure that no one uses this temporary IP:
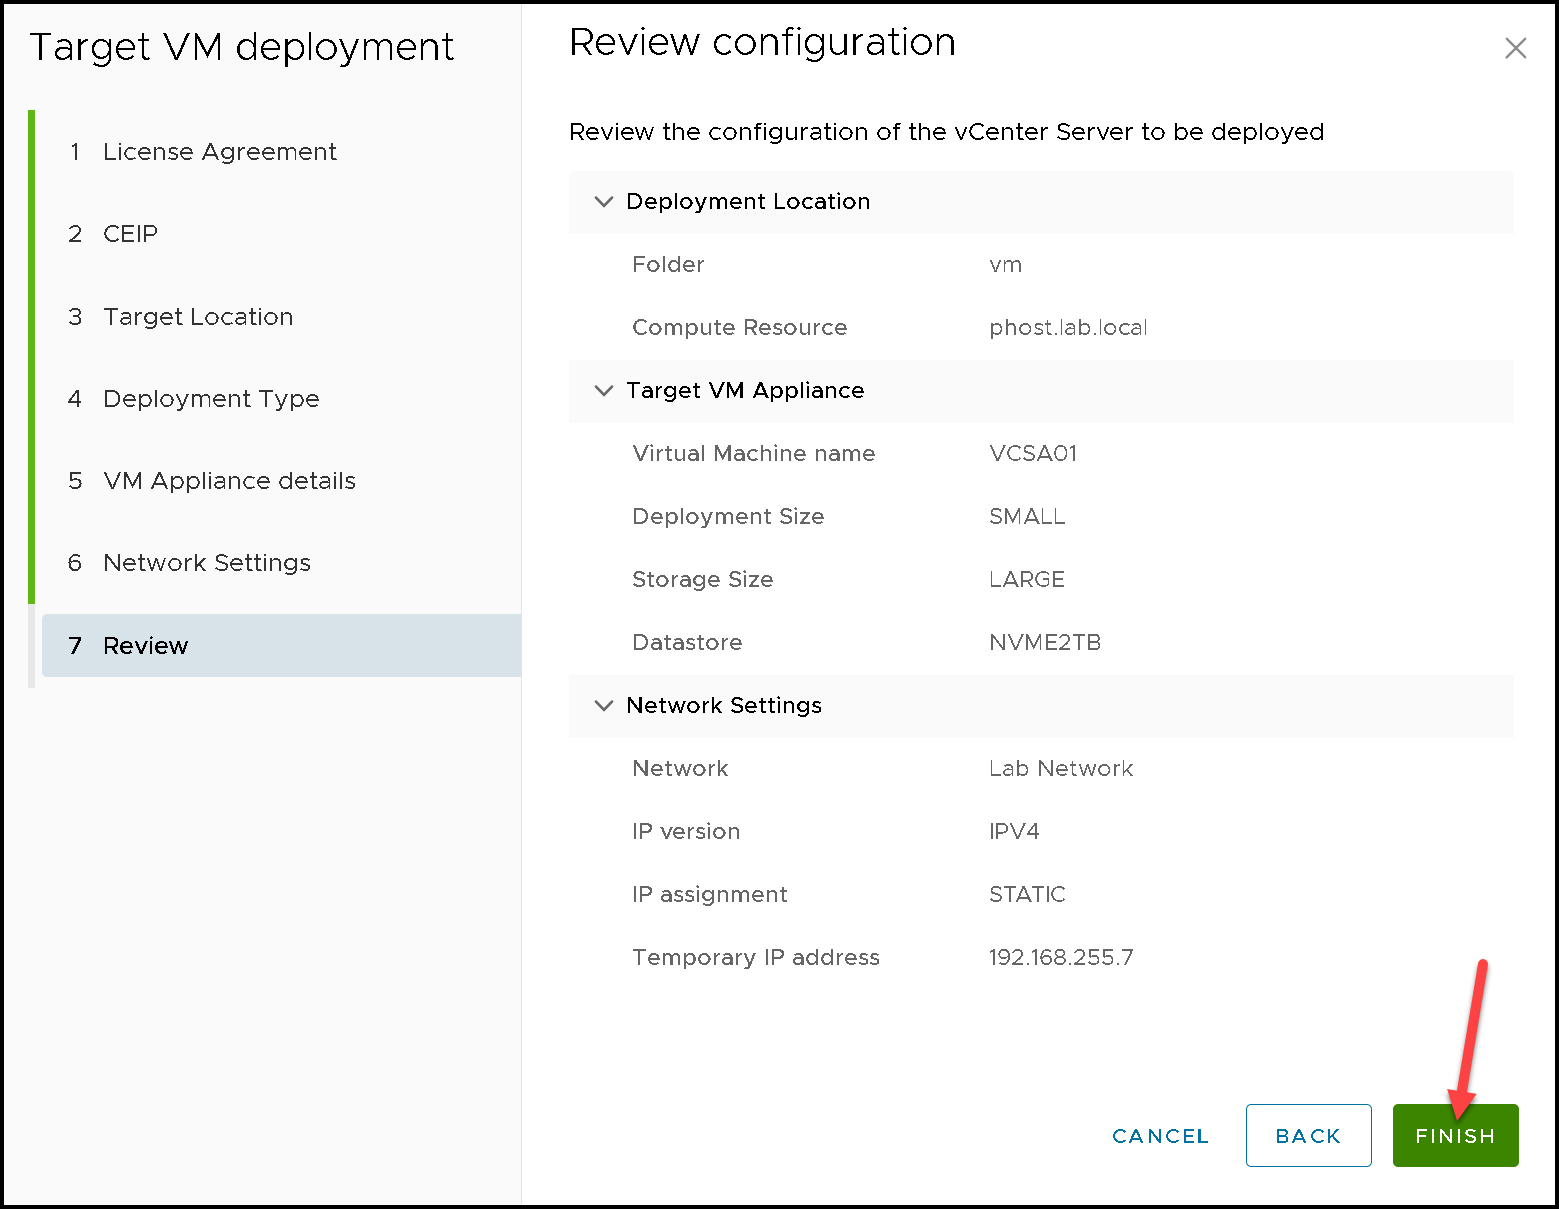
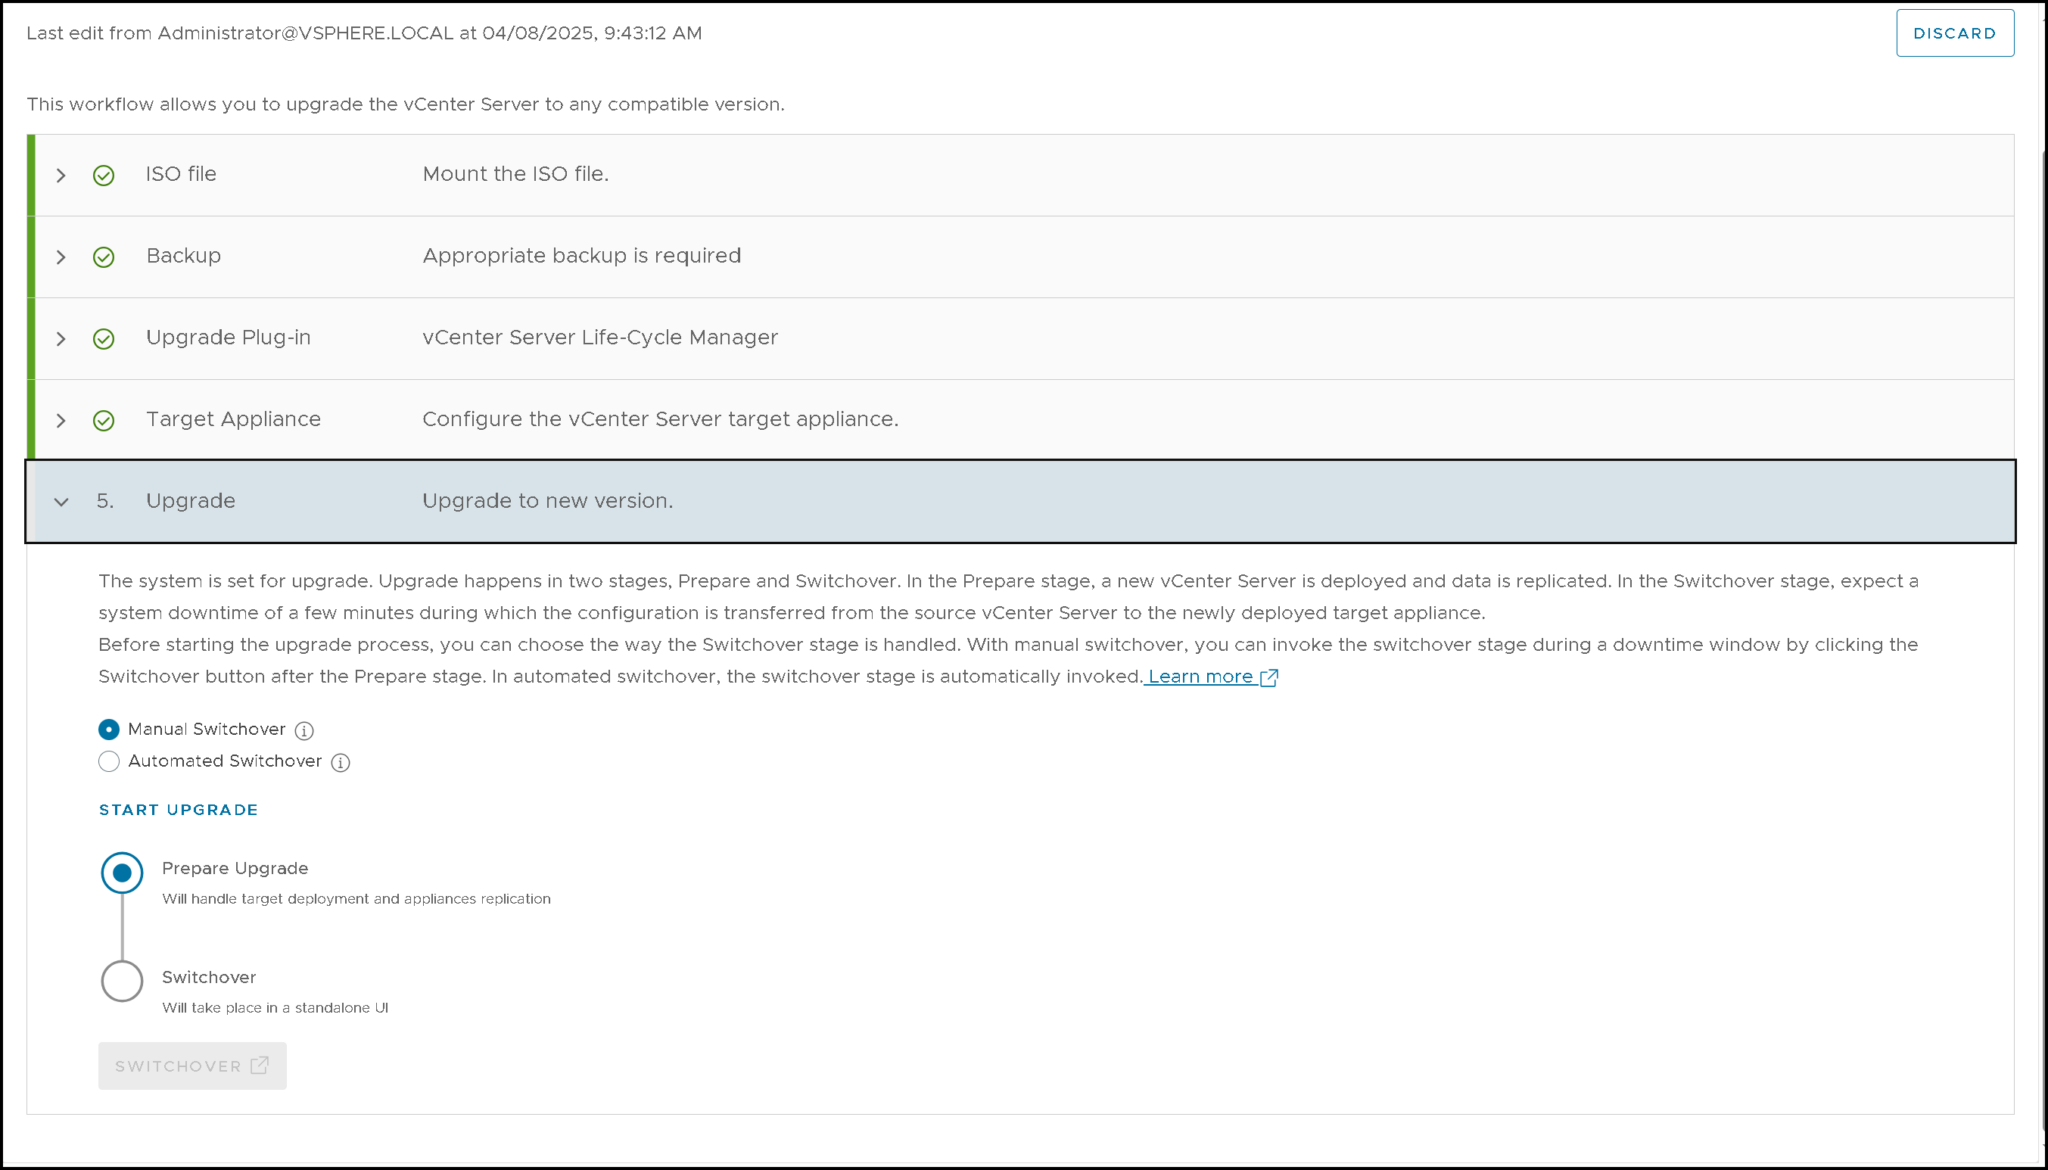
Upgrading to the New Version
The last step is to start the upgrade itself!
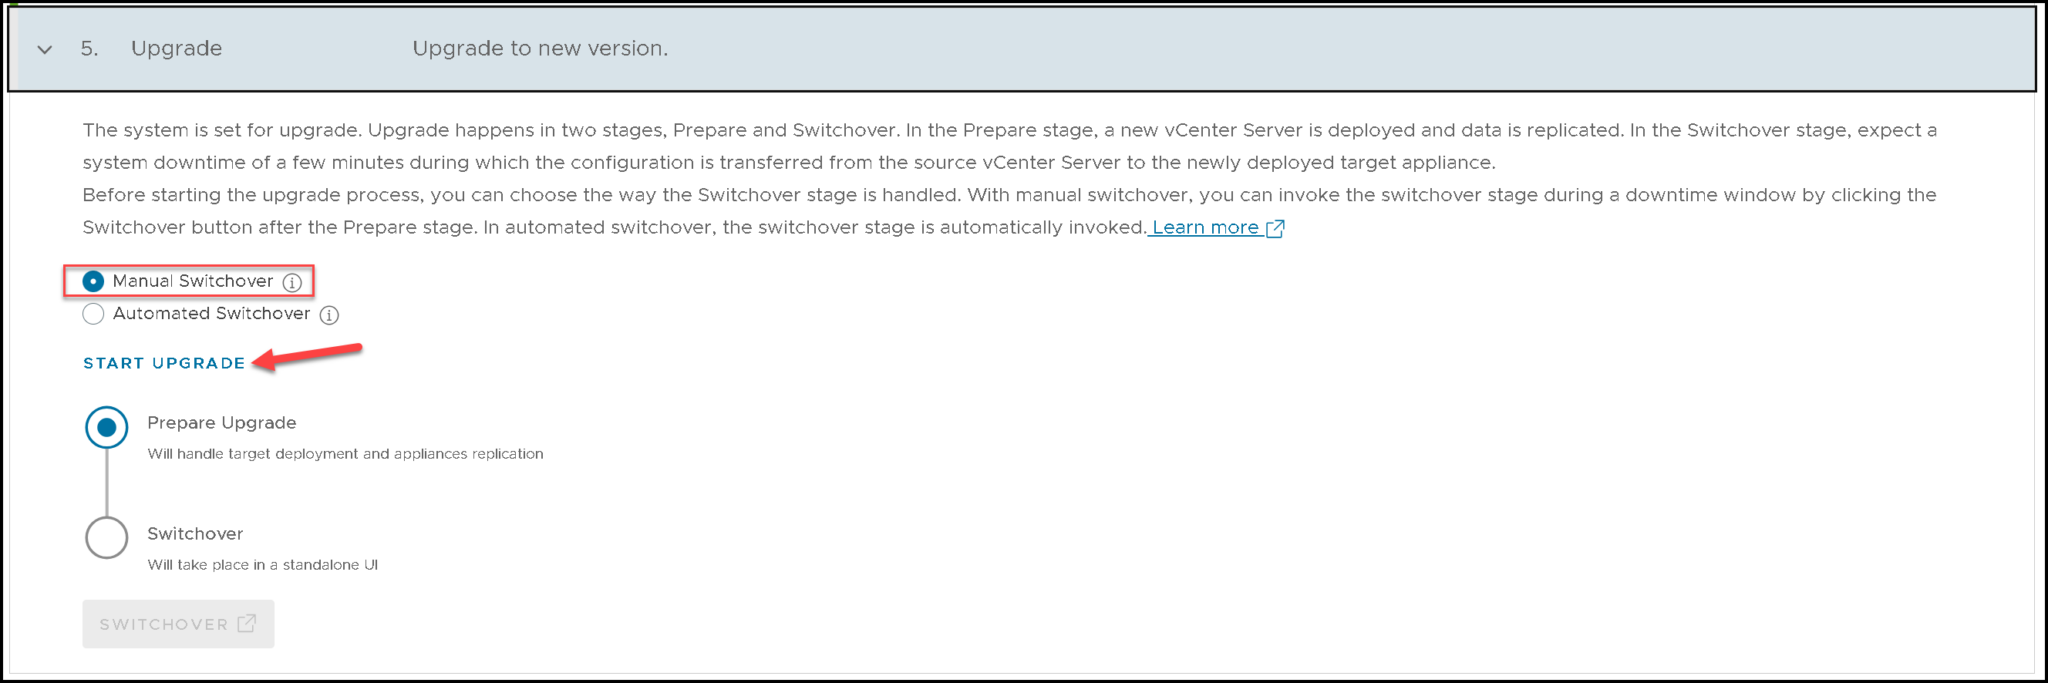
Before starting the upgrade, we need to choose the switchover process. The manual switchover means the new vCenter VM will be created, and all data replicated. However, the switchover to the new vCenter will be manual – We will use this method:
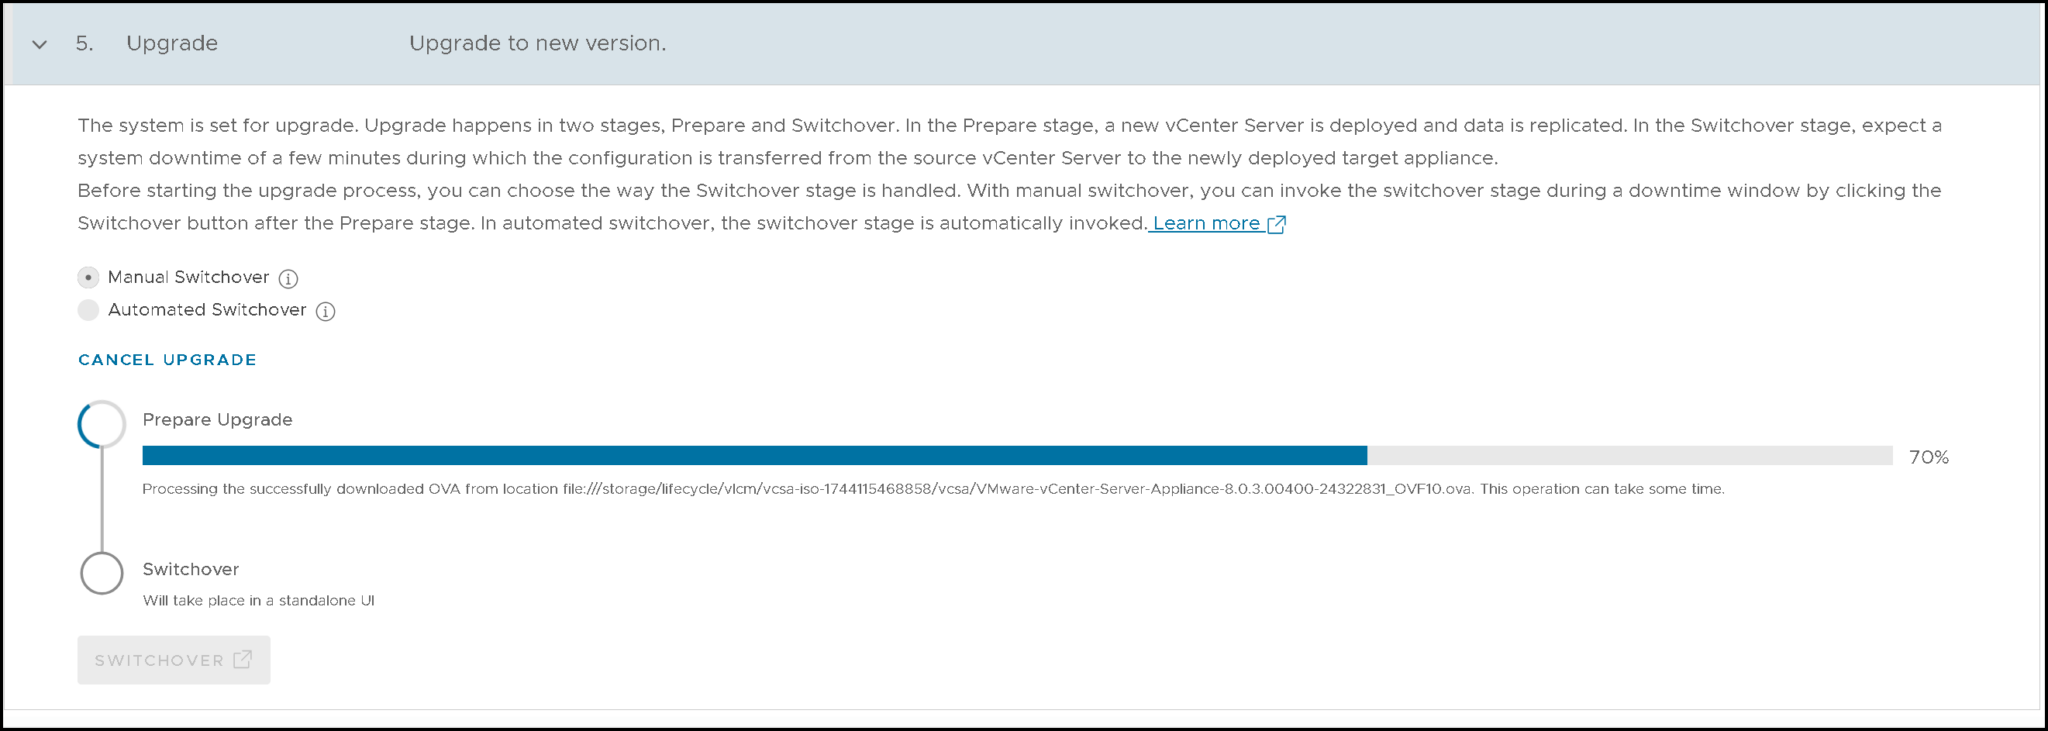
We can see the new vCenter Server is being deployed:
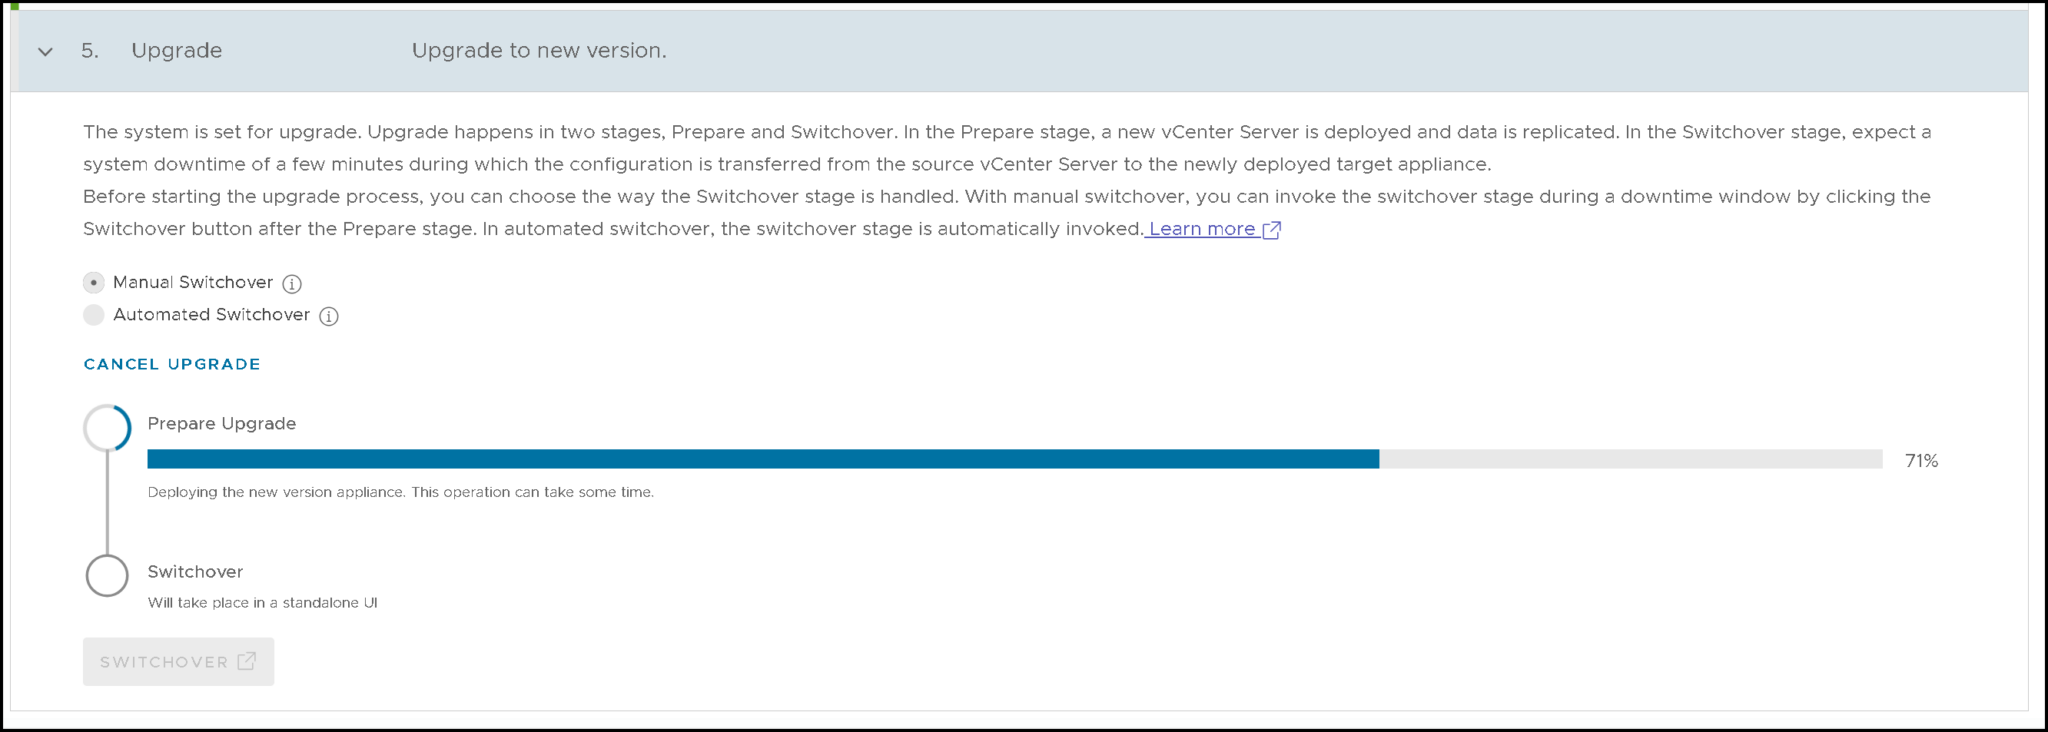


We can access the new vCenter Server using the temporary IP address and check the services’ status:
watch -n2 'service-control --status --all'As we can see, all vCenter services are being started on the new vCenter:
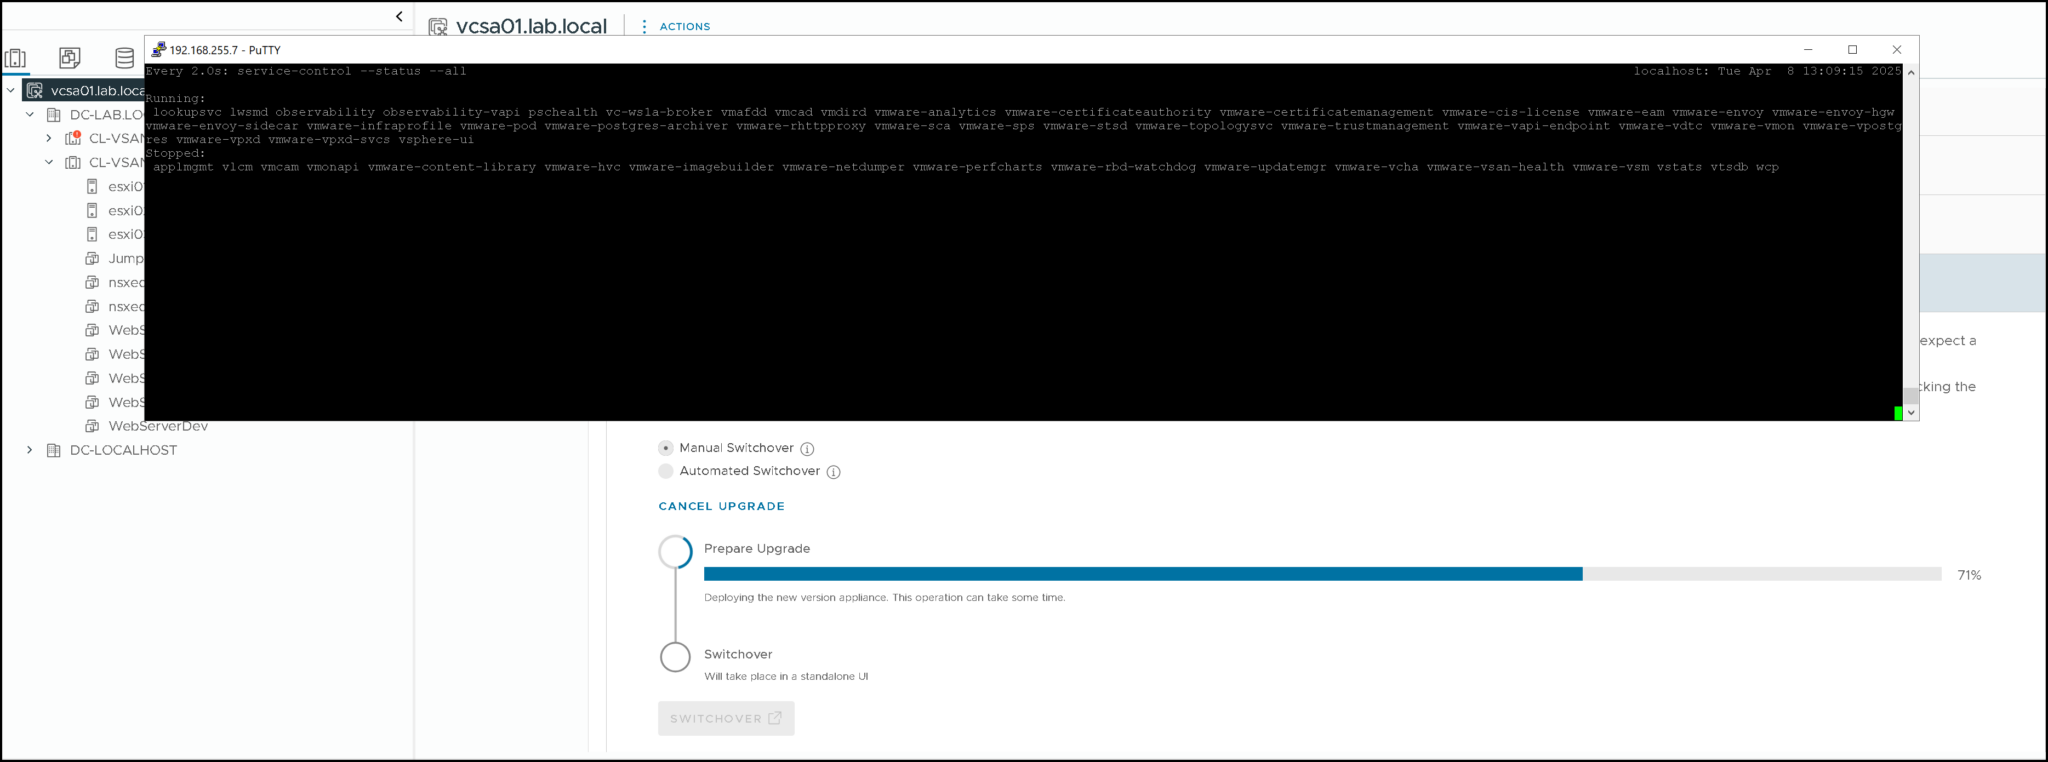
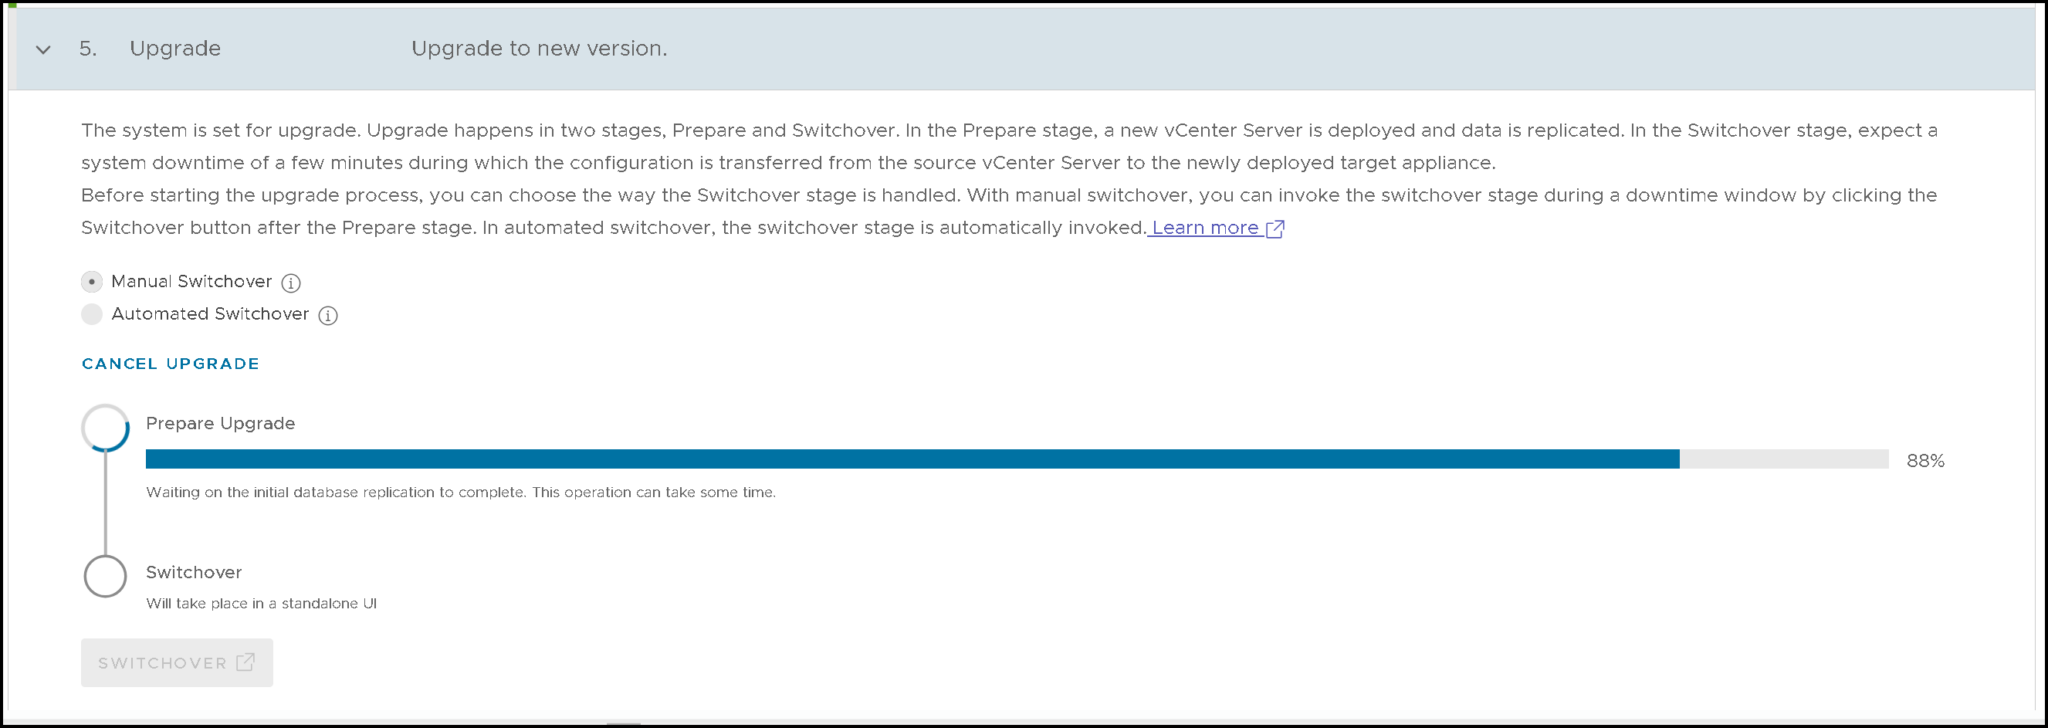
As we can see, the Switchover option will be enabled when the process reaches 100% (before that, it is grayed out).
Note: You can do the Switchover during a maintenance window or something like that. Before doing it, the source vCenter Server still running normally, without any interruption or downtime.
When you click on "Switchover", the vCenter will become unavailable due to transition from the source to the target vCenter!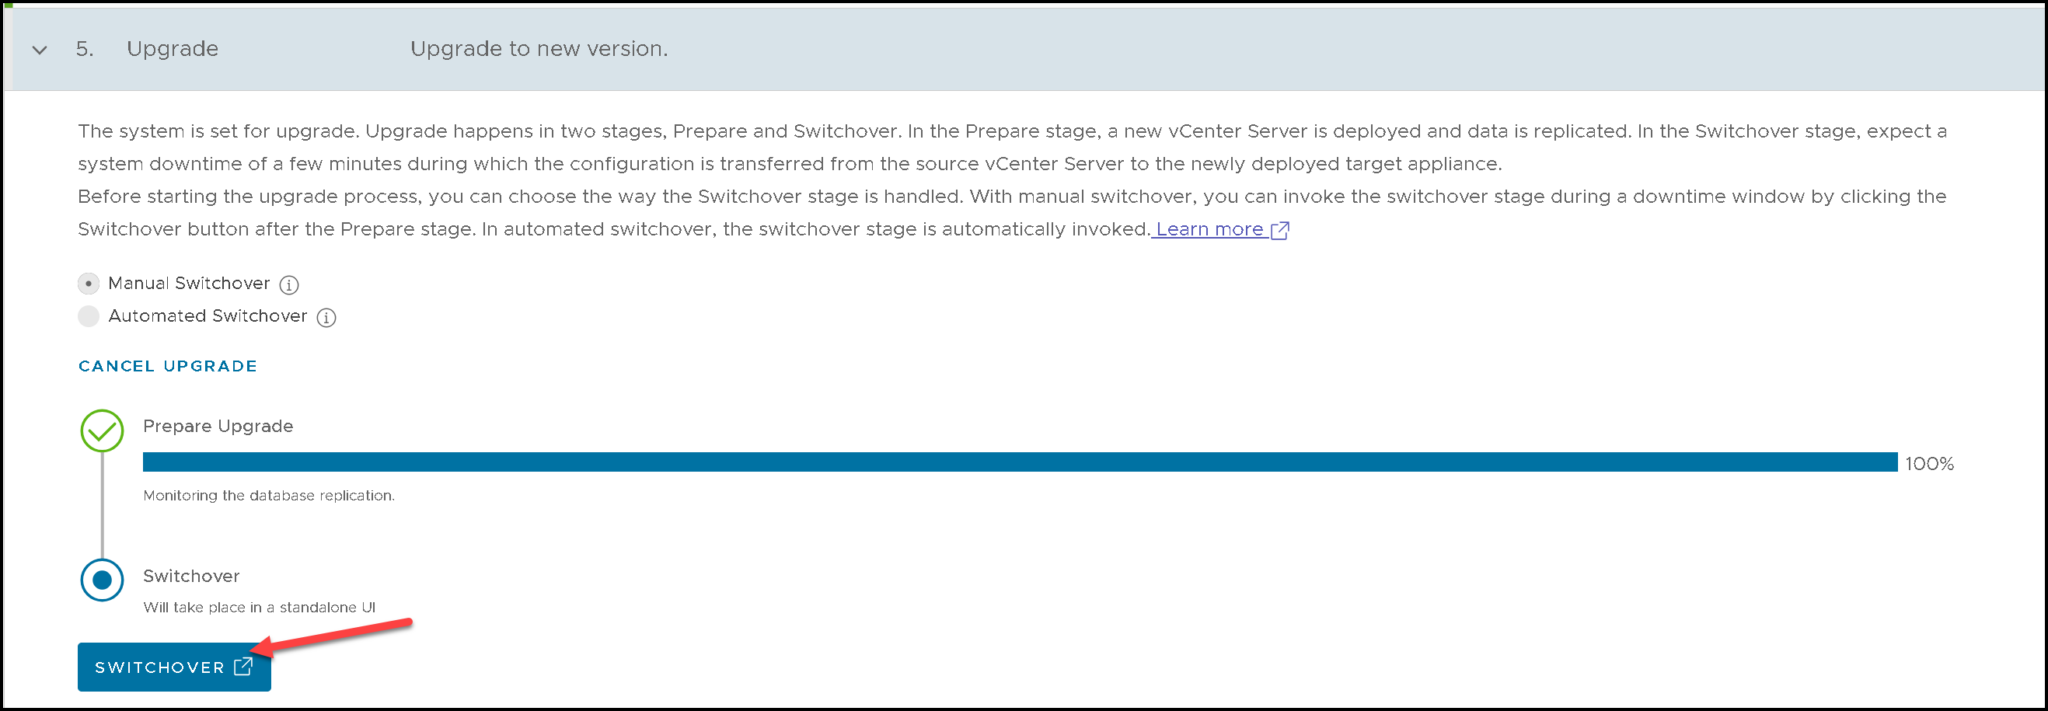
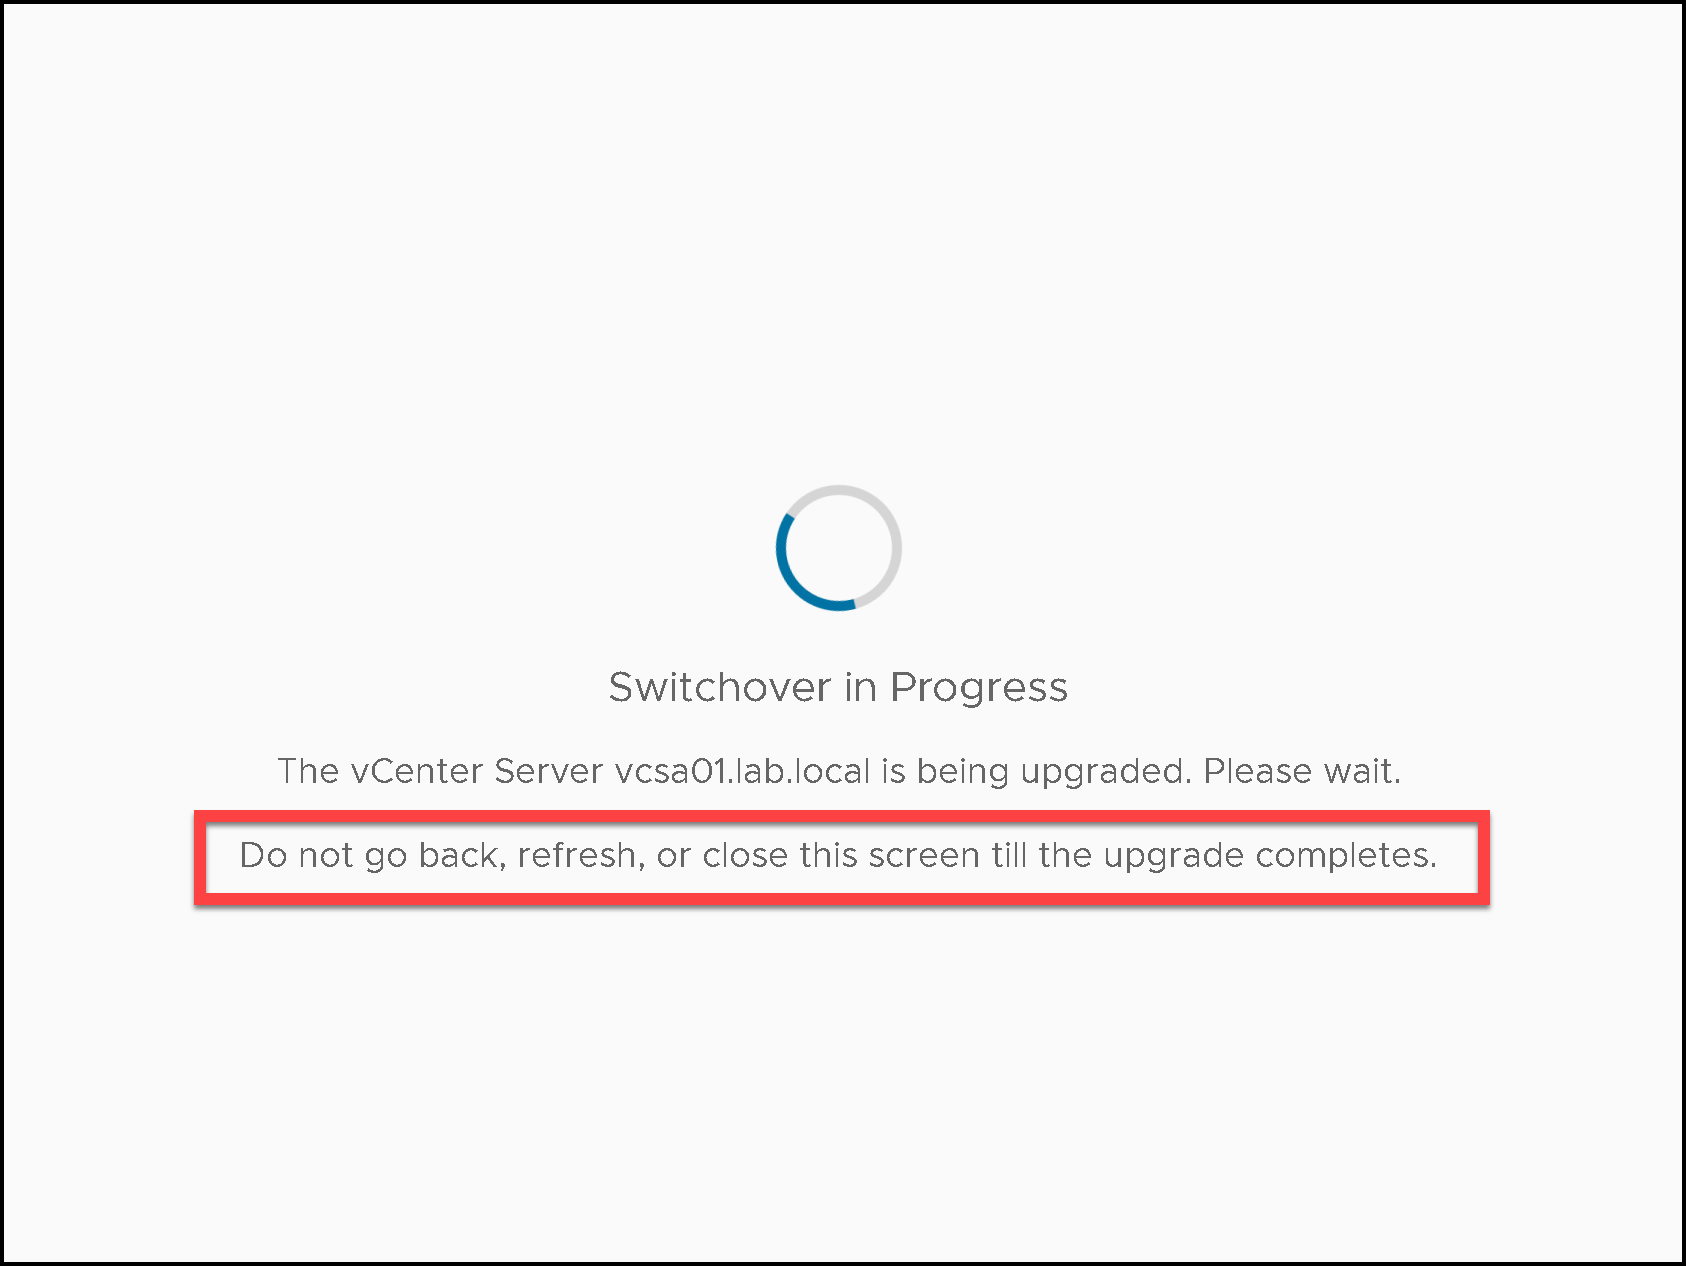
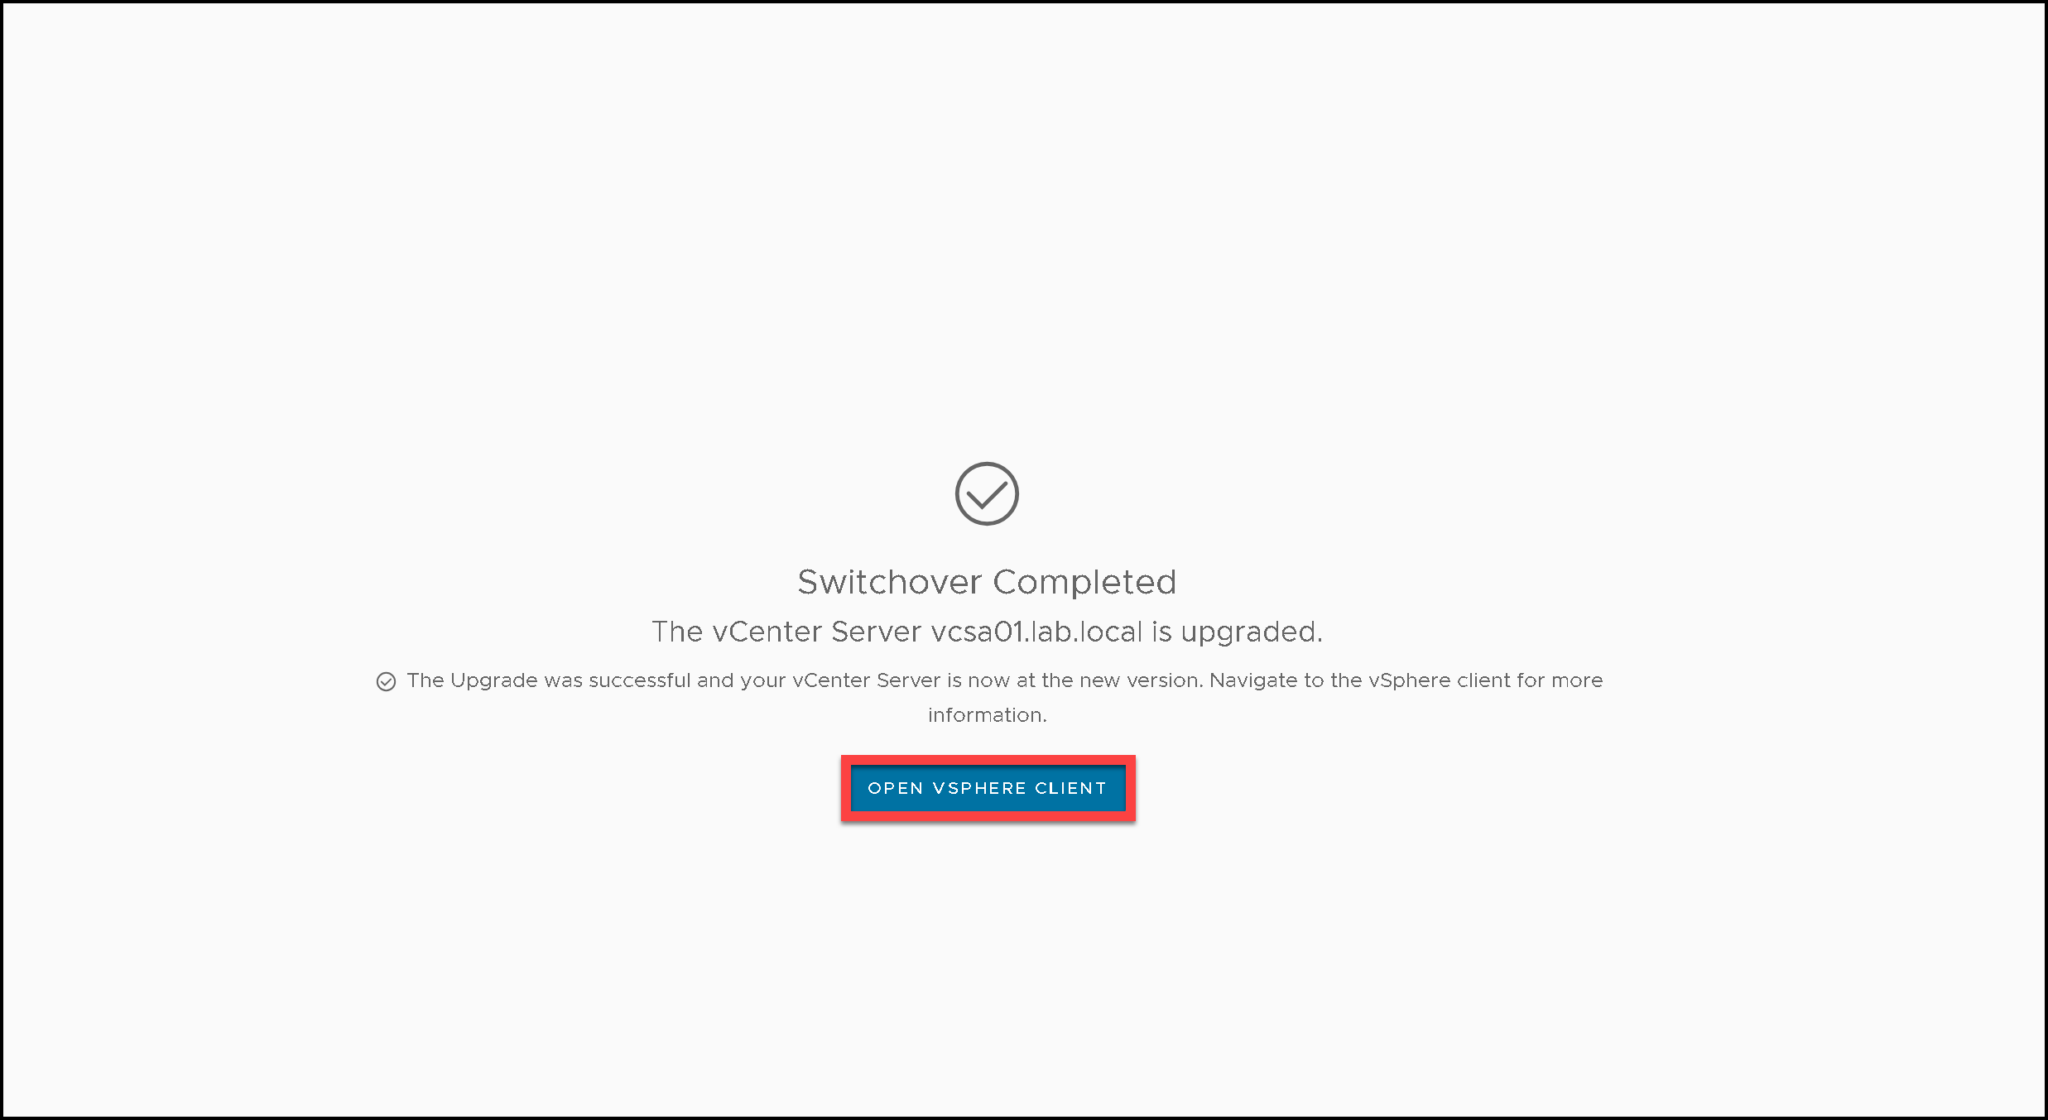
After the switchover is completed, we can access the vSphere Client usually 🙂
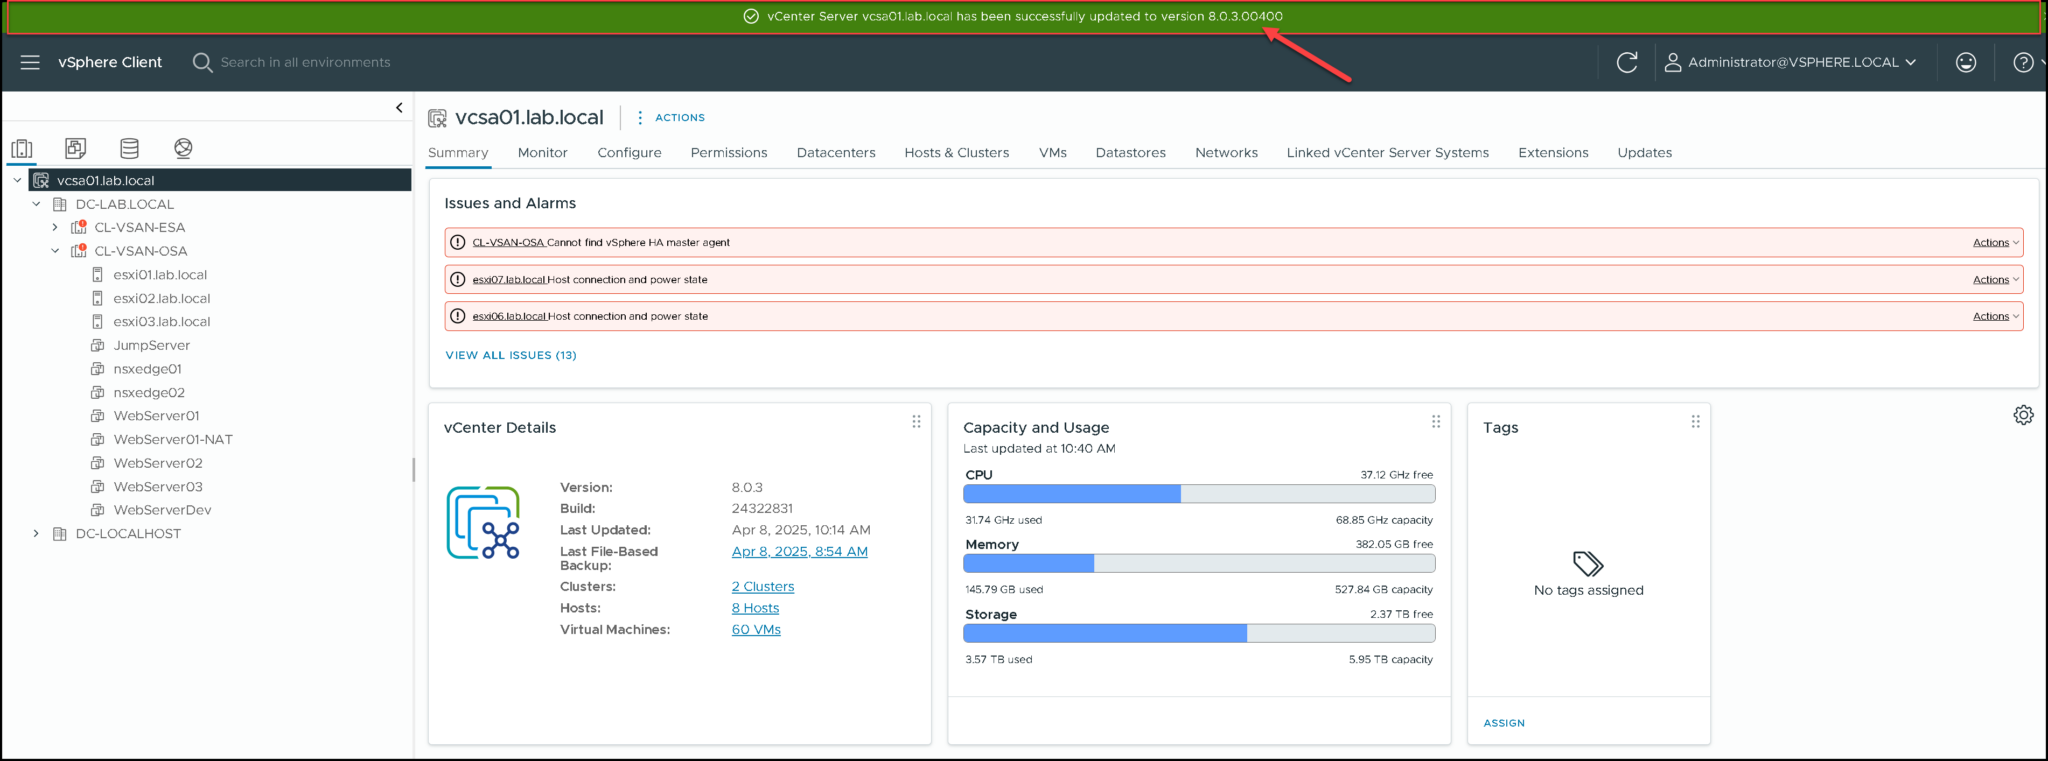
That’s it 😉
