

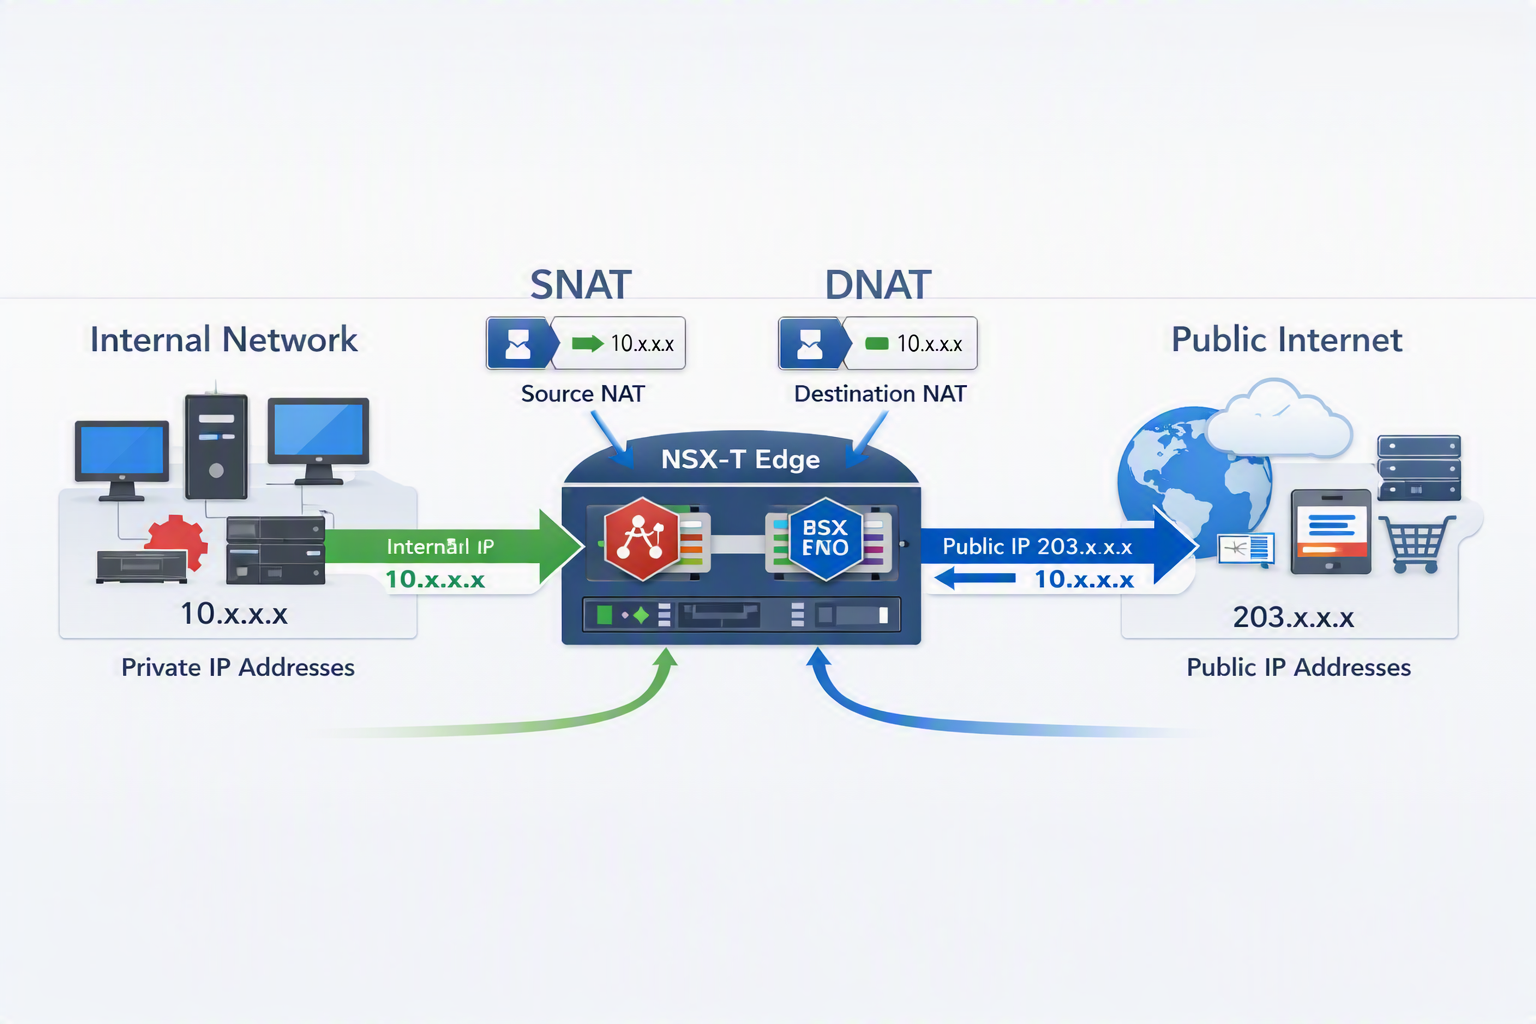
How can I use NAT on NSX-T? In this article, we’ll show you an example of how to use NAT on NSX-T.
First and foremost, what is NAT?
NAT is an acronym for Network Address Translation and acts as a translator of IP addresses – an example of NAT usage in providing Internet access to internal devices. In this scenario, we have an internal network using non-routable IP addresses on the Internet. We have a router on the network’s edge with one or more public IP addresses. So, when someone needs to access the Internet internally, the router applies NAT, translating the internal IP address to the public/external IP address. This is named as Source NAT (SNAT). However, there are many ways to implement it, such as Destination NAT (DNAT), Reflexive NAT, etc.
NAT technology is described in the RFC (Request For Comments) and is a standard globally used on all network devices.
In the following picture, we can see an example of NAT working. The “Router 1” is an L3 device and can perform NAT features as well:

How can I implement NAT on NSX-T?
The NSX-T supports many NAT implementations, such as SNAT (Source NAT), DNAT (Destination NAT), and Reflexive NAT. The NAT feature is “Stateful.” Simply put, a table is created in the memory device, implementing NAT with all the translators. Based on this table, the device knows which device asked for a translator and sends all the packets correctly.
We’ll propose a challenge and show a way to address it:

Based on our topology, let’s highlight some important things:
- We have a Tier-0 gateway;
- We have two Tier-1 gateways, one used by internal business segments and another used by NAT segments;
- We have two Segments, one named “NSX-WEB-SEGMENT” used by Web server VMs and another one used by NAT VMs;
- The yellow block “New Business” represents a new business joined to the current network infrastructure. This situation presents many challenges for the IT team, such as handling overlapped IP addresses;
- The added VM “WebServer01-NAT” has the same IP address as the VM “WebServer01.” So, we need to do something to allow communication between them without changing the IP address of the new VM;
- To address the issue of overlapped subnets, a NAT subnet will be necessary for each Segment (we’ll see how to use this new subnet when we create the NAT rules).
We created the Segments:

Created both Tier-1 gateways:

And created the Tier-0 gateway:

The Tier-0 gateway is already linked to both Tier-1 gateways:

Both VMs are created, and the NSX Segment is correctly assigned to each one:


As we can see under the Virtual Machine Details, both VMs have the same IP address:


Creating the NAT Rules
So, to allow both VMs to communicate, we need to create specific NAT rules:
Networking –> Network Services –> NAT –> Select the Gateway –> Add NAT Rule.
We’ve created the first two NAT rules on the Tier-1 gateway “T1-GW”.
As we can see, we have one SNAT rule and one DNAT rule. Let’s deep dive into each rule:
- Web01_to_Web01-DNAT: This is a DNAT rule.
So, the NAT will happen at the destination address.
When the source network is 10.10.255.0/24, all packets to the destination network 10.10.253.0/24 will be translated to 10.10.11.0/24. - Web01_to_Web01-SNAT: This is a SNAT rule.
So, the NAT will happen at the source address.
When the source network is 10.10.11.0/24, the source address of all packets will be translated to 10.10.255.0/24. The destination network must be 10.10.253.0/24:

The following two NAT rules were created on the Tier-1 gateway “T1-GW-NAT”.
As we can see, the same idea was applied here: one is a DNAT rule and the other is an SNAT rule:

On both Tier-1 gateways that have NAT rules, we must enable the “All NAT IP’s” under the Route Advertisement, as we can see in the following picture. It is necessary because it allows the T1 gateway to advertise the NAT networks to its neighbors (do it on both T1 gateways):

If you need your physical network to know that, the Tier-0 gateway must redistribute these NAT networks to their physical neighbors. Generally, the T0 gateway uses BGP’s routing protocol to exchange network routes with the physical world. In this case, for instance, we’re using BGP and we configured it to redistribute the NAT networks to BGP T0 neighbors:

As we can see in the following picture, when the VM “WebServer01′ (on the left) starts communication with the VM “WebServer01-NAT” (on the right), a Source NAT (SNAT) is applied, translating the source IP in the IP packet. The SNAT rule is used at the “T1-GW”.
When the packet arrives on the “T1-GW-NAT”, the DNAT rule is used, allowing the communication between the overlapped VMs:

The same idea is applied when the “WebServer01-NAT” tries to reach the VM “WebServer01”:

Wrapping This Up
So, as we can see, the NAT is a valuable feature that can address many situations in the IT world. The point is to understand and use his capabilities as best as possible.
