

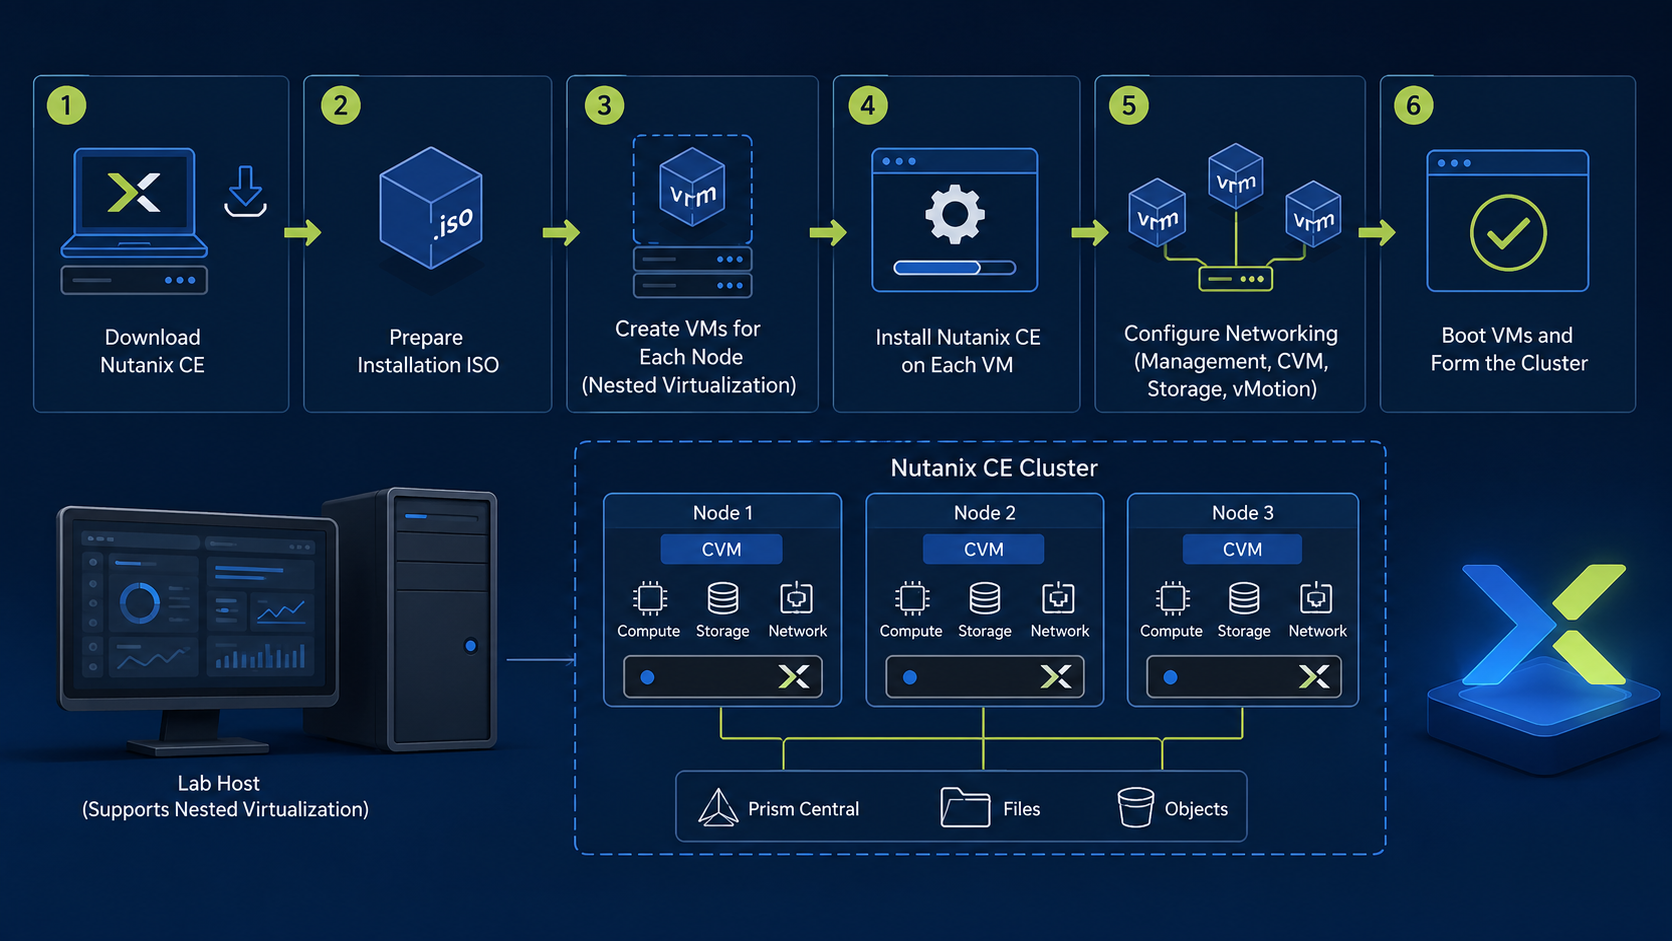
Building Your First Nutanix CE Cluster shows how to deploy a Nutanix CE Cluster in a lab environment. We will show all the necessary steps to create a cluster in a nested environment.
First and Foremost, Get the Nutanix CE Installation File
The first step is to get the Nutanix CE installation file. We must access our “My Nutanix” account to download this file. We have written an article explaining how to do it:
Getting the Nutanix CE – DPC Virtual Tips
Nested Lab Environment
To create a Nutanix CE Cluster, we will use a lab environment based on an ESXi host. So, we will create virtual machines (VMs) under this physical host to test all Nutanix functionalities. You can use an ESXi host, VMware Workstation, or another virtualization platform (I know it works with ESXi and VMware Workstation).
As this is a Community Edition of Nutanix software, there is a cluster member limit. We can create a cluster with one, three, or four nodes. The only supported hypervisor is the Nutanix AHV (other hypervisors are not supported).
The recommended hardware for the Nutanix community edition (CE) and other details can be obtained from the following link:
Community Edition CE 2.1 – Getting Started with Community Edition (nutanix.com)
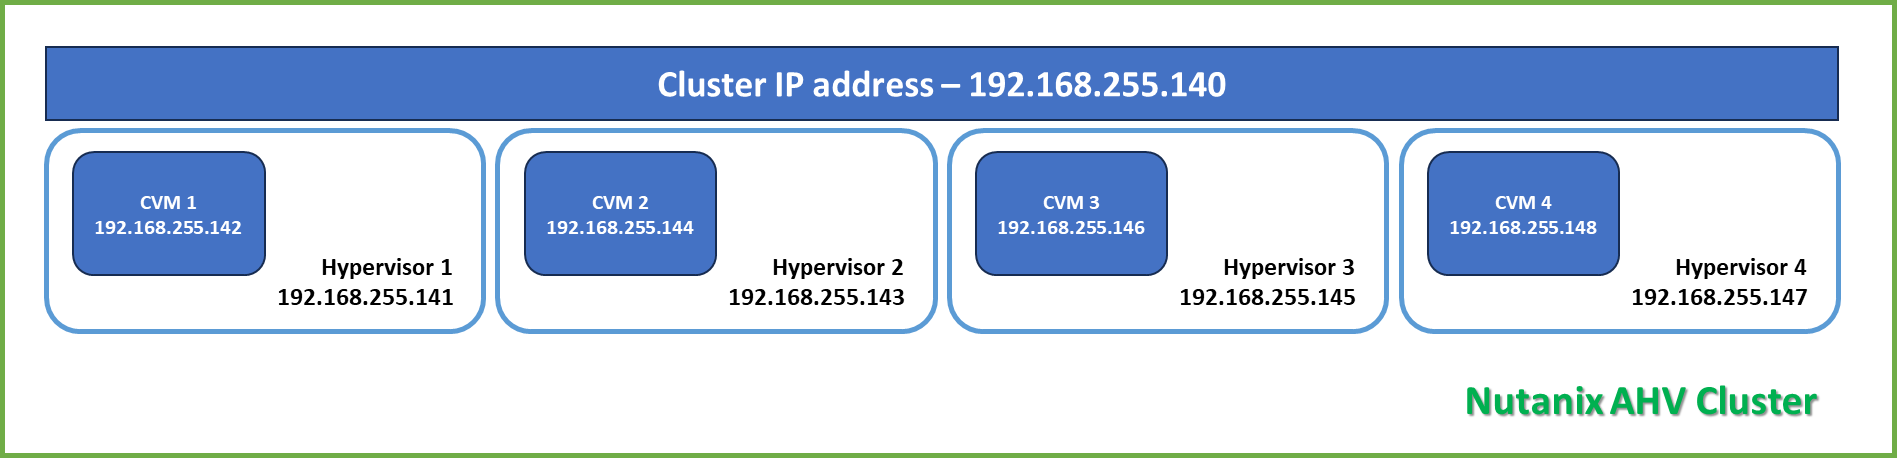
To create our cluster, we will create four Nutanix nodes. Each Nutanix node (AHV Hypervisor) has a Control Virtual Machine (CVM) running cluster services. This VM is responsible for handling all I/O and providing cluster services. This VM is automatically created during the hypervisor deployment.
For each Nutanix node, we will need two IP addresses (both addresses must be on the same subnet):
Hypervisor IP address
CVM IP address

Additionally, we need one more IP address (on the same subnet) for the Cluster Virtual IP:
192.168.255.140
Creating the Virtual Machine (VM) on the ESXi host
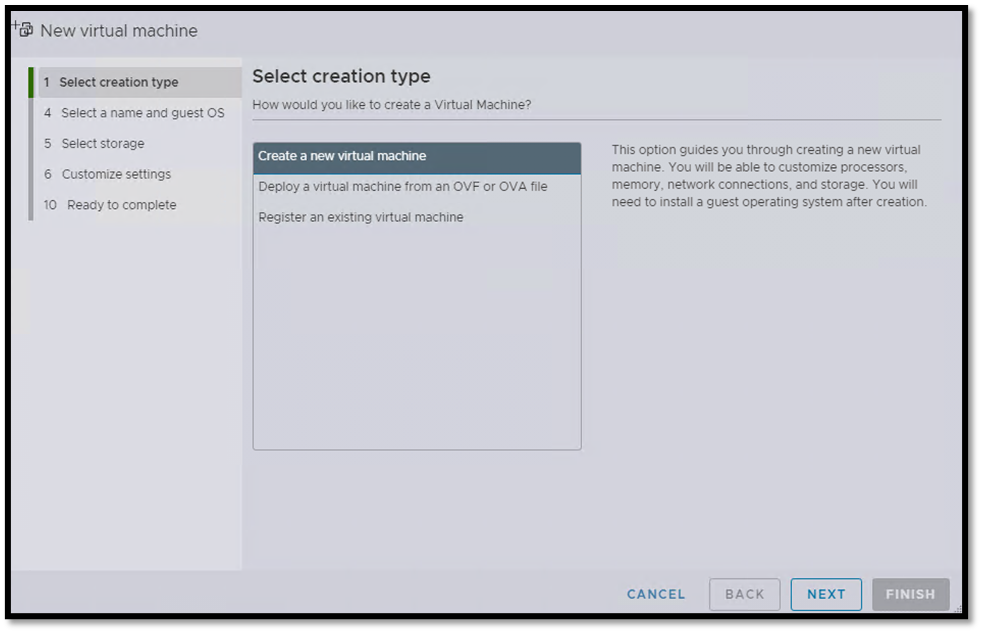
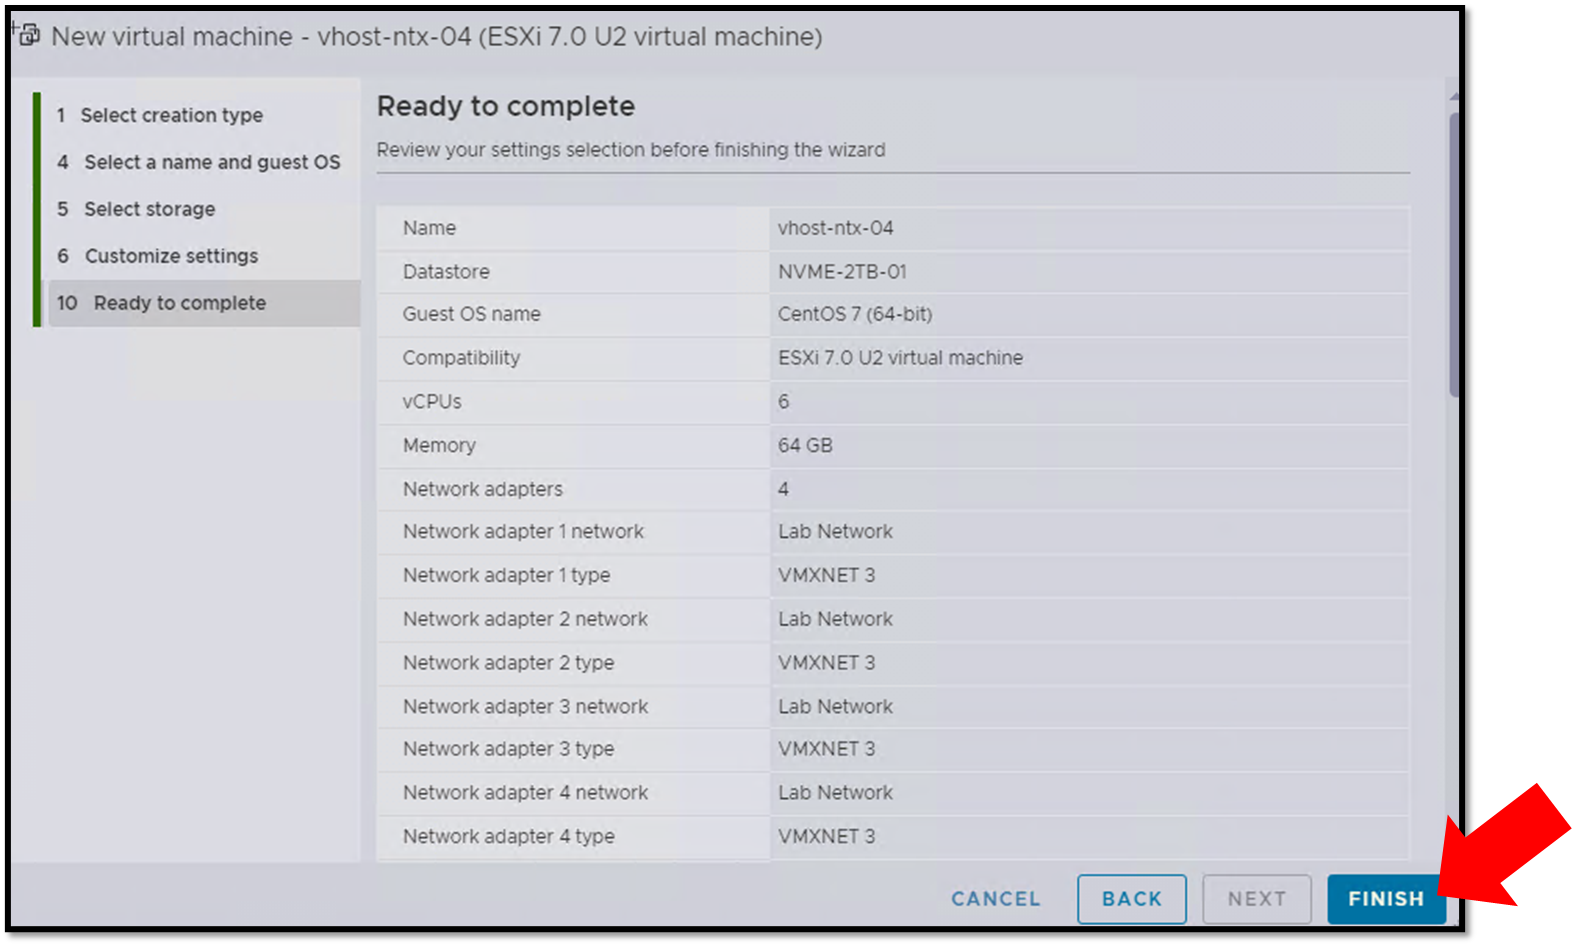
The first step is to create the virtual machine. It is a straightforward task.
Access the Host Client and create a new virtual machine:
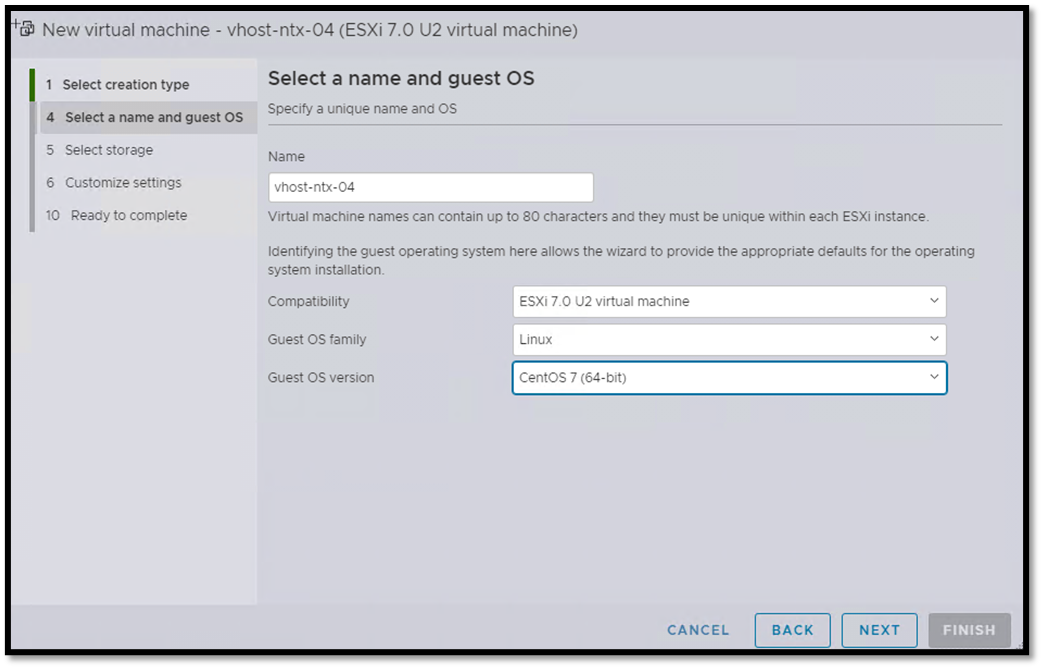
Type the virtual machine name. Under “Guest OS family” and “Guest OS version”, choose “Linux” and “CentOS 7 (64-bit)”:
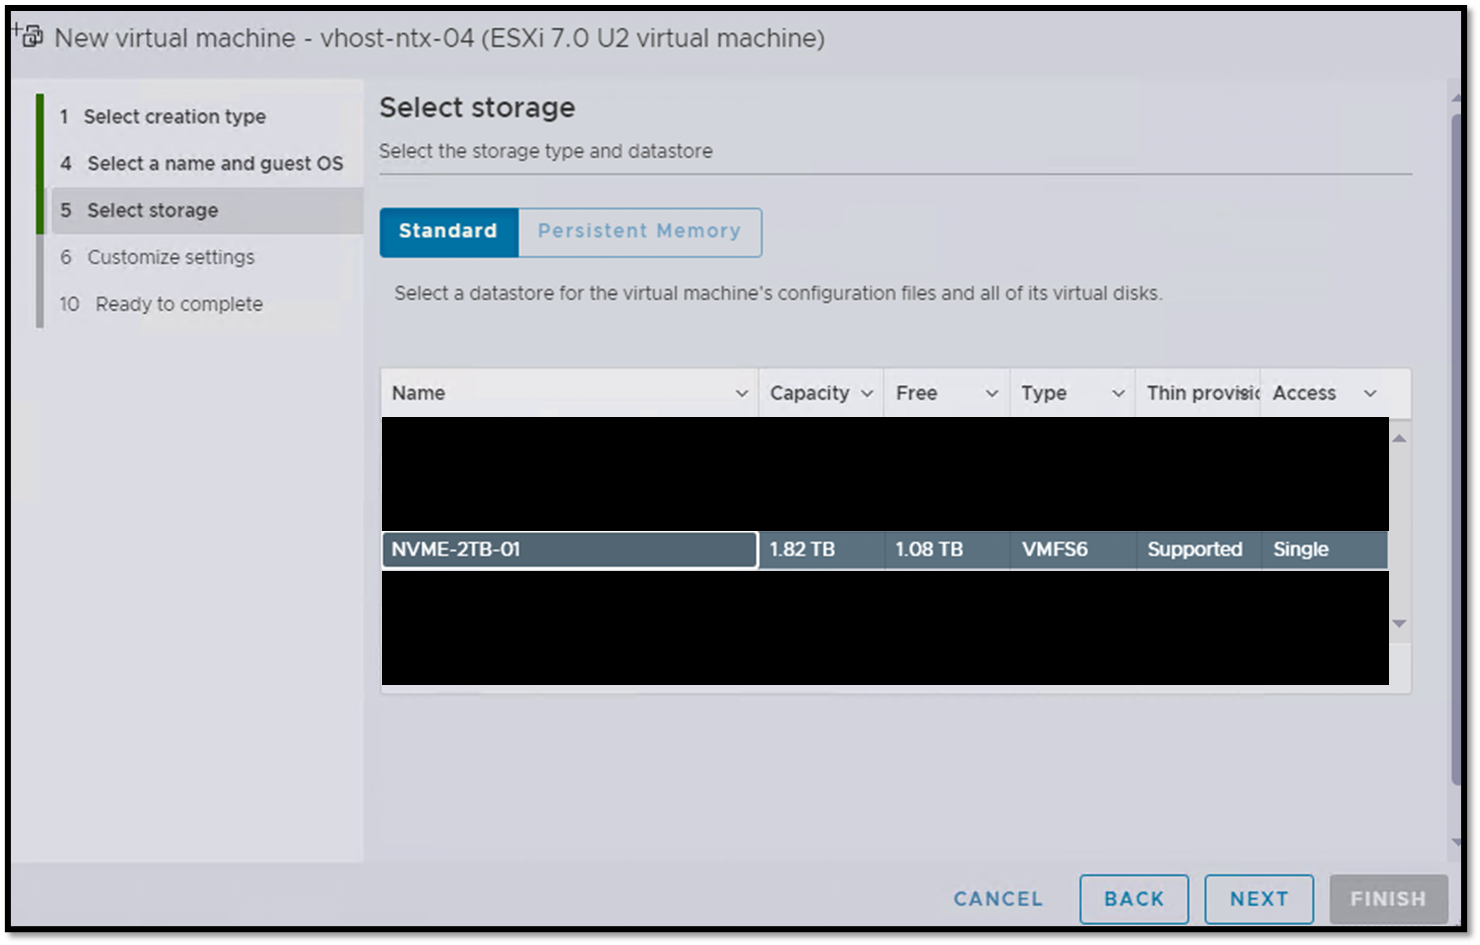
Select the storage:
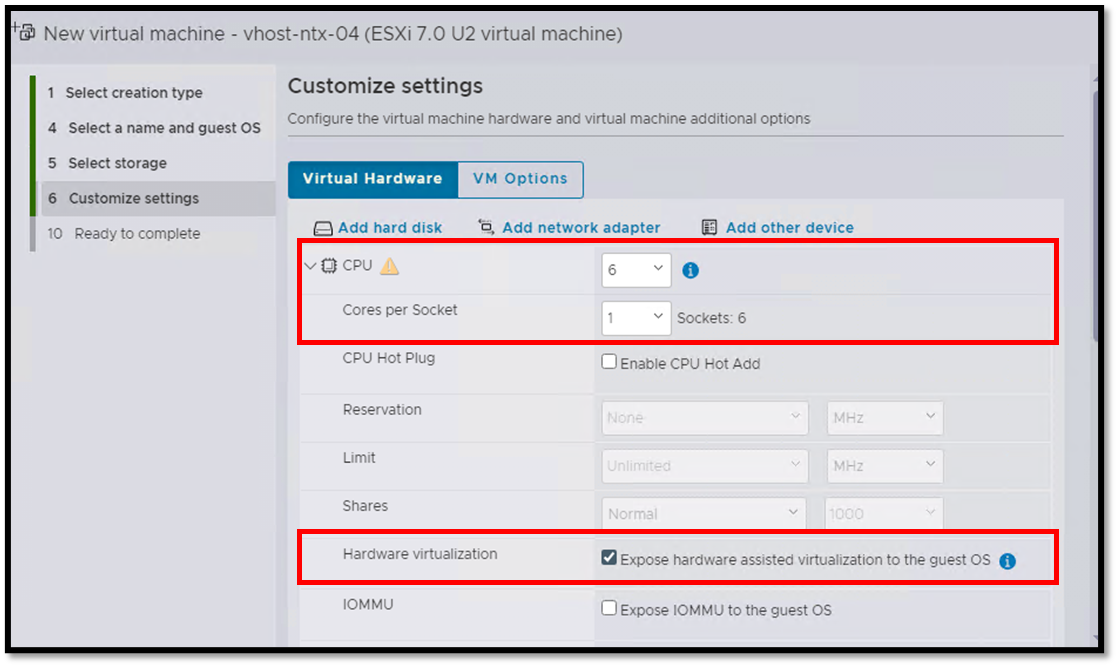
Under Virtual Hardware, we are setting up six CPU cores and one CPU socket.
Mark the option “Expose hardware assisted virtualization to the guest OS” to allow the GuestOS access virtualization features:
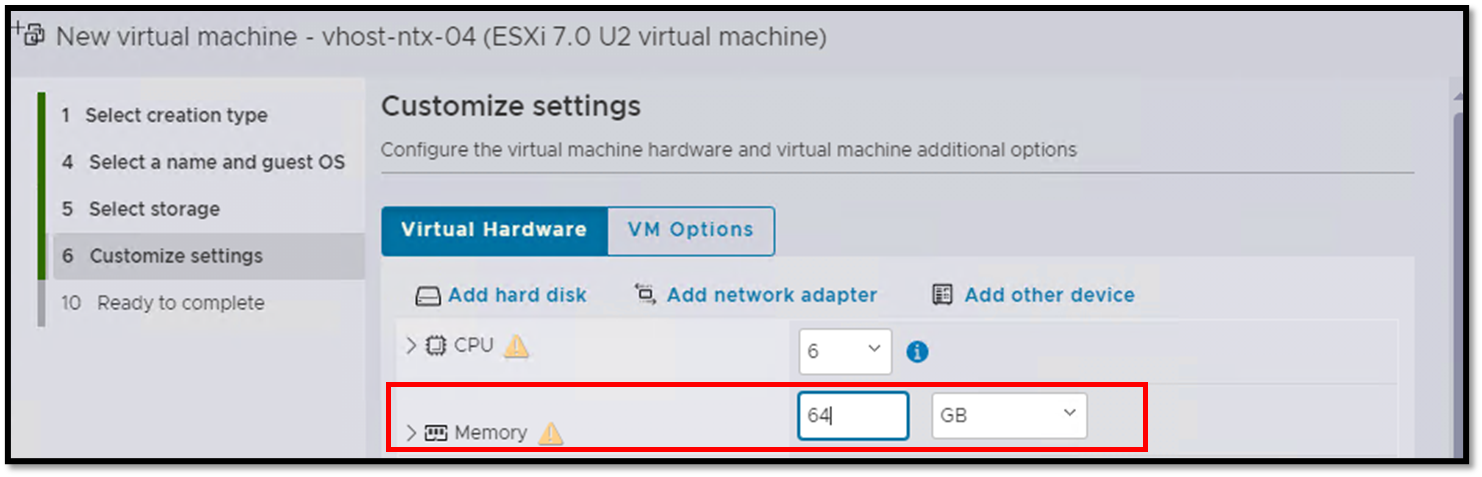
We are setting up 64GB of RAM:
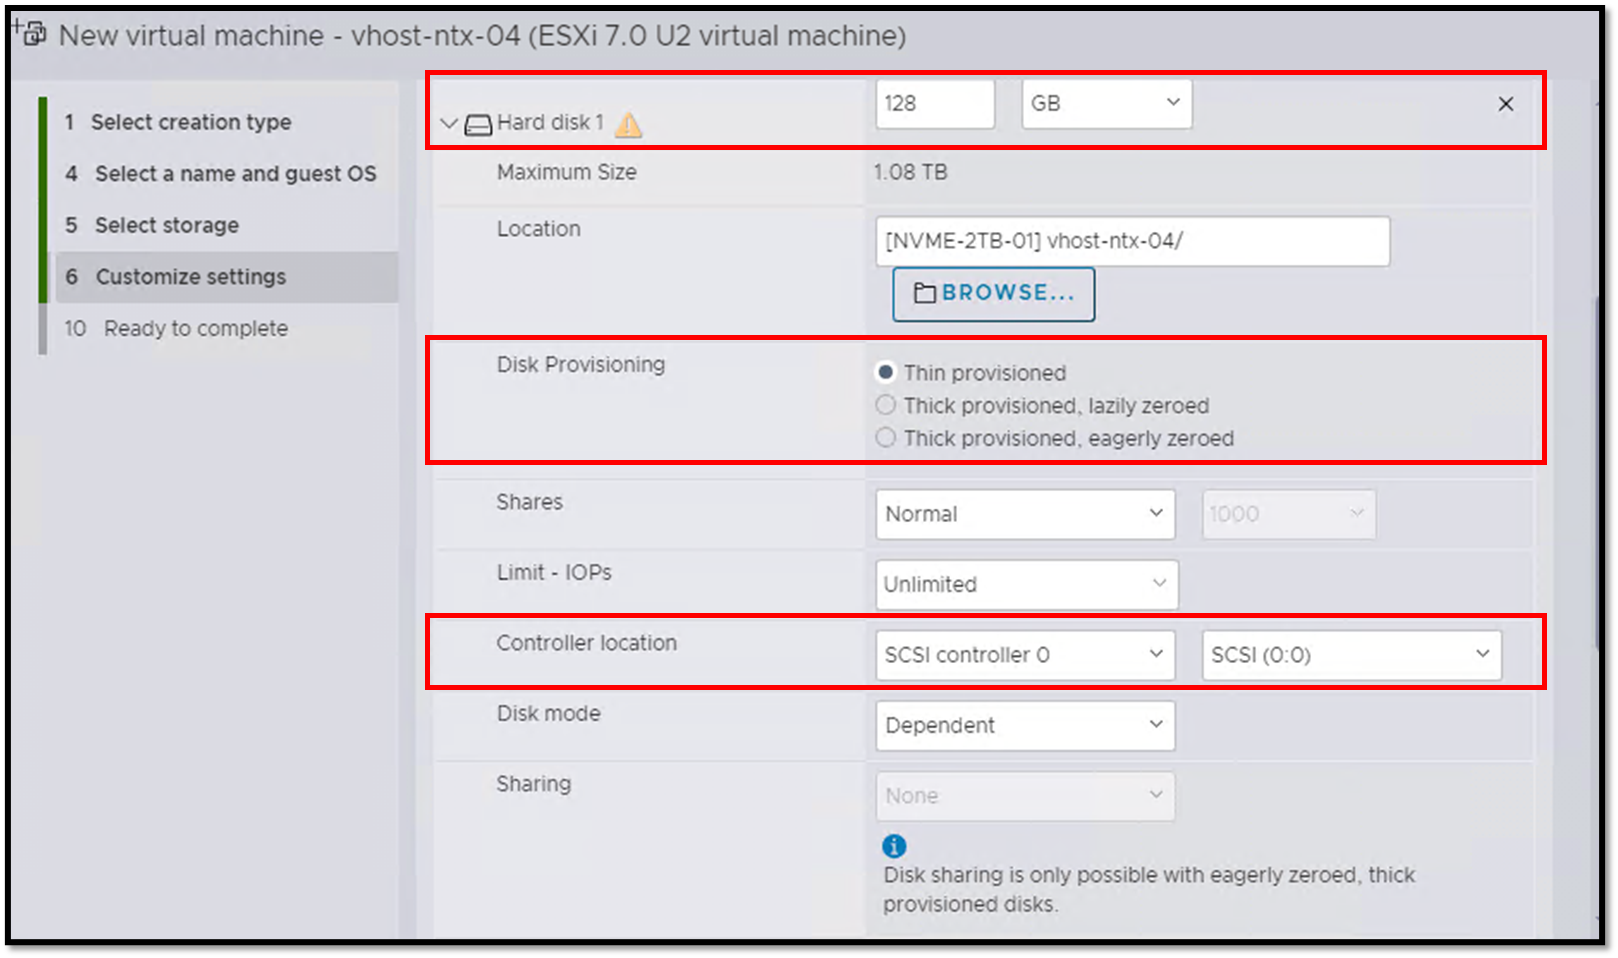
About the hard disks, we are setting up three hard disks, as we can see in the following figure:
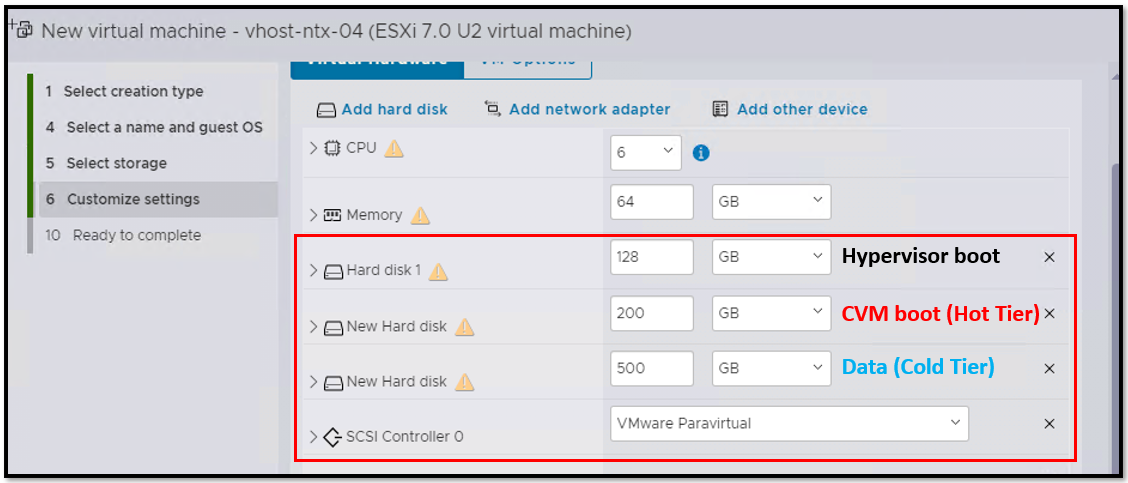
— Hard disk 1 = 128GB – Hypervisor boot (we will install the Nutanix AHV in this disk)
— Hard disk 2 = 200GB – CVM boot (The CVM VM – AOS will use this disk). Some documentation refers to it as a “Hot Tier.”
— Hard disk 3 = 500GB – Data (Data, VMs, etc, will use this disk). Some documentation refers to it as a “Cold Tier.”
Note: All disks are being configured in “Thin provisioned” mode and are being used a SCSI controller:
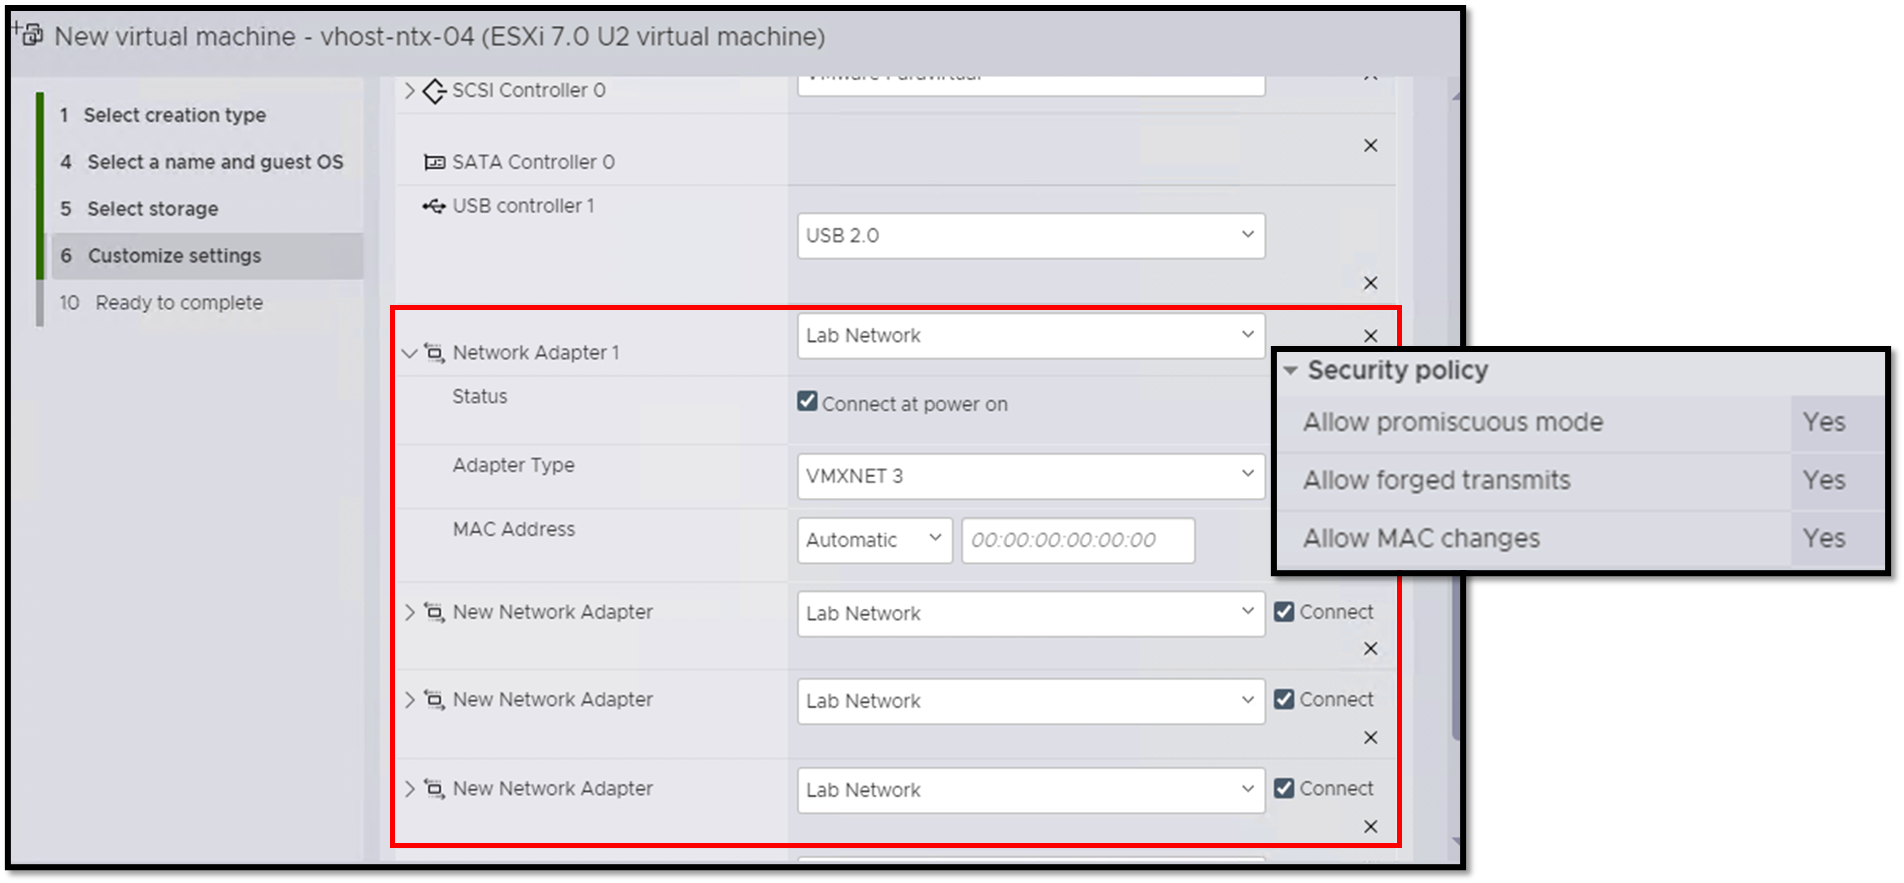
Under the network section, we are setting up four network adapters (all adapters are VMXNET 3).
Another critical point is related to the Port Group. We need to allow all security policies under the Port Group (e.g., promiscuous mode, forget transmits, and MAC changes).
Note: Since we are in a lab environment, we must enable these security policies under the Port Group. In the real world, these security policies may not be necessary to allow:
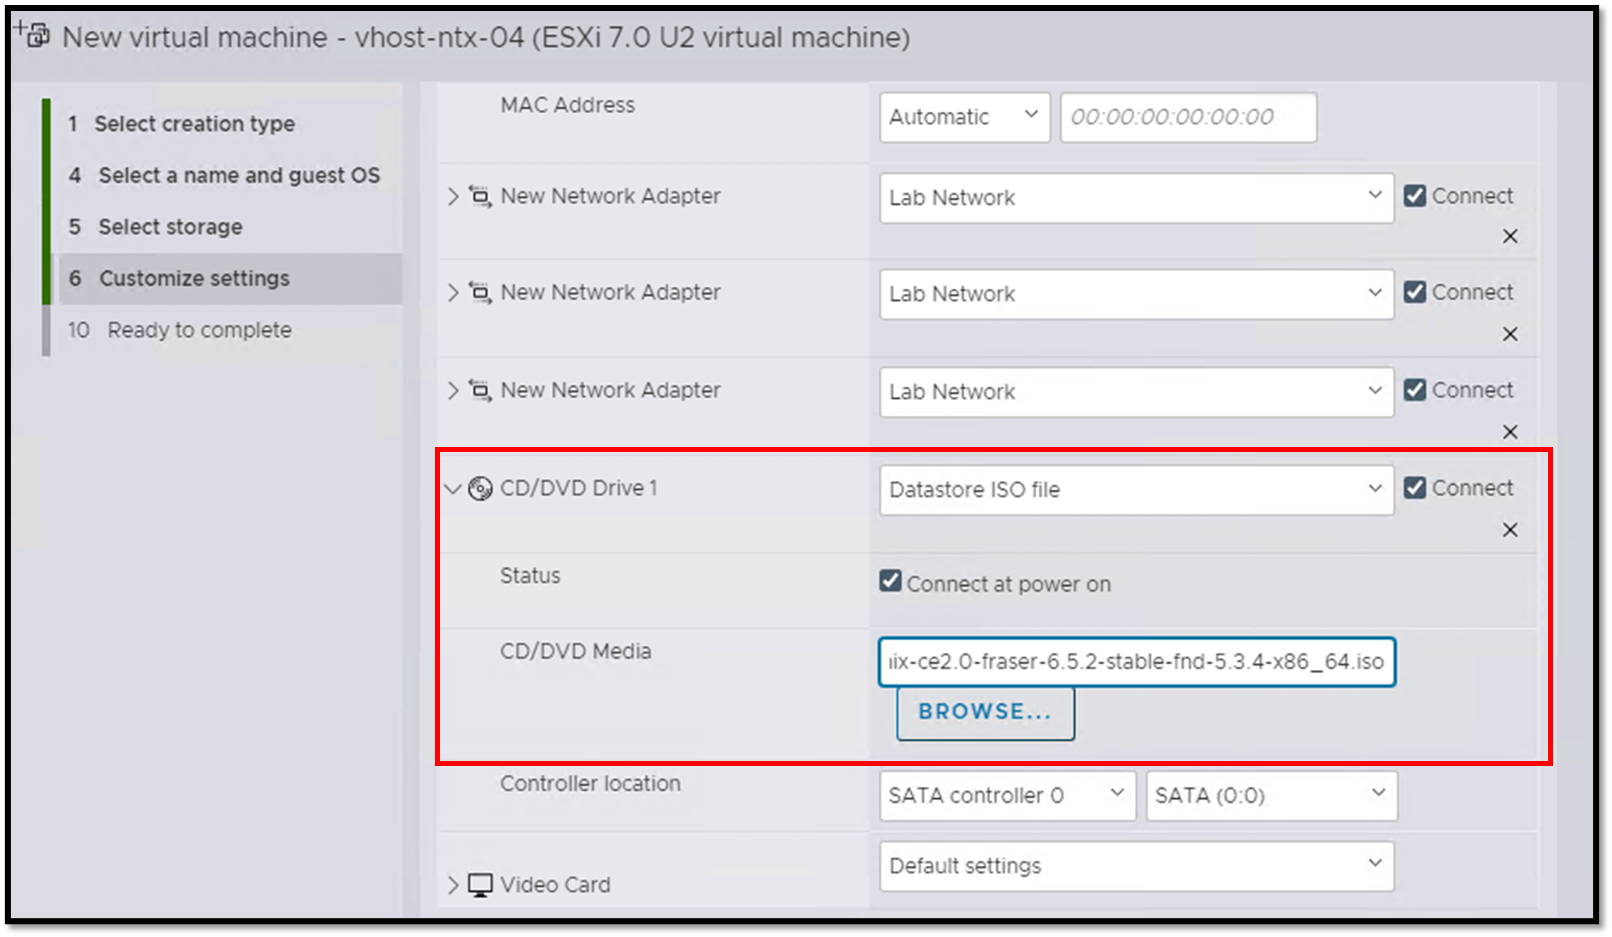
Attach the Nutanix CE iso file:
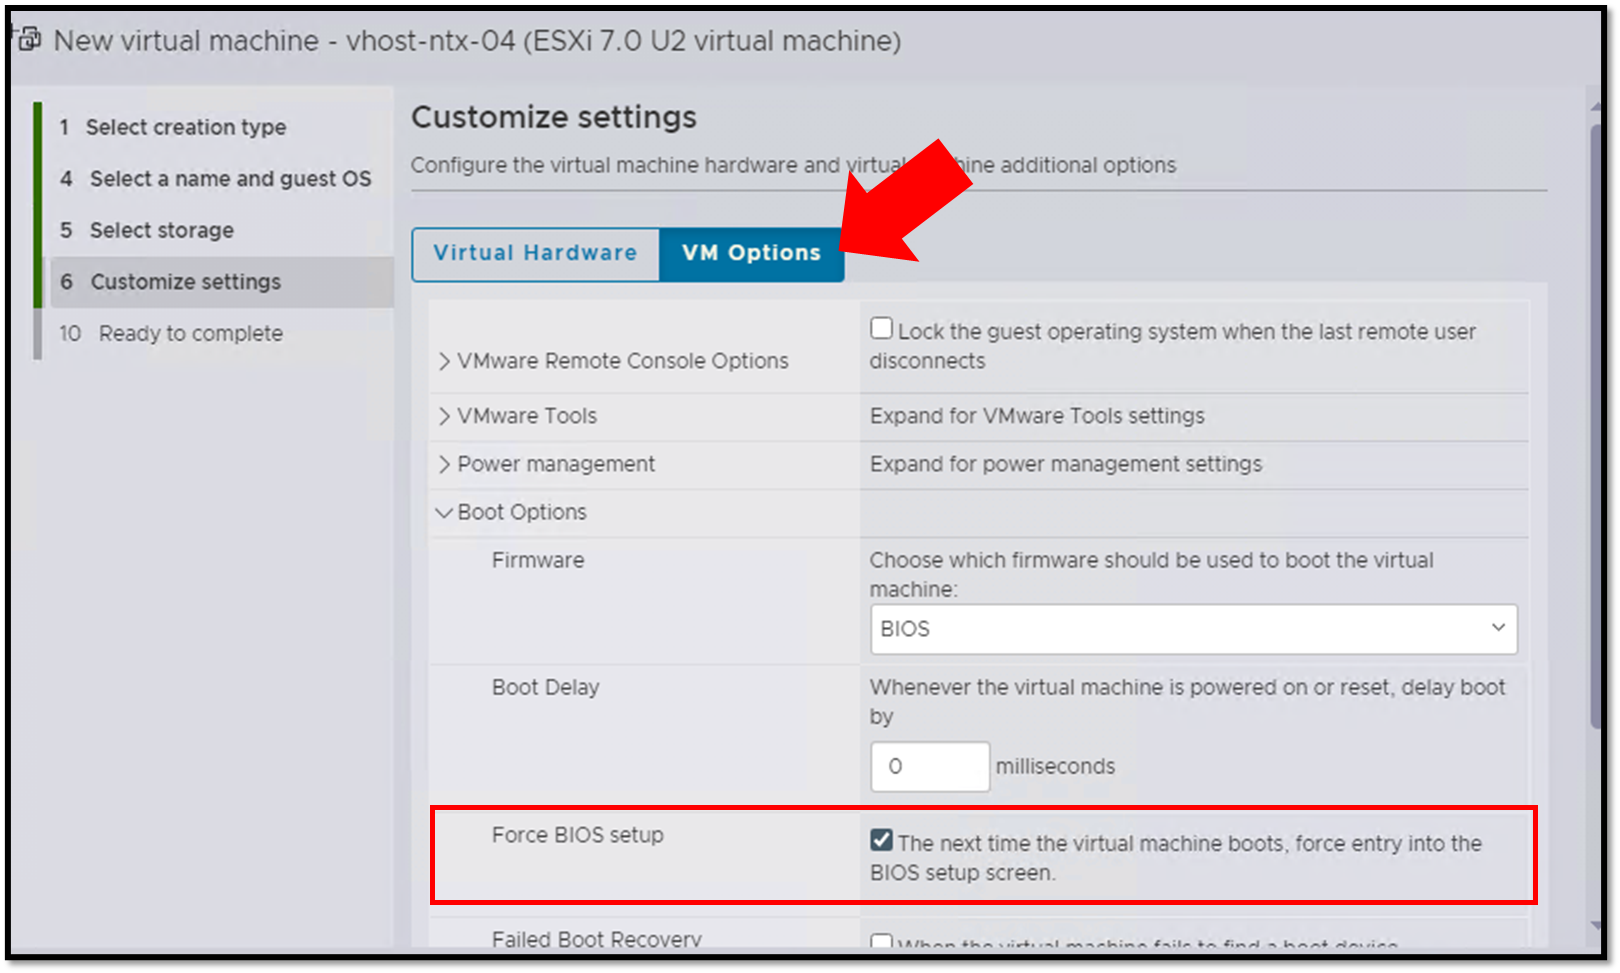
Click on “VM options” and mark the option “Force BIOS setup” to enter SETUP on the first virtual machine boot. We need to change the boot sequence order in the BIOS:
Adjusting the Virtual Machine Configuration
Before powering up the virtual machine, edit it to set up an advanced parameter:
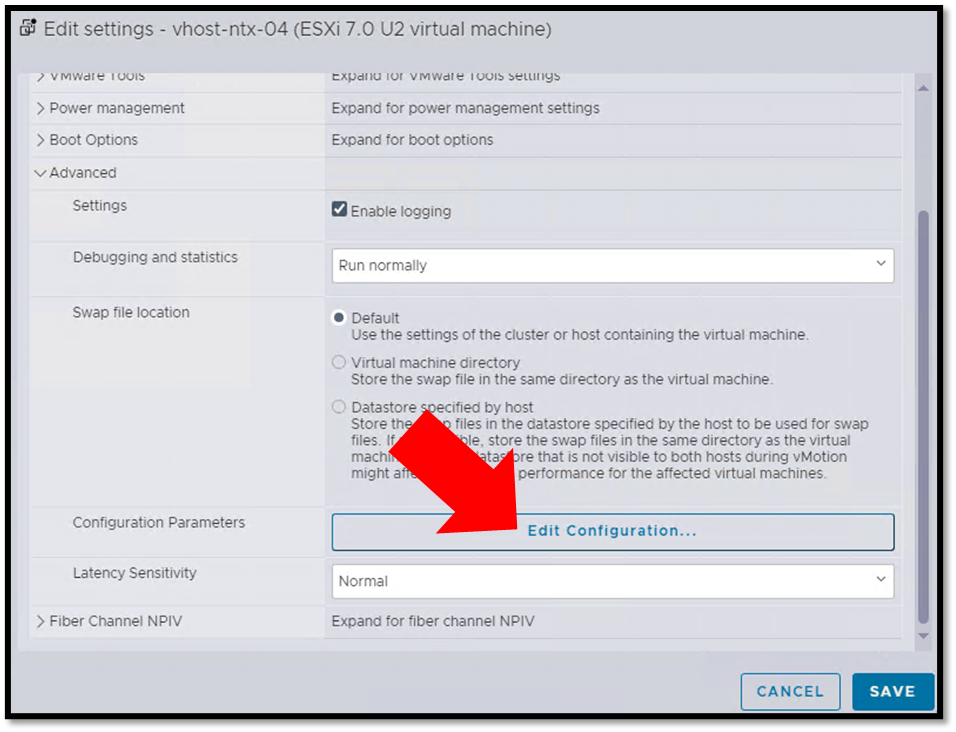
After clicking on “Edit Configuration,” add the following parameter:
| Key | Value |
| disk.EnableUUID | TRUE |
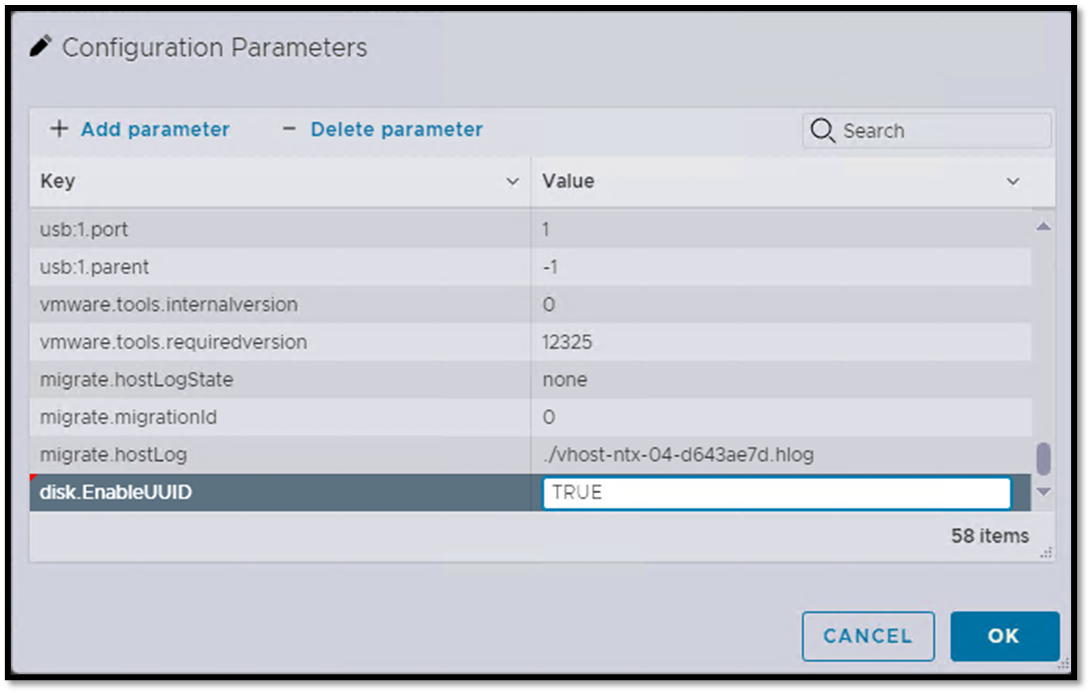
Note: We need to add this advanced parameter to the virtual machine configuration to show all disk serial numbers and mount the filesystem as read/write.
Installing Nutanix CE Step-by-Step
Firstly, power on the virtual machine and adjust the boot sequence order to boot from Nutanix iso installation file:
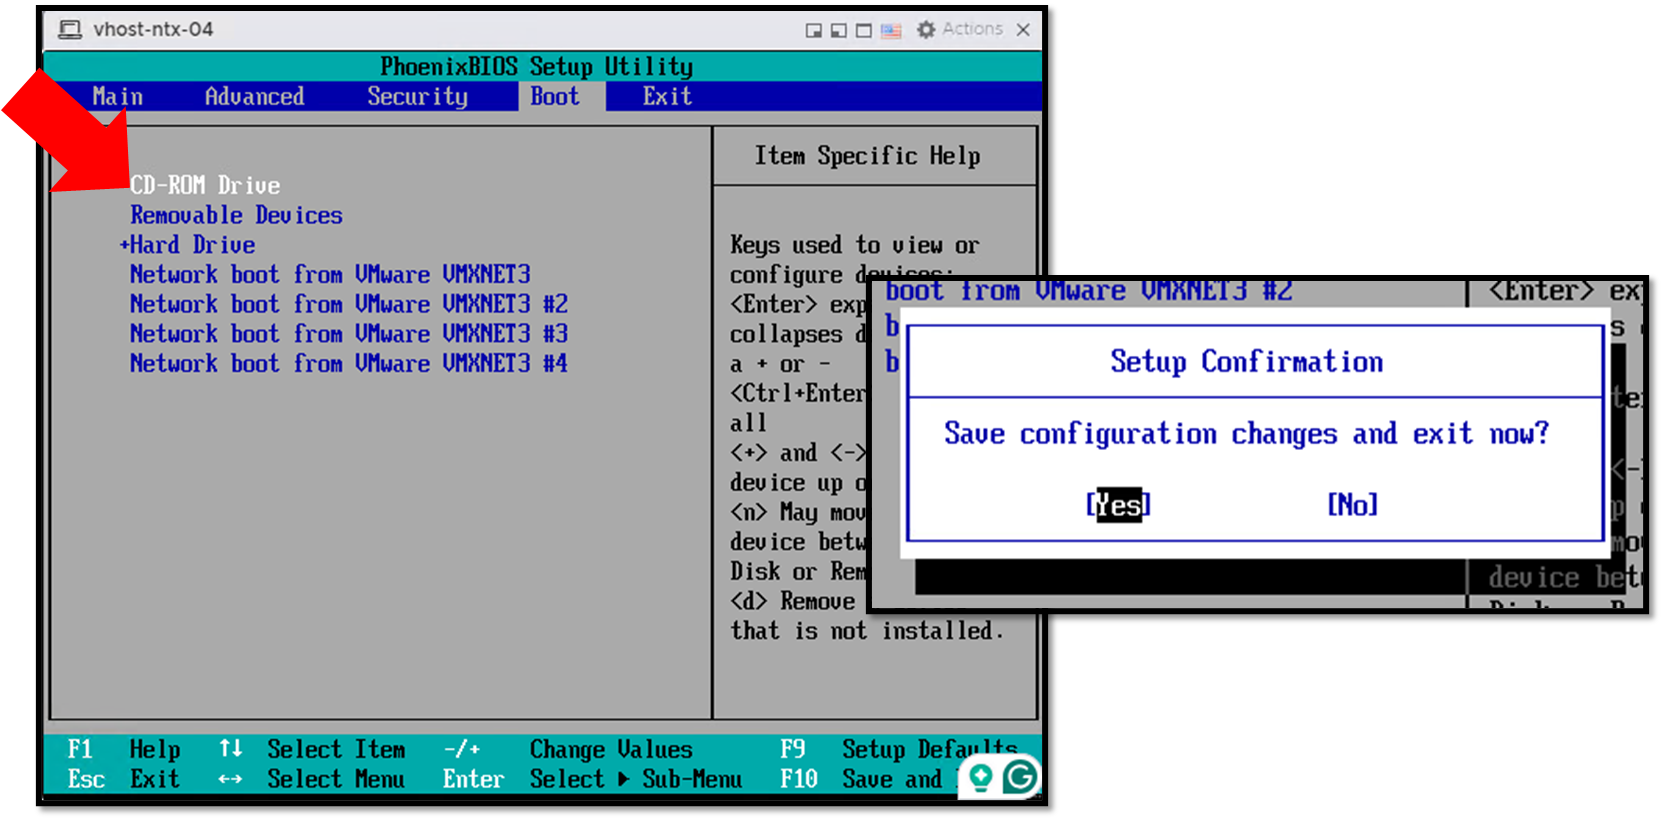
Afterward, the virtual machine will start from the Nutanix Installer. Keep the default values for automatic boot:
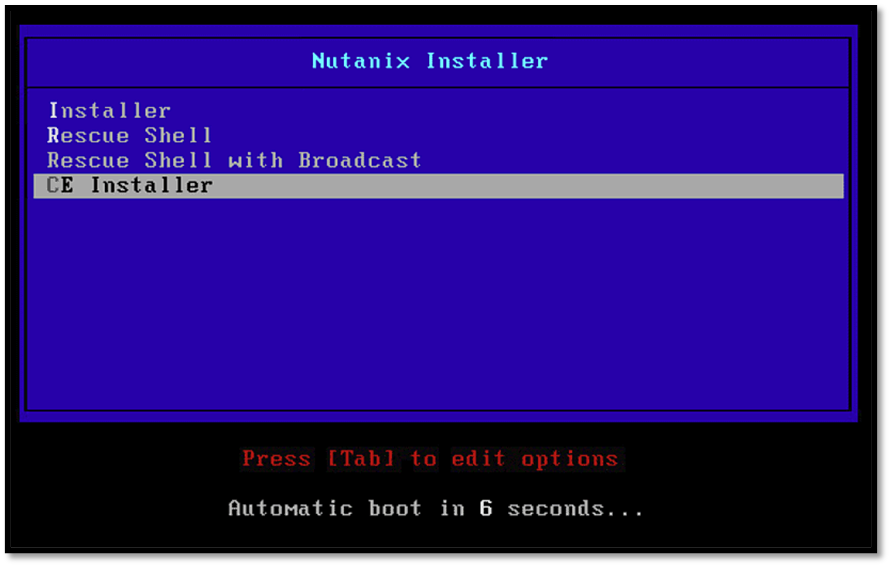
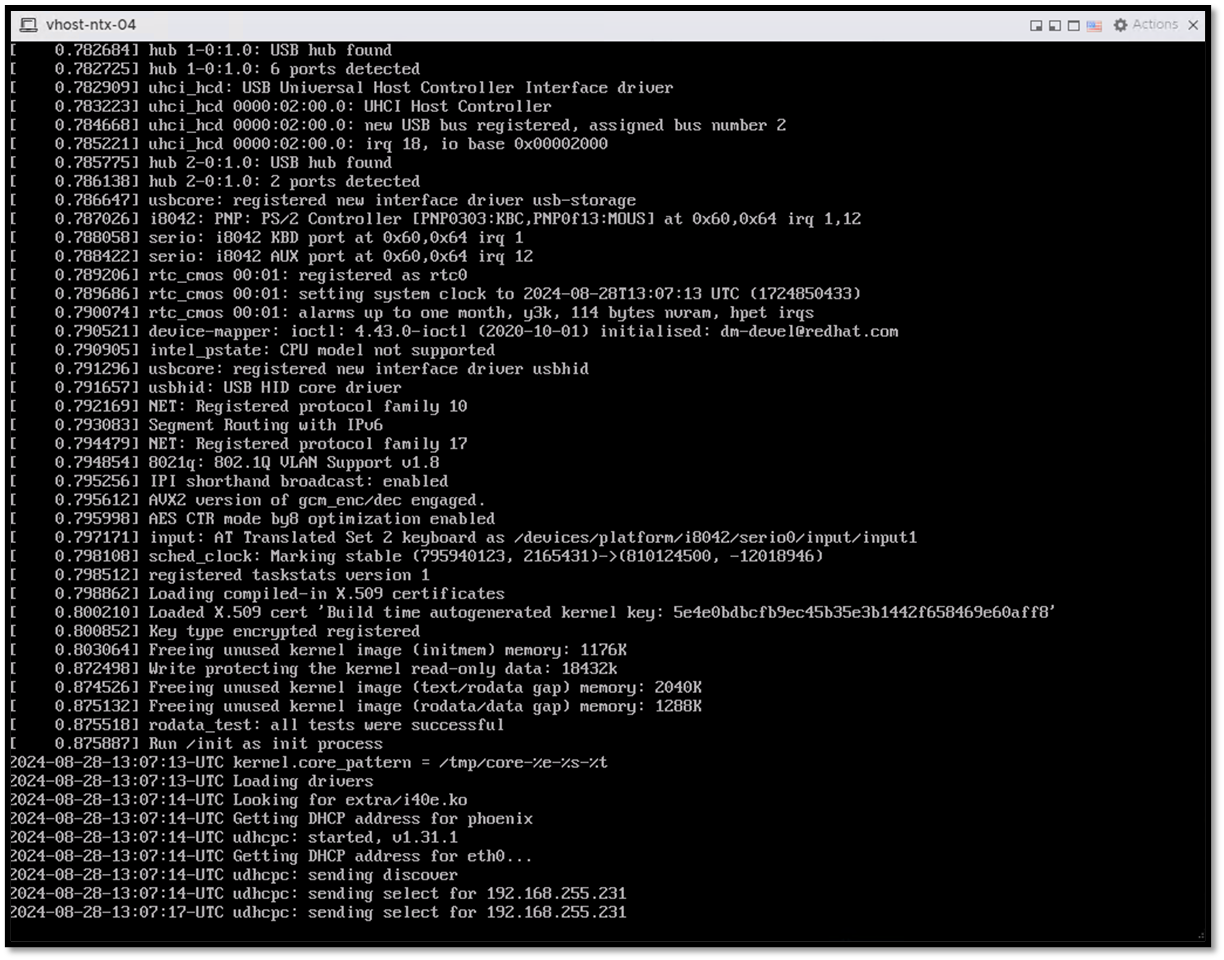
As the following figure shows, the Nutanix Community Edition Installer will be launched after a few seconds (or minutes, depending on your hardware).
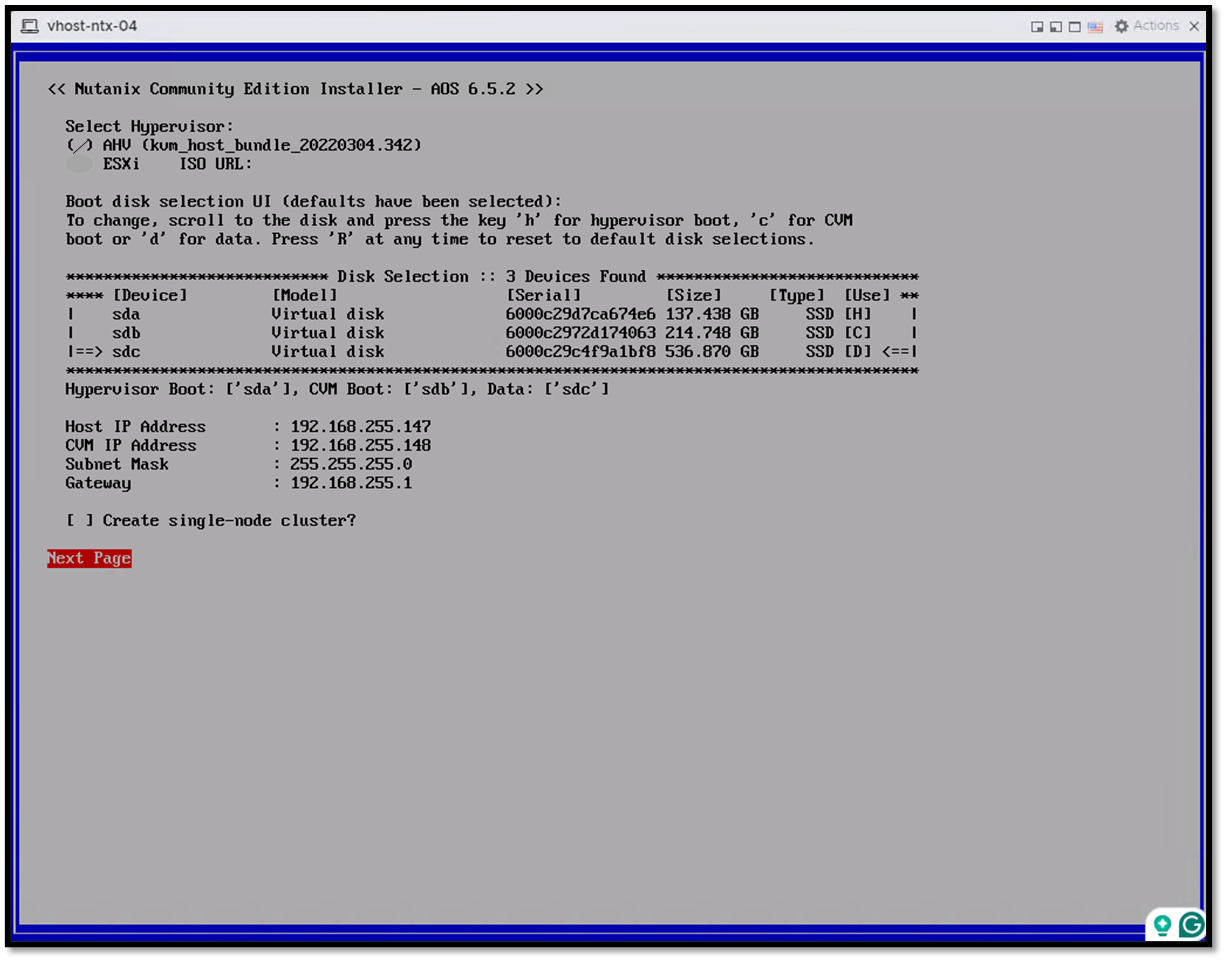
AHV is the only supported hypervisor for the community edition version.
Under the Boot disk selection UI, we should adjust each disk for its function. In this case, for instance:
sda – 128GB – H
sdb – 200GB – C
sdc – 500GB – D
H means “Hypervisor Boot”
C means “CVM Boot”
D means “Data”
We should provide two IP addresses in the same subnet for:
Host IP Address
CVM IP Address
After typing all the details, select “Next Page” and press enter:
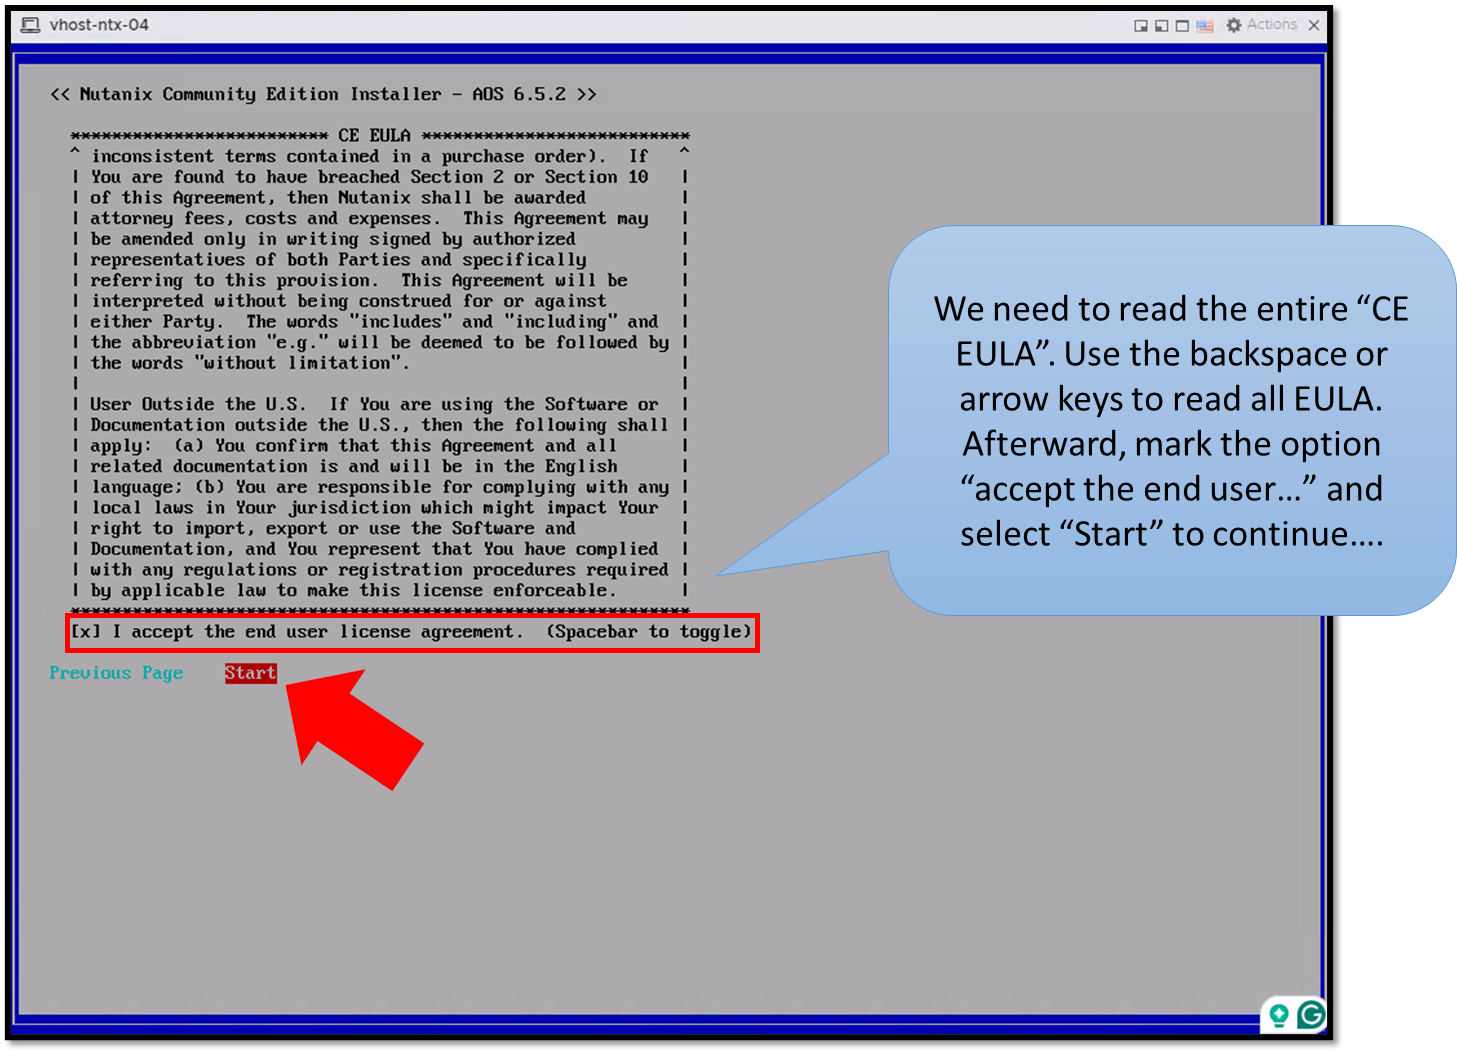
The installation ISO is mounted, and the installation process will start.
After mounting the ISO, the installation process takes some minutes – it is normal.
We need to wait….!
Grab a cup of coffee and enjoy it 🙂

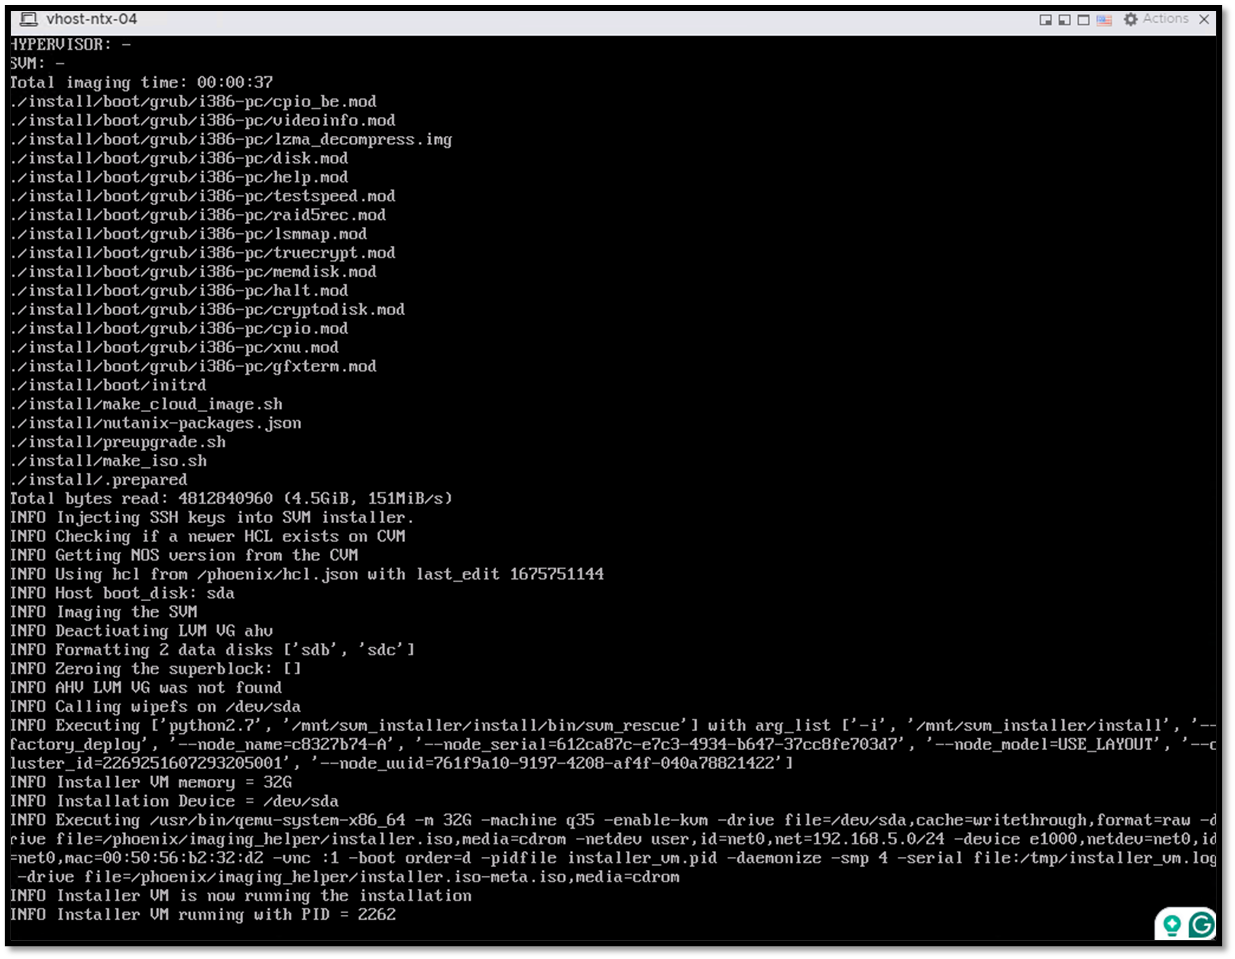
Something like the following figure will appear when the installation process finishes.
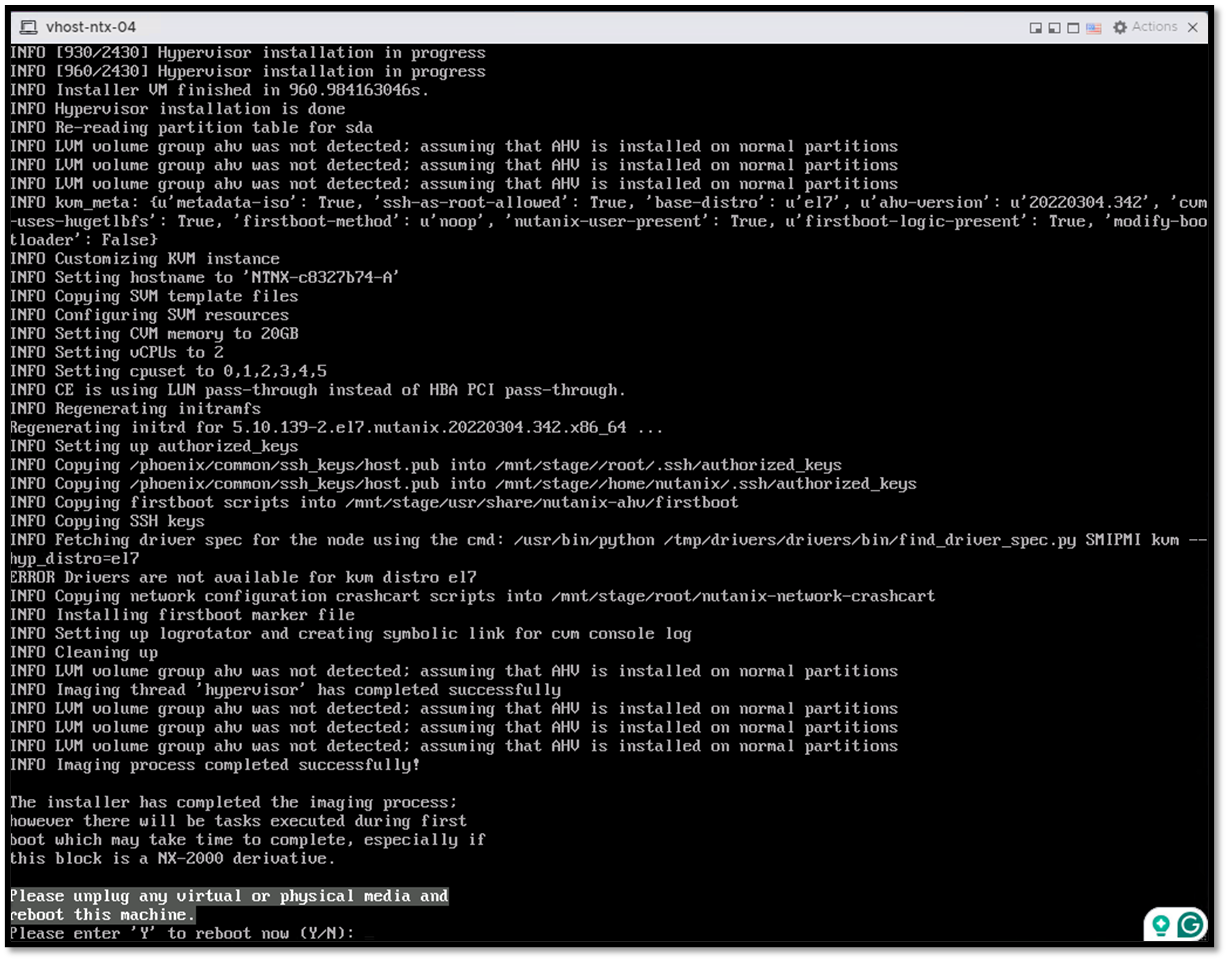
Type “Y” to reboot and finish the installation process.
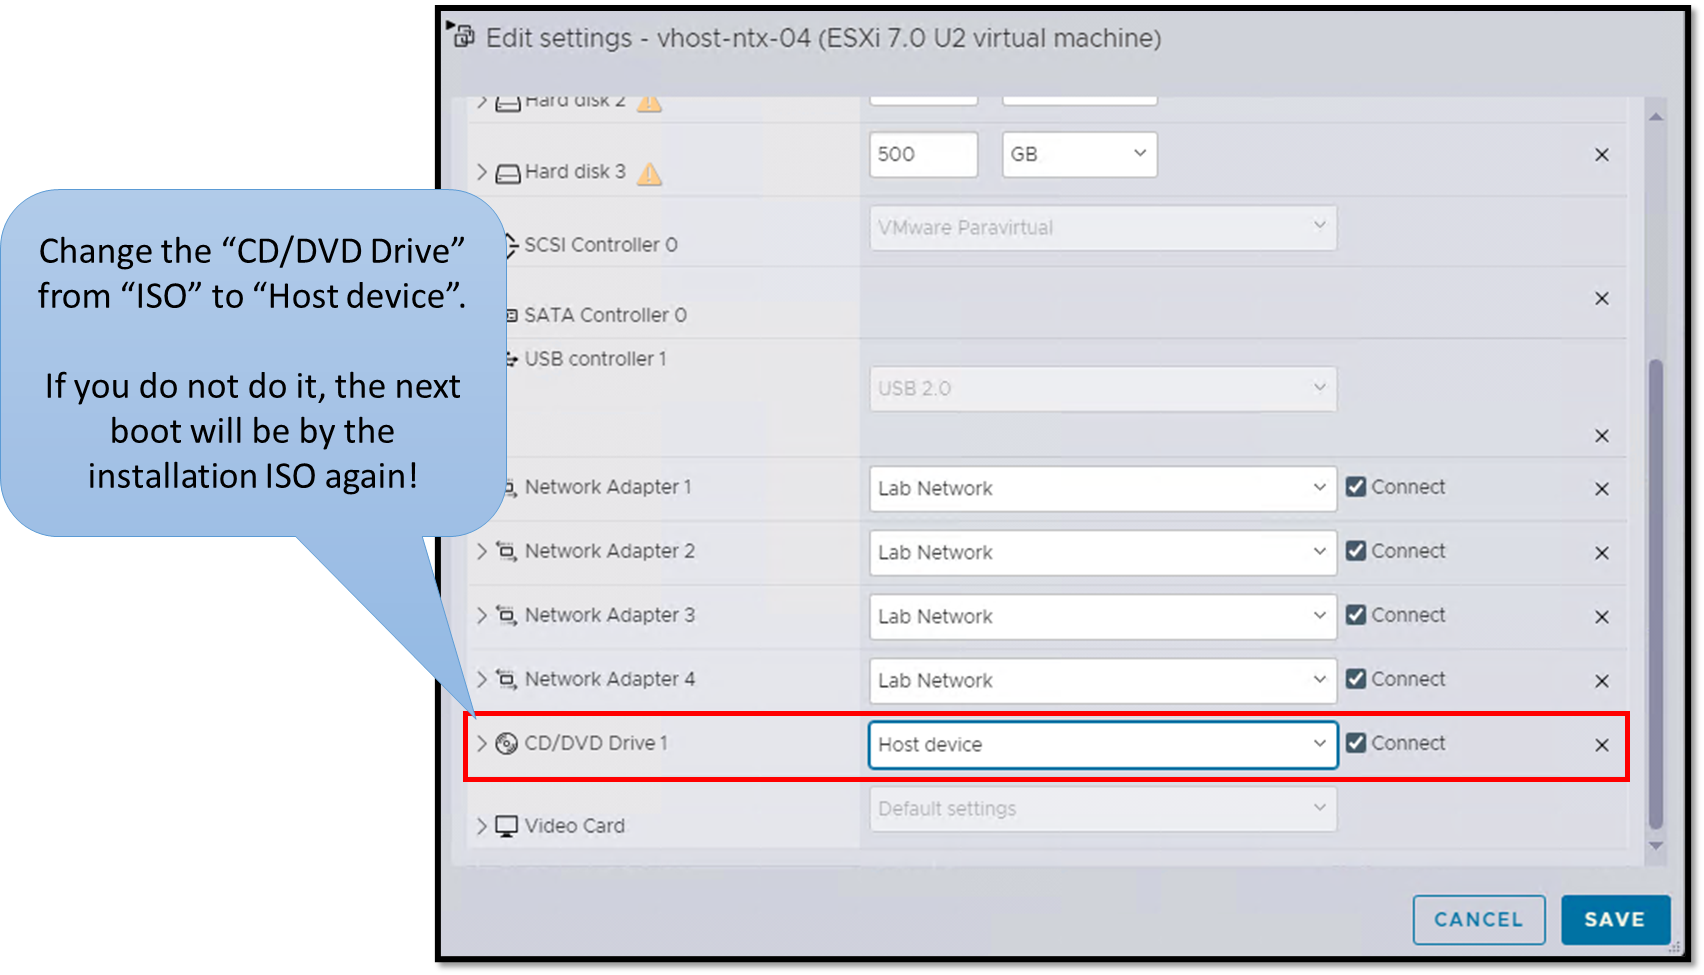
Afterward, edit the virtual machine configuration and remove the CD-ROM or change the boot sequence for booting from the Hard Disk:
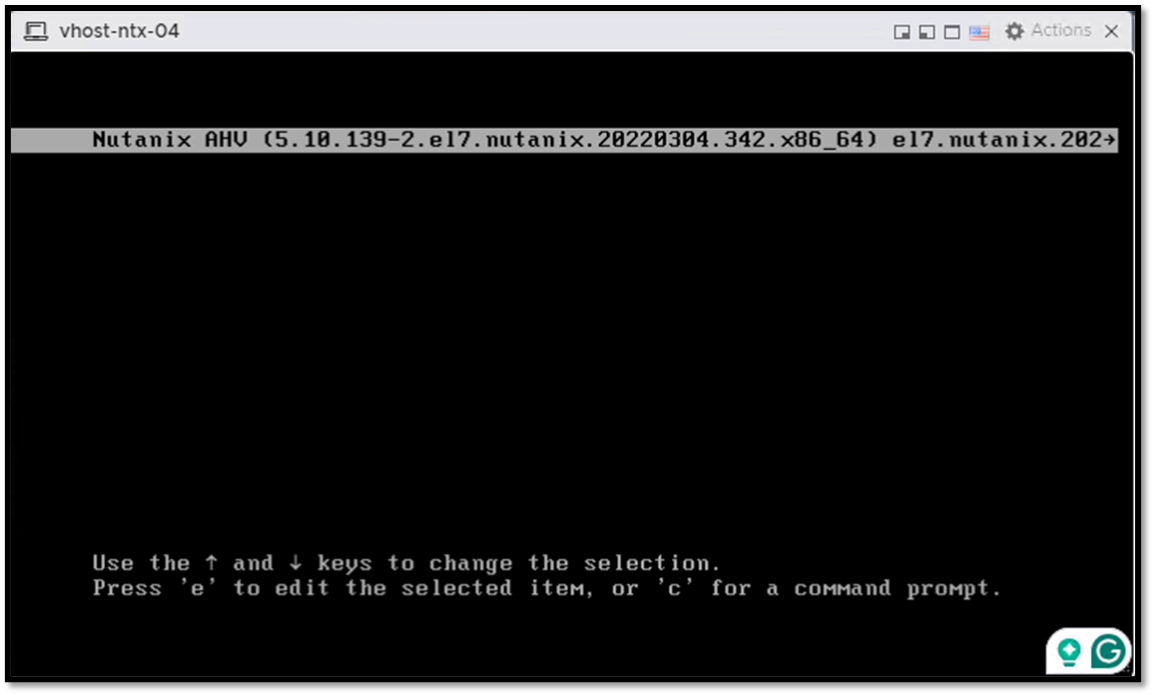
Here we are 🙂
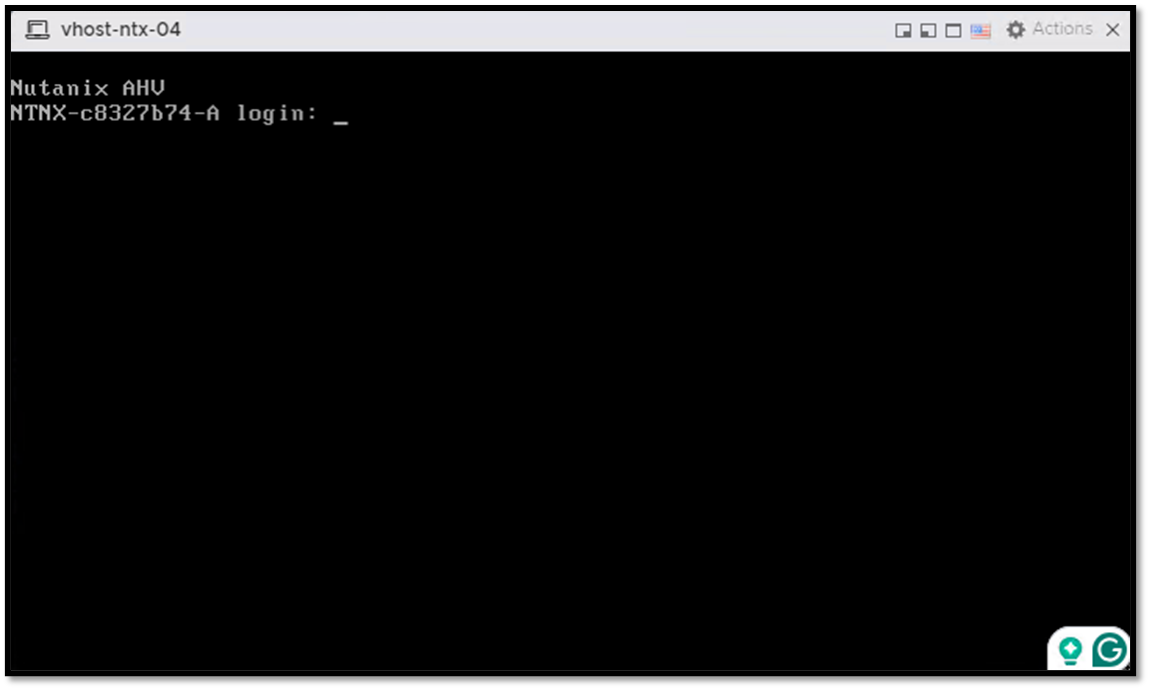
The installation was finished, and the Nutanix CE loaded successfully:
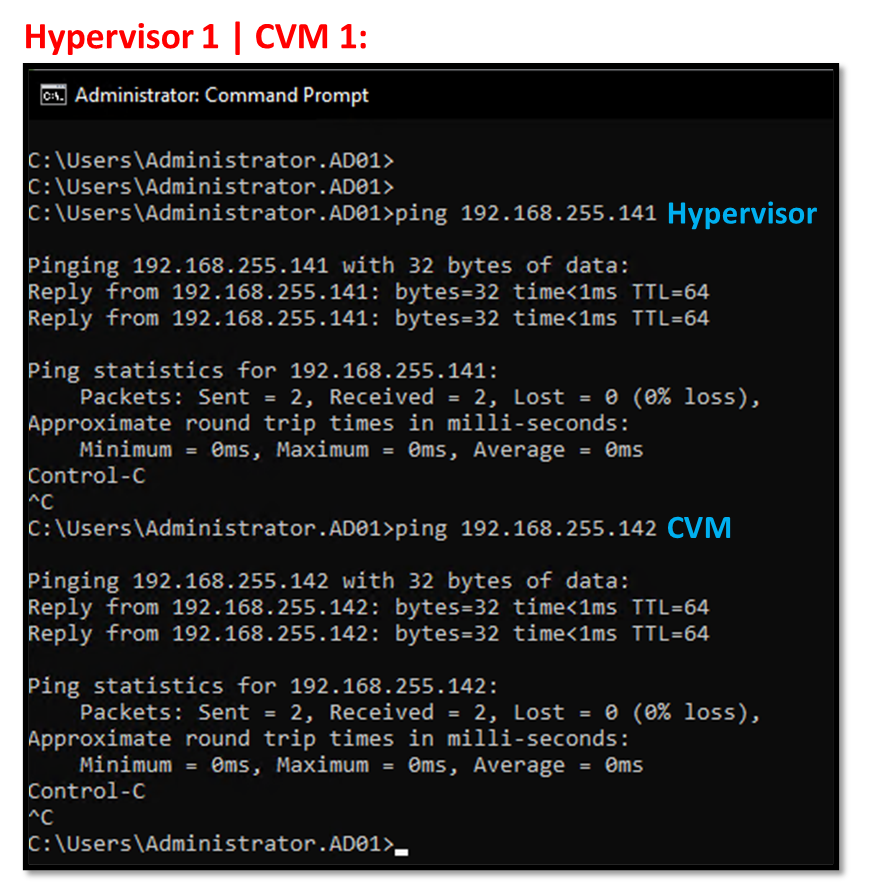
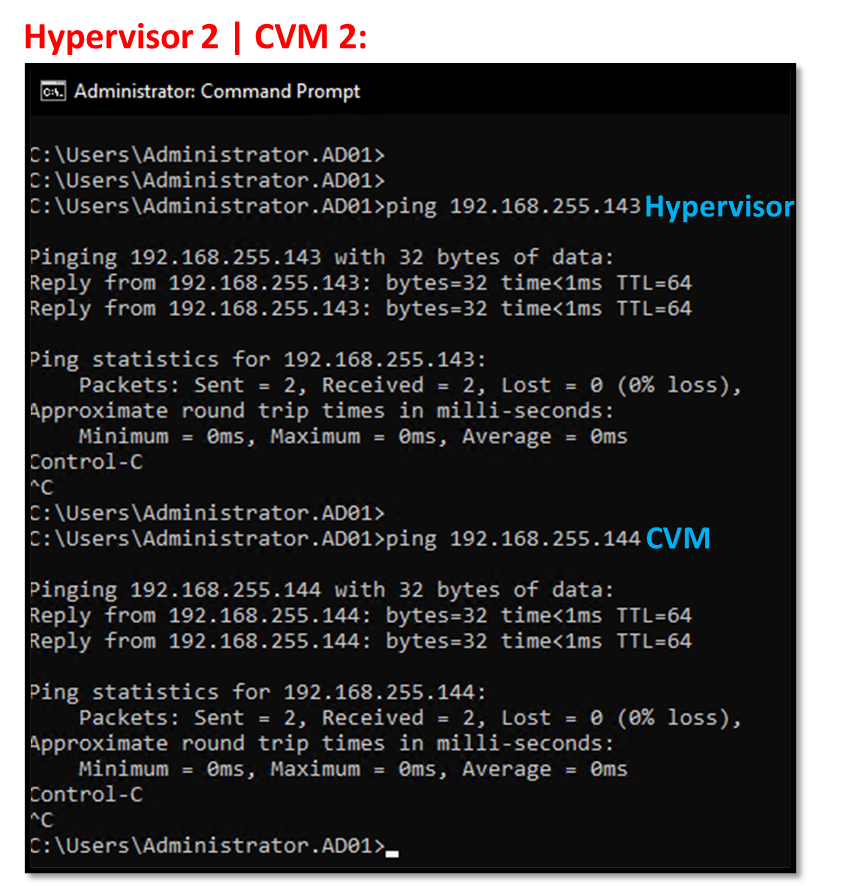
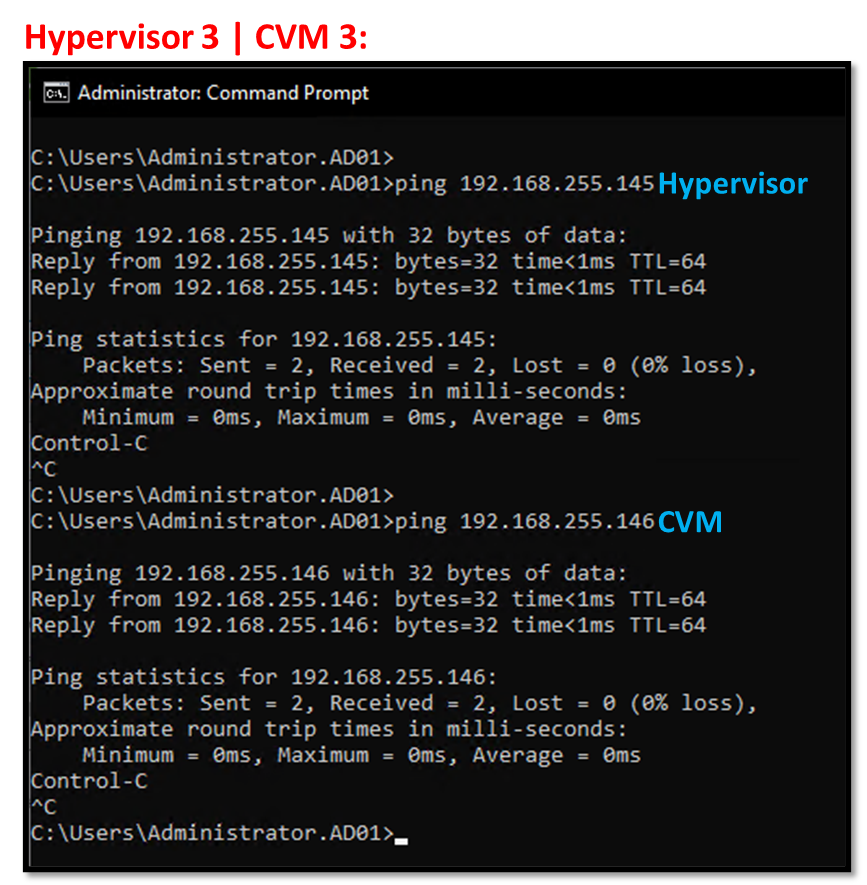
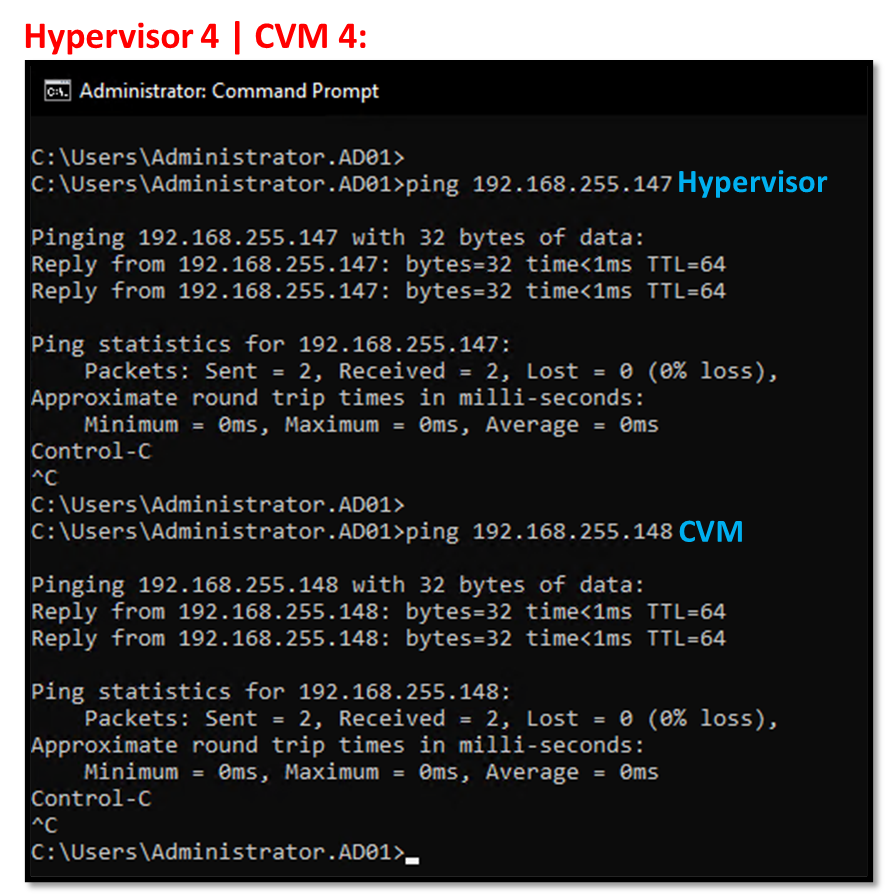
Check the network connectivity with both IP addresses (Hypervisor and CVM) from the jump server or administrator machine.
In our case, for instance, we have four nodes. We checked the network connectivity with each one:
Building the Nutanix CE Cluster from the Command Line
As we told you, we have installed four Nutanix nodes, which will form part of our Nutanix cluster.
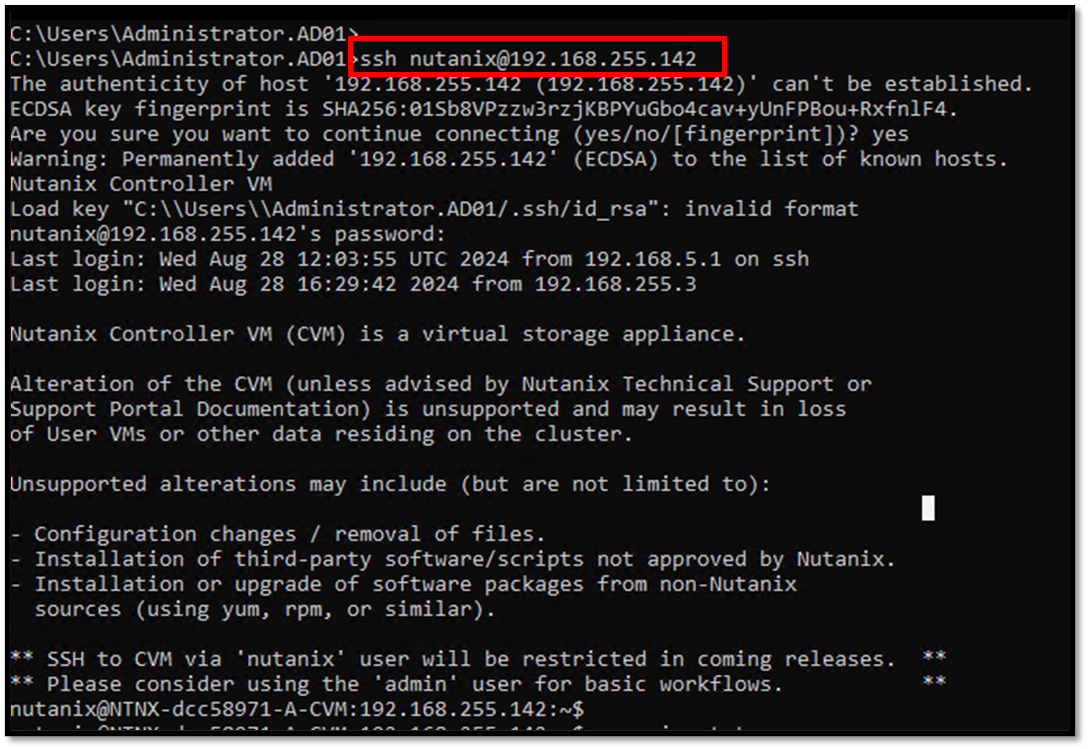
Access each CVM by SSH and check the status of the genesis service.
The default credential is:
– Username: nutanix
– Password: nutanix/4u
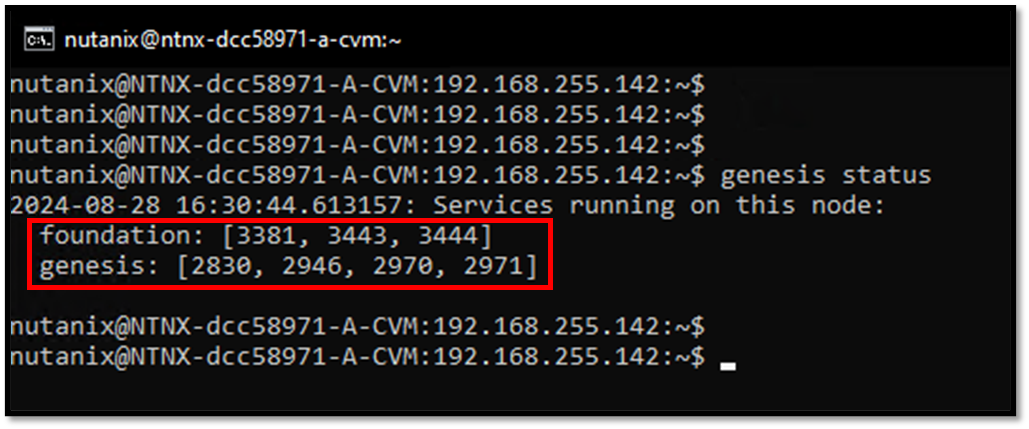
genesis statusIf genesis is running (there are pids behind the service name) you can continue to create the cluster. Example from one CVM VM:
After typing the “genesis status,“ we must be able to see associated PIDs, as we can see in the following figure – it means that genesis is running fine and we continue to the cluster creation:
Since the genesis is running on all CVM VMs, access one CVM VM by SSH (choose one CVM) and use the following command to build the Nutanix CE cluster:
cluster -s 192.168.255.142,192.168.255.144,192.168.255.146,192.168.255.148 --dns_servers 192.168.255.3 createWhere:
192.168.255.142,192.168.255.144,192.168.255.146,192.168.255.148 –> IP address for each CVM VM (this IP address was defined during the Nutanix installation)
192.168.255.3 –> DNS IP address for our lab environment
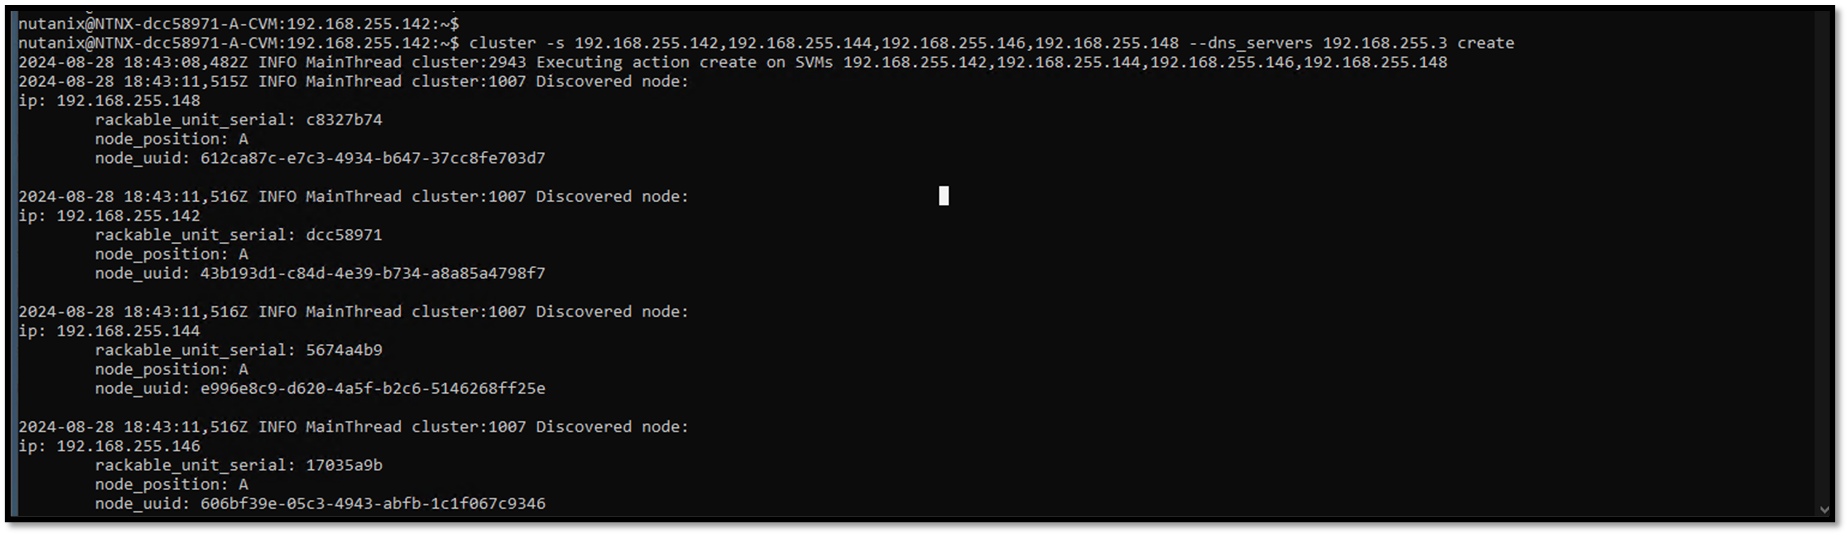
The cluster building needs some time to finish:
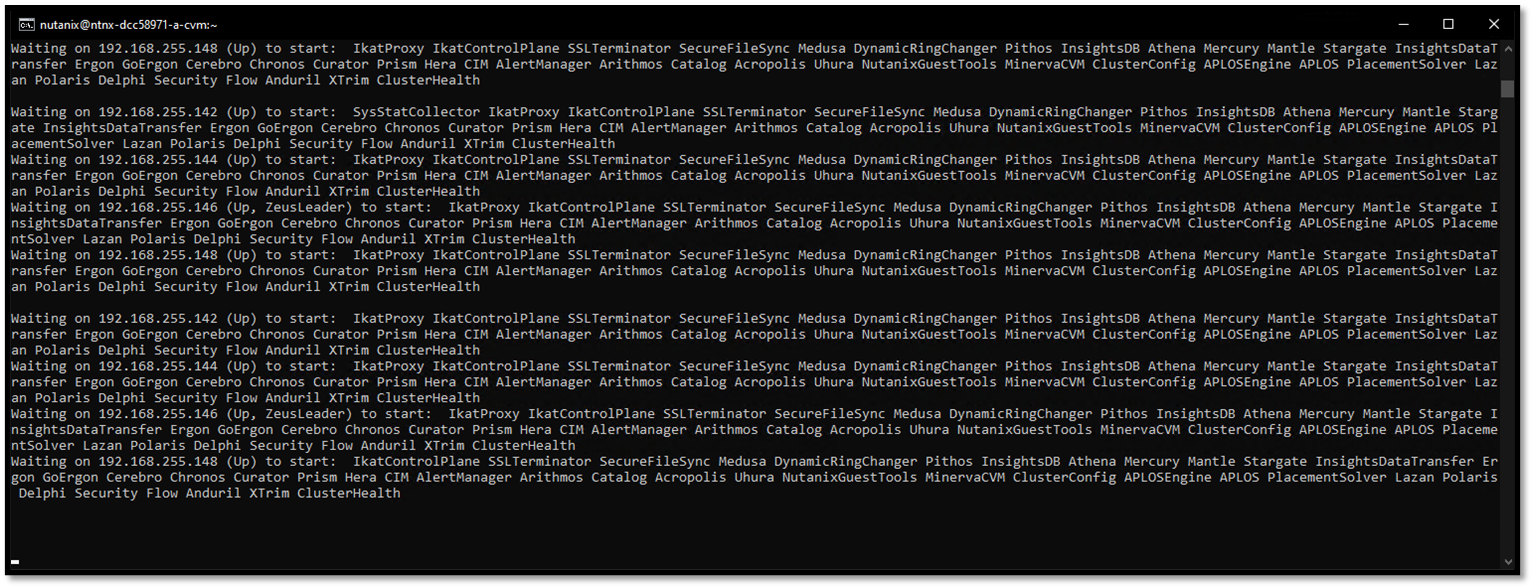
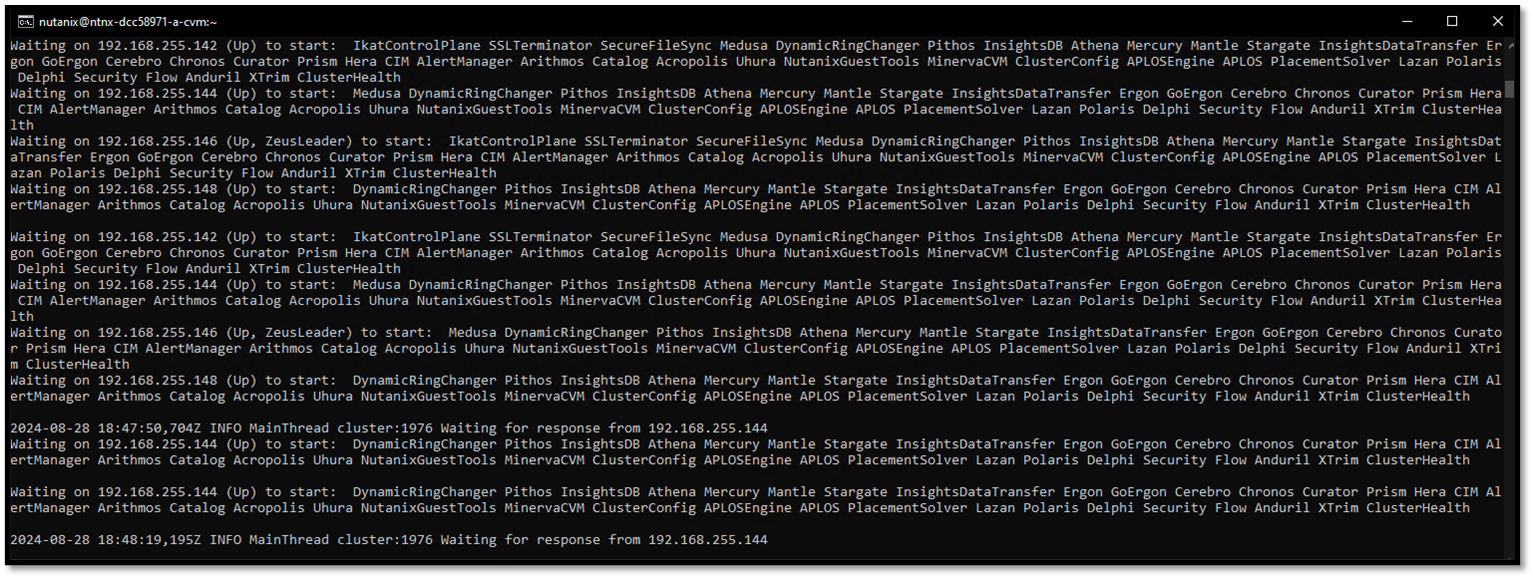
After some minutes, the cluster creation process will finish, and we will see something like the following figure.
As we can see, each CVM in a Nutanix cluster has several components, and all components should be “UP” for the cluster to operate correctly:
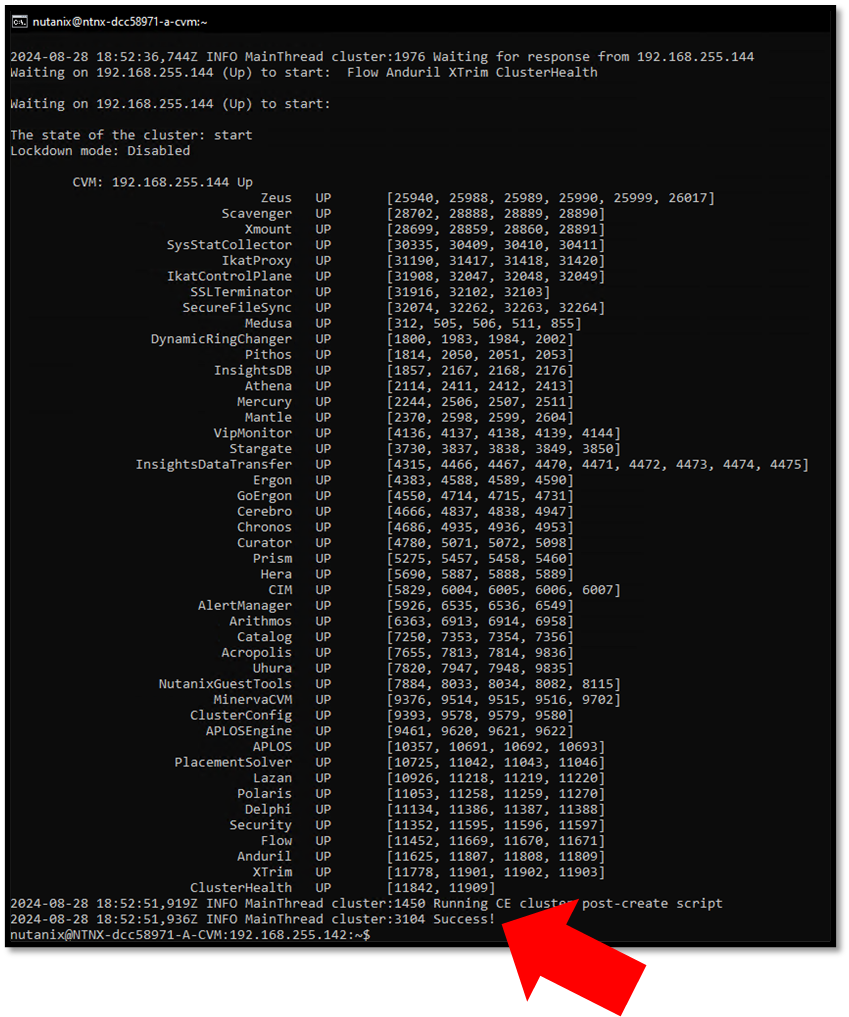
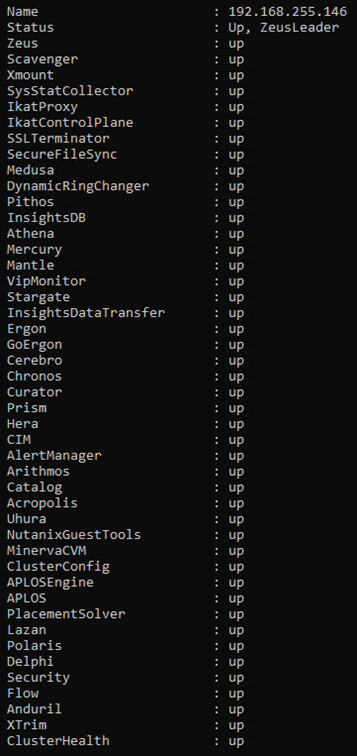
Note: We can access each CVM VM by SSH and apply commands to check the status of all services, as we can see in the following figures:
ncli cluster status
cluster status
Status of CVM VM IP 192.168.255.146:
Status of CVM VM IP 192.168.255.142:
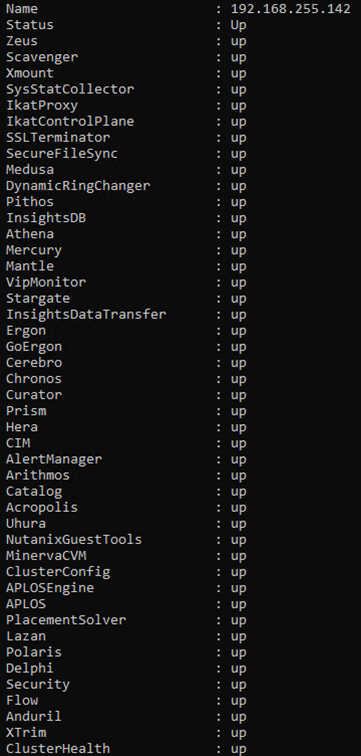
Status of CVM VM IP 192.168.255.144:
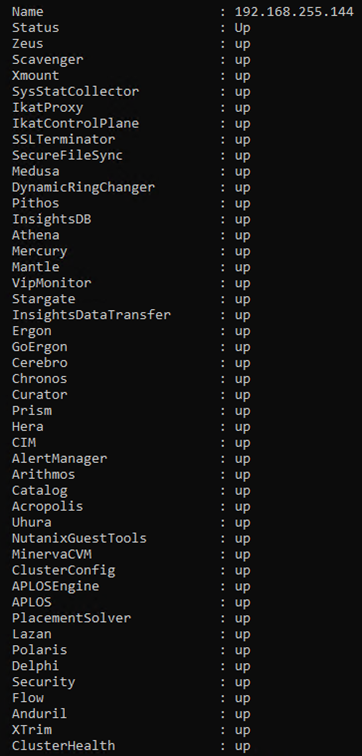
Status of CVM VM IP 192.168.255.148:
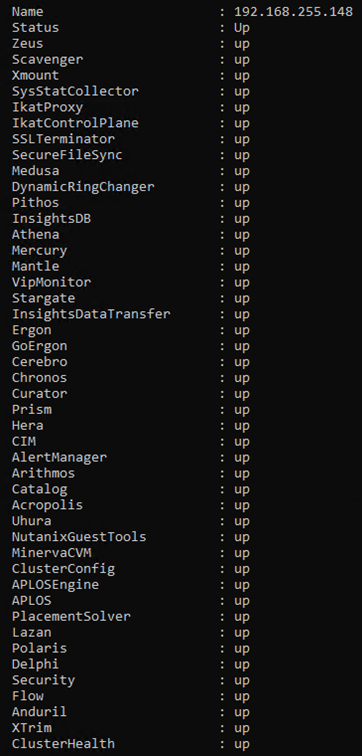
On each Hypervisor (AHV), we can run the following command to confirm the CVM VM is running:
virsh list --all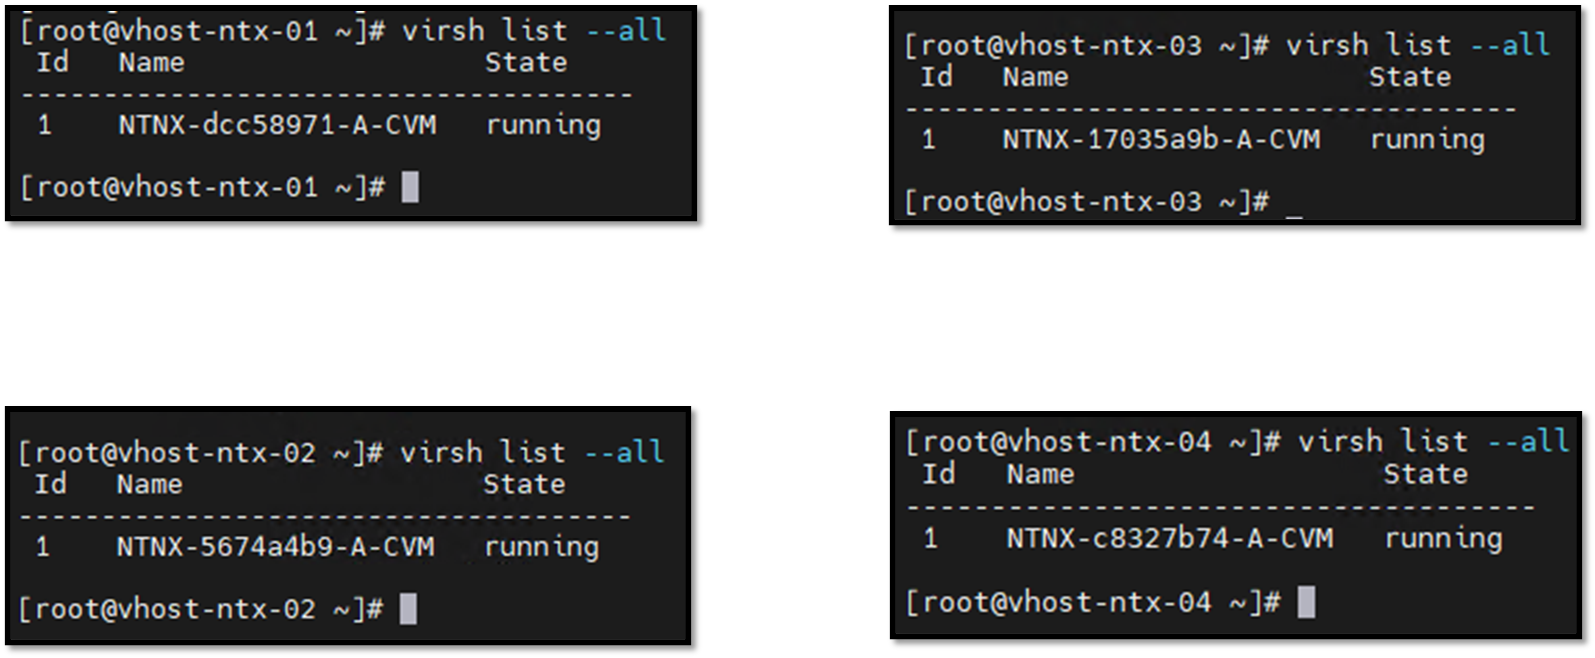
Accessing the Prism Element
We can manage our Nutanix cluster through a “Prism Element” web page.
To access it, use one CVM IP address like this:
https://CVM_IP_ADDRESS:9440
In this case, for instance, we are using the following address:
https://192.168.255.142:9440
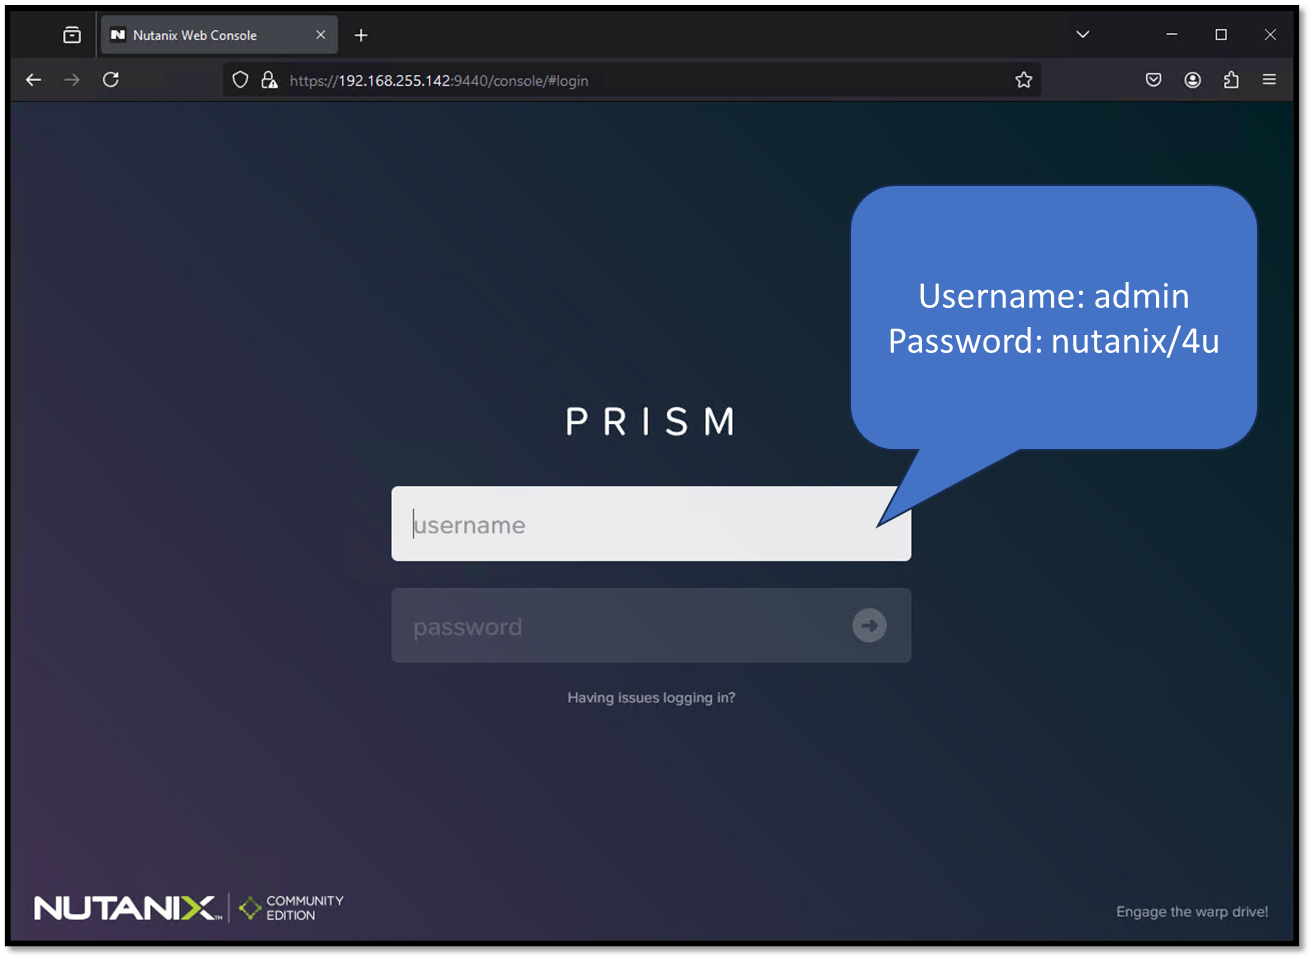
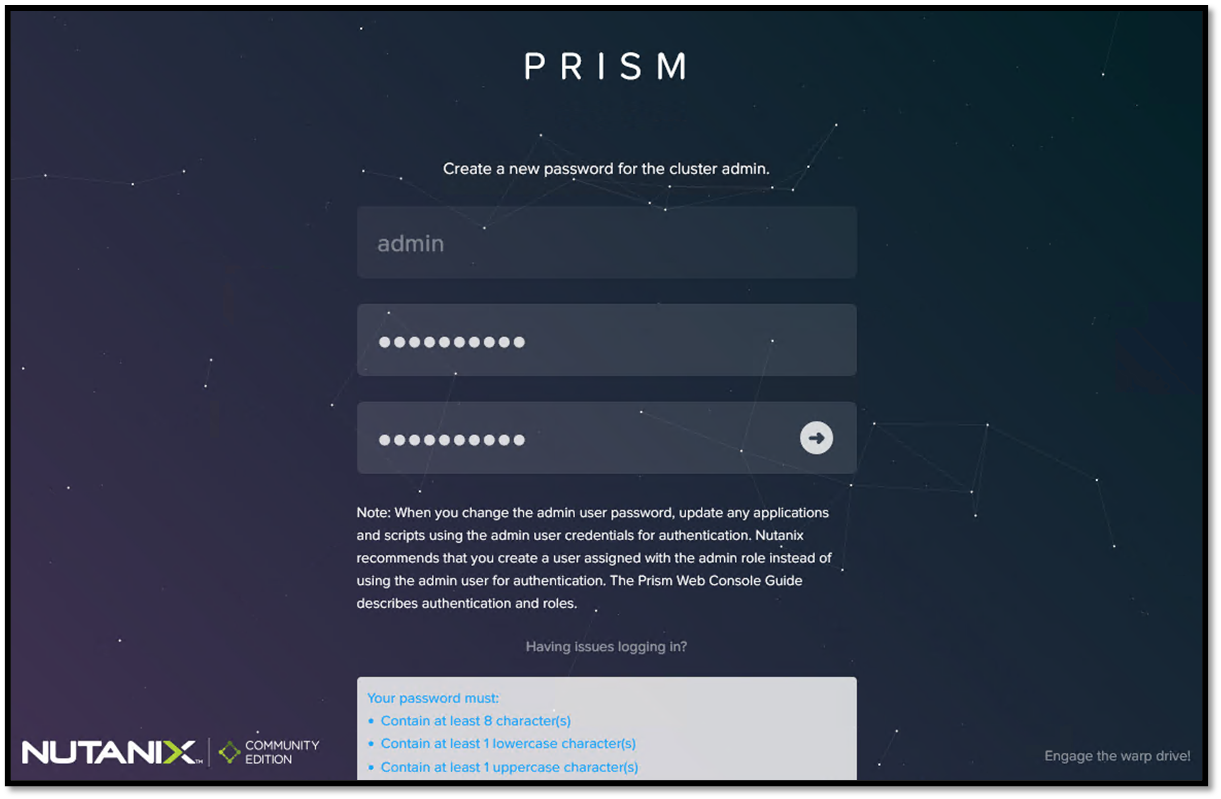
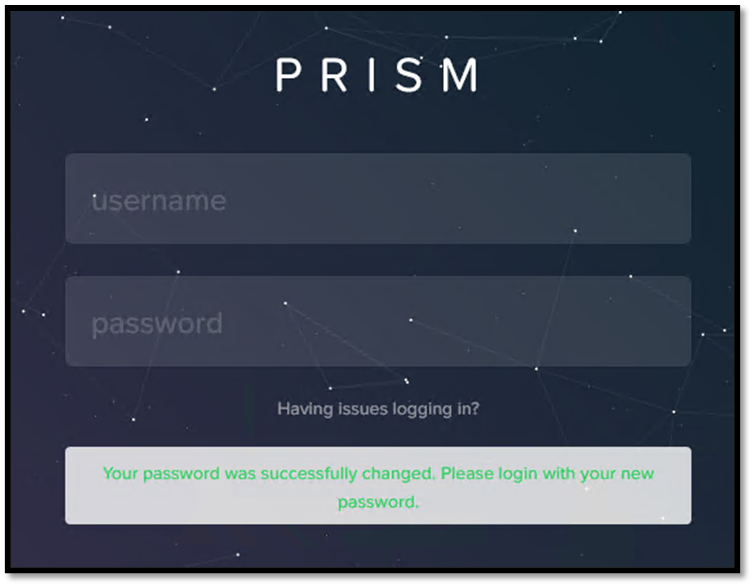
After logging in with the default credential, you will be asked to change the admin password:
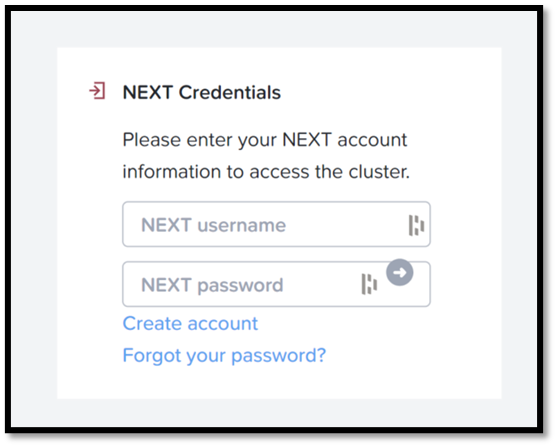
Under “NEXT Credentials,” you need to type your Nutanix account. If you do not have one, please create one here:
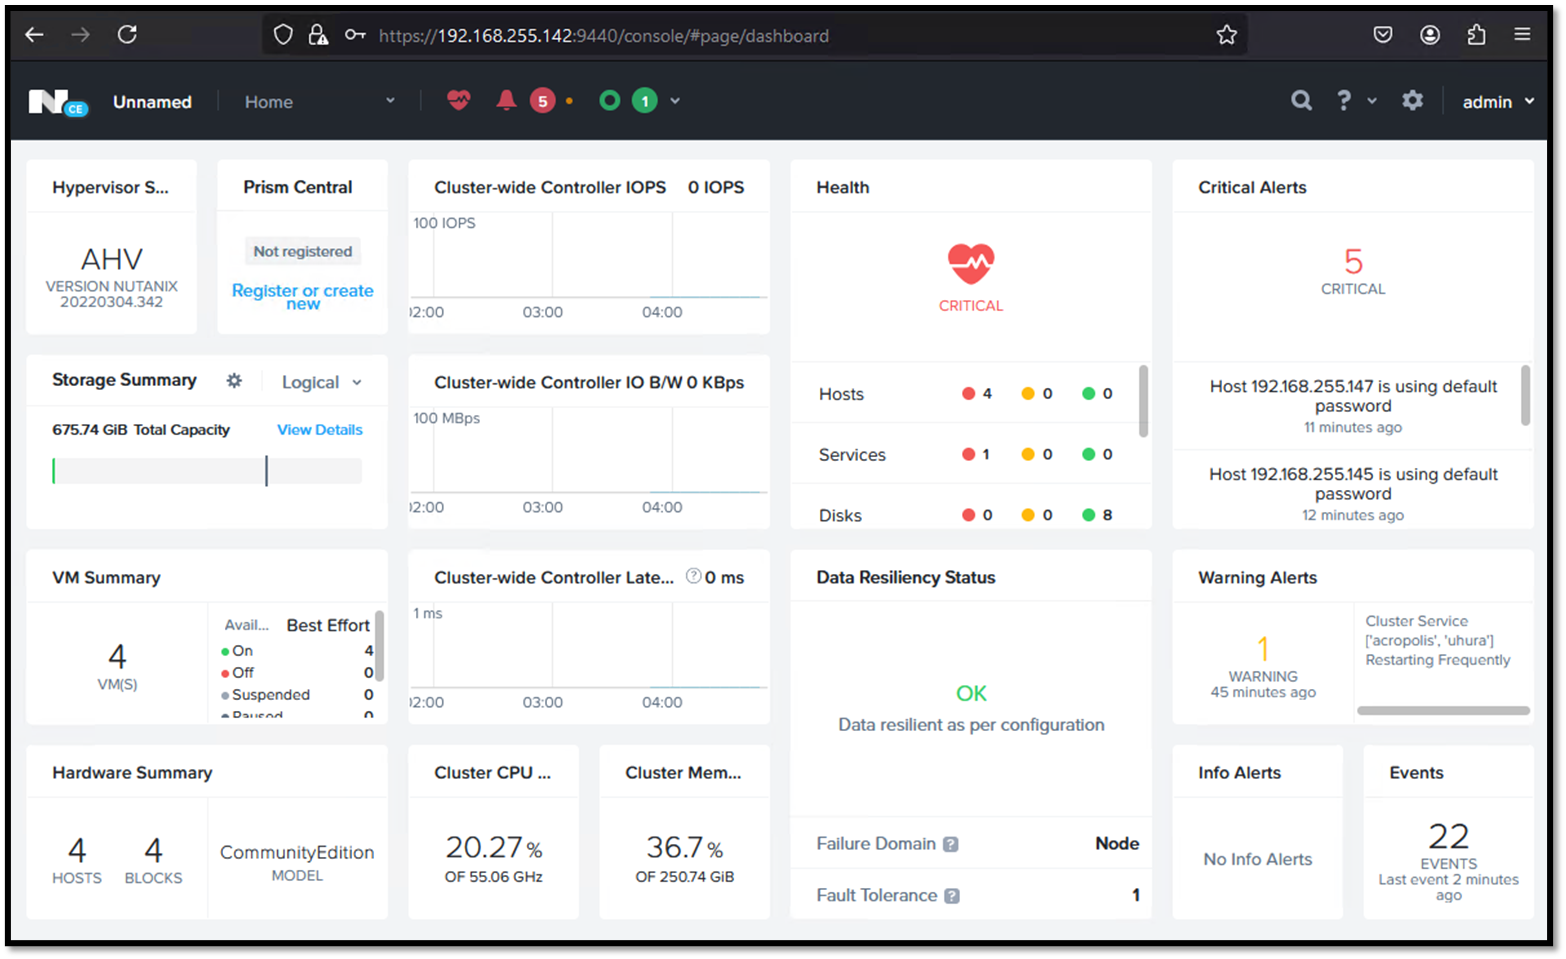
Now, we have the Prism Element dashboard 🙂
Setting Up a Cluster Name and Virtual IP
As we can see, the default cluster name is “Unnamed,” and we are using the CVM VM IP address to access the Prism Element:

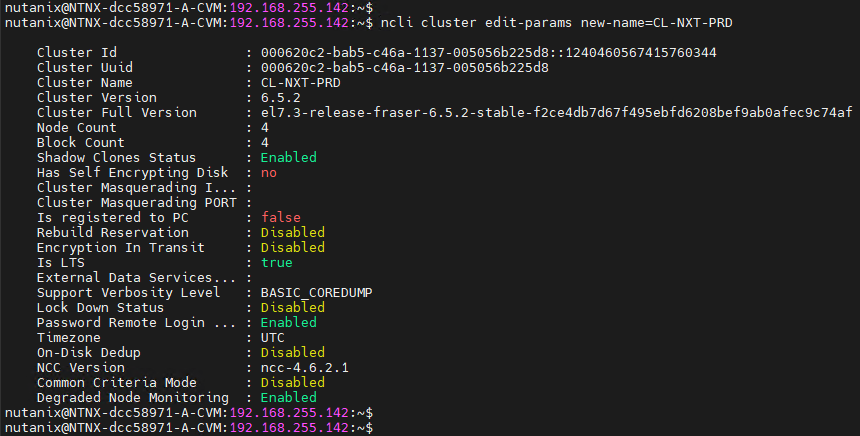
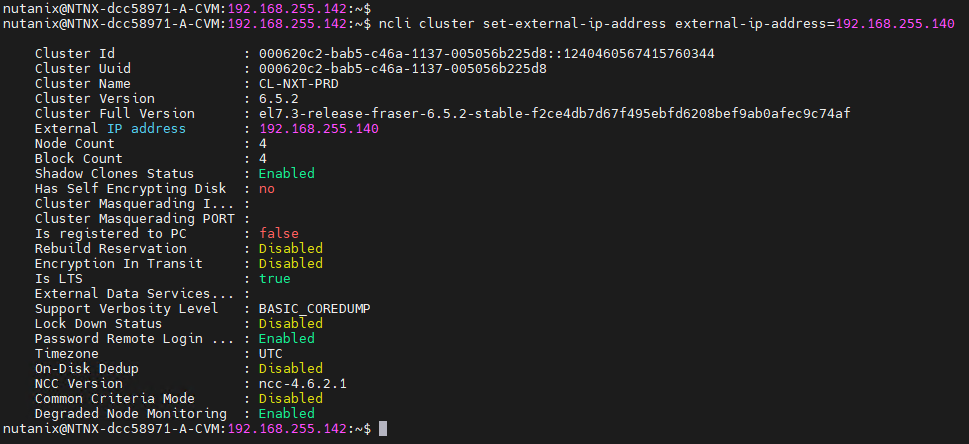
We will define a cluster name and a cluster Virtual IP address (this Virtual IP address can be used to access the Prism Element). Access one CVM VM and run the following commands:
ncli cluster edit-params new-name=CL-NXT-PRD
ncli cluster set-external-ip-address external-ip-address=192.168.255.140
Where:
CL-NTX-PRD = Cluster Name
192.168.255.140 = Cluster Virtual IP Address
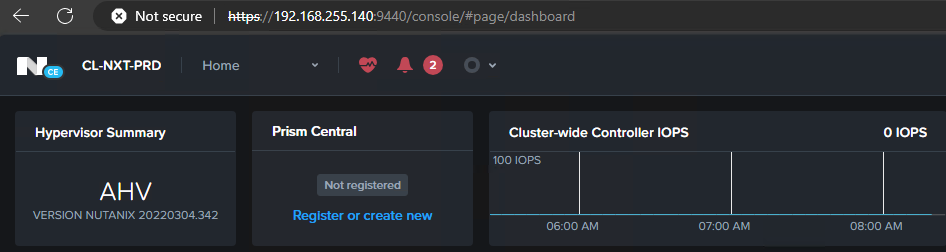
Afterward, we can access the Prism Element using the Cluster Virtual IP address and can see the new Cluster Name:
To Wrapping This Up
Learning Nutanix is crucial for IT professionals because it offers a unified platform that simplifies and modernizes data center management through hyper-converged infrastructure (HCI). Nutanix consolidates computing, storage, and networking into a single software-defined solution, reducing complexity and operational overhead. With its support for multiple hypervisors and cloud environments, Nutanix enables seamless scalability, robust data protection, and efficient resource utilization. It is ideal for organizations enhancing their infrastructure’s agility and reliability. Mastering Nutanix enhances your technical skillset and positions you to manage cutting-edge IT environments, supporting business innovation and growth.
