

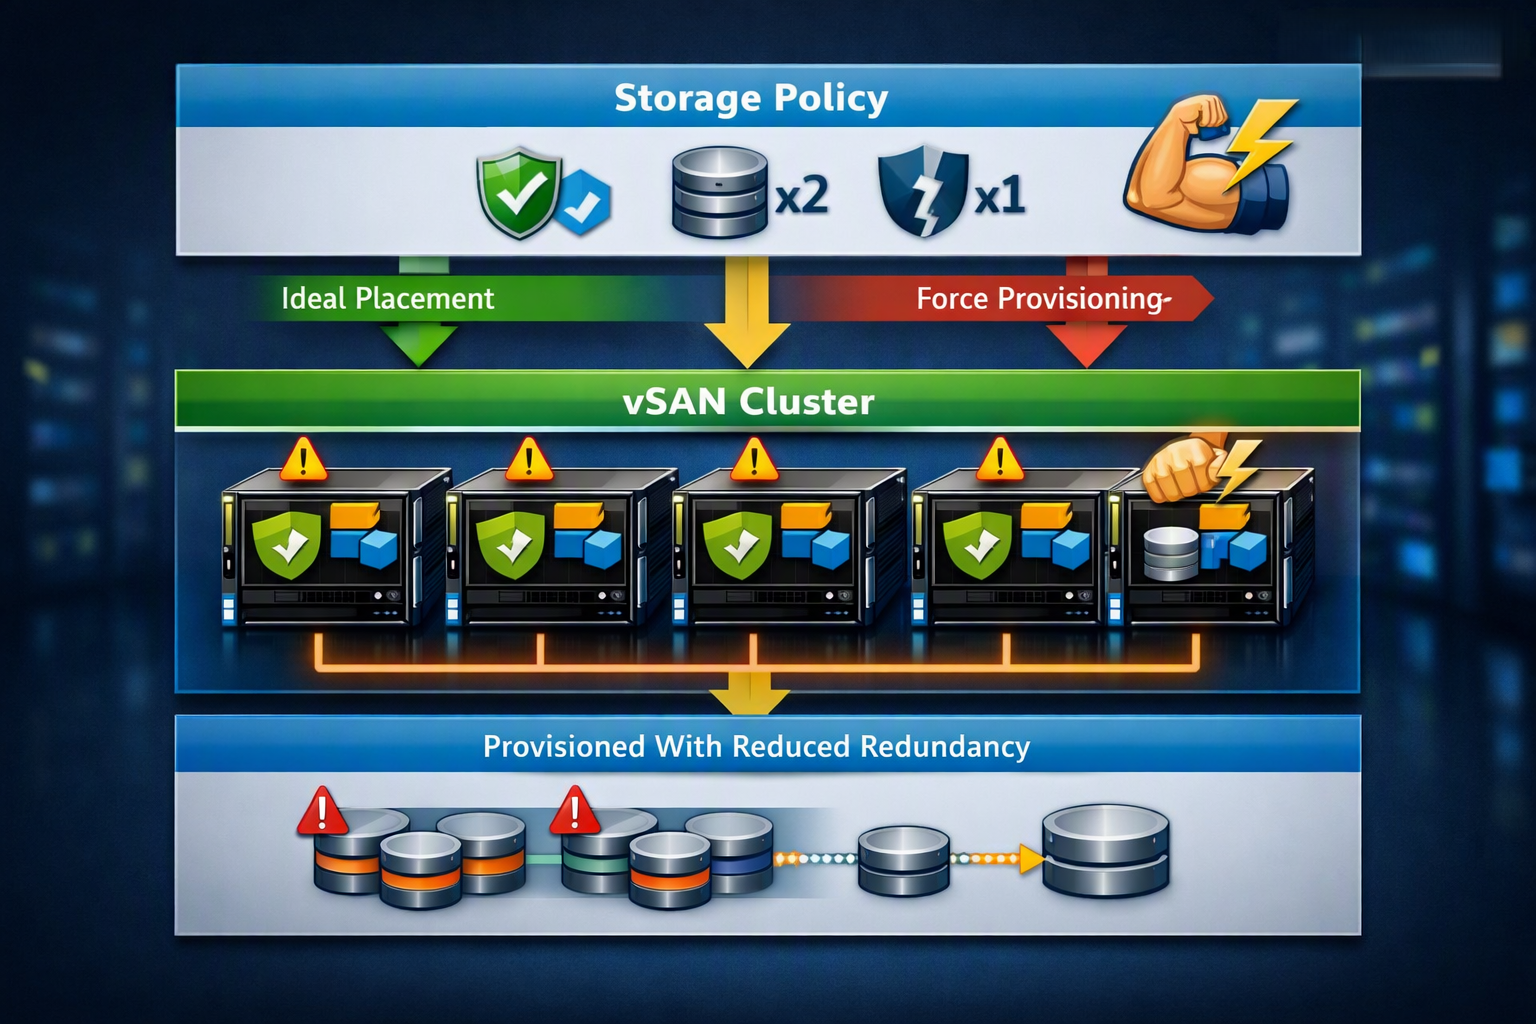
Force provisioning option in vSAN policies is an article that explains in a practical way how the advanced option force provisioning works.
Firstly, if you need to know a little bit about vSAN, we have an article that explains what is vSAN (in a basic way) and how to set up a vSAN cluster. Click here to read this article.
When the object will place in the vSAN Datastore, a vSAN Storage Policy is used to define how this data will be stored, what level of tolerance, the number of stripes, and other parameters. So, about advanced configuration in a vSAN Storage Policy, we have the “force provisioning” and we will talk about it a little bit.
Basically, what is Force Provisioning?
Force provisioning is an advanced option that we can enable or disable in a vSAN Storage Policy. By default, this option is disabled.
If the force provisioning parameter is enabled, any object that has this setting in its policy will be provisioned even if the requirements specified in the VM storage policy cannot be satisfied by the vSAN datastore. The VM will be shown as noncompliant in the VM summary tab and relevant VM storage policy views in the vSphere Client.
If there is not enough space in the cluster to satisfy the reservation requirements of at least one replica, however, the provisioning will fail even if force provisioning is turned on. When additional resources become available in the cluster, vSAN will bring this object to a compliant state.
How to create a vSAN Storage Policy and enable the force provisioning option?
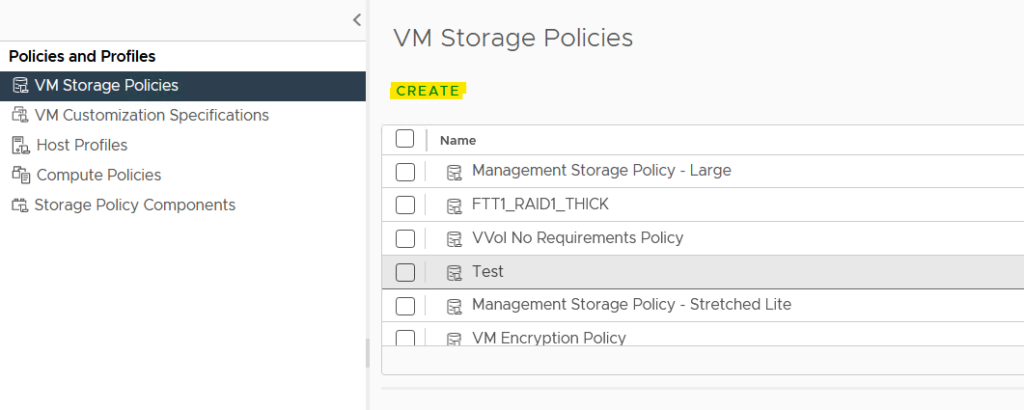
Open the vSphere Client and click on the 3 risks (menu) –> Policies and Profiles –> Under VM Storage Policies click on CREATE:
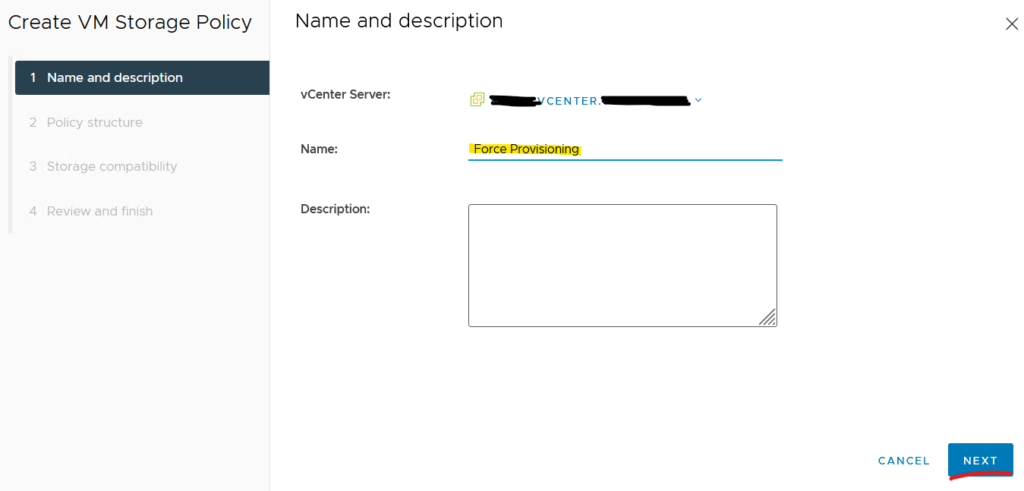
Type the name of the vSAN Storage Policy. In this example, the name of the policy is “Force Provisioning” and click on NEXT to continue:
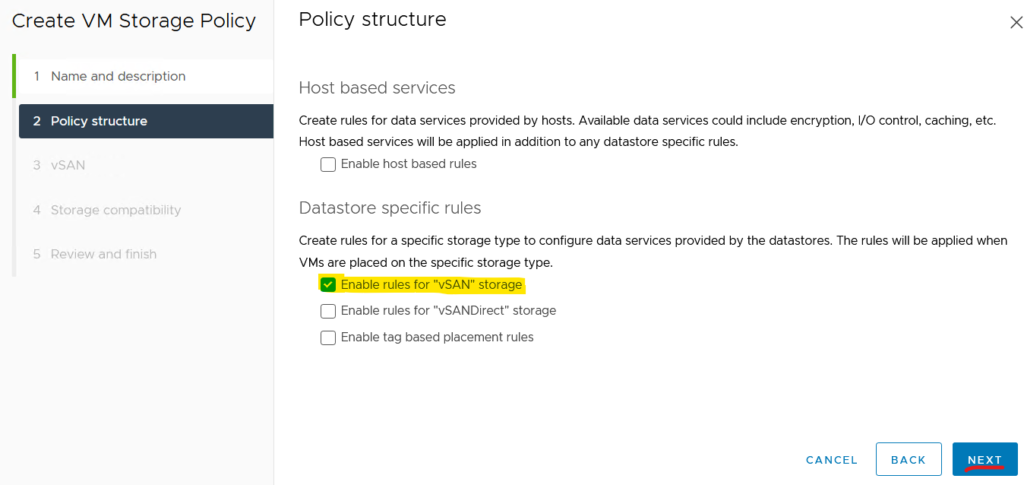
On Policy structure, select the option “Enable rules for “vSAN” storage” and click on NEXT to continue:
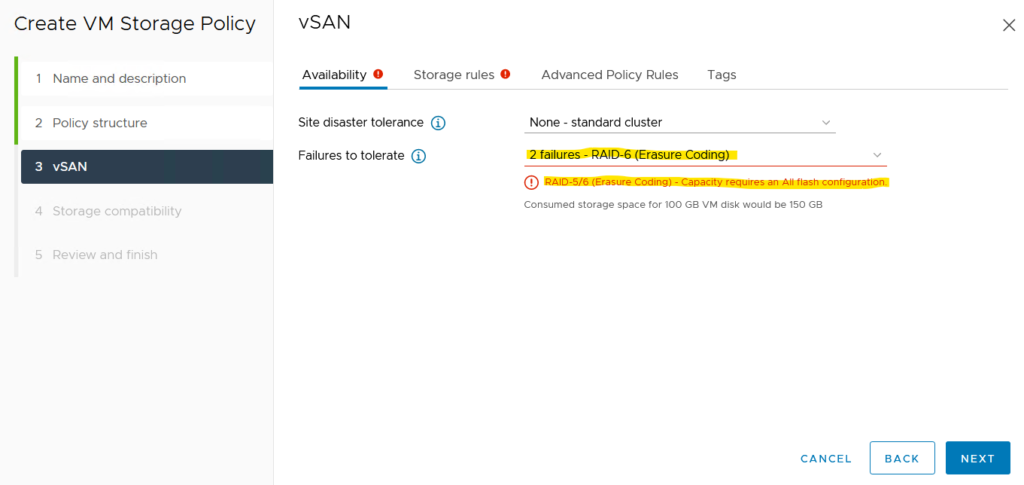
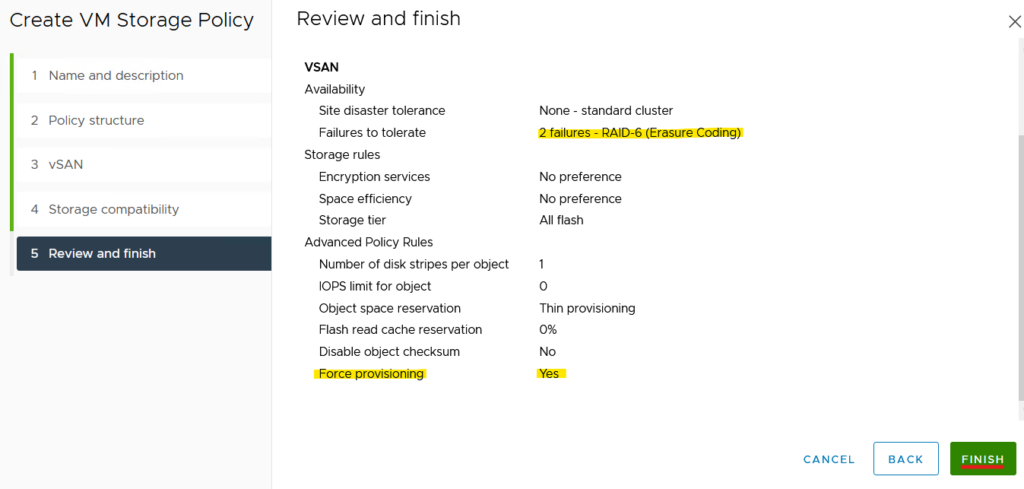
Here, on Failures to tolerate we are choosing the option “2 failures – RAID-6 (Erasure Coding)”. In this case, our environment has 4 ESXi hosts. So, to use this level of Failure to tolerate, we need to have at minimum 6 ESXi hosts.
Moreover, to use RAID-5 and RAID-6 (Erasure Coding) is necessary to have all flash disks on all ESXi hosts. So, the red alert is because that:
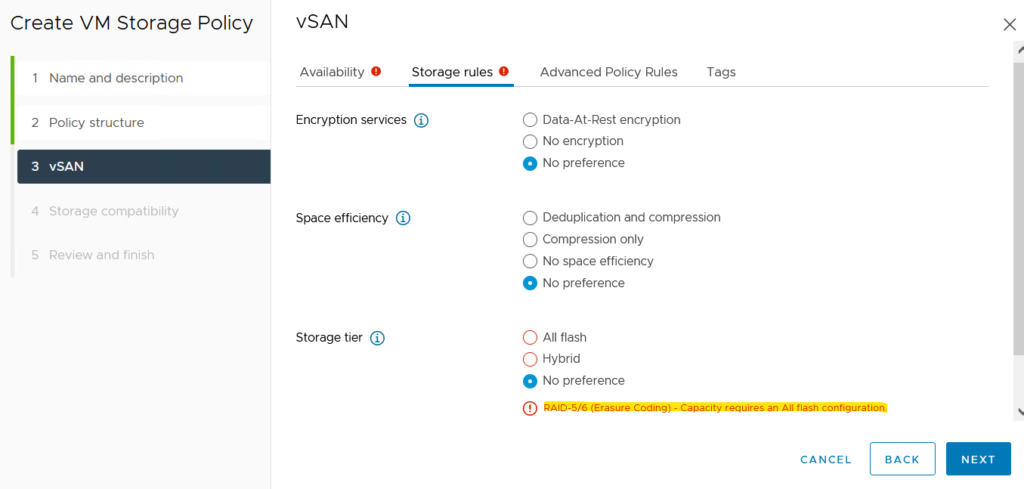
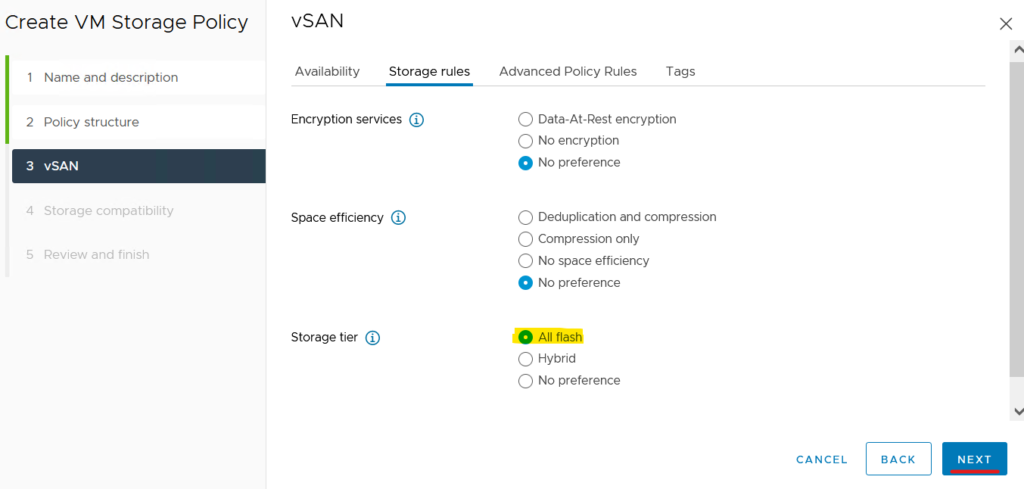
Click on the tab Storage rules, we need to select the All flash option under the Storage tier. After that, click on NEXT to continue:
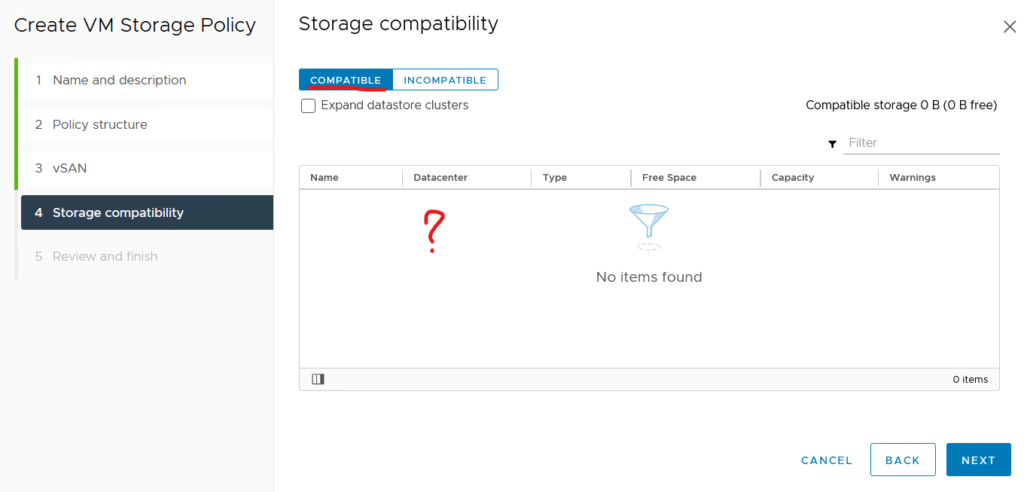
On the Storage compatibility, it is possible to see that we can not have any compatible vSAN datastore available:
Go back to the vSAN option. Click on “Advanced Policy Rules” and enable the “Force provisioning” option. Click on NEXT to continue:
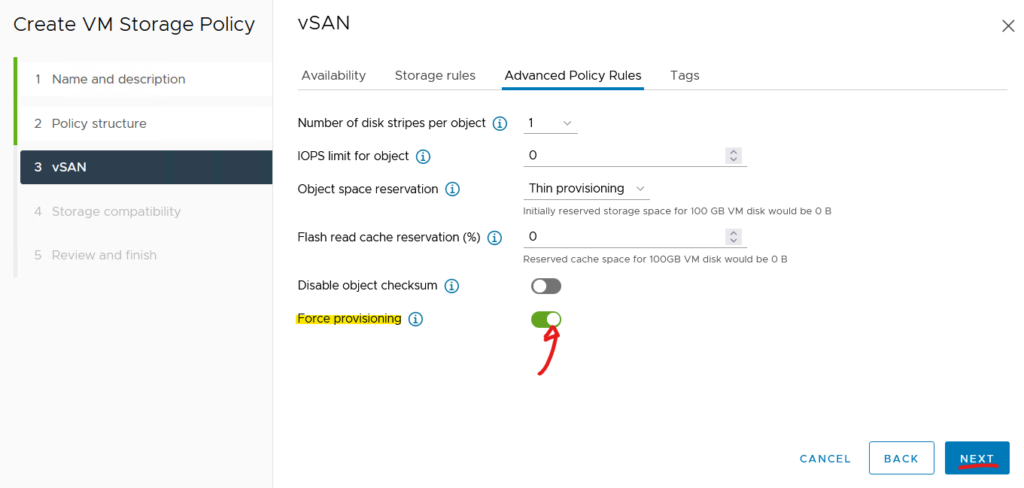
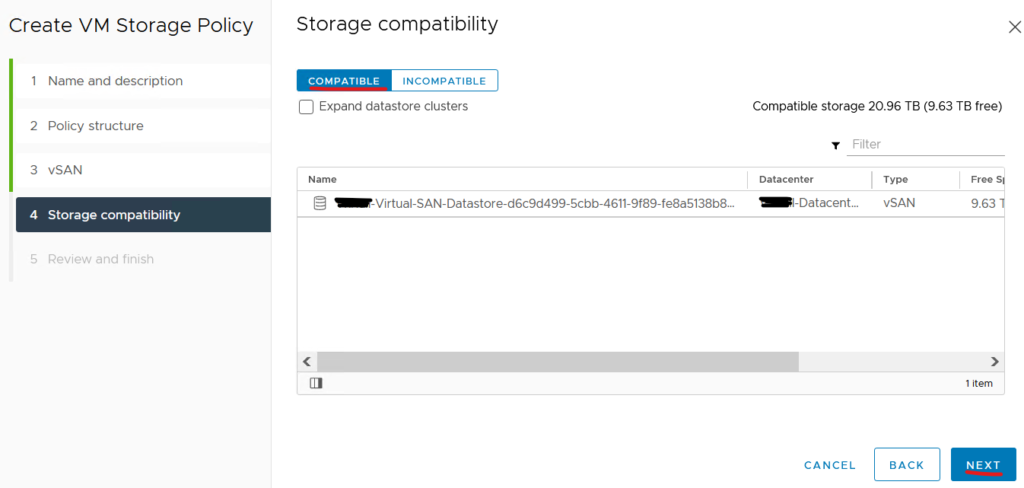
Now, under Storage compatibility, we can see the vSAN datastore. Click on NEXT to continue:
Click on FINISH to complete the Create VM Storage Policy Wizard:
Creating a new virtual machine and setting the new vSAN Storage Policy
Now, we are creating a New Virtual Machine:
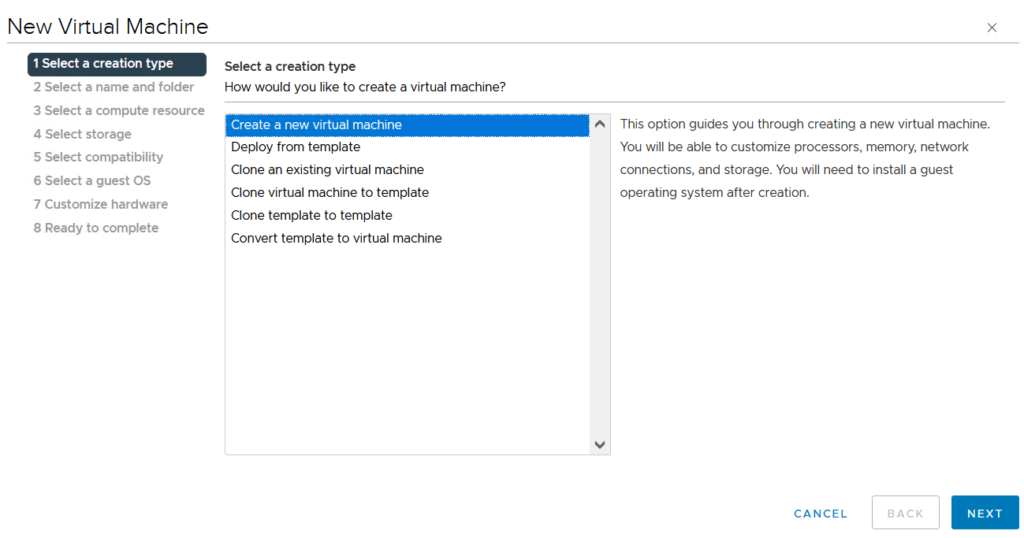
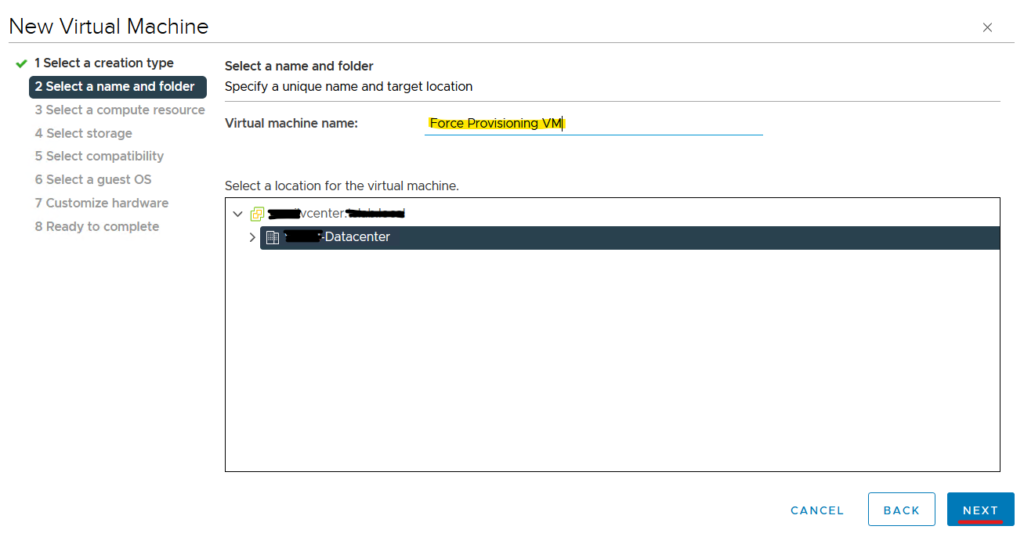
Type the name of the virtual machine. In this example, the virtual machine name is “Force Provisioning VM”. Click on NEXT to continue:
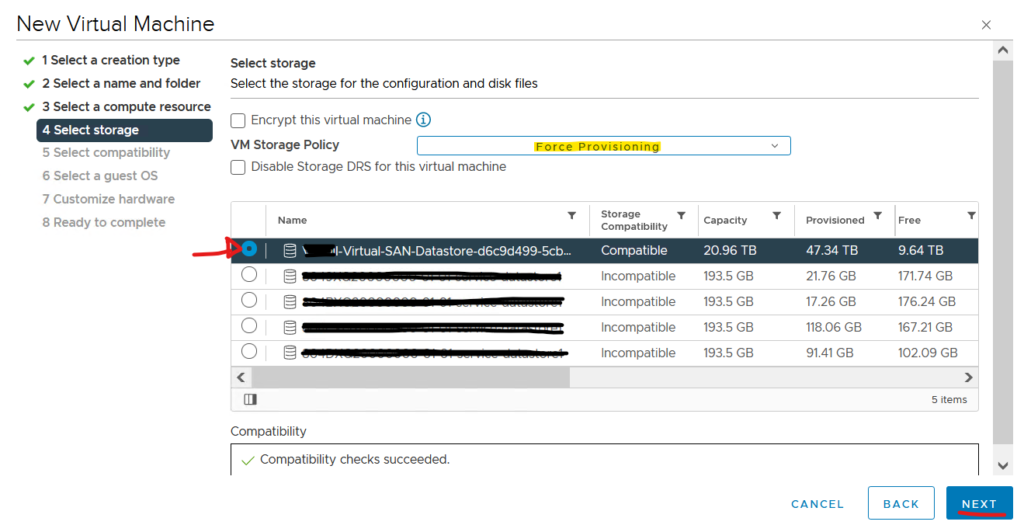
Now, we need to select the vSAN Storage Policy that we created before. Look that we are using the VM Storage Policy called “Force Provisioning”. After that, select the vSAN Datastore and click on NEXT to continue:
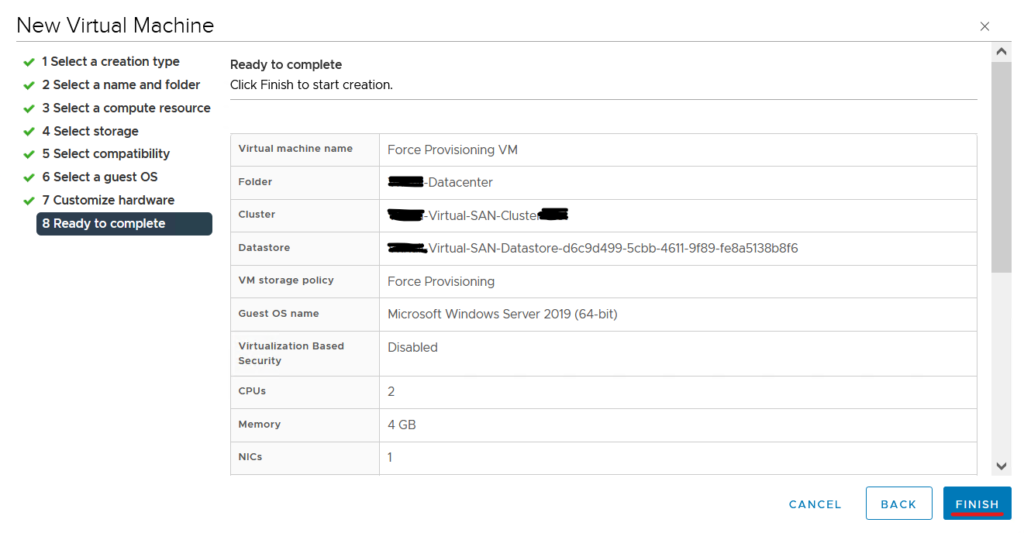
Click on FINISH to complete the New Virtual Machine Wizard:
Checking the status of the VM and the placement of the VM’s objects
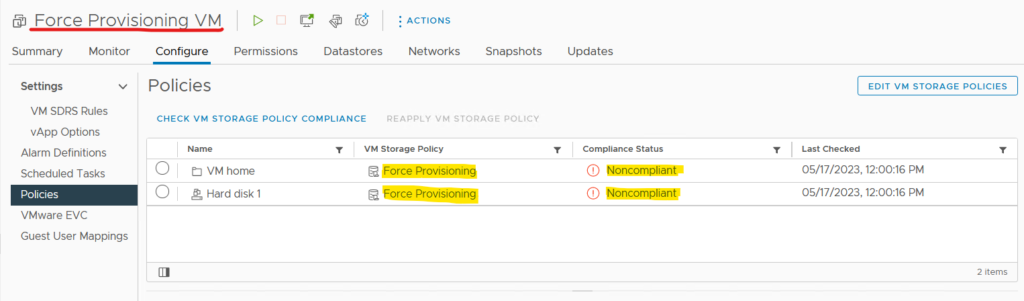
Select the VM “Force Provisioning VM”, and click on Configure tab and Policies.
We can see that all VM objects are “Noncompliant” –> THIS IS EXPECT, BECAUSE THIS POLICY DOES NOT SATISFY THE MINIMAL NUMBER OF ESXI HOSTS TO USE THE RAID-6 FTT:
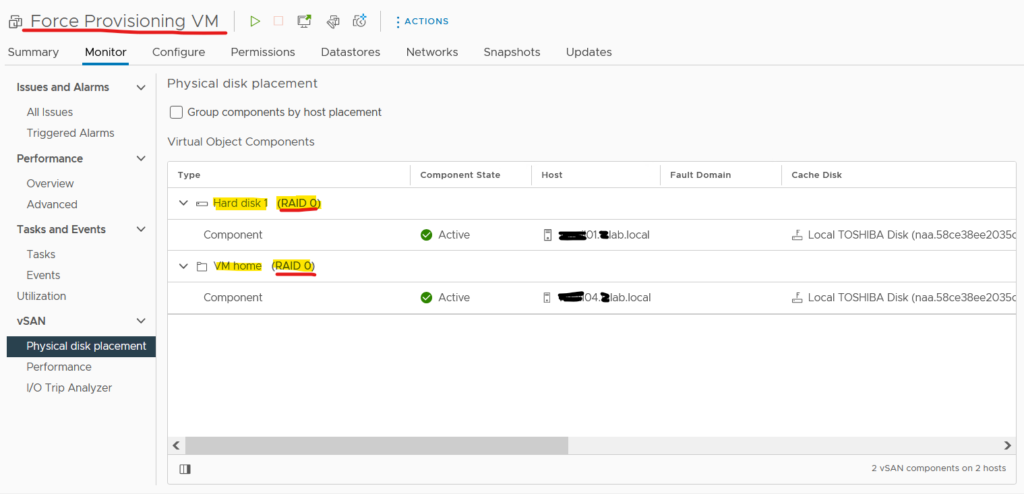
Click on the Monitor tab and on the Physical disk placement under vSAN. Here, we can see how the VM objects are placed in the disks.
We can see that all VM objects are placed with RAID-0 (Failures to tolerate = 0).
This is the expected behavior when we are using the FORCE PROVISIONING option enabled and the FTT level is not satisfied:
WARNING: Based on it, be careful with the parameter “Force Provisioning”. We do not recommend using it in Production Environments.
In this example, when the vSAN Storage Policy will have the minimum number of ESXi hosts (6 ESXi hosts), this VM will be in compliance with the Storage Policy and the objects will be created for that!
To see more detail about vSAN Policy, the below link can be checked:
