How to install VMware ESXi 8 is a step-by-step guide that demonstrates how to install VMware ESXi 8 in a lab environment using VMware Workstation. This article covers the main installation steps required to create a virtual ESXi 8 host and understand the deployment process.
In this example, VMware® Workstation 16 Pro version 16.1.2 build-17966106 was used on a Windows 10 machine to create the virtual environment. However, the same installation concepts can be applied to different scenarios, including physical servers or other virtualization platforms.
VMware vSphere 8.0 introduced several improvements compared to previous versions, and the ESXi 8 installation process remains very similar to the ESXi 7 installation workflow. The steps below demonstrate how to create the virtual machine, complete the installation wizard, and access the ESXi Host Management Interface.
Vmware vSphere 8 release notes:
What’s new in vSphere 8?
The steps of the ESXi 8 installation are very similar to the steps to install the ESXi 7. However, the steps will be shown here.
Create the Virtual Machine
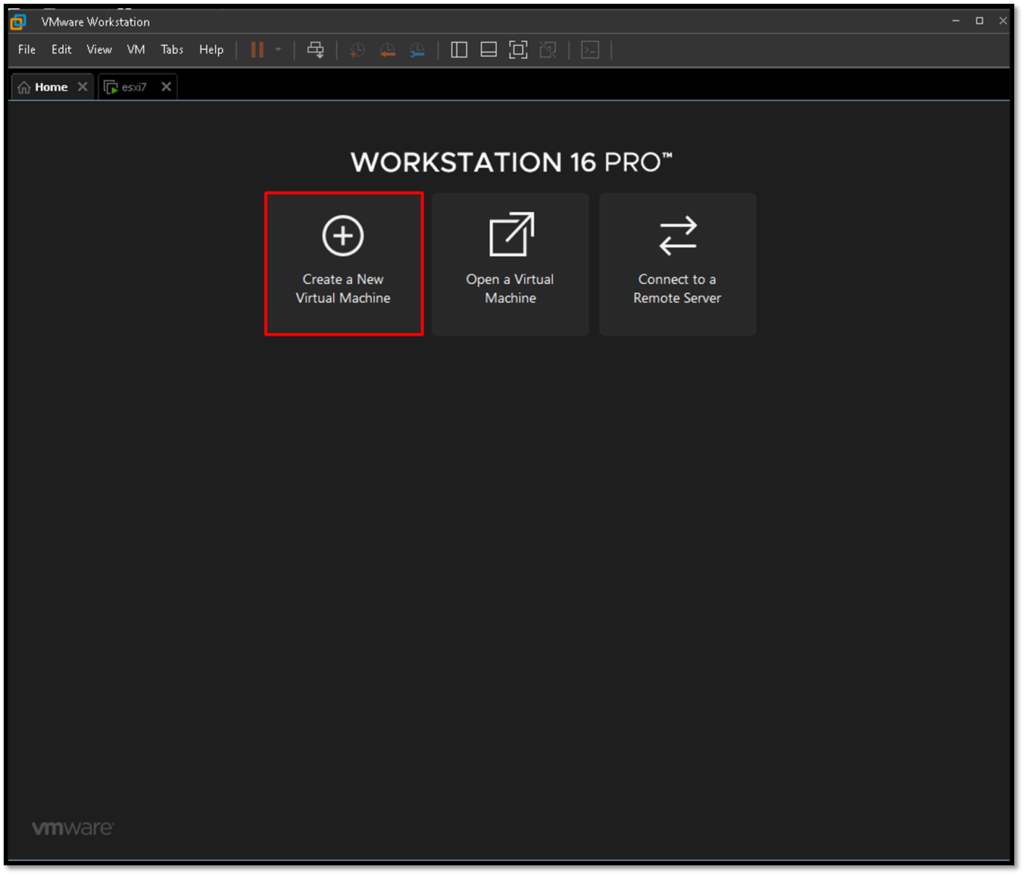
The first step is to open the VMware Workstation and click on “Create a New Virtual Machine”, as demonstrated in the picture below:
The next steps are very simple and intuitive. The images below will demonstrate all the steps:
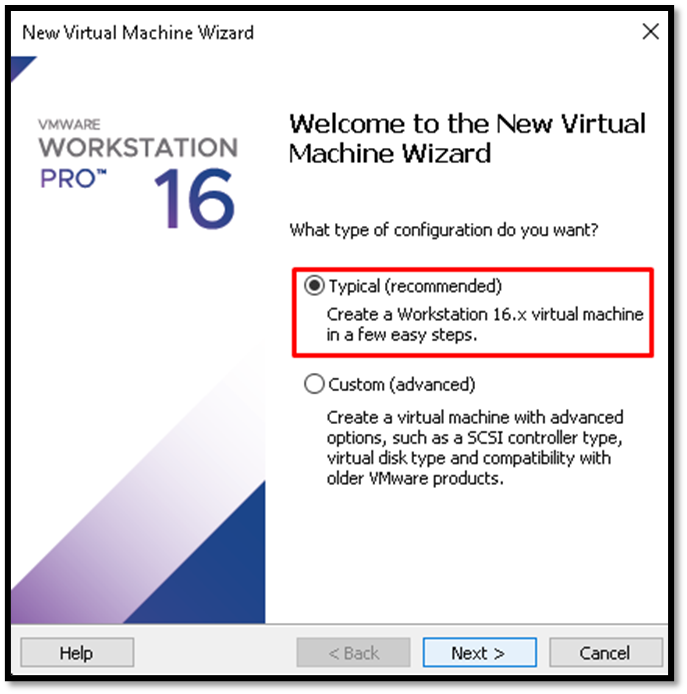
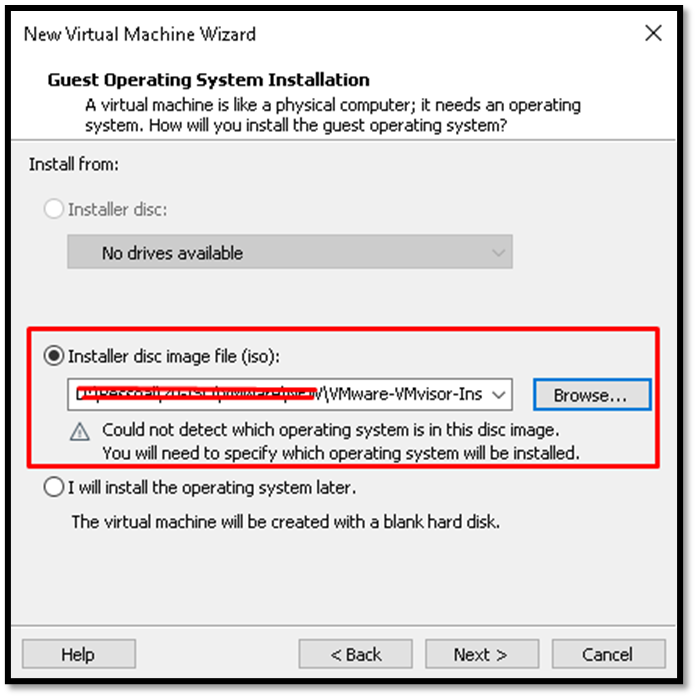
Click on “Browse” and select the ESXi .iso file:
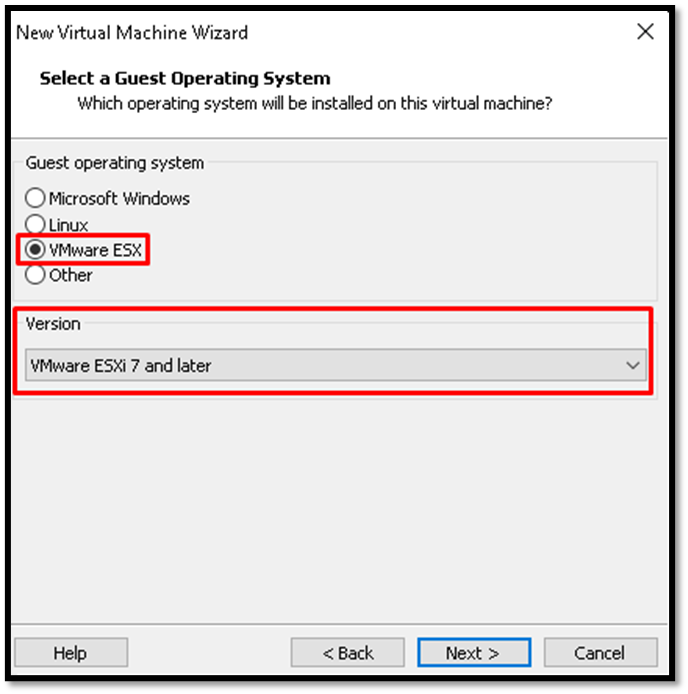
Select the Guest Operation System to “VMware ESXi” and Version “VMware ESXi 7 and later”:
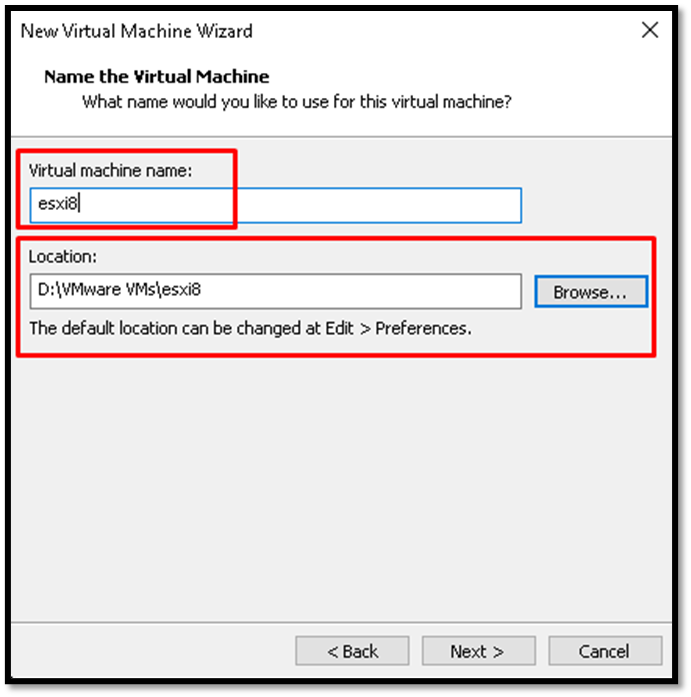
Type the Virtual Machine Name and the Location on your computer where the VM files will be storage:
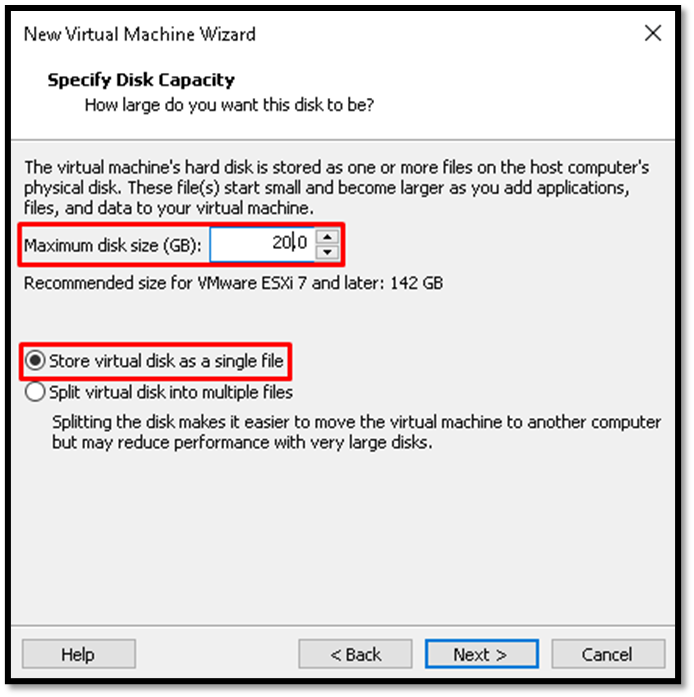
As a lab environment, the Maximum disk size (GB) was changed to 20GB. The original value is 142GB. In this case, 20GB is a sufficient value to study and understand the installation process of the ESXi system.
By default, the virtual disk of the VM is split into multiple files. However, we will change this option to “Storage virtual disk as a single file”:
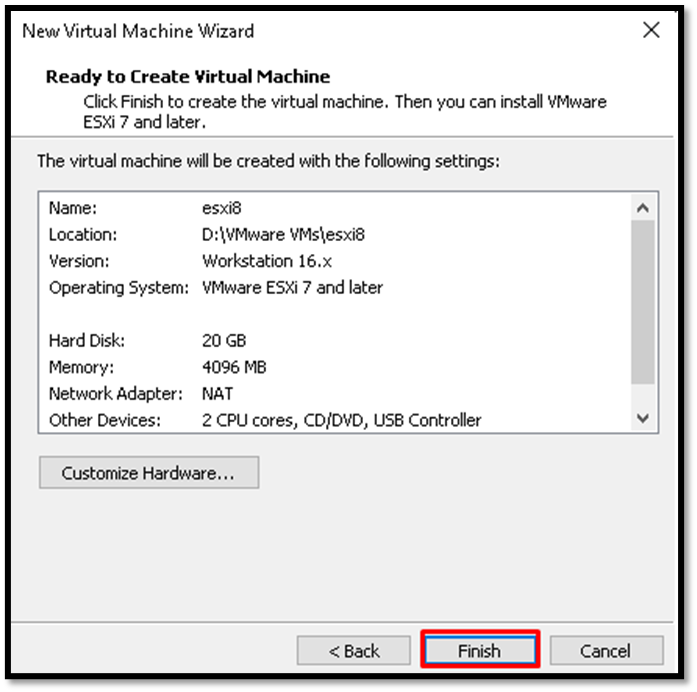
Click on “Finish” to complete the creation steps of the Virtual Machine:
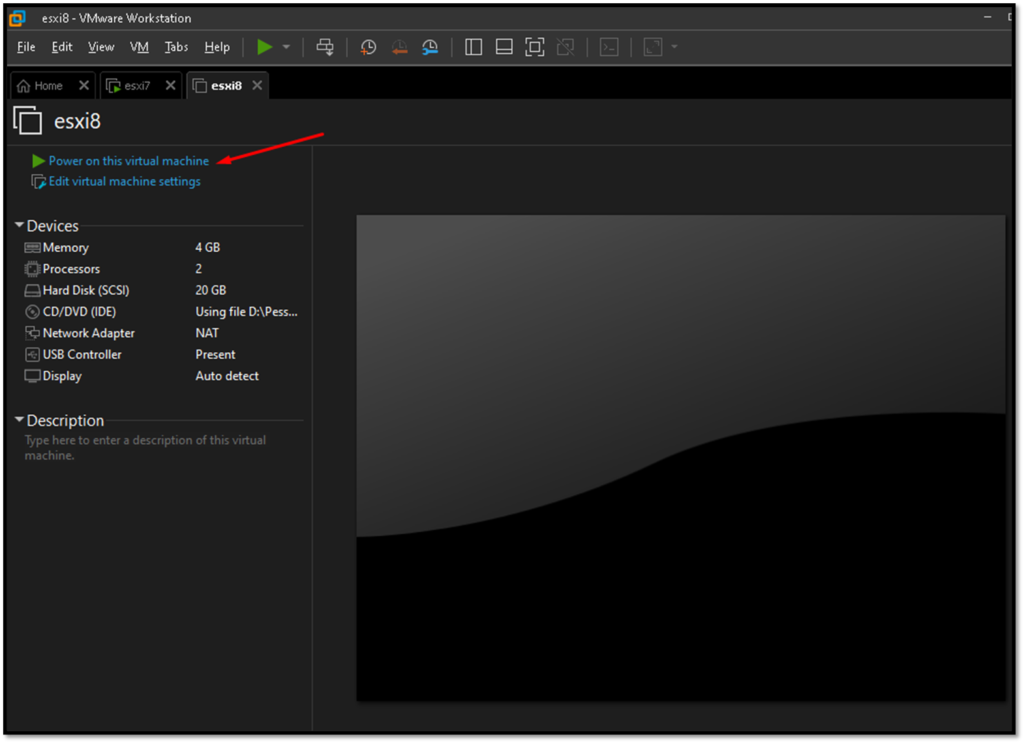
Power on the Virtual Machine and follow the installation wizard
Now, we need to power on this Virtual Machine. Do it on “Power on this virtual machine” such as indicated in the picture below:
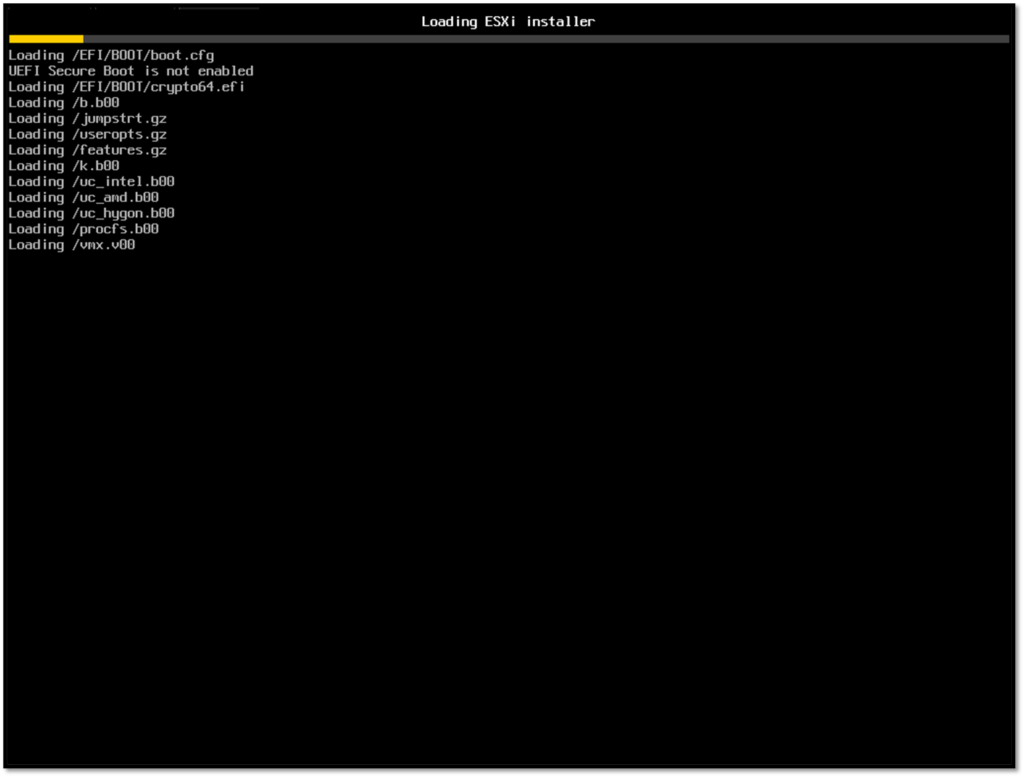
Now, the installation process will begin:
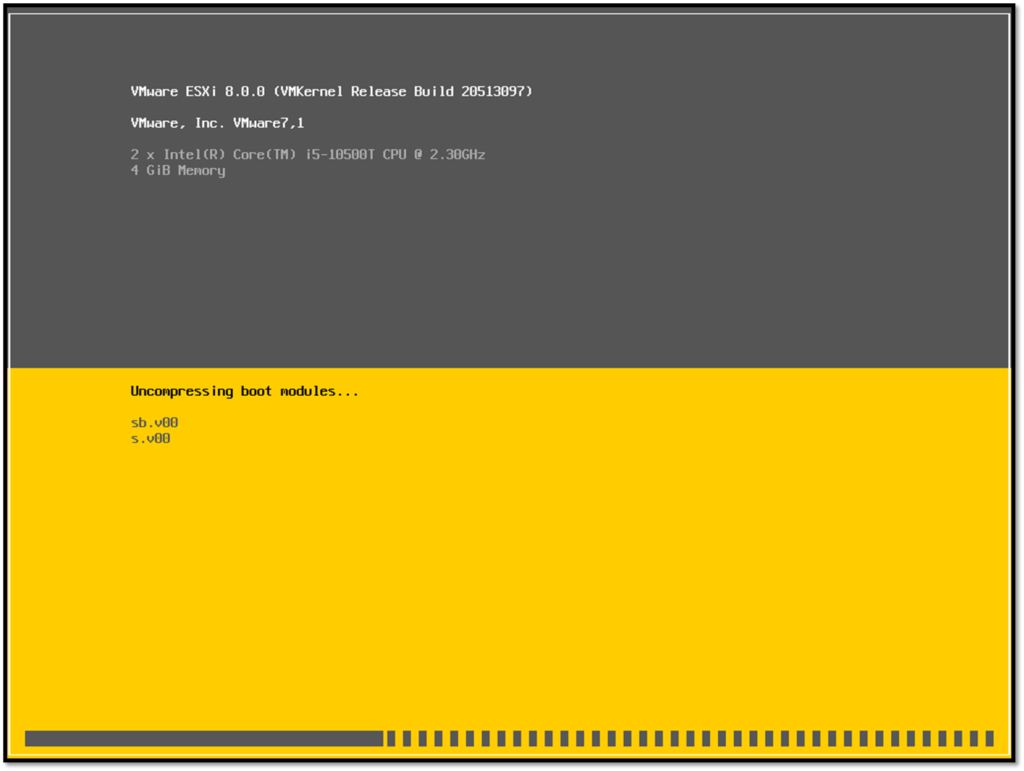
At this point, the Installer Wizard is showing. Click on “Enter” to continue the installation process:
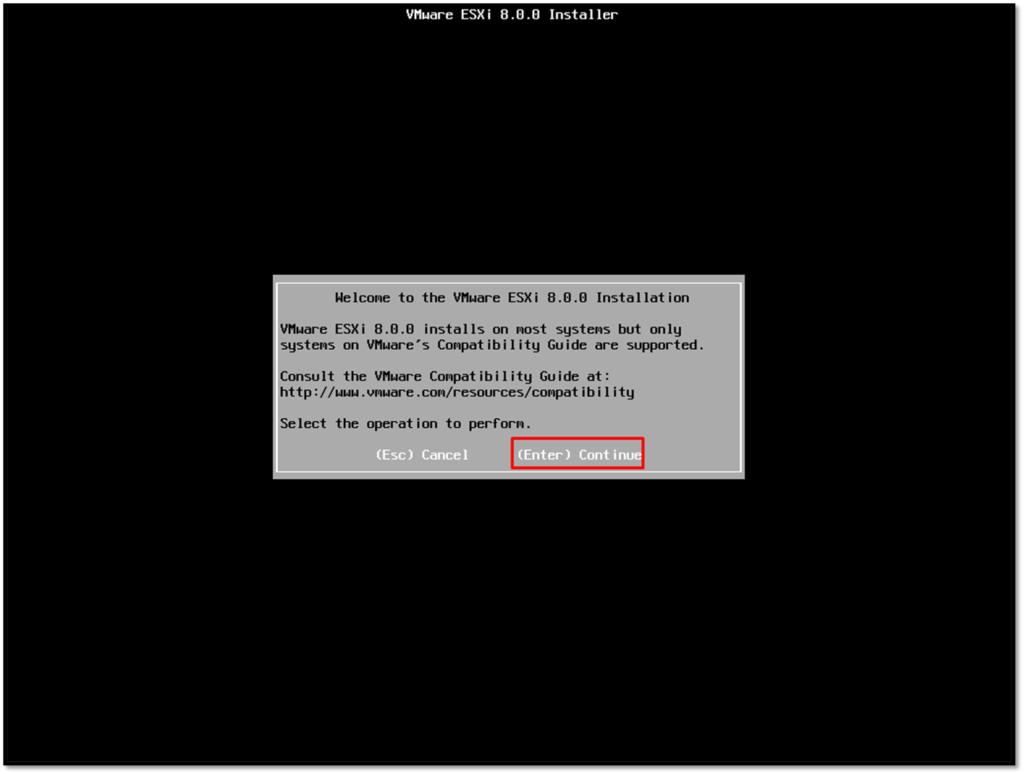
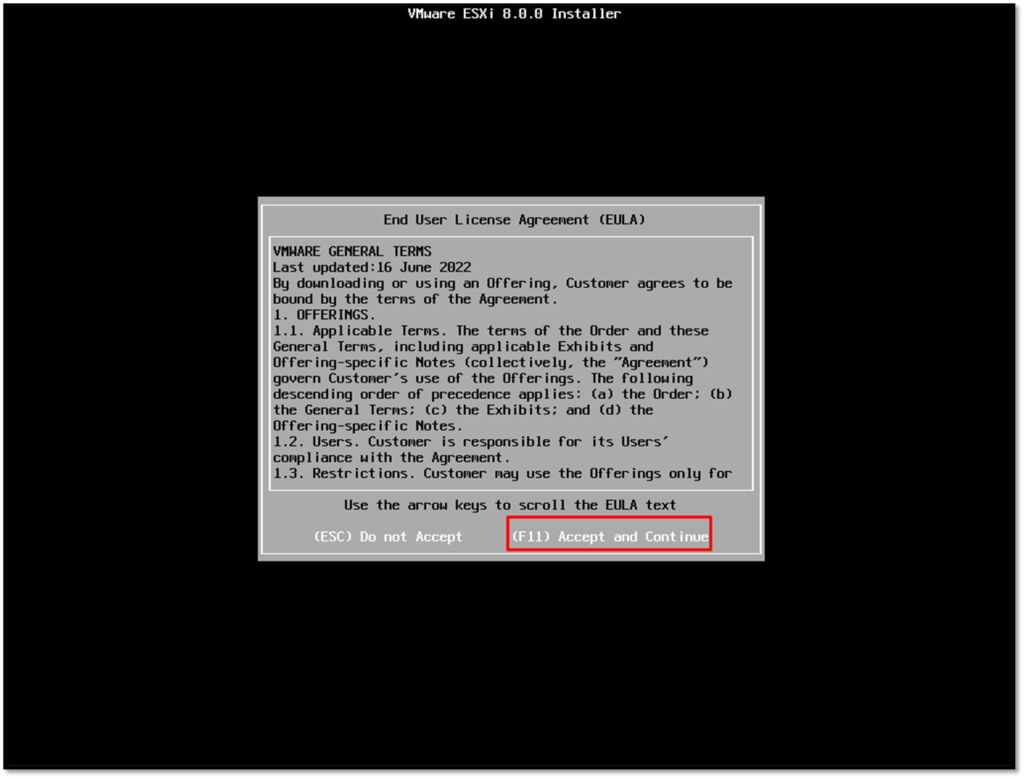
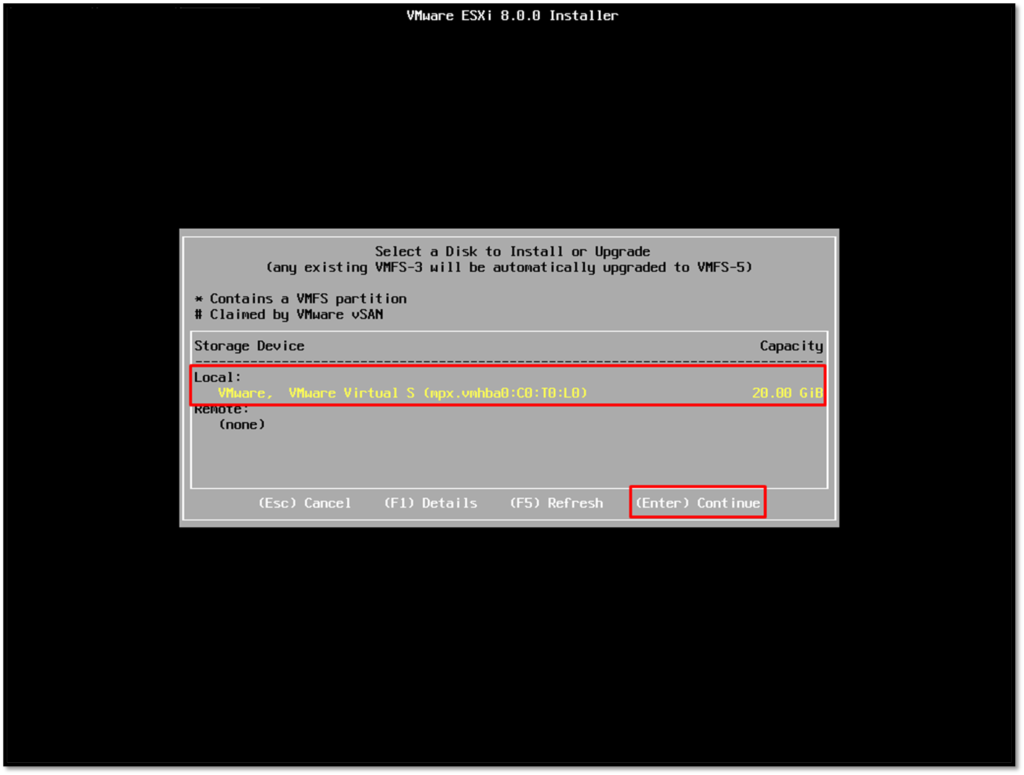
Select a Disk to Install the ESXi. Click on “Enter” to continue:
Select your keyboard layout. Click on “Enter” to continue:
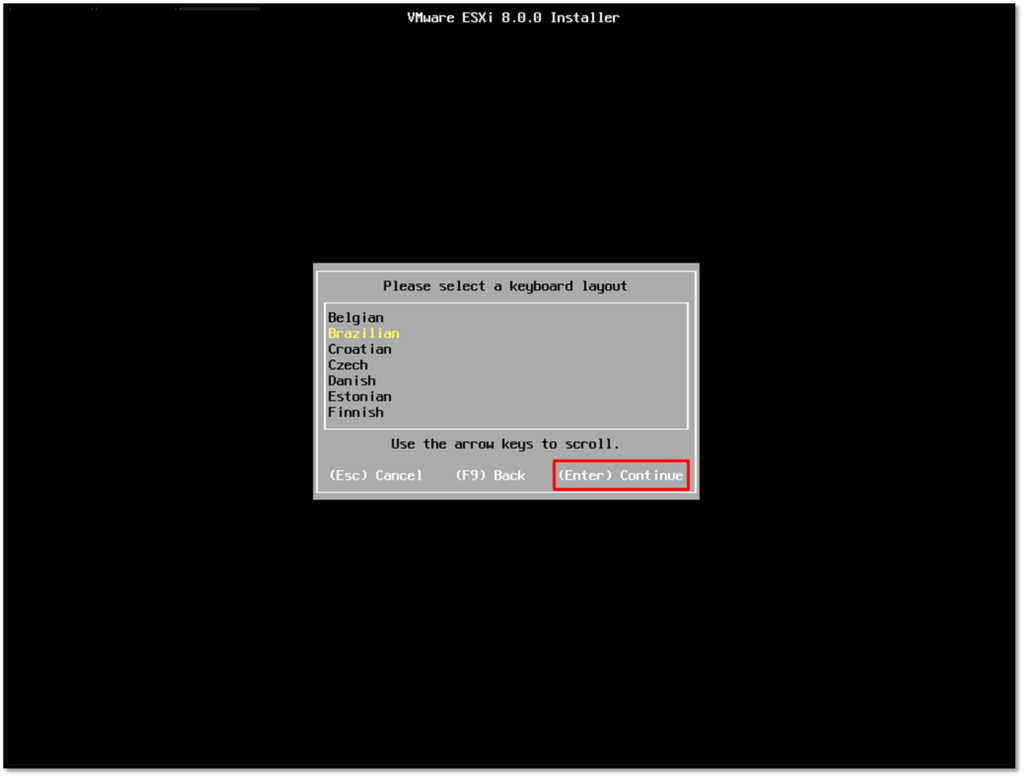
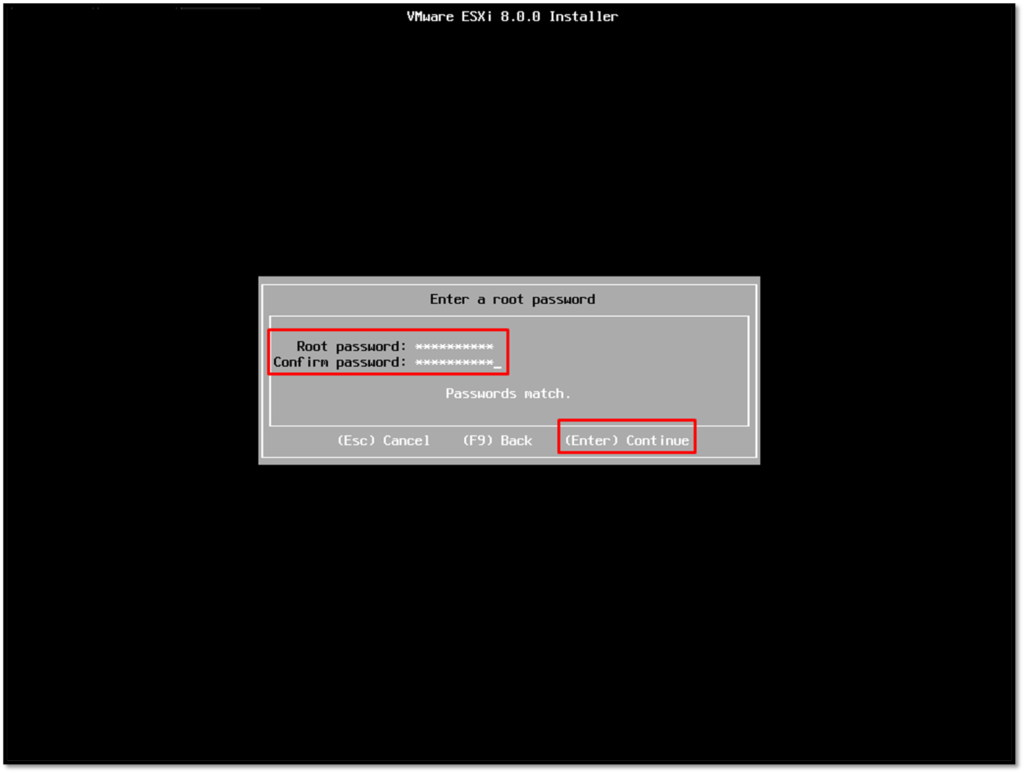
Define the root password. Pay attention, because is need to put the root password in the first space and is need to repeat the root password in the second space:
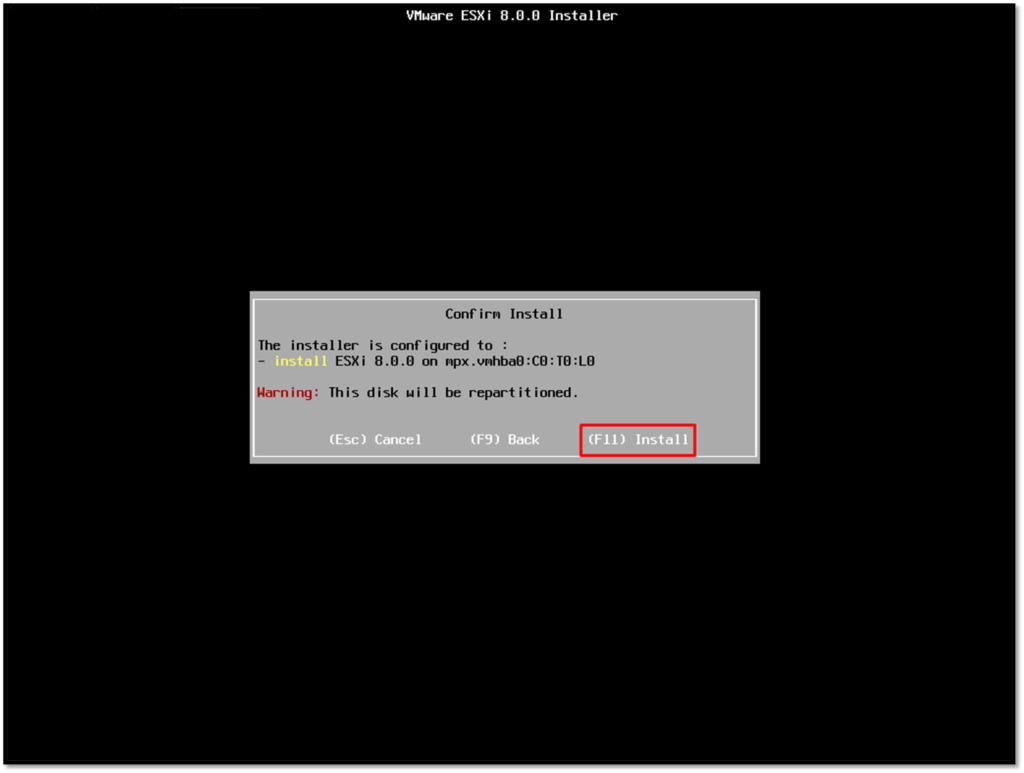
Select “F11” to start the install process:
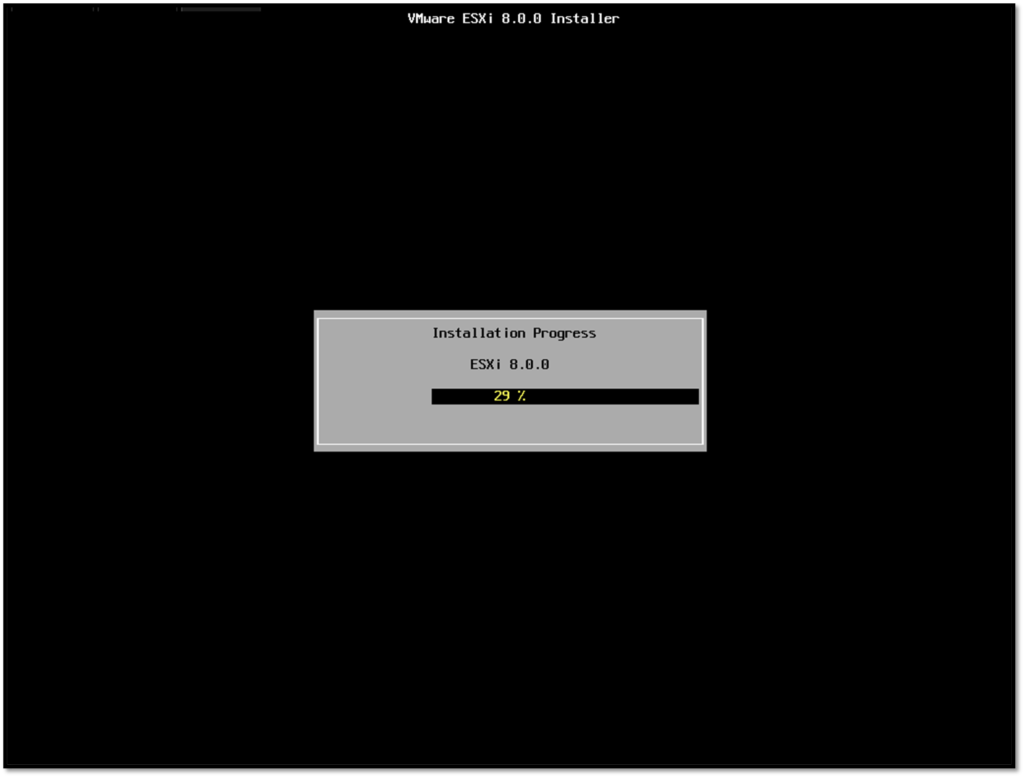
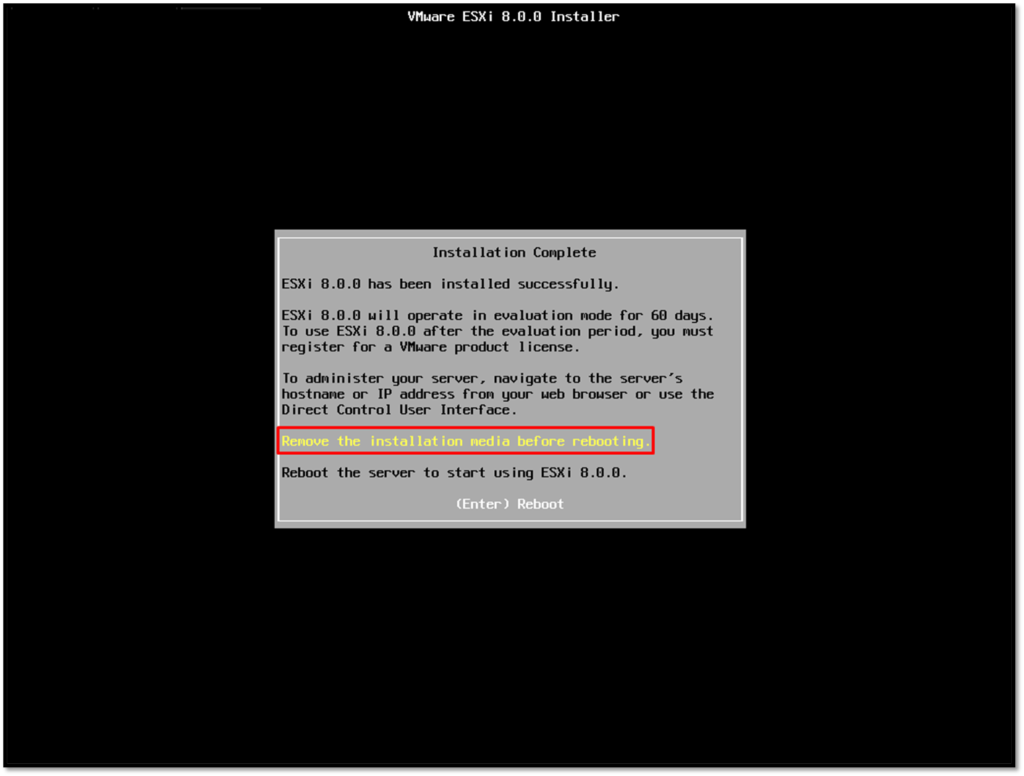
At this point, the installation process was finished. Click on “Remove the Installation media before rebooting”. After that, the VM will reboot and the ESXi system will boot from the virtual disk:
Access the Host Management Interface
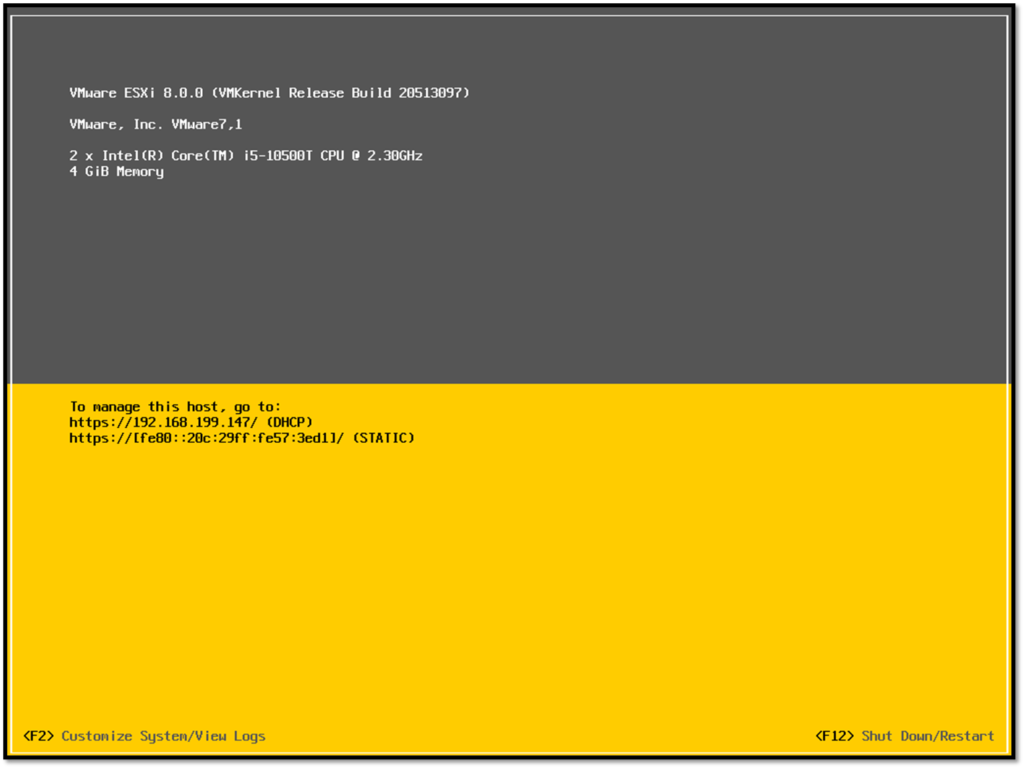
To access the web browser host interface, the address http://192.168.199.147 should be used in this example:
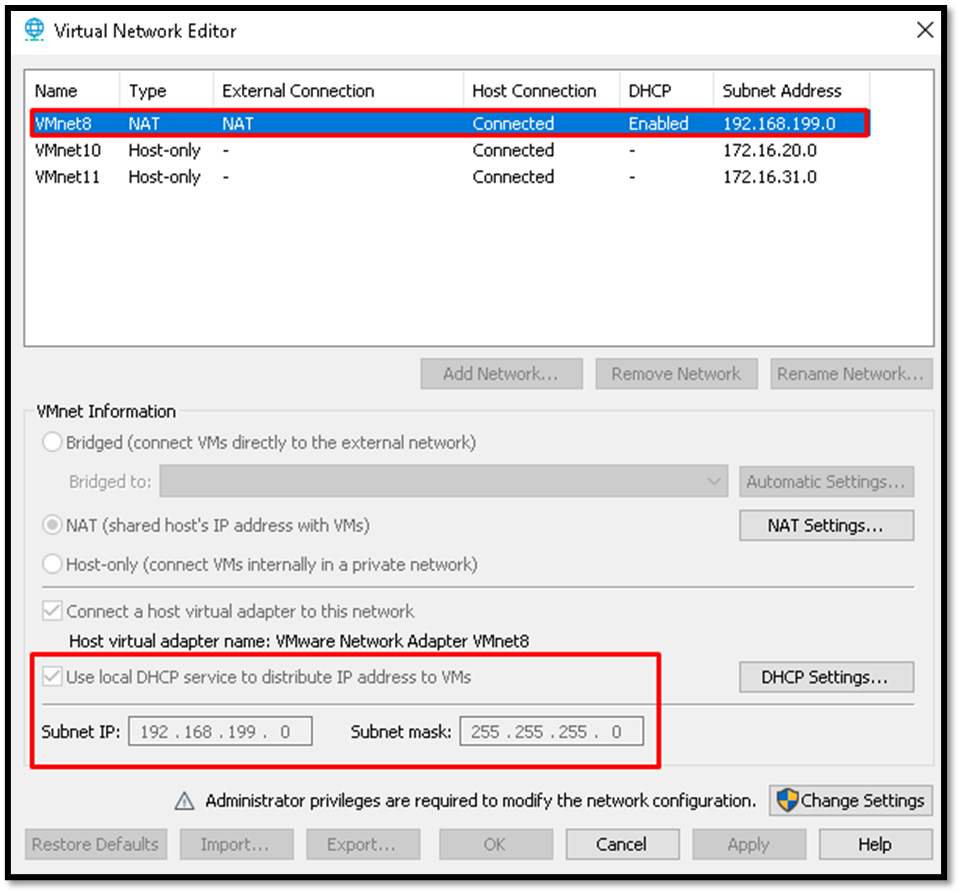
However, the network configuration for this VM is “NAT”. In my environment, the NAT interface on VMware Workstation has a subnet 192.168.199.0/24 and the DHCP service is enabled on this interface. So, you need to check it on your environment (probably the subnet for the NAT interface can be different):
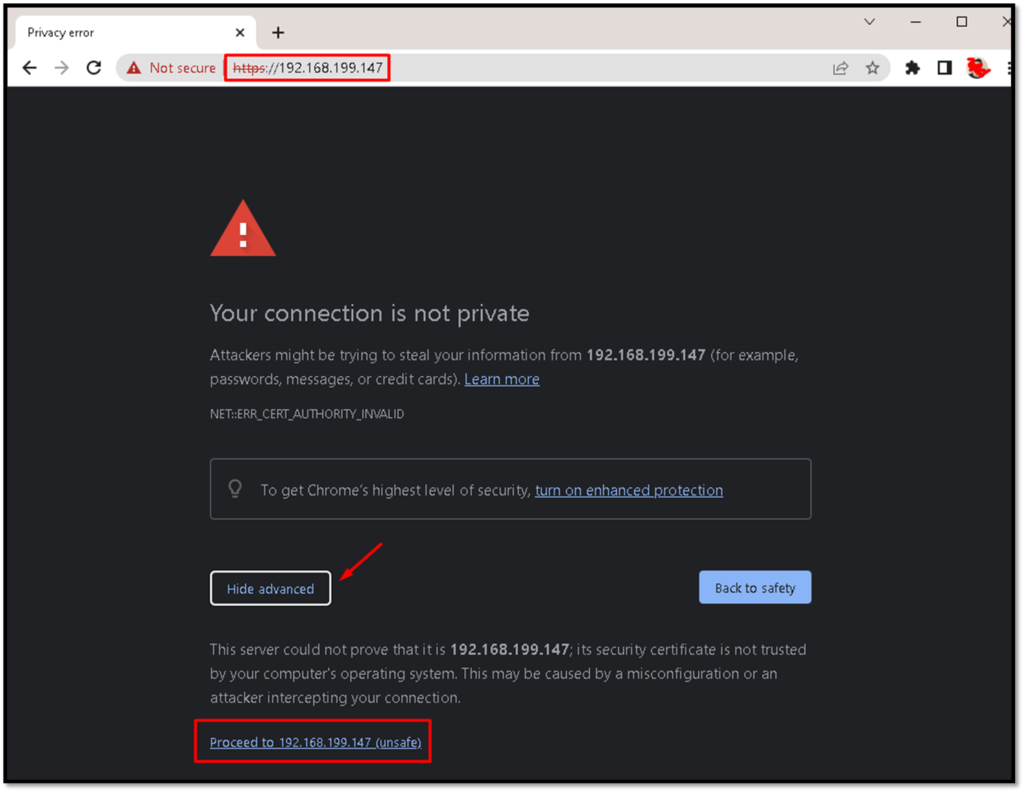
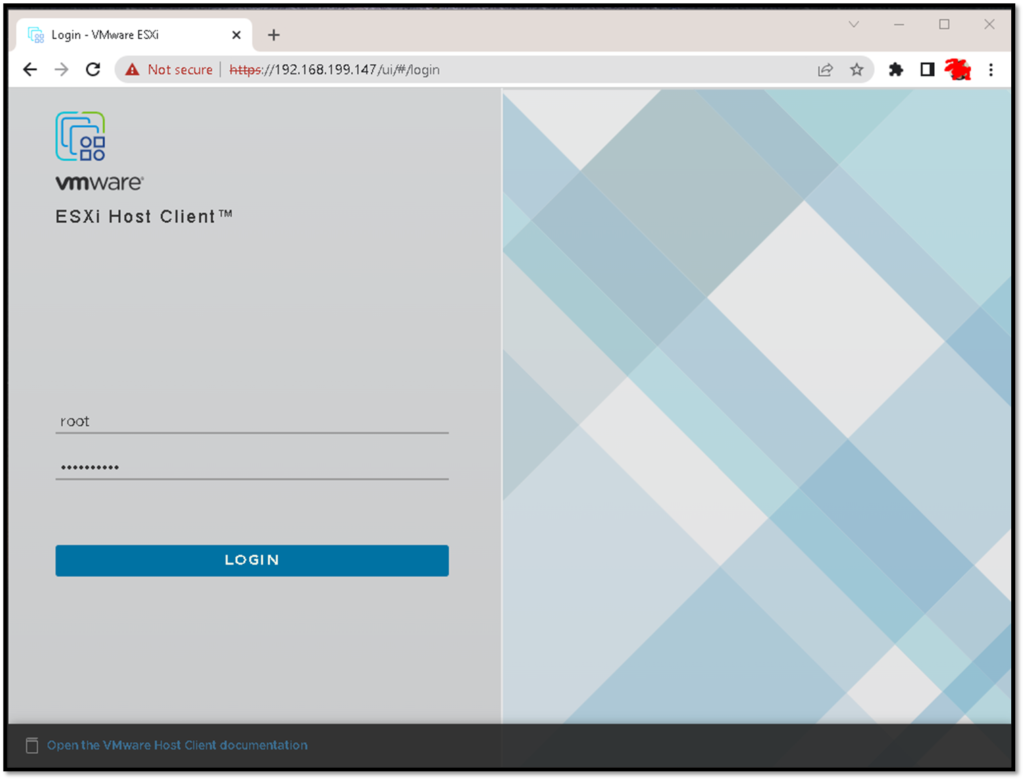
To access the web management page of the ESXi host, put the management address on your web browser. Accept the warning message related to the certificate alert to proceed with login:
Put the root username and root password:
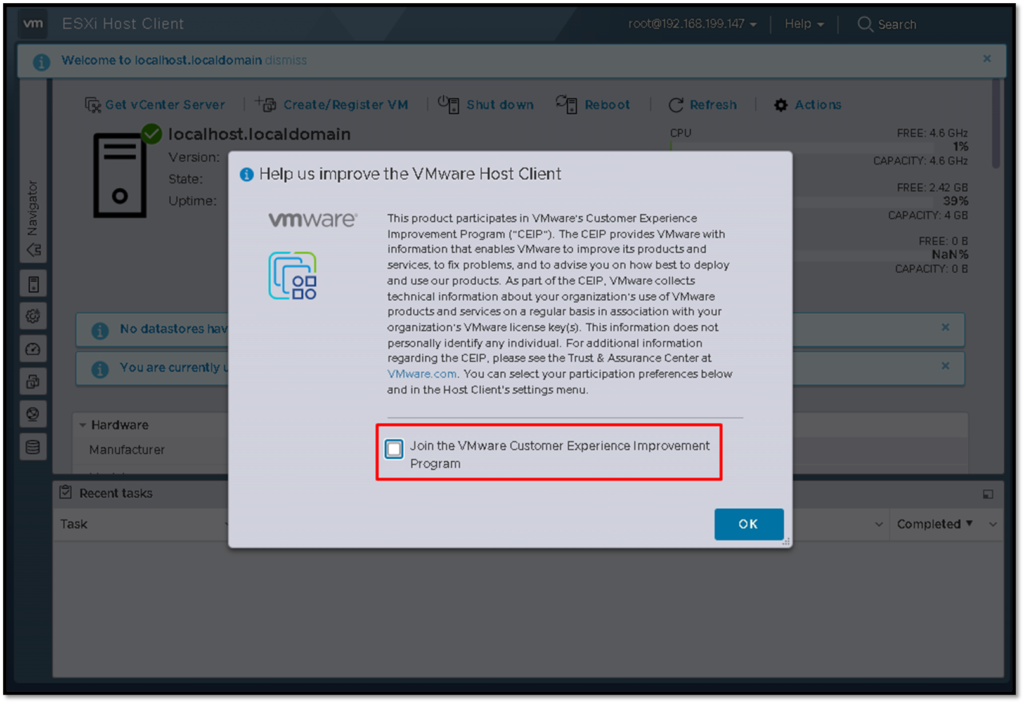
It is optional to join the Vmware Customer Experience Improvement Program (CEIP). So, in this case, I disabled this option and click on “OK”:
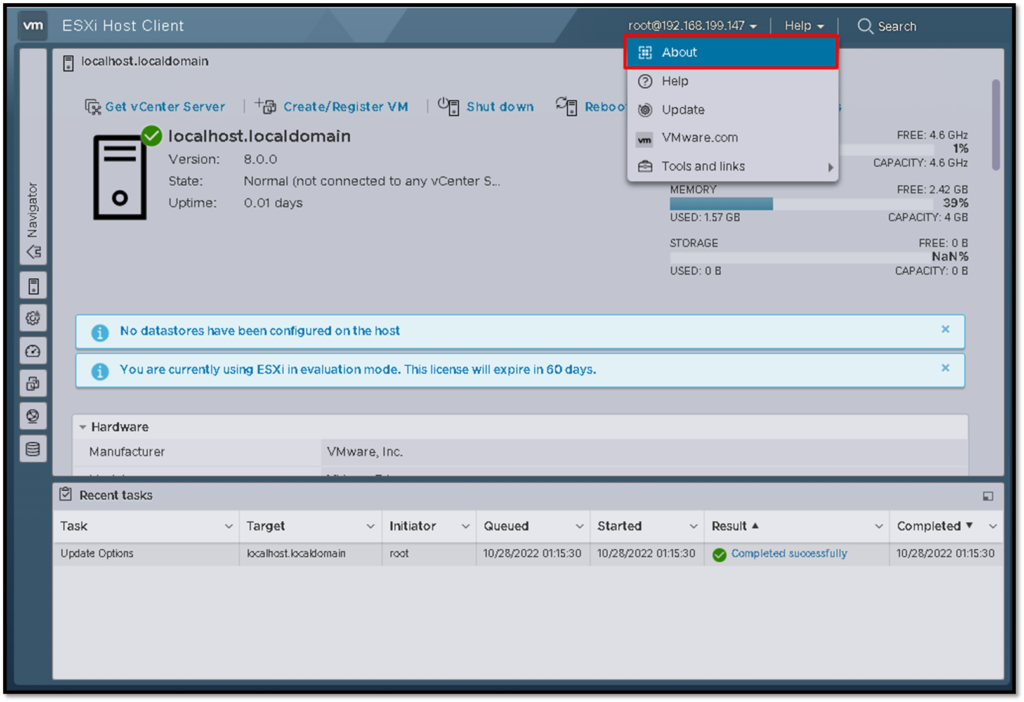
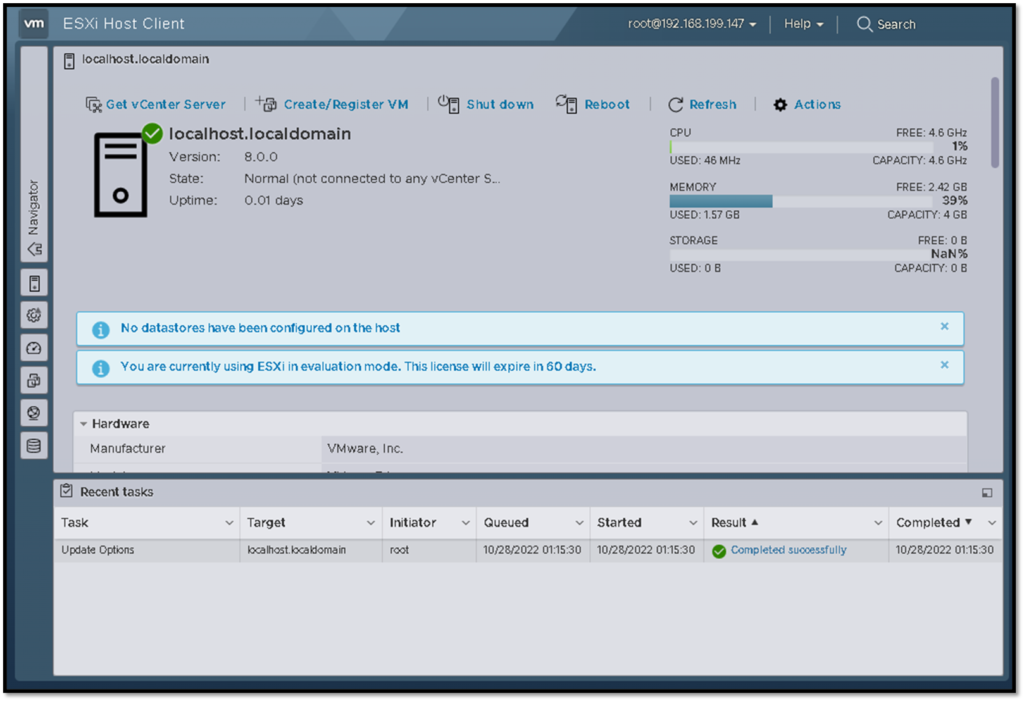
Here, we have the Dashboard of the ESXi host 🙂 :
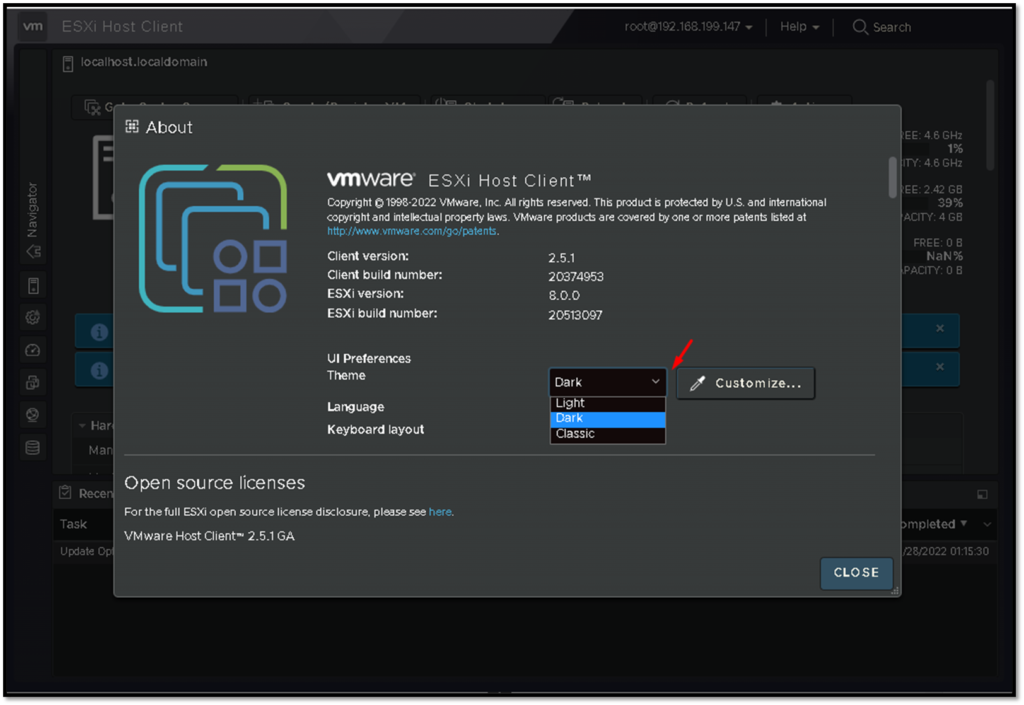
Note: It is possible to change the Theme of the ESXi Host Client Interface. To do it select Help –> About. The are 3 theme options for choosing: