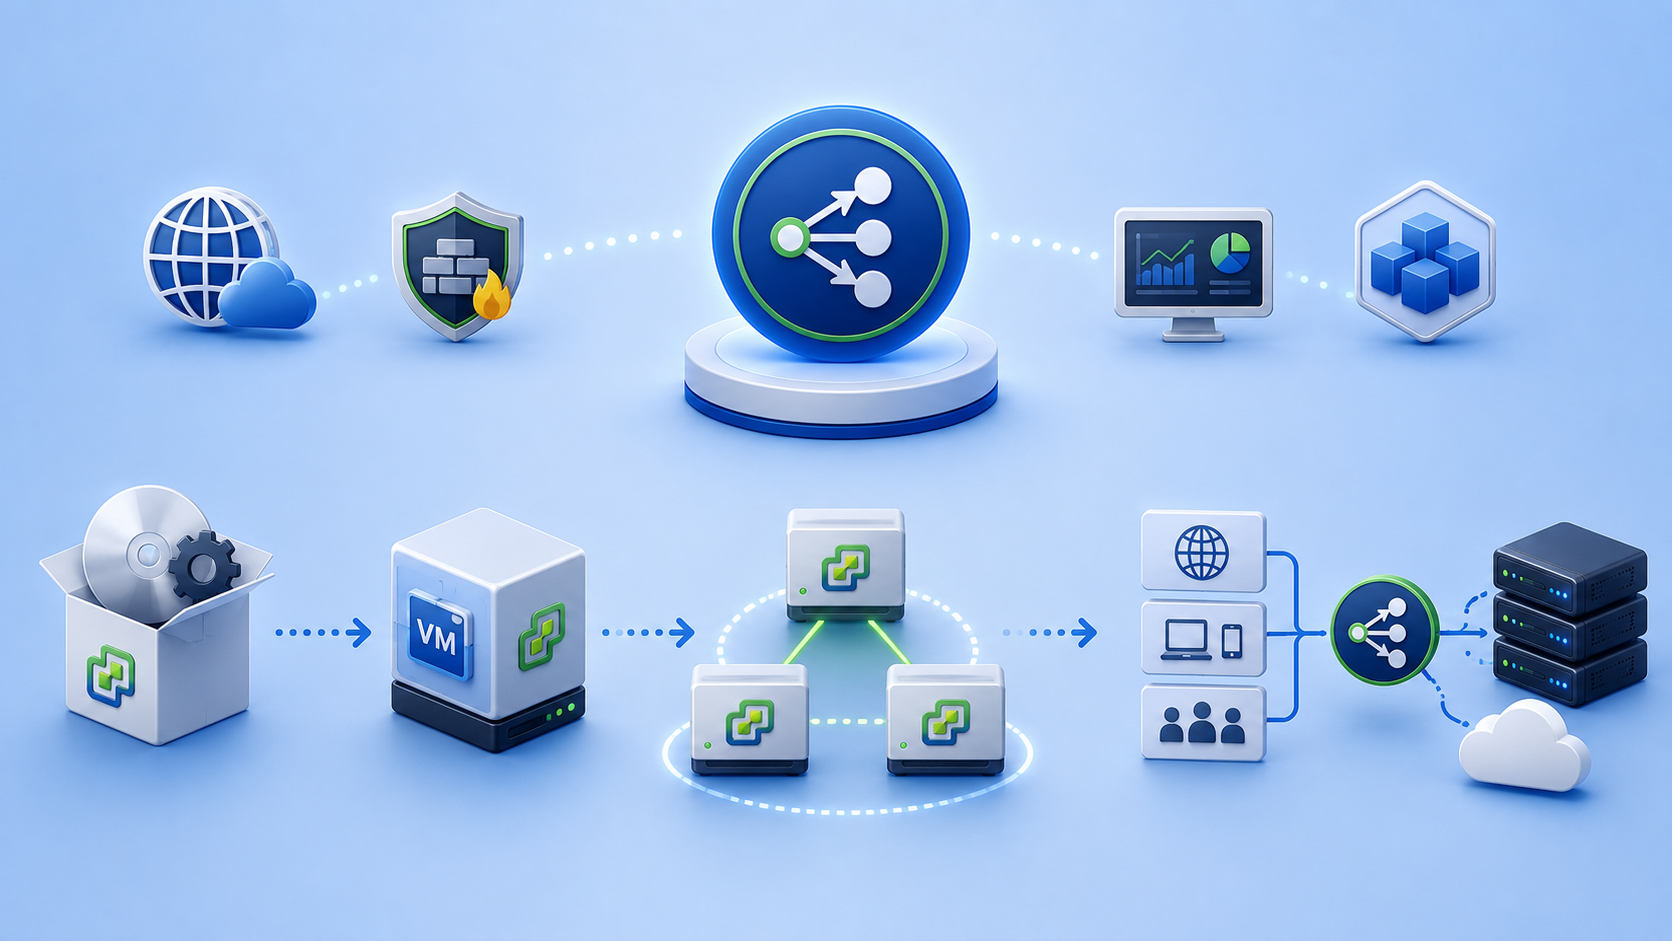
NSX Advanced Load Balancer Deployment Steps is an article that shows a little introduction to the NSX Advanced Load Balancer and how to deploy an NSX ALB Controller cluster to start using this powerful solution.
First and Foremost, what is NSX ALB?
NSX ALB is an acronym for Advanced Load Balancer.VMware will use NSX Advanced Load Balancer as part of its load-balancing strategy. This is a powerful solution that can provide multi-cloud load balancing, web application firewall, application analytics, and container ingress services across data centers and clouds.
To know more about it, I would like to share the official documentation of this solution:
https://docs.vmware.com/en/VMware-NSX-Advanced-Load-Balancer/index.html
NSX ALB Architecture
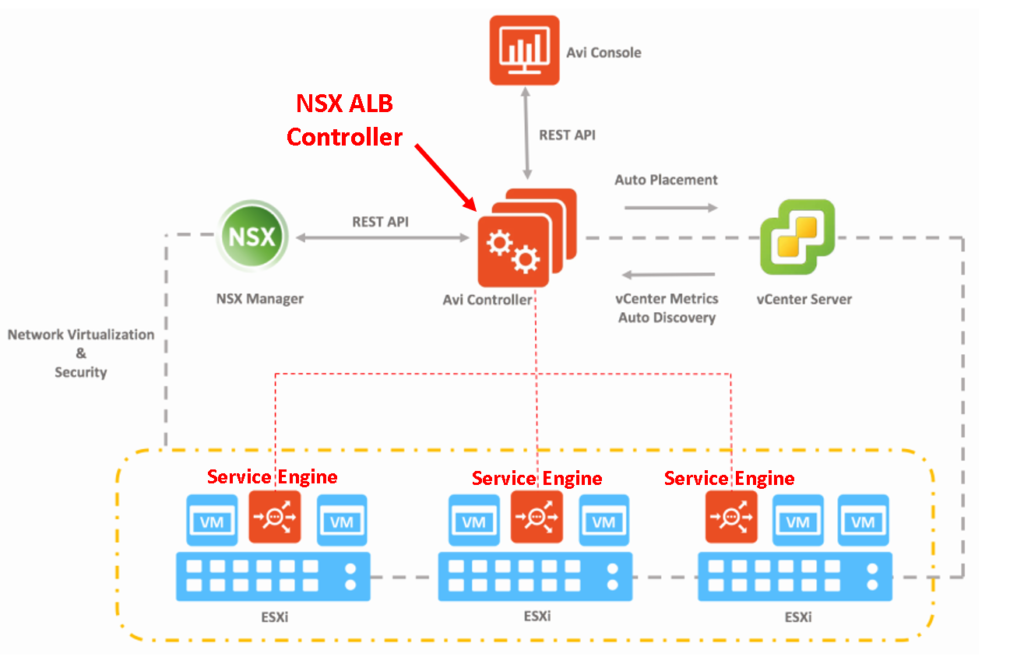
In the below picture, we can see the NSX ALB Architecture. Here, we can describe two main components of this architecture:
NSX Advanced Load Balancer Controller:
- Central repository for the configuration and policies related to load-balancing services.
- Provides a user interface to perform configuration and management tasks.
- Responsible for deploying Service Engines (SE).
- Typically deployed as a three-node cluster for high availability.
Service Engine (SE):
- Performing application load-balancing operations.
- Collects real-time analytics application traffic flows.
NSX ALB Deployment Workflow
In the diagram below, we can see all the necessary steps to deploy the NSX Advanced Load Balancer Controller nodes and also, to create the NSX ALB Controller cluster:
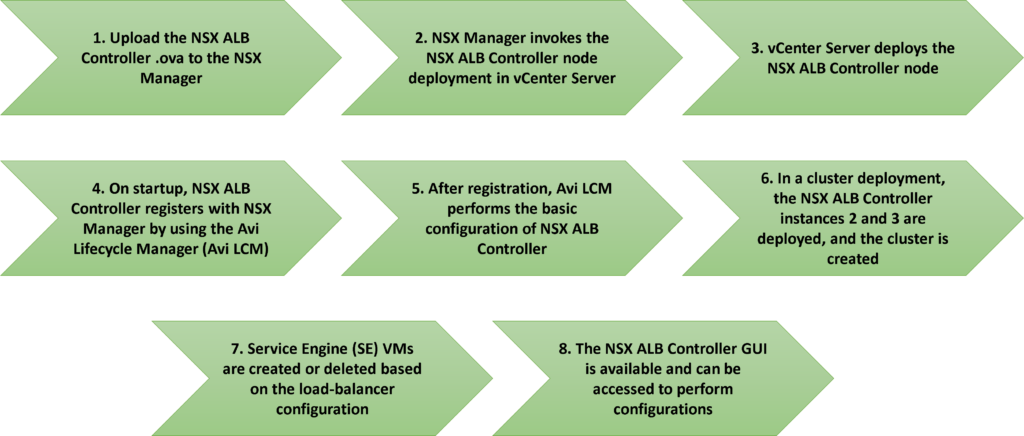
Like the NSX Management Cluster, for the NSX ALB Controller, the recommendation or the best practice is to deploy at least 3 NSX ALB Controller nodes, and then, create the NSX ALB Controller cluster.
So, in our case, we are in a lab environment with limited resources. But in a production environment without resource restrictions, you can deploy the three NSX ALB Controller nodes normally and the cluster will be created automatically after that.
Deploying the NSX ALB Controller Node
Firstly, our recommendation is to create all the necessary DNS entries for the NSX ALB Controller nodes.
In this example, we are using both DNS FQDNs for the NSX ALB solution. These are:
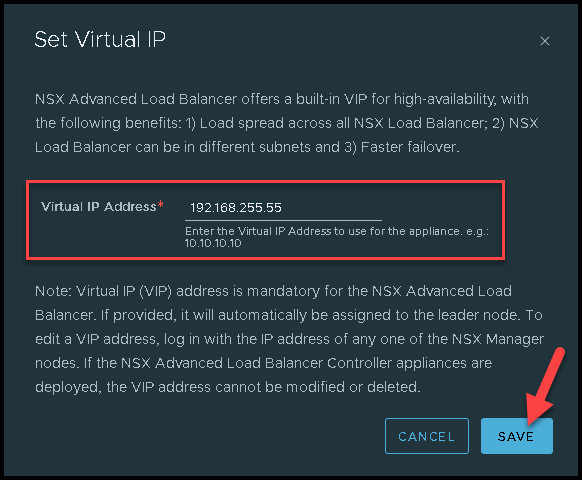
- nsxm-alb.lab.local –> 192.168.255.55 (FQDN/IP for the VIP address of the NSX ALB Controller Cluster)
- nsxm-alb-01.lab.local –> 192.168.255.56 (FQDN/IP for the first NSX ALB Controller node)
Secondly, access the NSX Manager GUI and go to the following menu:
System –> Configuration –> Appliances –> NSX Advanced Load Balancer
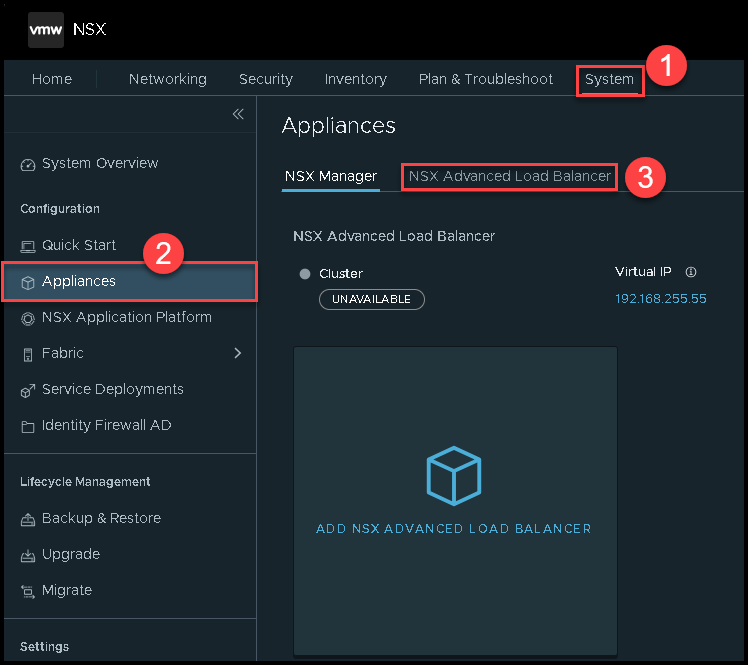
The first recommendation is to configure the Virtual IP, as we can see in the following pictures:
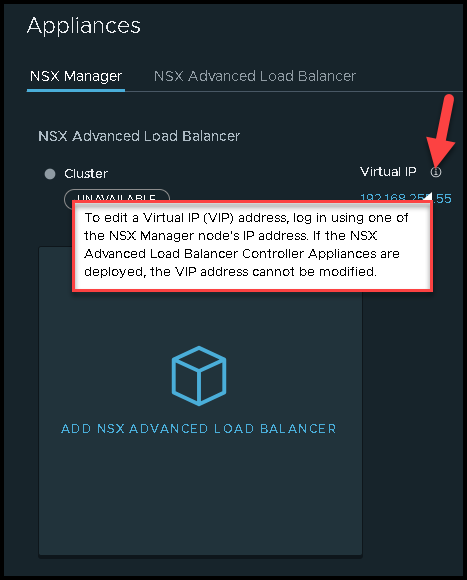
As we can see, the Virtual IP is a mandatory configuration and needs to be done before starting the NSX ALB Controller deployment. So, set up this configuration before following the next steps:
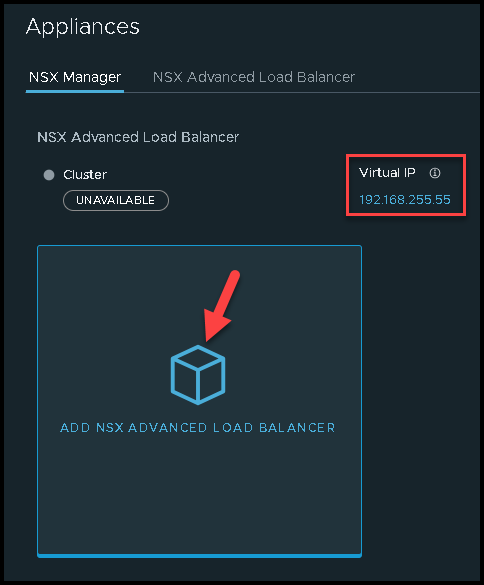
After that, click on “ADD NSX ADVANCED LOAD BALANCER” to start the deployment process:
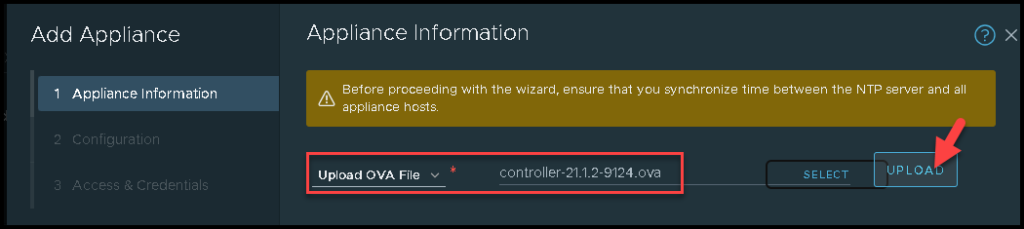
We need to select the controller ova file and click on “UPLOAD” to upload this file into the NSX Manager:
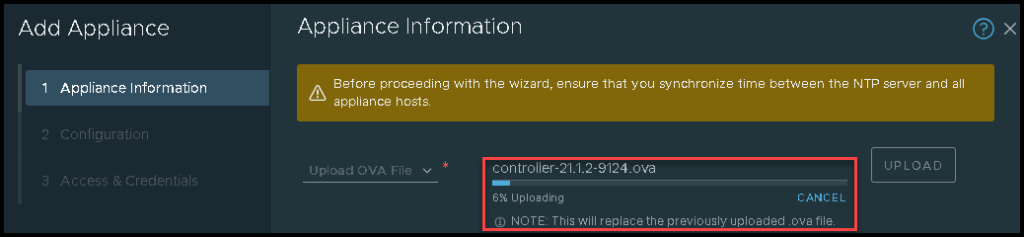
Wait for some minutes while this process is running:
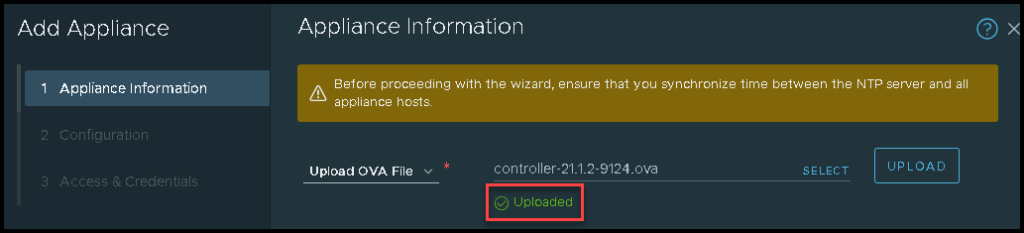
Then, we will have a message indicating that this process was finished successfully:
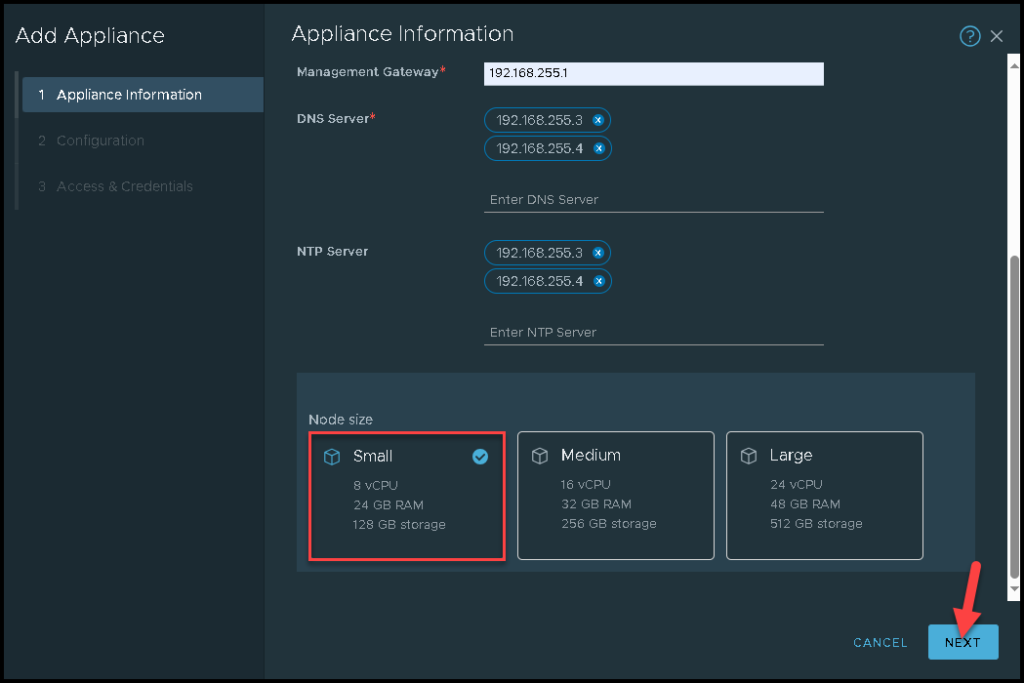
The next step is to set up the required fields such as:
- Hostname
- Management IP/Netmask
- Management Gateway
- DNS Server
- NTP Server
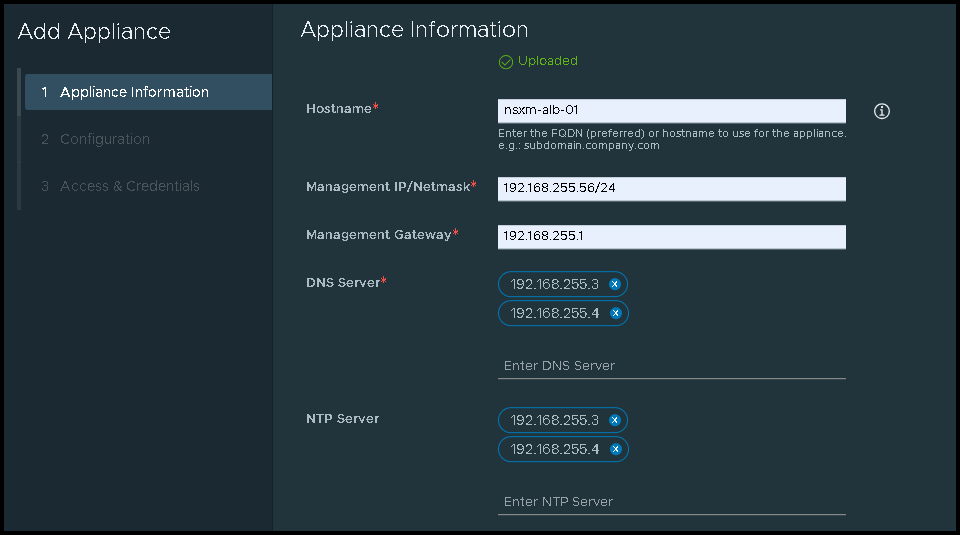
Scroll down and select the Node size. In this example, we are selecting the “Small “ size. Click on NEXT to continue:
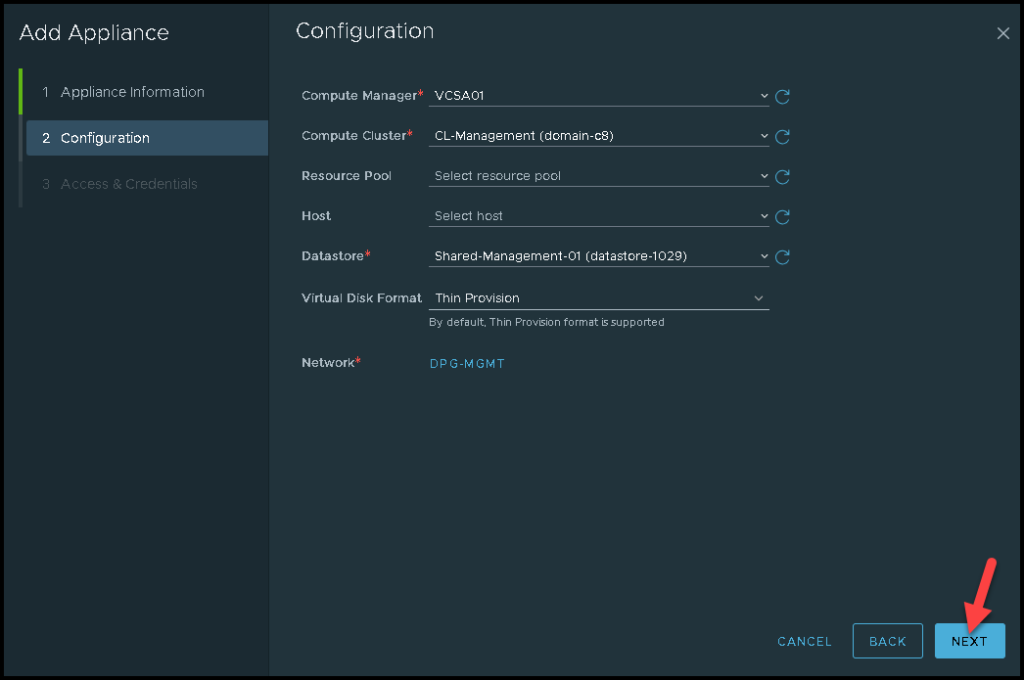
Under Configuration, we need to set up the “vSphere configurations”, or in simple words, where this Controller node will run and be placed:
- Computer Manager –> Is the vCenter Server
- Compute Cluster –> Is the Cluster Name
- Datastore –> Is the Datastore Name
- Network –> Is the Network Portgroup Name
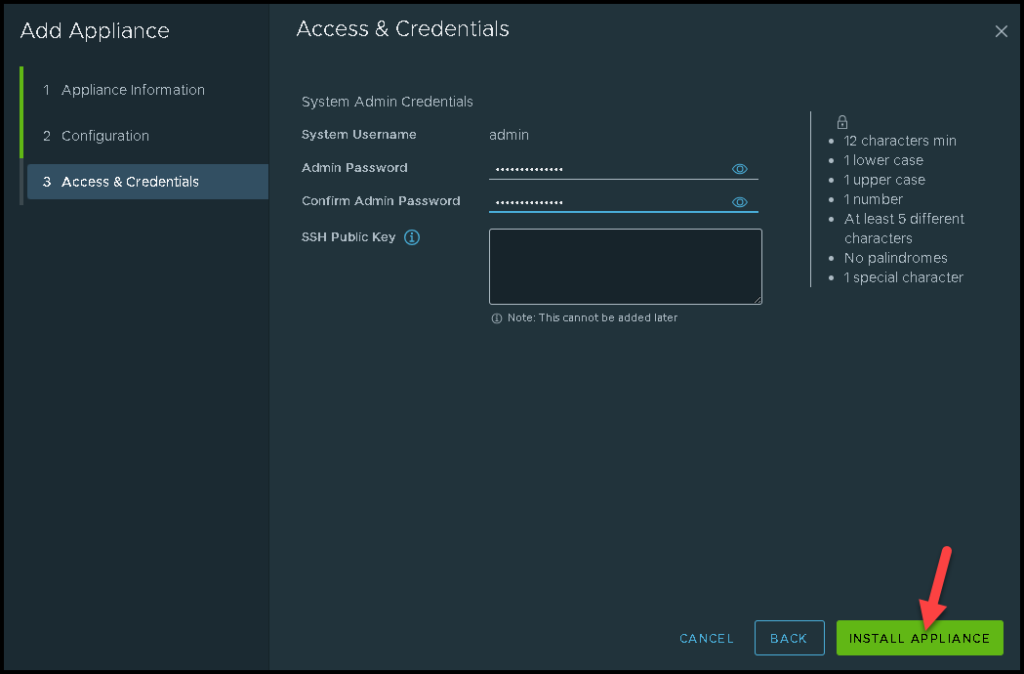
Under Access & Credentials we need to specify the admin password. After that, click on “INSTALL APPLIANCE” to start the deployment process:
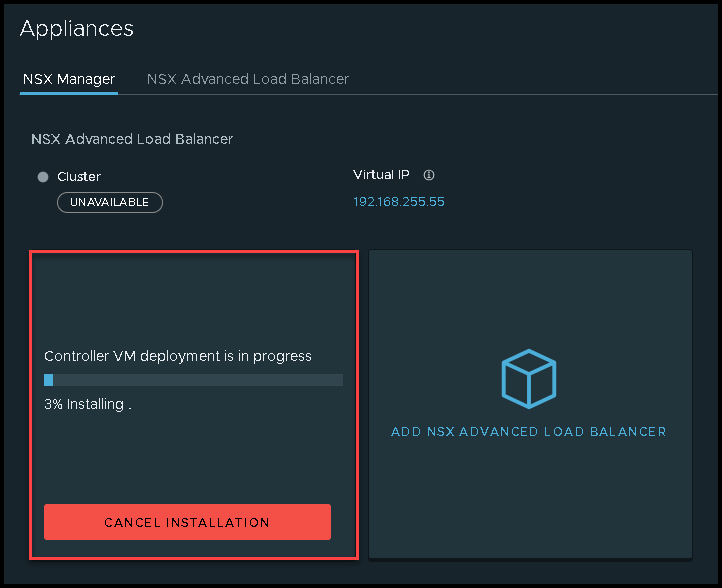
Under Recent Tasks on the vSphere Client, it’s possible to see the Deploy OVF template task:

After some minutes, the NSX ALB Controller node will be available.
The cluster is DEGRADED because we only have one Controller Node – it can be ignored in this case:
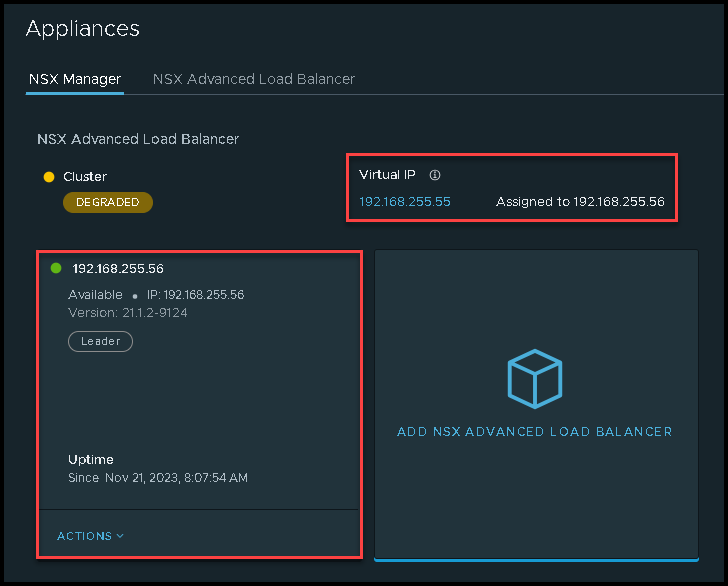
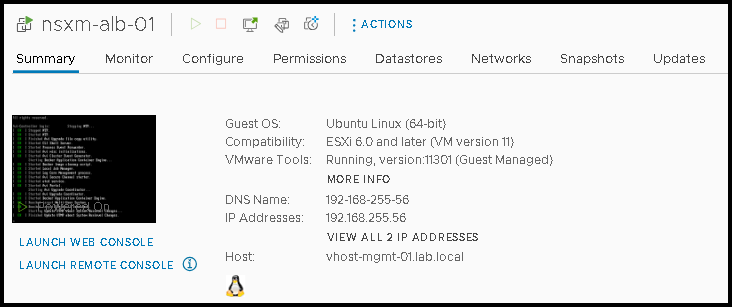
Accessing the NSX ALB Controller Admin Interface
To access our NSX ALB Controller GUI, we are using the FQDN for the Virtual IP address:
https://nsxm-alb.lab.localBut, in your case, you can use the Virtual IP address direcly:
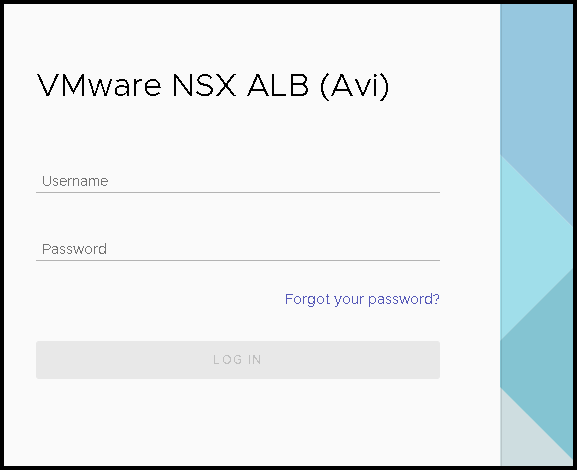
Type the admin password defined during the deployment step. After that, the below screen will appear. Follow the small wizard to put all the necessary information here:
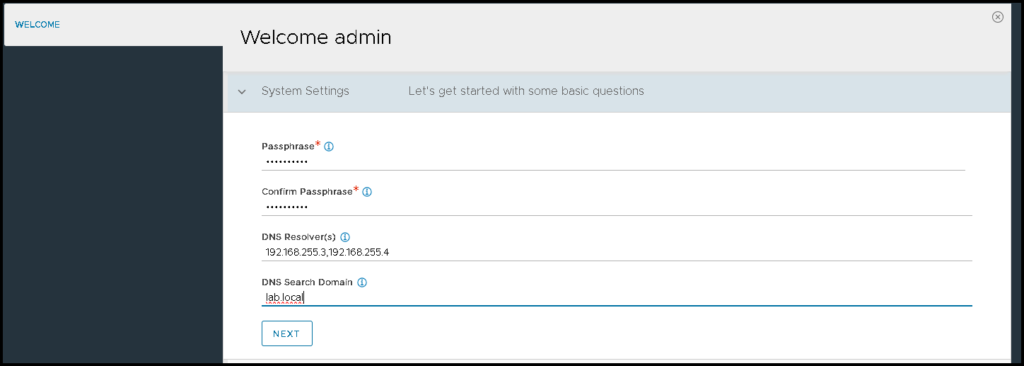
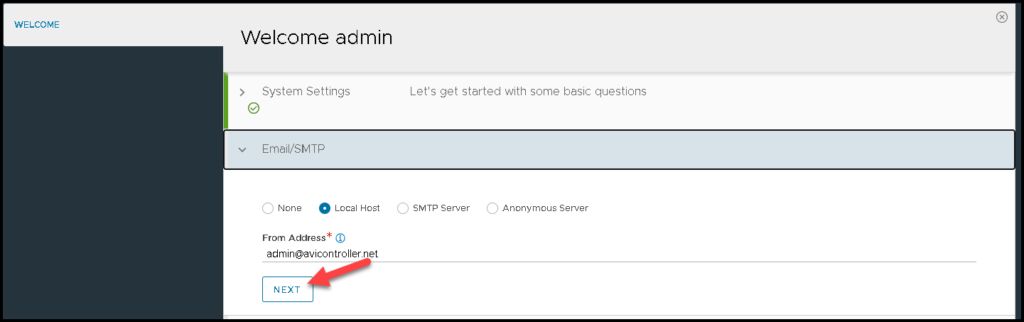
And click on SAVE:
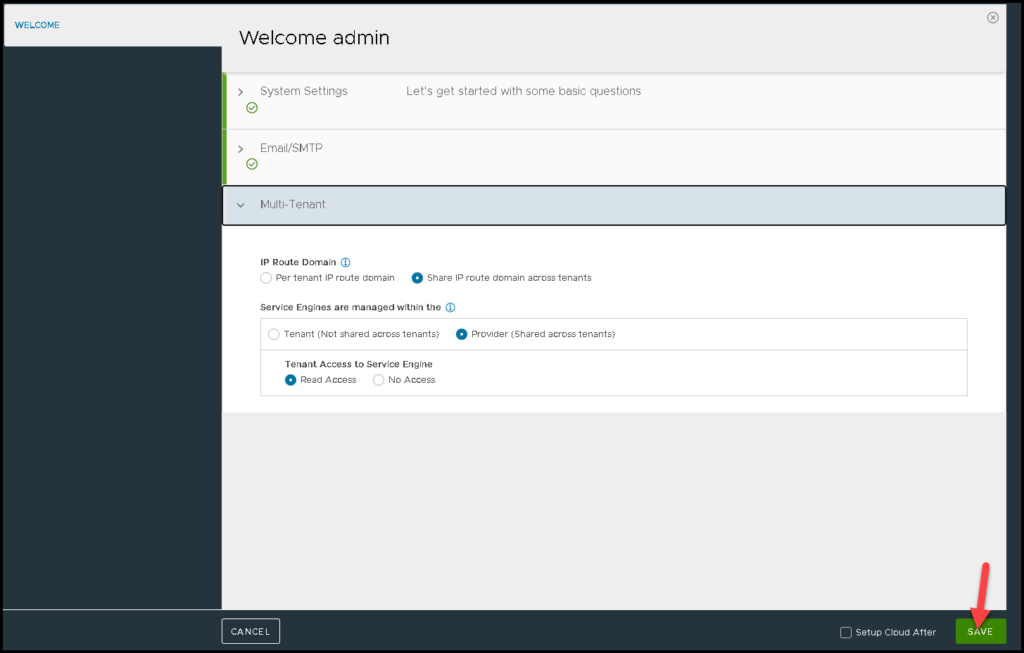
There we go!
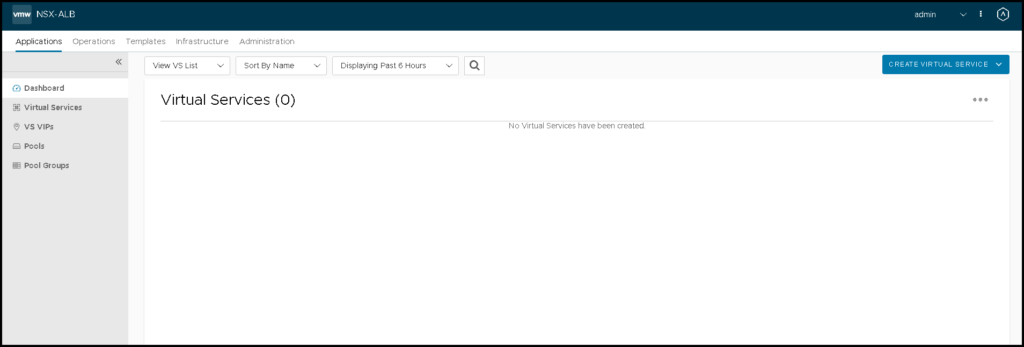
Now, we already finished the NSX ALB Controller deployment and we can start to create our VIPs 🙂