


Requesting a Certificate for an Internal CA is a practical guide that explains how to submit a Certificate Signing Request (CSR) file to an internal Certificate Authority. In this lab environment, we are using Microsoft Active Directory Certificate Services (AD CS) running on Windows Server to issue the certificate.
Where this fits in the process
This is the third step of the certificate workflow:
- Create an internal CA (AD CS) — see this article.
- Generate the CSR with OpenSSL — see this article.
- Submit the CSR to the CA (this article) and download the issued certificate.
Before requesting the certificate, you need a valid CSR file. The CSR contains the information the CA uses to generate and sign the final certificate.
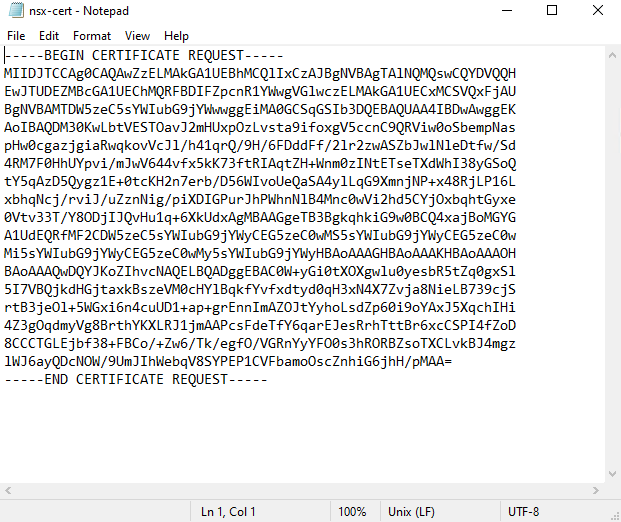
At this point, we have the CSR file. This file content is shown in the picture below:
Accessing the CA web enrollment page
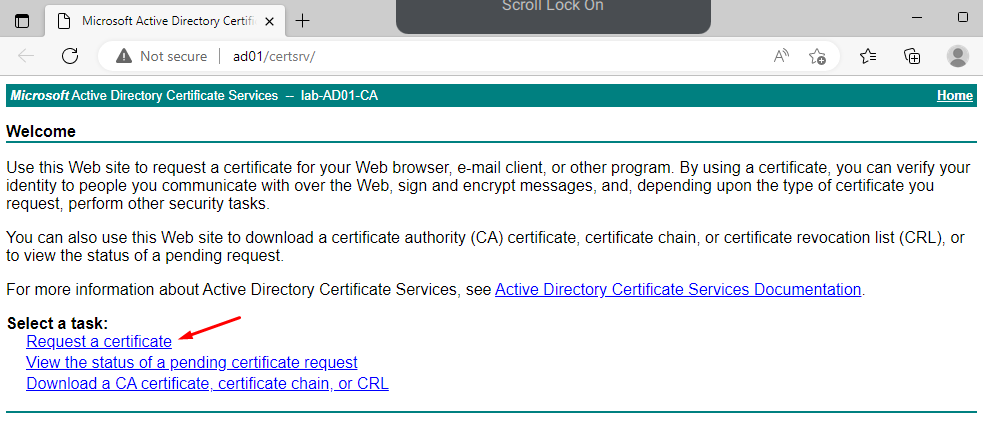
Our CA is based on the AD CS service on Windows Server. Open the CA web page and click “Request a certificate”:
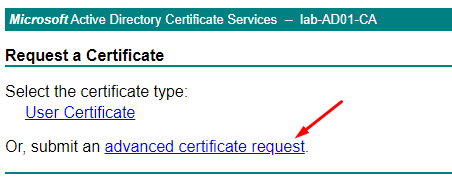
Then click “advanced certificate request”:
Submitting the CSR
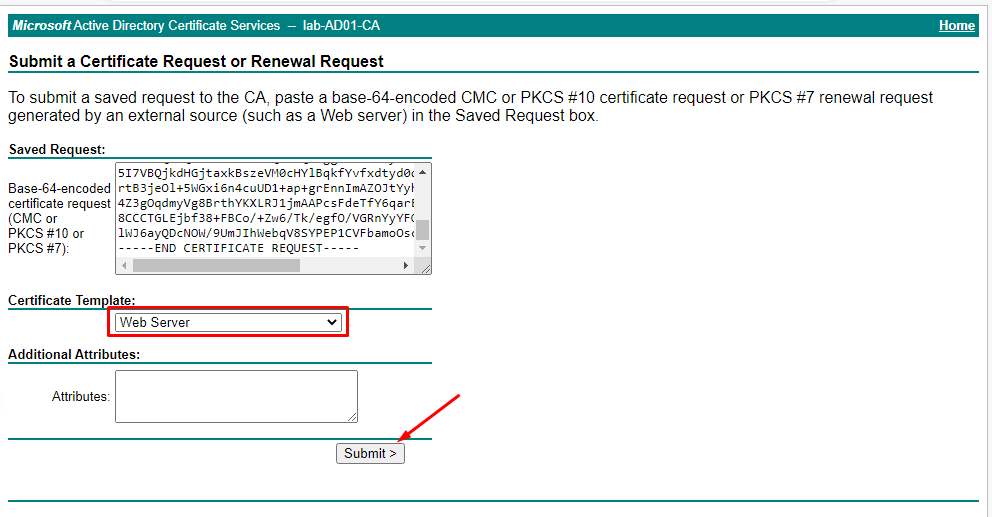
Copy the CSR file content and paste it into the box “Base-64-encoded certificate request”:
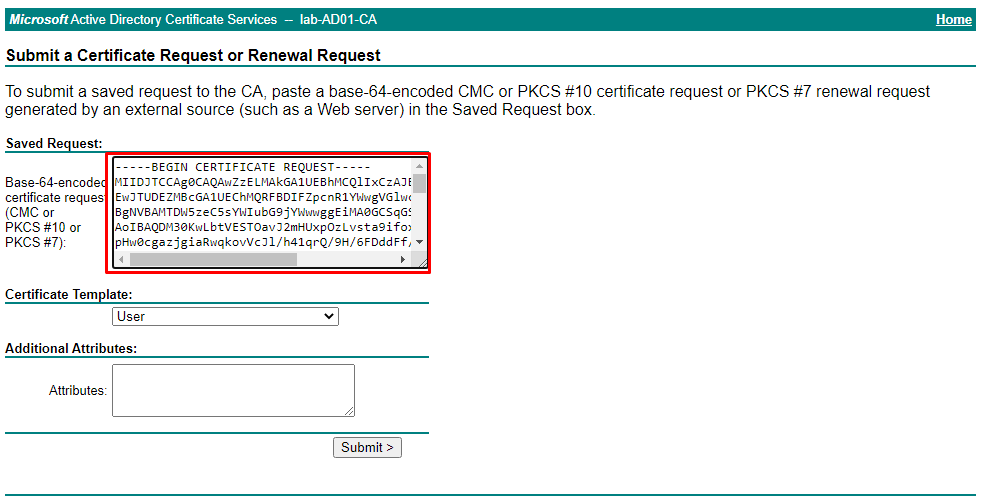
Note: the CSR content has delimiters that start with -----BEGIN CERTIFICATE REQUEST----- and end with -----END CERTIFICATE REQUEST-----. Be careful and copy/paste all the file content, including both delimiter lines.
After that, change the Certificate Template to “Web Server”. In this case, we will use the certificate for an HTTPS website. The “Web Server” template includes the Server Authentication extended key usage (EKU), which is what makes the certificate valid for serving HTTPS.
Click “Submit” to send the request to the CA:
Downloading the issued certificate
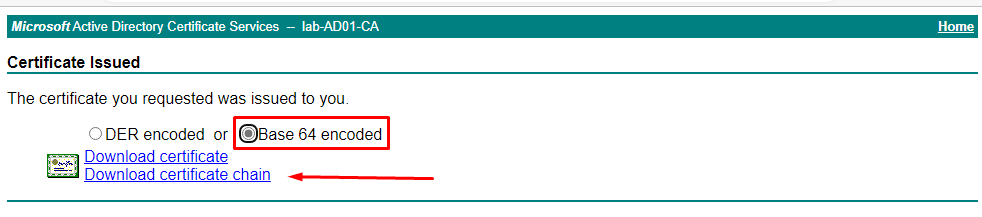
After a few seconds, the final certificate is ready. Choose the encoding and click Download.
Note on encoding — there are two types available:
- DER encoded — a binary format. Less common for web servers and text-based tools.
- Base 64 encoded — the text (PEM) format, with the
-----BEGIN CERTIFICATE-----delimiters.
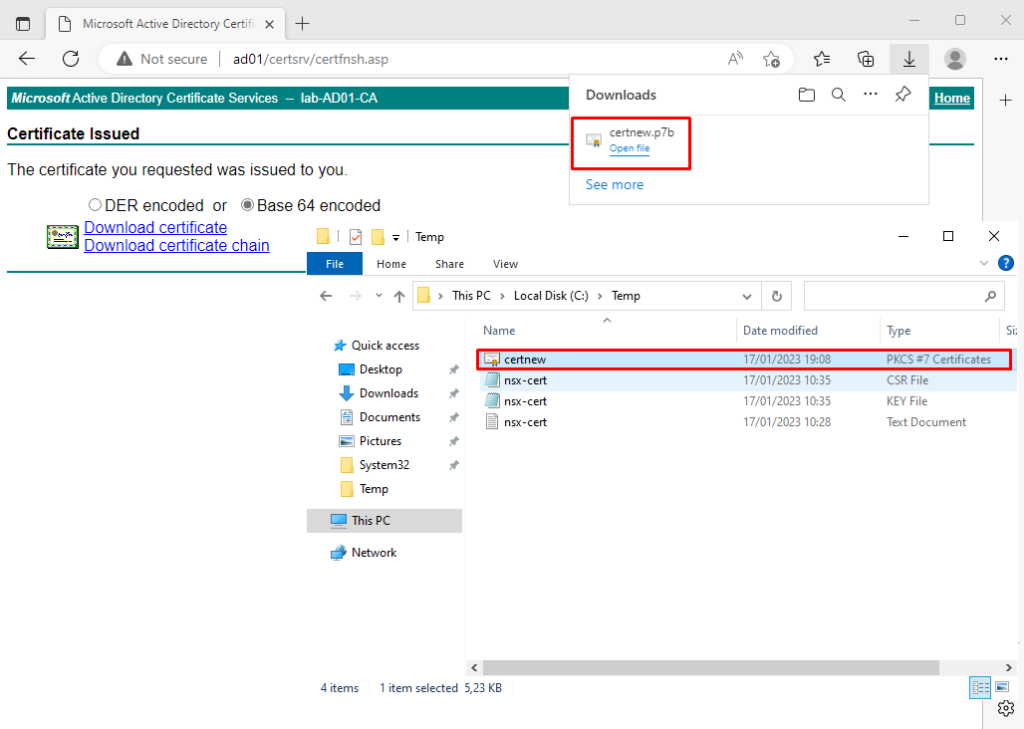
For most uses, the Base 64 encoded option is sufficient. Select it and then click “Download certificate chain”:
Understanding the certificate chain
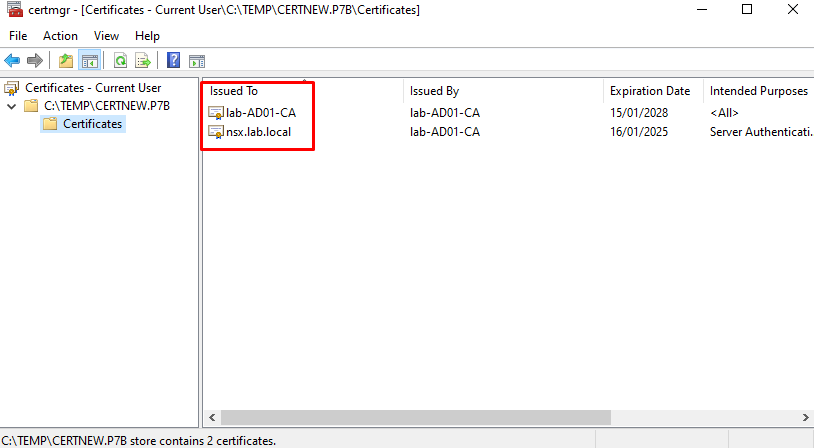
By default, “Download certificate chain” gives you a .p7b file (PKCS#7 format). Double-click it and you will see both certificates:
lab-AD01-CA— this is the CA (root) certificate. It needs to be installed on the clients that will trust the issued certificate.nsx.lab.local— this is the certificate the CA issued from your CSR.
The important point is that the issued certificate alone is not trusted until the clients also trust the CA certificate (lab-AD01-CA). That is why you download the whole chain.
You can double-click the certificate to see its details. At this point, you can install it in your HTTPS website, for example. 🙂 (See How to Use a Custom SSL Certificate on vCenter if that is your use case.)
You can double-click on the certificate to get more details:
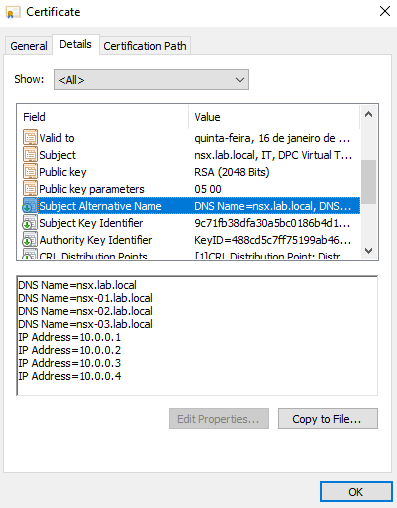
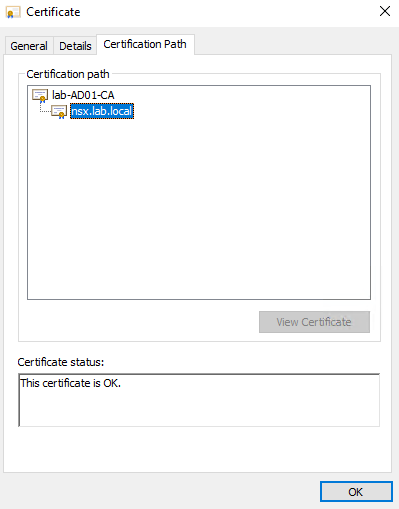
At this point, you can install this certificate in your HTTPS website, for example 🙂
Reference
- Microsoft AD CS documentation: https://learn.microsoft.com/en-us/windows-server/identity/ad-cs/
