


Creating a Certificate Request with OpenSSL is a practical guide that explains how to generate a CSR (Certificate Signing Request) and private key using OpenSSL. In this lab environment, we will use OpenSSL on Windows to create the required files before submitting the certificate request to a Certificate Authority.
What is a CSR and why you need it
A Certificate Signing Request (CSR) is the standard way to ask a Certificate Authority for a signed certificate. The flow is always the same:
- You generate a private key and a CSR on your machine.
- You send the CSR to the CA (an internal CA, or a public one).
- The CA signs it and returns the final certificate.
The private key never leaves your machine. Only the CSR (which contains the certificate’s identity details, not the key) is sent to the CA.
In this lab, the goal is to create a CSR for an NSX Manager deployment, using OpenSSL on Windows. (This is part of a certificate series — see Creating an Internal Certificate Authority and Requesting a Certificate for an Internal CA.)
OpenSSL is a widely used tool for digital certificates: it generates private keys, certificate requests, and manages cryptographic operations. You can download the Windows build from slproweb.com.
Step 1 — Create the certificate details file
The first step is creating a text file with the certificate details. You can use Notepad++ or any text editor.
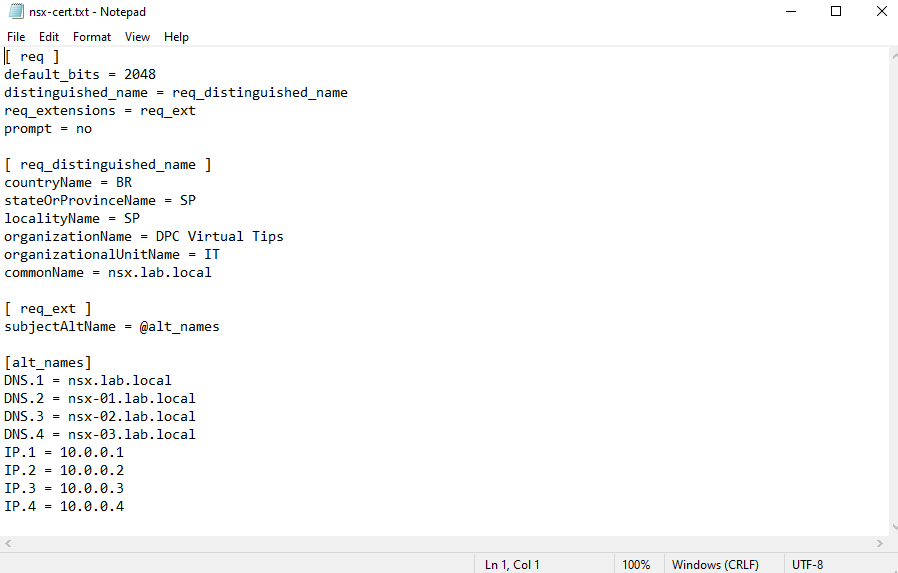
Create a new file and put the following content:
[ req ]
default_bits = 2048
distinguished_name = req_distinguished_name
req_extensions = req_ext
prompt = no

[ req_distinguished_name ]
countryName = BR
stateOrProvinceName = SP
localityName = SP
organizationName = DPC Virtual Tips
organizationalUnitName = IT
commonName = nsx.lab.local

[ req_ext ]
subjectAltName = @alt_names

[alt_names]
DNS.1 = nsx.lab.local
DNS.2 = nsx-01.lab.local
DNS.3 = nsx-02.lab.local
DNS.4 = nsx-03.lab.local
IP.1 = 10.0.0.1
IP.2 = 10.0.0.2
IP.3 = 10.0.0.3
IP.4 = 10.0.0.4
Let’s understand the important fields:
default_bits = 2048— the RSA key size (2048 bits is the standard minimum today).prompt = no— tells OpenSSL to read the values from this file instead of asking you interactively.countryName,stateOrProvinceName,localityName,organizationName,organizationalUnitName— the certificate identity (Distinguished Name) fields. Adjust them to your organization.commonName = nsx.lab.local— the main FQDN of the certificate.subjectAltName(SAN) — this is the section that matters most today. Modern browsers and clients require the certificate to list all its valid hostnames and IPs in the SAN, not just in thecommonName. Here we list the NSX Manager FQDNs (nsx.lab.local,nsx-01/02/03.lab.local) and their IPs (10.0.0.1–10.0.0.4).
Save the file as nsx-cert.txt:
Step 2 — Generate the CSR and the private key
Open the Windows CMD and navigate to the openssl.exe directory:
cd C:\Program Files (x86)\GnuWin32\bin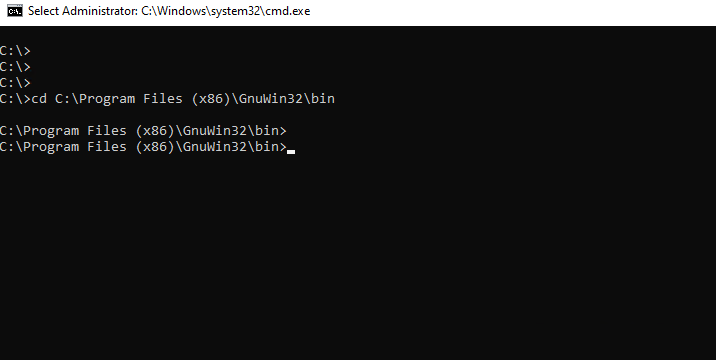
Run the command below to generate the CSR and the private key:
openssl.exe req -out C:\temp\nsx-cert.csr -newkey rsa:2048 -nodes -keyout C:\temp\nsx-cert.key -config C:\temp\nsx-cert.txt -sha256What each parameter does:
-sha256 — the hash algorithm used to sign the request.
-out C:\temp\nsx-cert.csr — the file that will contain the Certificate Request (CSR).
-newkey rsa:2048 — generates a new 2048-bit RSA private key at the same time.
-nodes — “no DES”: does not encrypt the private key with a password. This is important for services and automation (an NSX Manager or a web server needs to read the key without typing a password).
-keyout C:\temp\nsx-cert.key — the file that contains the private key. Keep this file secure and do not share it.
-config C:\temp\nsx-cert.txt — the file with the certificate details we created before.
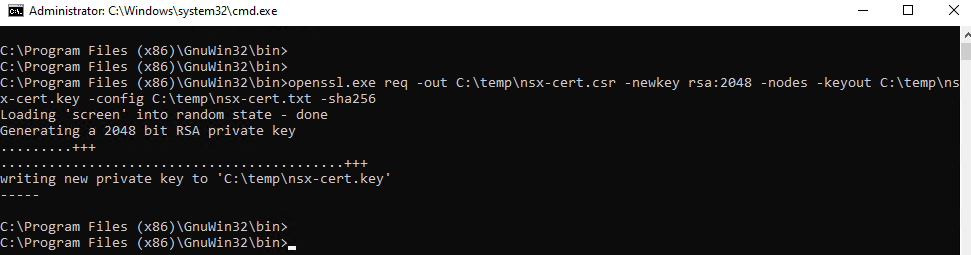
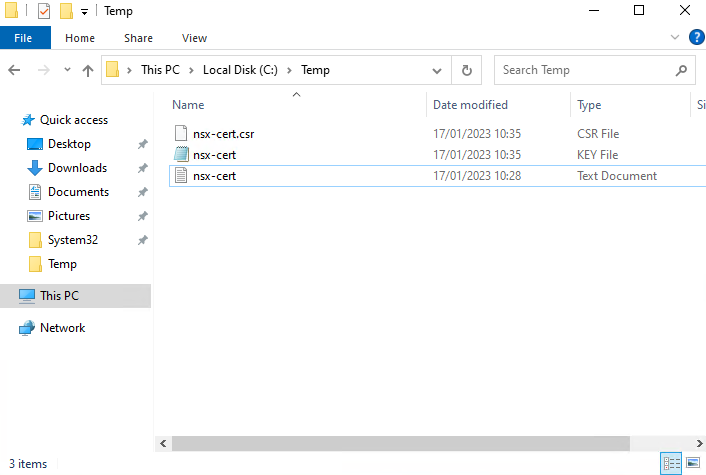
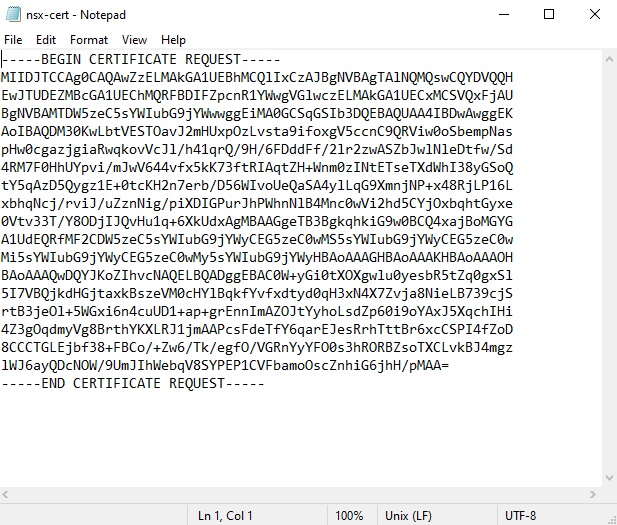
After running, in C:\temp you will see the files: nsx-cert.csr (the request) and nsx-cert.key (the private key):
Step 3 — Submit the CSR to the CA
At this point, the Certificate Request is done. The next step is to send the CSR file (nsx-cert.csr) to the CA (internal or public) so it can sign it and issue the final certificate. The private key (nsx-cert.key) stays on your machine.
(If you need to install the resulting certificate, see How to Use a Custom SSL Certificate on ESXi and How to Use a Custom SSL Certificate on vCenter.)
Reference
- OpenSSL Windows build: https://slproweb.com/products/Win32OpenSSL.html
- OpenSSL documentation: https://www.openssl.org/docs/
