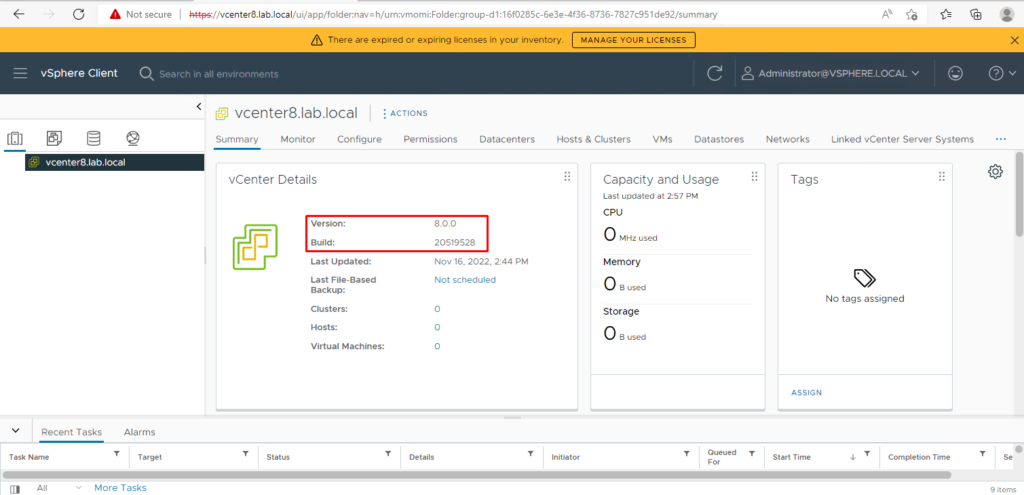
How to install vCenter 8 is a step-by-step guide that explains how to deploy the vCenter Server Appliance in a laboratory environment using VMware Workstation. Although vCenter 8 is not fully homologated for this platform, this article demonstrates a practical approach to complete the installation process.
The installation process for vCenter 8 is very similar to previous versions, but some additional adjustments may be required when running the appliance in VMware Workstation. During testing in our lab environment, an error occurred during Stage 2 of the deployment process.
In this tutorial, we will show how to install vCenter 8 in a lab environment by converting the original appliance file, modifying the OVF configuration, deploying the virtual machine, and completing the final setup through the VAMI interface.
I’m using VMware® Workstation 16 Pro version 16.1.2 build-17966106 installed on Windows 10 Machine.
The process to install the vSphere 8 in a lab environment is very similar to installing the vCenter 7. We have an article that explains, step-by-step, how to install vCenter 7. Click HERE to read this article.
The big question here is that the vCenter 8 is not fully homologated by VMware to run in Vmware Workstation software. In our lab, I tried to install the vCenter Server 8 and I received an error during the STAGE 2 process.
Here, it’s possible to see that STAGE 1 was finished with success:
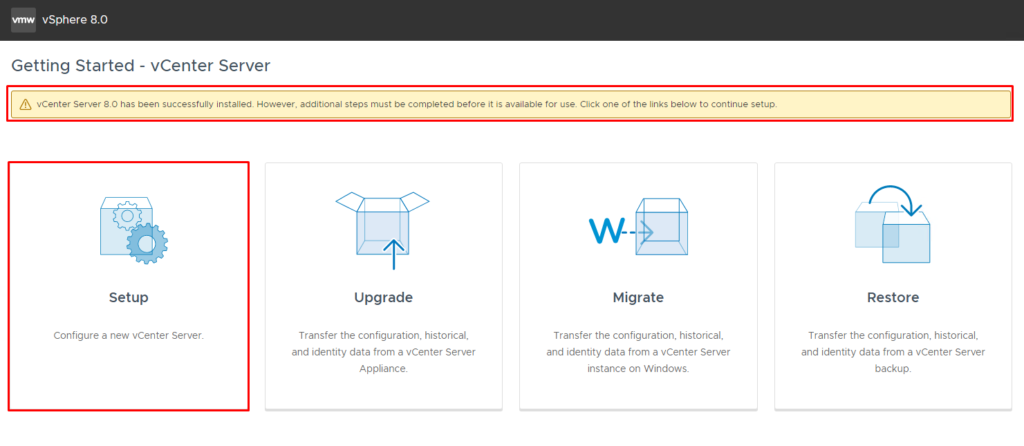
But, during STAGE 2, we had an error as described in the pictures below:
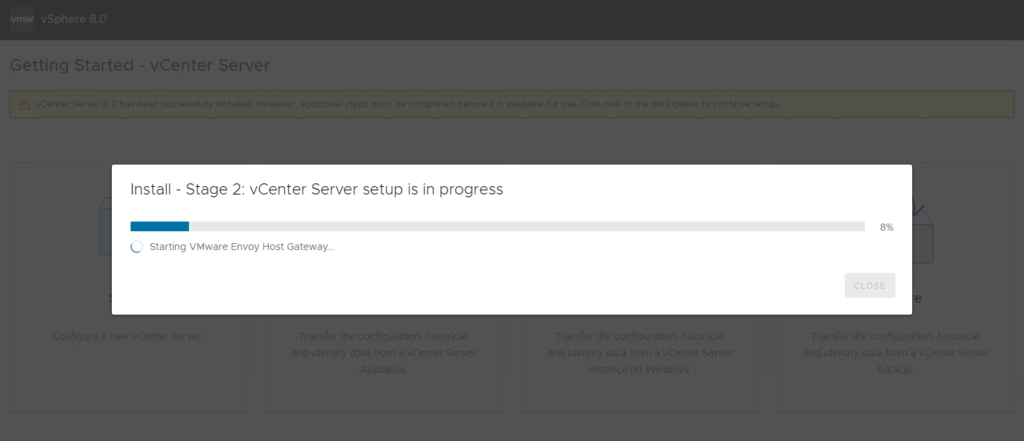
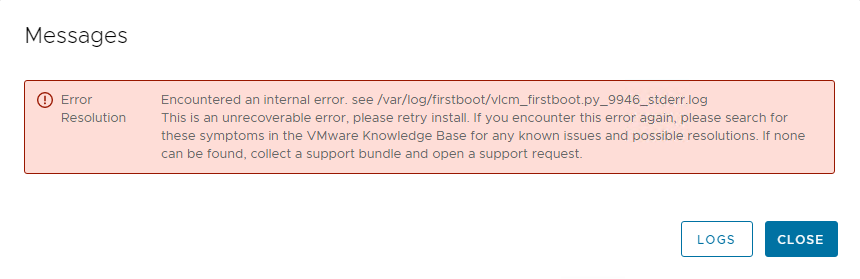
Also, in the vCenter Server 8 console, it’s possible to see the message:
“Failed to start services. Firstboot Error”:
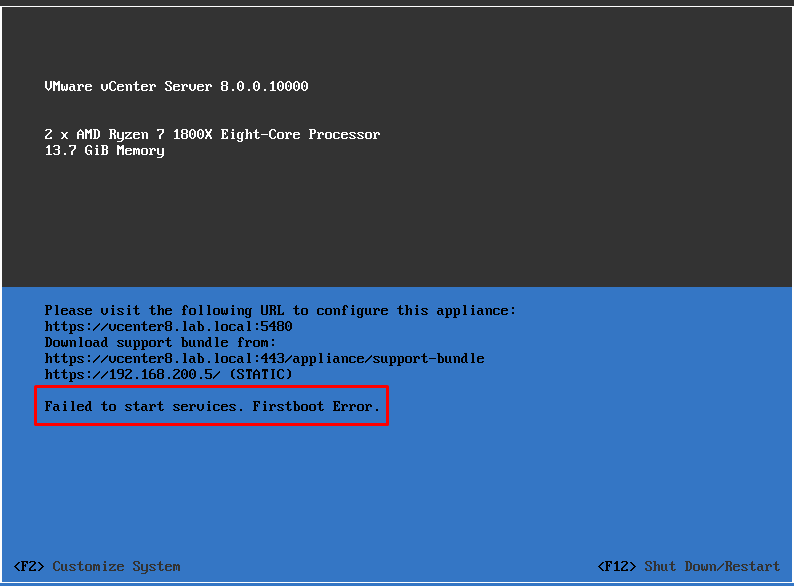
So, we found a solution for this error. We can follow the instructions present on the link below to install the vCenter Server 8 in the VMware Workstation (I recommended following William Lam’s blog. It’s a very interesting blog):
https://williamlam.com/2022/10/how-to-deploy-the-vcenter-server-appliance-vcsa-8-0-to-vmware-fusion-or-workstation.html
Converting vCenter 8 from OVA to OVF
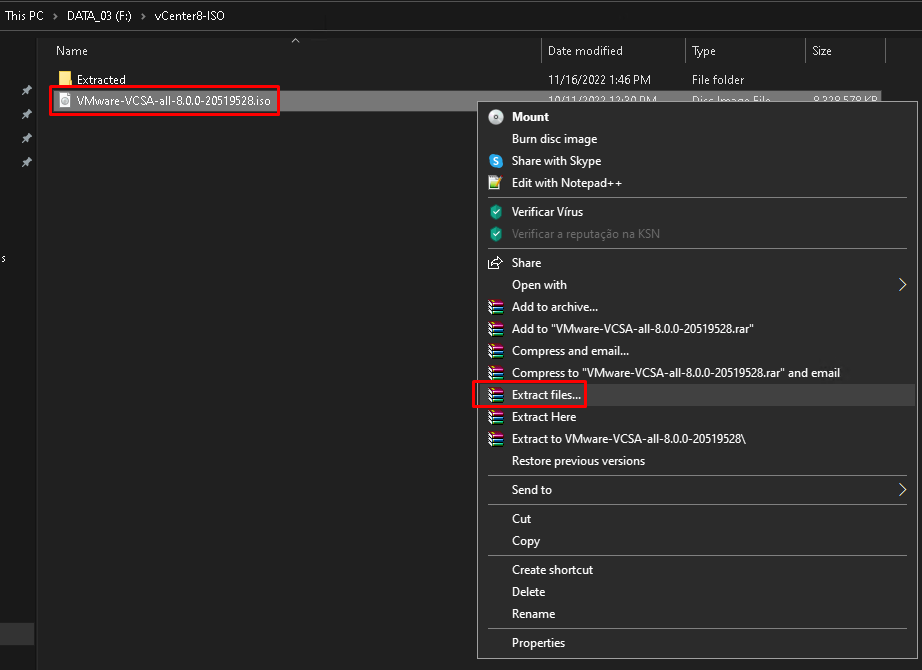
Primarily, we will extract the vCenter 8 ISO files inside a directory. In our lab, for instance, we are using the directory F:\vCenter8-ISO to store the vCenter Server 8 iso file and, we are using the directory F:\vCenter8-ISO\Extracted to store the iso files after the extraction process.
We are using the Winrar software to extract the iso files. You can use your preferred tool to perform this step:
After the extraction process has finished, open the Windows CMD with admin rights to convert the vCenter Server 8 OVA to OVF:
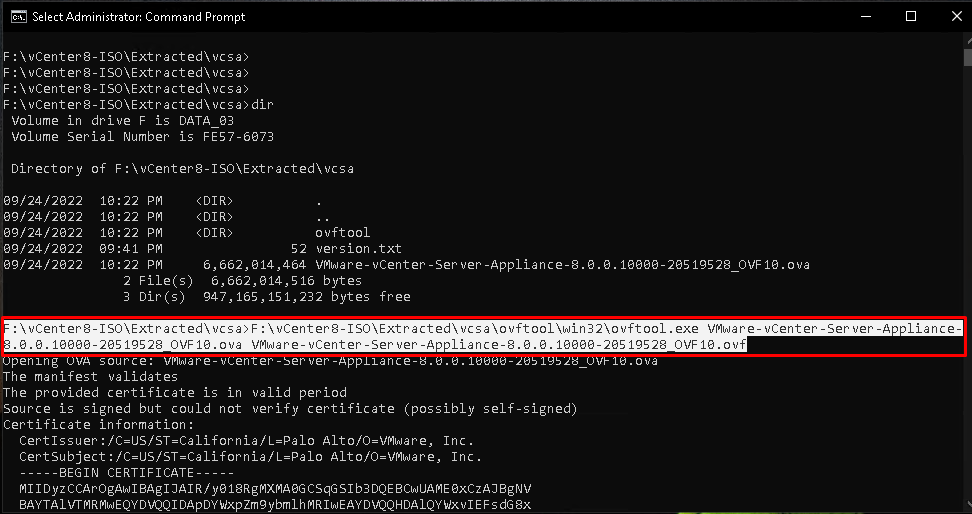
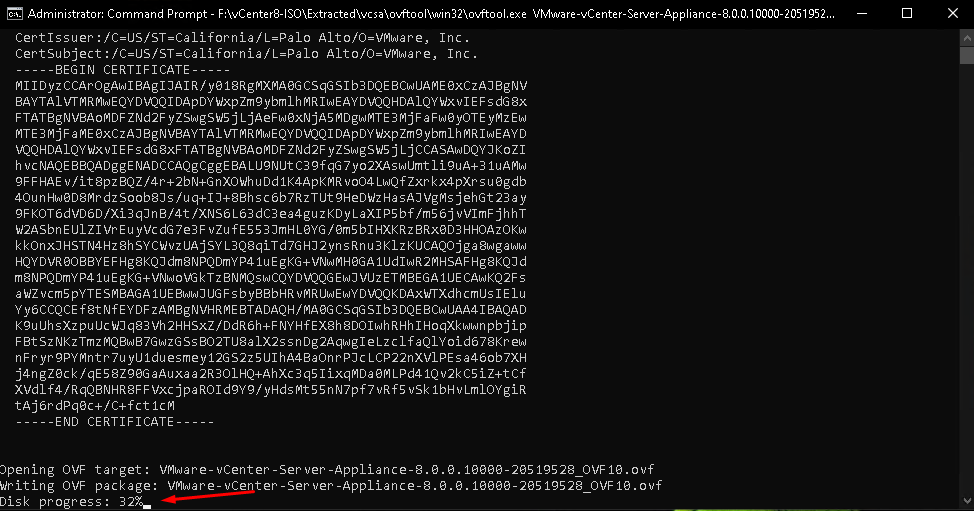
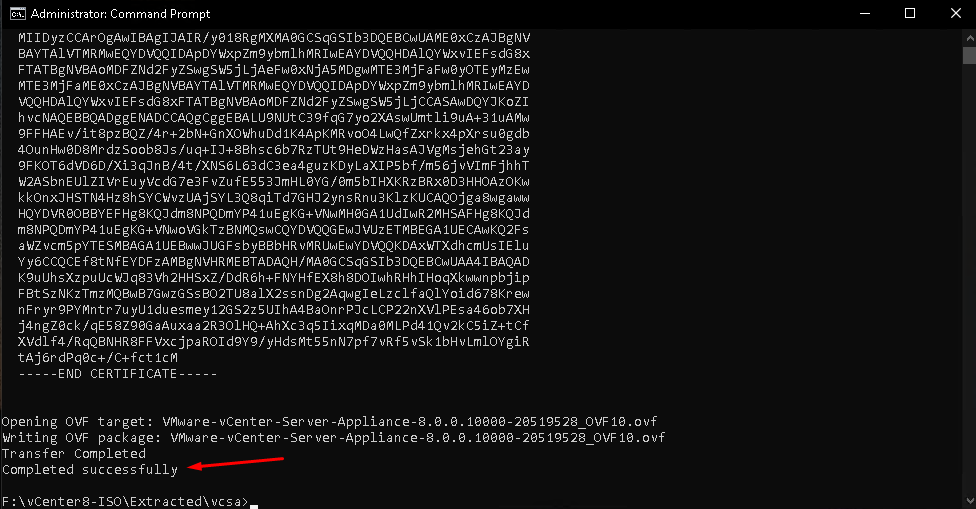
The command line used to convert the OVA to OVF is below:
F:\vCenter8-ISO\Extracted\vcsa\ovftool\win32\ovftool.exe VMware-vCenter-Server-Appliance-8.0.0.10000-20519528_OVF10.ova VMware-vCenter-Server-Appliance-8.0.0.10000-20519528_OVF10.ovf
Delete the original VCSA OVF manifest file so that validation will not fail due to our changes:

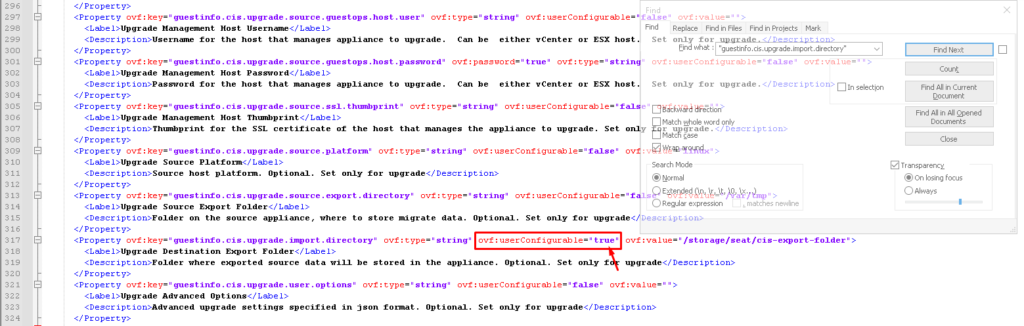
Edit the vCenter Server 8 OVF file and locate the following section and change the value of ovf:userConfigurable to true and then save your changes.
In our lab, we are using Notepad++ to edit the OVF file. But, you can use your preferred text editor to do it:
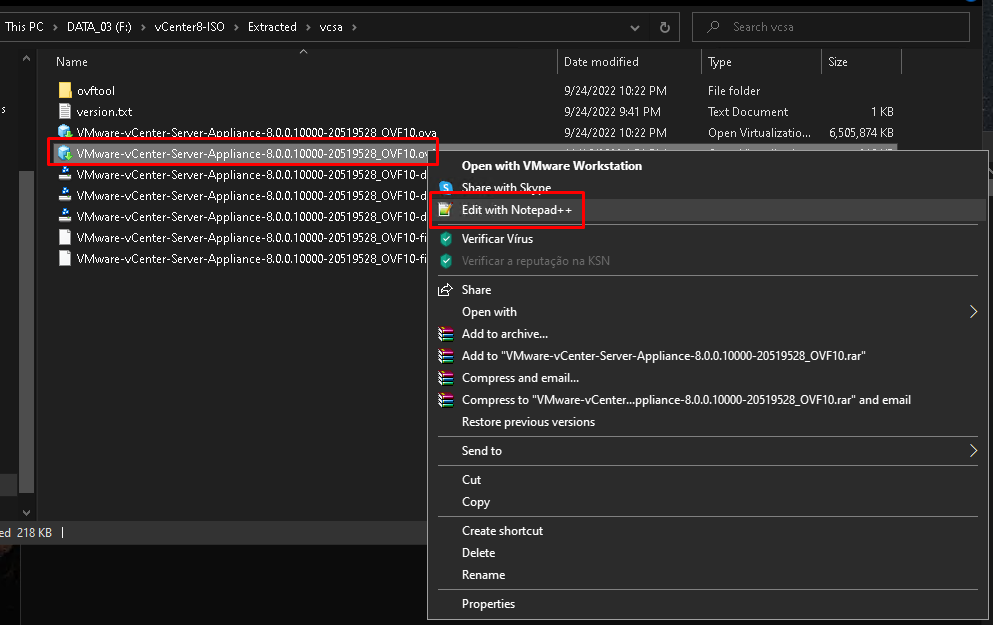
You can search for “guestinfo.cis.upgrade.import.directory” on Notepad++:
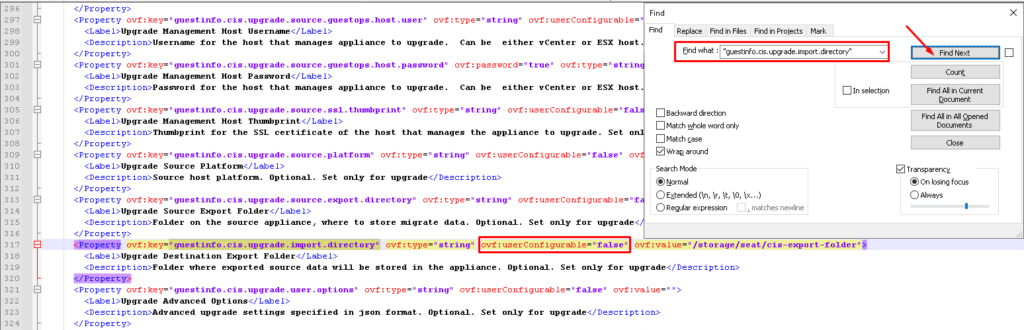
So, after the result of the search was found, edit:
FROM: ovf:userConfigurable=”false”
TO: ovf:userConfigurable=”true”
Edit the file and then, save it:
Note: At this point, we are now ready to deploy our modified vCenter Server 8 OVF using either VMware Fusion or Workstation. However, you can also delete the OVA as that is no longer needed and will give you back some space.
Deploying the vCenter Server
Under the “vcsa” directory, double-click on the vCenter Server OVF file and then, choose the VMware Workstation as software to open this file:
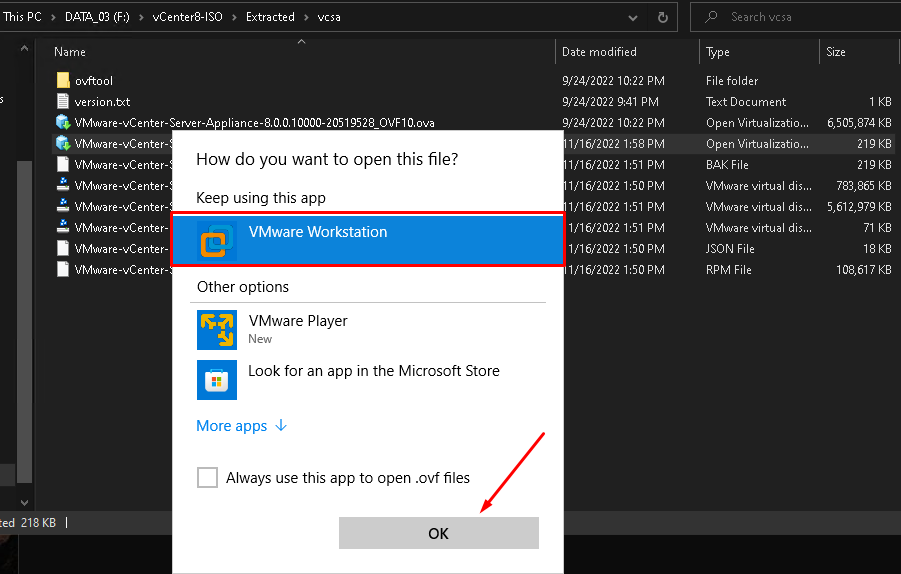
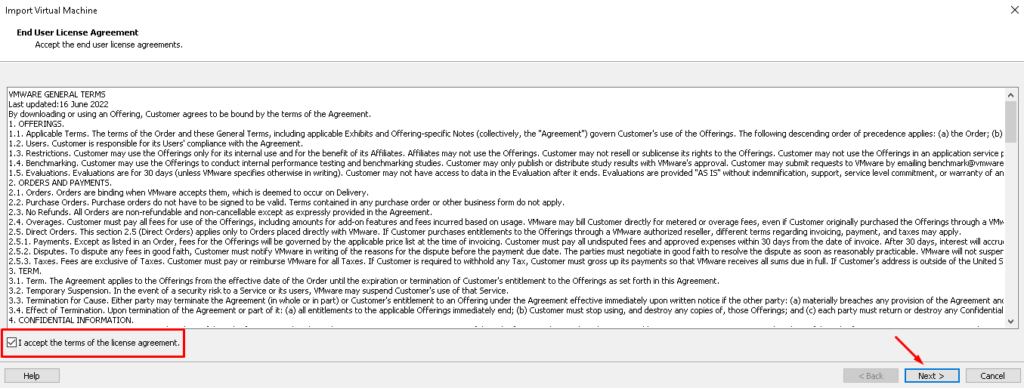
So, automatically, the vCenter Server Import Wizard will start to guide the deployment process:
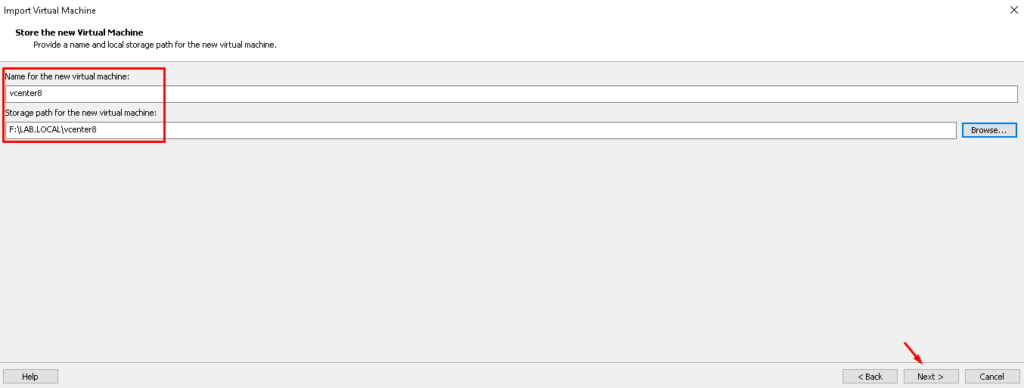
Type the Virtual Machine name and choose the directory in which the Virtual Machine will be stored:
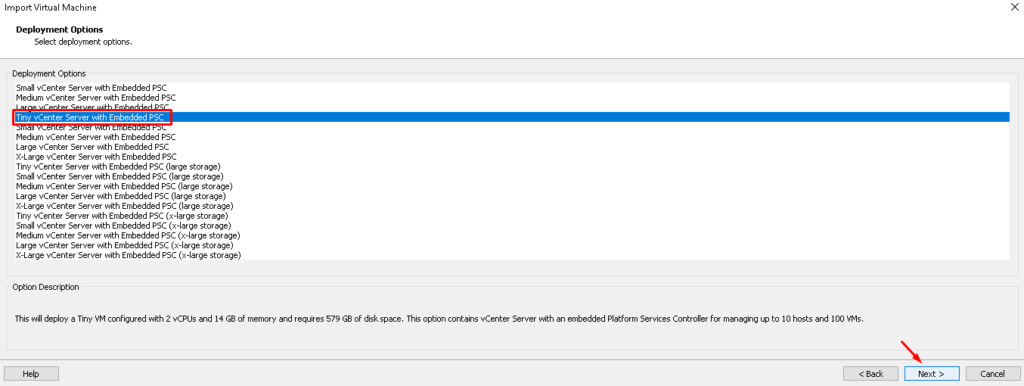
Choose the size of the vCenter Server. By default, we are maintaining the default value: Tiny vCenter Server with Embedded PSC:
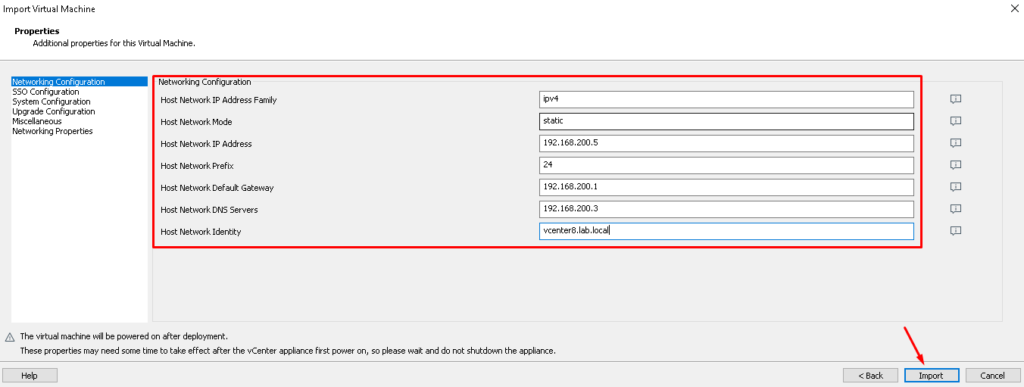
Type the Network Configuration and then click on IMPORT:
Wait a few seconds while the import process is running:
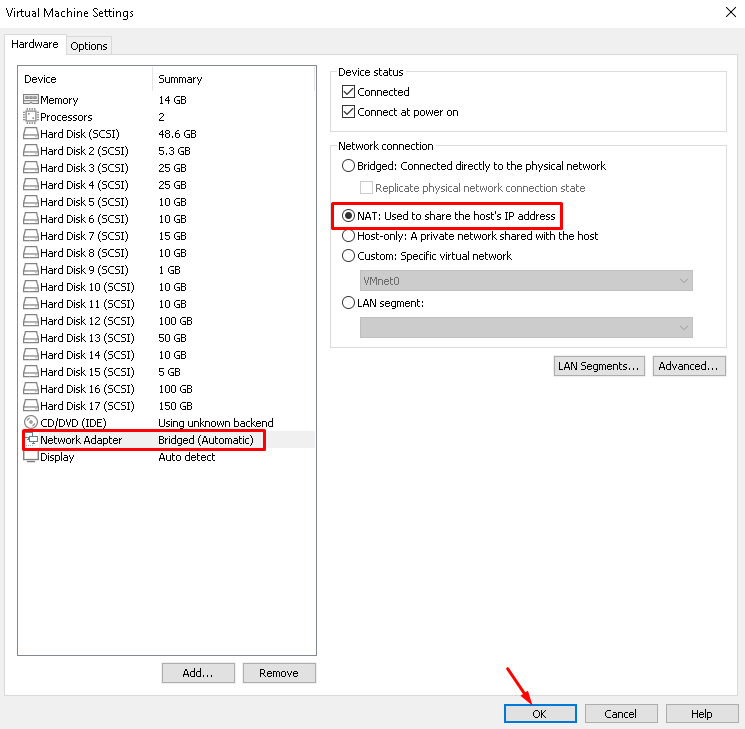
In our lab, we are using the “NAT” method on the Virtual NICs. So, in this case, we need to change the vCenter Server NIC from Bridge to NAT. Edit the Virtual Machine and change it:
Press F2 to define the root password:
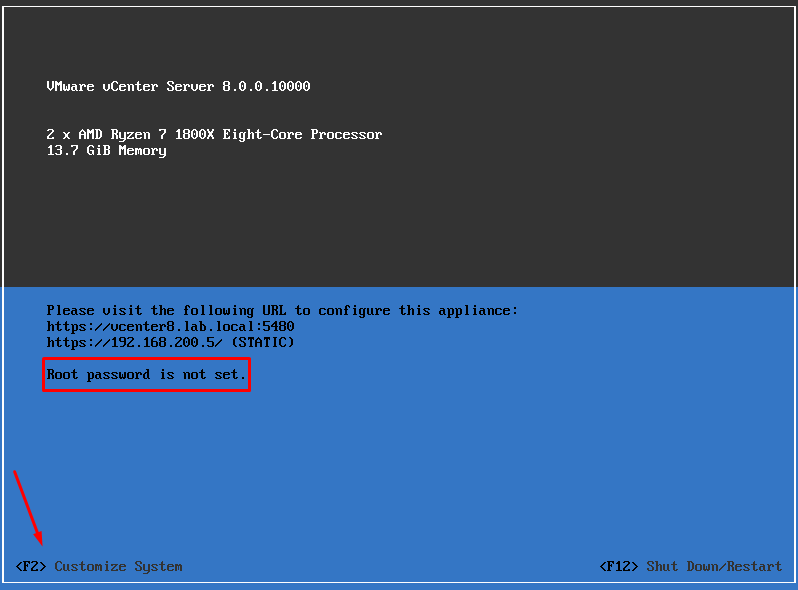
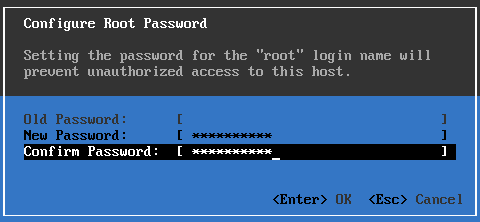
Next, open the VAMI interface to continue the installation process. At this point, STAGE 1 was finished with success:
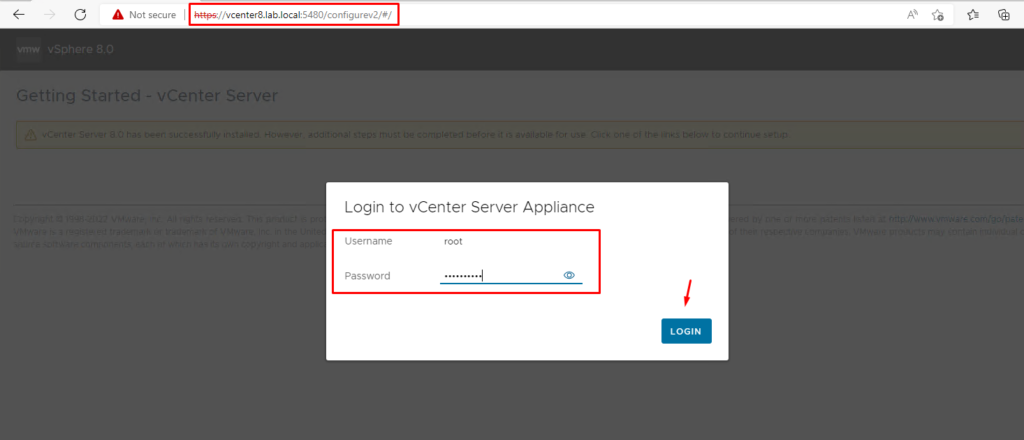
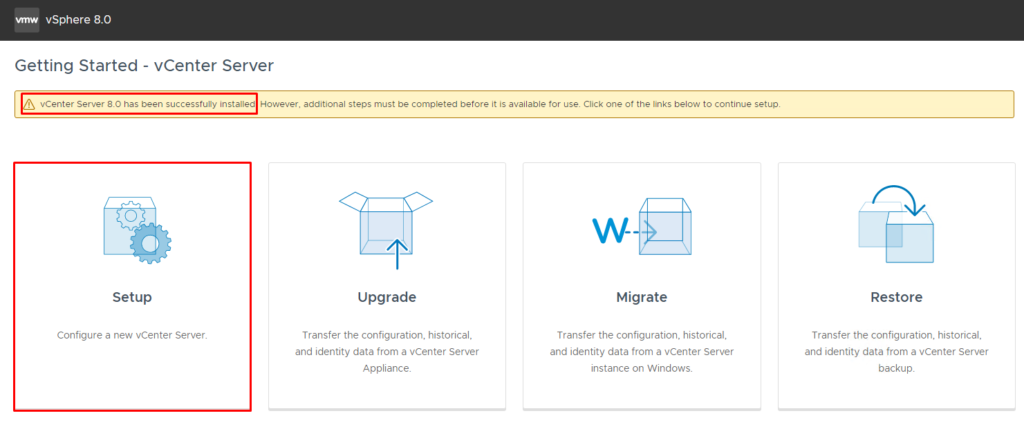
Stage 2 – vCenter Server Setup
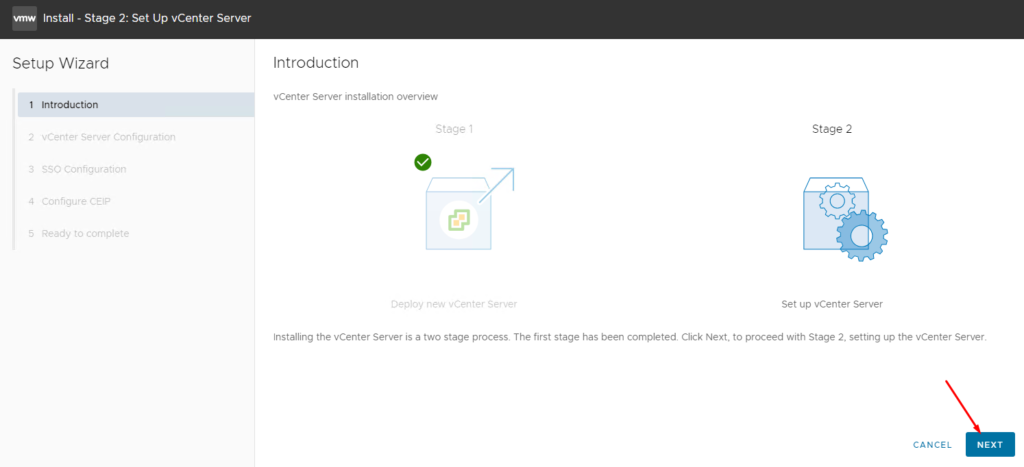
Now, we are following STAGE 2. Click on NEXT to continue the process:
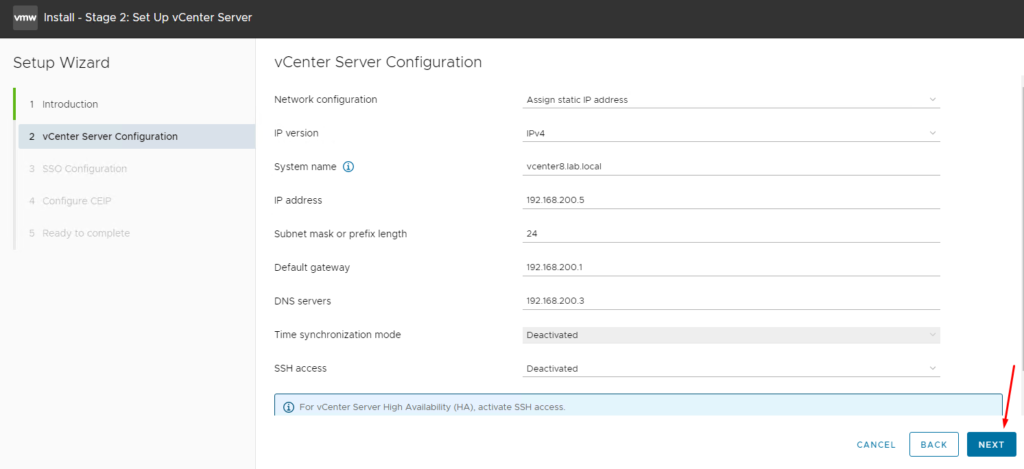
Review the network configuration and, if necessary, adjust something according to your environment:
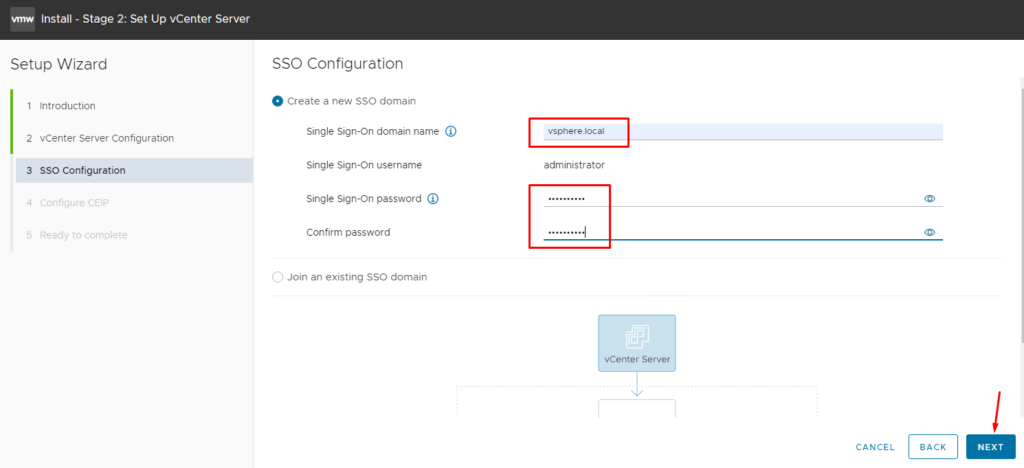
On the SSO Configuration, we are using the domain “vsphere.local” as a vSphere Domain. Also, type the administrator password and click on NEXT to continue:
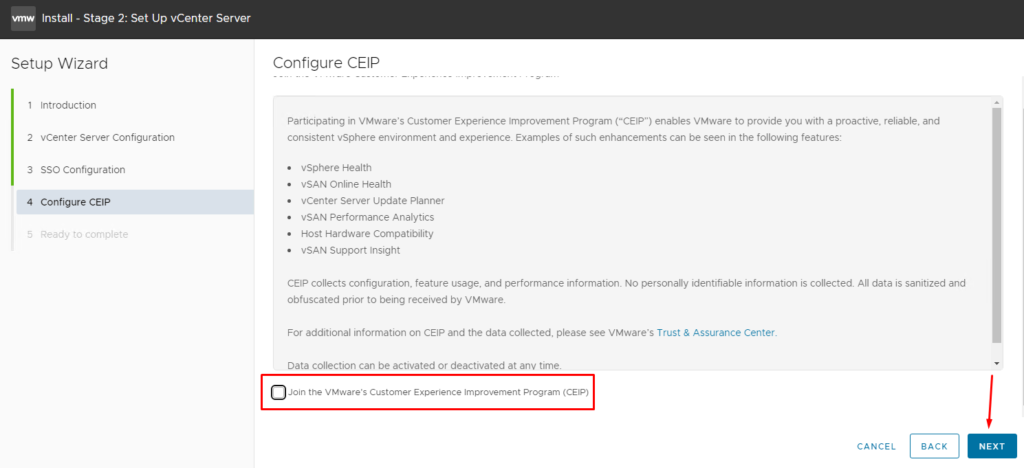
If you prefer, disable CEIP:
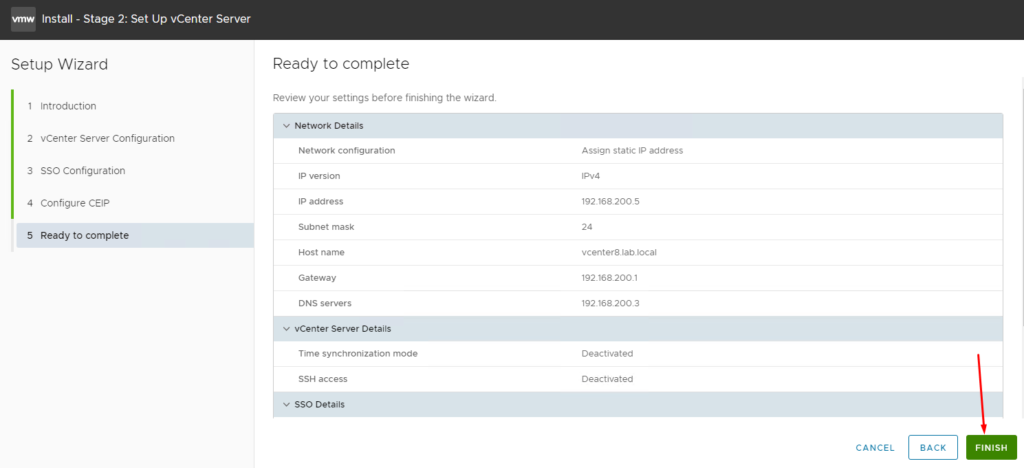
Click on FINISH to start the STAGE 2 installation process:
This step can need a lot of minutes to complete. So, don’t close the browser tab and wait some minutes 🙂
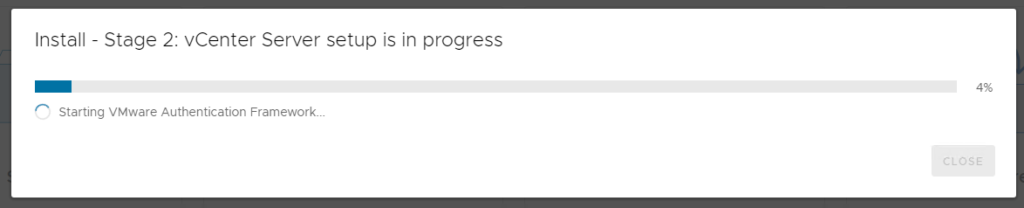
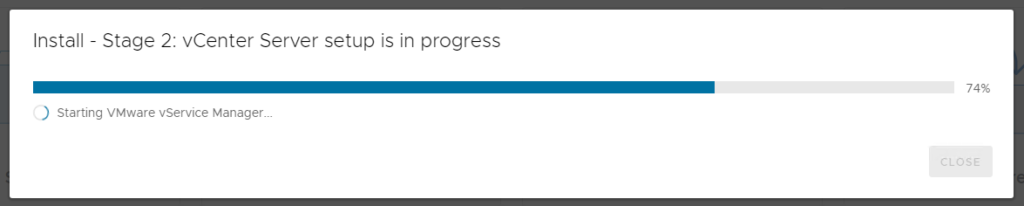
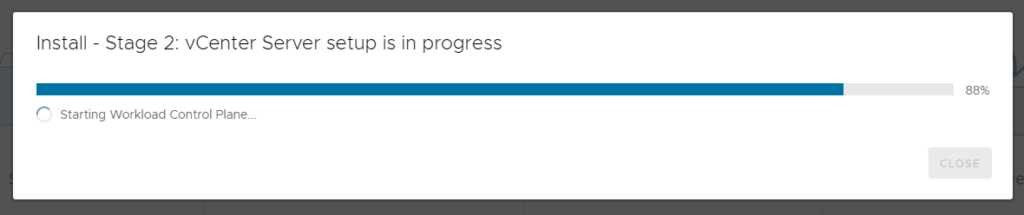
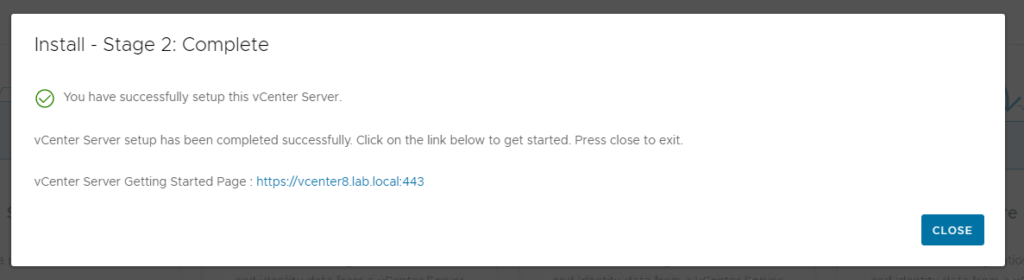
In this point, STAGE 2 was finished with success:
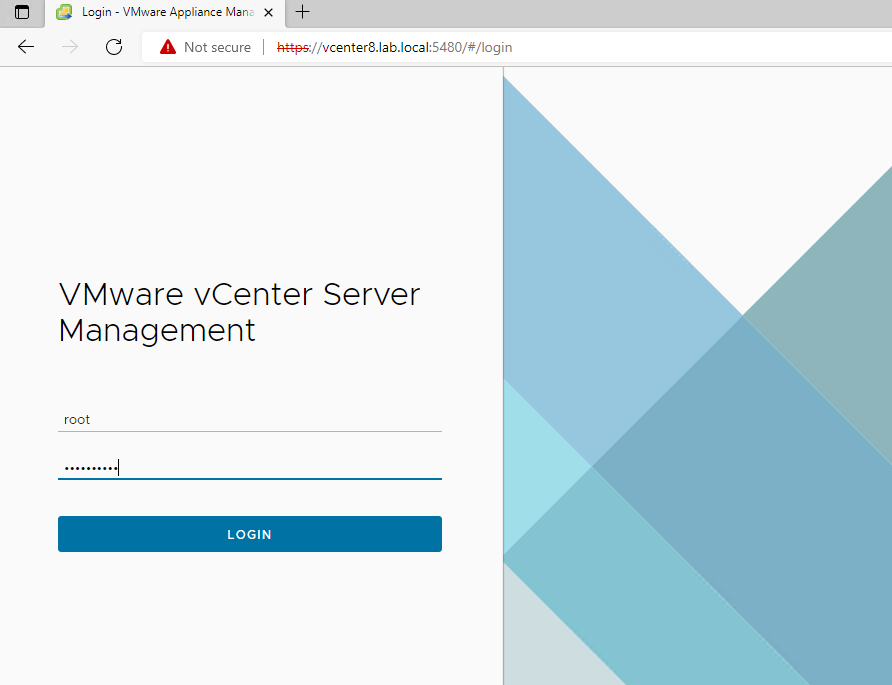
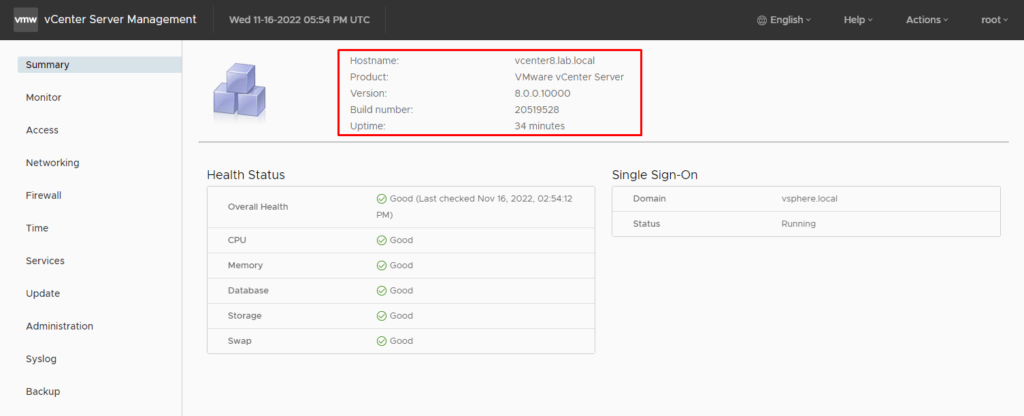
We can open the VAMI and confirm that the vCenter 8 was installed OK:
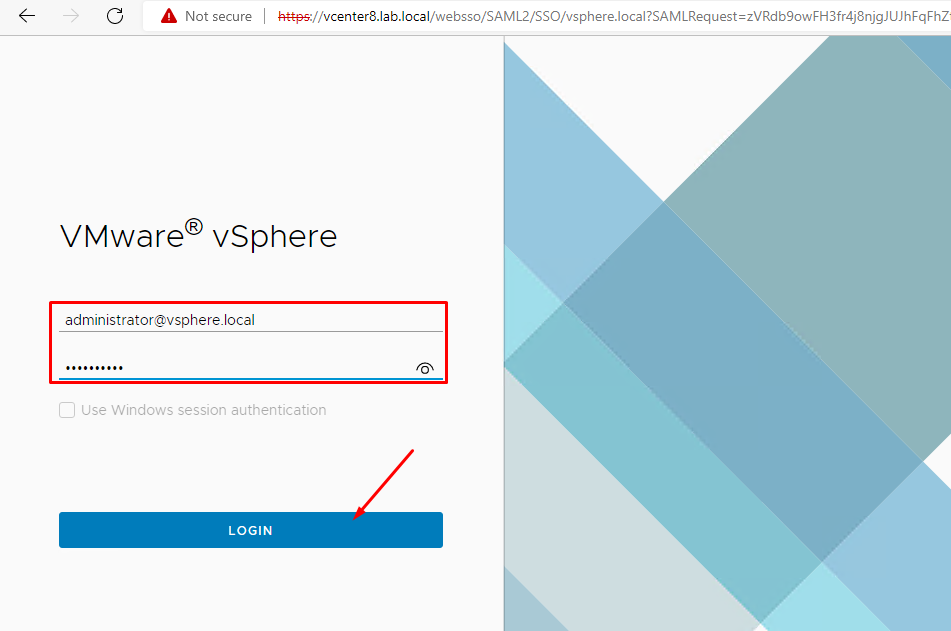
Access the vSphere Interface to manage the vCenter Server
To open the vSphere Client interface, we can use the IP address or the FQDN of the vCenter Server:
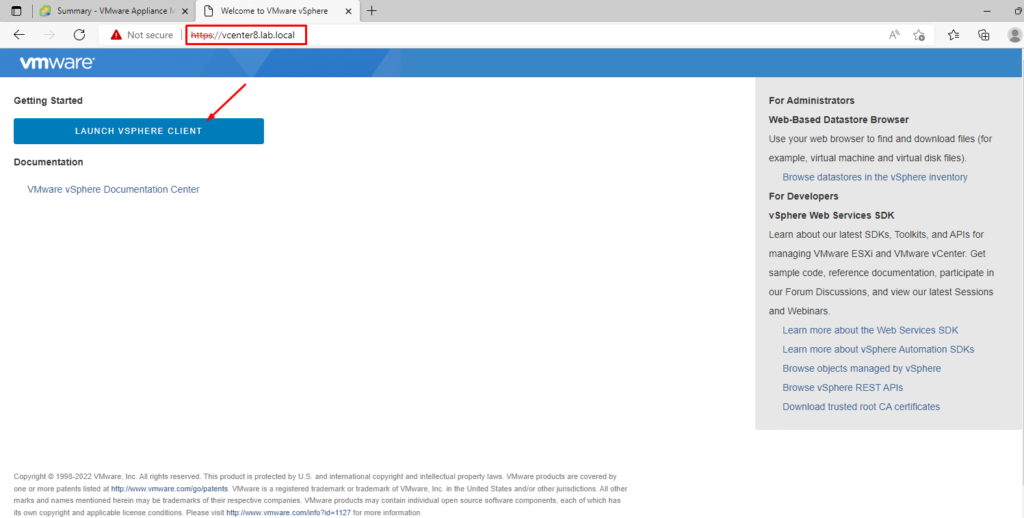
Here, we have the vSphere Client Interface 🙂
We can add ESXi hosts, create a Cluster, Distributed Switches and etc: