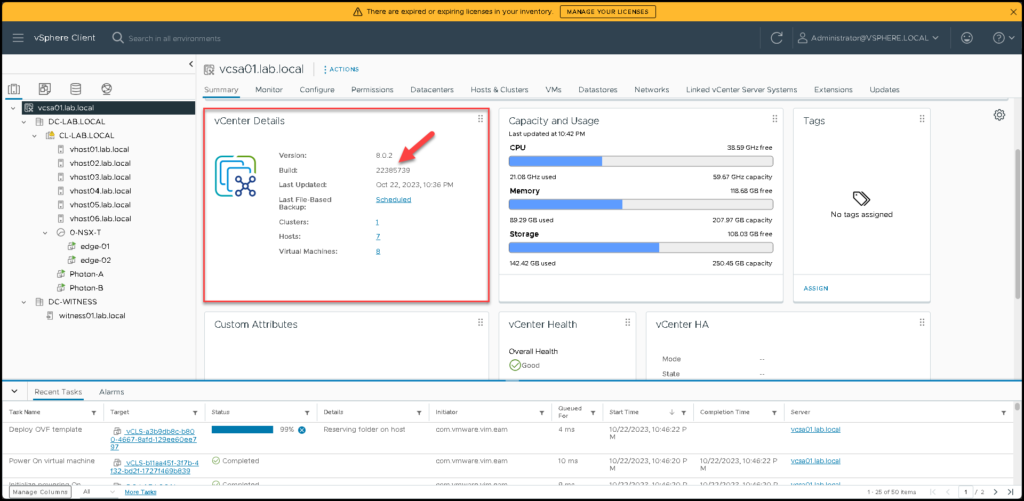
Upgrading vCenter 7 to vCenter 8 is an article that shows, step by step, how to migrate the vCenter Server from version 7 to version 8.
In our lab environment, we are using the following vCenter Server versions:
From: vCenter Server 7.0 Update 3n (version 7.0.3.01600, build 21958406)
To: vCenter Server 8.0 Update 2 (version 8.0.2.00000, build 22385739)
Source: https://kb.vmware.com/s/article/2143838
Before Anything
The upgrade process is a straightforward task. But, risks are involved and you need to be prepared to handle some problems and situations.
We highly recommend you have a valid backup of the current vCenter Server. Additionally, you can make a File-Based backup and/or a vCenter Server VM clone, just to guarantee some recovery options in case of failure. In the following article, we are explaining how to configure a vCenter Server File-Based backup:
https://dpcvirtualtips.com/creating-a-backup-of-vcenter-data/
In this case, for instance, the current and the target vCenter Server Appliance are running on the same ESXi host. Based on this, we are using an “ephemeral” port binding to connect both on the network. In other words, if your target place to deploy the new VCenter Server Appliance is an ESXi host, you need to create a Port Group (PG) in a vSphere Standard Switch (VSS).
After the deployment process, you can migrate the network used by the vCenter Server Appliance from the vSphere Standard Switch to a vSphere Distributed Switch (VDS).
Considerations and General Information about the Procedure
We need to download the vCenter Server 8.0 U2 ISO file and mount it to access the installer.exe file.
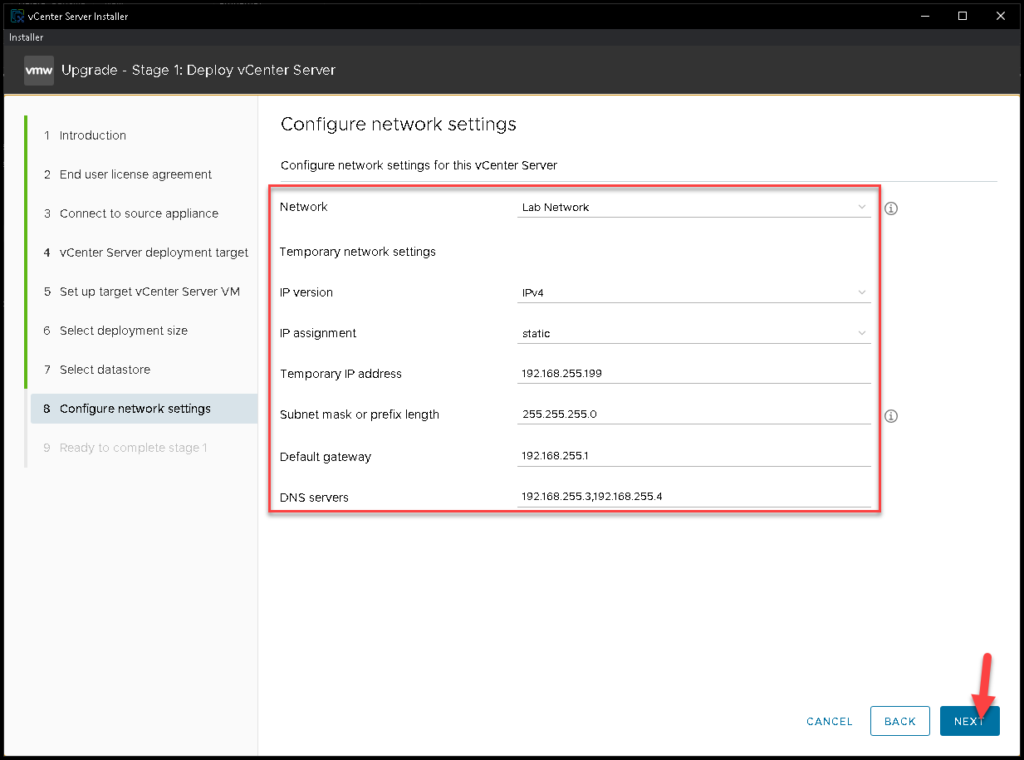
Before that, we recommend you separate a temporary IP address present on the same subnet address of the current vCenter Server. The upgrade process will deploy a new vCenter Server using the temporary IP address, the data will be migrated from the current vCenter Server to the new one, and after the “original” IP address will be transferred to the new vCenter Server.
Tips: I highly recommend you to check:

-- If all DNS entries (forward and reverse DNS zones) are created correctly before continuing with the upgrade;

-- If you are using the vSphere DRS in "Fully Automated" Mode, we highly recommended to set up it with "Manual" - just to avoid the vCenter Server migration during the upgrade process;

-- Check the deployment size of the current vCenter Server and record this information (you will use this information to select the deployment size of the new vCenter Server):
cat /etc/vmware/deployment.size

-- Check if your source vCenter Server has the correct DNS servers configured and also if the parameter "search" has present on the file /etc/resolv.conf. To add the "search" parameter permanently to the /etc/resolv.conf:

1. Making a backup of the file /etc/systemd/resolved.conf:
cp /etc/systemd/resolved.conf /etc/systemd/resolved.conf.backup

2. Editing the file /etc/systemd/resolved.conf and adding the "Domains" instruction, for example:
Domains=lab.local       #changing the lab.local to your domain name

3. Restarting the "systemd-resolved" service:
service systemd-resolved restart
Upgrading the vCenter Server
The upgrade process is composed of two steps: Stage 01 and Stage 02.
Below, we will see both steps, step by step.
Stage 01 – Deploy vCenter Server
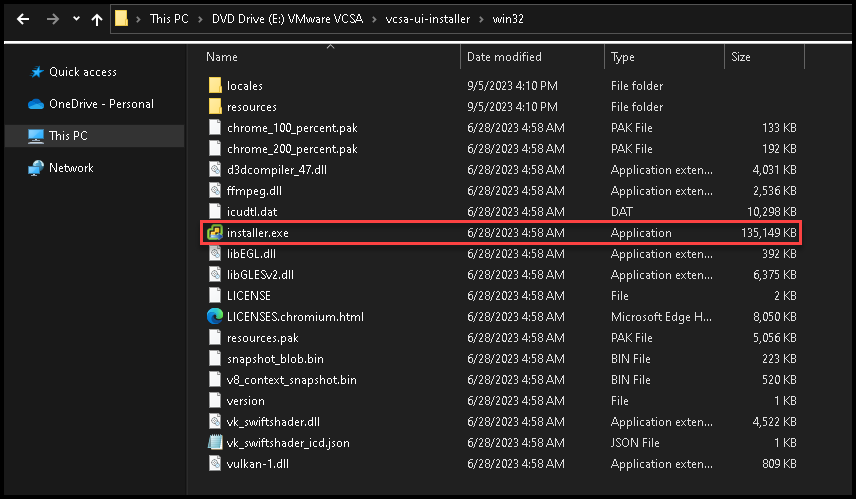
The stage 01 we will deploy the new vCenter Server. To do that, the first step is to mount the VC 8.0 U2 ISO file and run the file “install.exe” – In our example, we are using a Windows Desktop and, because of that, we are using the “installer.exe”:
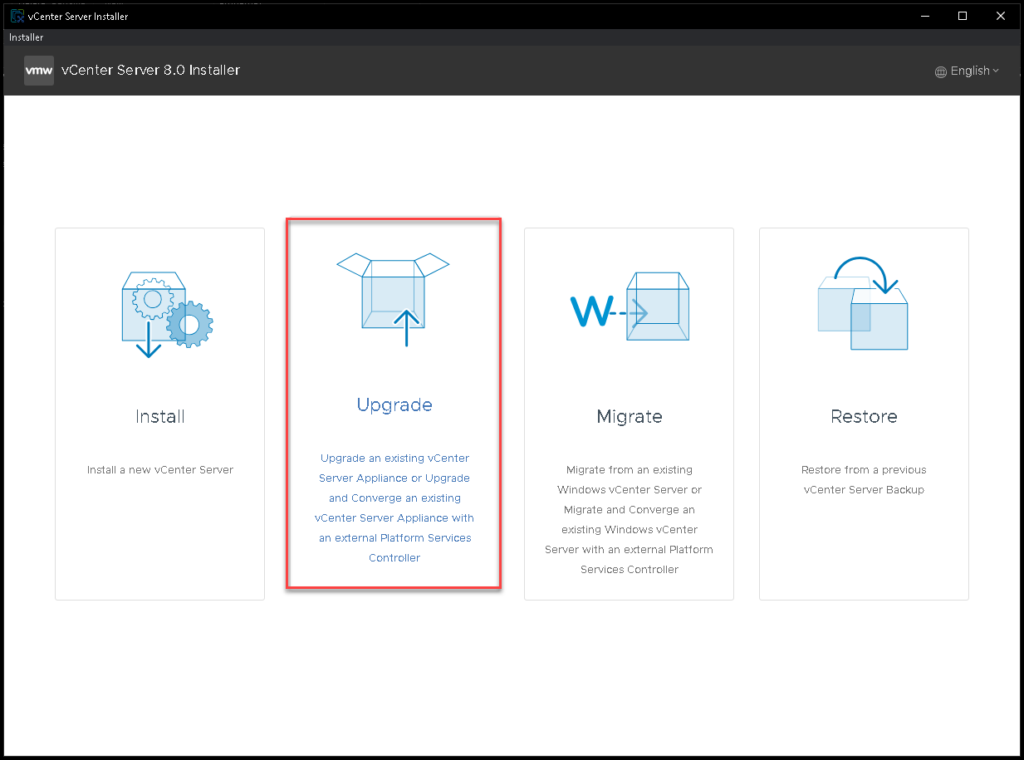
Select the option “Upgrade”:
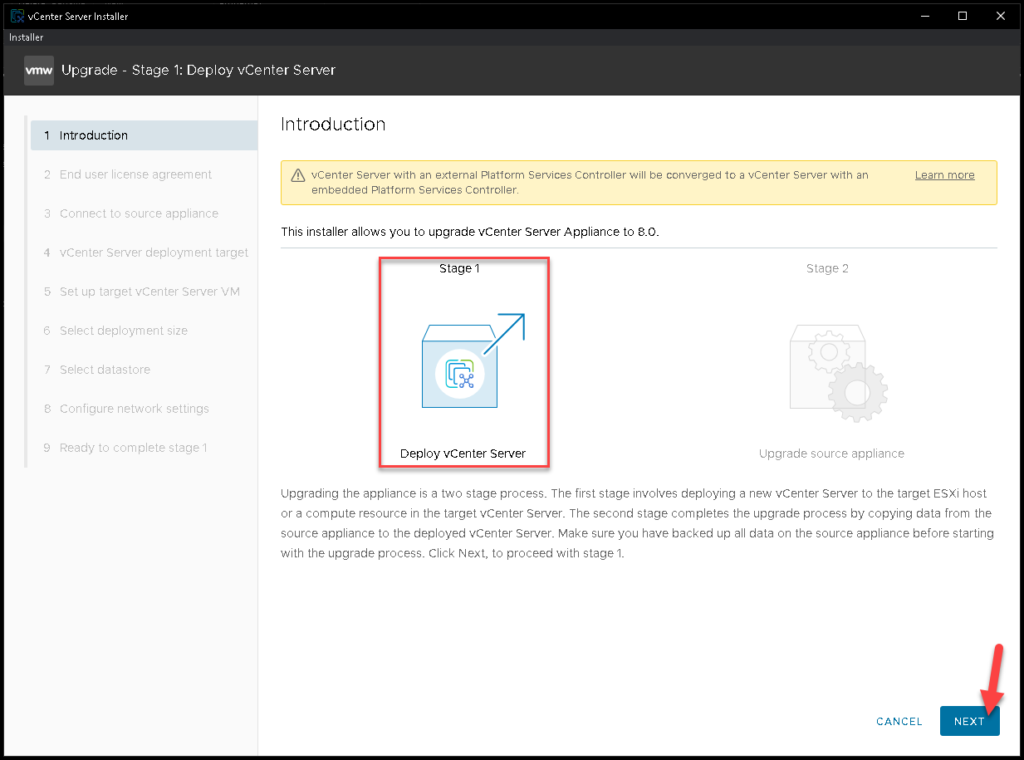
Click on NEXT to start the vCenter Server deployment process:
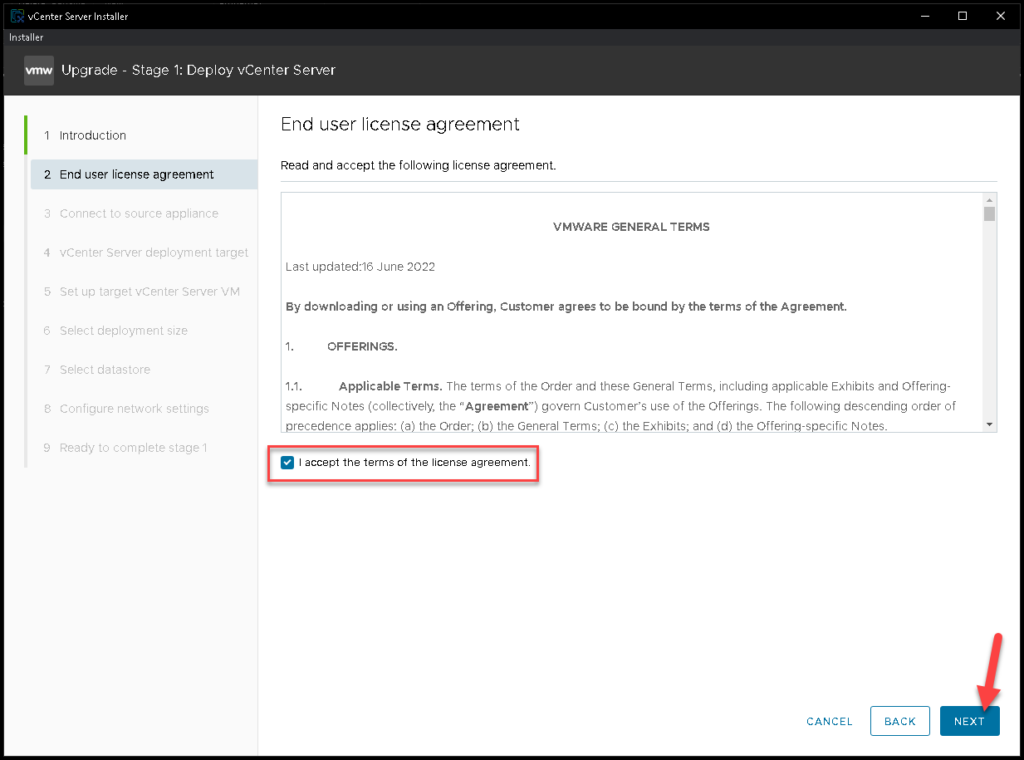
Select the option “I accept the terms of the license agreement” and click on NEXT to continue:
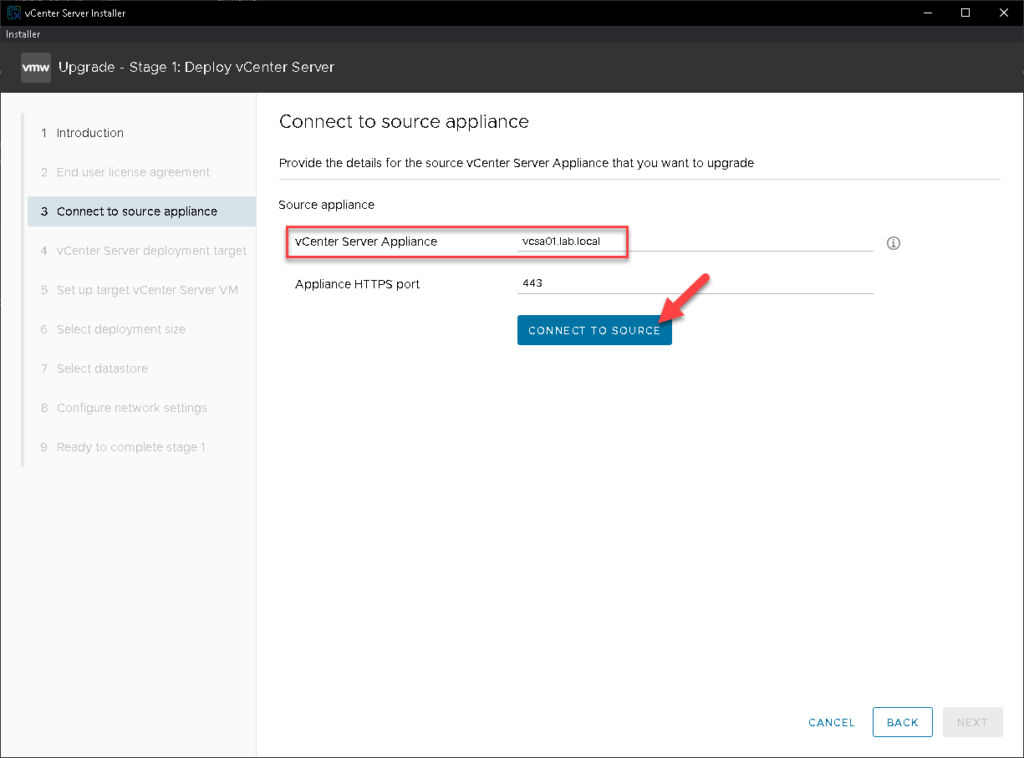
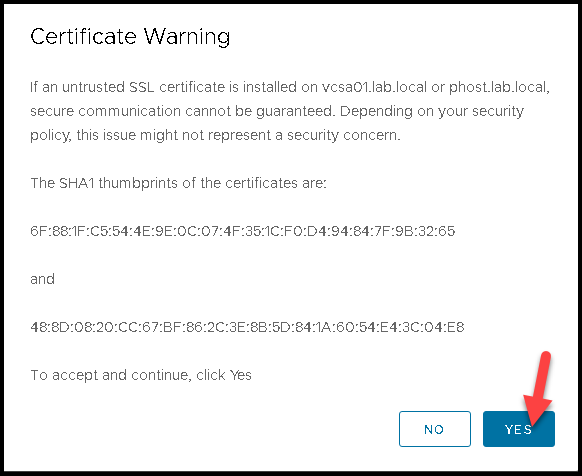
Here, we need to type the FQDN or IP address of the source vCenter Server. In other words, we need to specify the source vCenter Server (7.0 U3).
In our example, the FQDN of the source vCenter Server is vcsa01.lab.local
Click on CONNECT TO SOURCE to connect to the source vCenter Server:
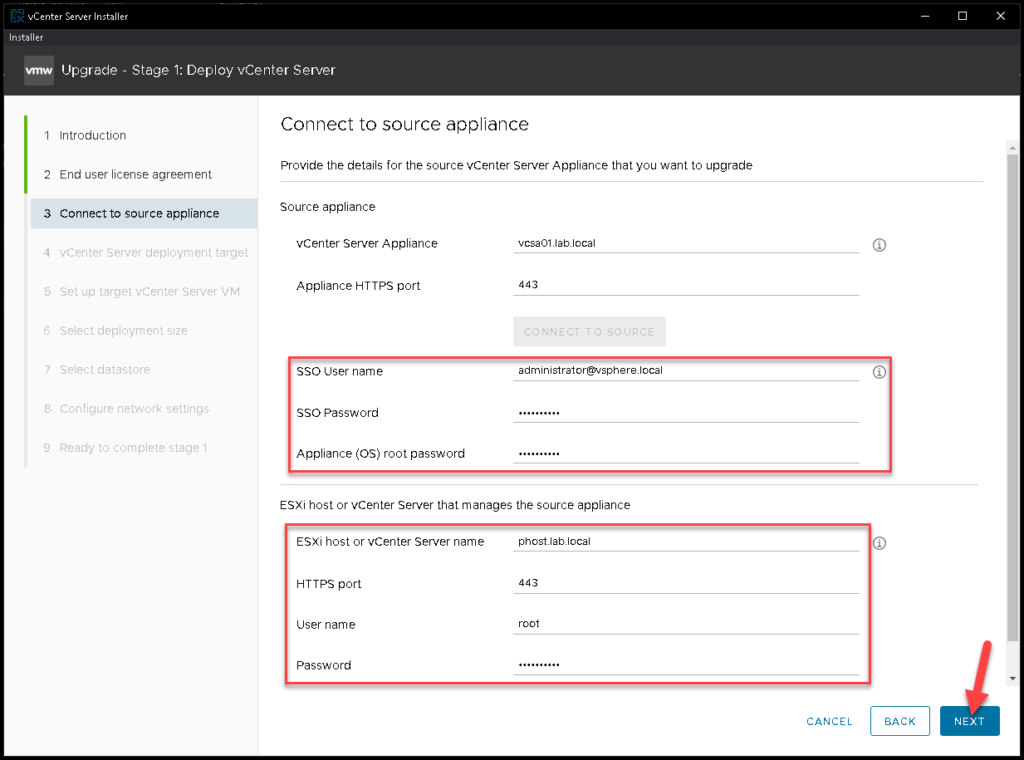
After that, we need to specify the SSO credentials to connect to the source vCenter Server. Next, we need to specify the details of the ESXi host that is running or hosting the source vCenter Server appliance.
In our example, the FQDN of the source ESXi host is phost.lab.local
Click on NEXT to continue:
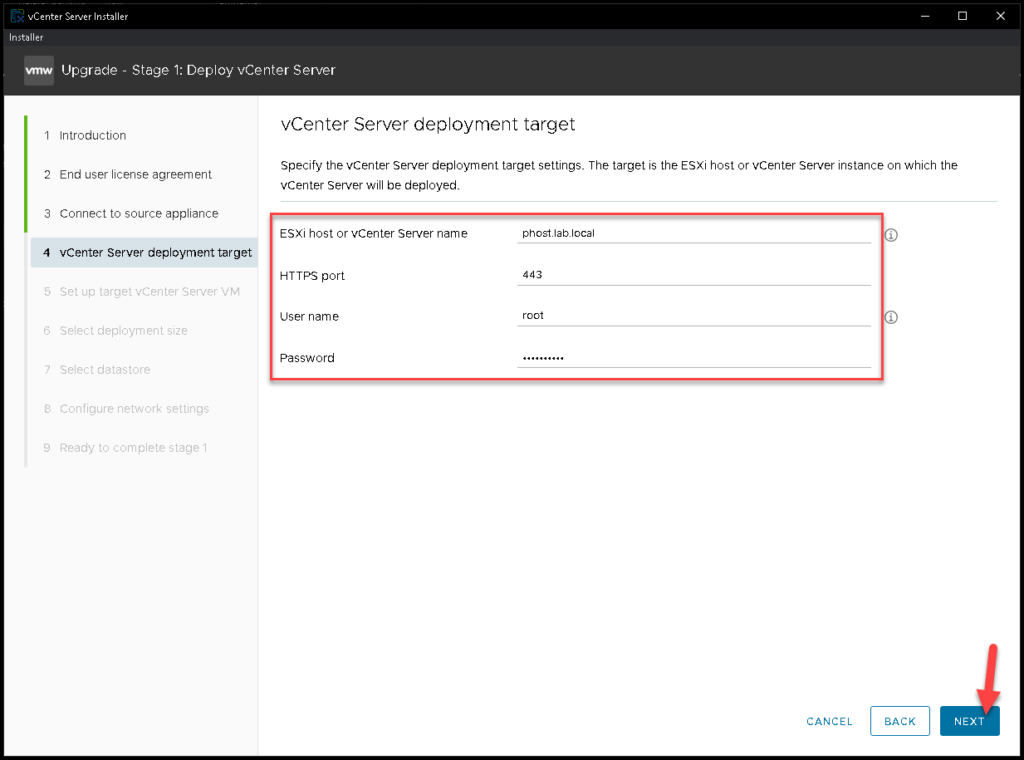
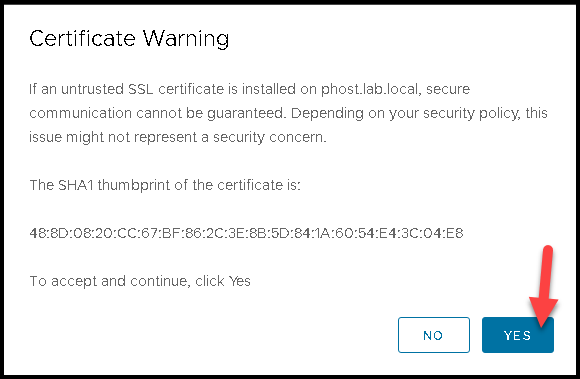
Here, we need to specify the target ESXi host that will receive the new vCenter Server.
In our example, the ESXi host is the same that we are hosting the current vCenter Server:
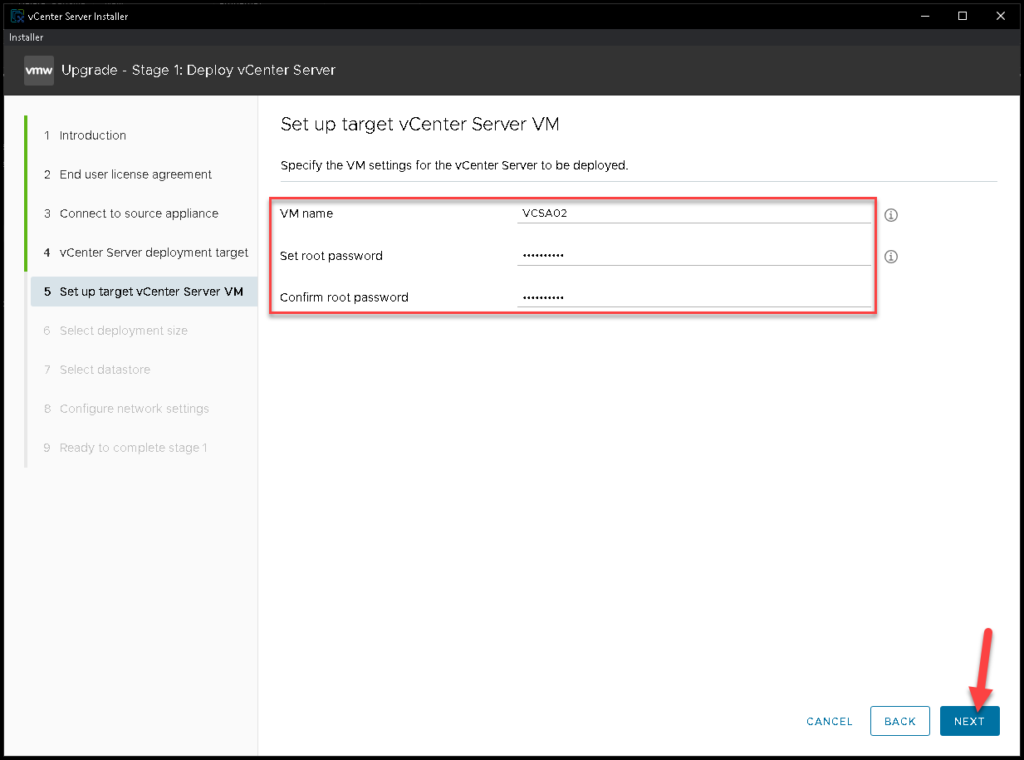
Typethe name and the root credentials of the new vCenter Server VM. In this example, the VM name is VCSA02:
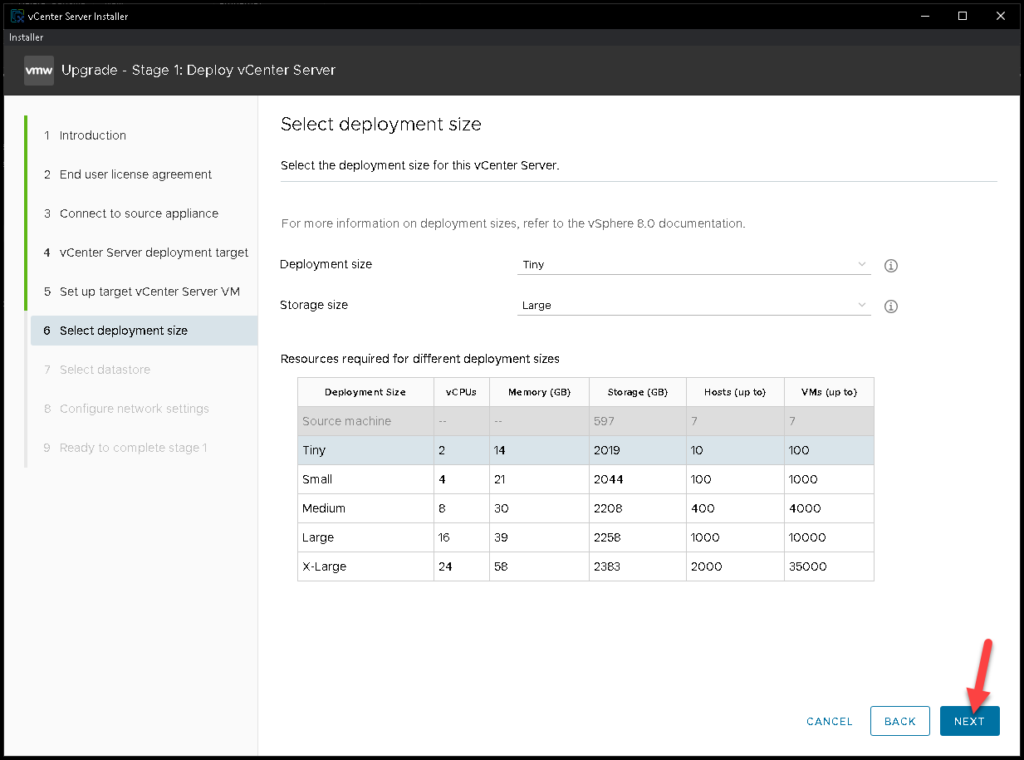
On the “Select deployment size”, we will maintain the default value (Tiny) – because our source vCenter Server has the same “size”. Click on NEXT to continue:
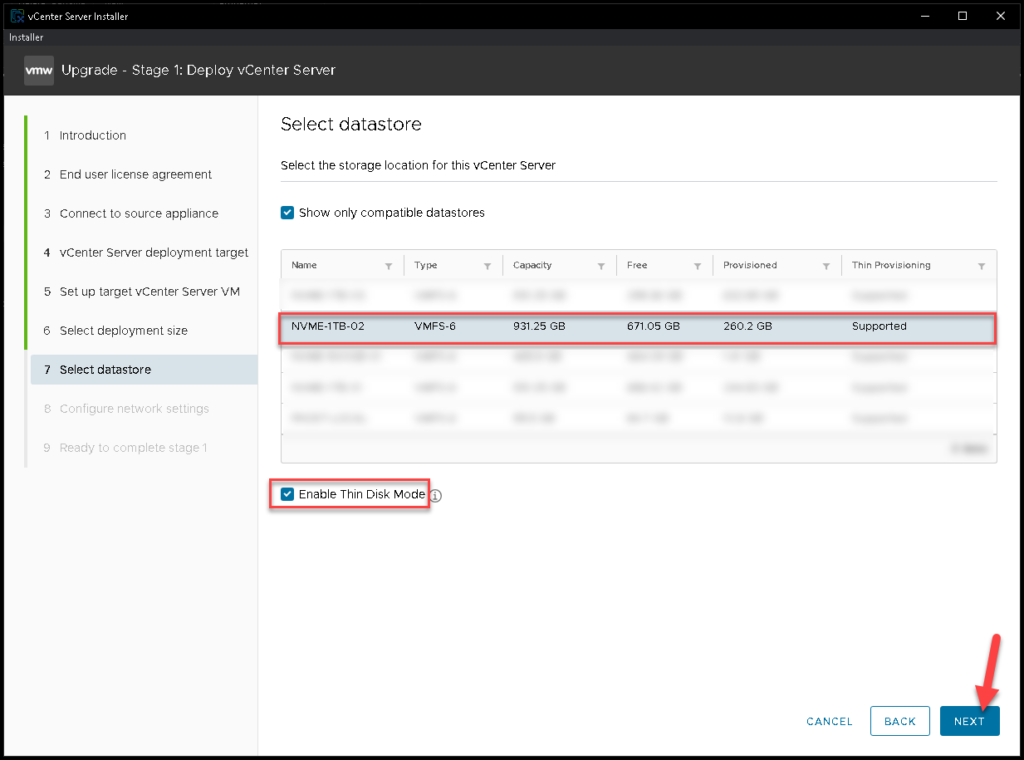
Select the datastore and click on NEXT:
Specify the network settings. On this page, we need to specify the temporary IP address as we said before. In this example, the temporary IP address is 192.168.255.199. Specifying the others settings and click on NEXT to continue:
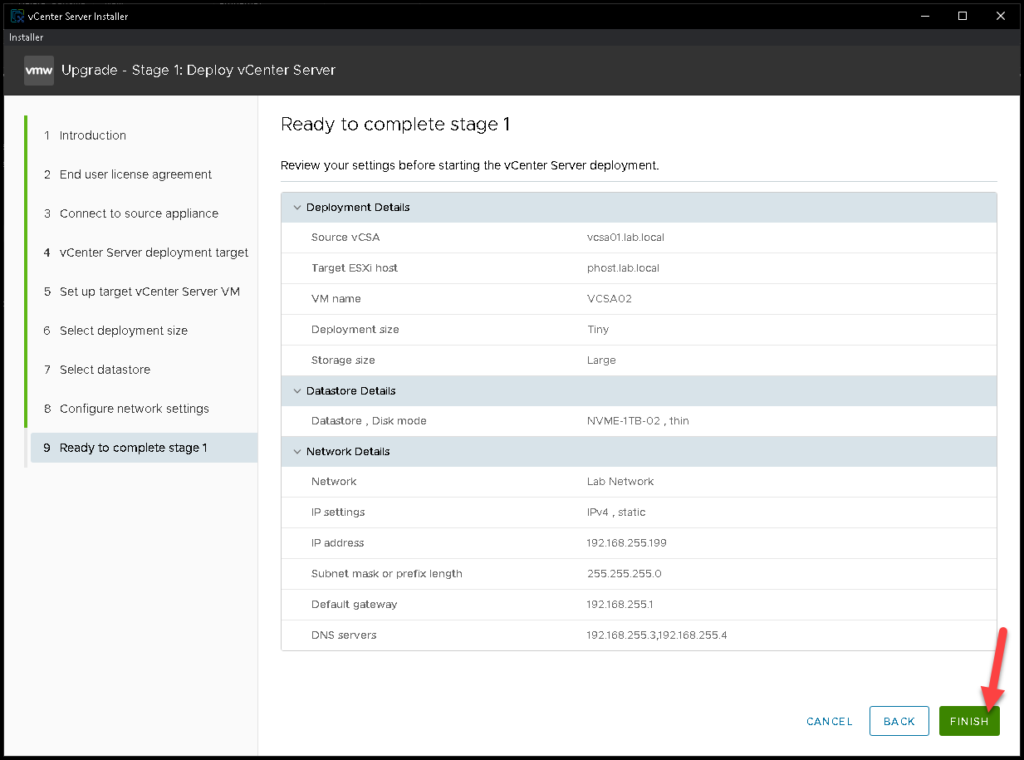
Review all configurations and click on FINISH to start the deployment process:
We need to wait several minutes while the stage 01 process is running:
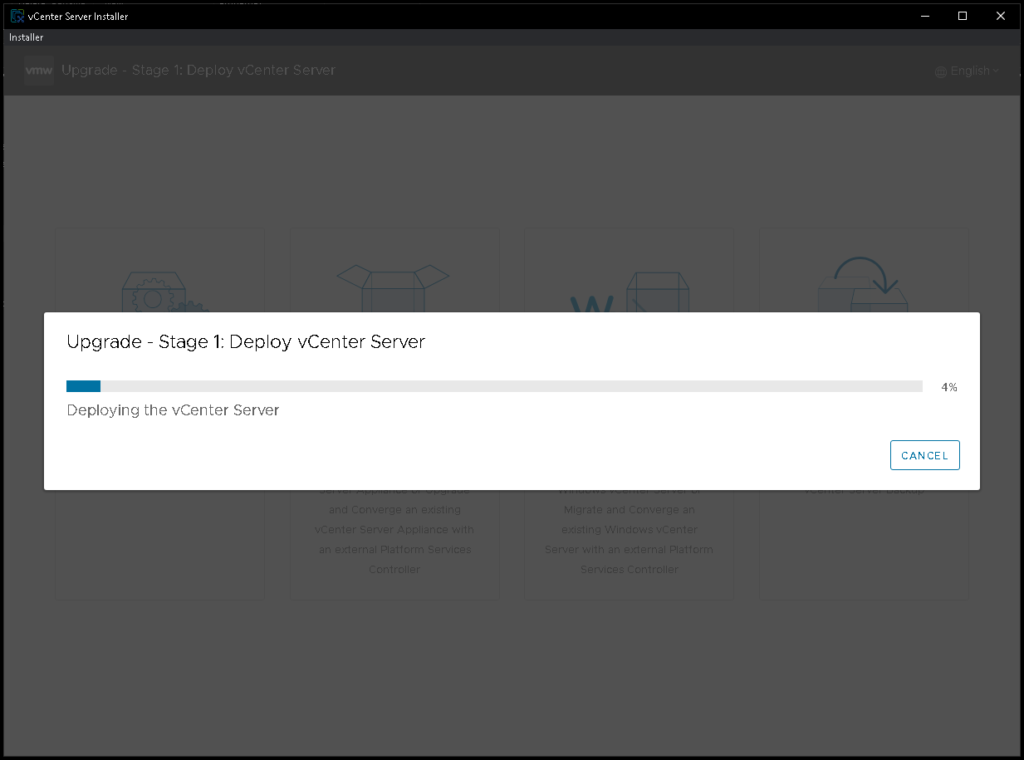
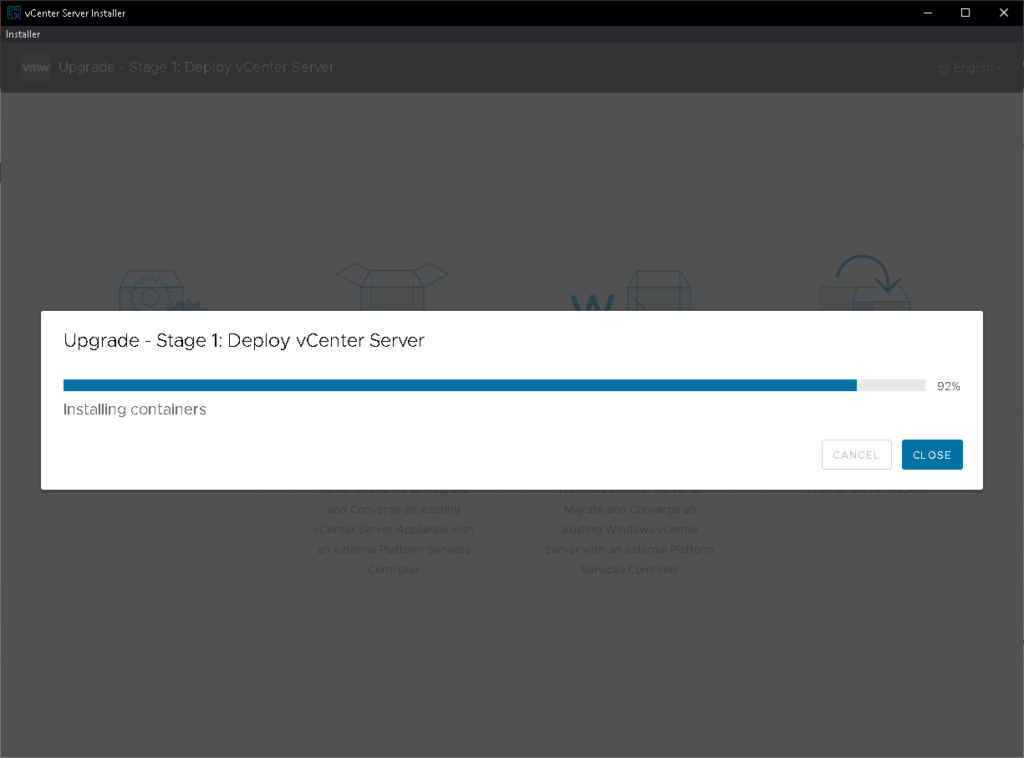
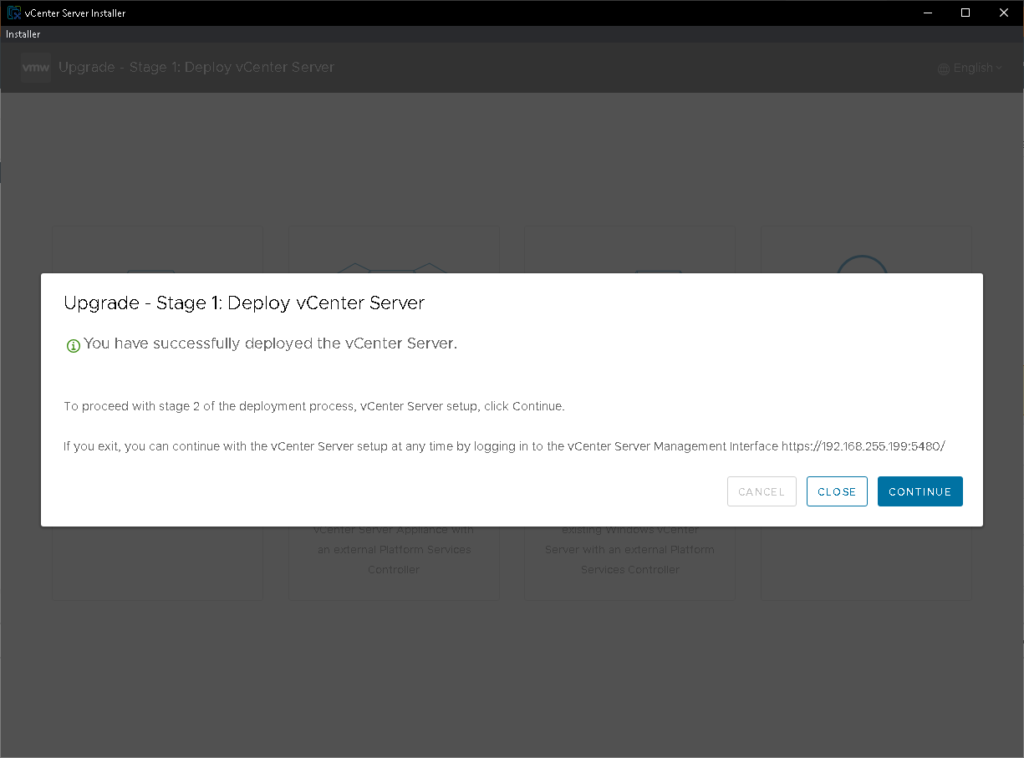
Here, we have the confirmation that stage 01 has finished successfully.
Click on CONTINUE to go to the stage 02:
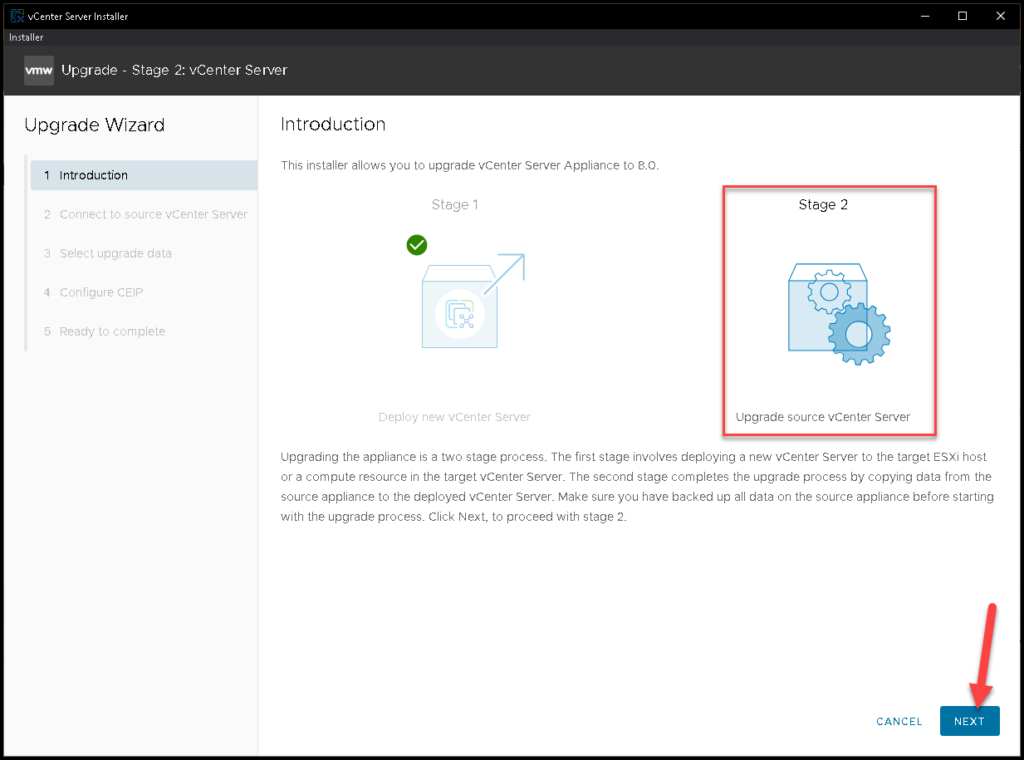
Stage 02 – Upgrade Source vCenter Server
Now, we are starting the stage 02 process or stage. In this stage, the data from the source vCenter Server will be imported into the new vCenter Server. Click on NEXT to continue:
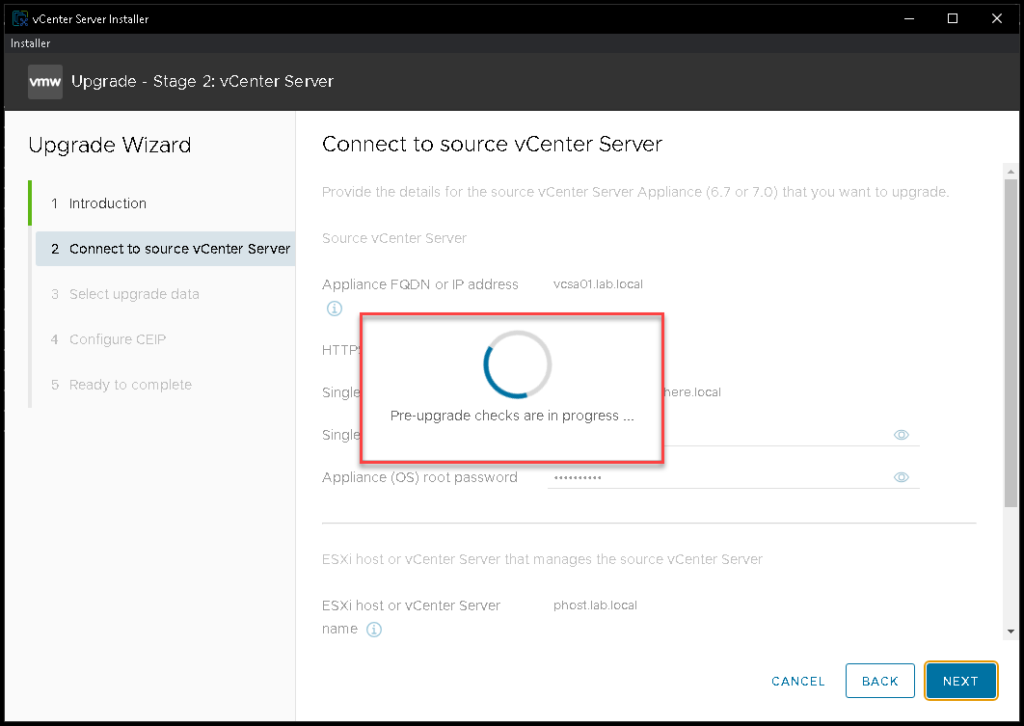
As part of this process, Pre-upgrade checks are in progress. It is an important part of the process because we can have some issues during the process that can be avoided by correcting some errors or inconsistencies detected by this pre-check process:
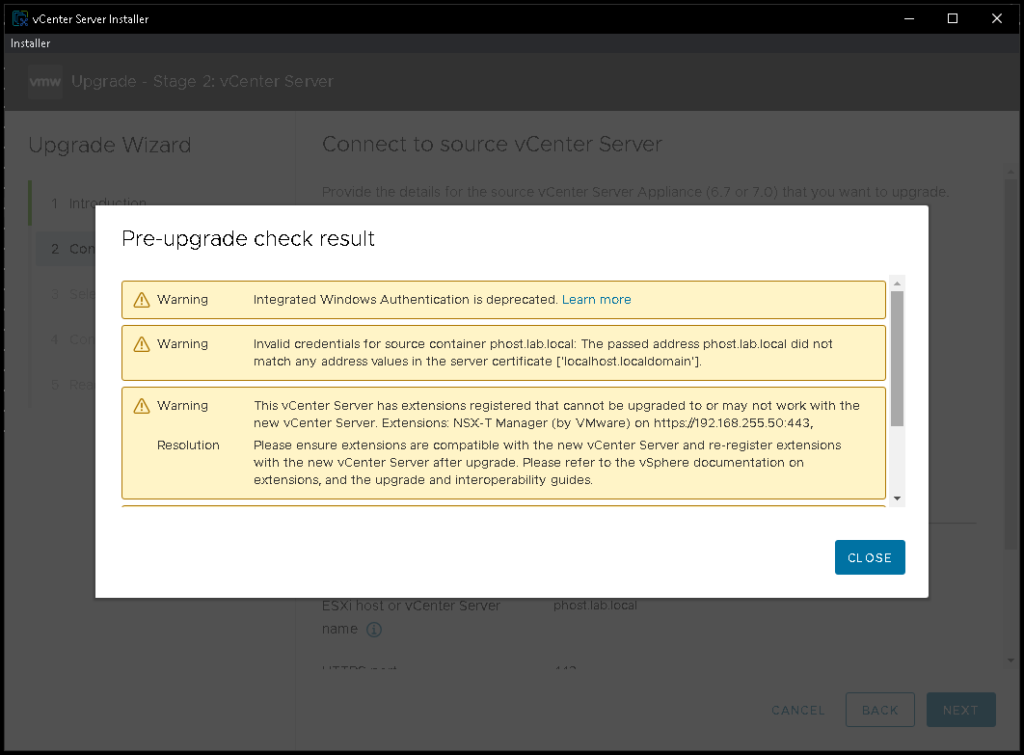
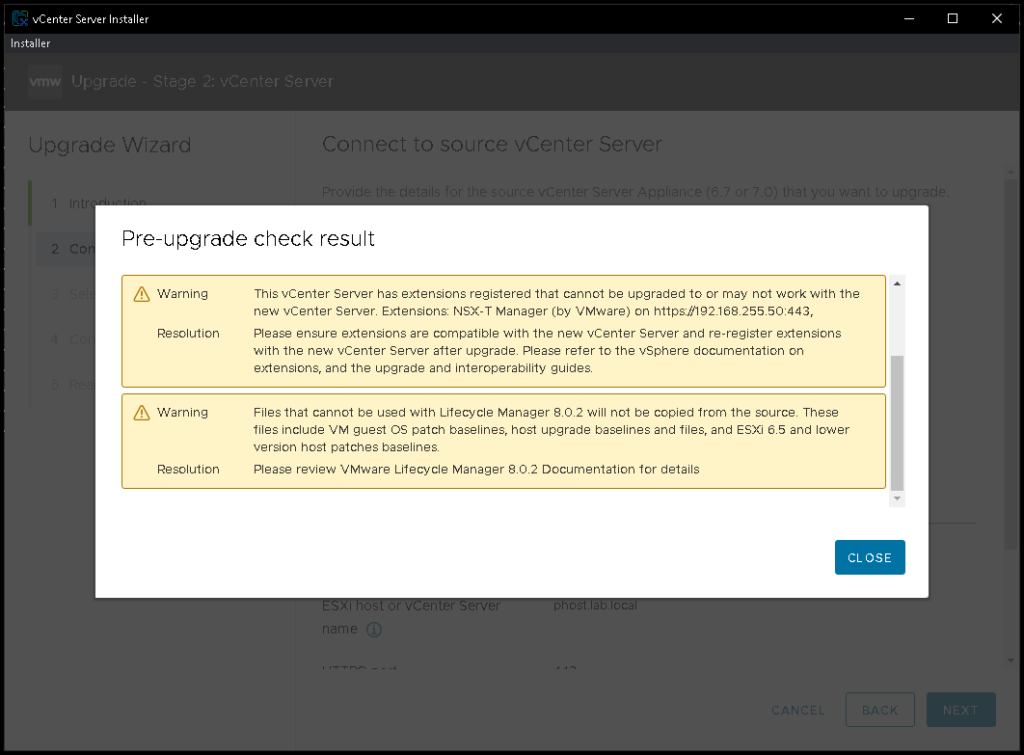
Here, we can see the pre-check results. In our case, I checked each one and it’s safe to ignore and follow the upgrade process. But, you need to check the pre-check results of your environment and determine if is safe to continue or if it needs to fix someone before continuing – Pain attention to this topic 😉
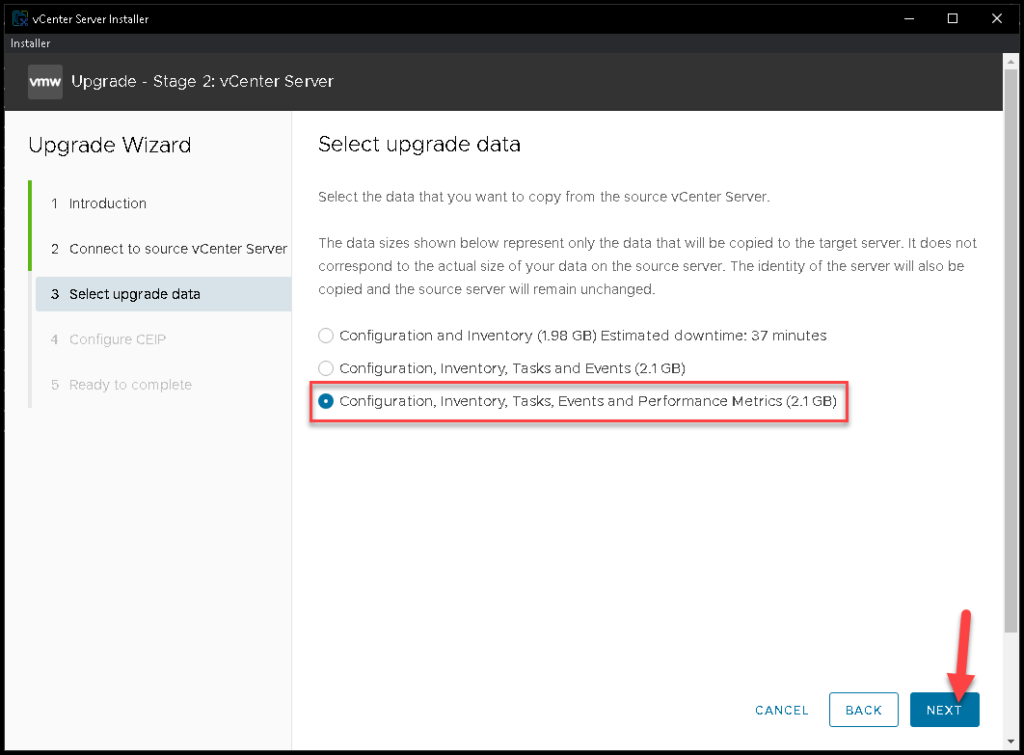
On “Select upgrade data” we need to select what data will be copied to the source vCenter Server imported to the new one. Feel free to choose the best option for you. Click on NEXT to continue:
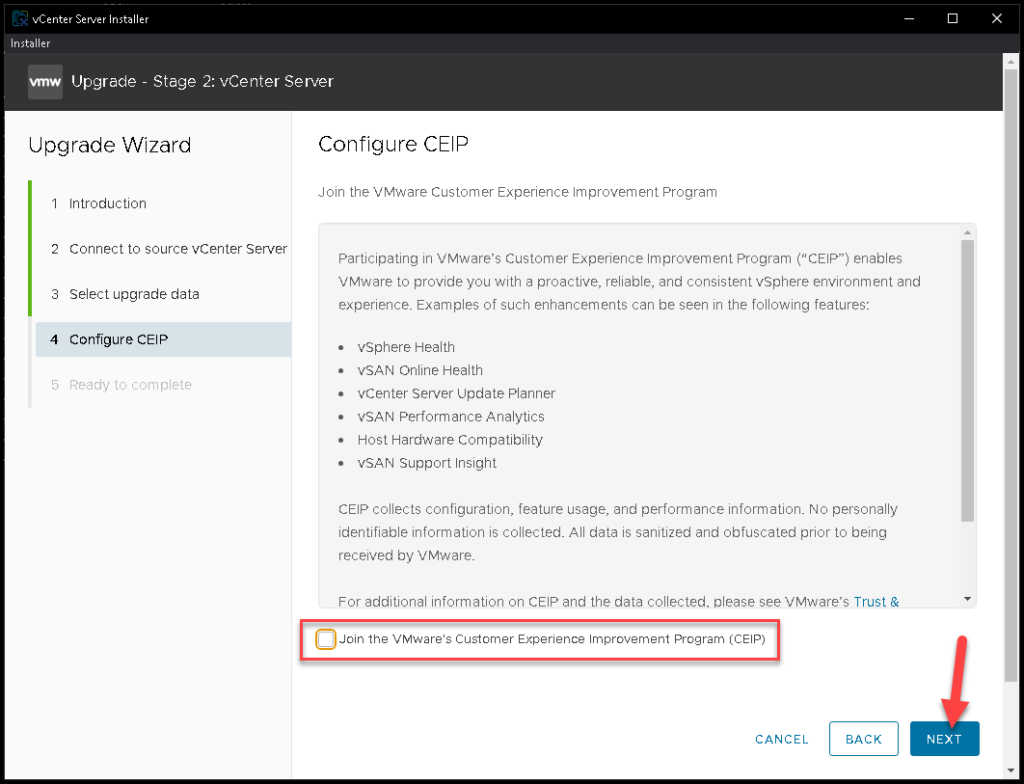
Select the option “I have backed up the source vCenter Server and all the required data from the datastore” and click on FINISH.
Note: We have written an article that explains how to configure the File-Based Backup on the vCenter Server. To access this article, click on the below link:
https://dpcvirtualtips.com/creating-a-backup-of-vcenter-data/
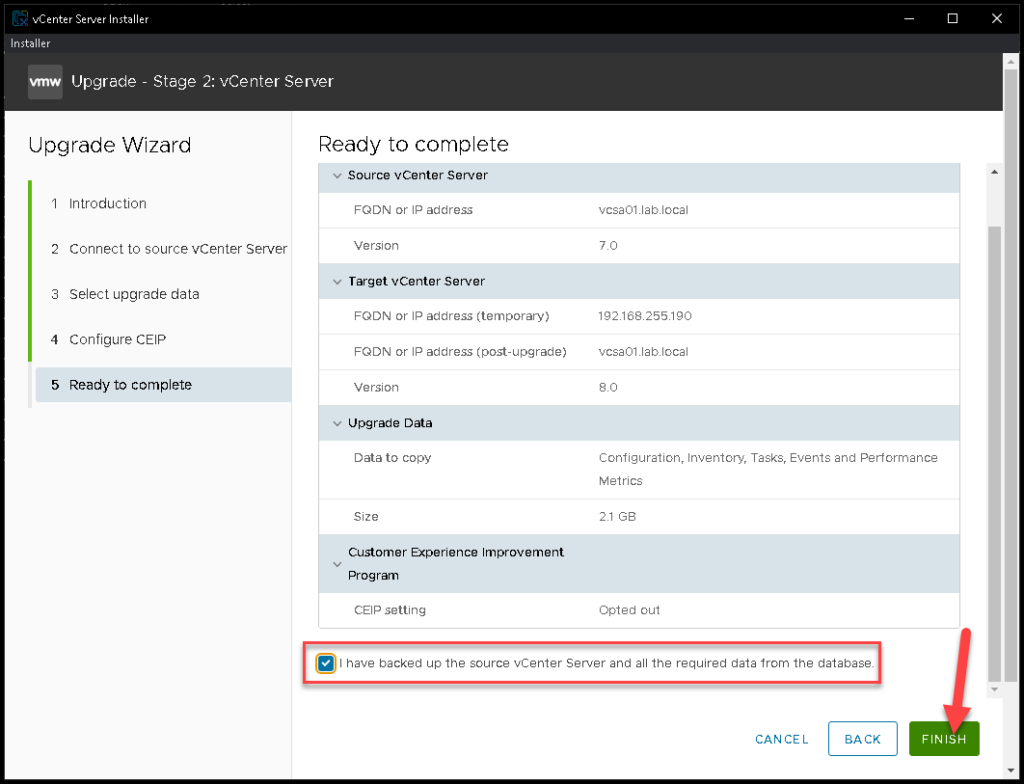
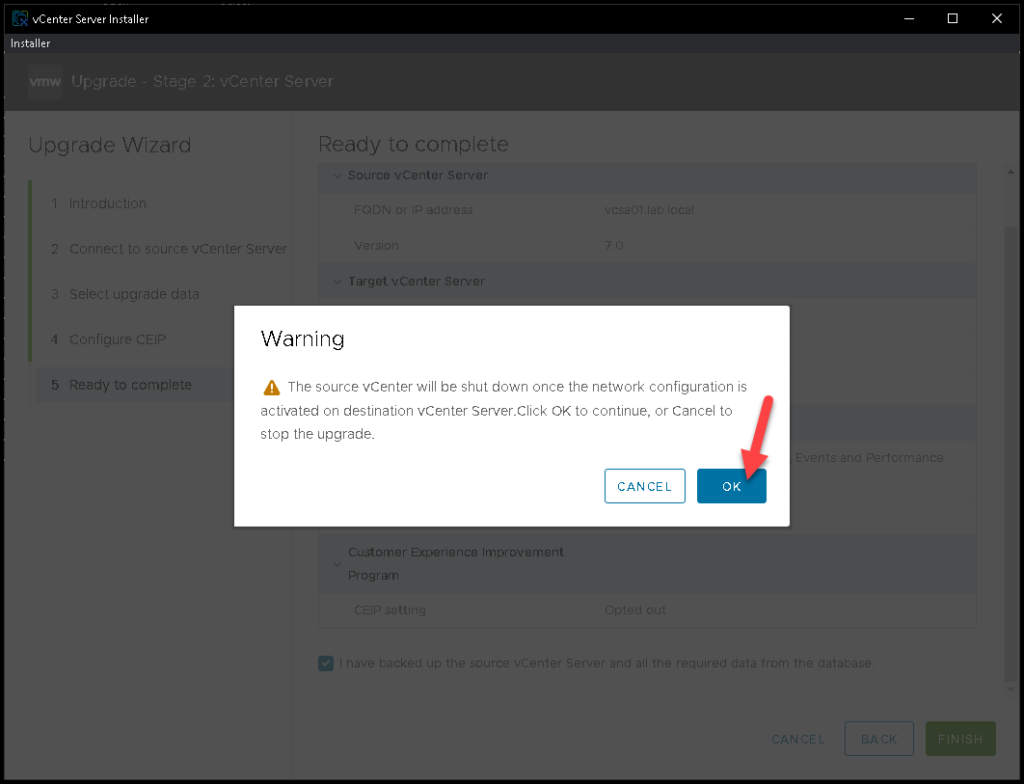
We need to wait some additional minutes while stage 02 is running:
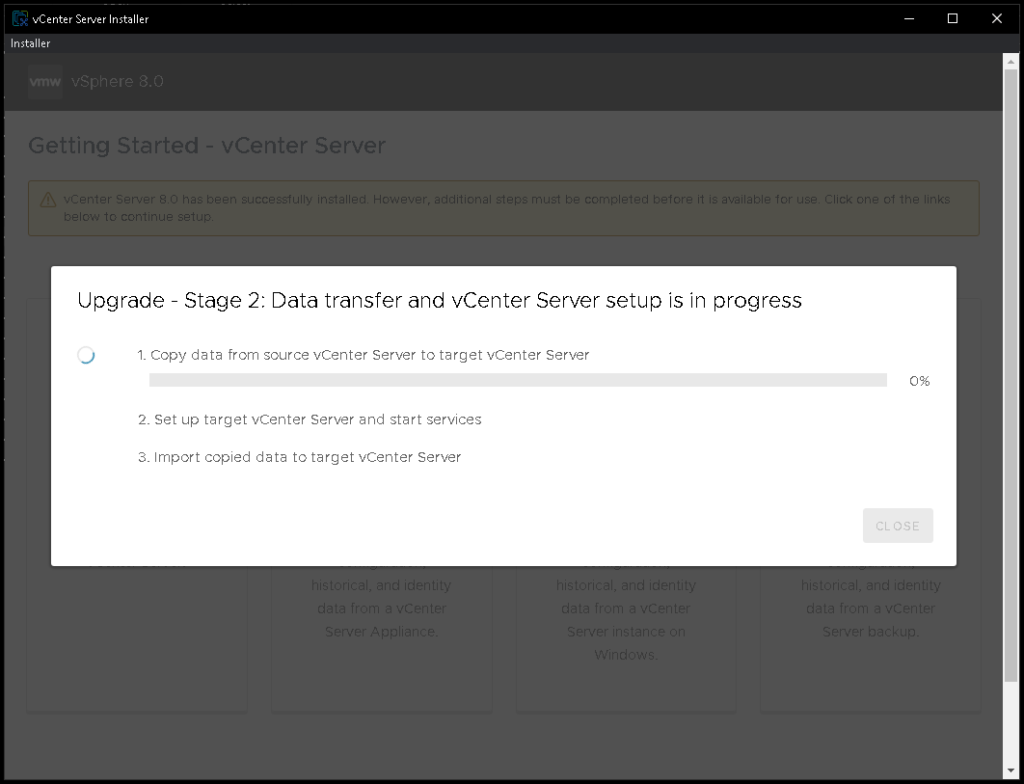
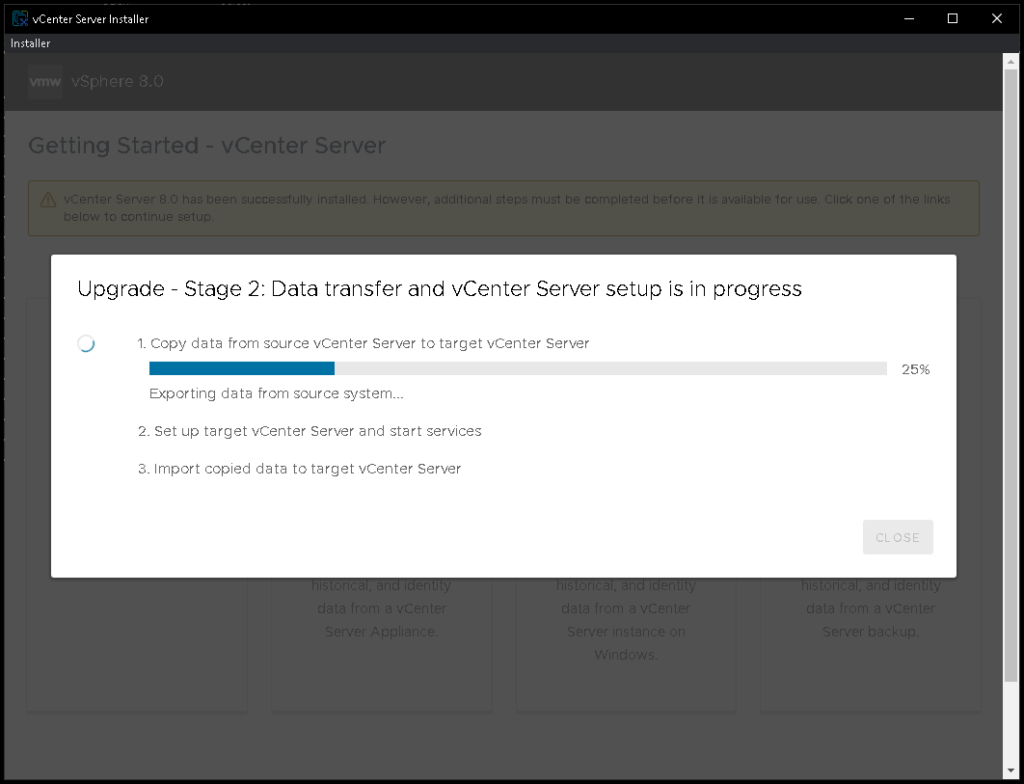
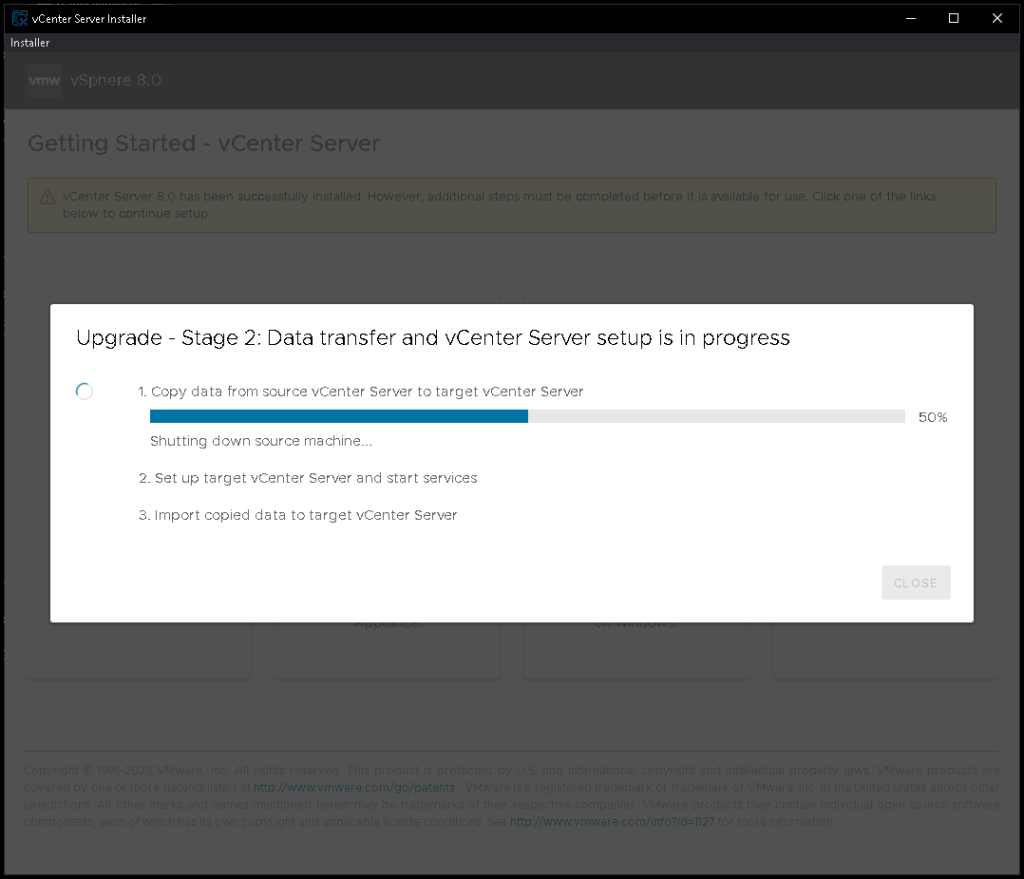
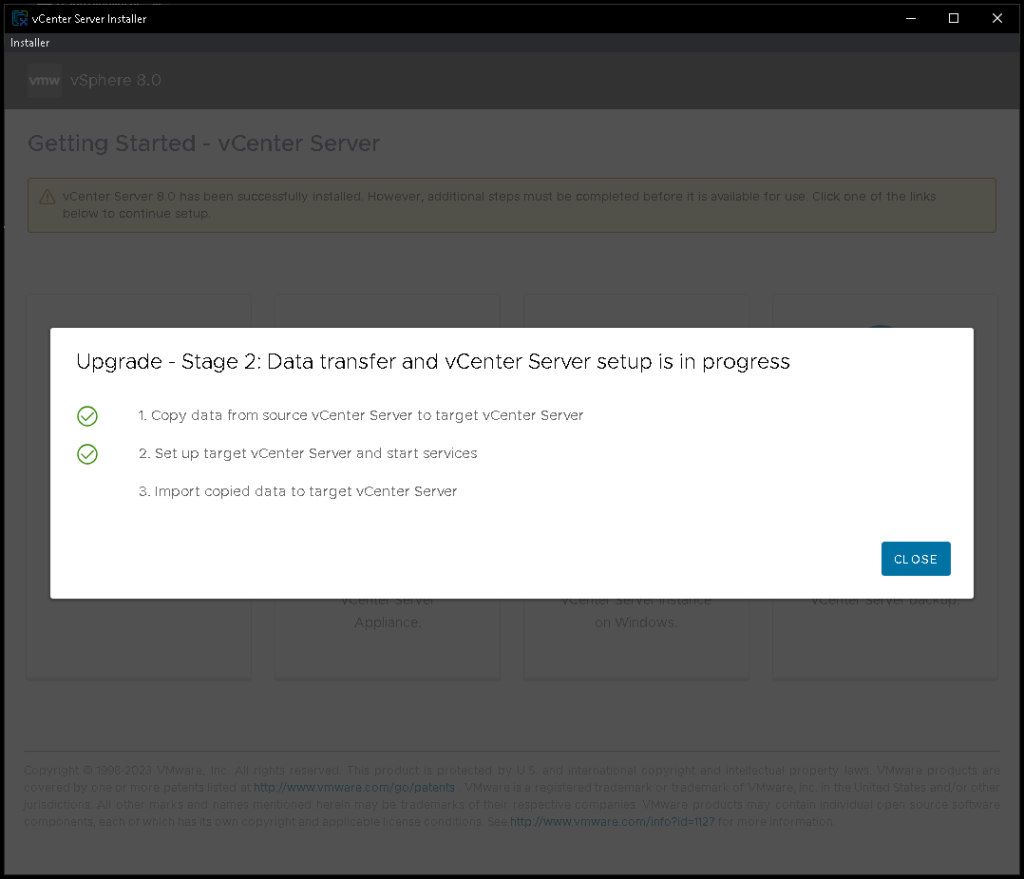
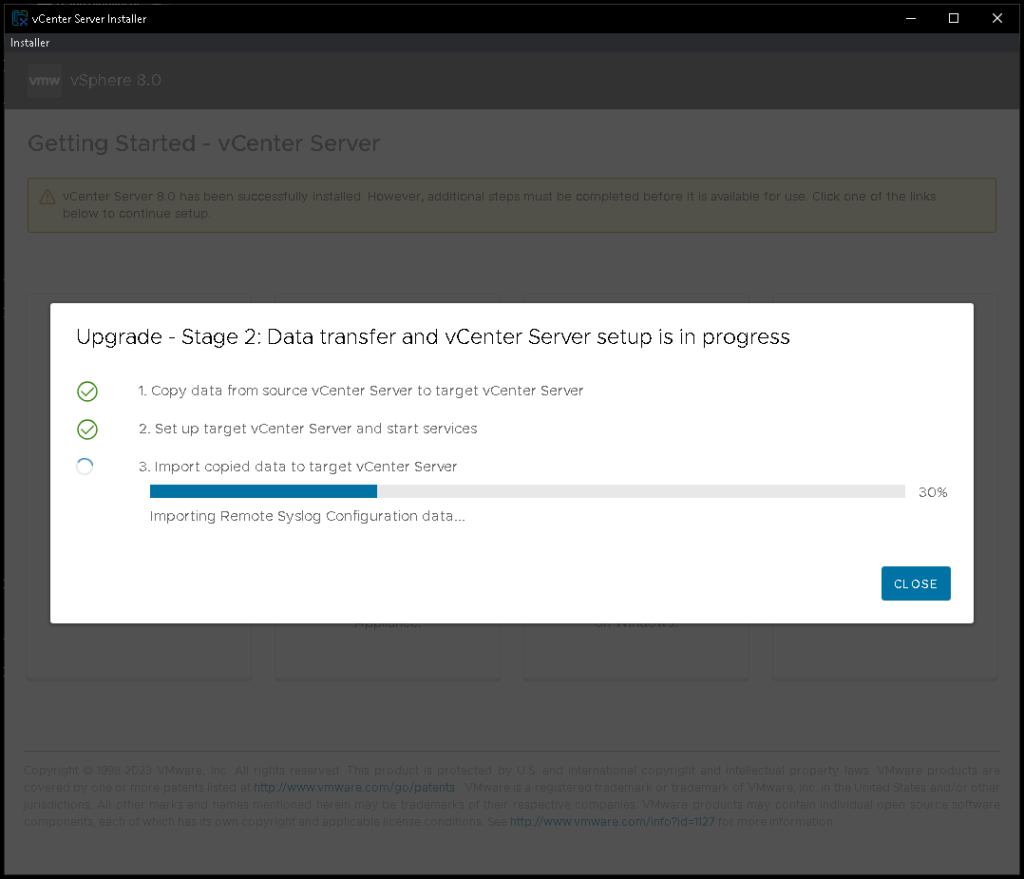
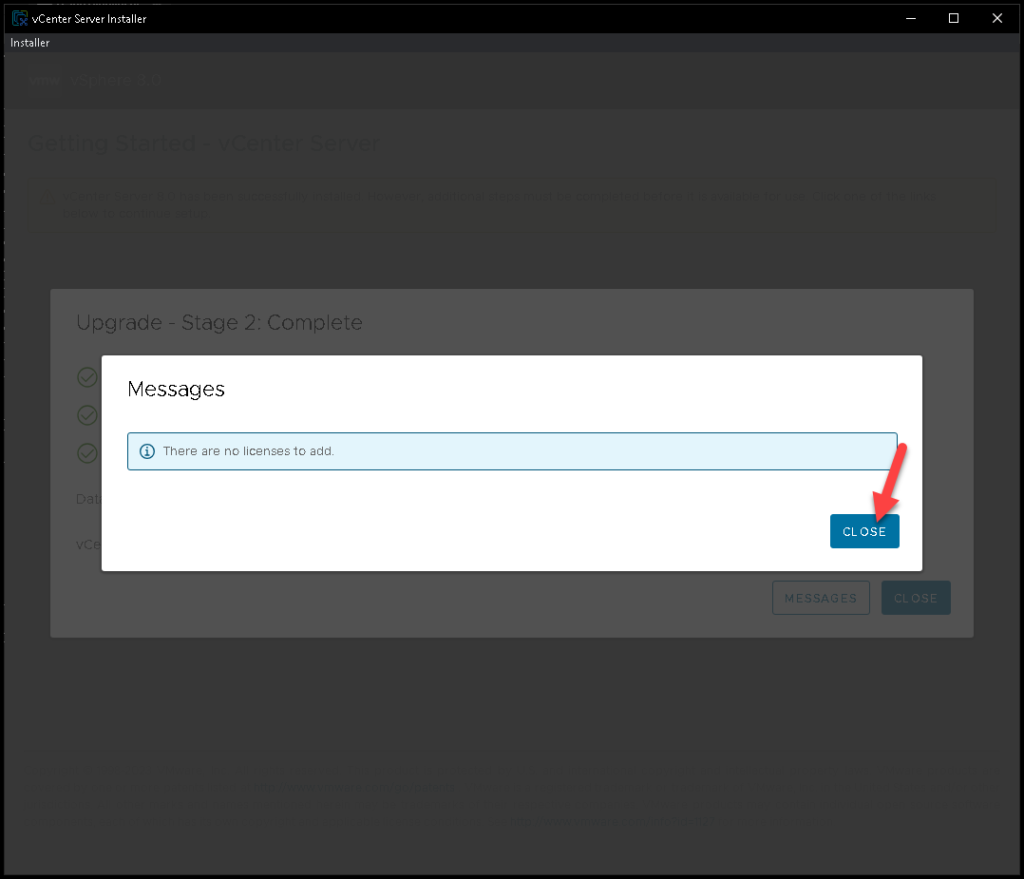
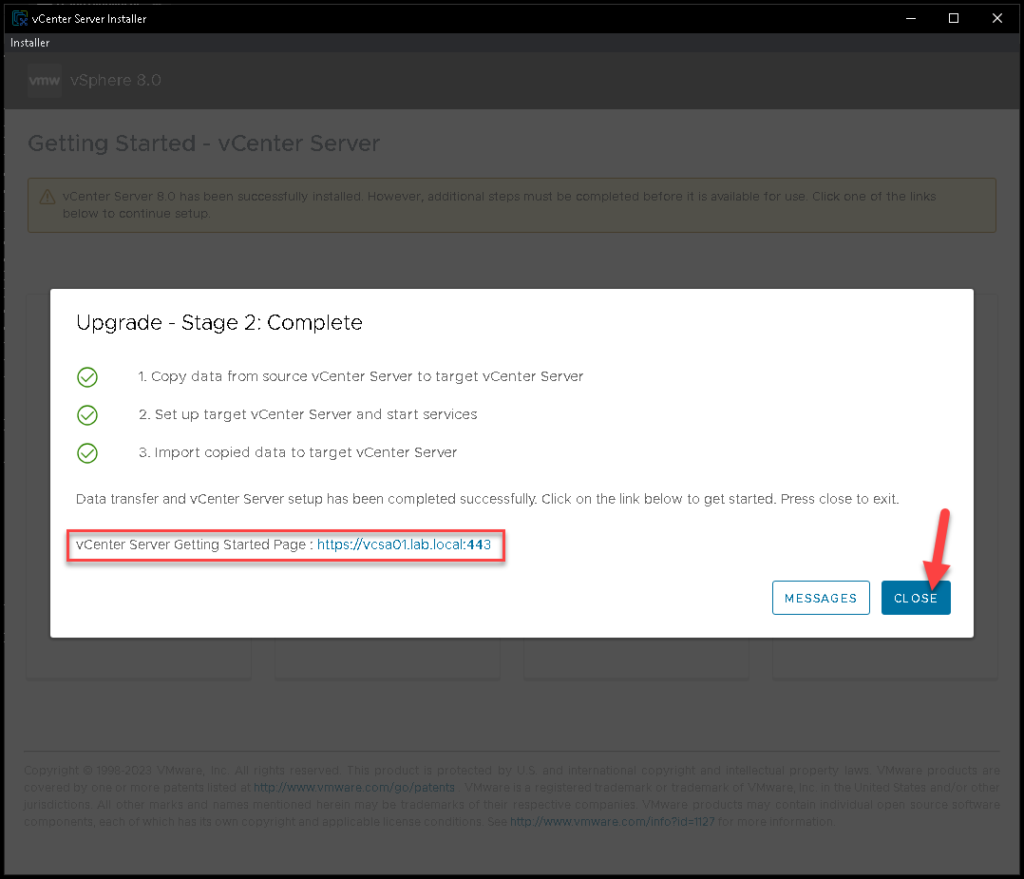
Here, we have the confirmation that stage 02 has been completed successfully.
We can access the vSphere Client interface and click on CLOSE to finish the “installer.exe”:
Accessing the new vCenter Server
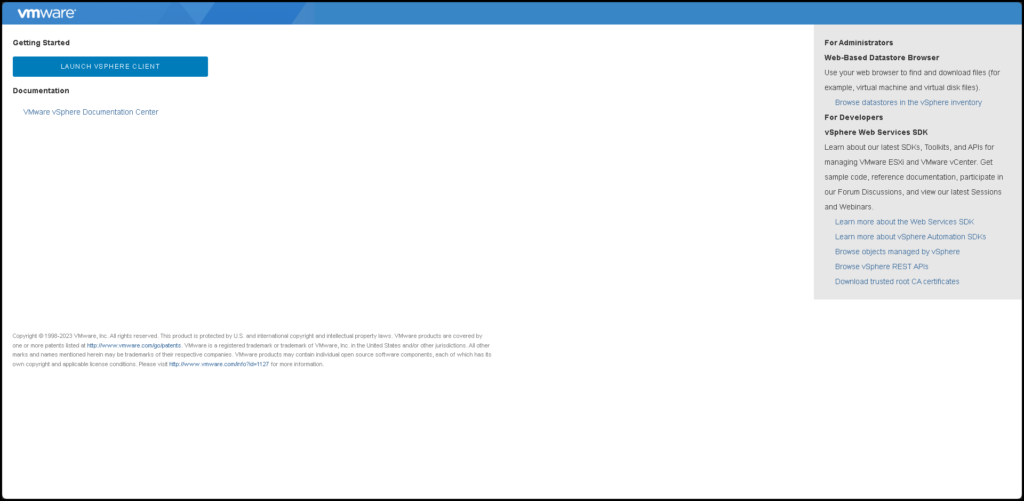
Accessing the vSphere Client interface:
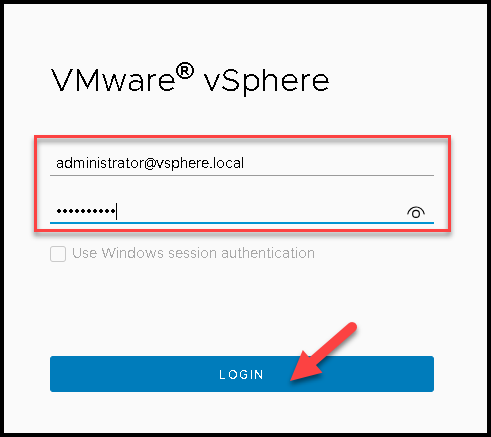
And checking the new vCenter Server version 🙂